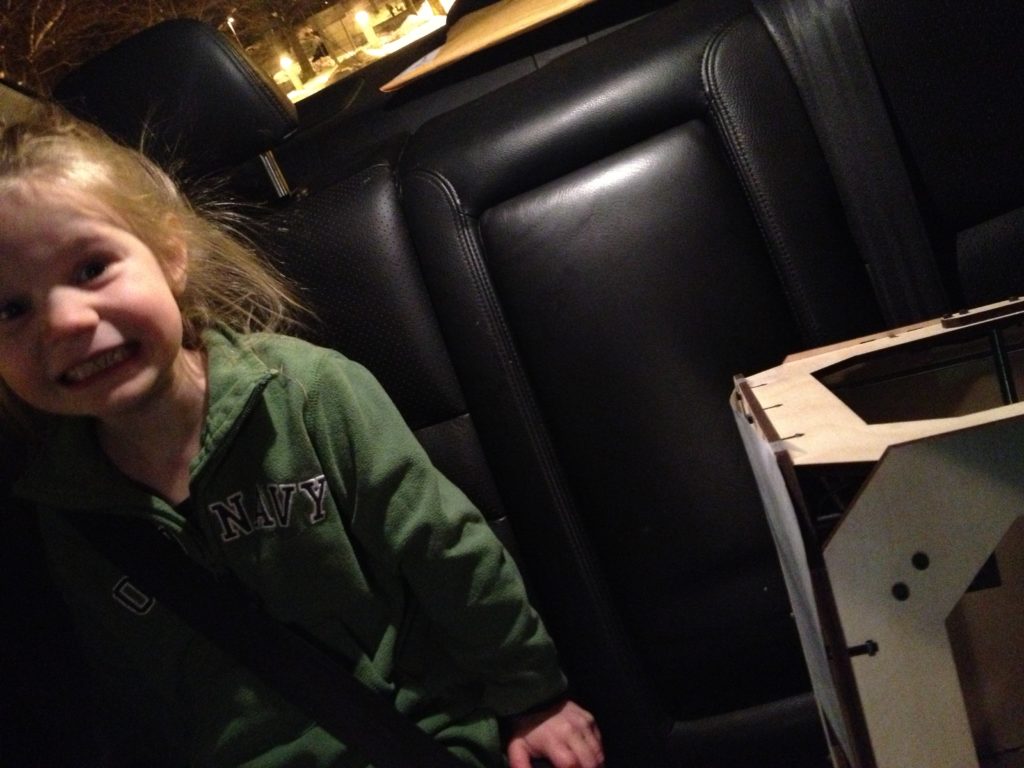
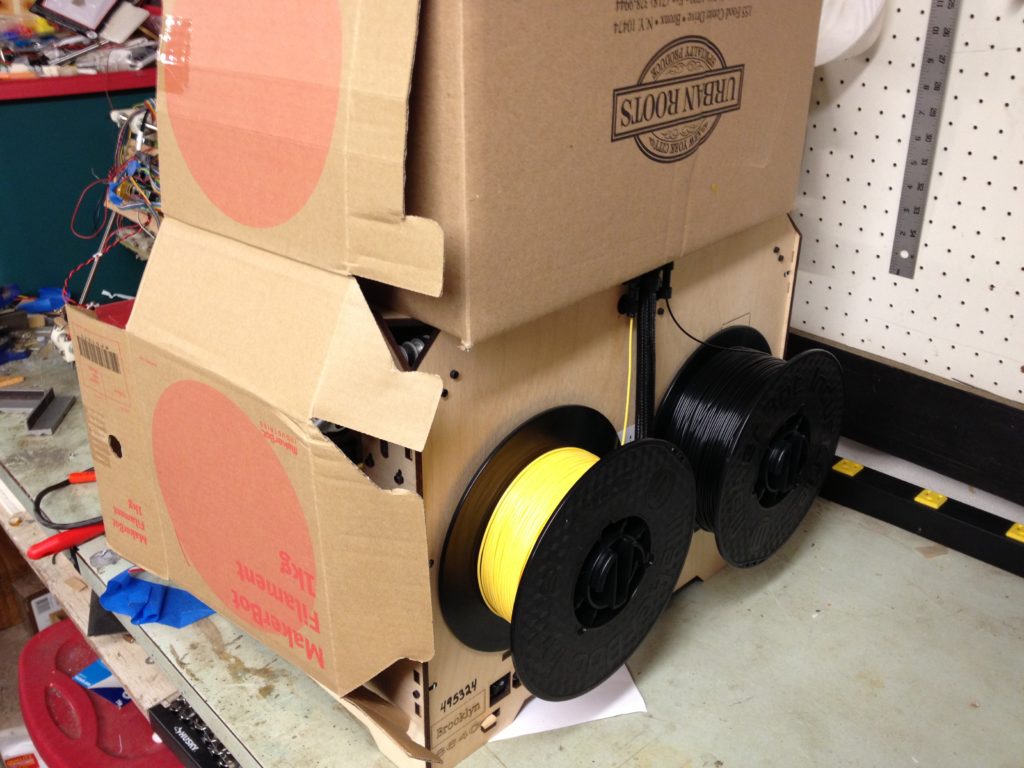
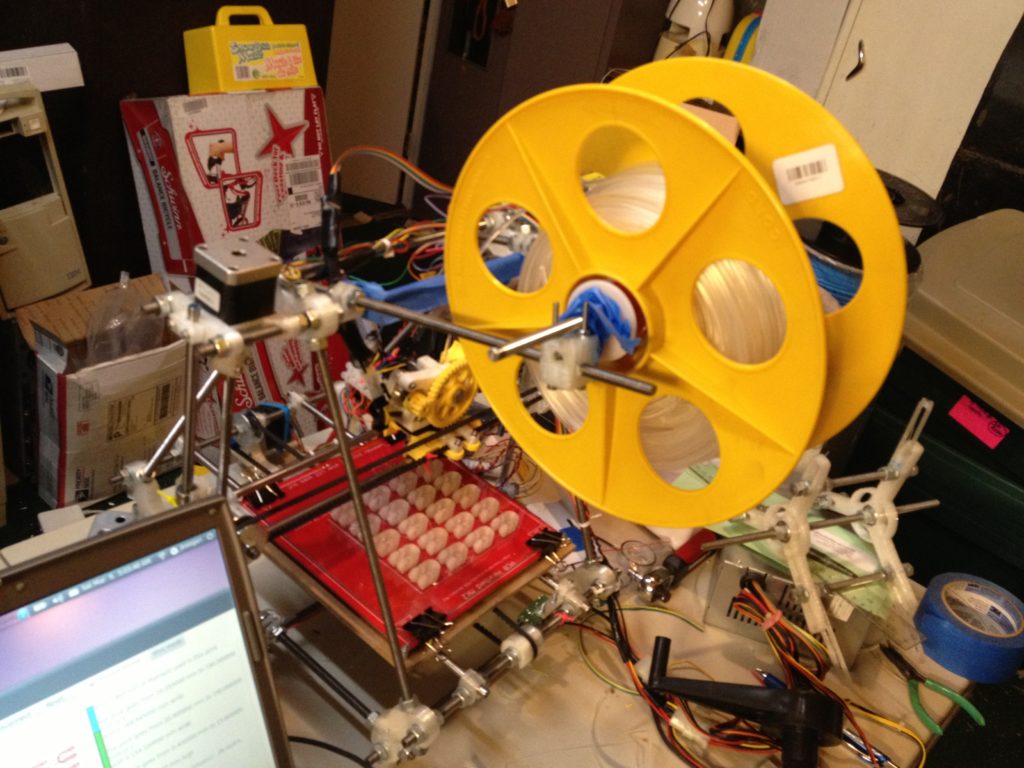
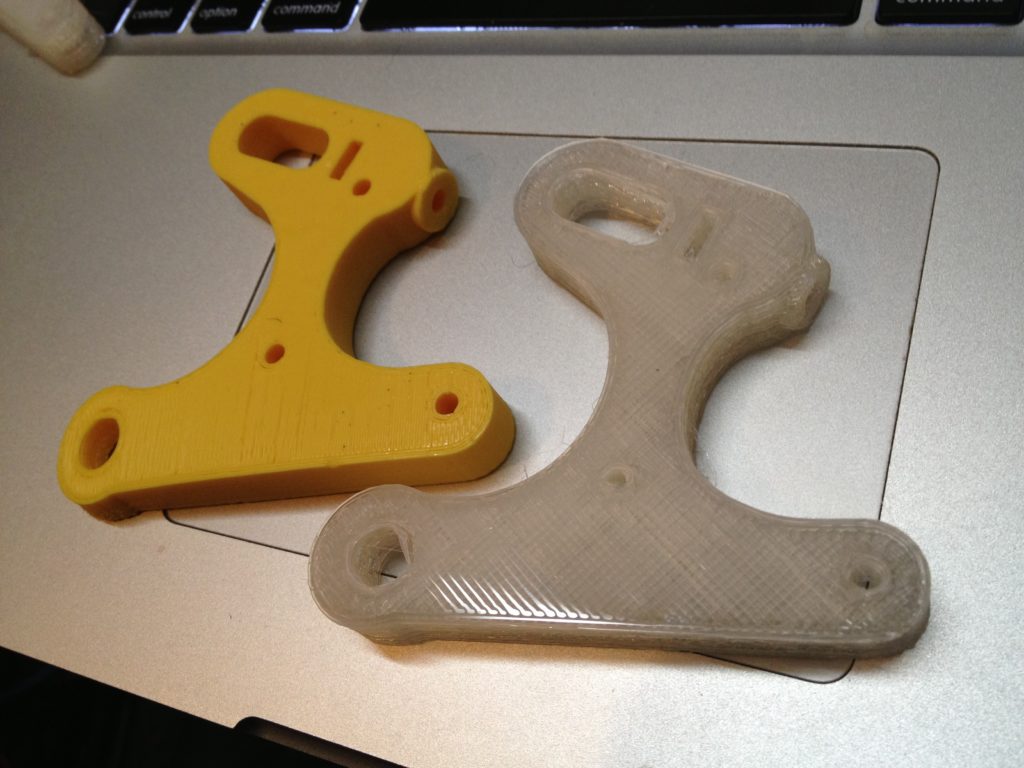
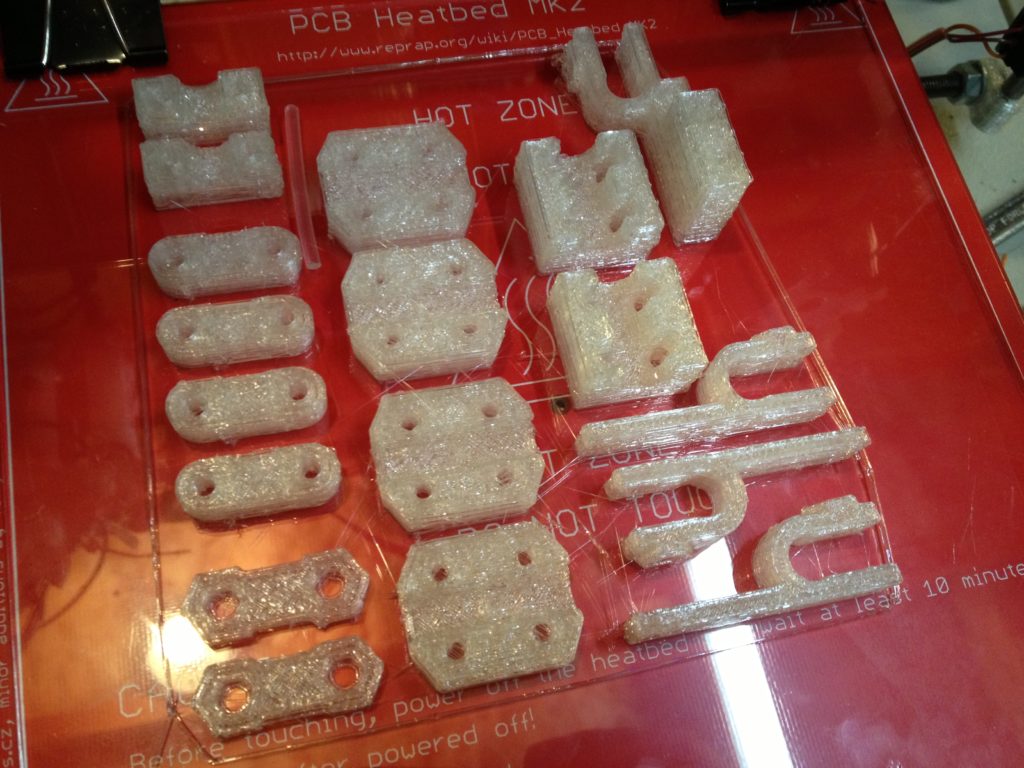
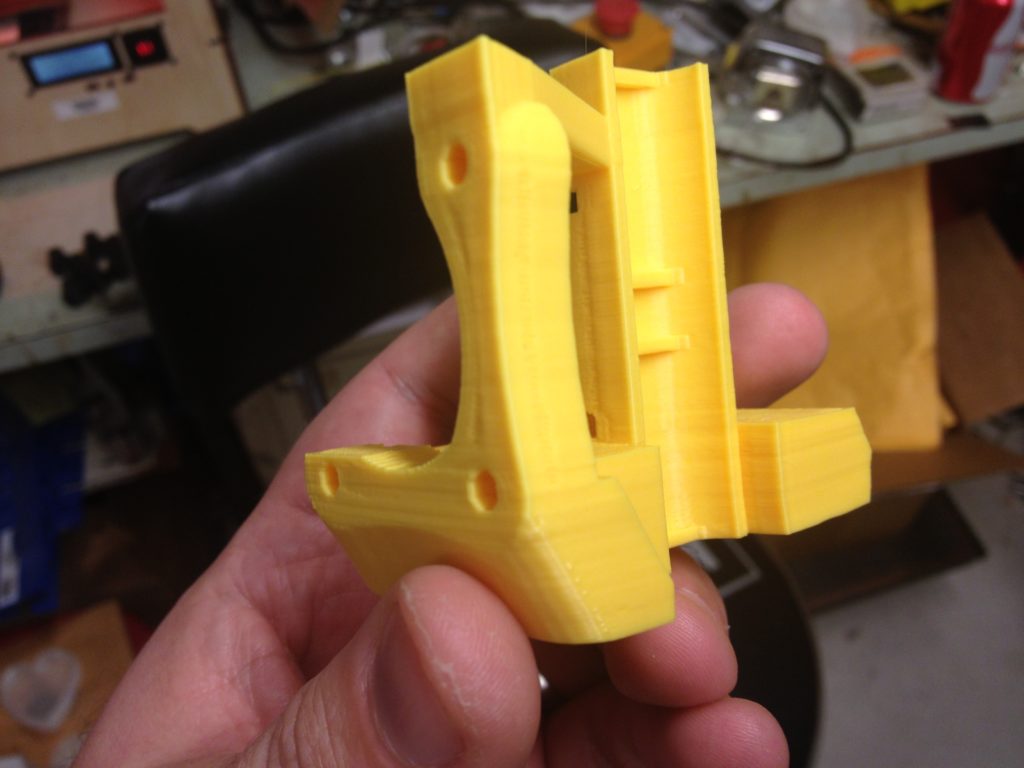
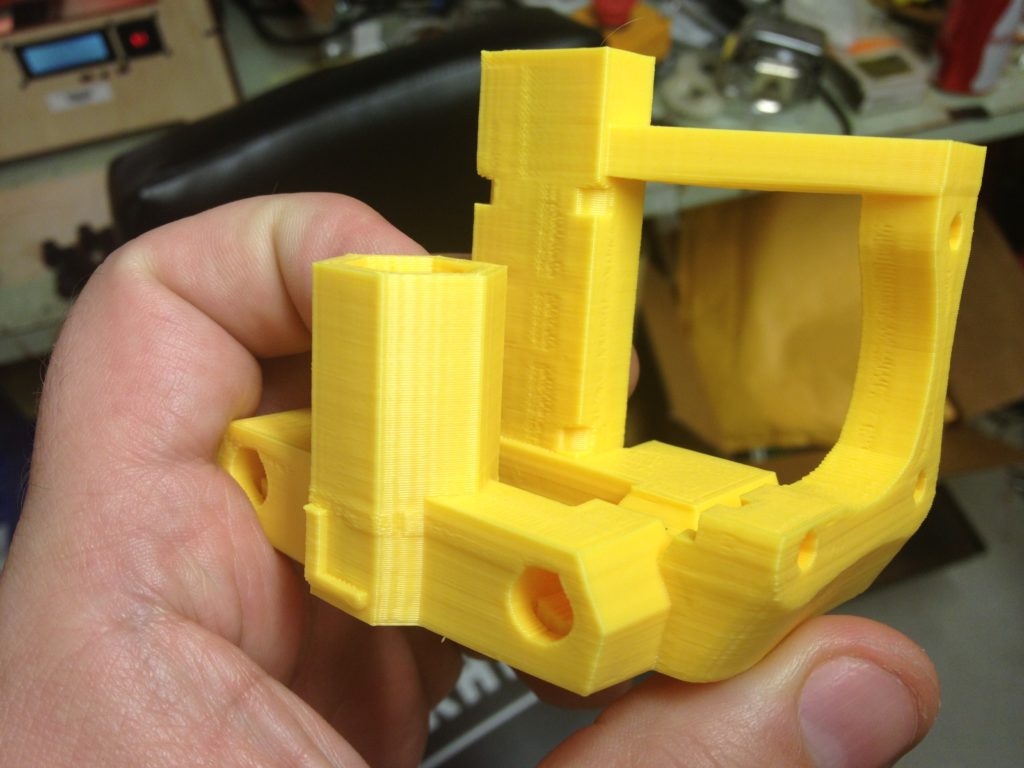
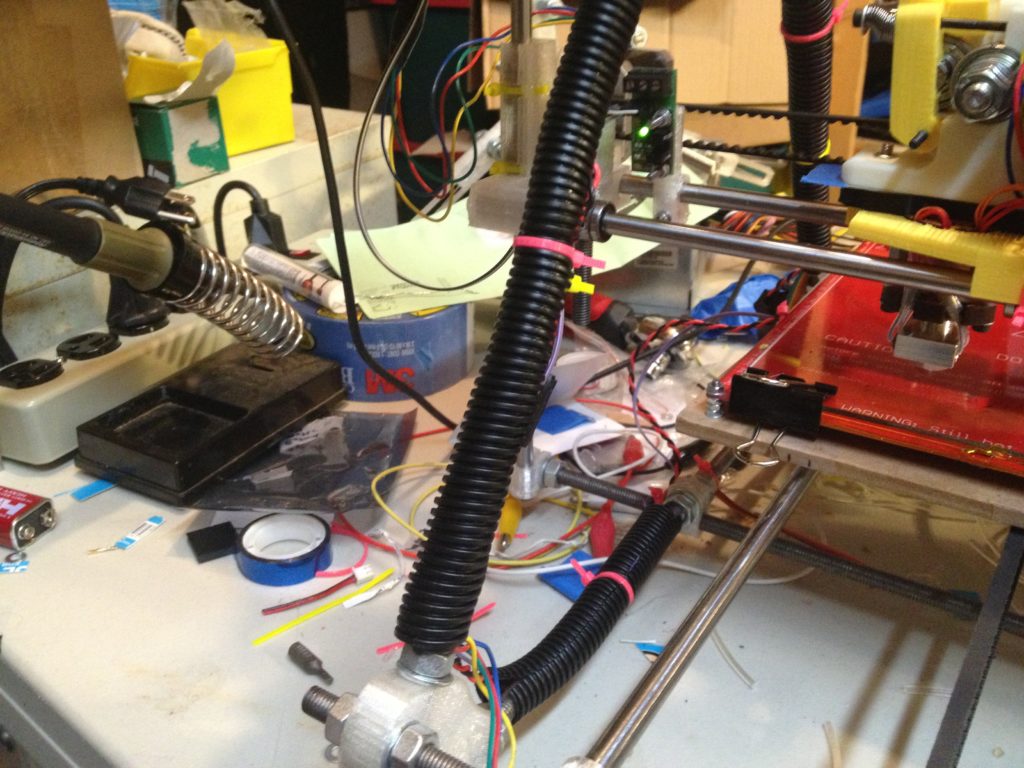
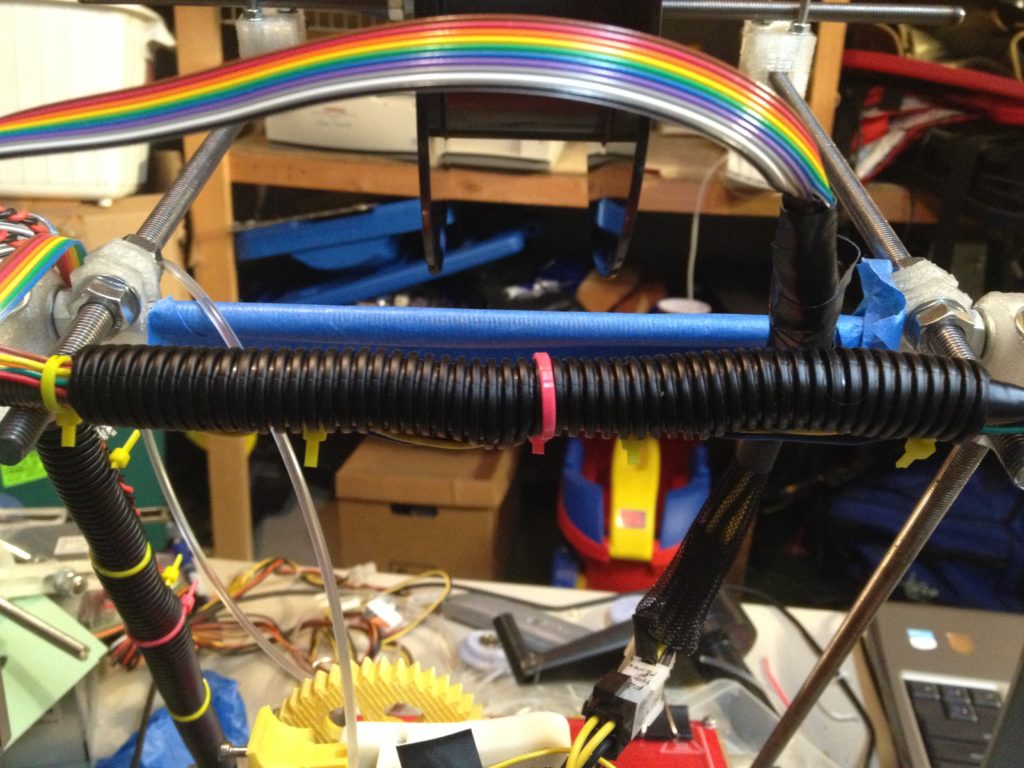
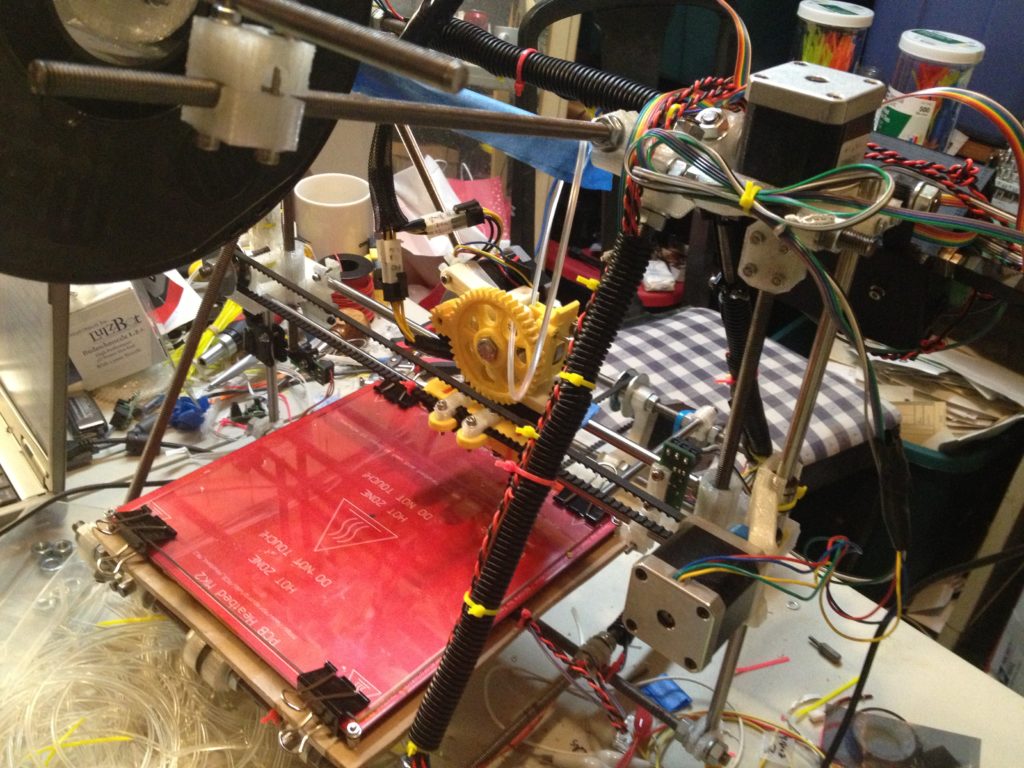
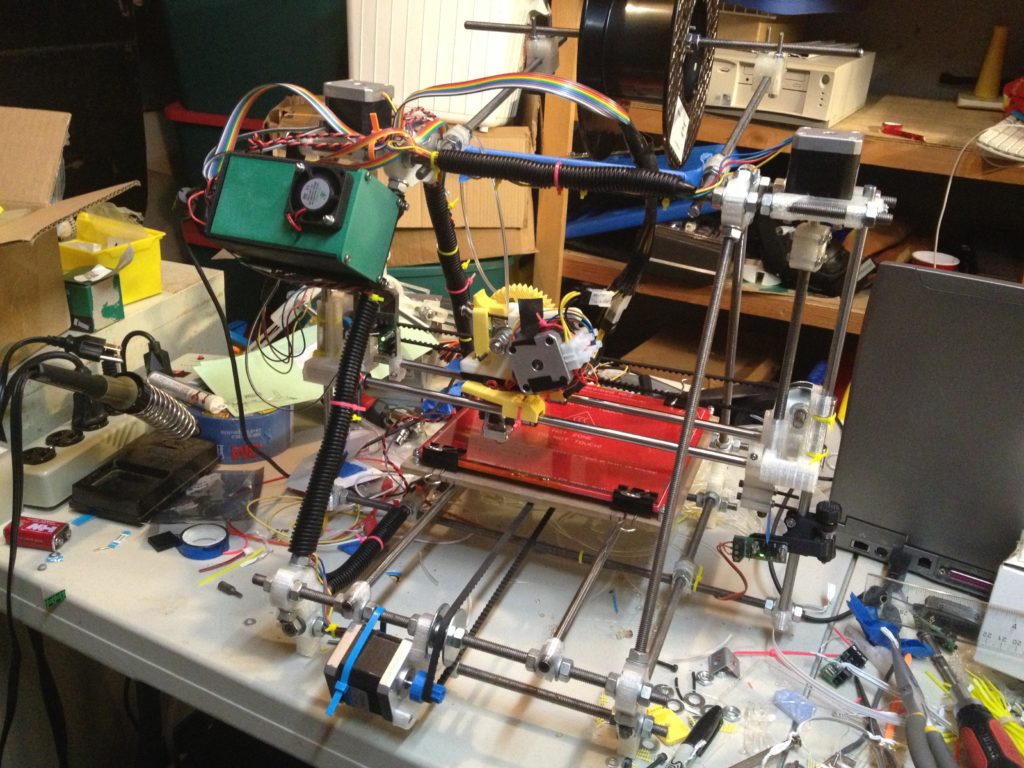
Here is more of what happened about a year and a half ago..
Cara’s Birthday
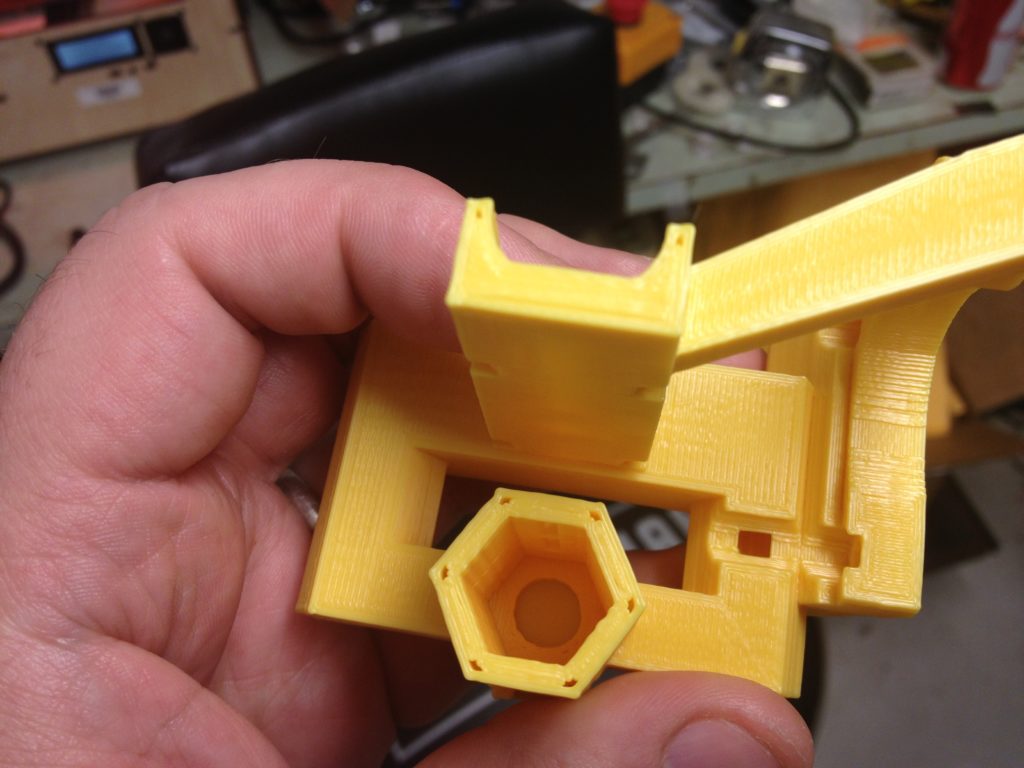
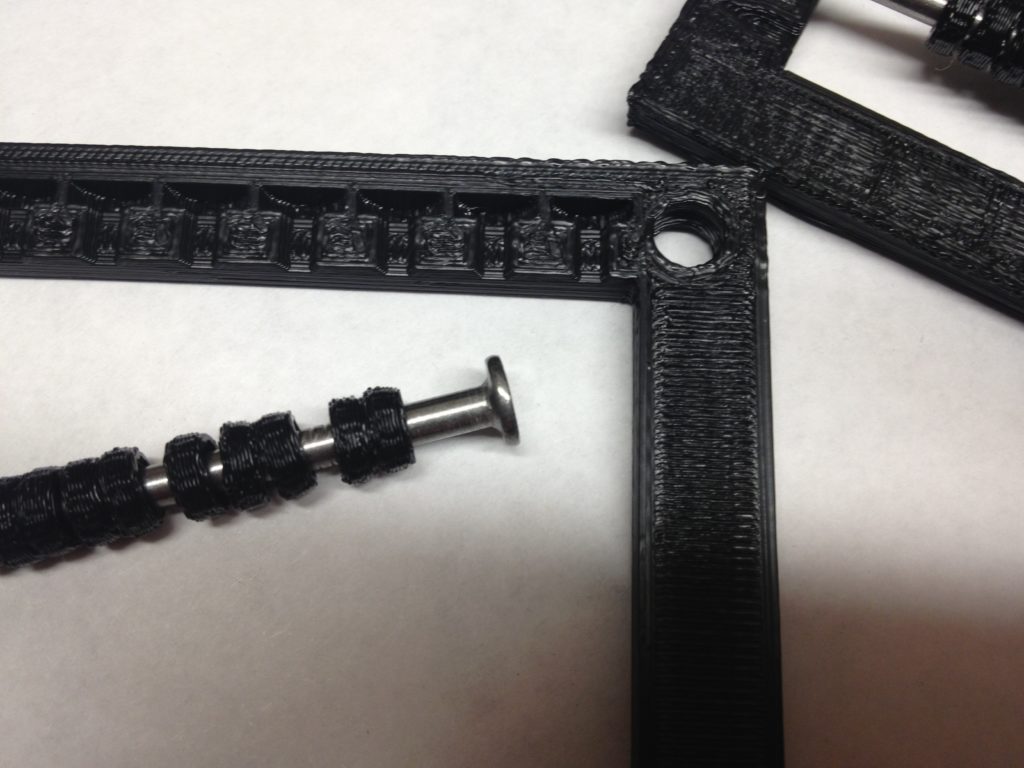
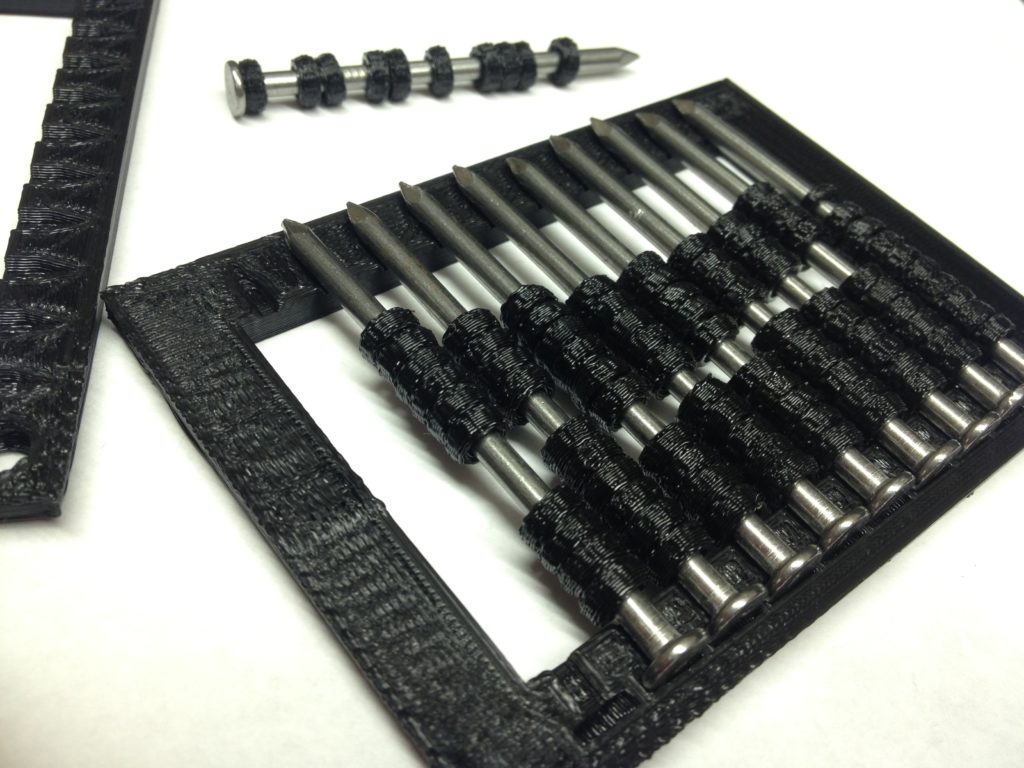
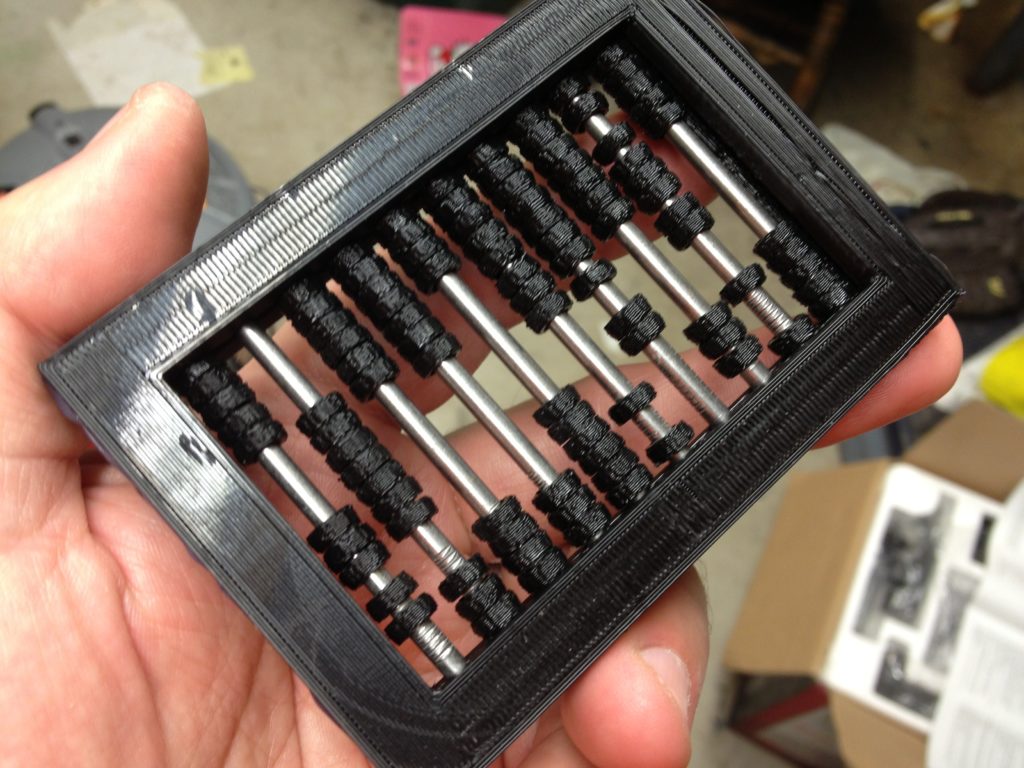
Cara’s birthday was upon us.. (This was March of 2013 so she was turning 6). I had just given Alicia the 3D-printed abacus that she’d wanted for her doll, so I had to print something for Cara..
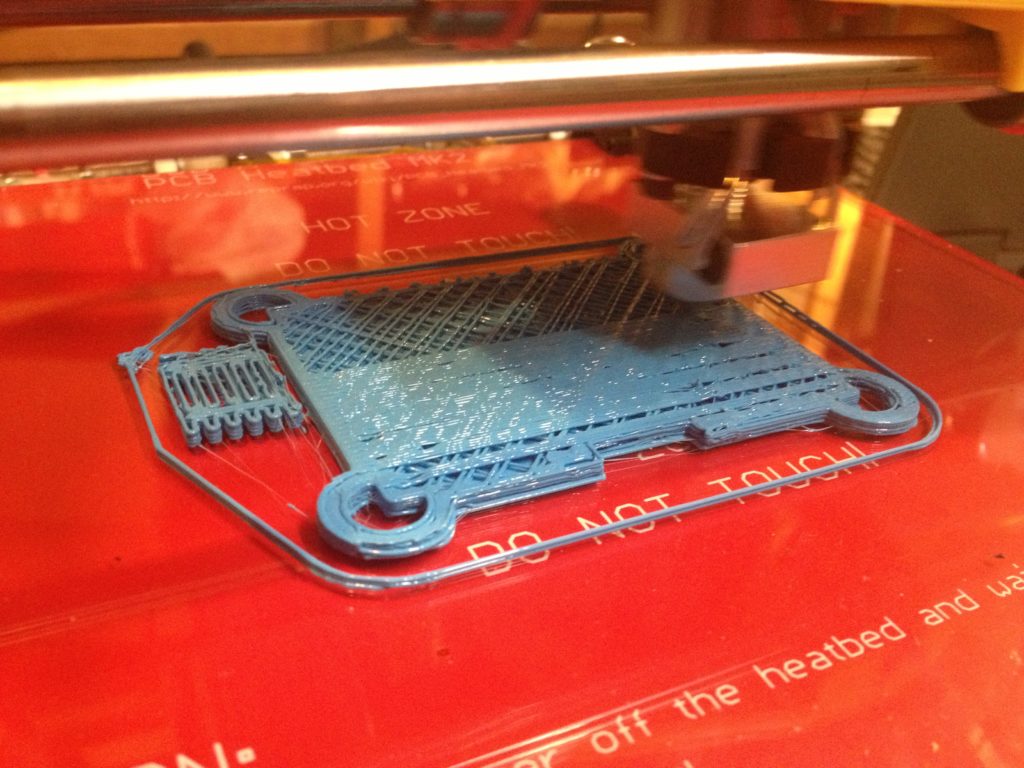
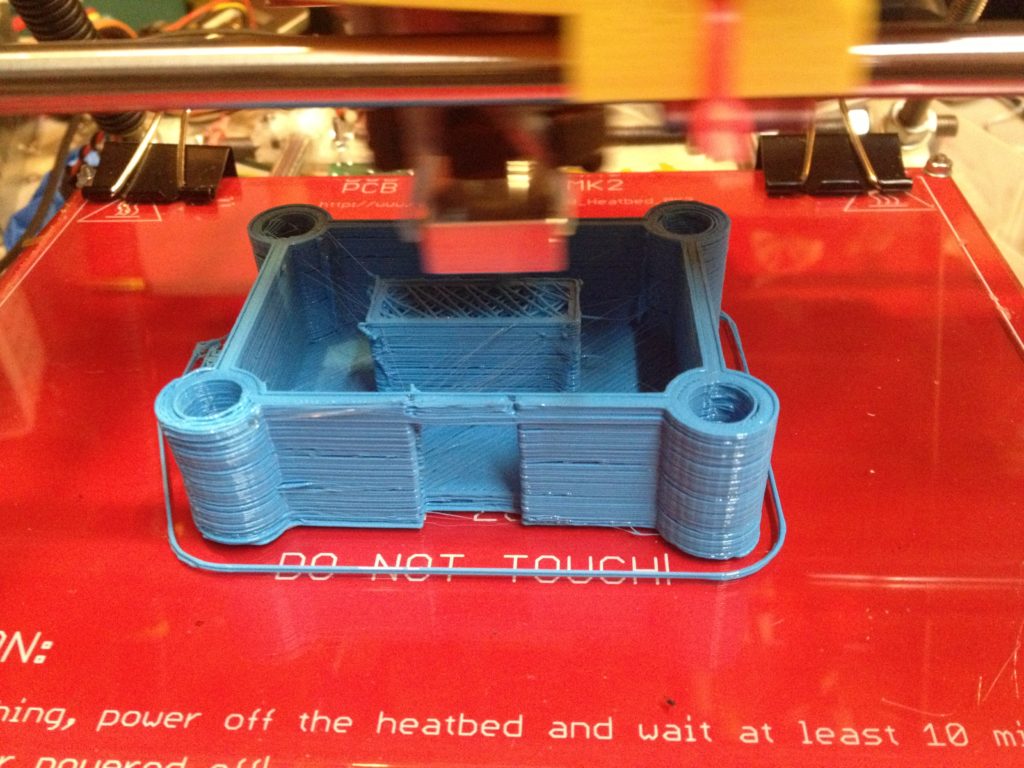
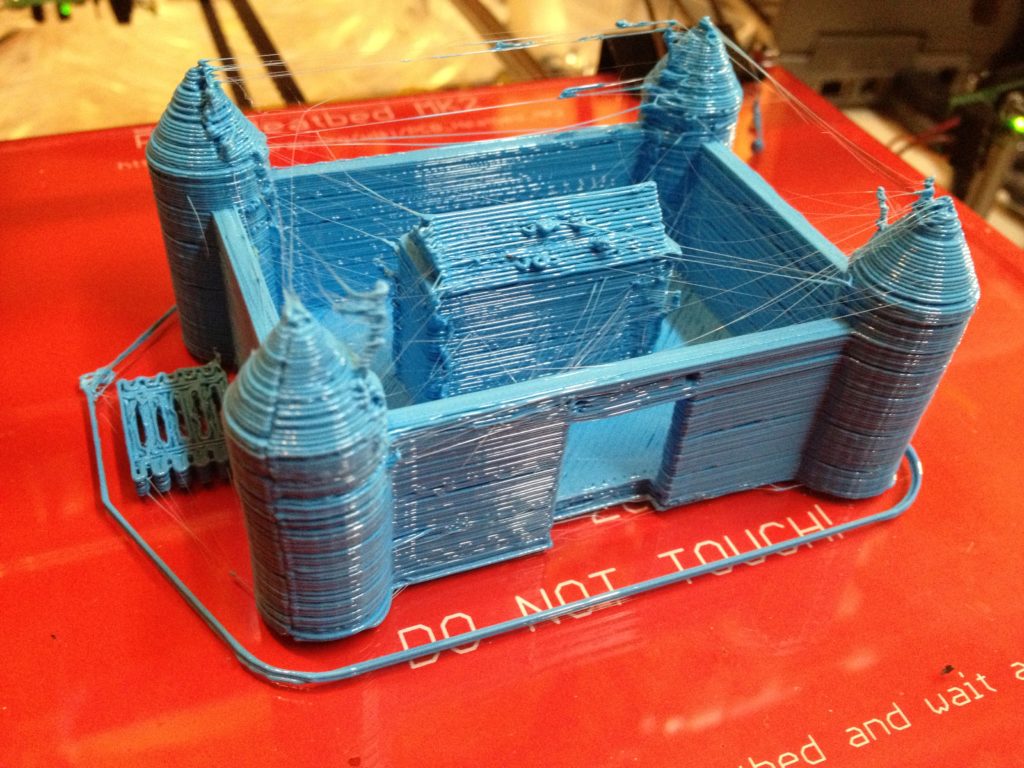
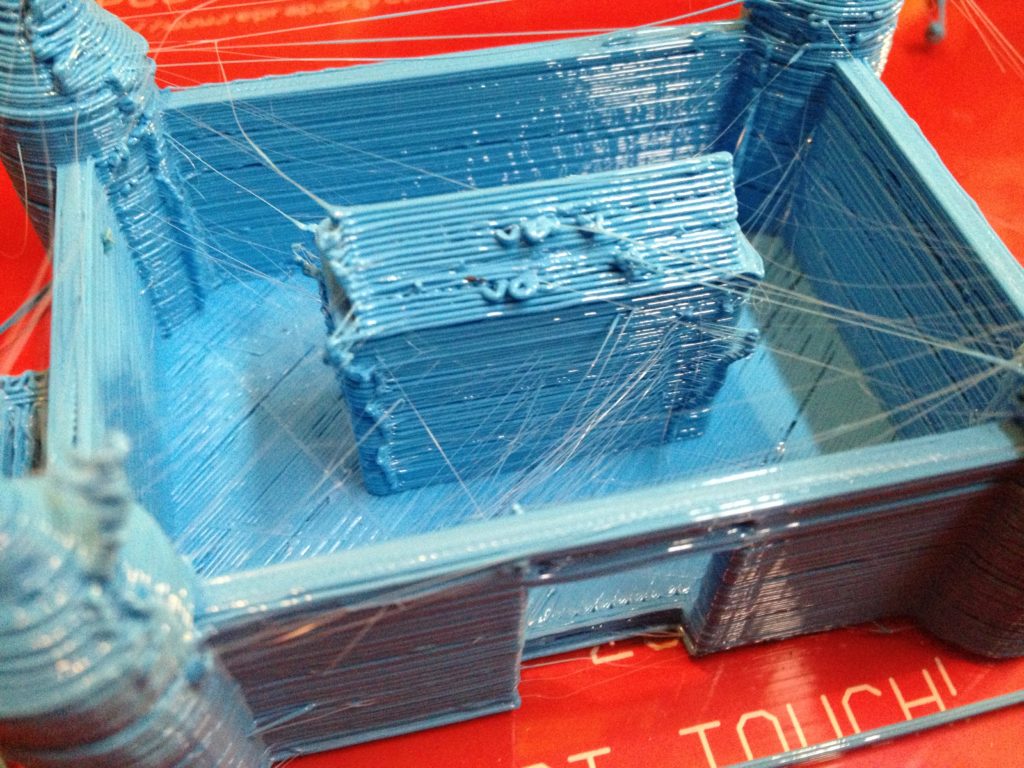
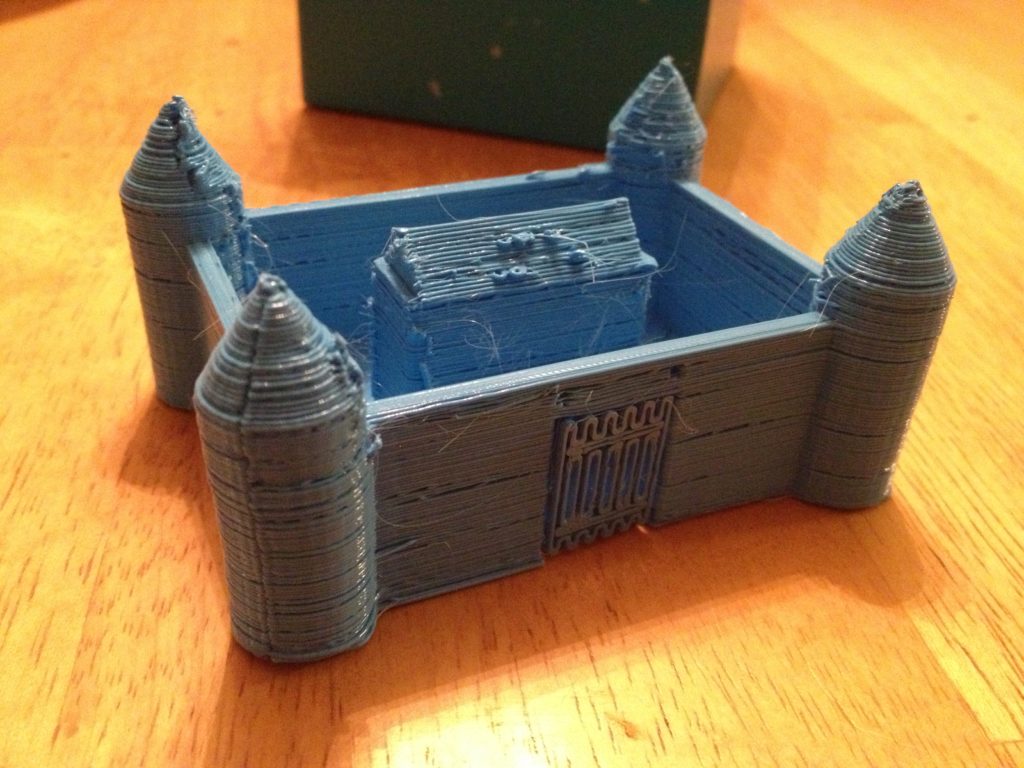
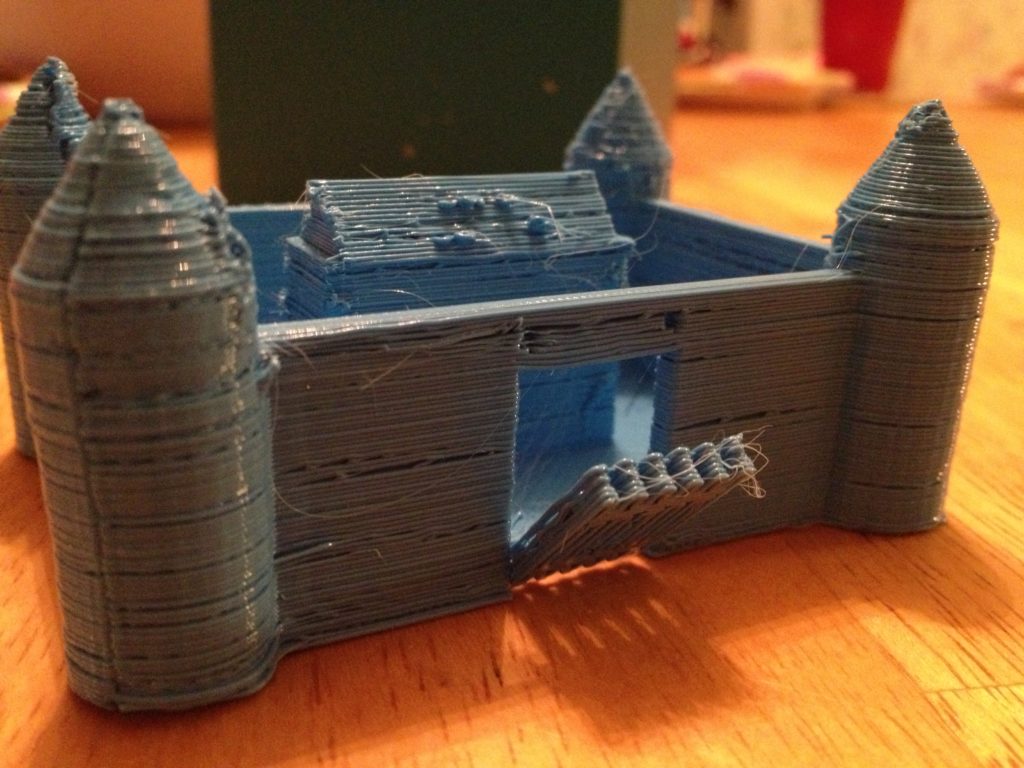
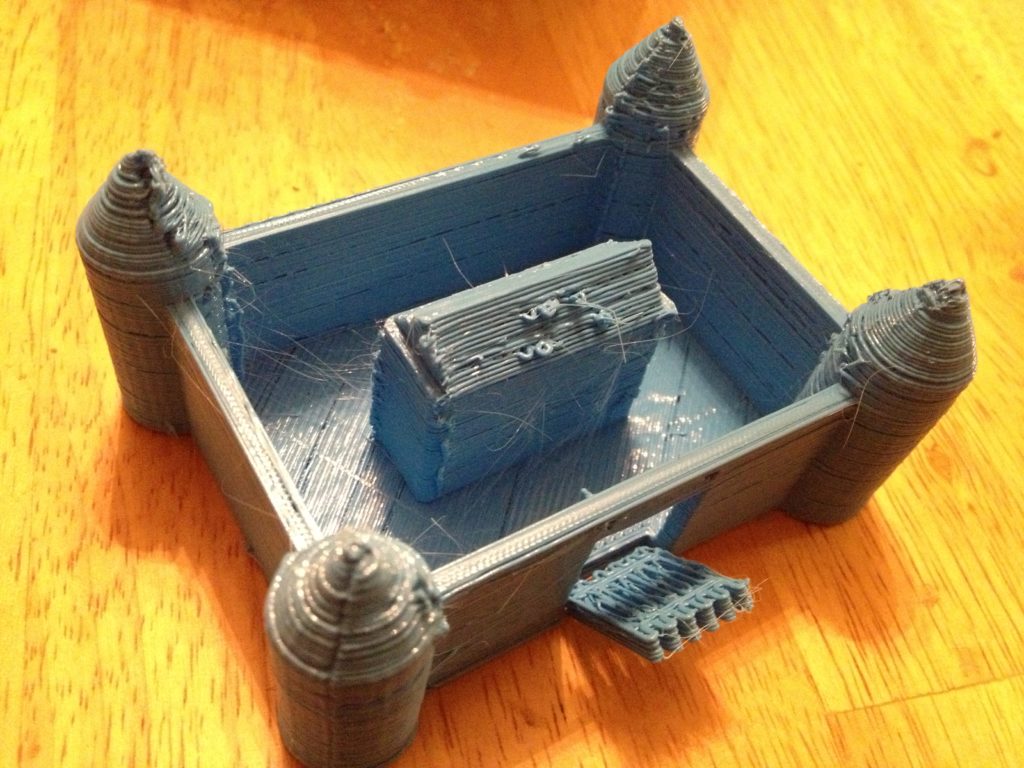
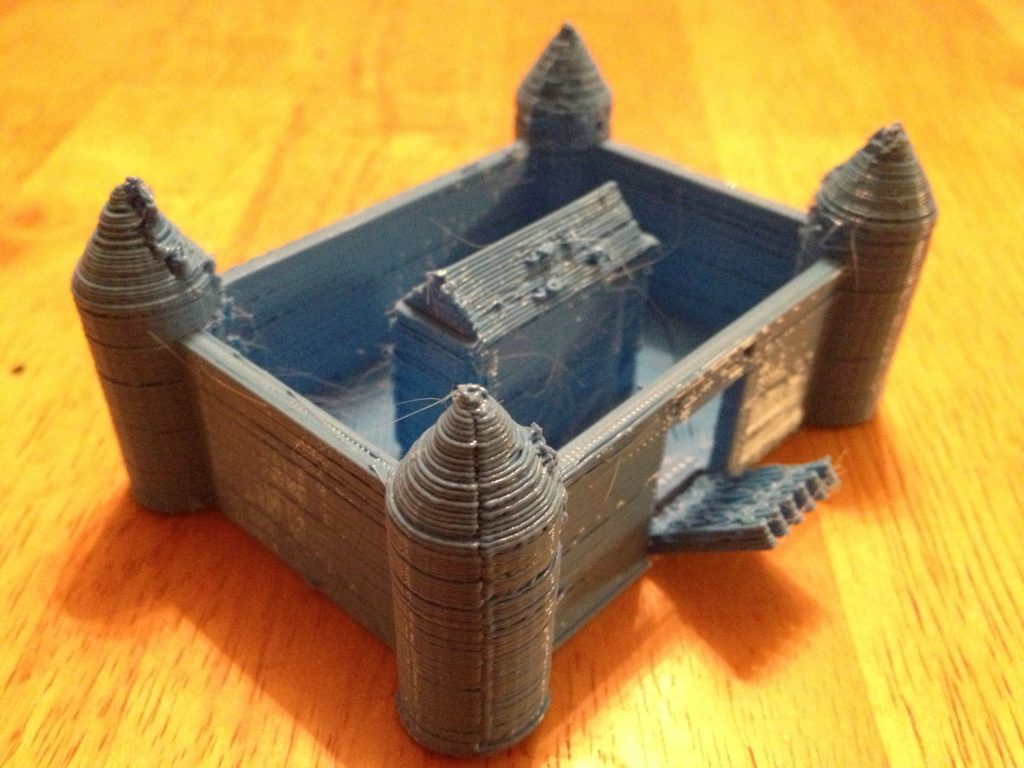
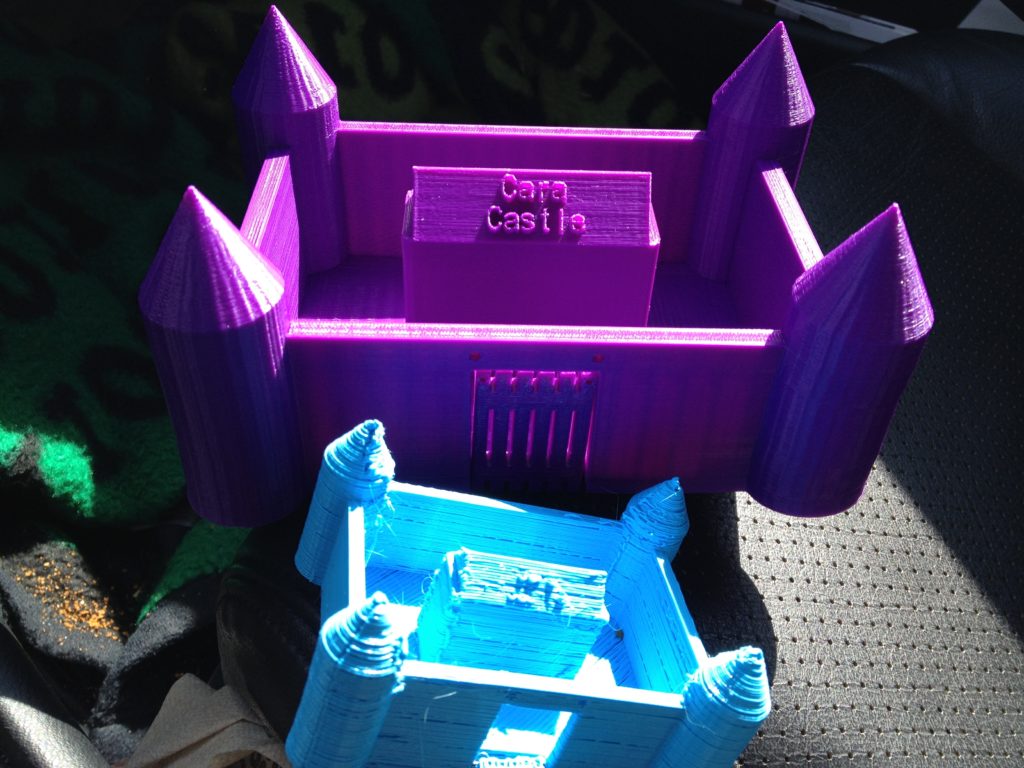
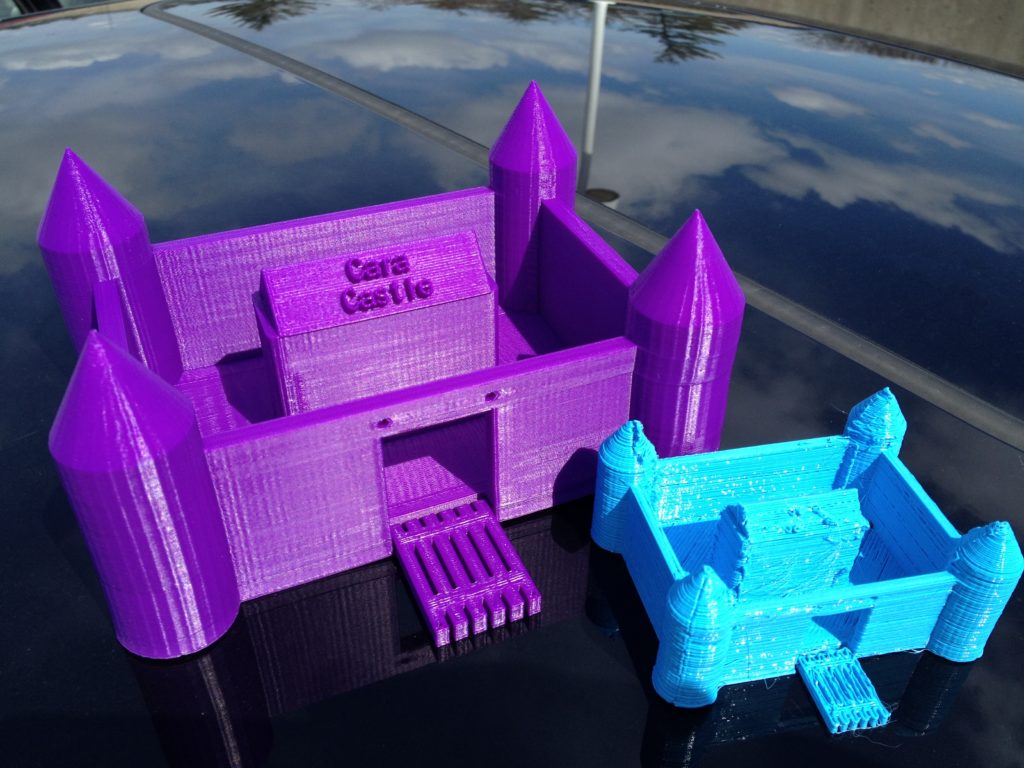
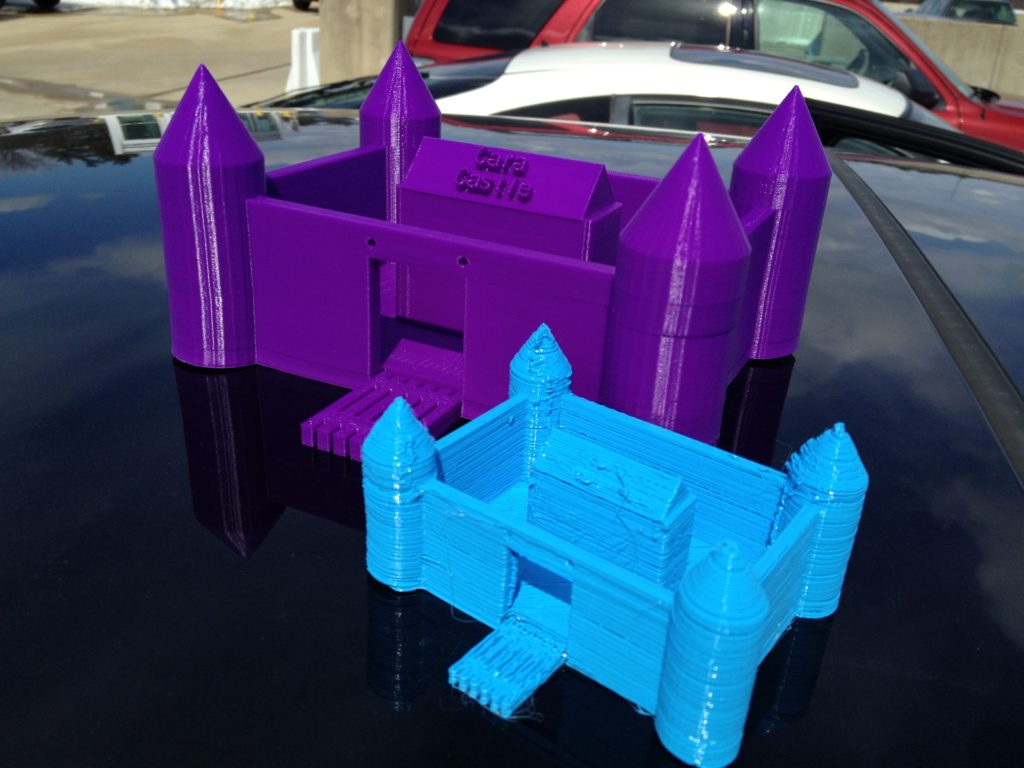
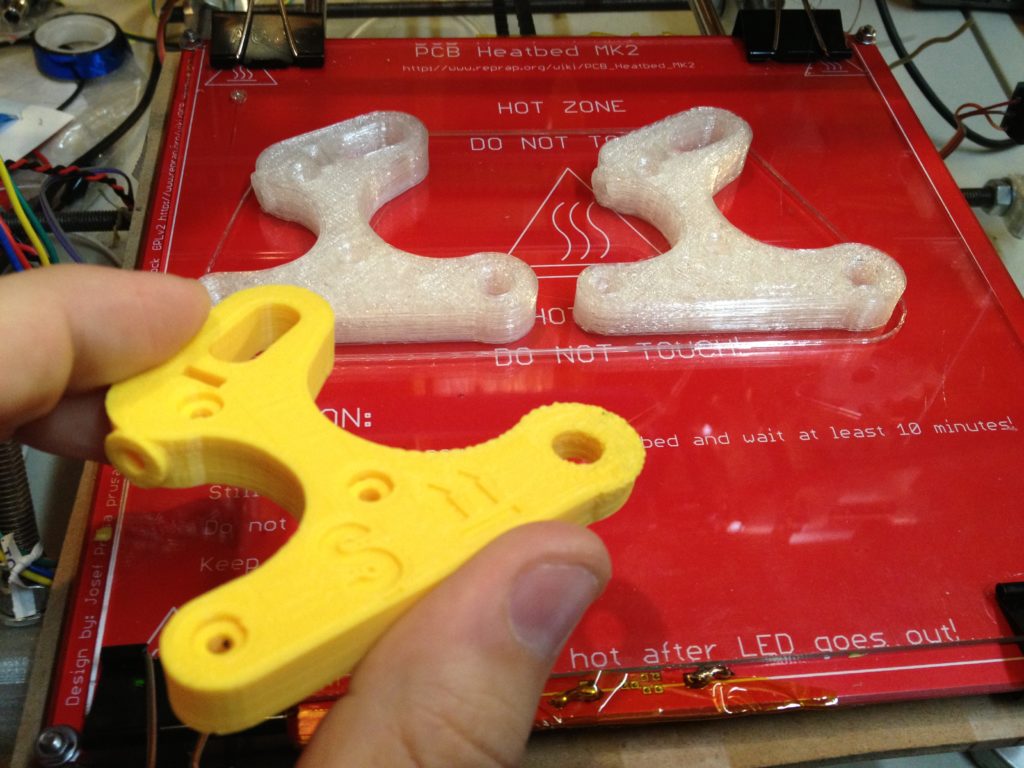
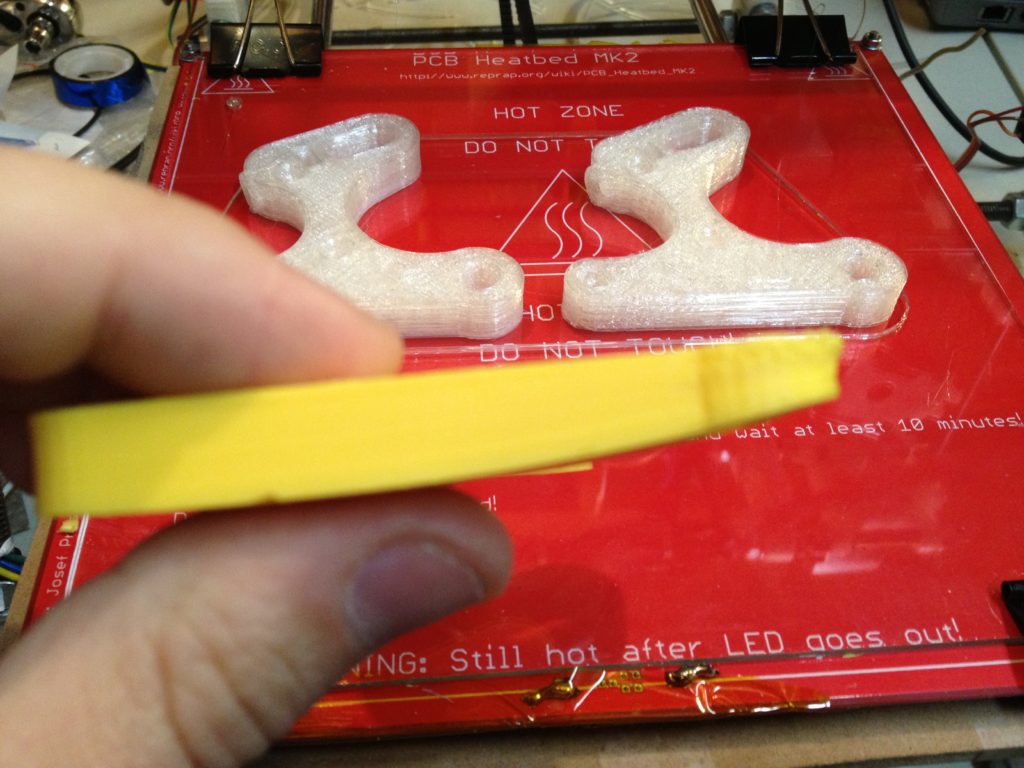
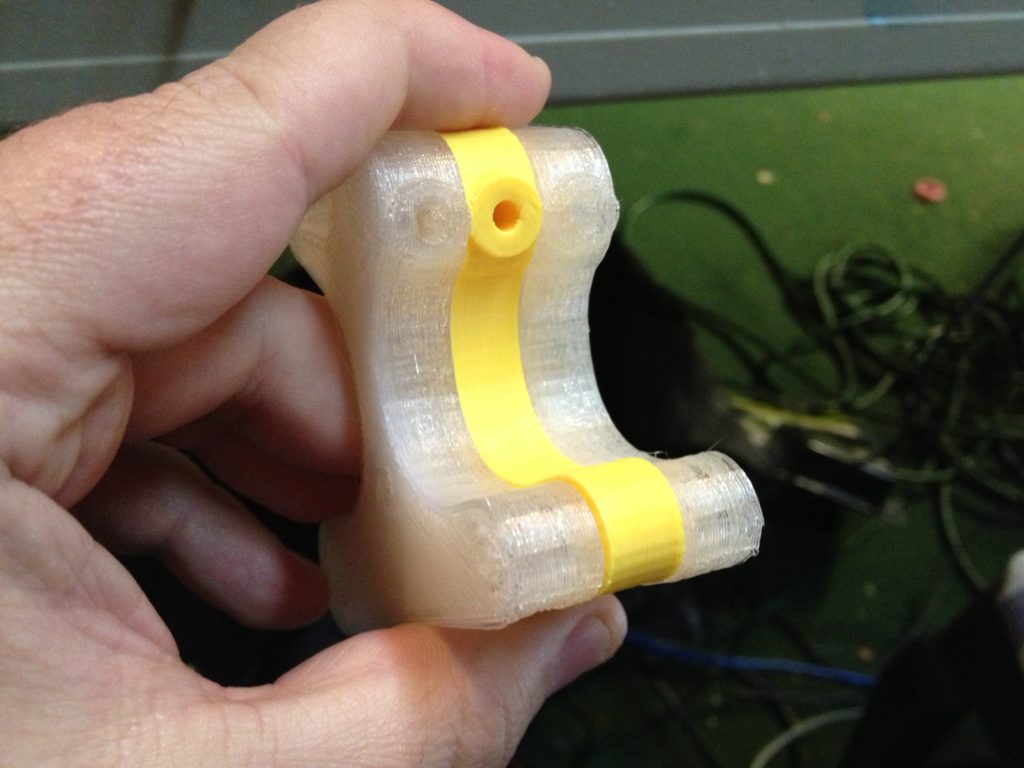
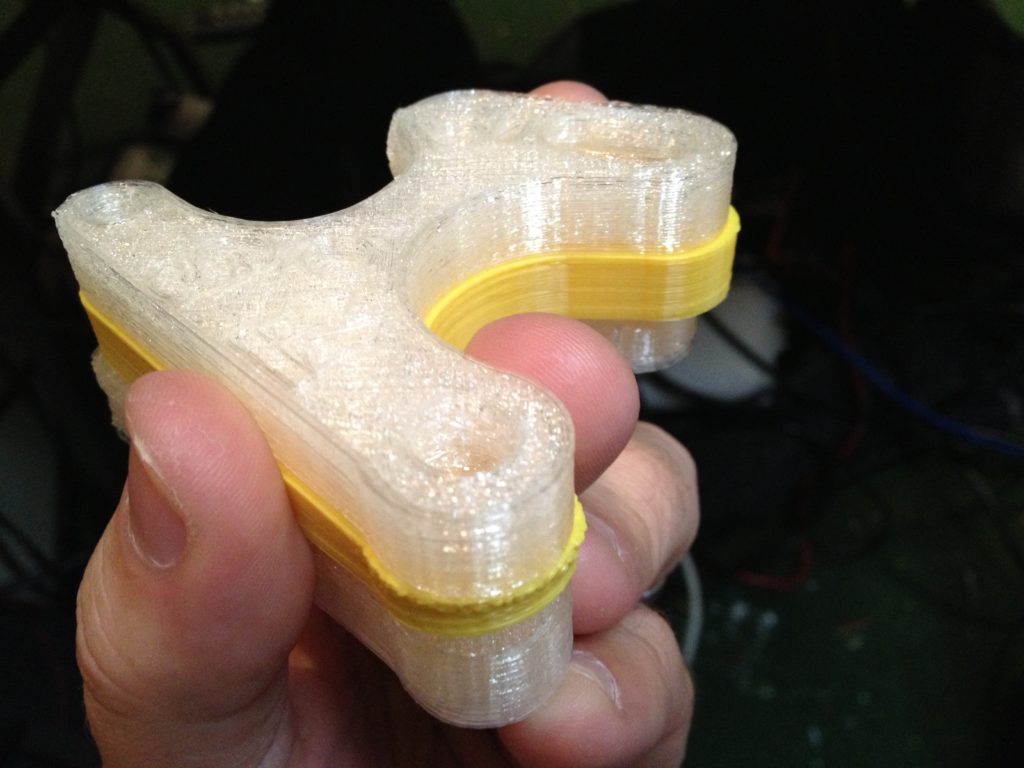
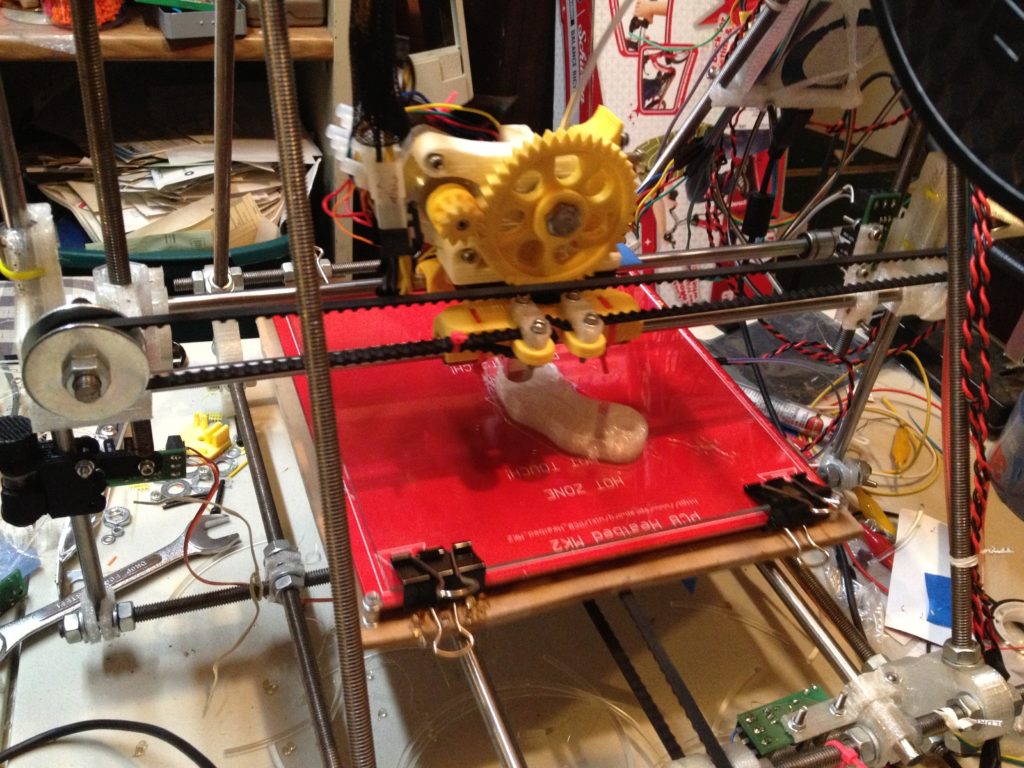
I give you, Cara Castle. I designed it in OpenSCAD. First I tried printing it on the RepRap that I’d made for the Museum of Science. I printed it with new plastic that I’d never tried yet, which was more opaque than any of the plastic I’d printed with on my RepRap.
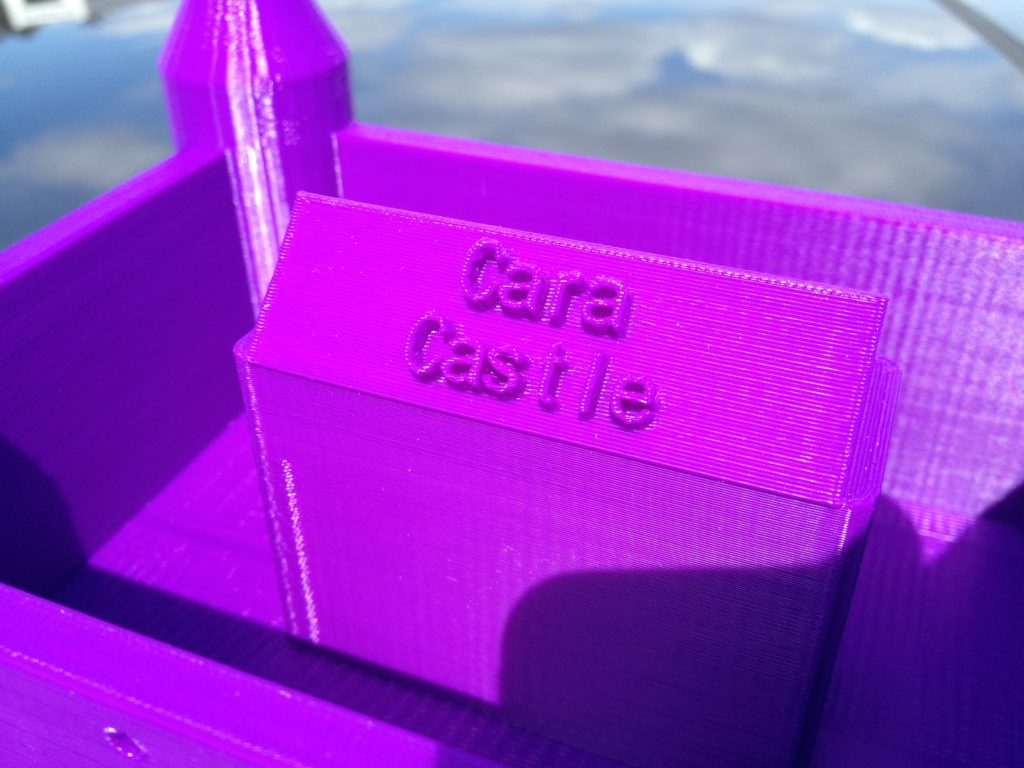
(That’s actually supposed to be text on the top, but I’d shrunken my initial design to print on my RepRap, so the text didn’t come out):
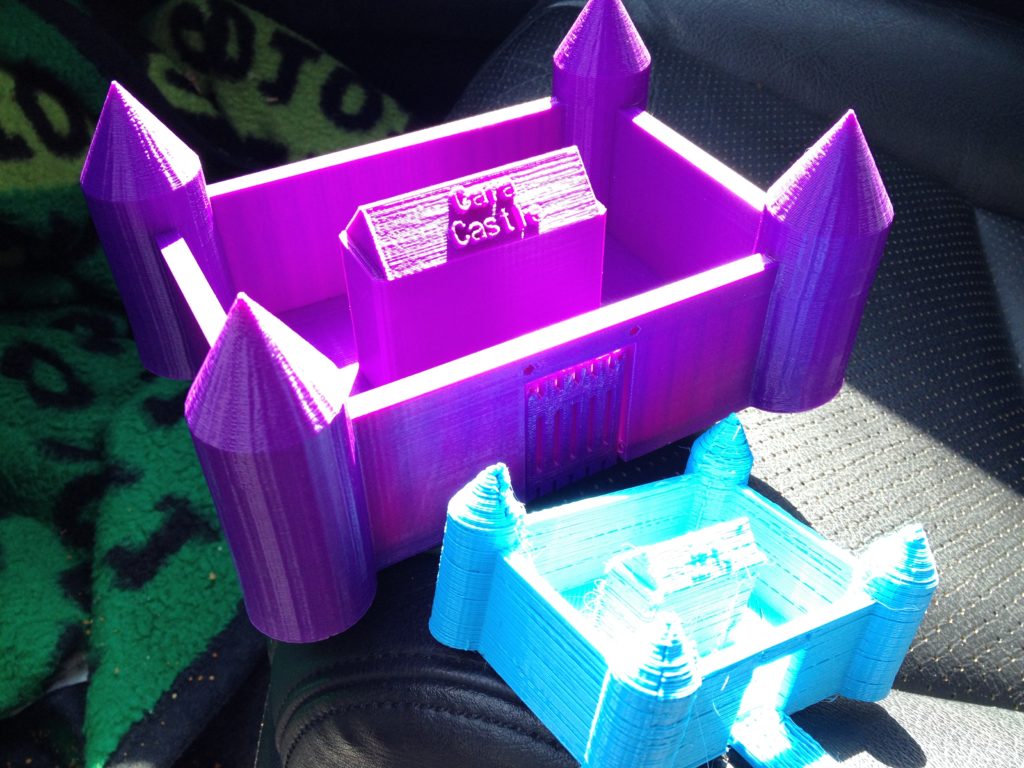
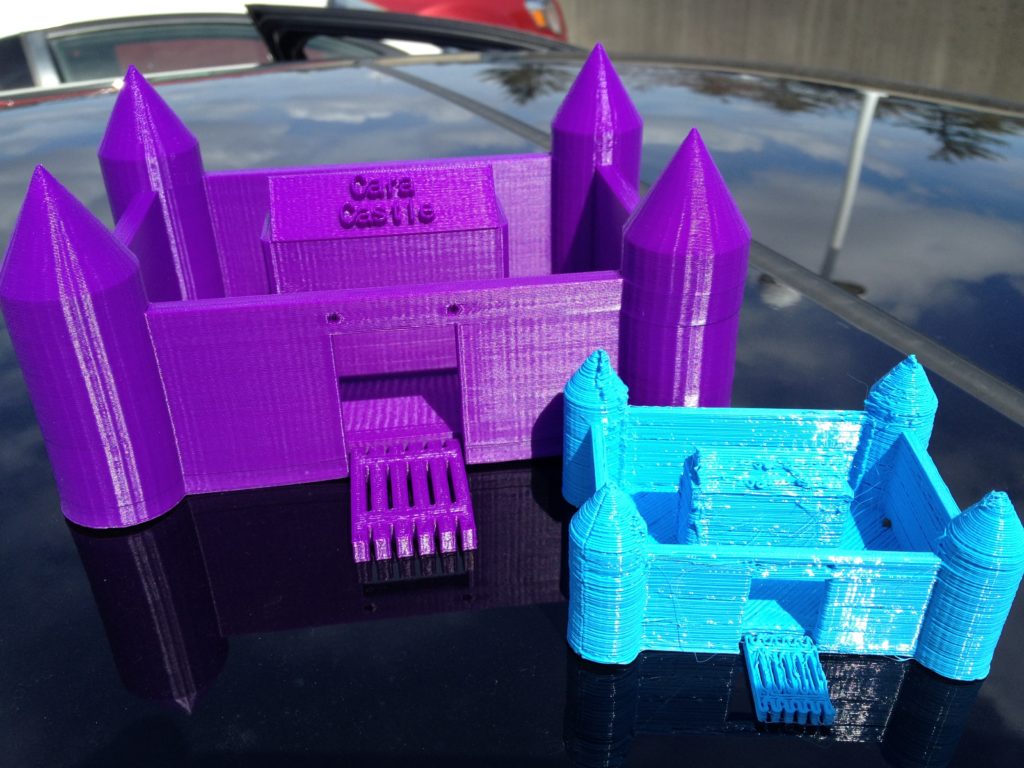
I told her I was already printing a larger one for her at work too, on the Makerbot Replicator that we’d previously brought home (but was now back at work). With a much lower layer height and a smaller nozzle, it came out much, much better:
RepRap Class, Day 2
Cara and Alicia enjoyed their first RepRap Class with Daddy (me) two weeks earlier, so they wanted to do it again.
First they both played around with Google Sketchup. Here is Alicia’s first Sketchup shape ever:
…and here is Cara’s first Sketchup shape ever:
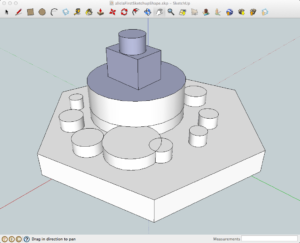
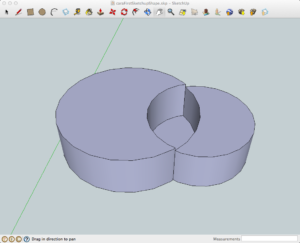
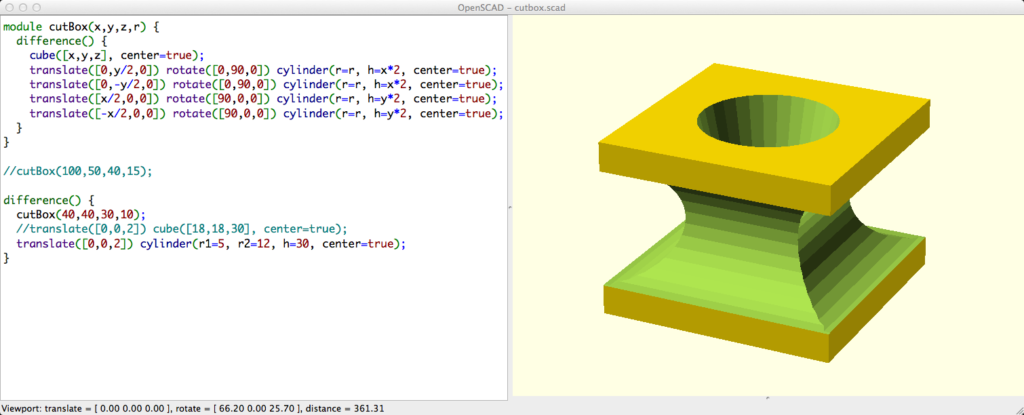
Then we moved onto OpenSCAD. We’d already played with OpenSCAD in our first RepRap class (both for Alicia’s abacus and for some other shapes), so they were eager to play with it more now. One simple thing they designed (but didn’t print) was this cool looking shape:
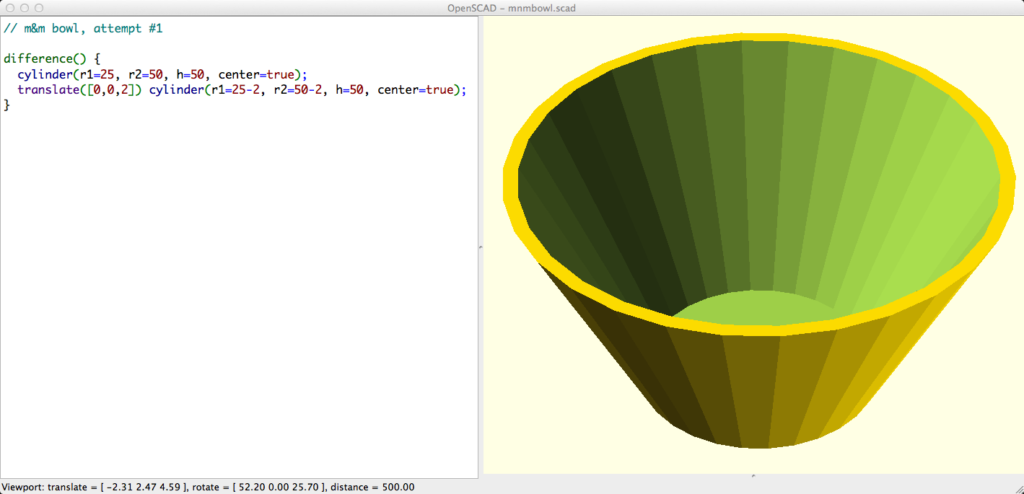
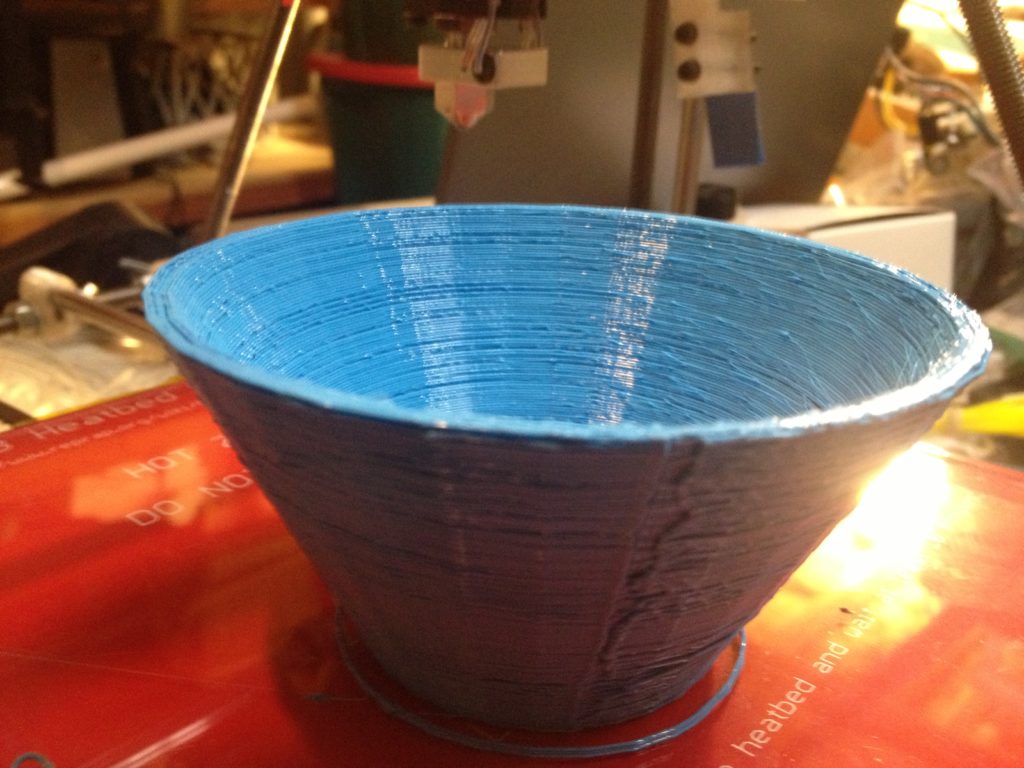
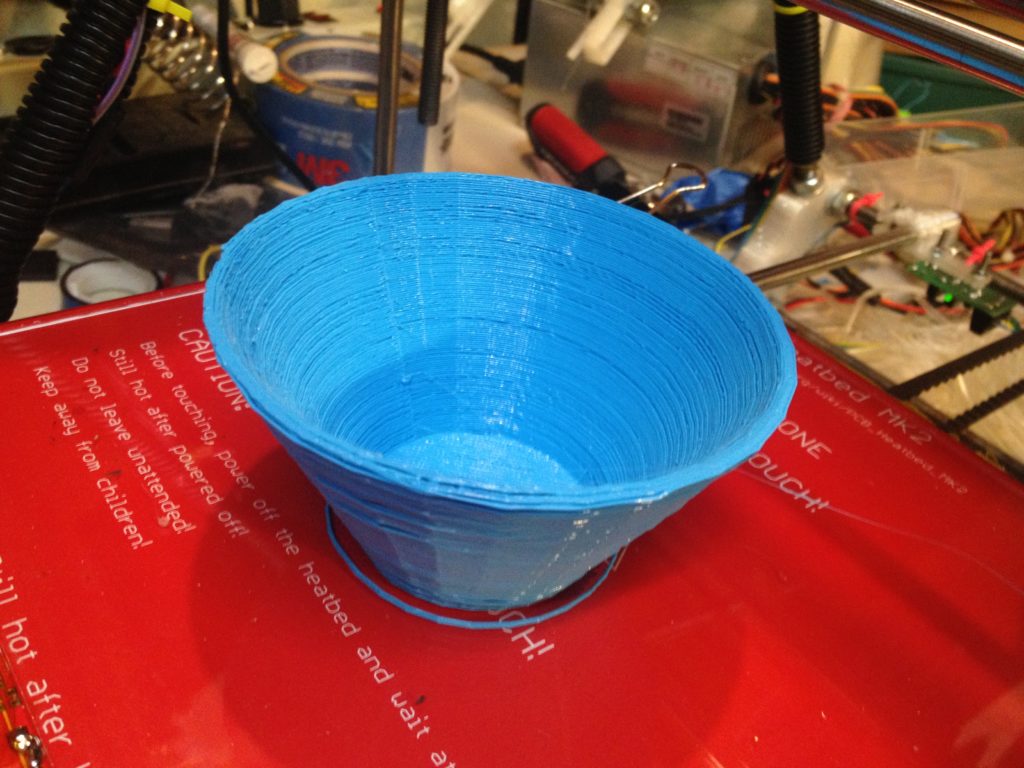
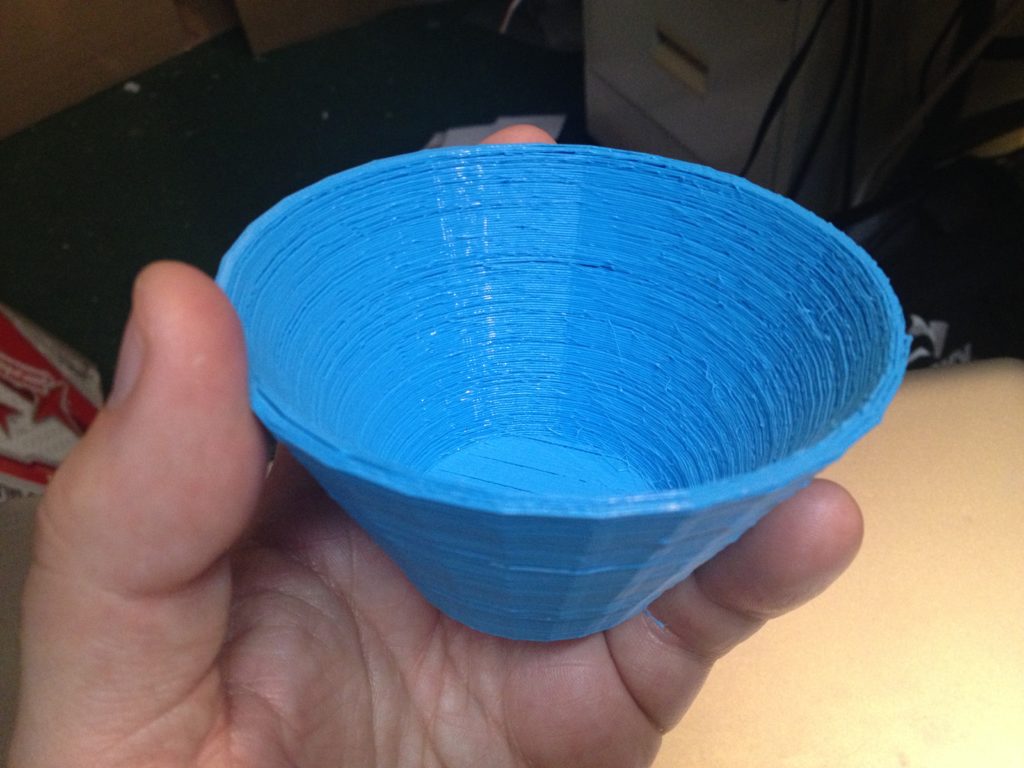
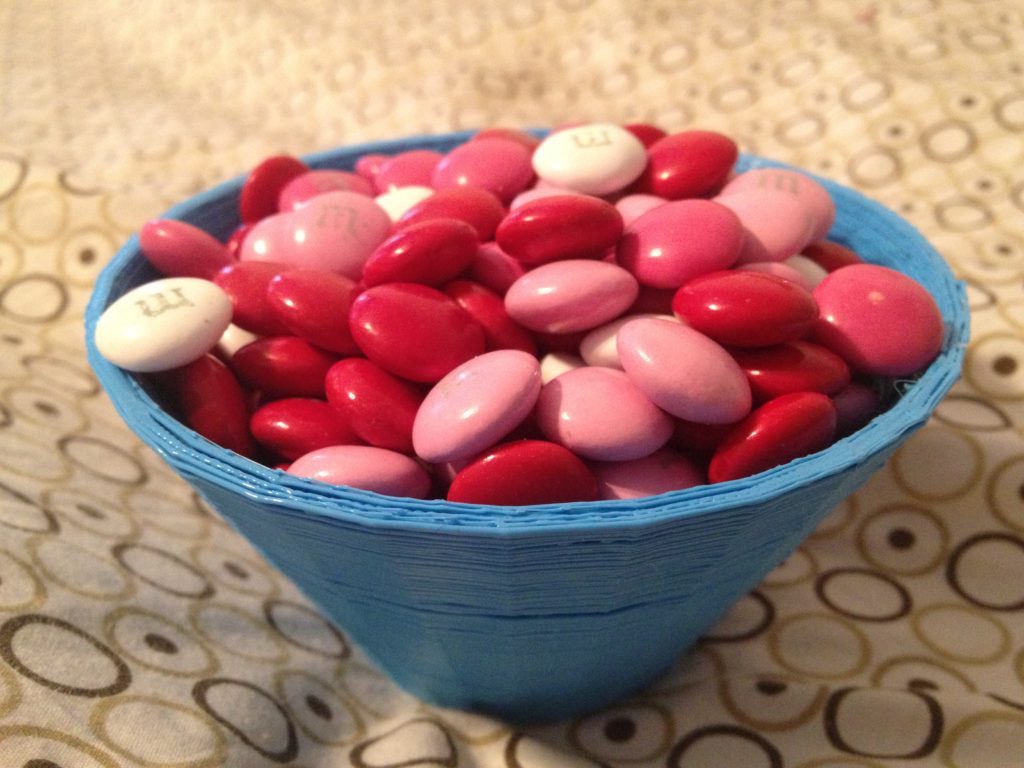
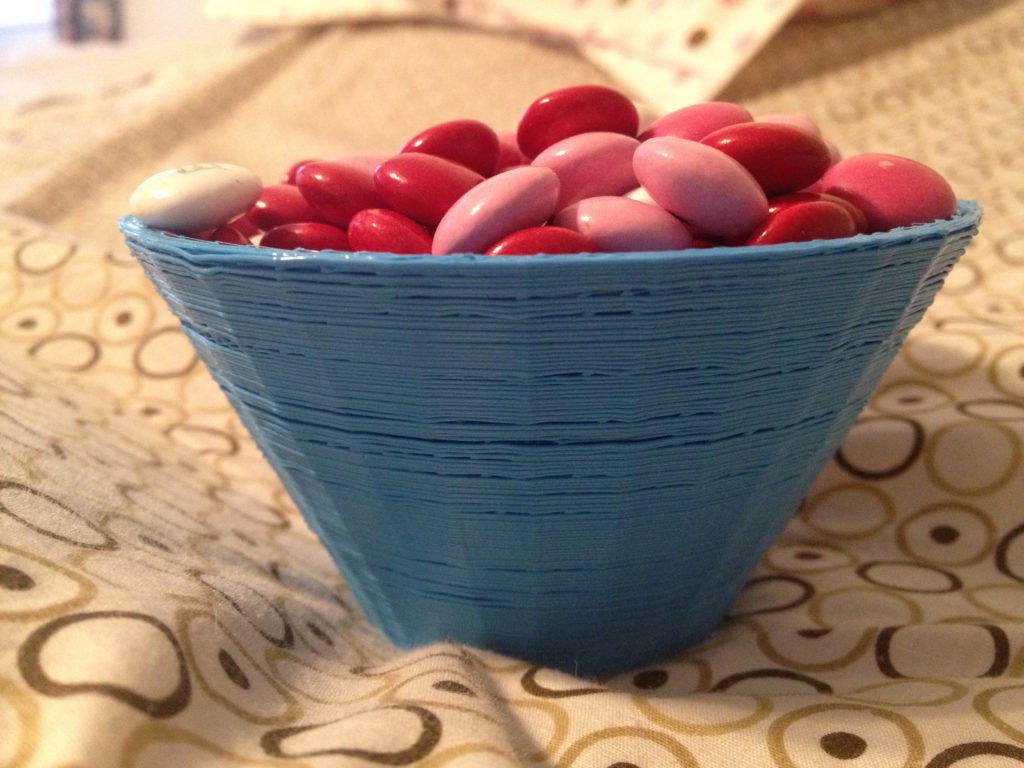
Right around then it became clear to me what we needed to make. It was pure in its simplicity, but would cement their desire to print and use it. We made a simple bowl to hold M&Ms.
(When I was a little kid, my grandfather had some ceremic dish that he kept lying around the house, and one day when I opened it it was filled with M&Ms. Every time I went back to his house I opened it, looking for M&Ms, thinking it was almost magic. It took me years to figure out that he’d bought M&Ms and filled it with them. So I was happy to make a container for M&Ms, especially one that was so mathematically simple that the kids totally understood it and wanted to print it, even if it didn’t have a lid).
We designed this:
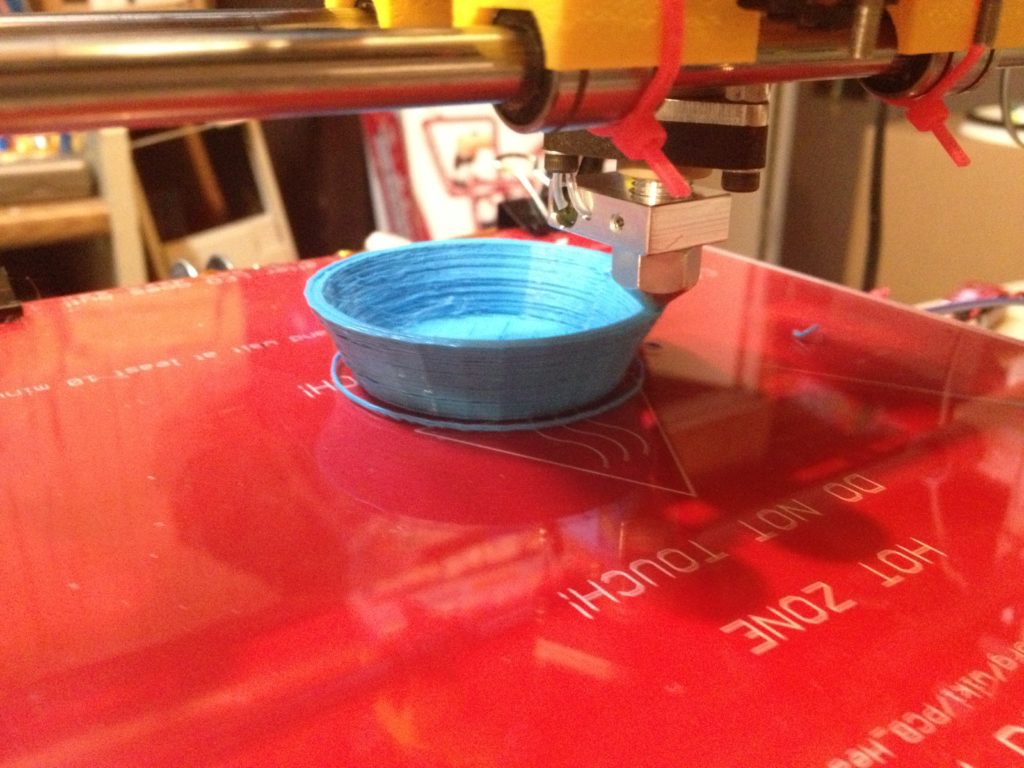
They both enthusiastically declared that we needed to print that. We did.
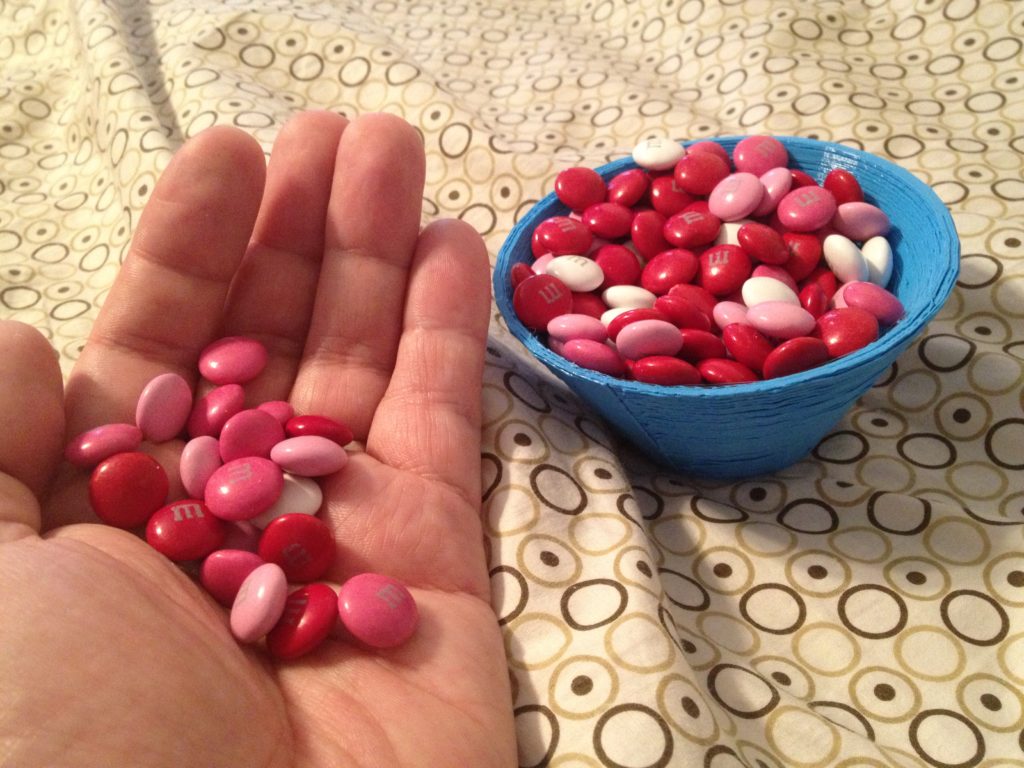
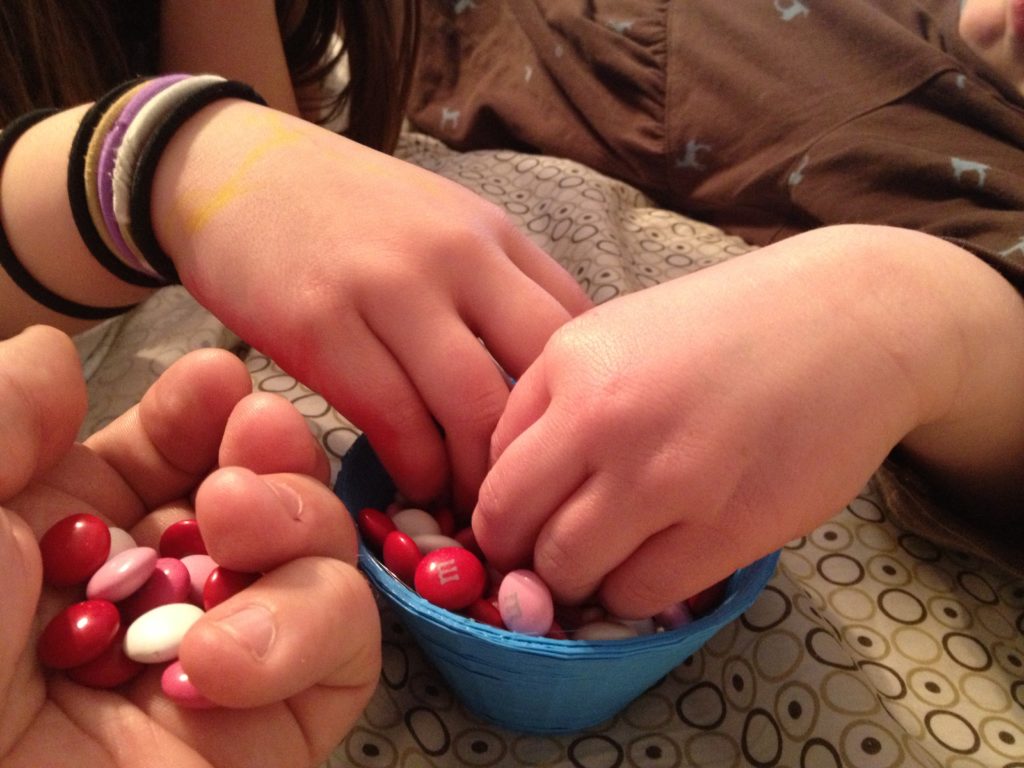
Here it is filled with M&Ms that I got on Valentine’s day, and the girls enjoying using it.
😀
RepRap Printing Memory Game
One more thing from that RepRap class.. Have you ever heard the game where a bunch of people are hanging around, and someone says “I’M going on a trip to Florida, and I’m packing my….. Atari 2600!” and then the next person has to say “I’M going on a trip to Florida, and I’m packing my Atari 2600 and my Bikini!”, with each next person reciting the entire list from memory and then adding another word starting with the next letter from the alphabet?
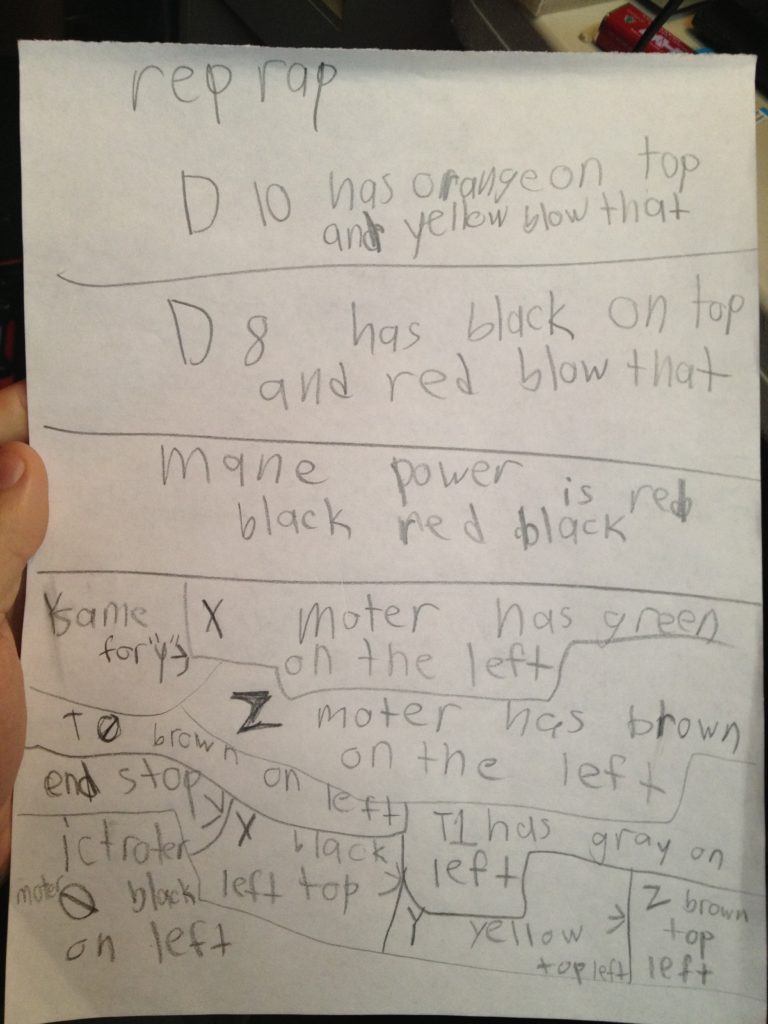
Well Alicia came up with a variant of that, that the three of us played while the RepRap was printing. I give you, the RepRap game.
If I had a RepRap, that actually prints, I’d make…
(and here’s an earlier video of my turn mid-game that I’d uploaded to youtube before we’d finished the game, but I figured Alicia’s video deserved to be first in this post):
Rods for Ribs!
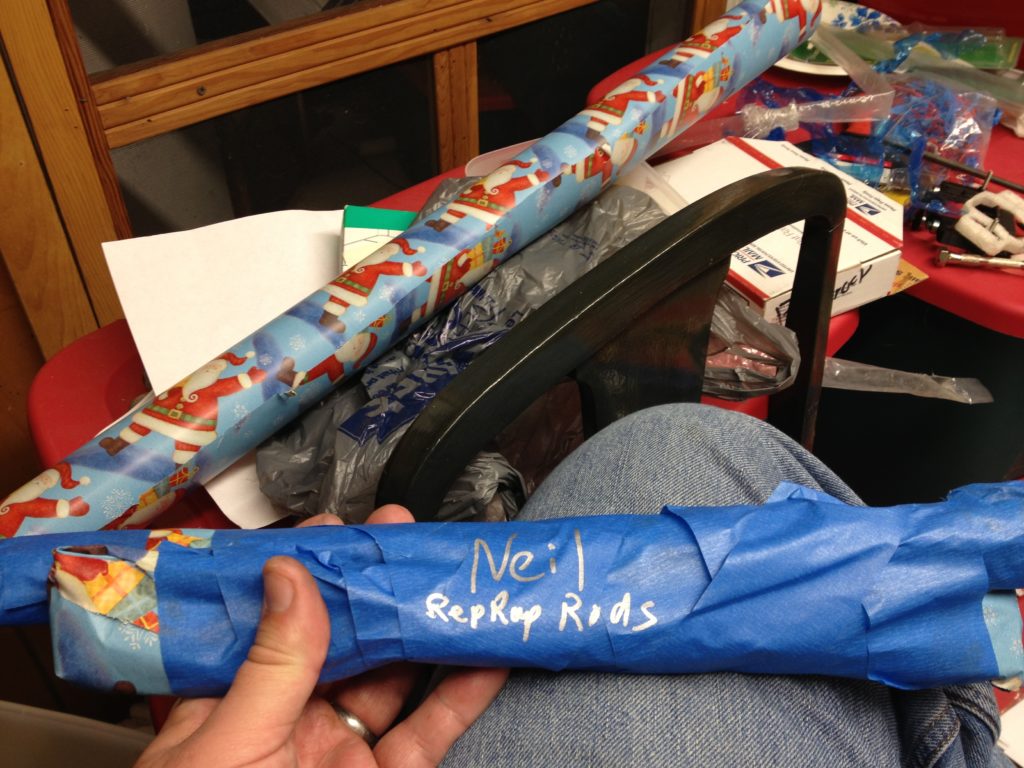
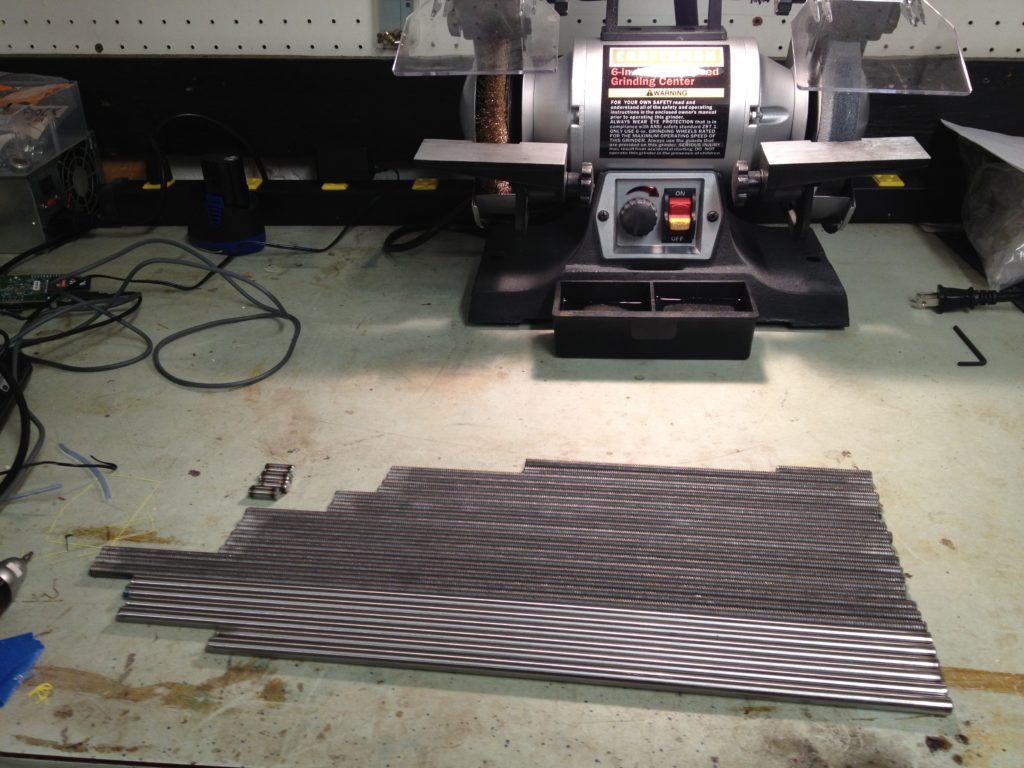
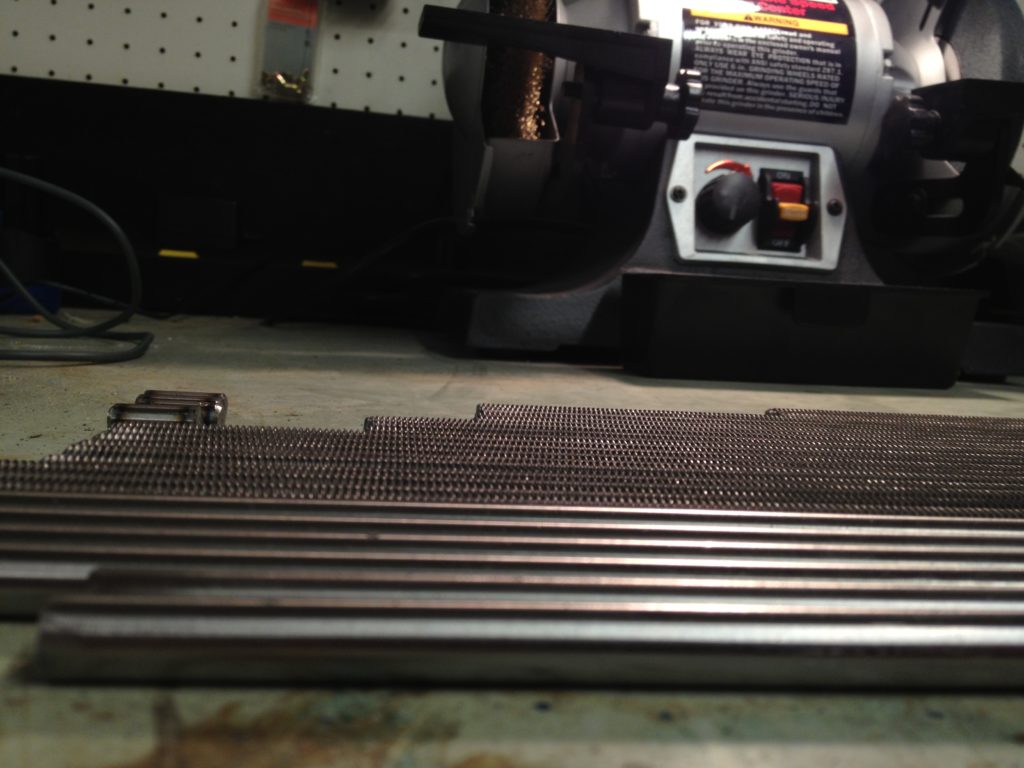
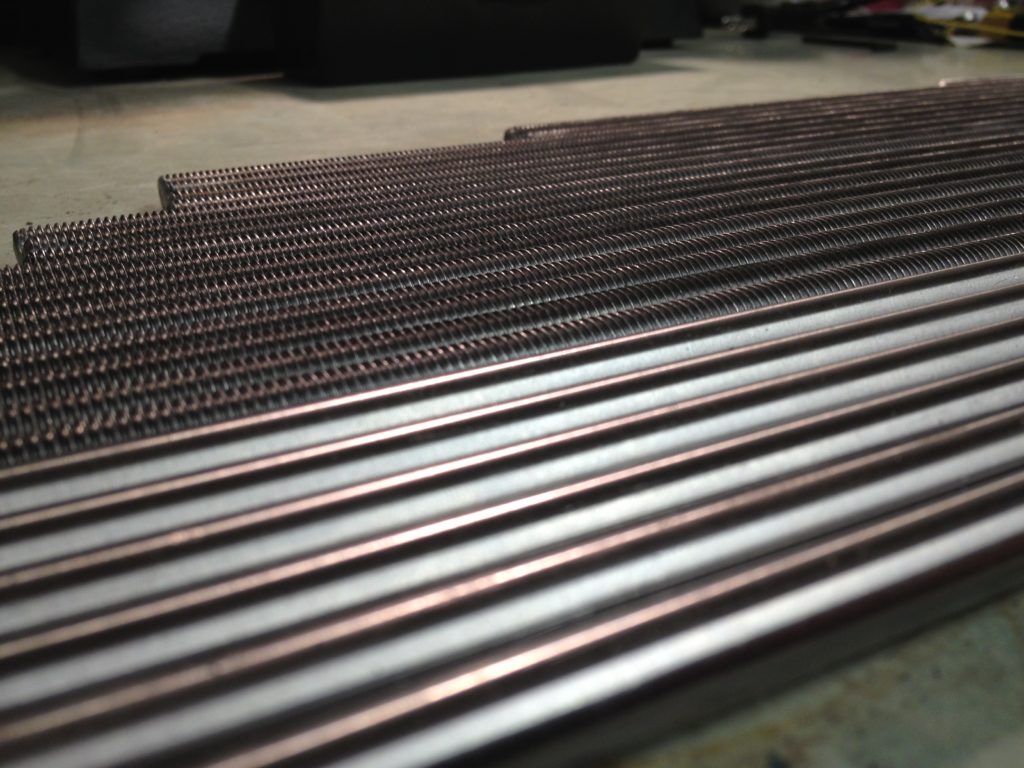
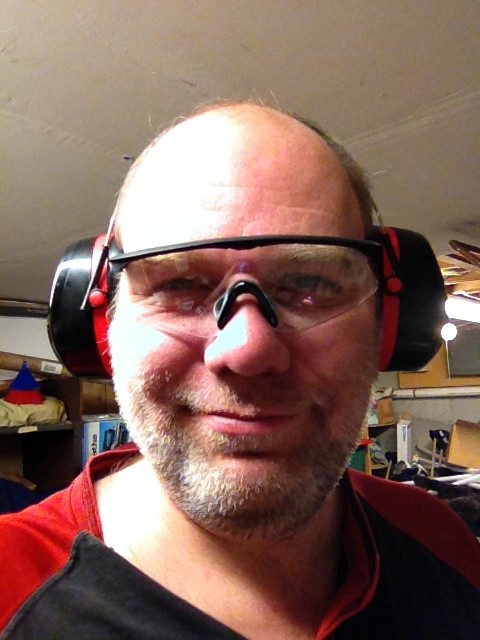
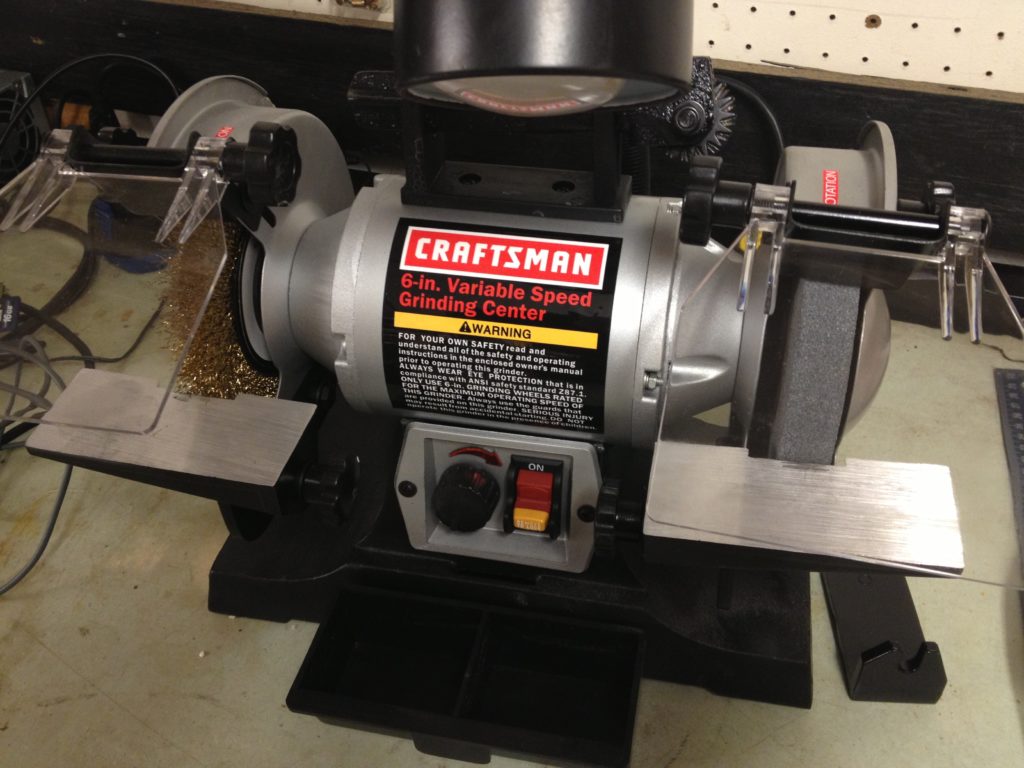
At this point I’d convinced many people at work to build RepRaps of their own. Next up was Neil Mager. Everyone knew I had a chop saw and a grinder and that I was used to cutting steel rods for RepRaps, so Neil suggested another trade: I cut and grind his rods, and he’d smoke me a rack of ribs. 🙂
Here were his rods, wrapped up and ready for delivery:
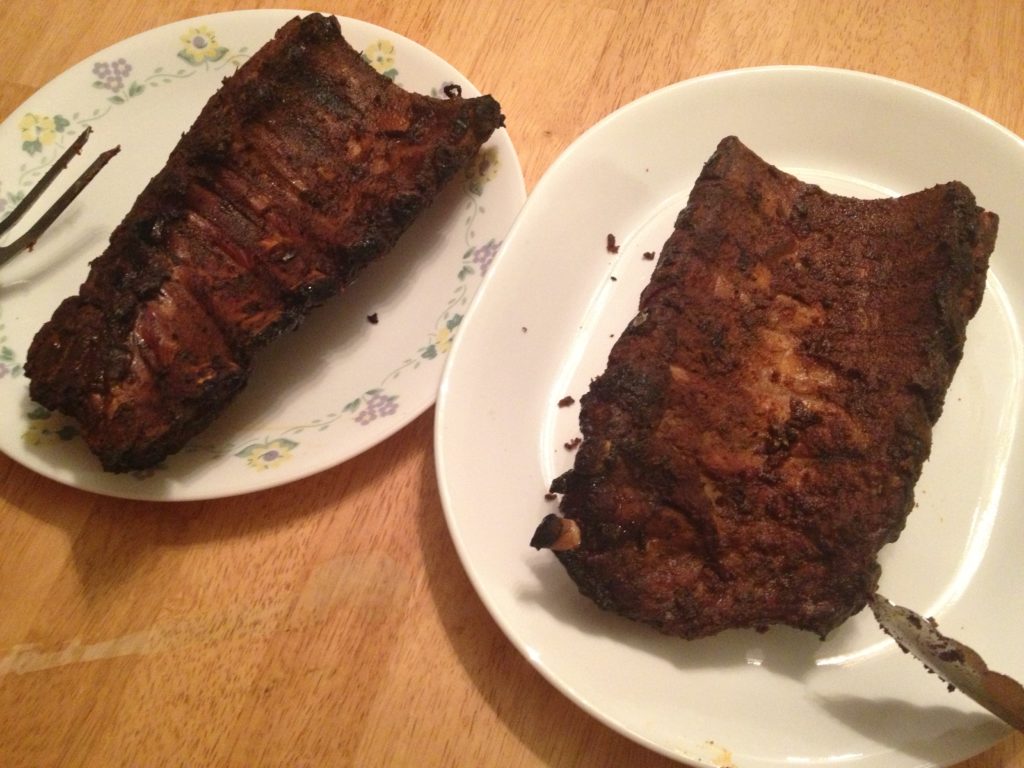
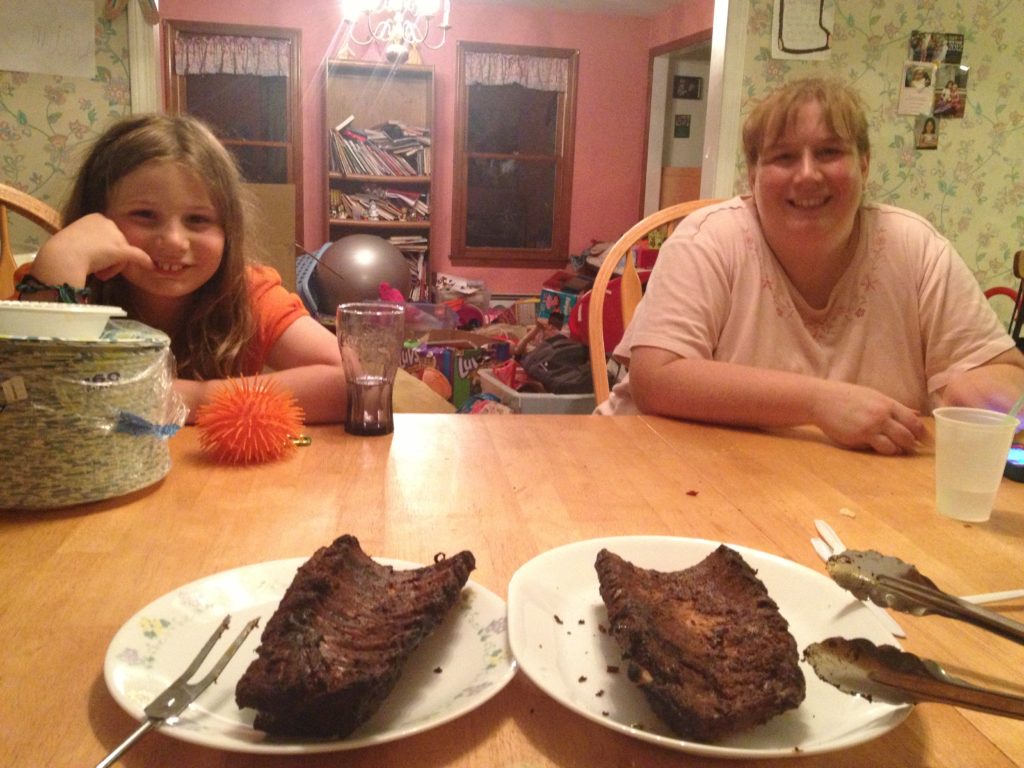
…and here was my reward, a few months later:
Mmmmm!
Nerf Dart Quadcopter Challenge at work
I don’t want to spend too much time on this one but I might as well throw it in just for the pictures..
Here’s a Facebook post that I made on March 29, 2013:
Ok this was really cool. About a month ago my boss pulls me and a bunch of others into his office and informs us that we’re going on a special project (not classified, but might as well be – can’t tell anyone, until today). Division 3 at work held a contest – groups could put together a proposal to be a team to compete in it. We were told to create a team and enter.
The competition involved flying quadcopters and shooting at them with USB Nerf dart shooters that can aim and have built-in video cameras. The toughest part of the competition involved one team flying their quadcopter off of a desk, through hoops, and back to the desk five times in a row, while the other team’s autonomous shooter fired missiles at the quadcopter trying to hit it.
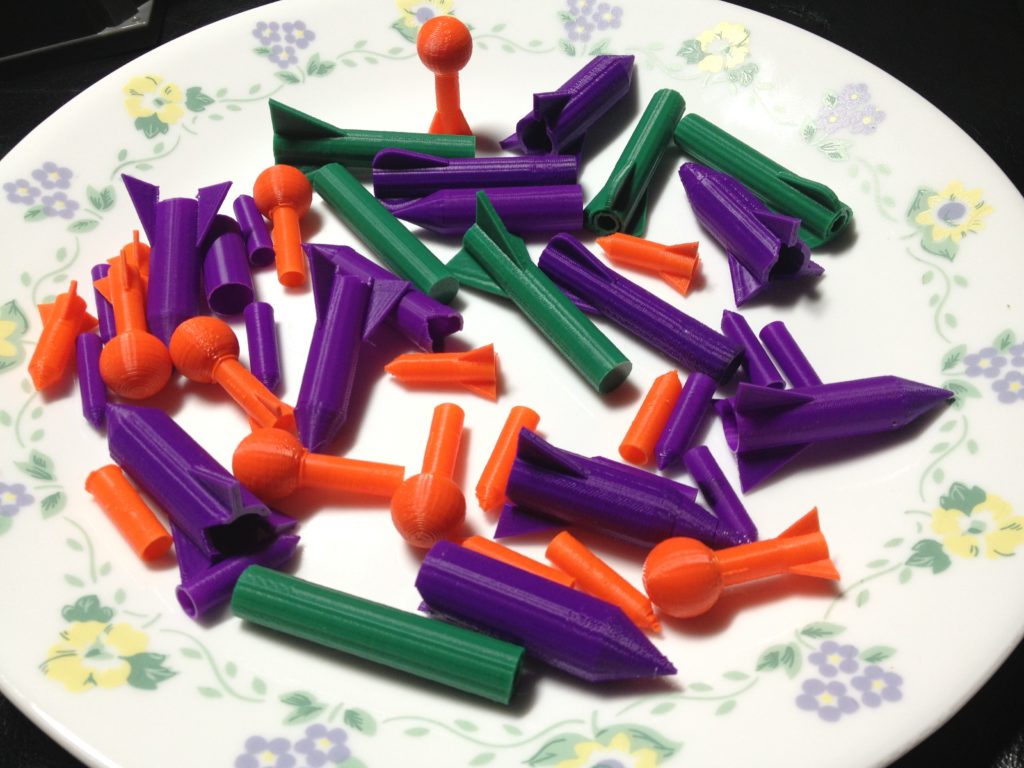
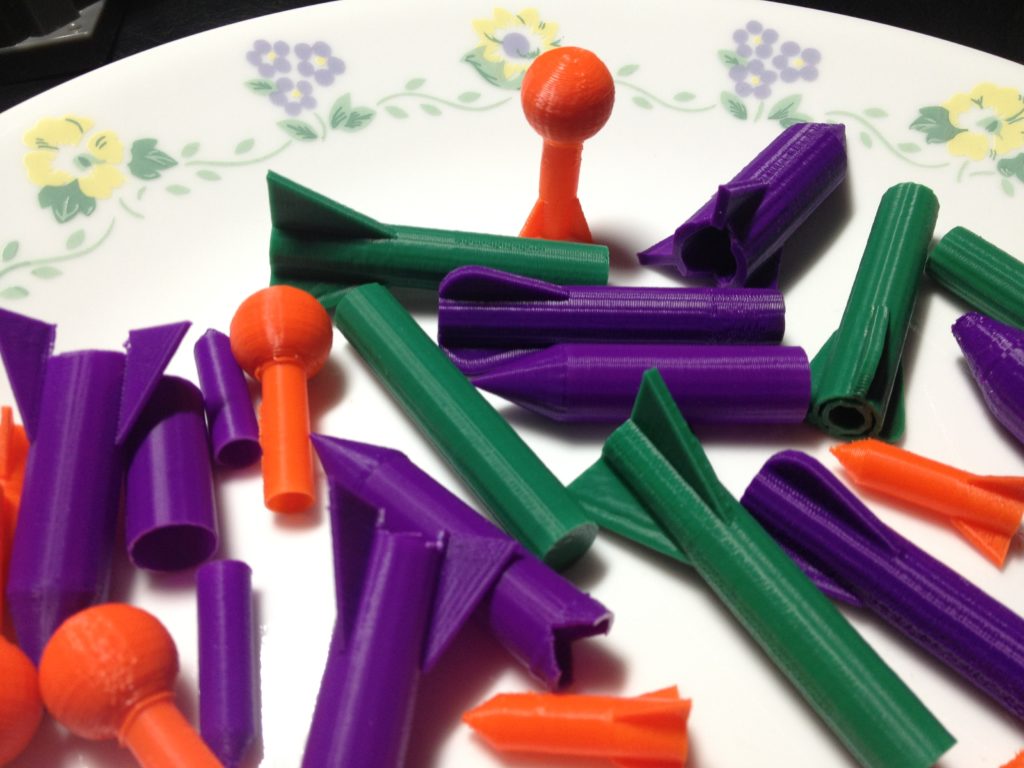
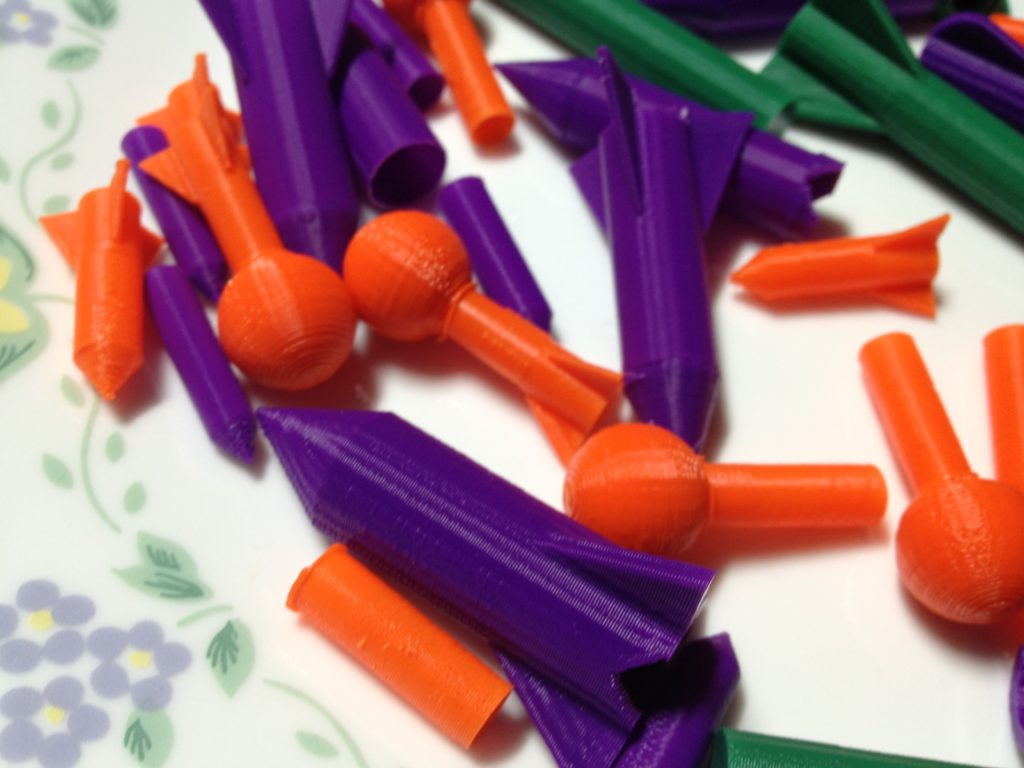
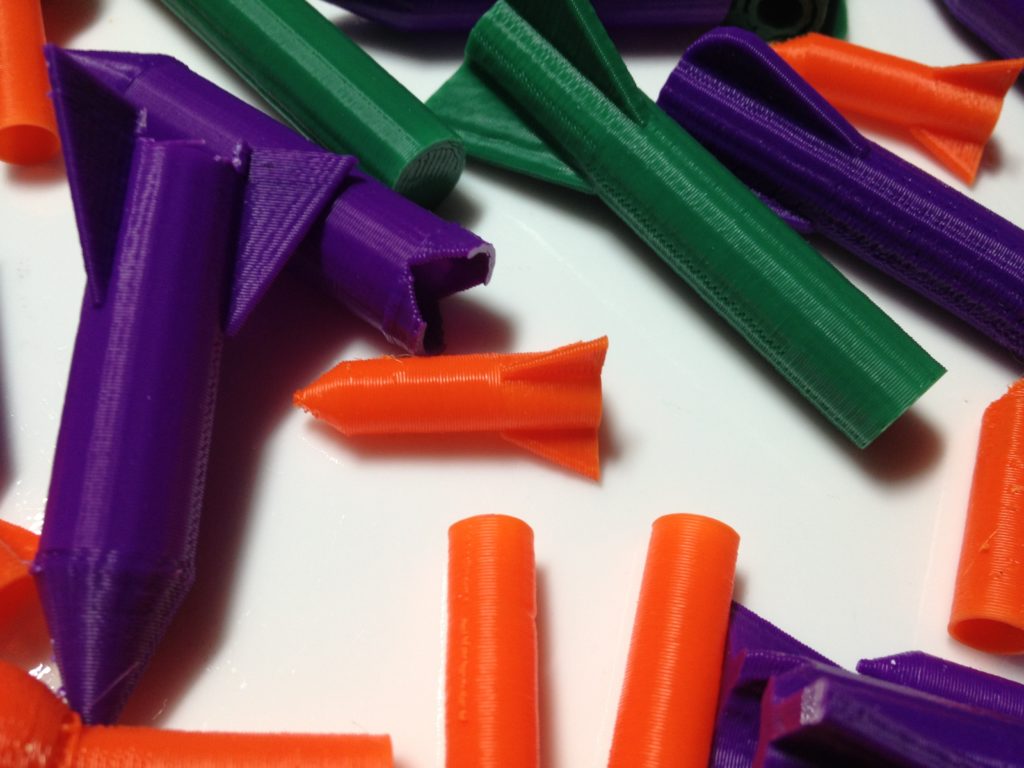
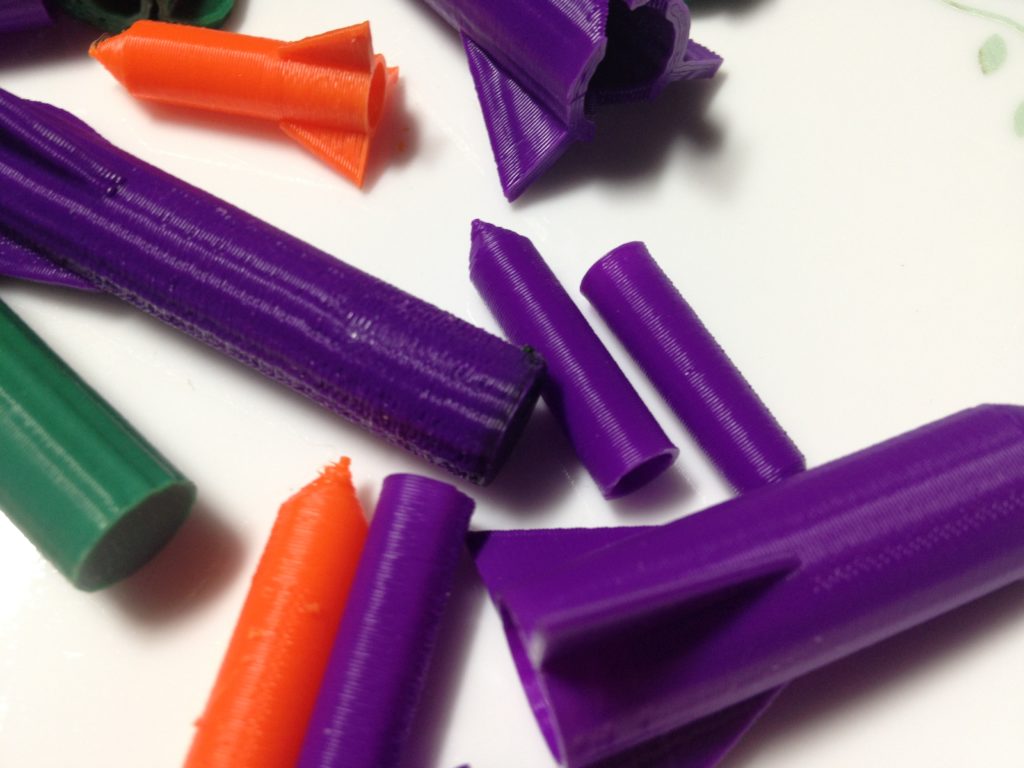
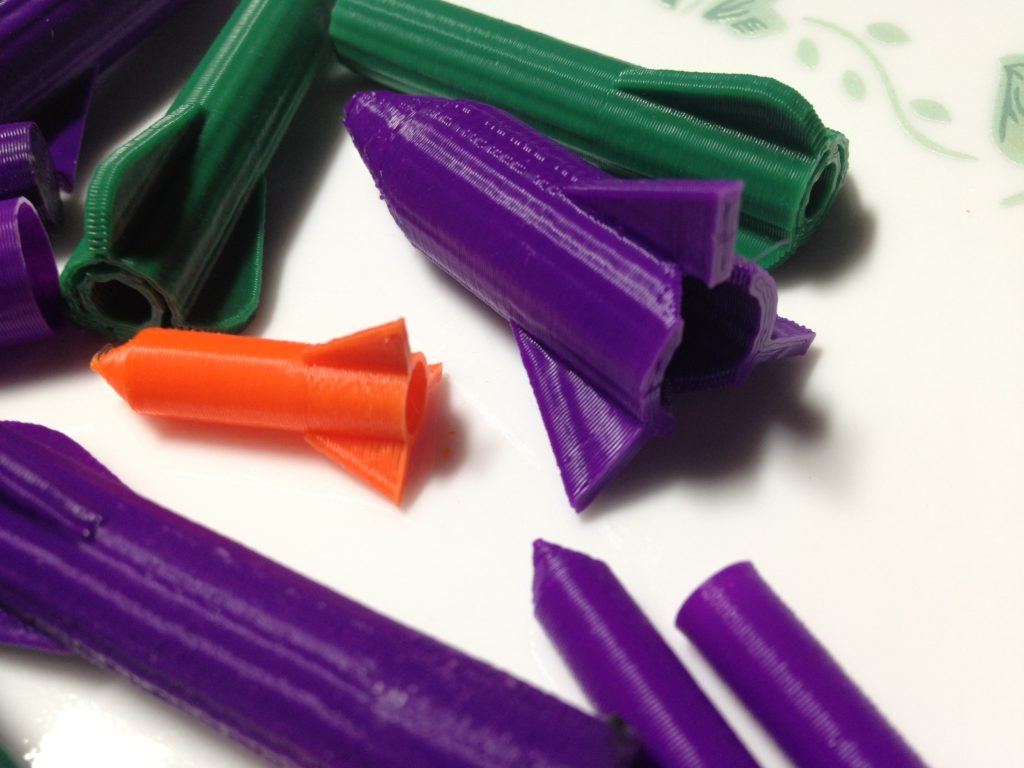
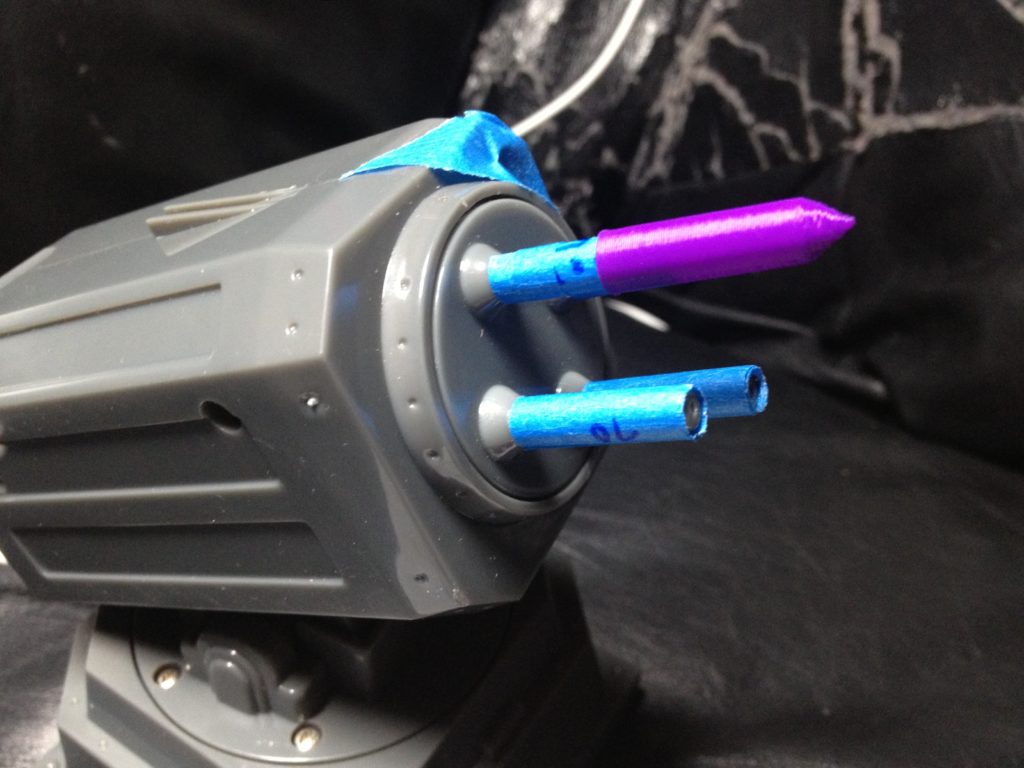
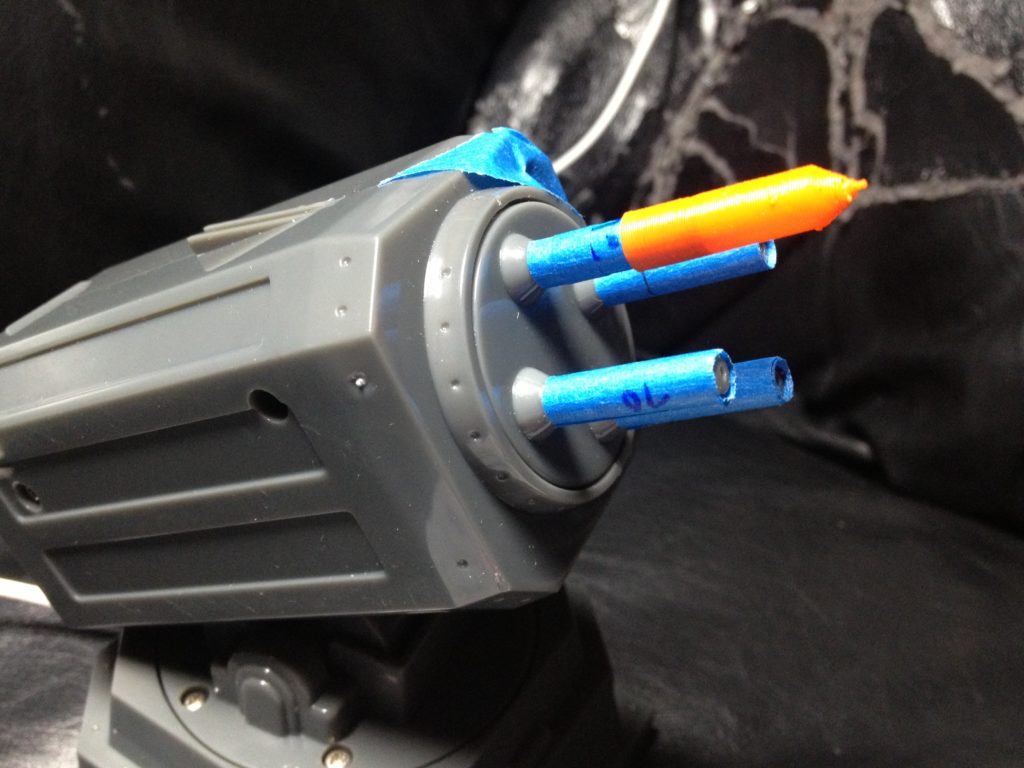
Not only did our team have to write code with OpenCV to identify the quadcopter in air, aim for it, and shoot at it, but we had to deal with shooters that could barely reach 10 feet, so I tried 3D printing a whole bunch of missiles (despite almost 100 printed variants, we eventually went with darts made from straws and toy plastic bubble goop). I didn’t have time to perfect the 3D printed missiles, because I had to spend time on our other objective.
Our secret objective.
Our division leader wanted us to enter the contest so that in addition to participating in the actual competition, we could have another private objective: a cyber attack on the other team’s quadcopter.
We spent weeks practicing dozens of scenarios and what-if safety nets, like what if the other team switches quadcopters, or switches iPhones (these were Parrot AR.Drones controlled by iPhones), or wipes out the firmware on the copter.
First we locked the copters down so we could ensure we’d always have remote access to them. There was a “pairing” feature on the iPhone app that, if enabled, would lock just that phone to that copter. We determined how that worked. We found the pairing script on the copter and modified it such that if someone tried to pair it would appear to them that they had done so, but in fact the MAC addresses of OUR iPhone and laptops were all still allowed. We didn’t need to do this (if the other team didn’t pair we’d still be fine), but this was one of several safety nets we put in place.
Next we experimented with taking over a flying copter. Telnetting in and doing a reboot did cause it to drop out of the air (which we tested very close to the ground over pillows) but that wasn’t good enough for what we wanted. Eventually we perfected a script that made iptables calls to allow us and only us, and lock out everyone else (including the iPhone that had been flying the copter). The original iPhone then sees a message on-screen saying that it lost control, which we weren’t able to avoid (but that didn’t matter).
At this point we’d experimented with having our own iPhone connect, but the flight software seemed to always land the copter first, and we were worried that someone would reach over to the grounded copter and try to pick it up before we got off the ground again.
So then we looked into what we had to do to issue our own flight commands autonomously (via computer, with no human interaction).
In the end we had a script (that I was the lucky one to trigger) that locked out the original iPhone, raised the copter up a bit, caused it to sit in front of our shooter so we could shoot at it without problem, then it spun left fast for a few rotations, spun right, and then stayed hovering.. (previous versions landed at this point).
Then on our ATTACK iPhone (whose MAC address we specifically allowed in), our pilot started the flight app, landing the copter, quickly taking off after that, and he flew it around the room for a victory lap.
People were NOT happy. They got over it soon after the competition resumed and the round was repeated. (My group leader got up and announced to the room that we had just conducted a cyber attack on the competition).
Our division leader eventually (before the competition) went to the division leader for the competition and filled them in, but not the heads of the competition. Everything we did we had permission for, but they had pesky rules like don’t break the law (no murder) so we abided by them.
By the end of the day i shook hands with just about everyone that I remembered seeing be upset, and they all felt much better about it.
I haven’t been able to talk with anyone about this until today. It was fun. Now back to my other, far less stressful deadlines. 🙂
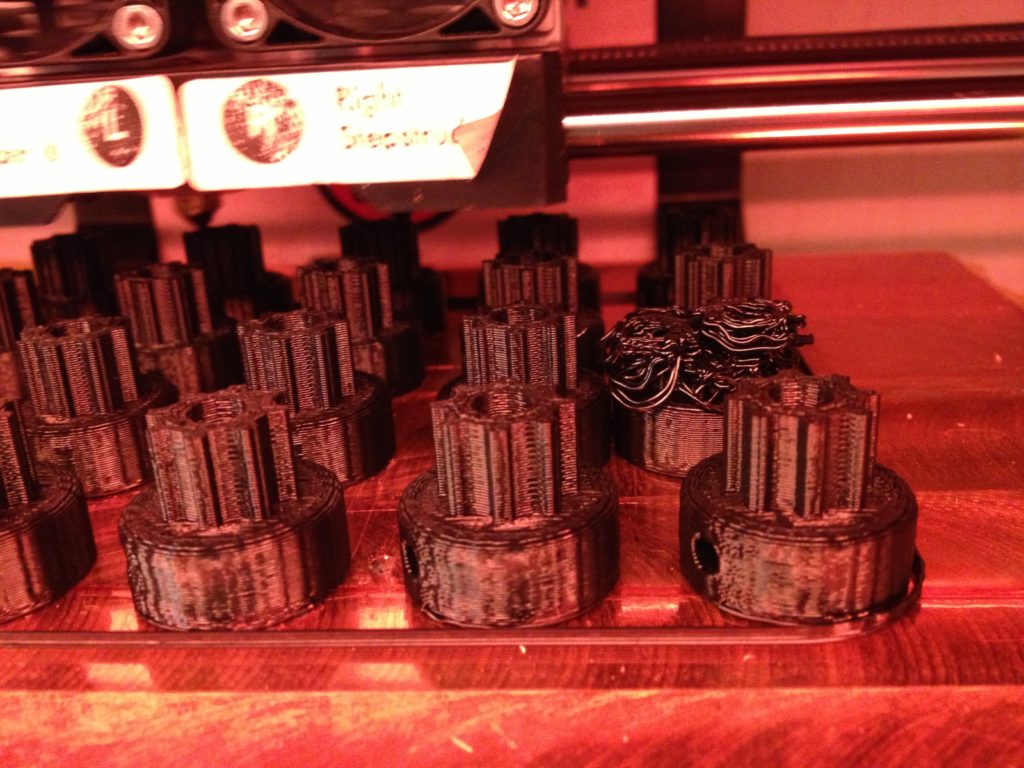
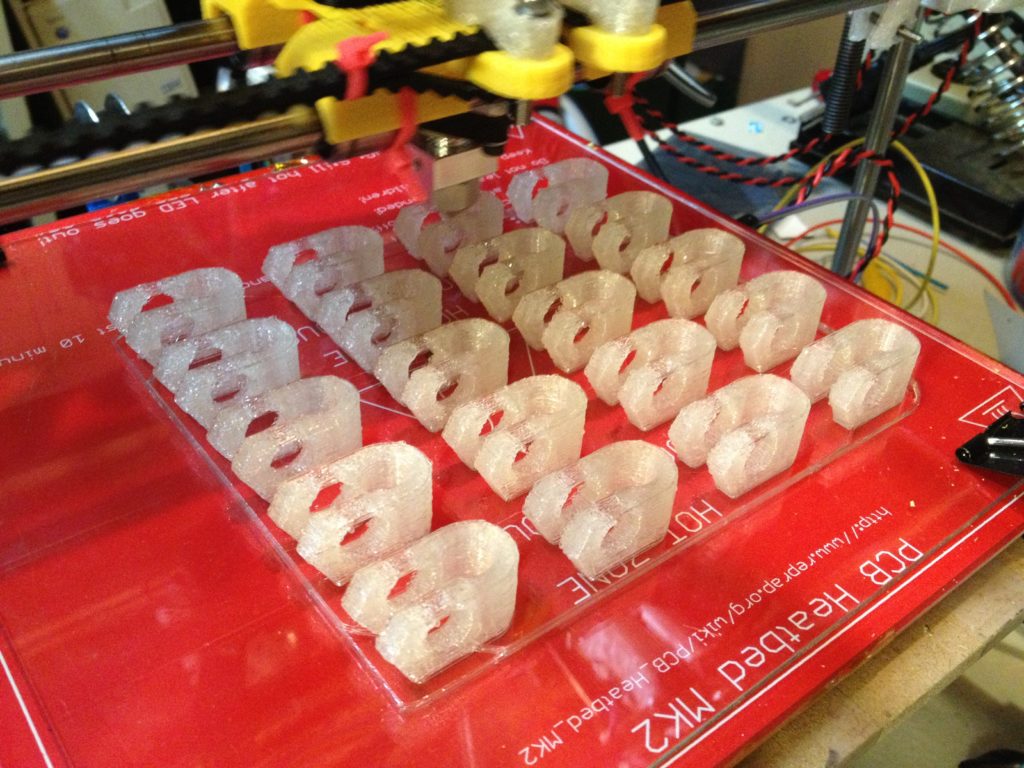
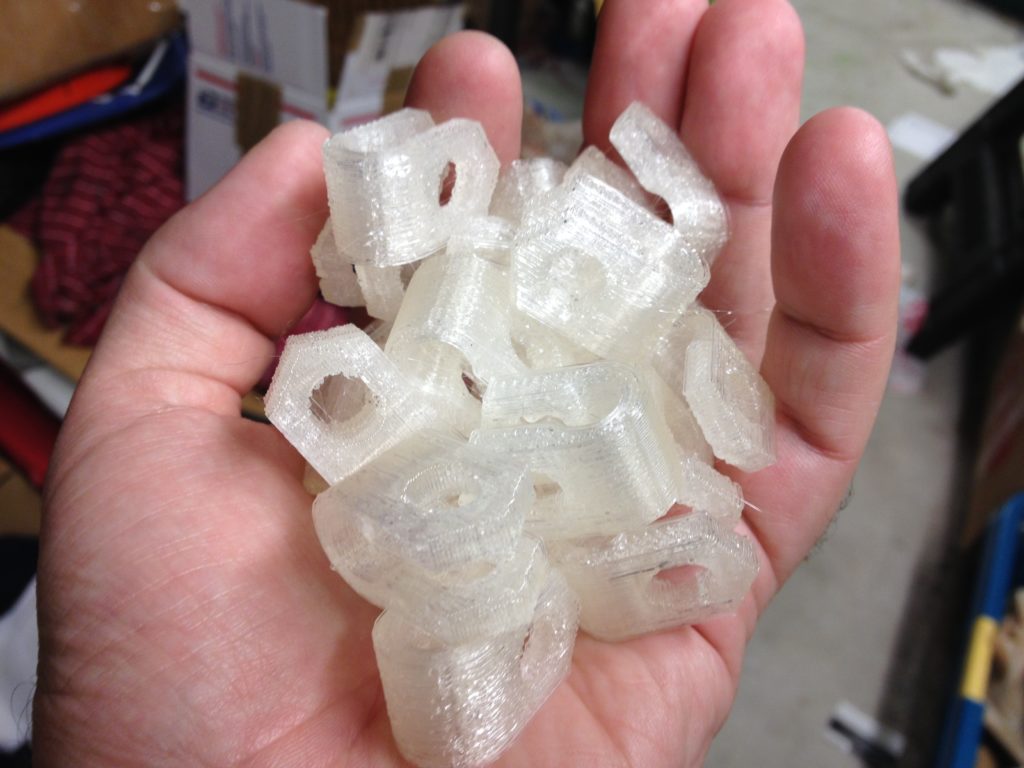
In that post I hadn’t included any pictures, since we ended up not using any of the plastic nerf missiles I’d designed. But I did want to post the picture somewhere, so here they are.. (These were printed on the Makerbot Replicator at work):
A Few More Pics..
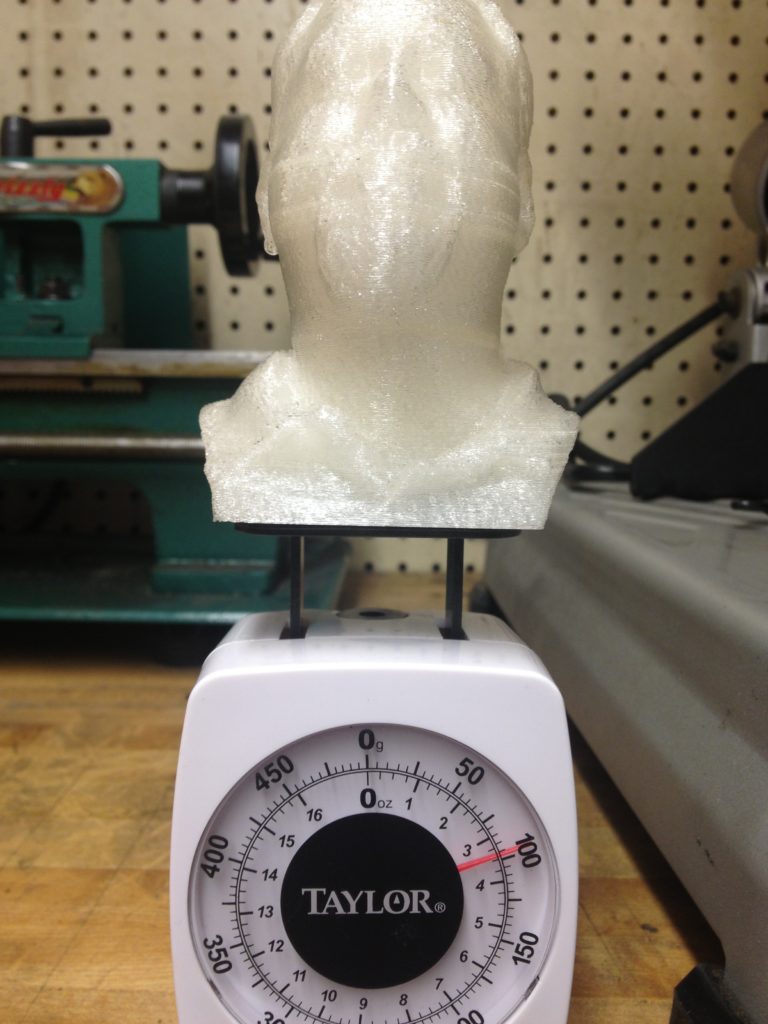
Last few pictures.. First, I got a scale from Laurie for something (can’t remember what for – maybe for the quadcopter?) and I found this picture of it weighing Tony Buser’s head. It’s about 100 grams.
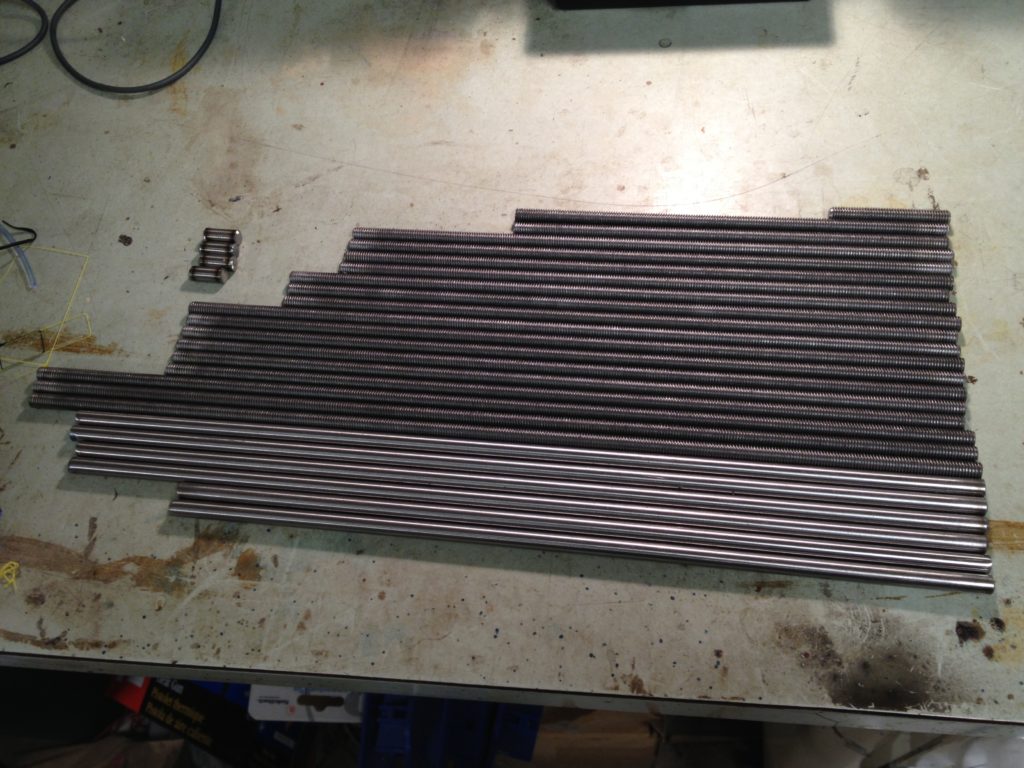
And finally, as a preview for the next post, after cutting Neil’s rods, I decided to cut and grind rods for my second RepRap, since I’d soon be permantly giving the Museum of Science the RepRap I made for them. I decided to start my second RepRap before the handoff.
Trying so hard to catch up (as always). That brings us up to April 27th, 2013. Today is August 30th, 2014. Must post faster.
Again, I’m going to exhibit at Makerfaire NY 2014 this September, for my third time. Buy your tickets now and come see me! If I can drag two RepRaps down in a car from the north end of Massachusetts to Queens, New York, you can drag yourself down there.. it’s a great time!
