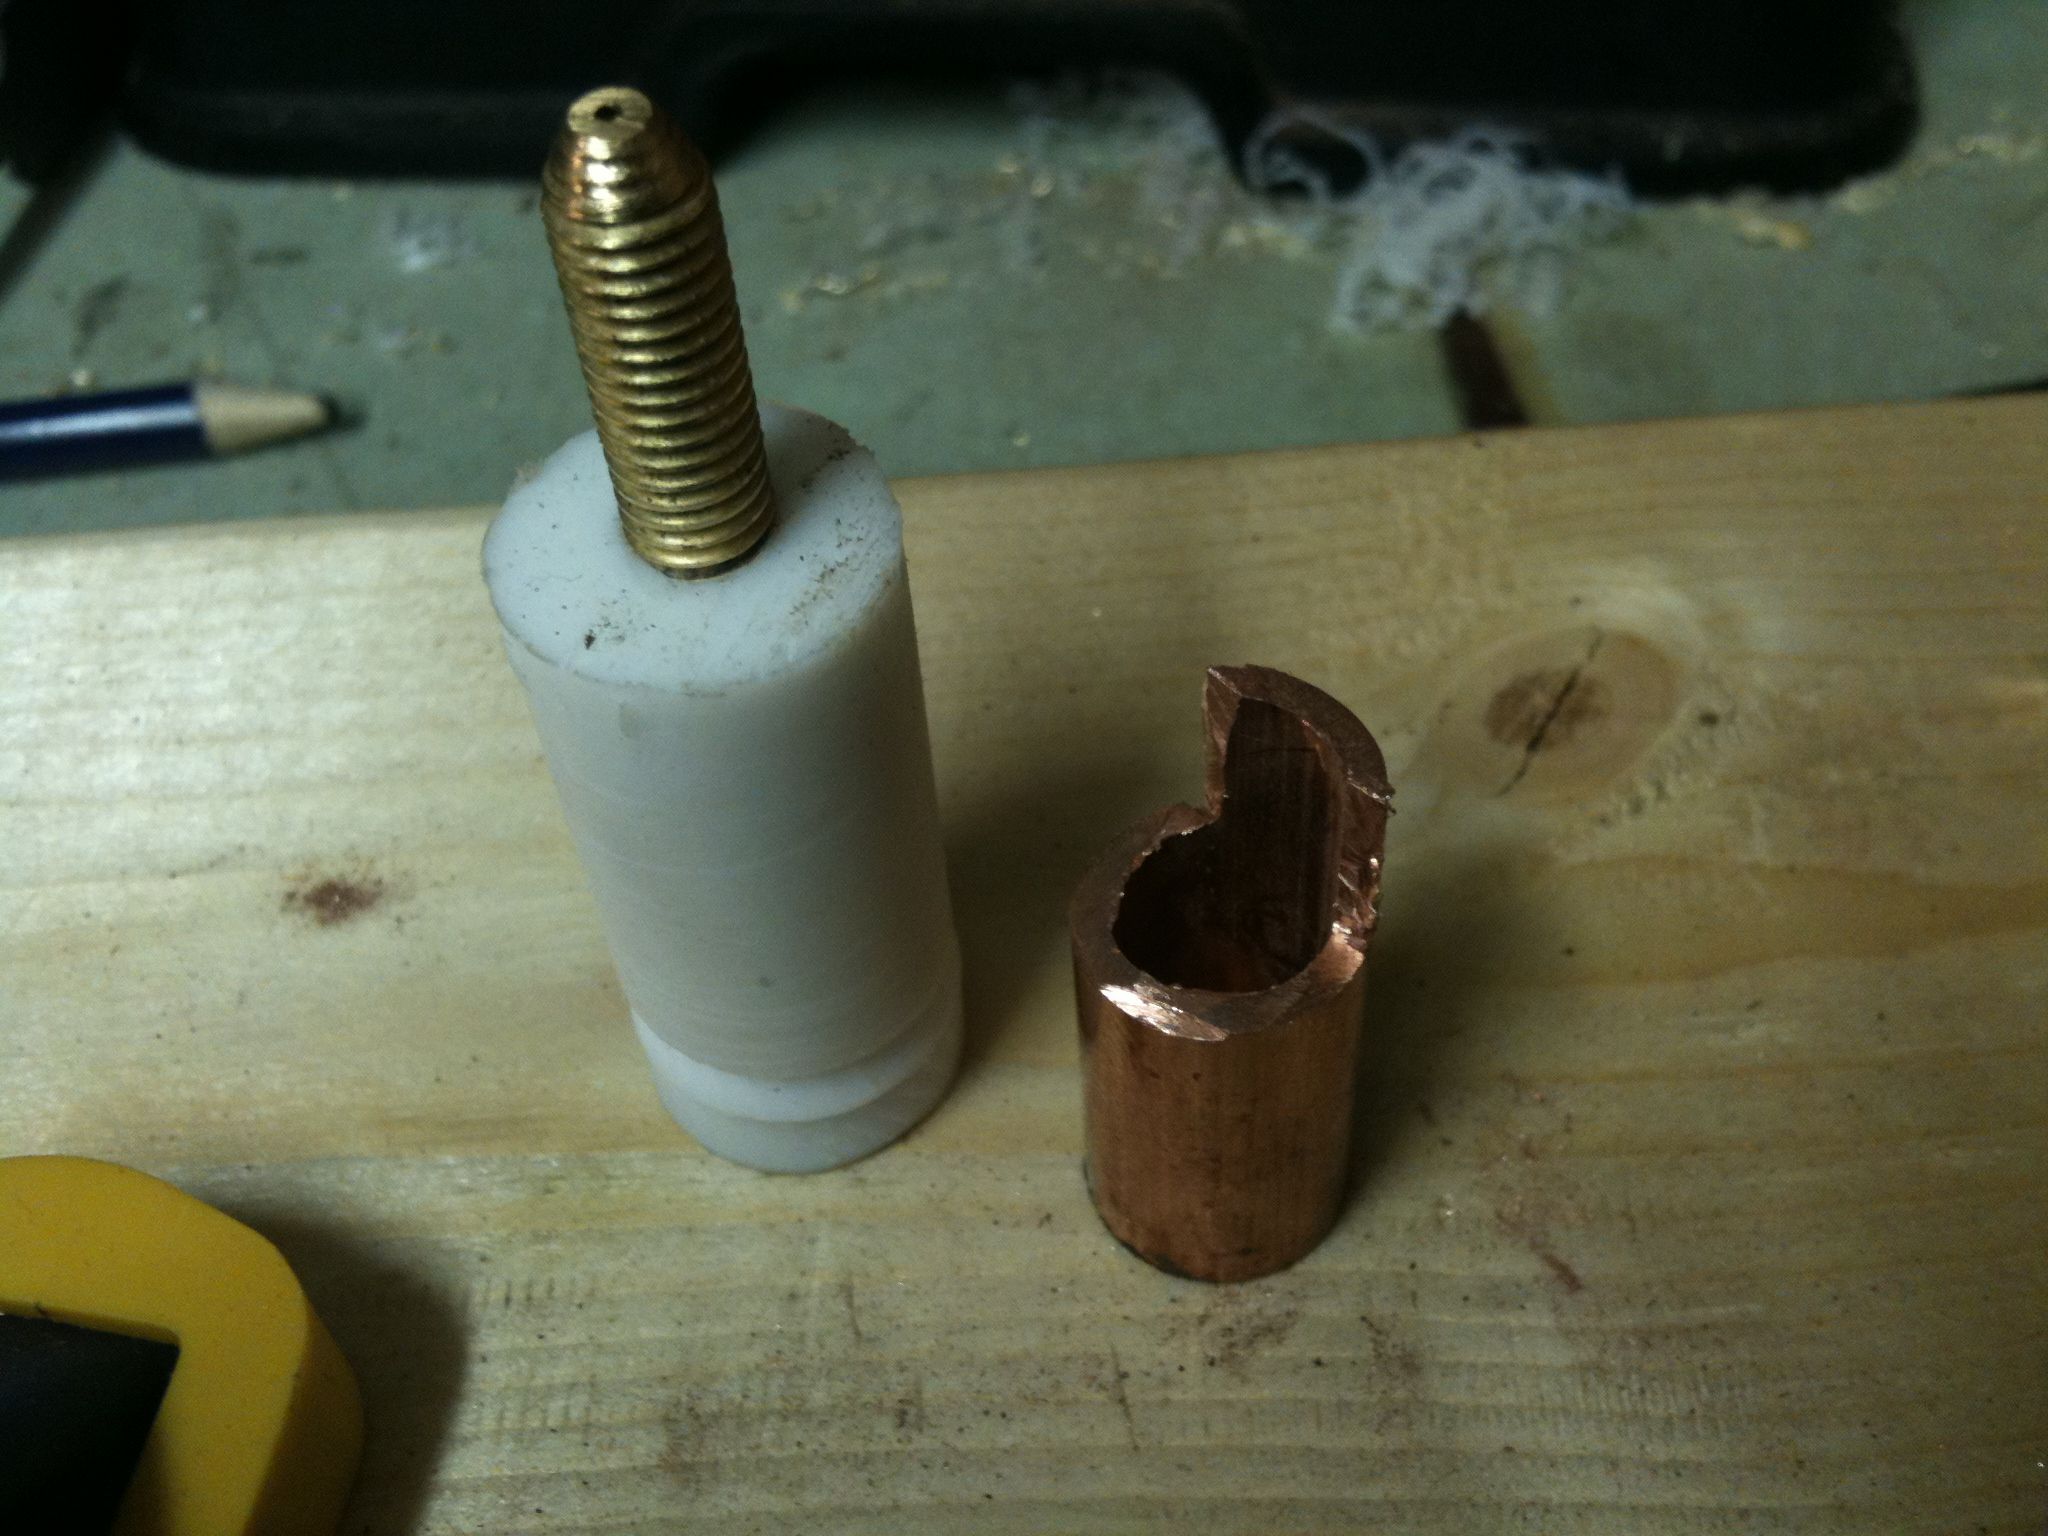
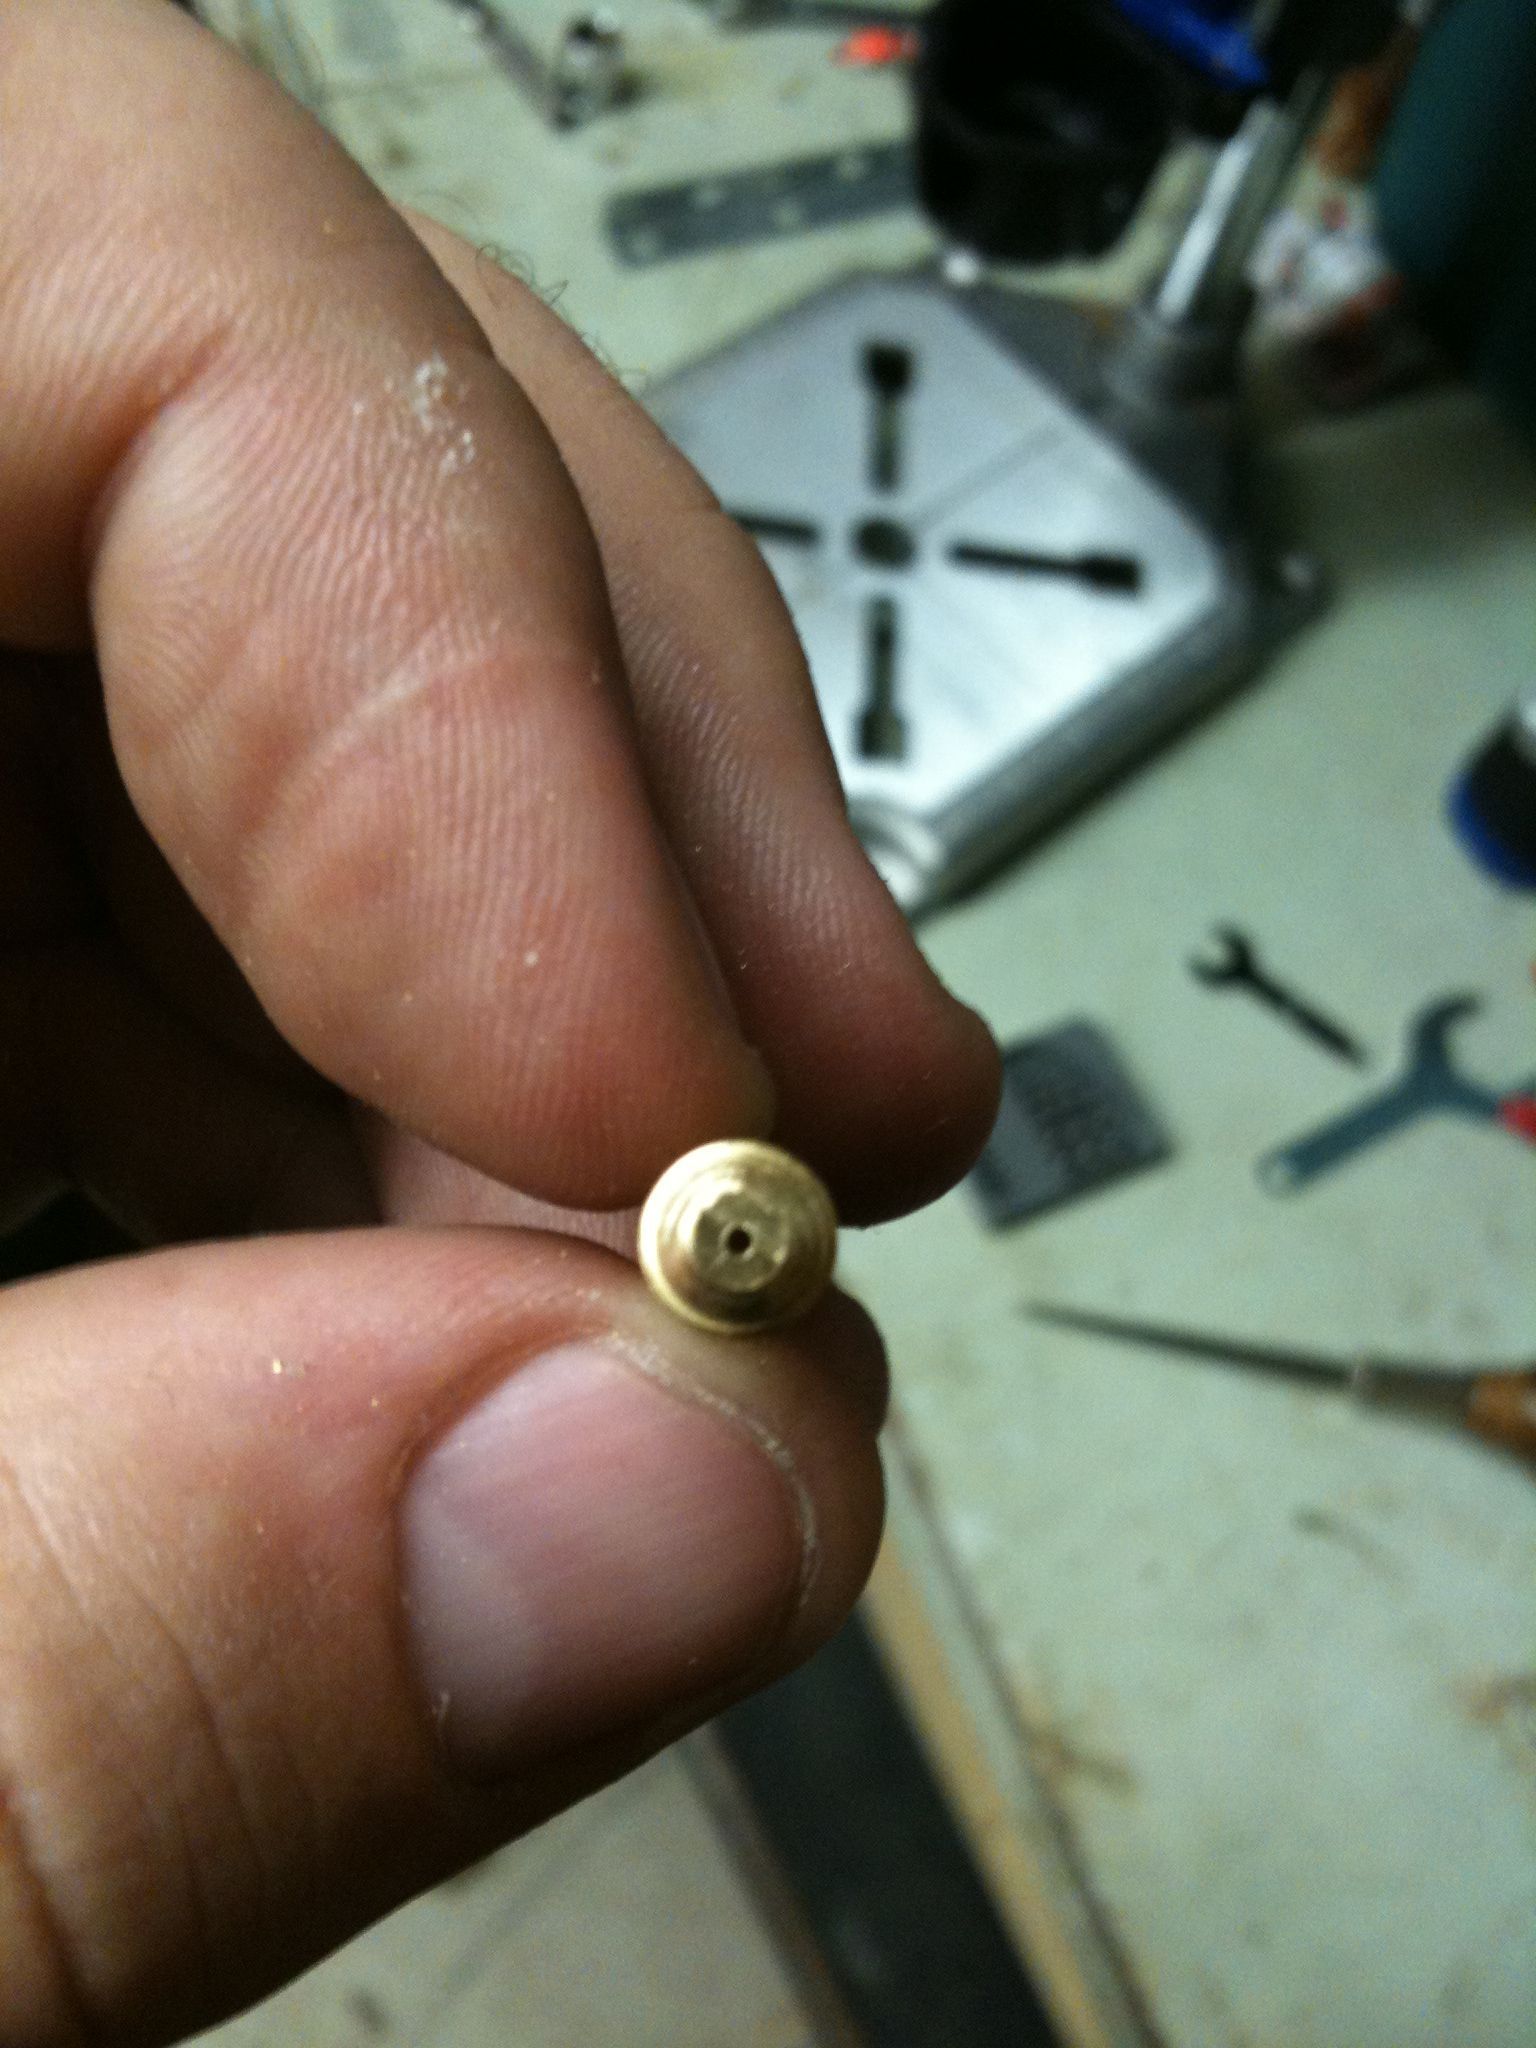
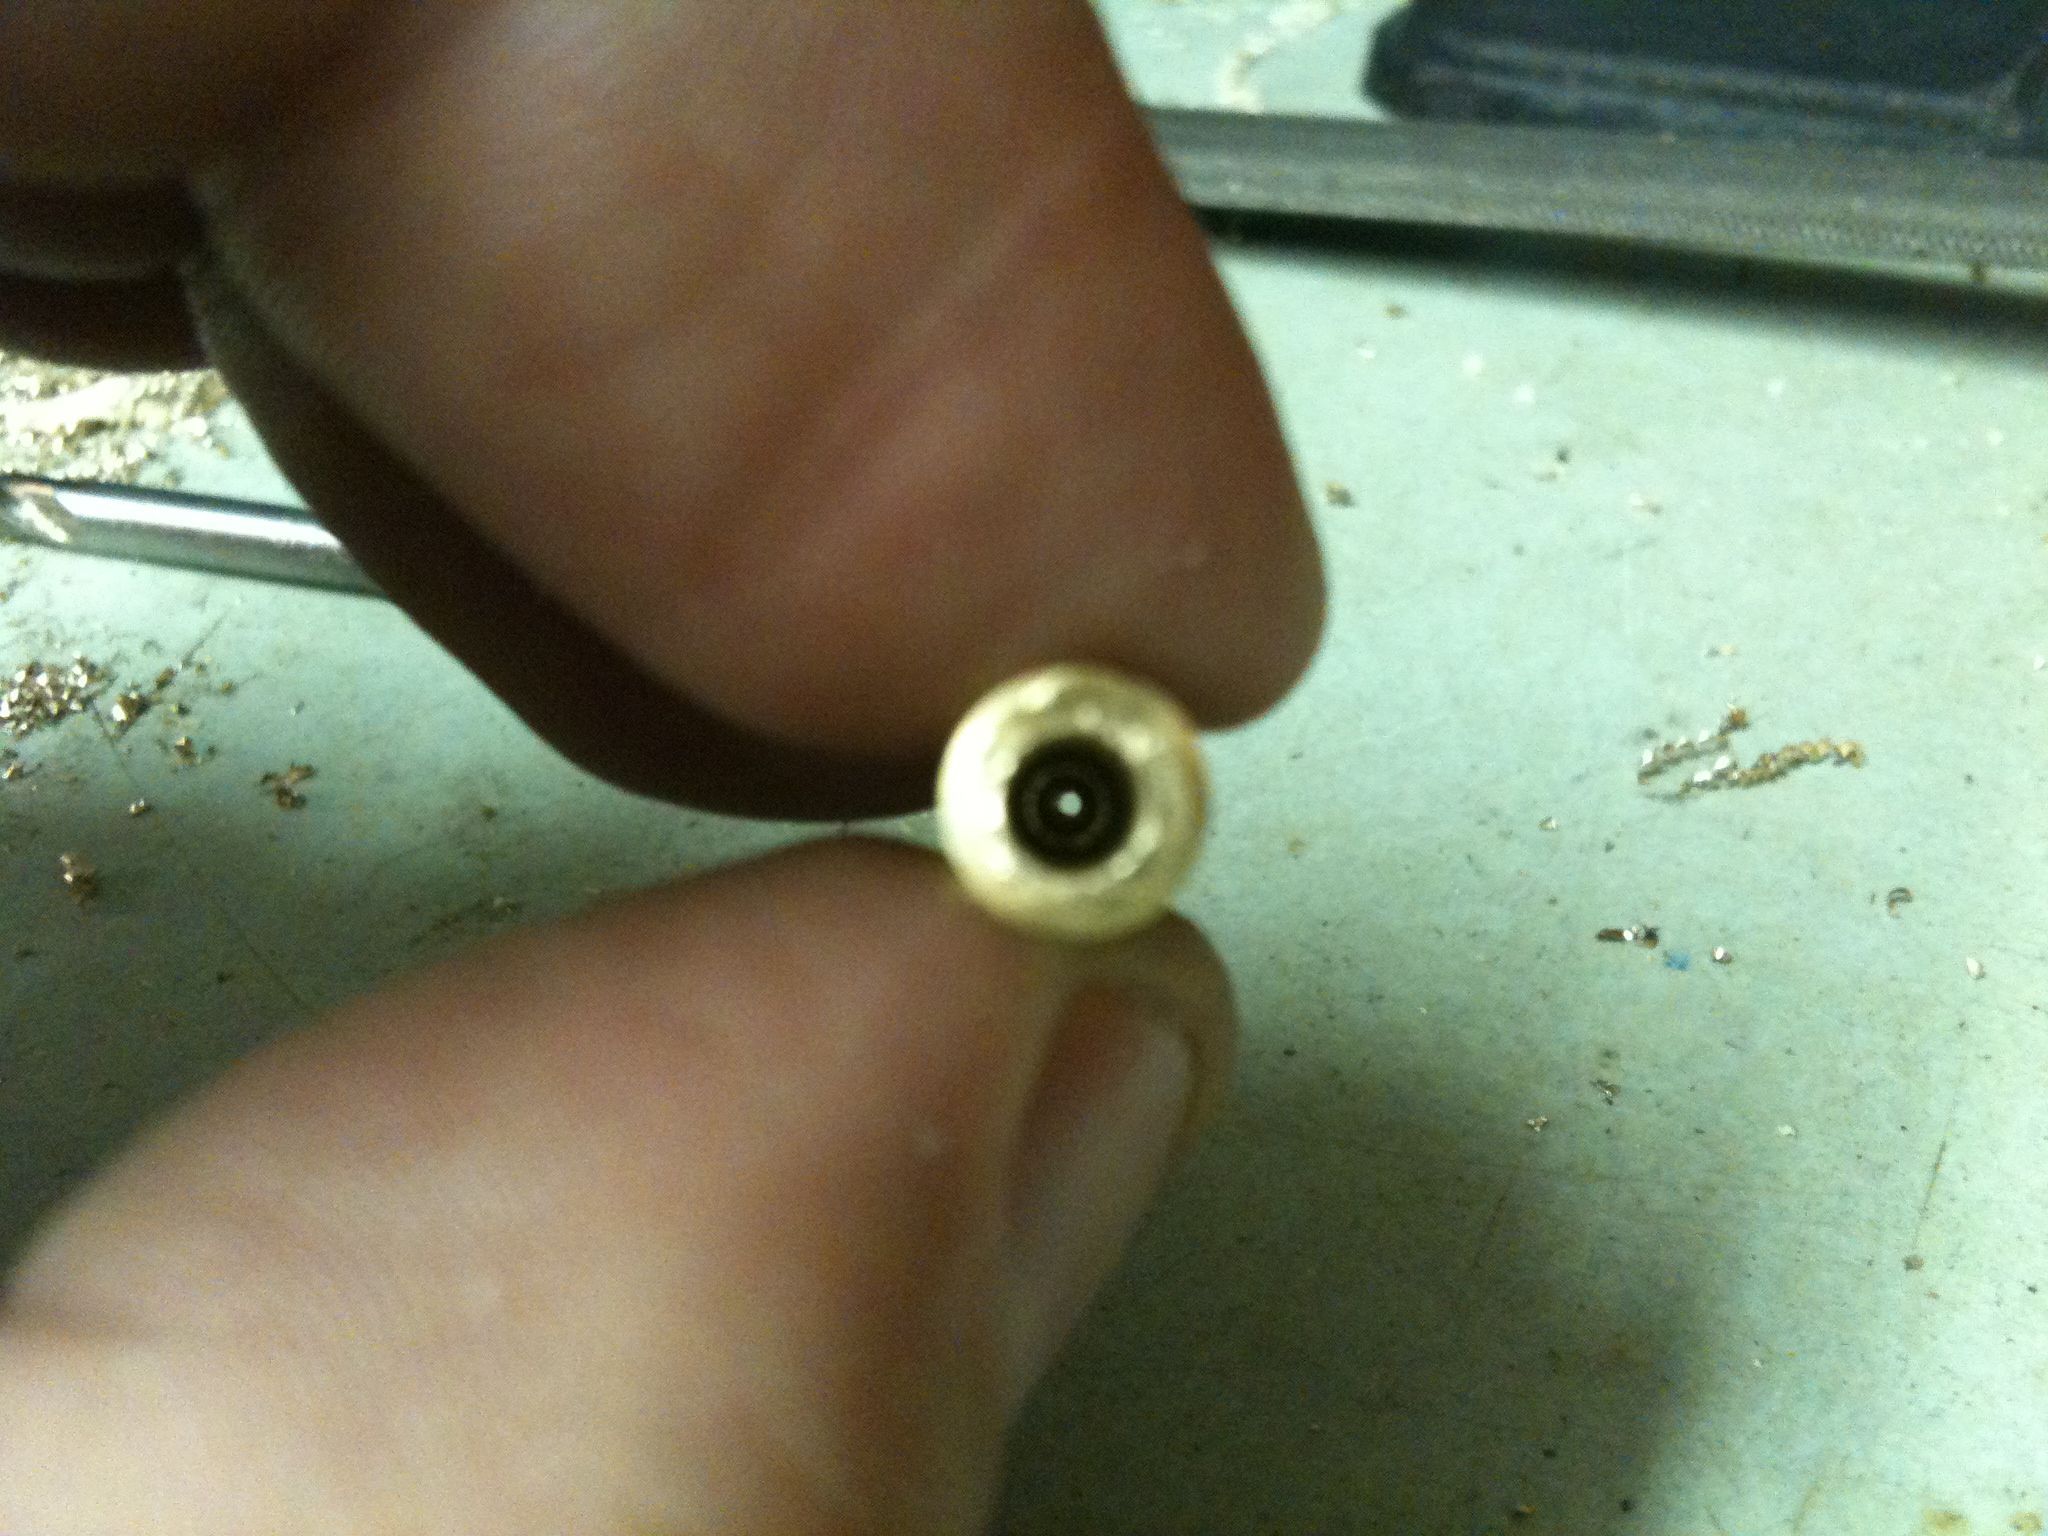
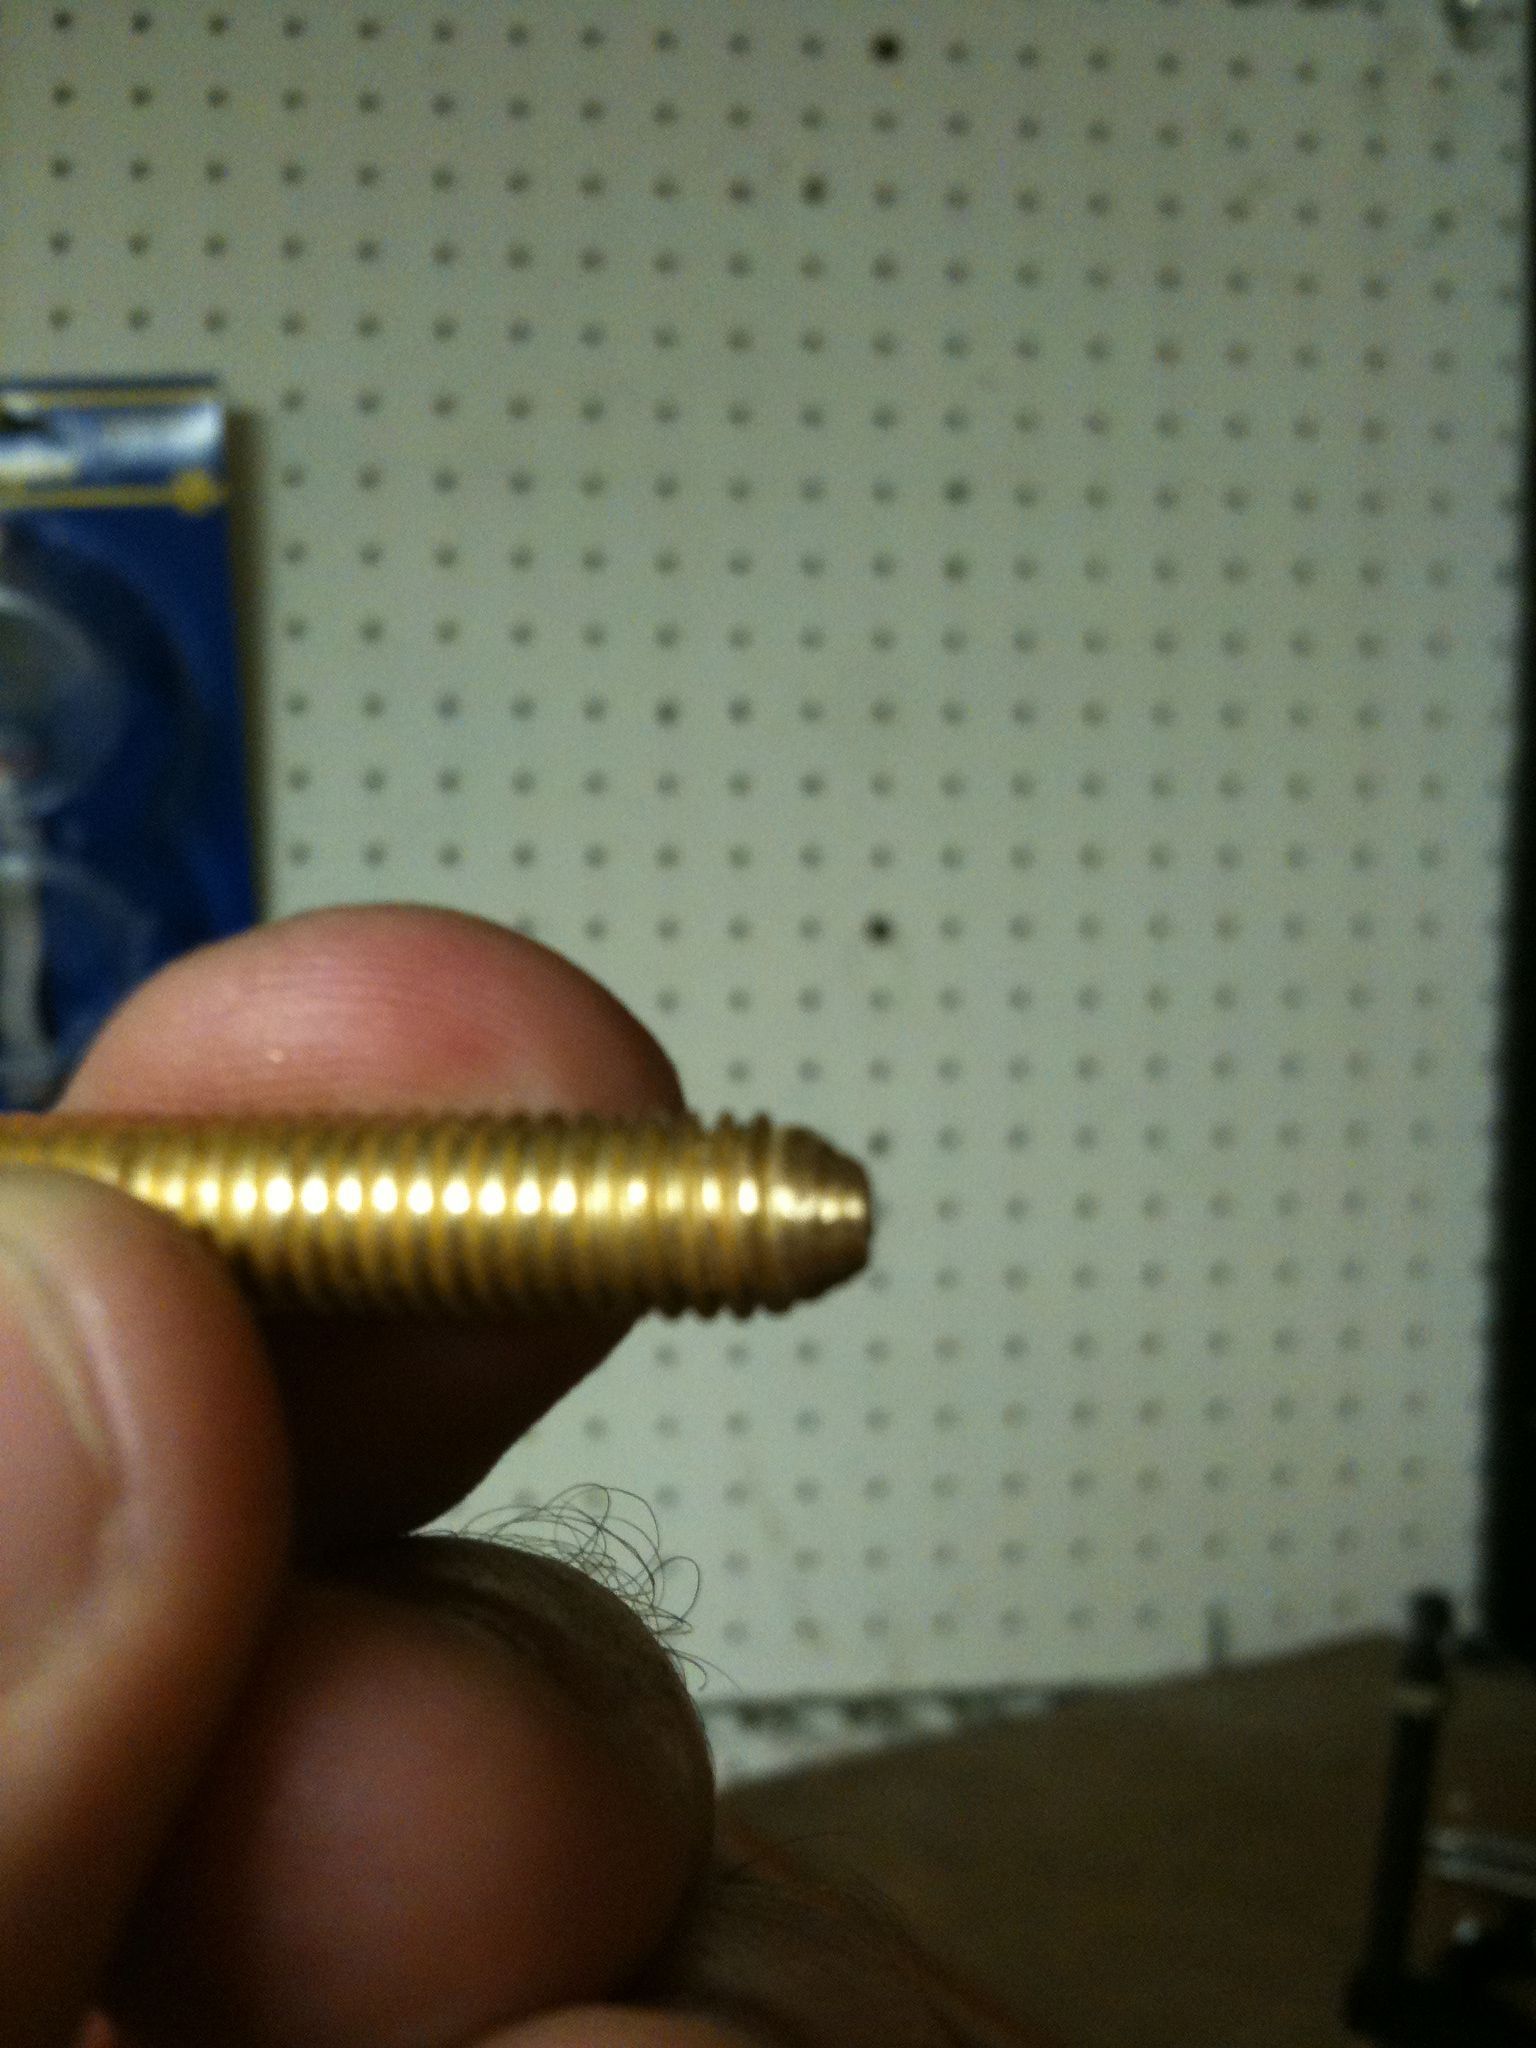
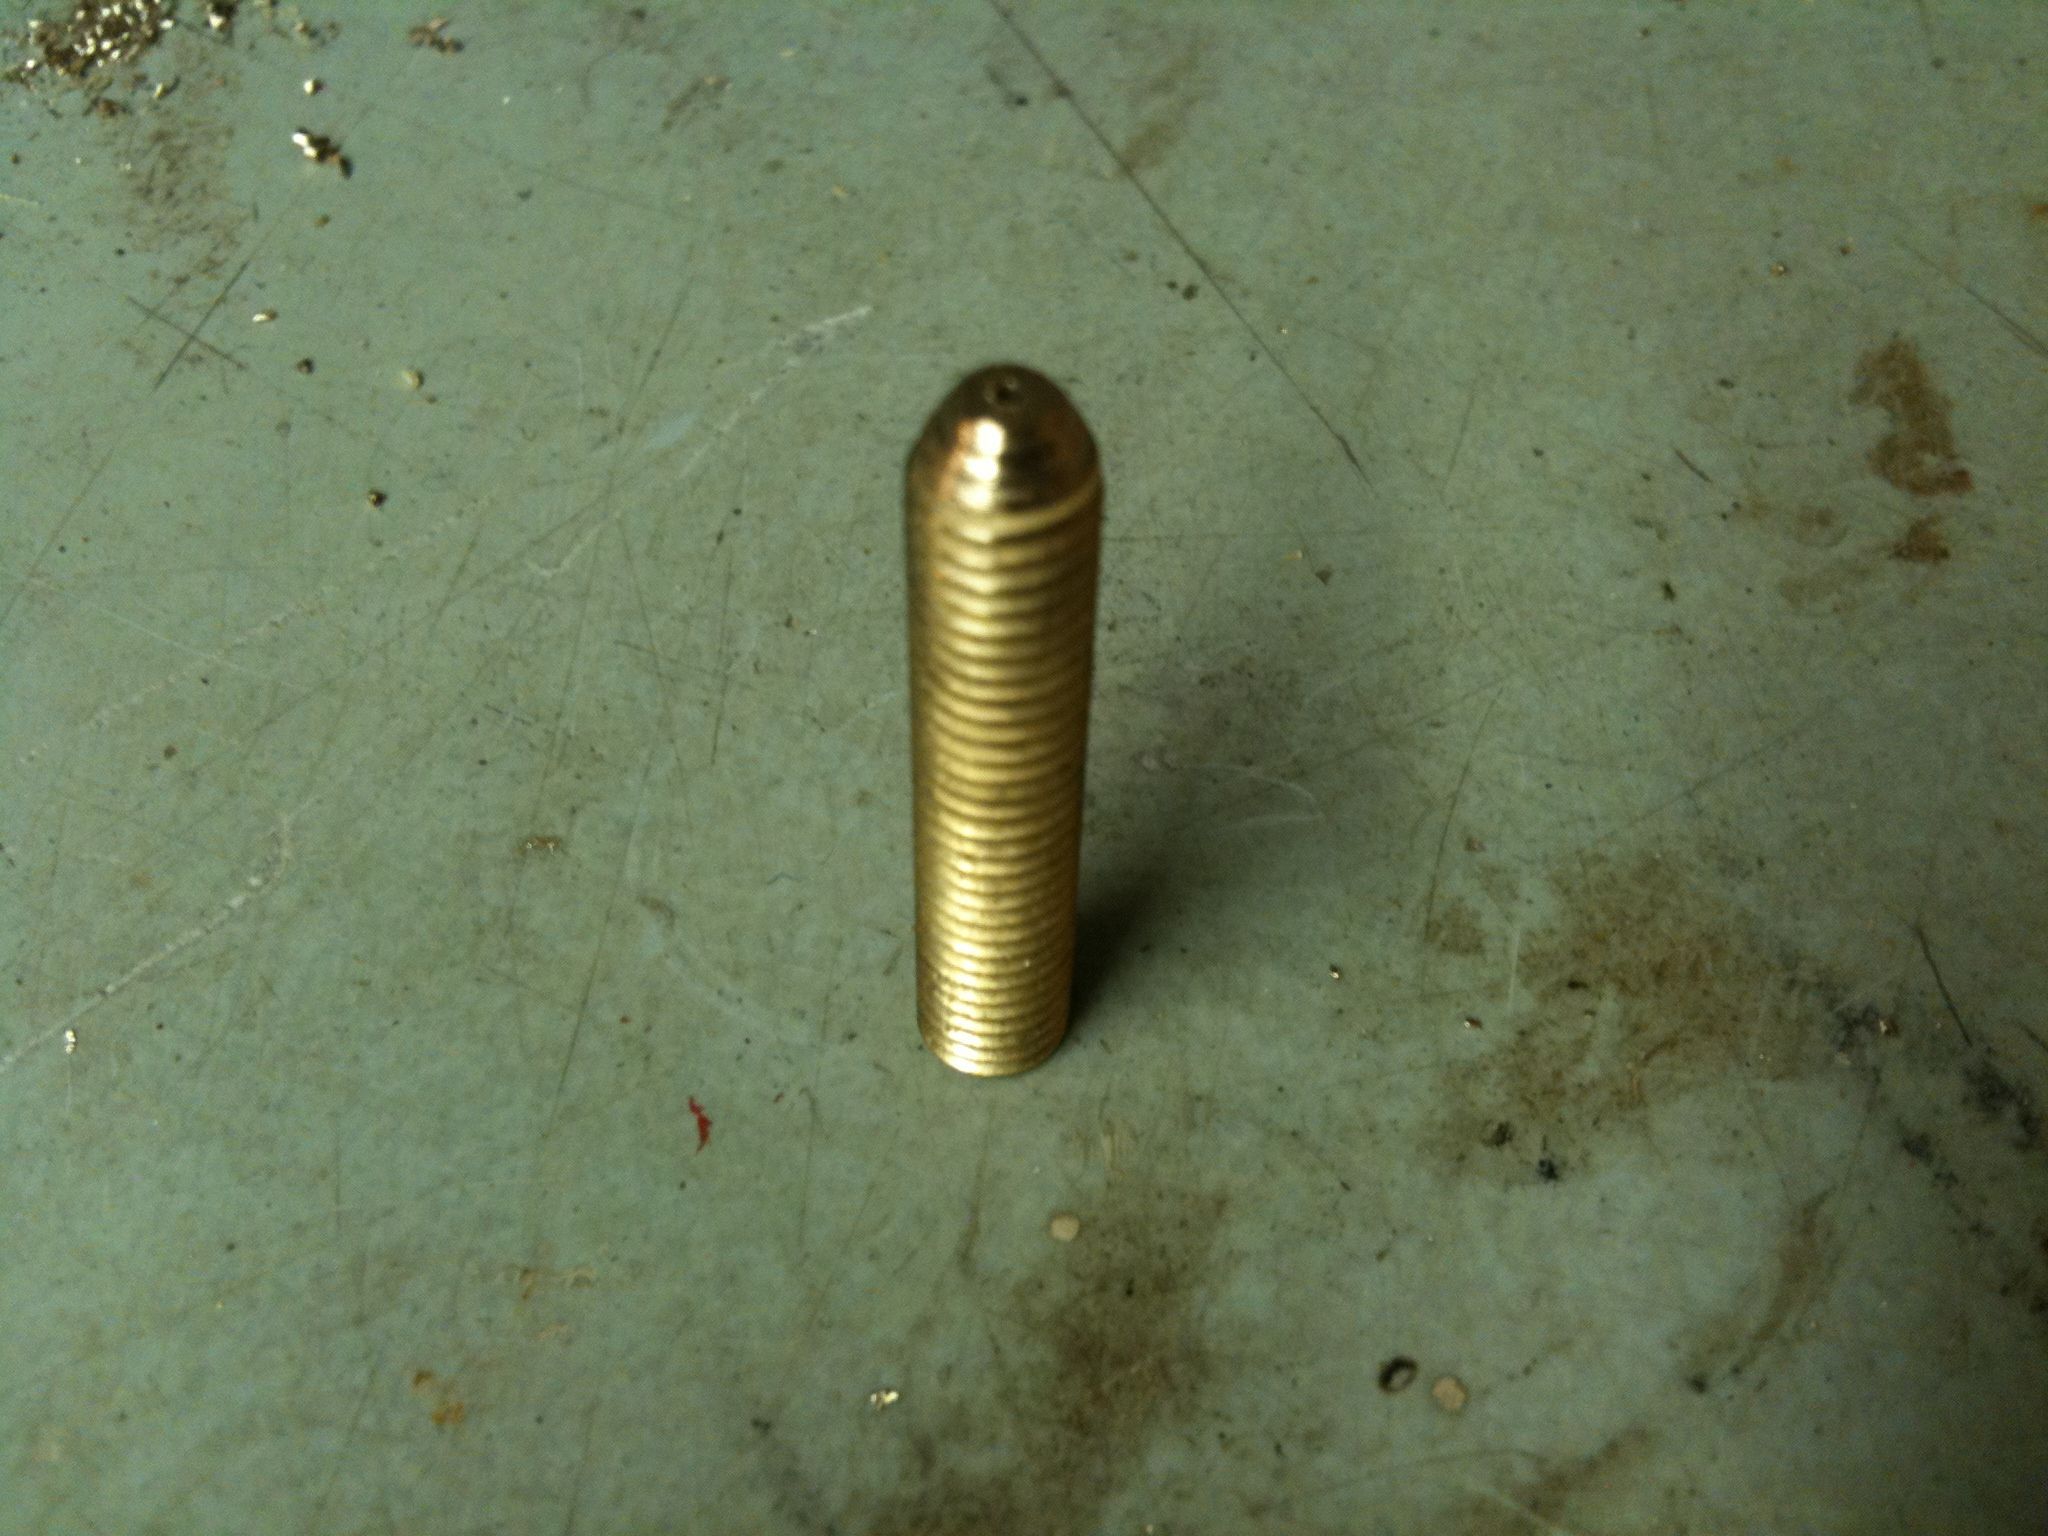
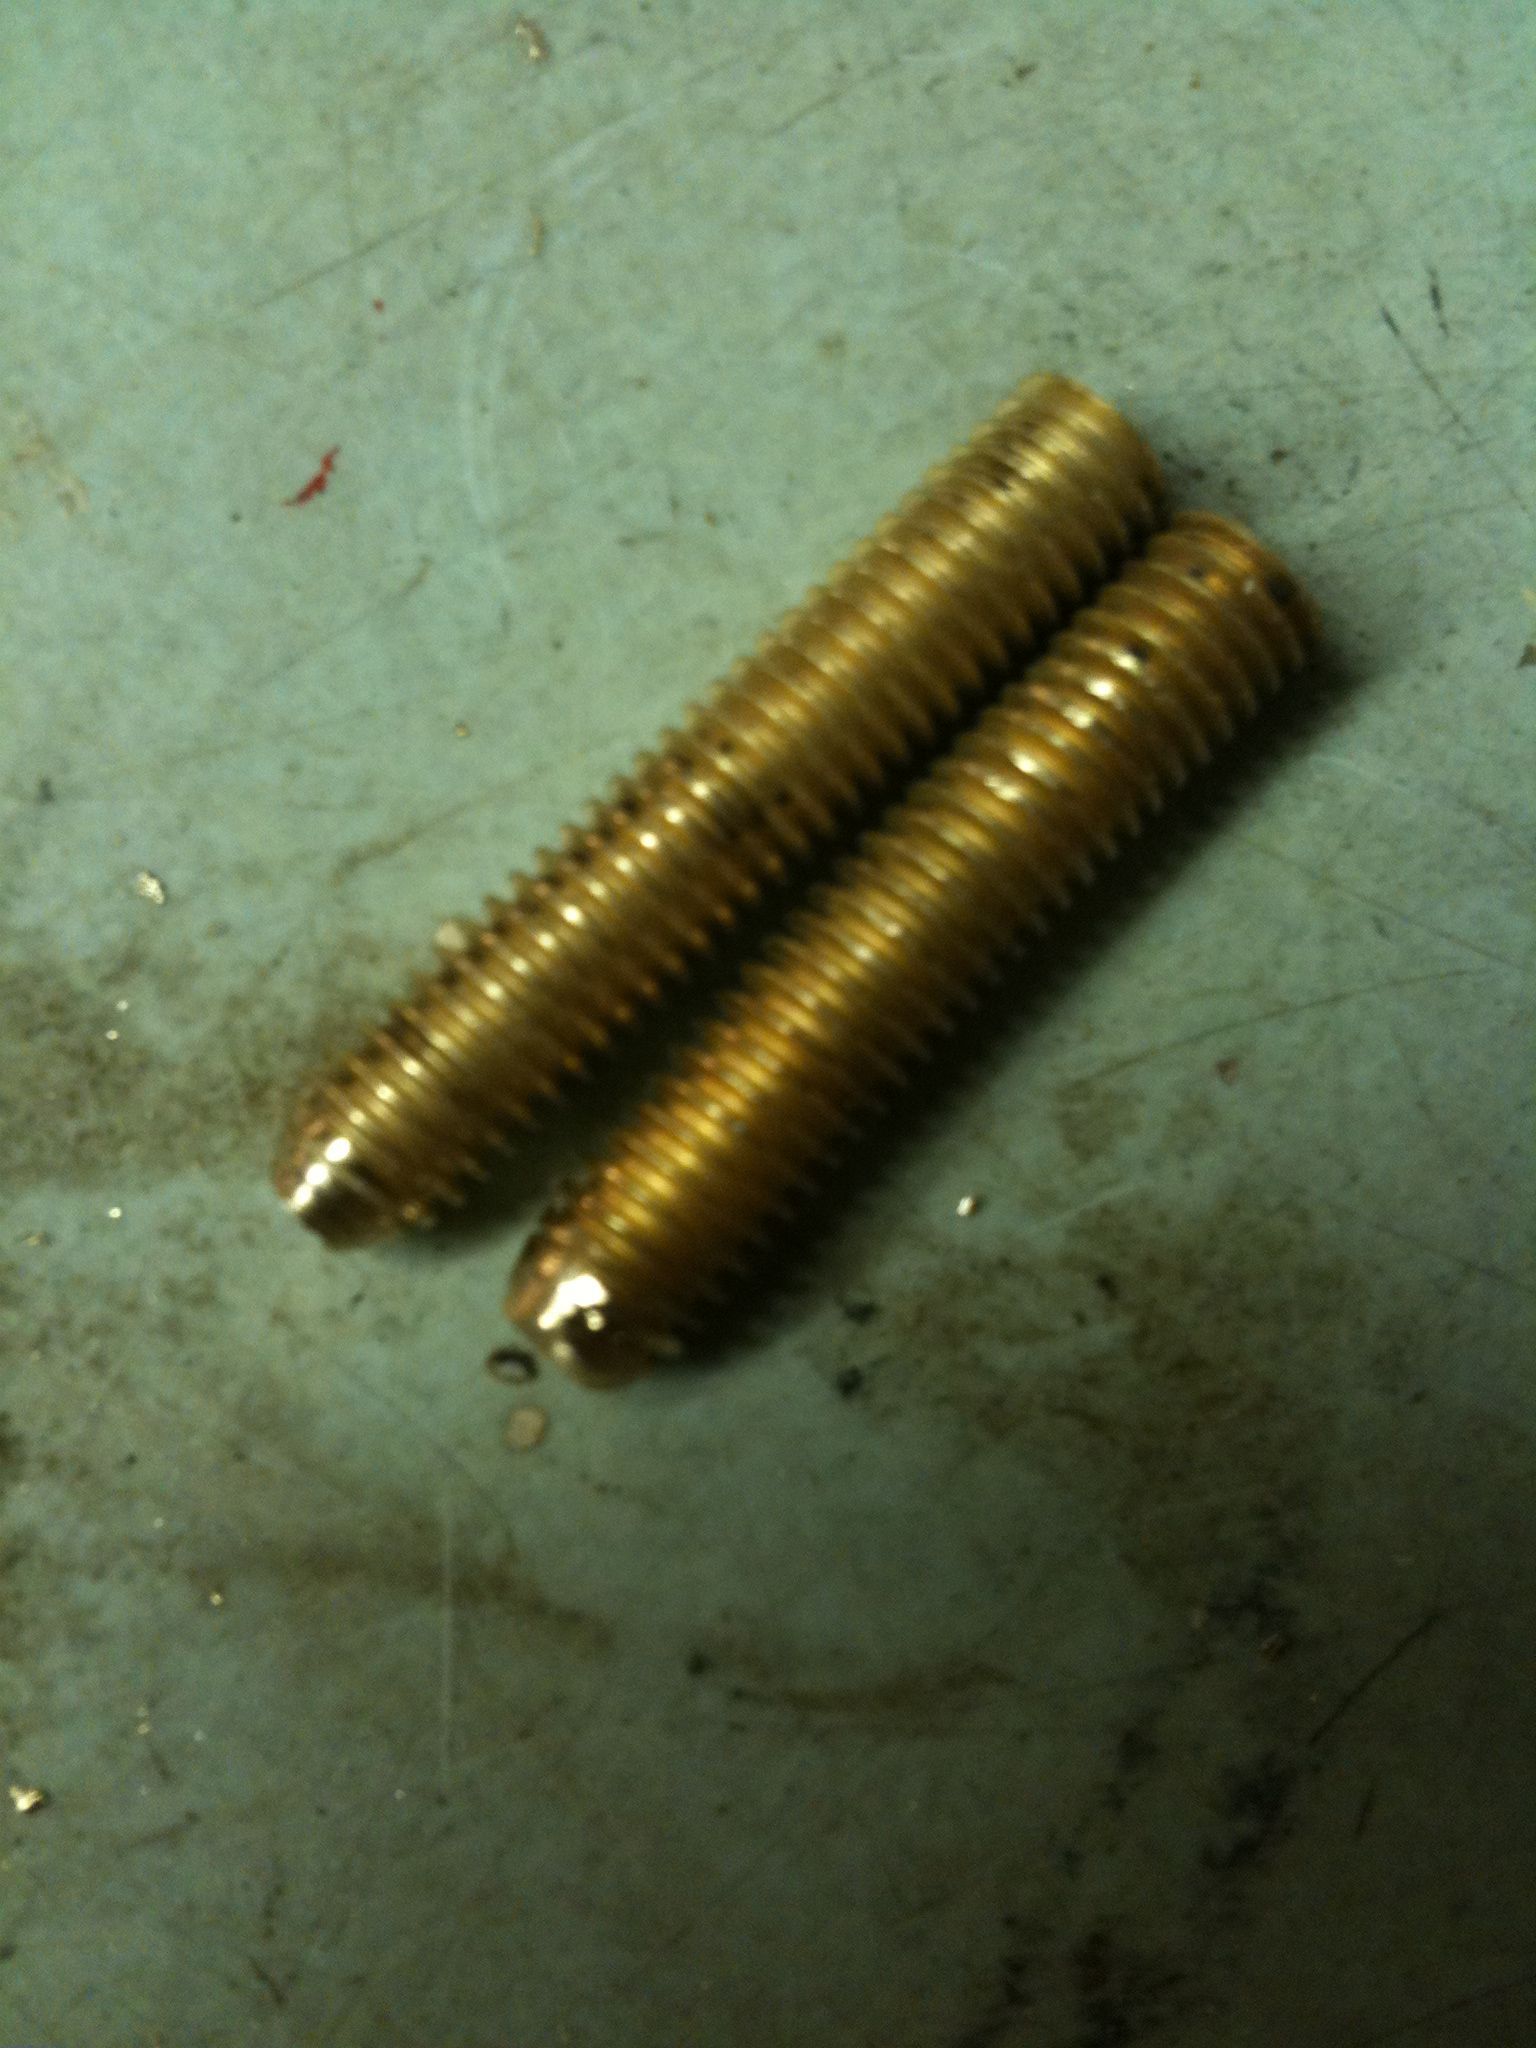
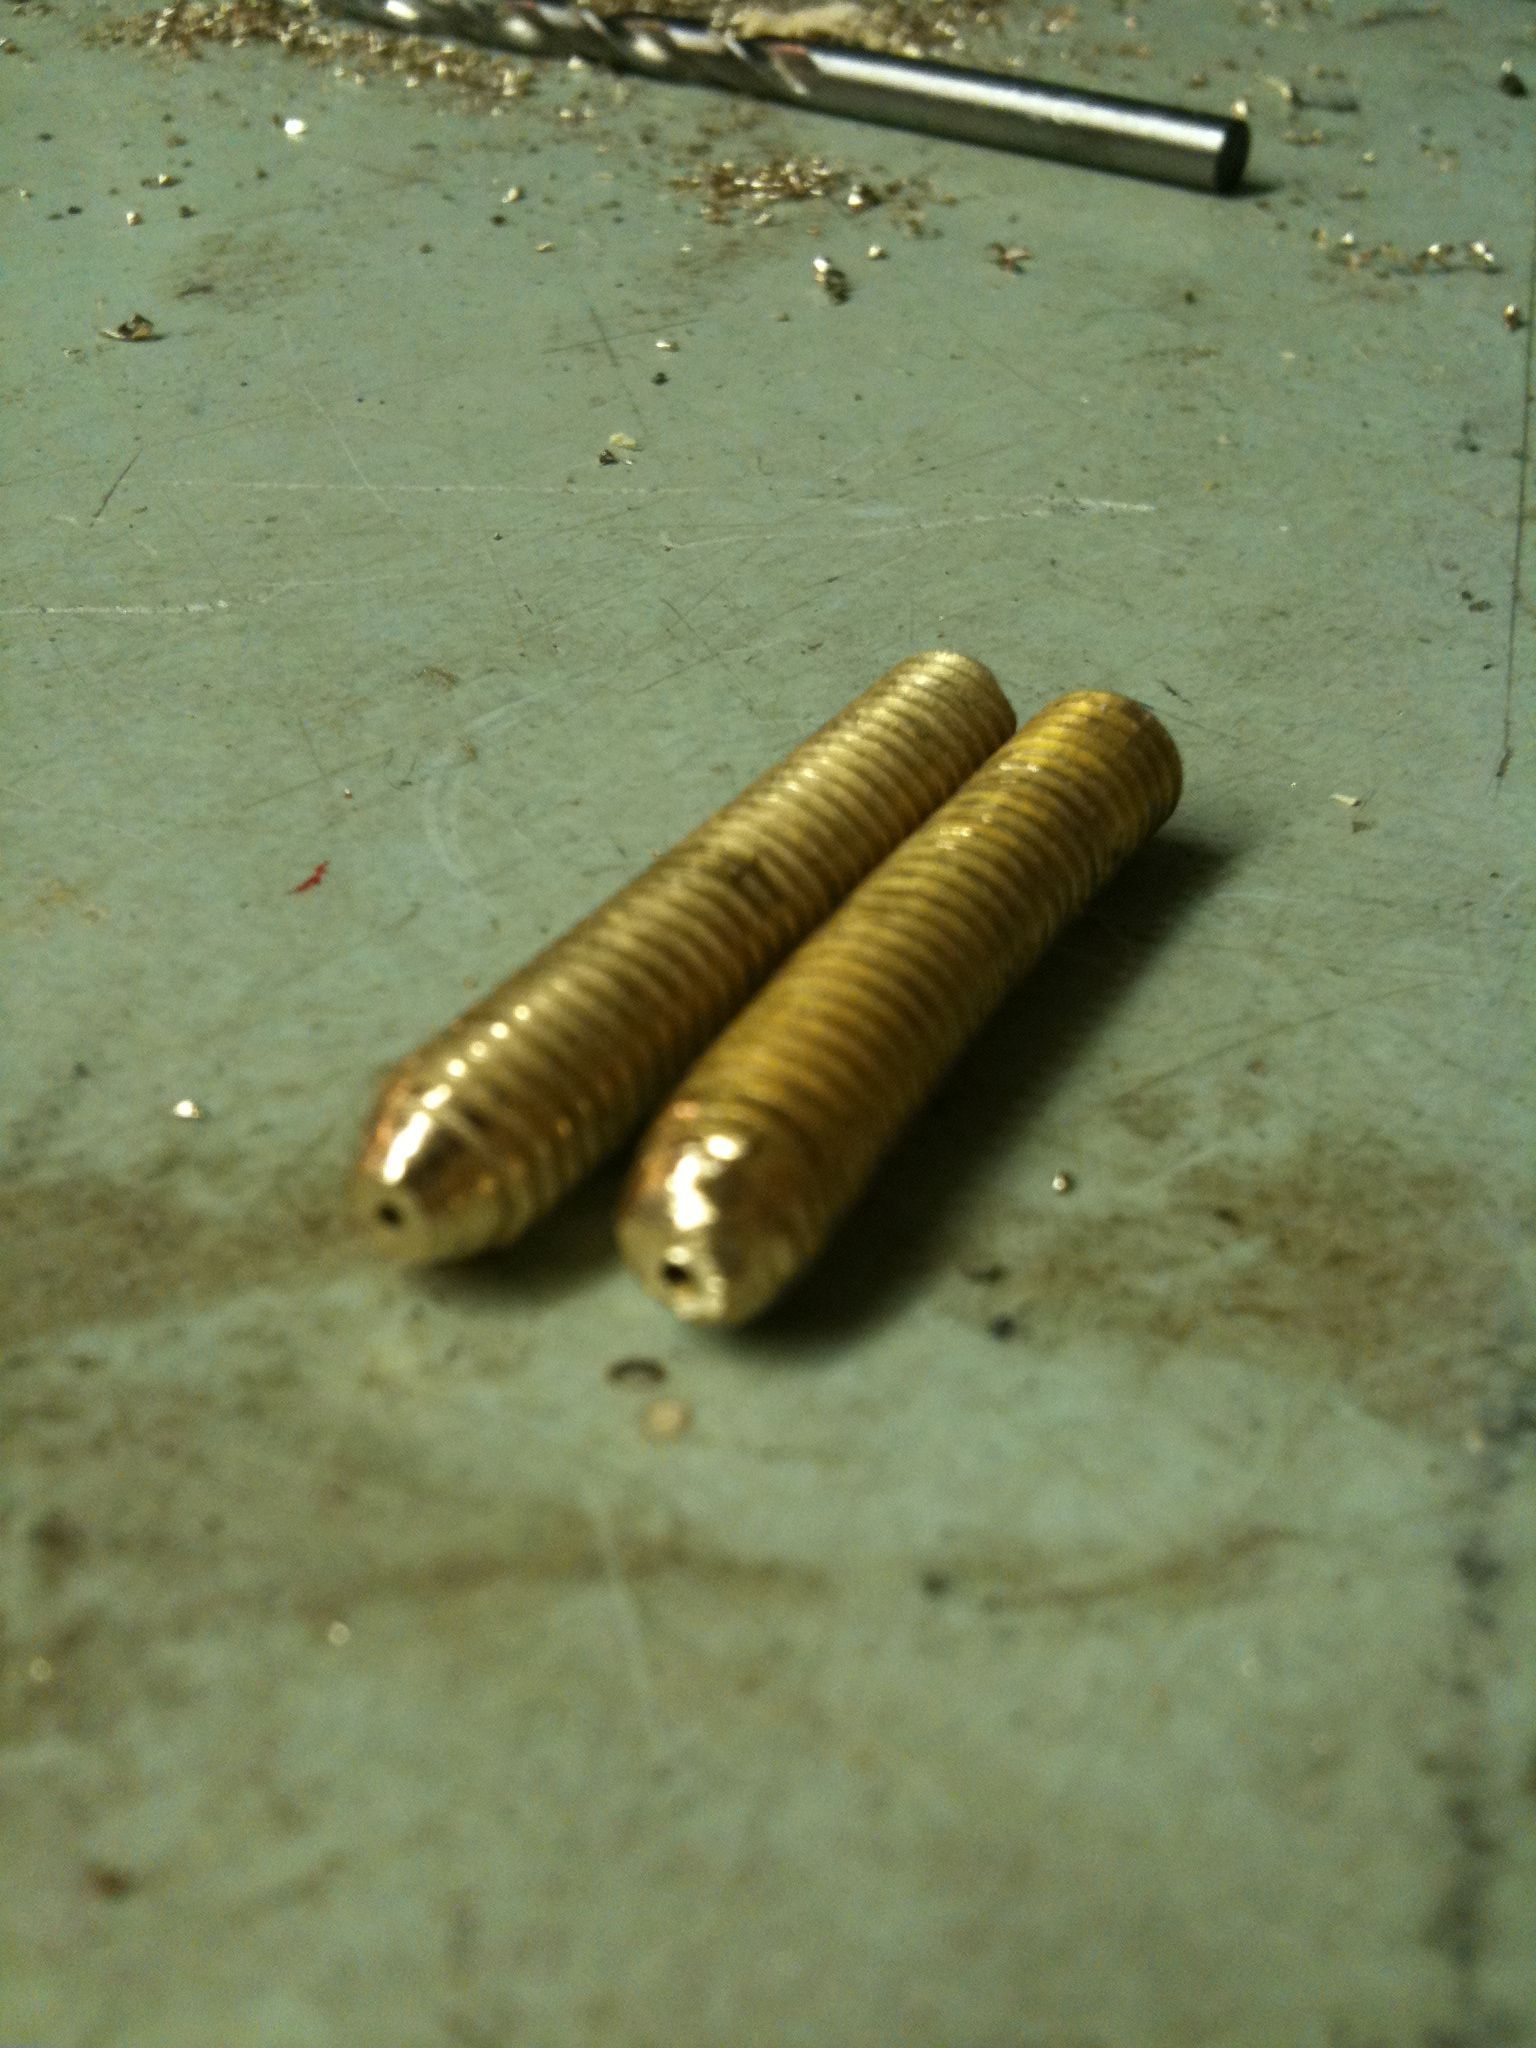
Two successful pieces of progress last night! I redid the PTFE insulator and it came out great, plus I made the copper jacket.
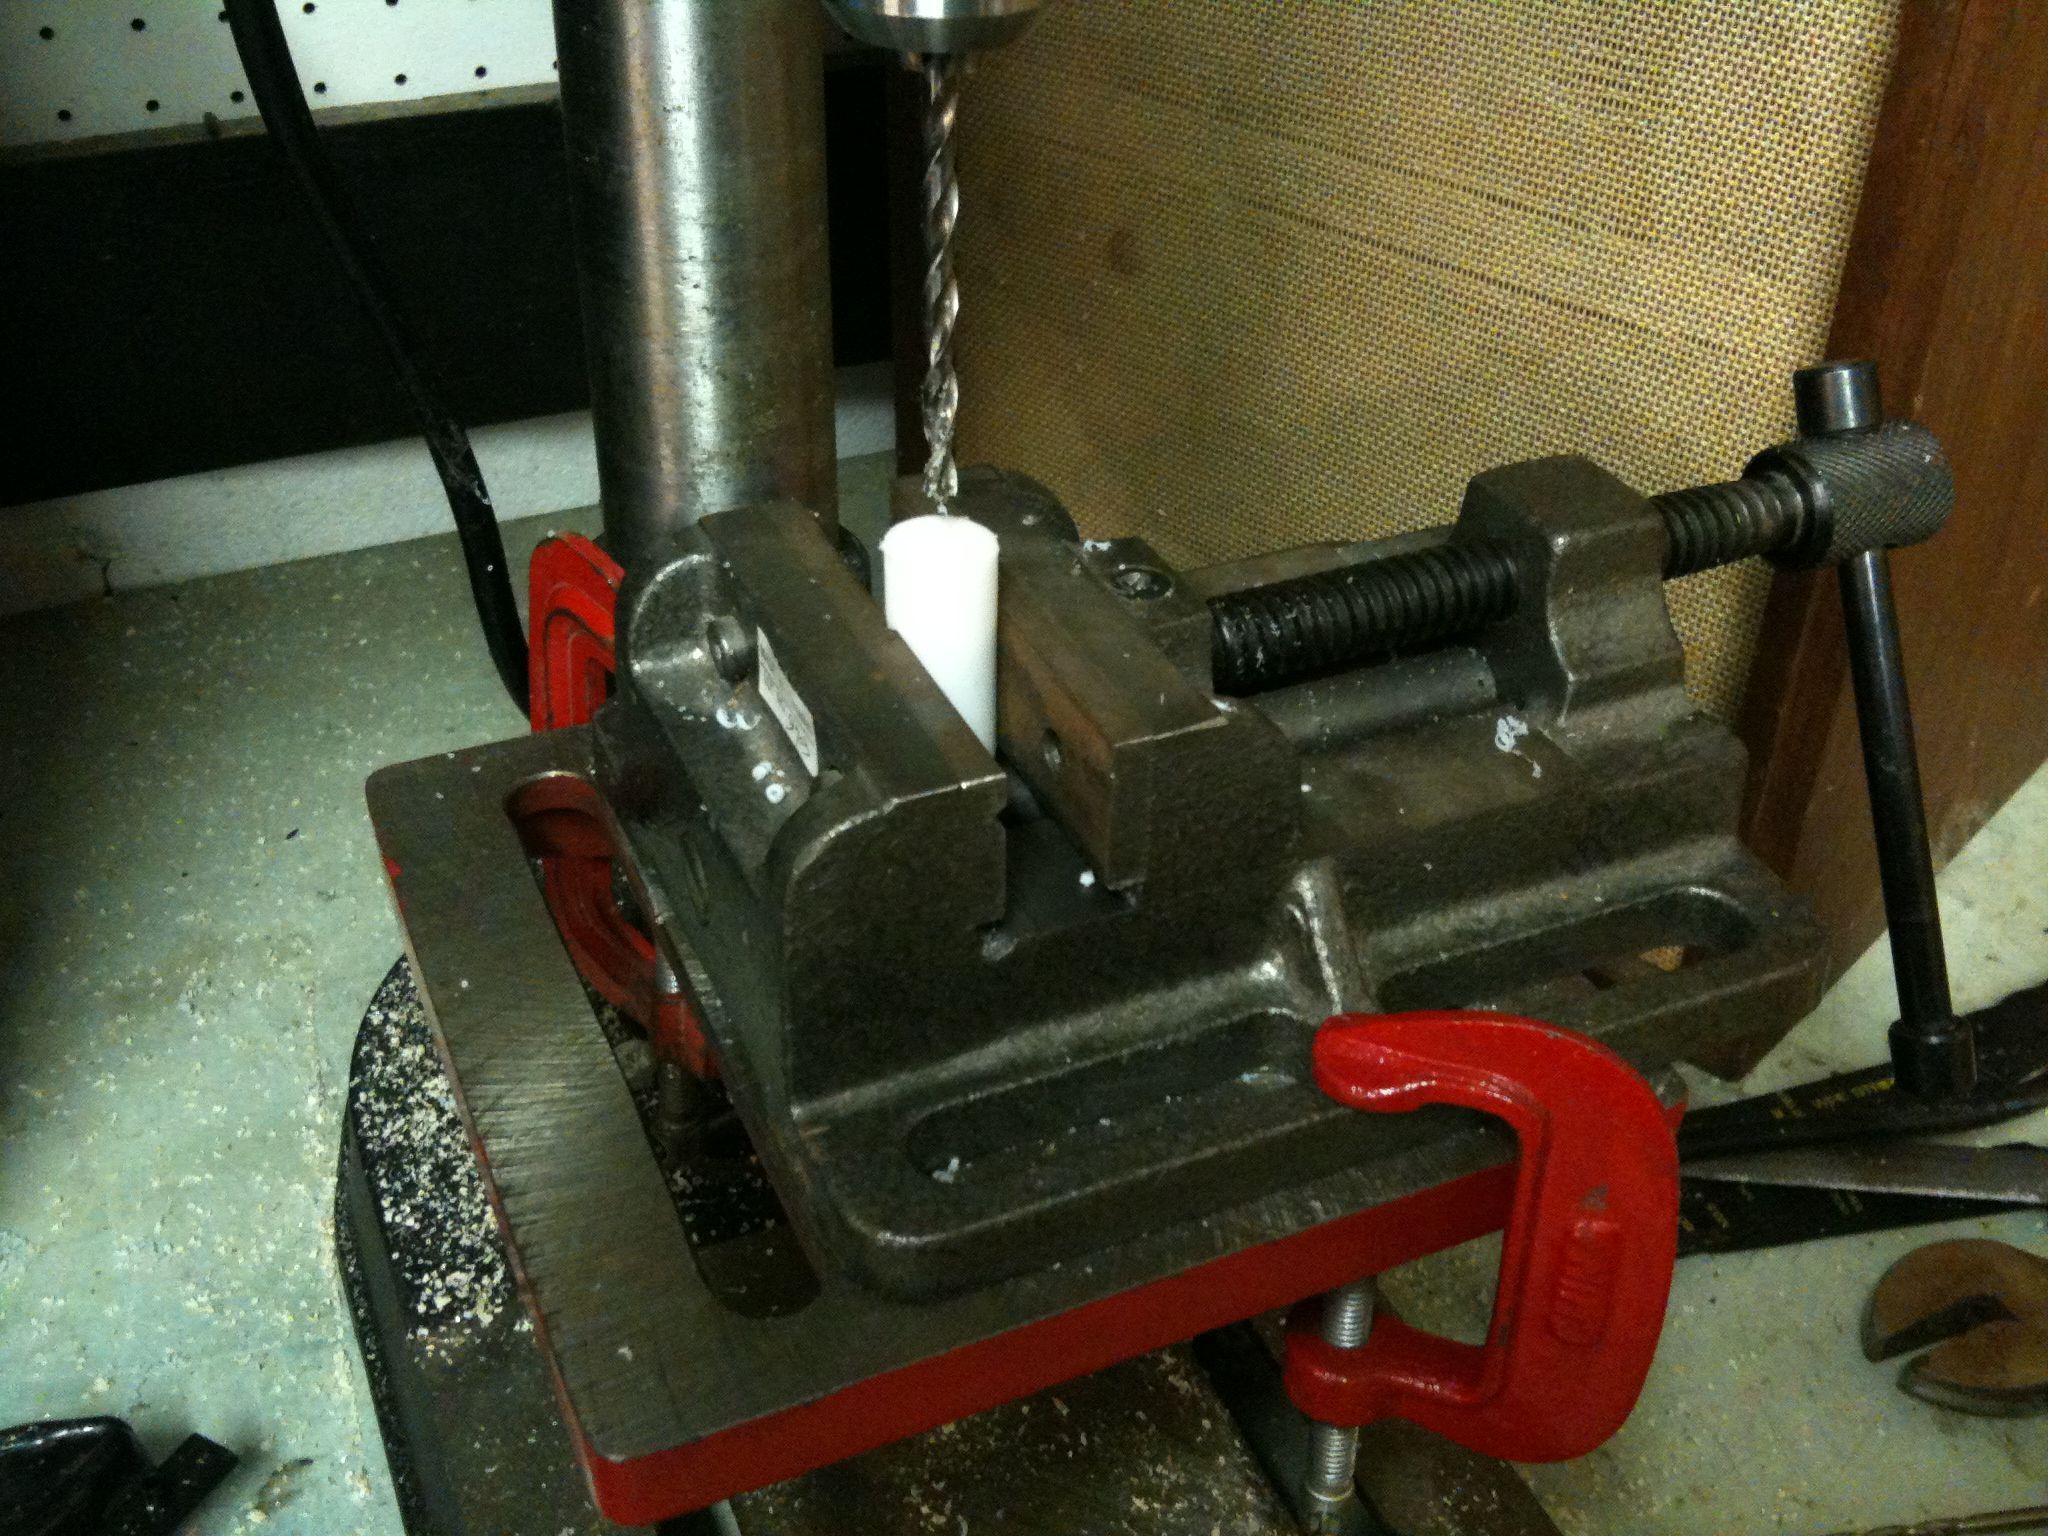
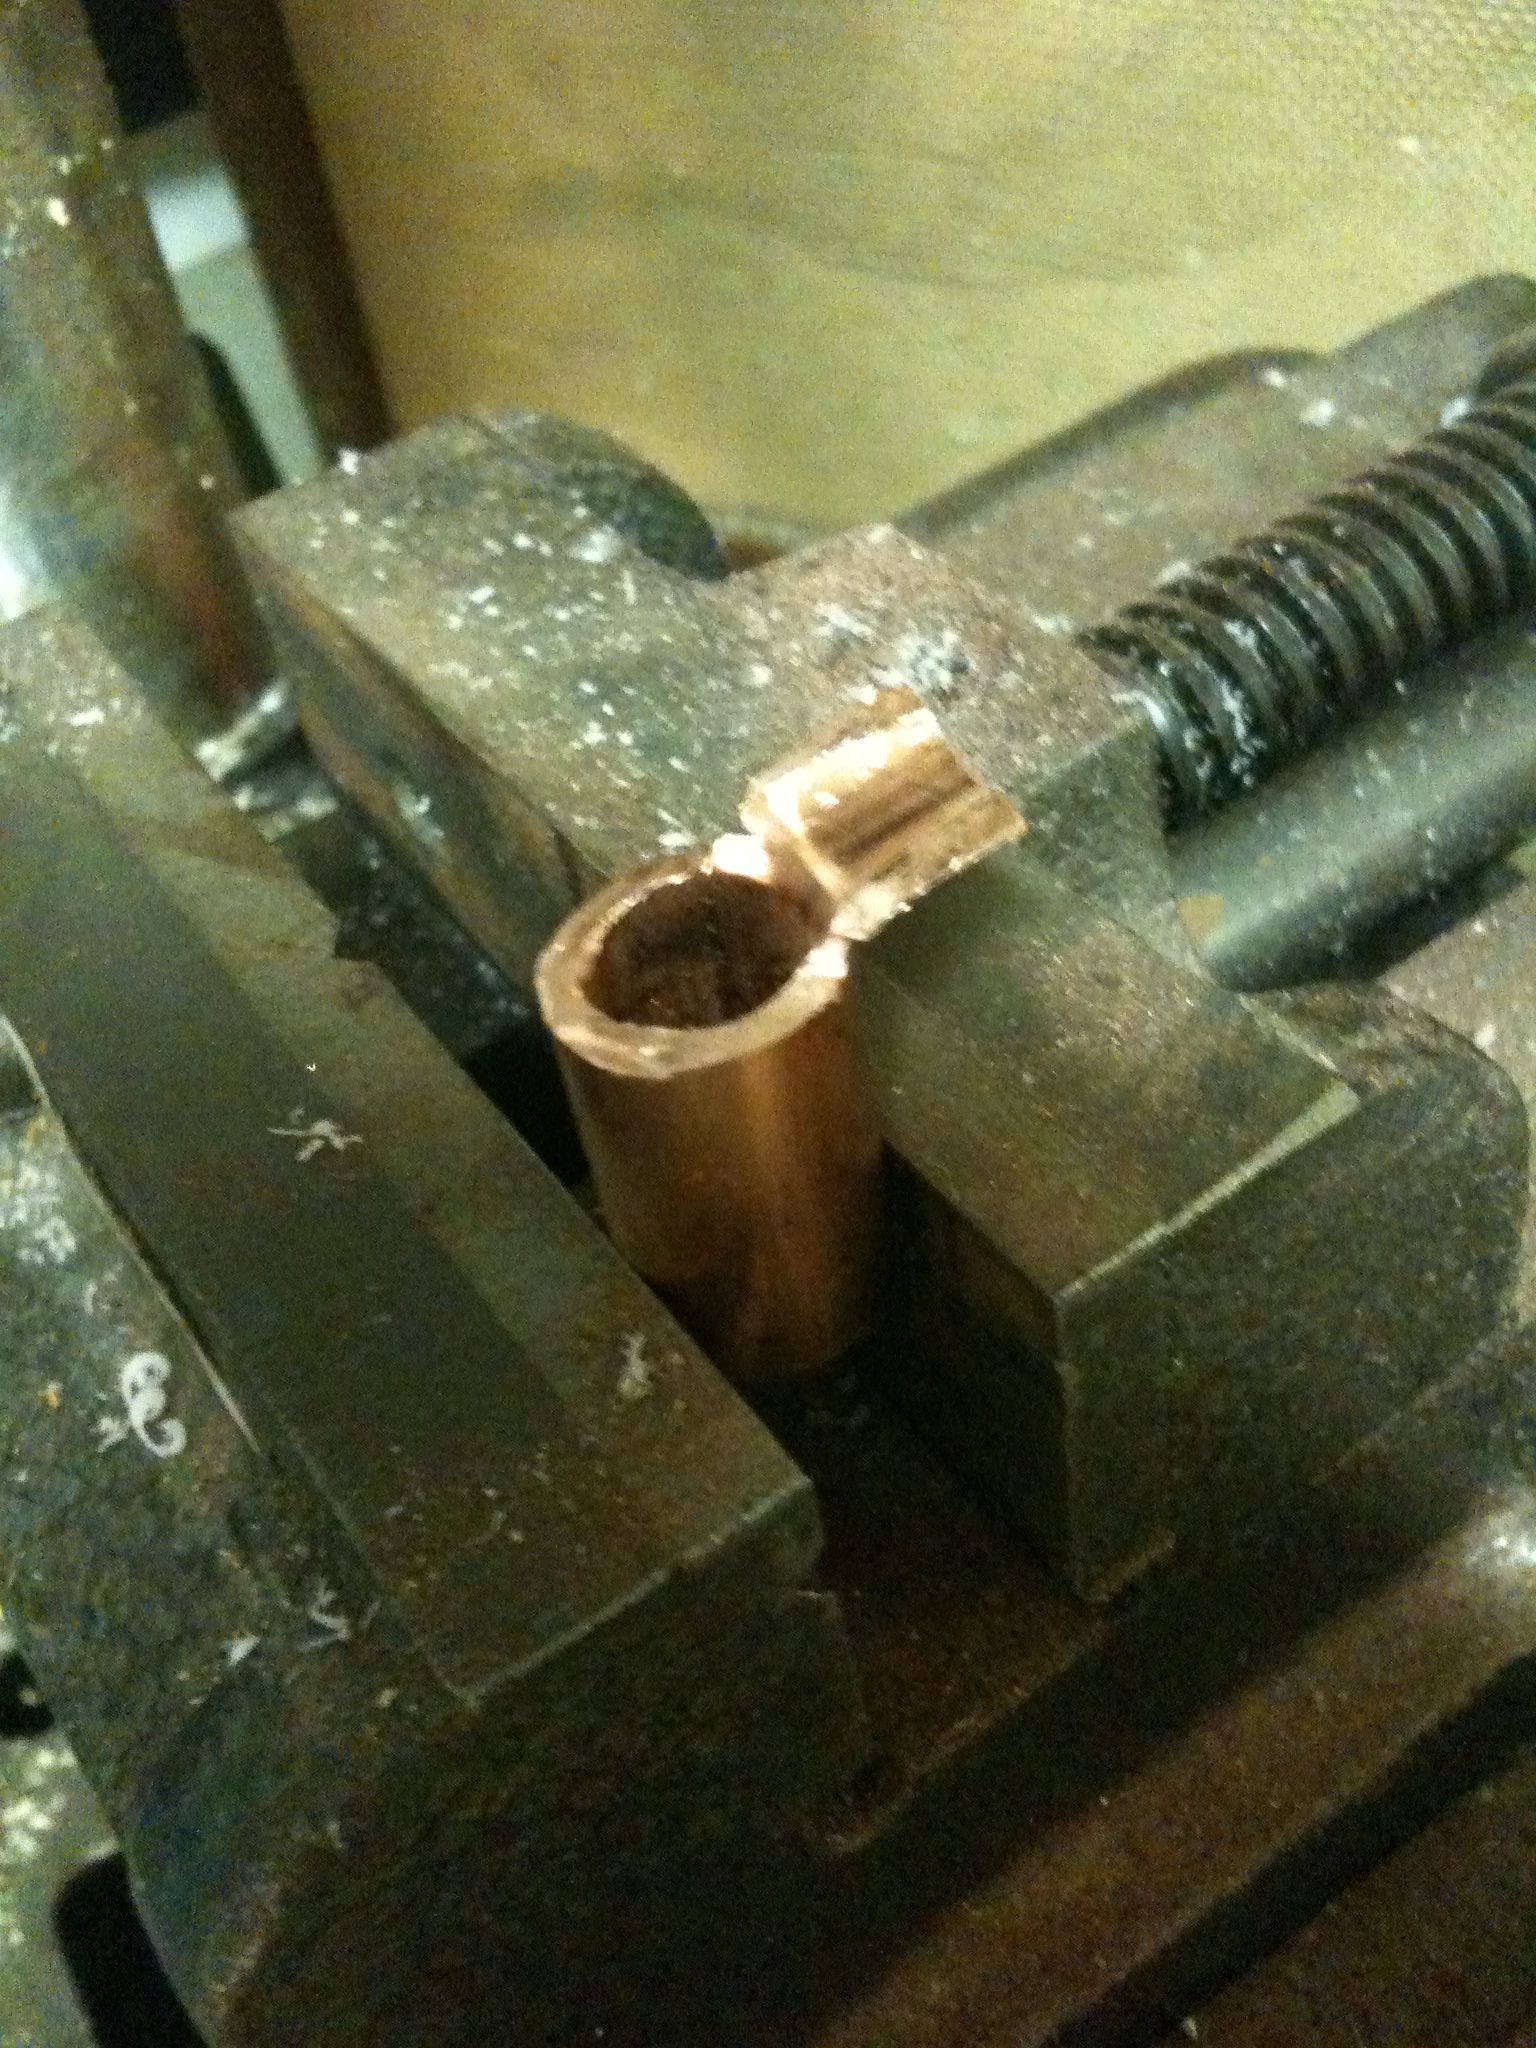
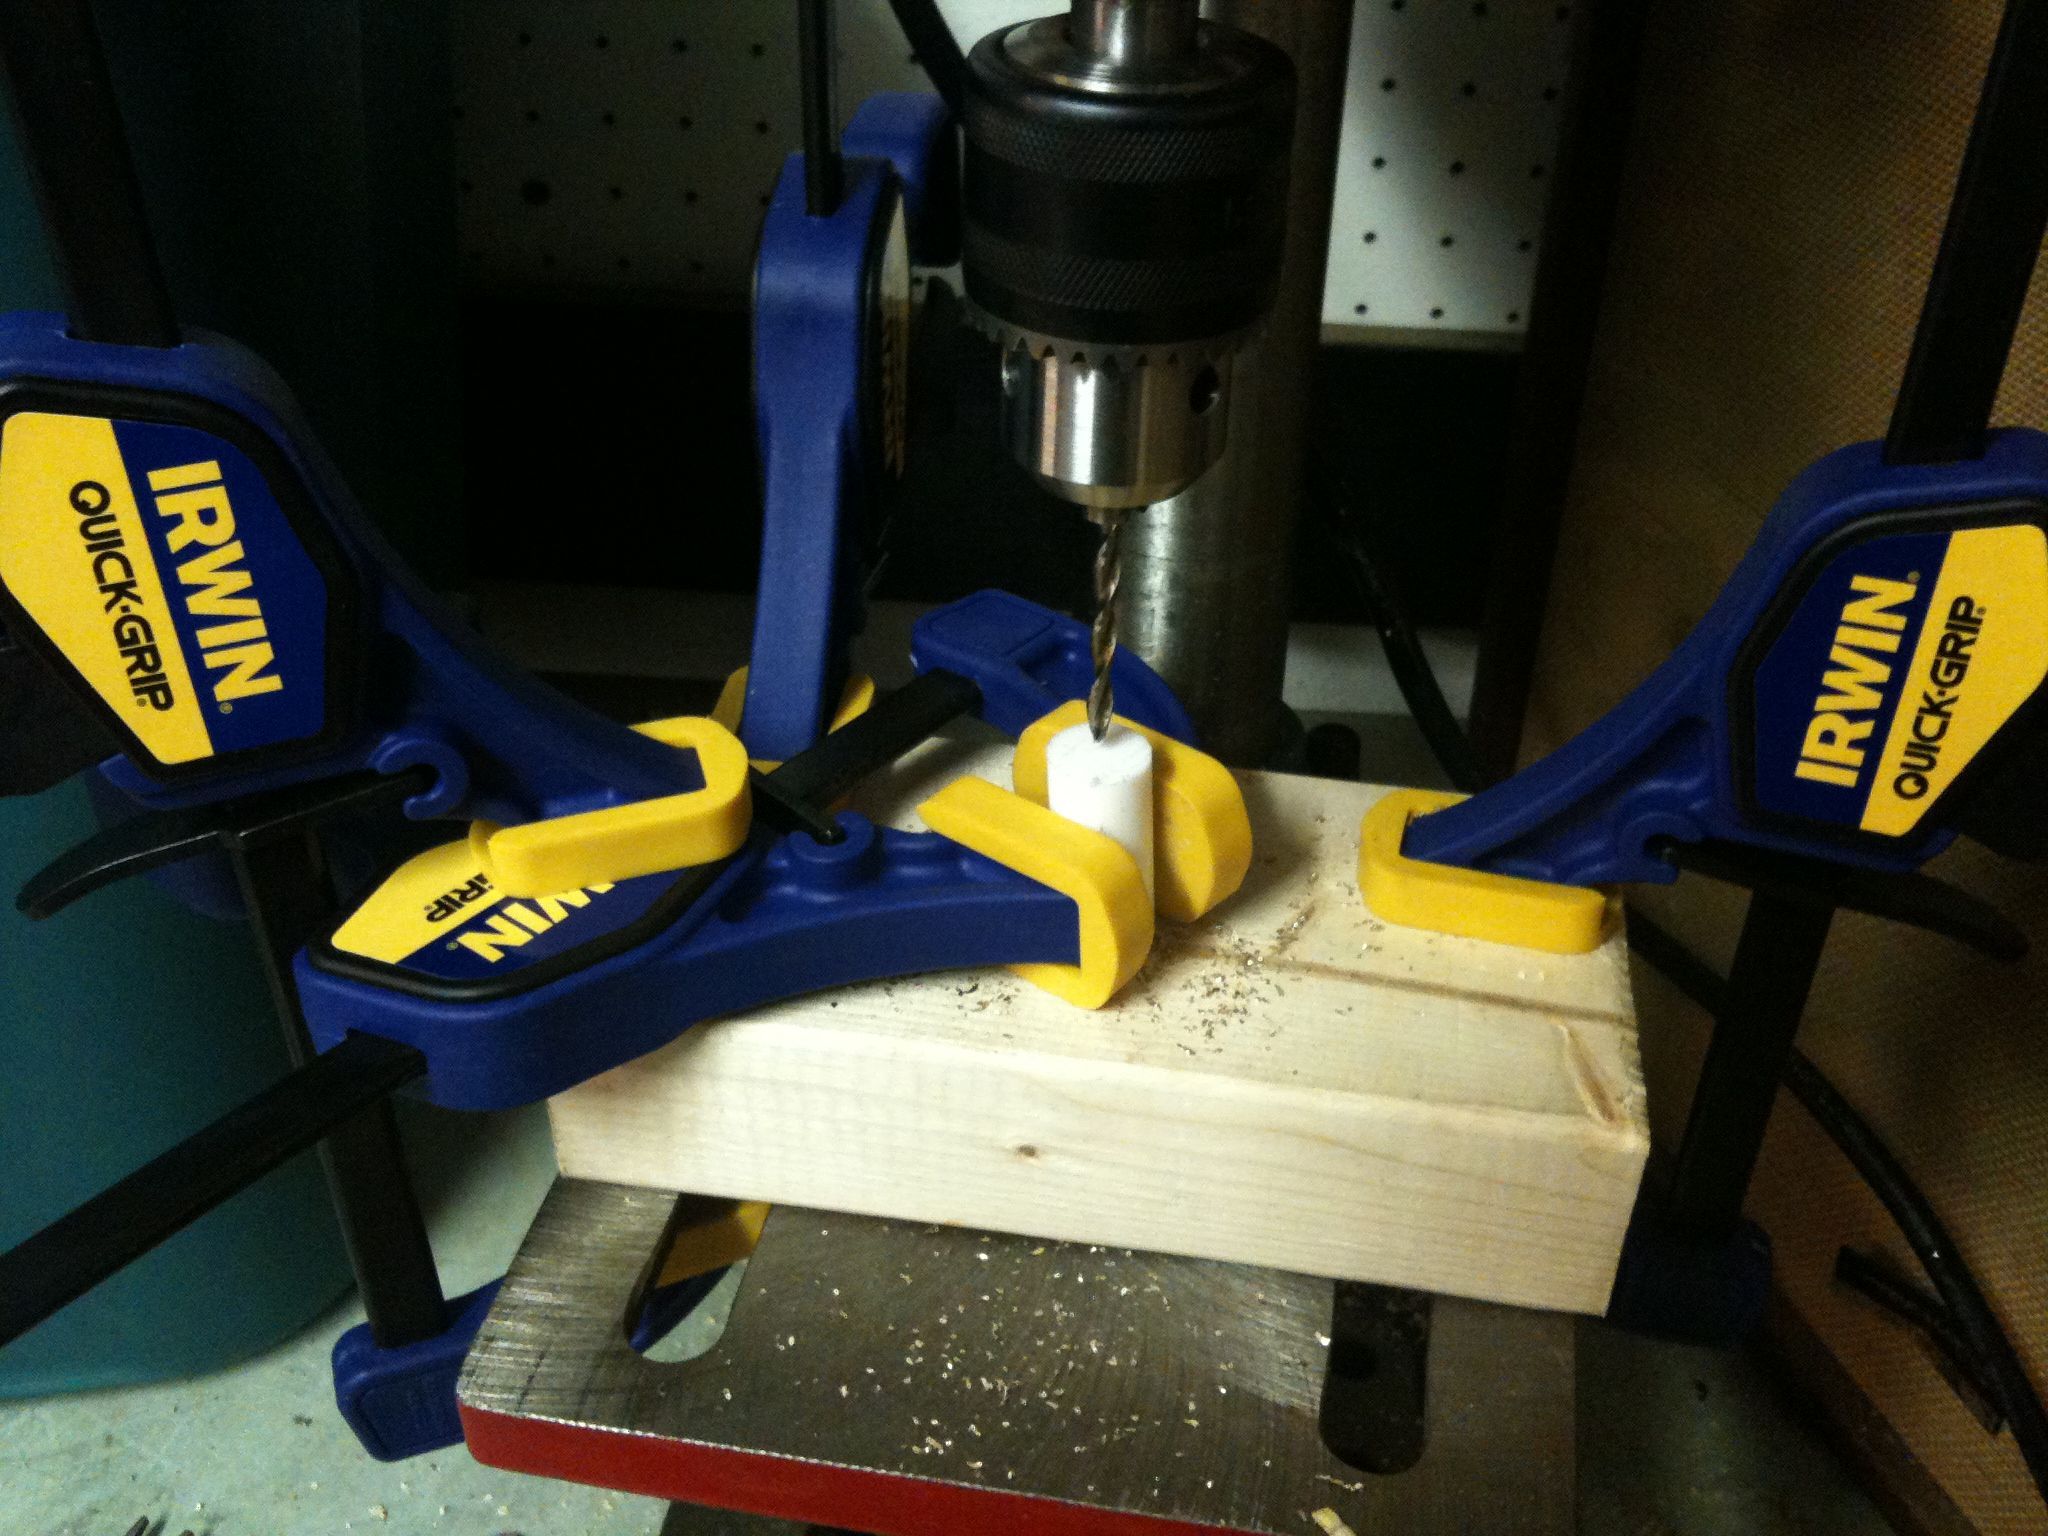
Both of my successes are because of the drill press vice that my Dad lent me yesterday (shown here clamped to my drill press):
This time, I lined the PTFE up in the vice along a vertical notch that let me keep the PTFE rod lined up (despite what the cut end of the rod looked like). This time the end was smoother anyway because I used my table saw to cut the PTFE, rather than a hand saw. I then used a 1/8″ bit to drill all the way through, swapped out the bit with a 3/16″ bit, and drilled that 15mm in.
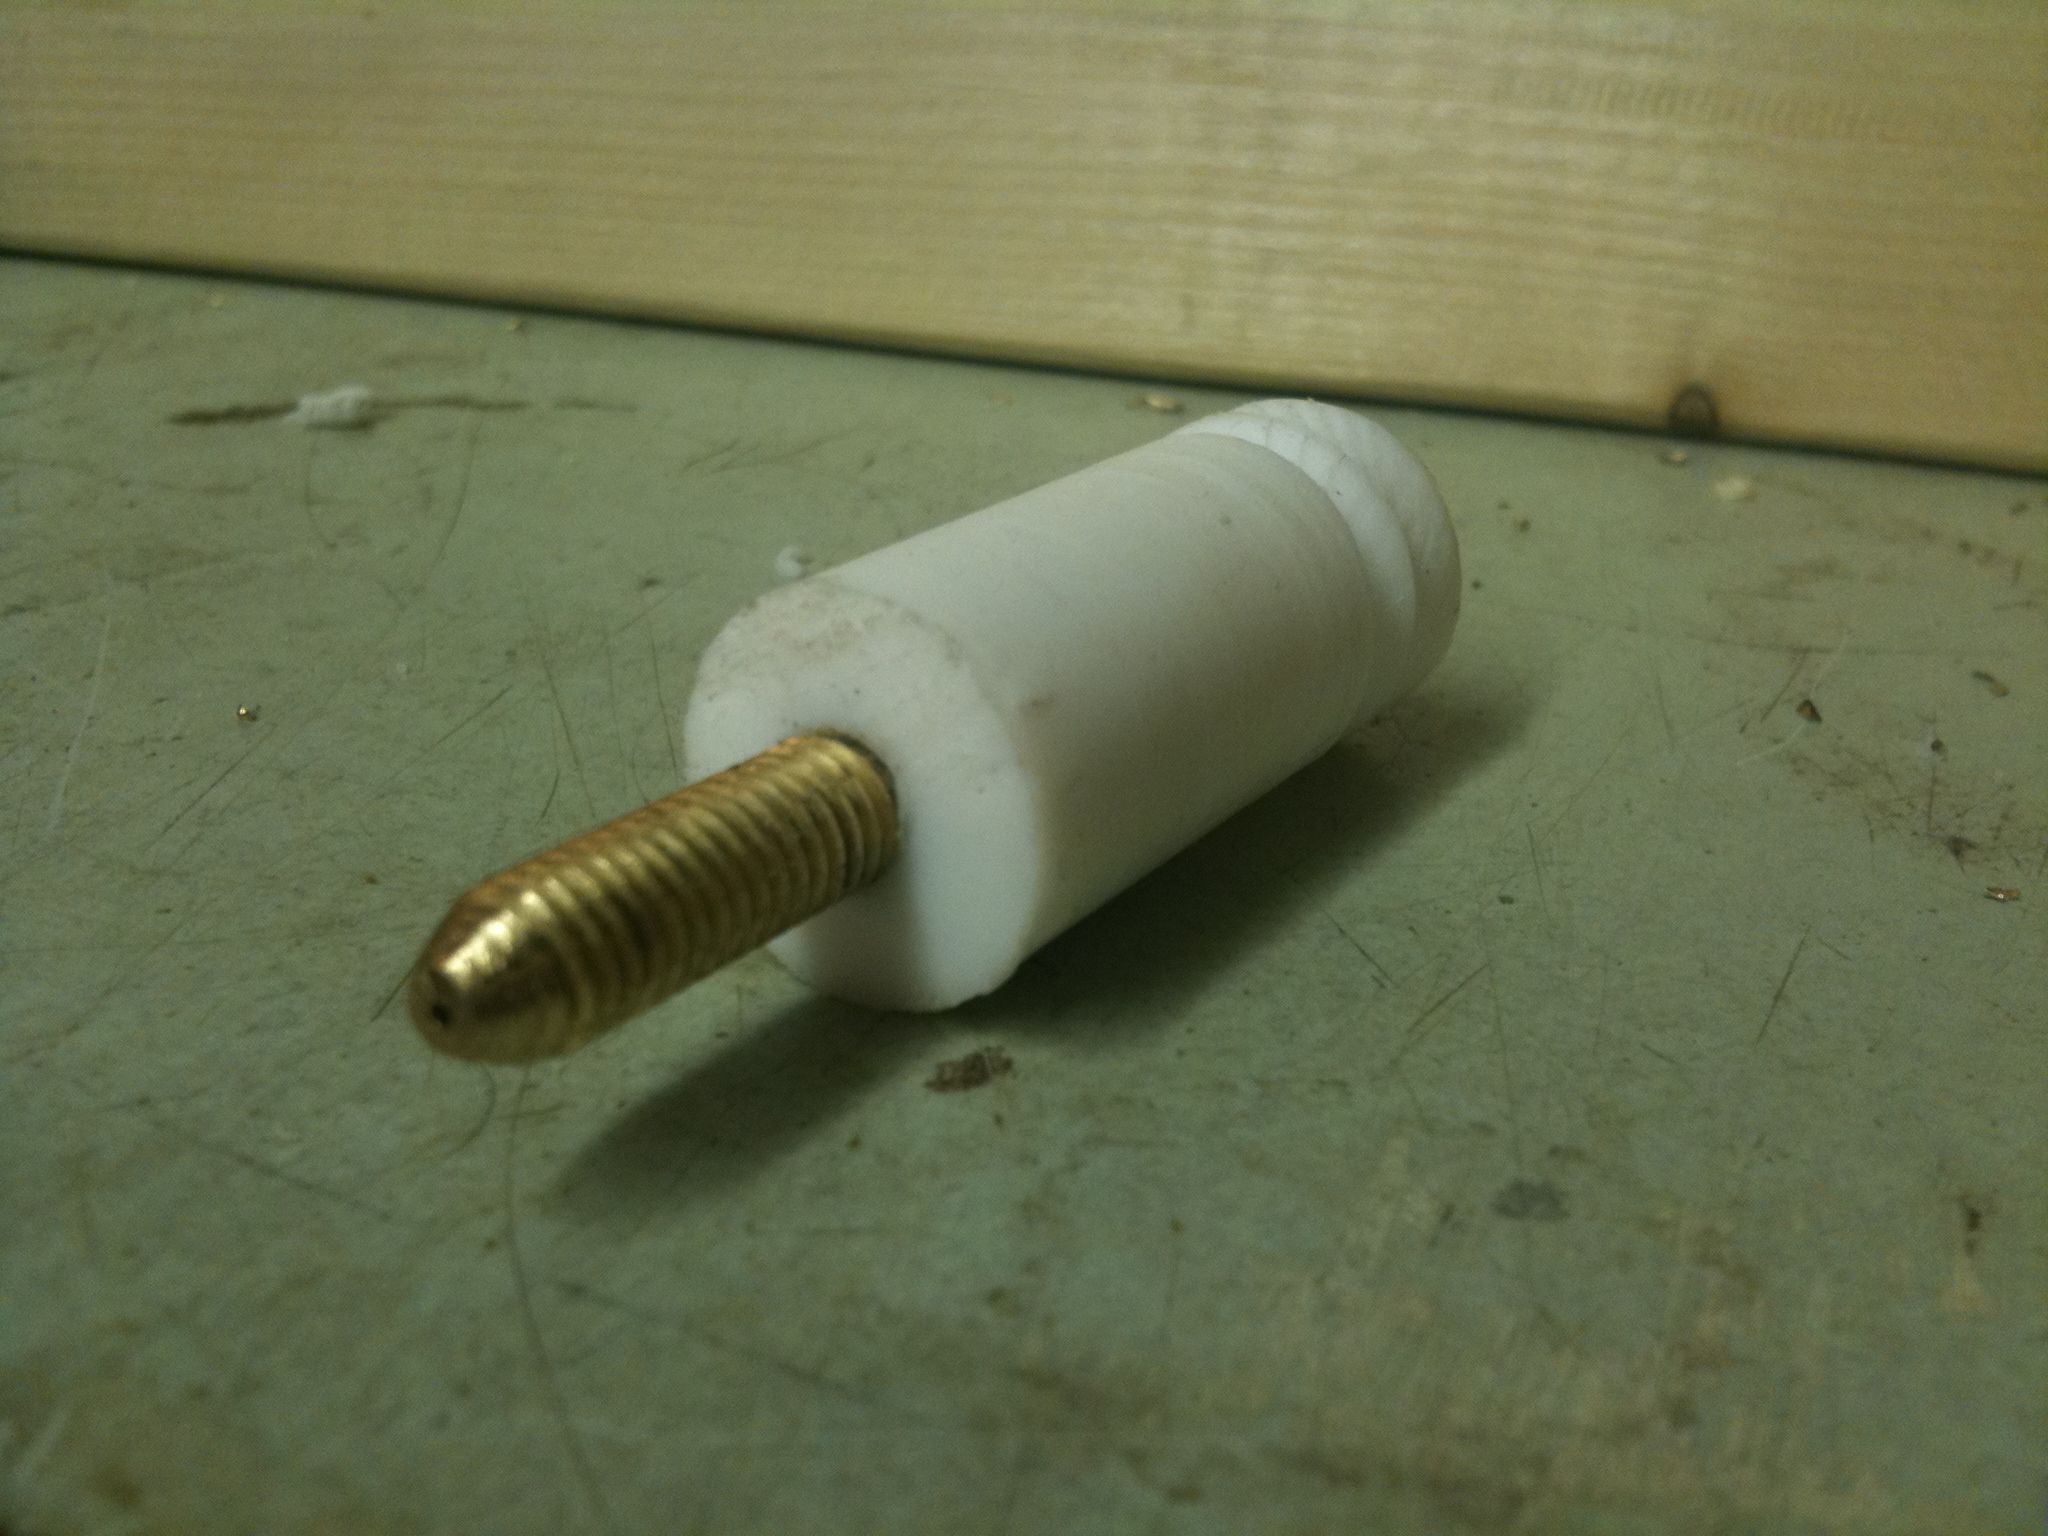
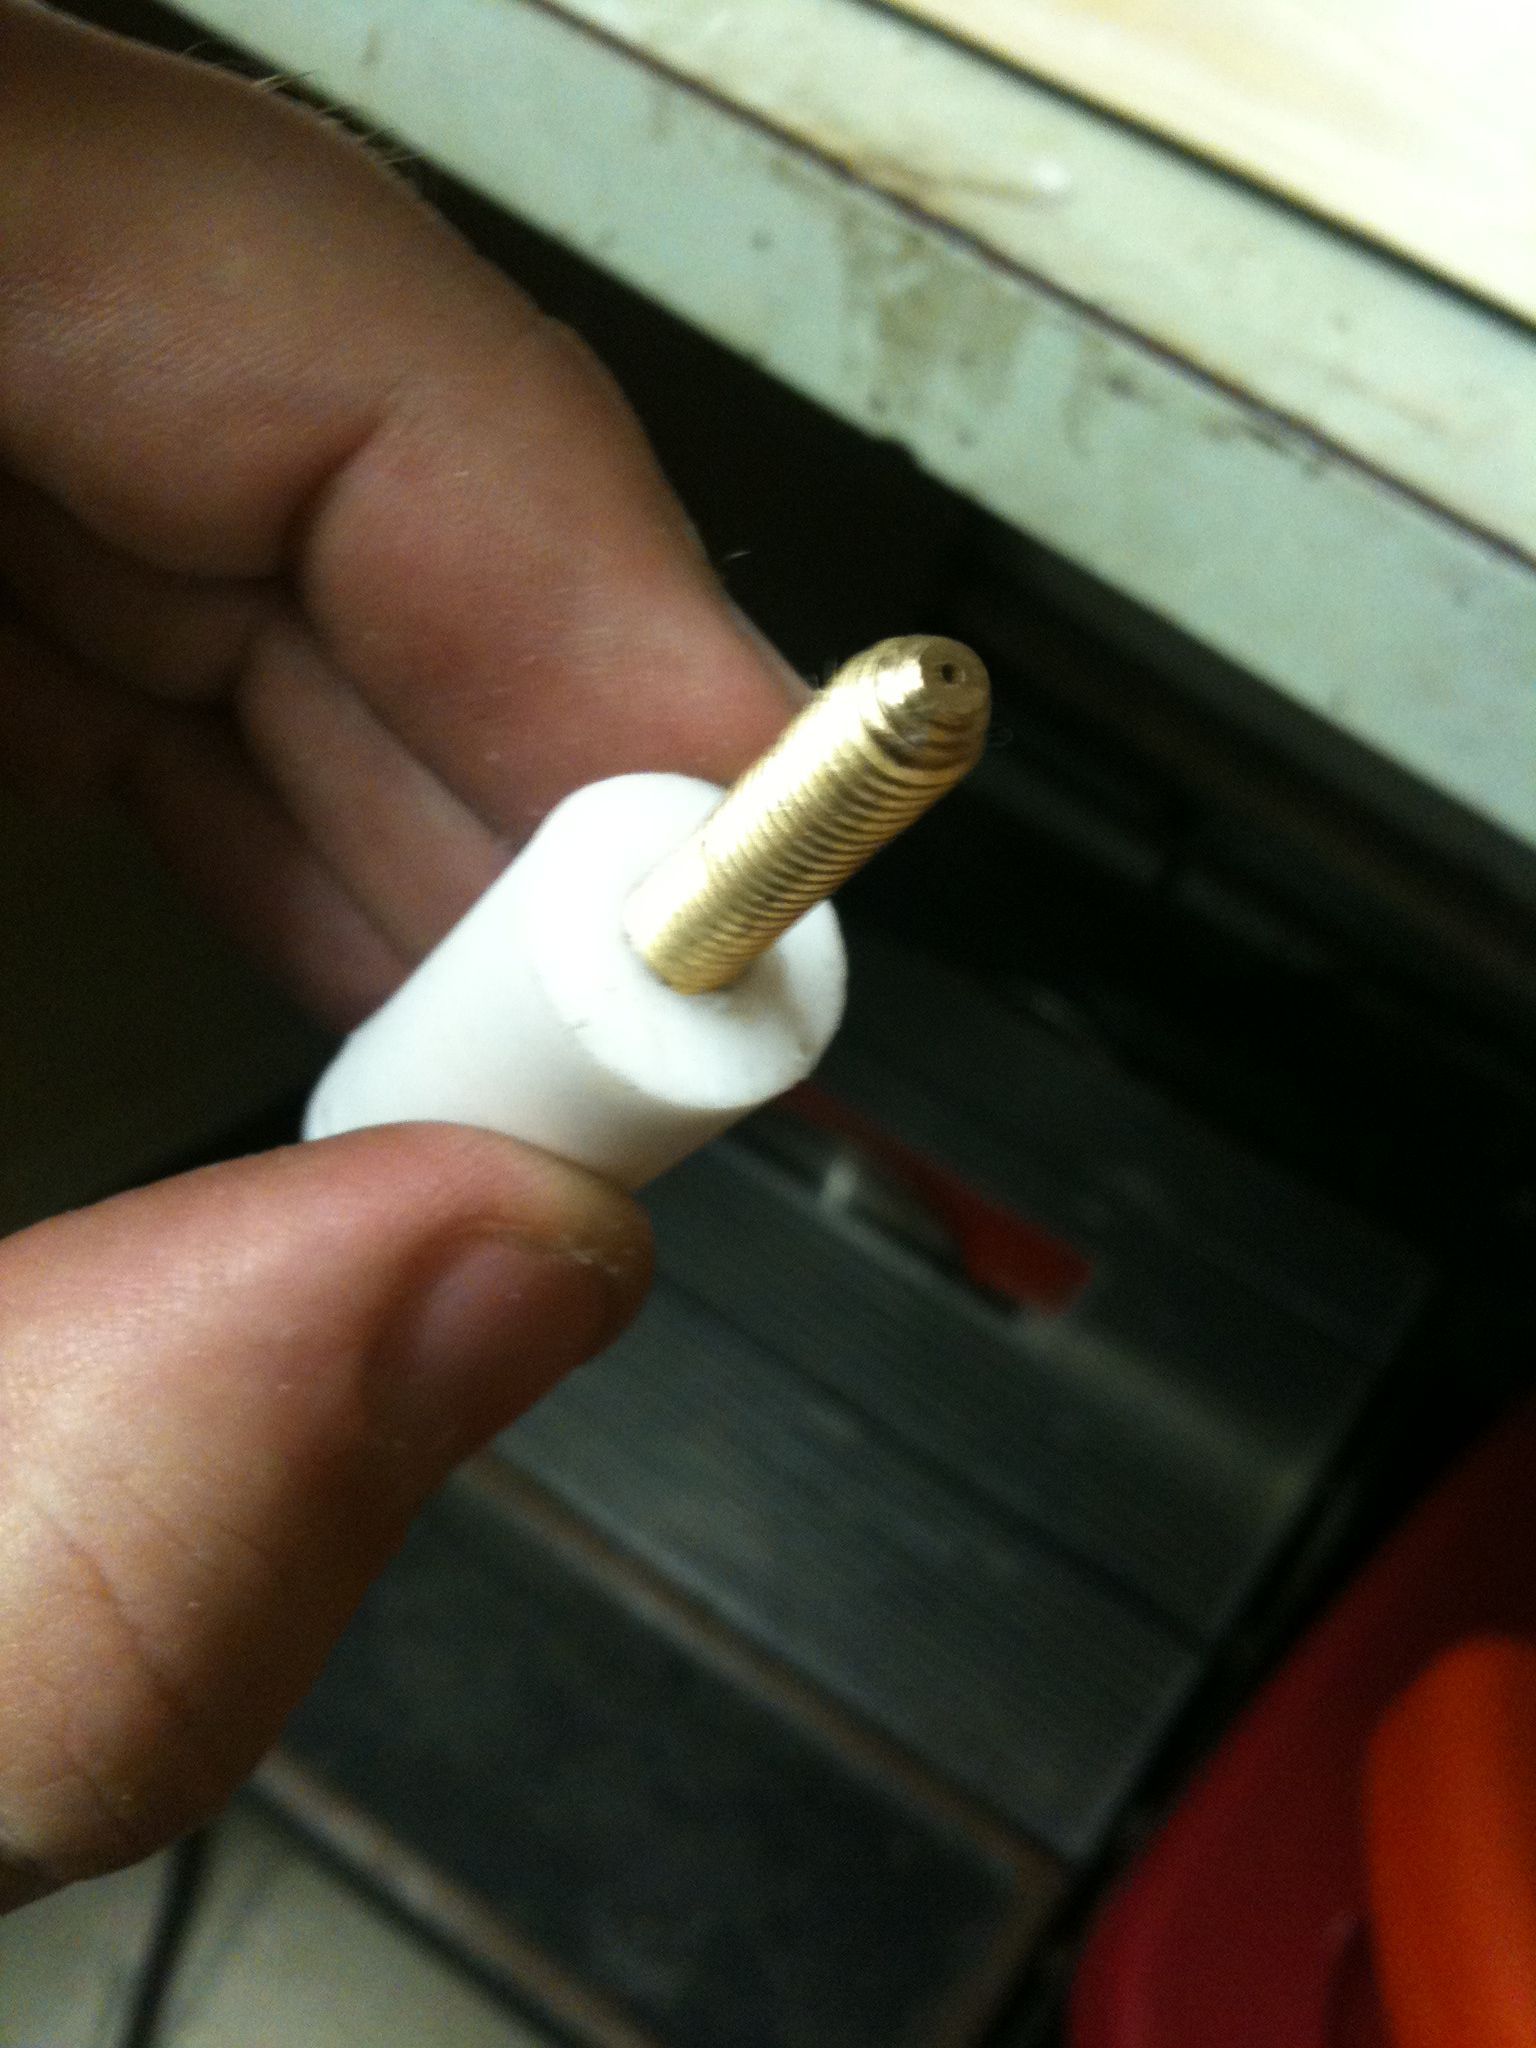
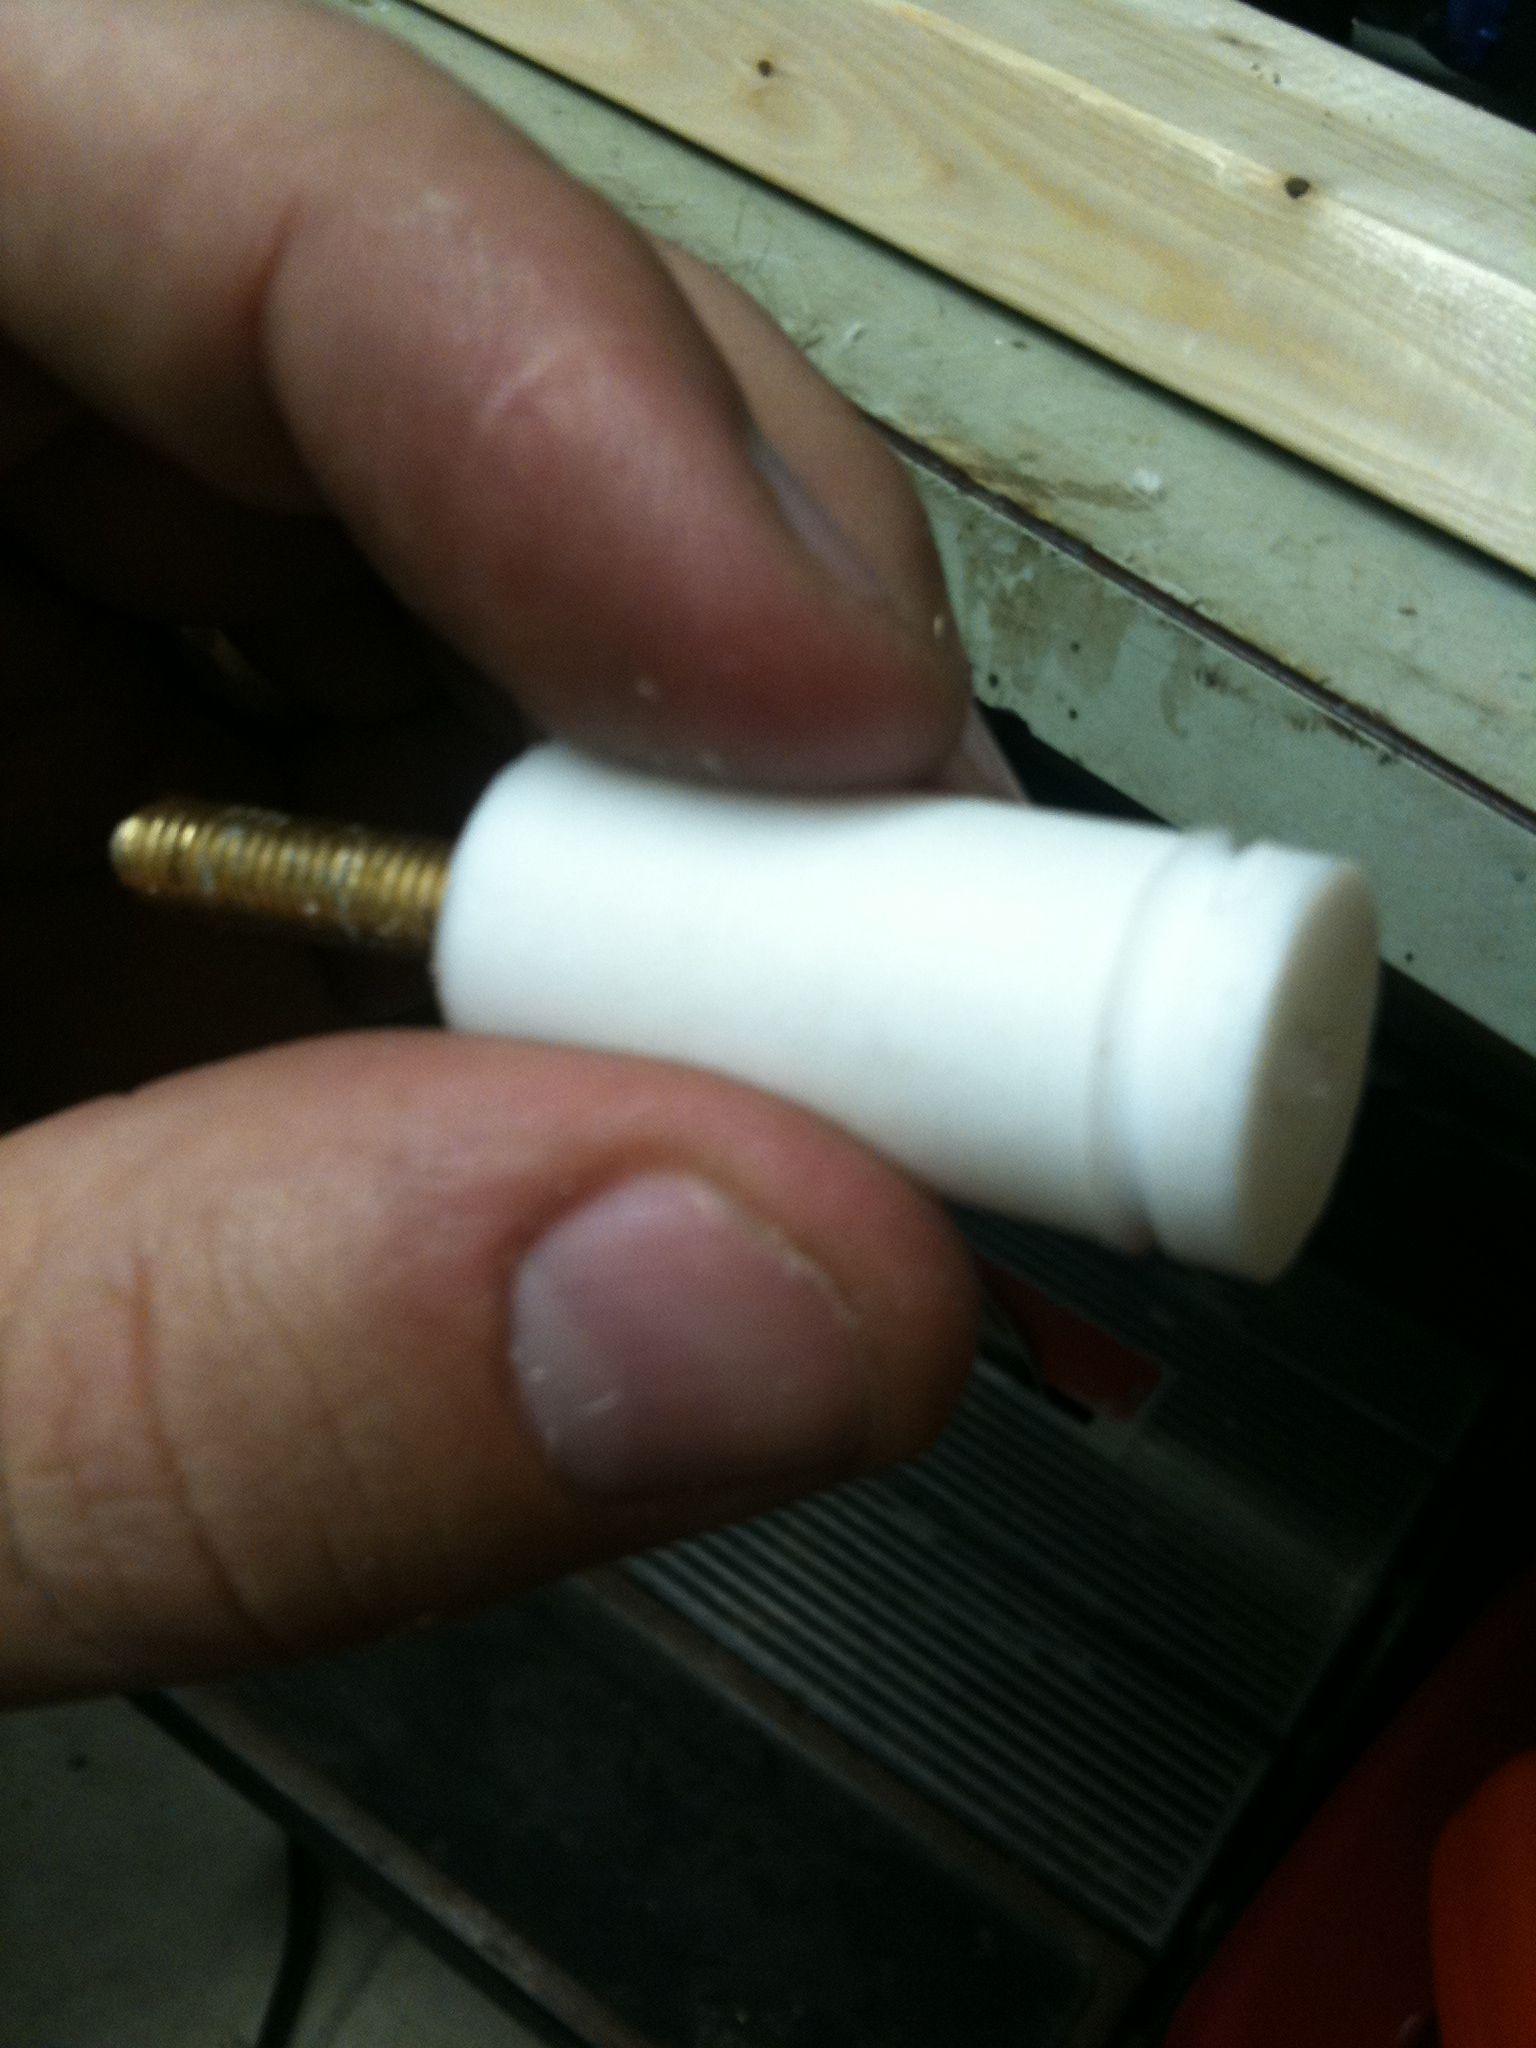
Since 3/16″ was still too small to screw the barrel in, and since I don’t have any metric tap tool, I tried putting the heater barrel itself in my drill press (cone facing down, lightly gripped) and drilled it into the PTFE. (It was a move of desperation; if the barrel was held tight, I imagine it would strip the PTFE, but if it was loose, it might just dig in and then slip out of the drill’s grip). That’s actually what it did – the barrel was completely pulled into the PTFE and the drill press lost grip with it (which is probably a bad idea; I imagine I’m going to horrify a bunch of people who actually know how to use their tools properly.. 🙂 ). That was actually with my last failed PTFE rod as a test, so I had to unscrew the rod, which wasn’t easy. I actually used duct tape on the rod to get a grip, and was able to unscrew it, and it was thread perfectly (with PTFE jammed everywhere since this wasn’t a proper tapping tool with grooves). I repeated the process with my 2nd PTFE rod attempt, and here was the result:
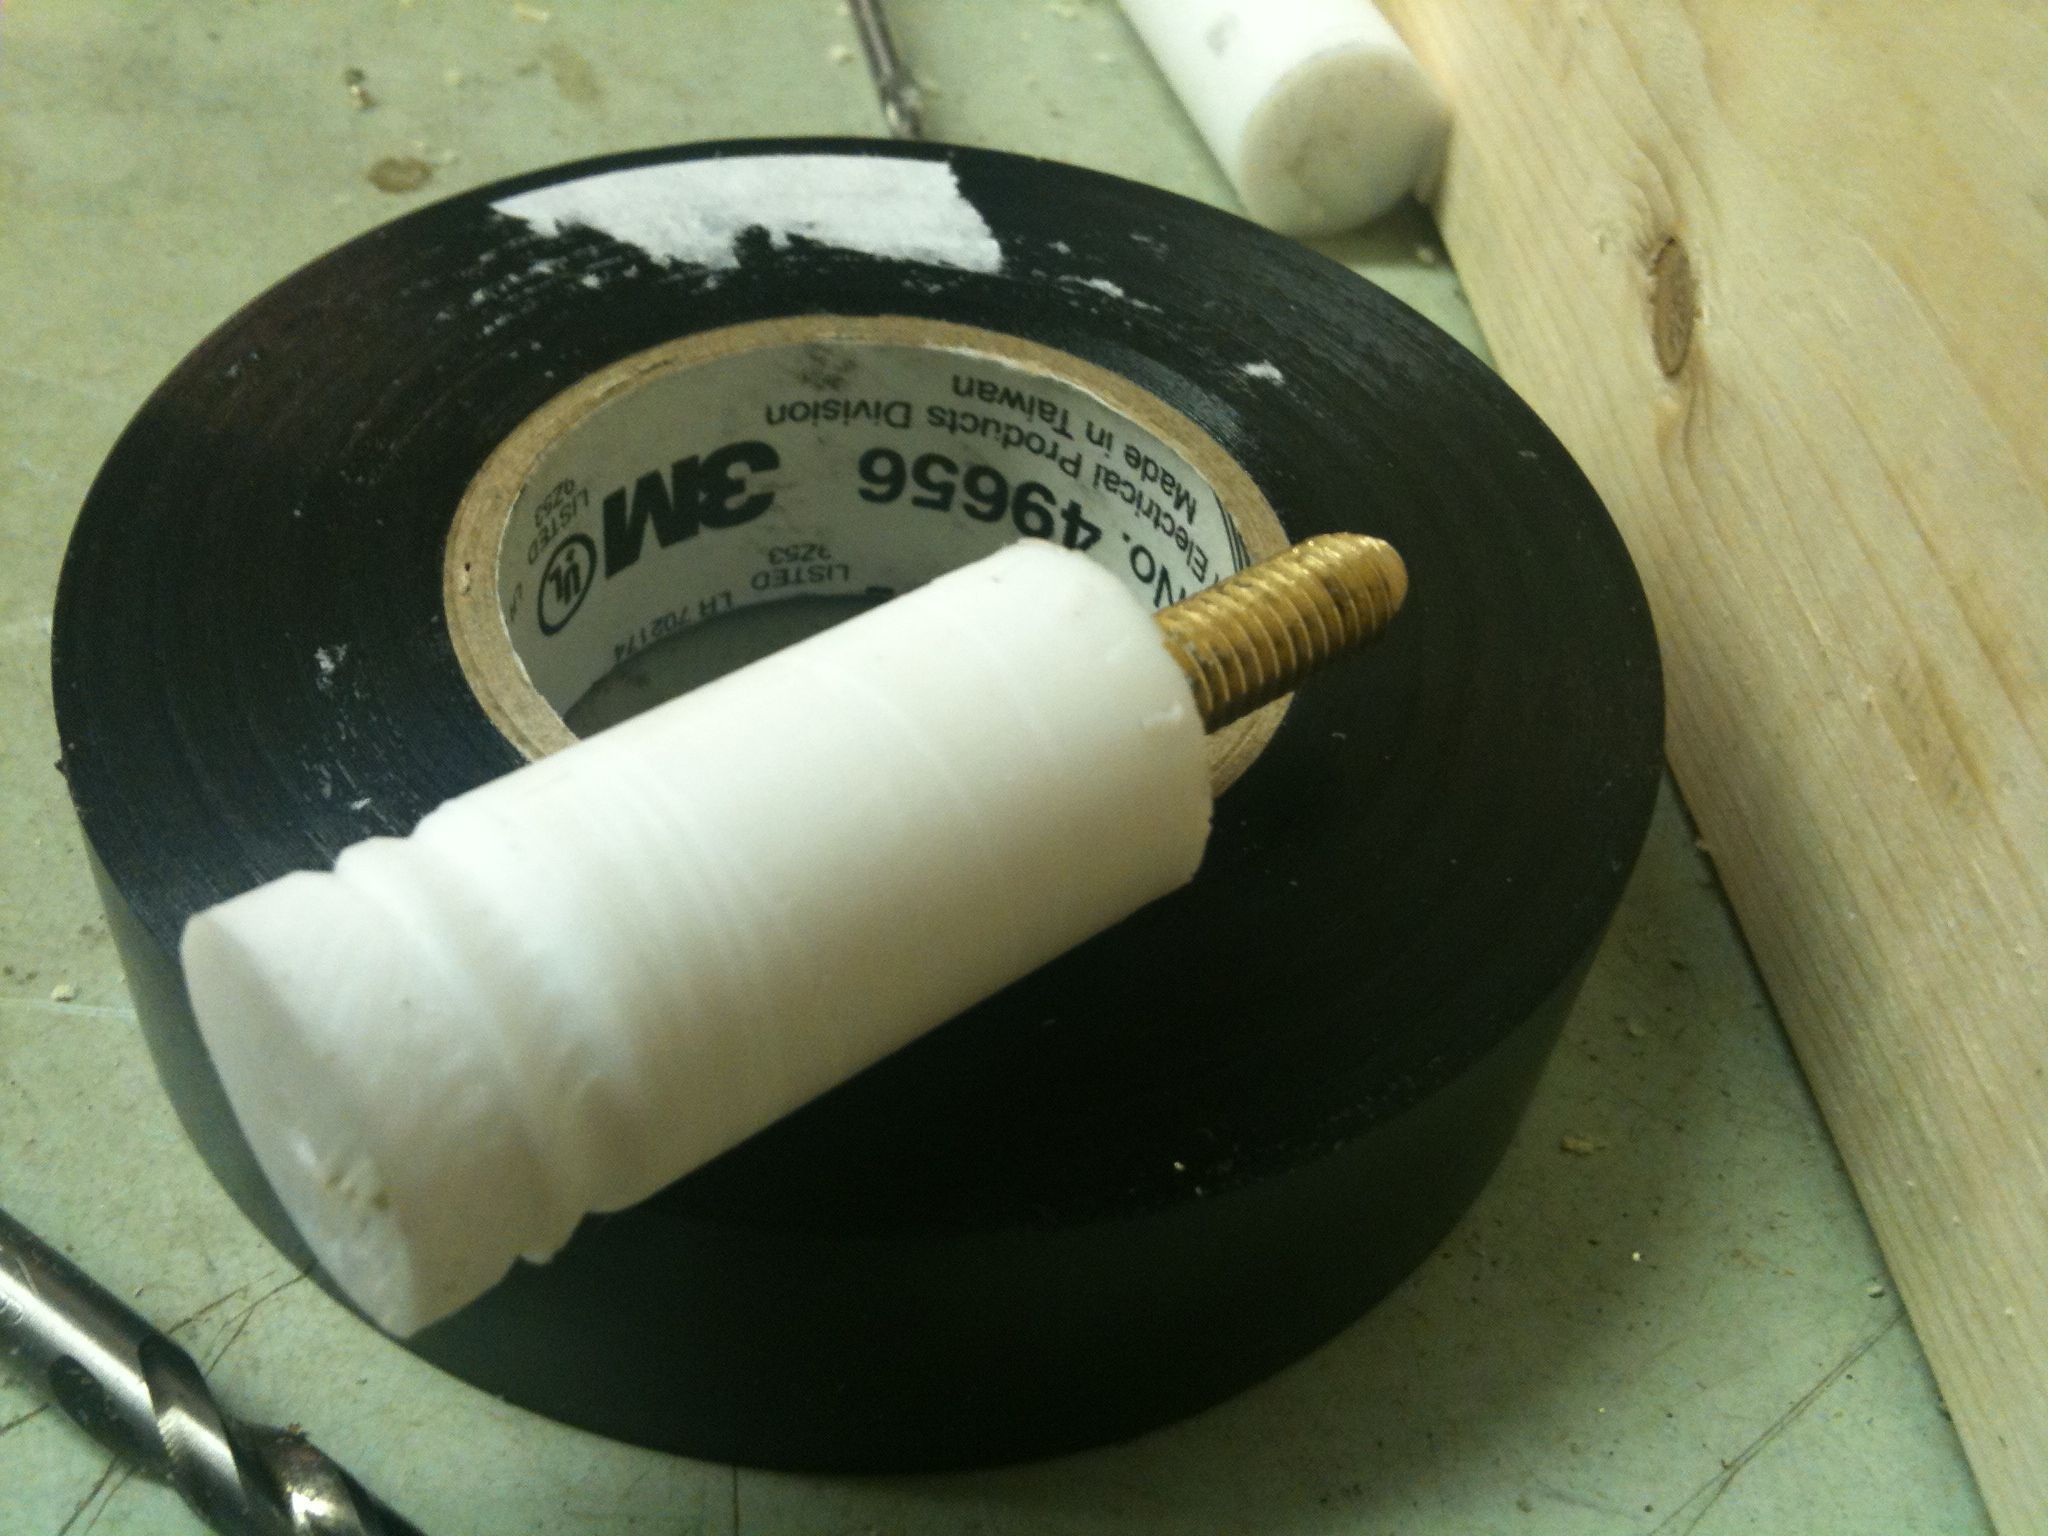
Perfect! (as you can see above, I also carved out a groove or two on the back the way I’d tried before – putting the barrel in the drill press, spinning the PTFE, and using a triangular file to try cutting a notch or two in at the end (for glue to set into in the future, so I’ve read).
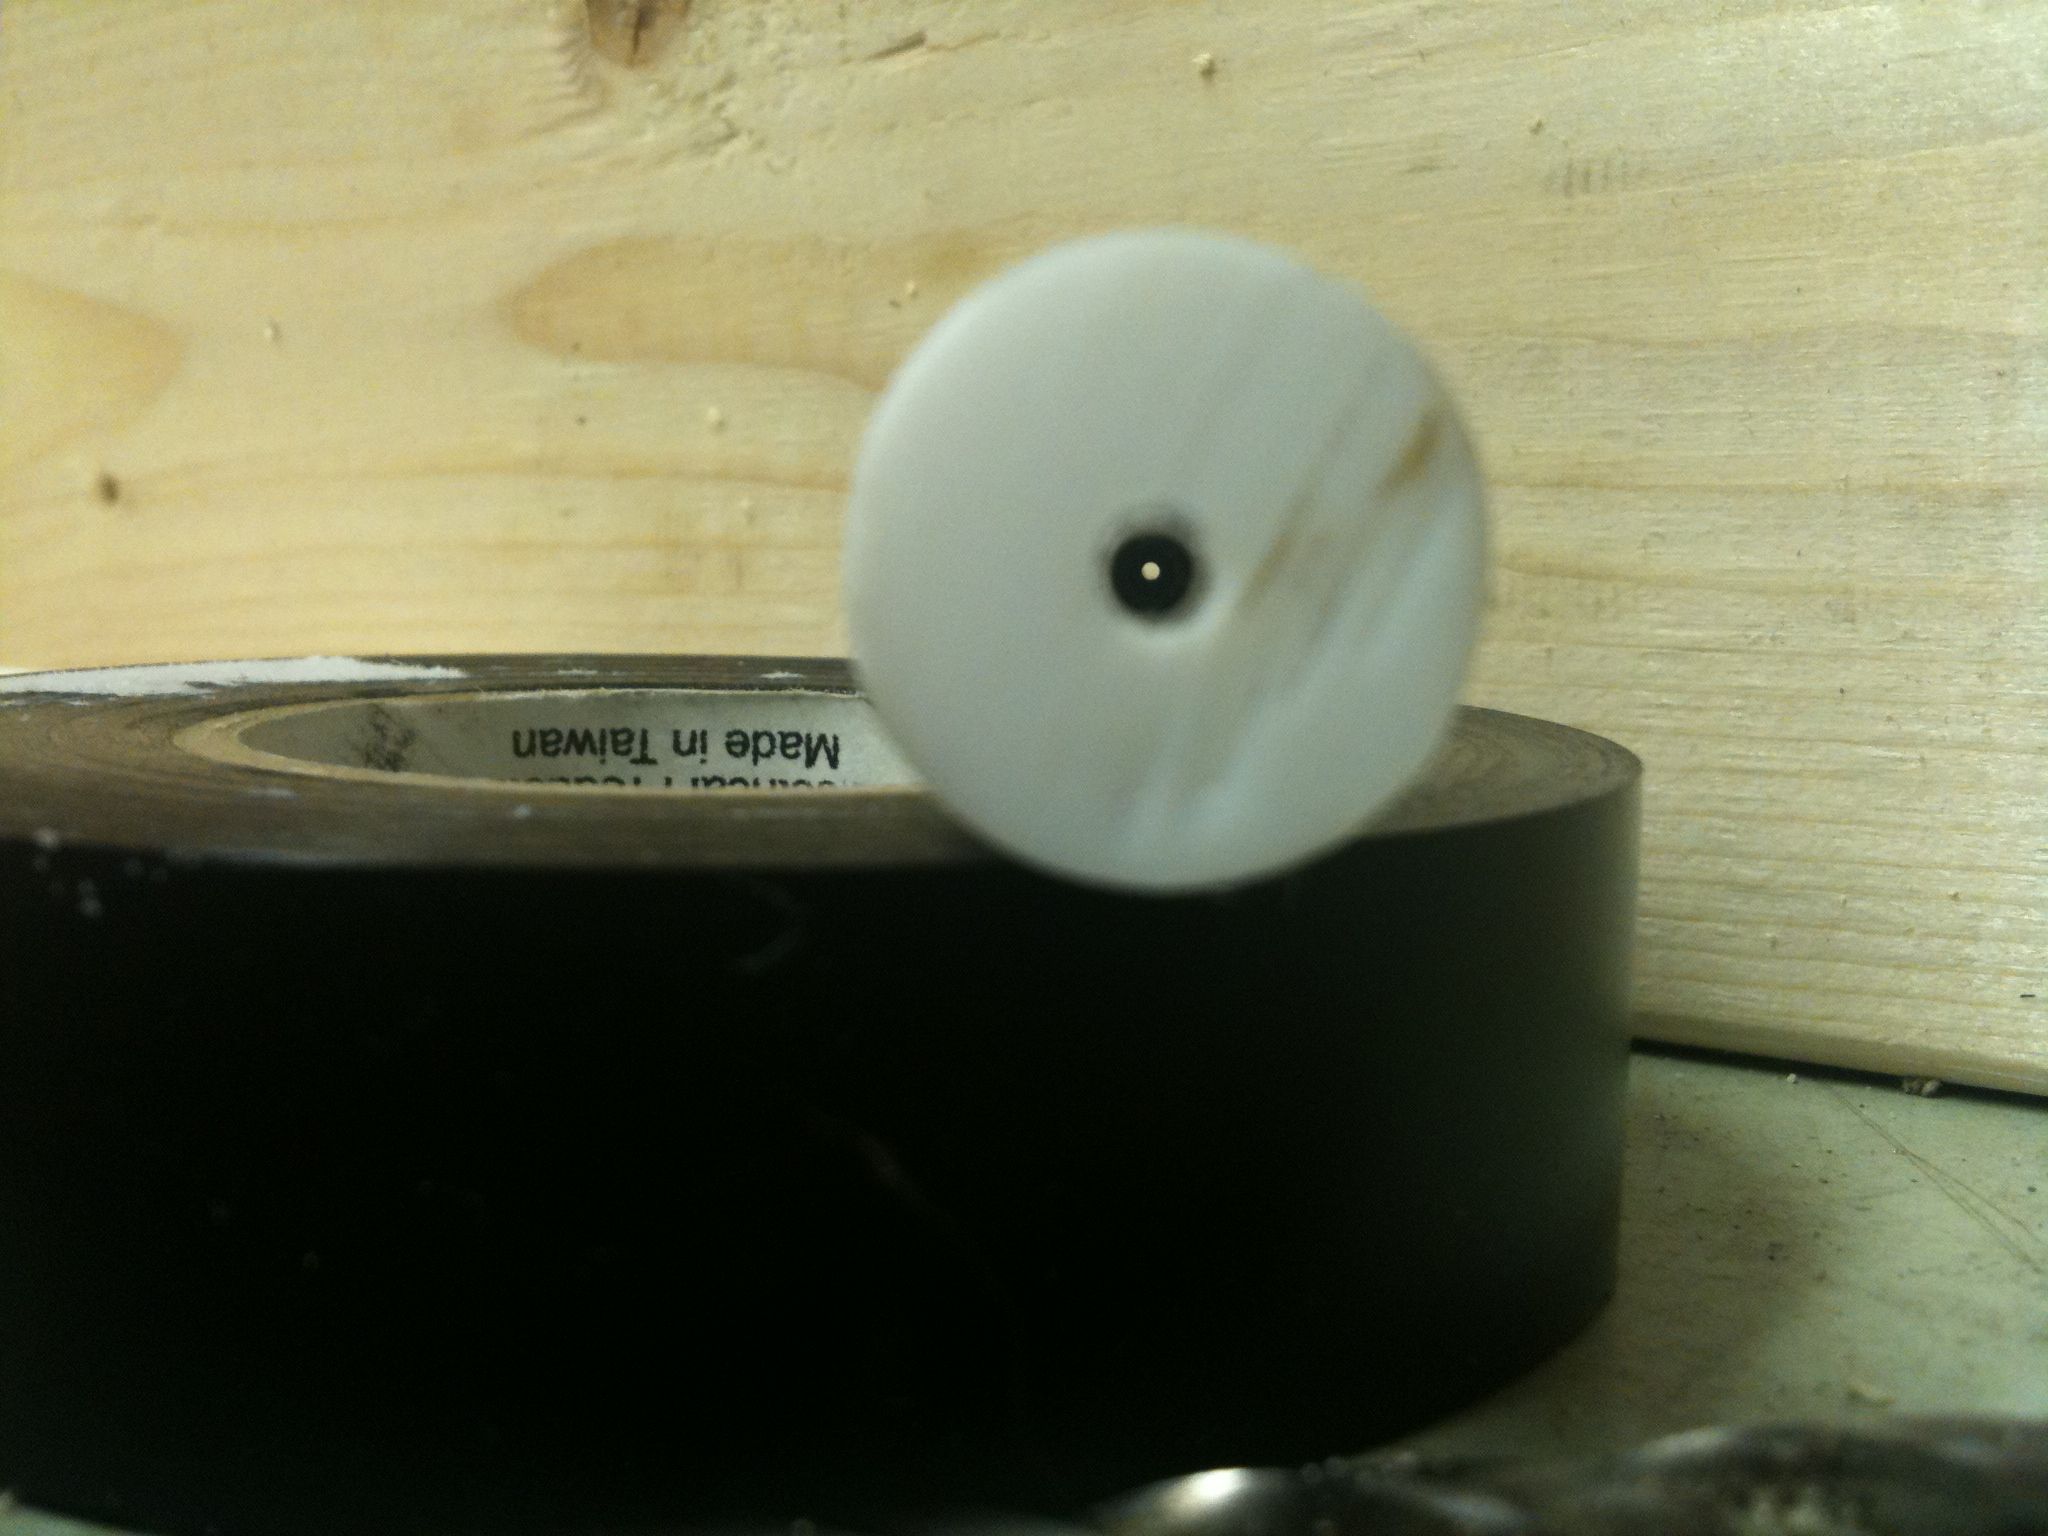
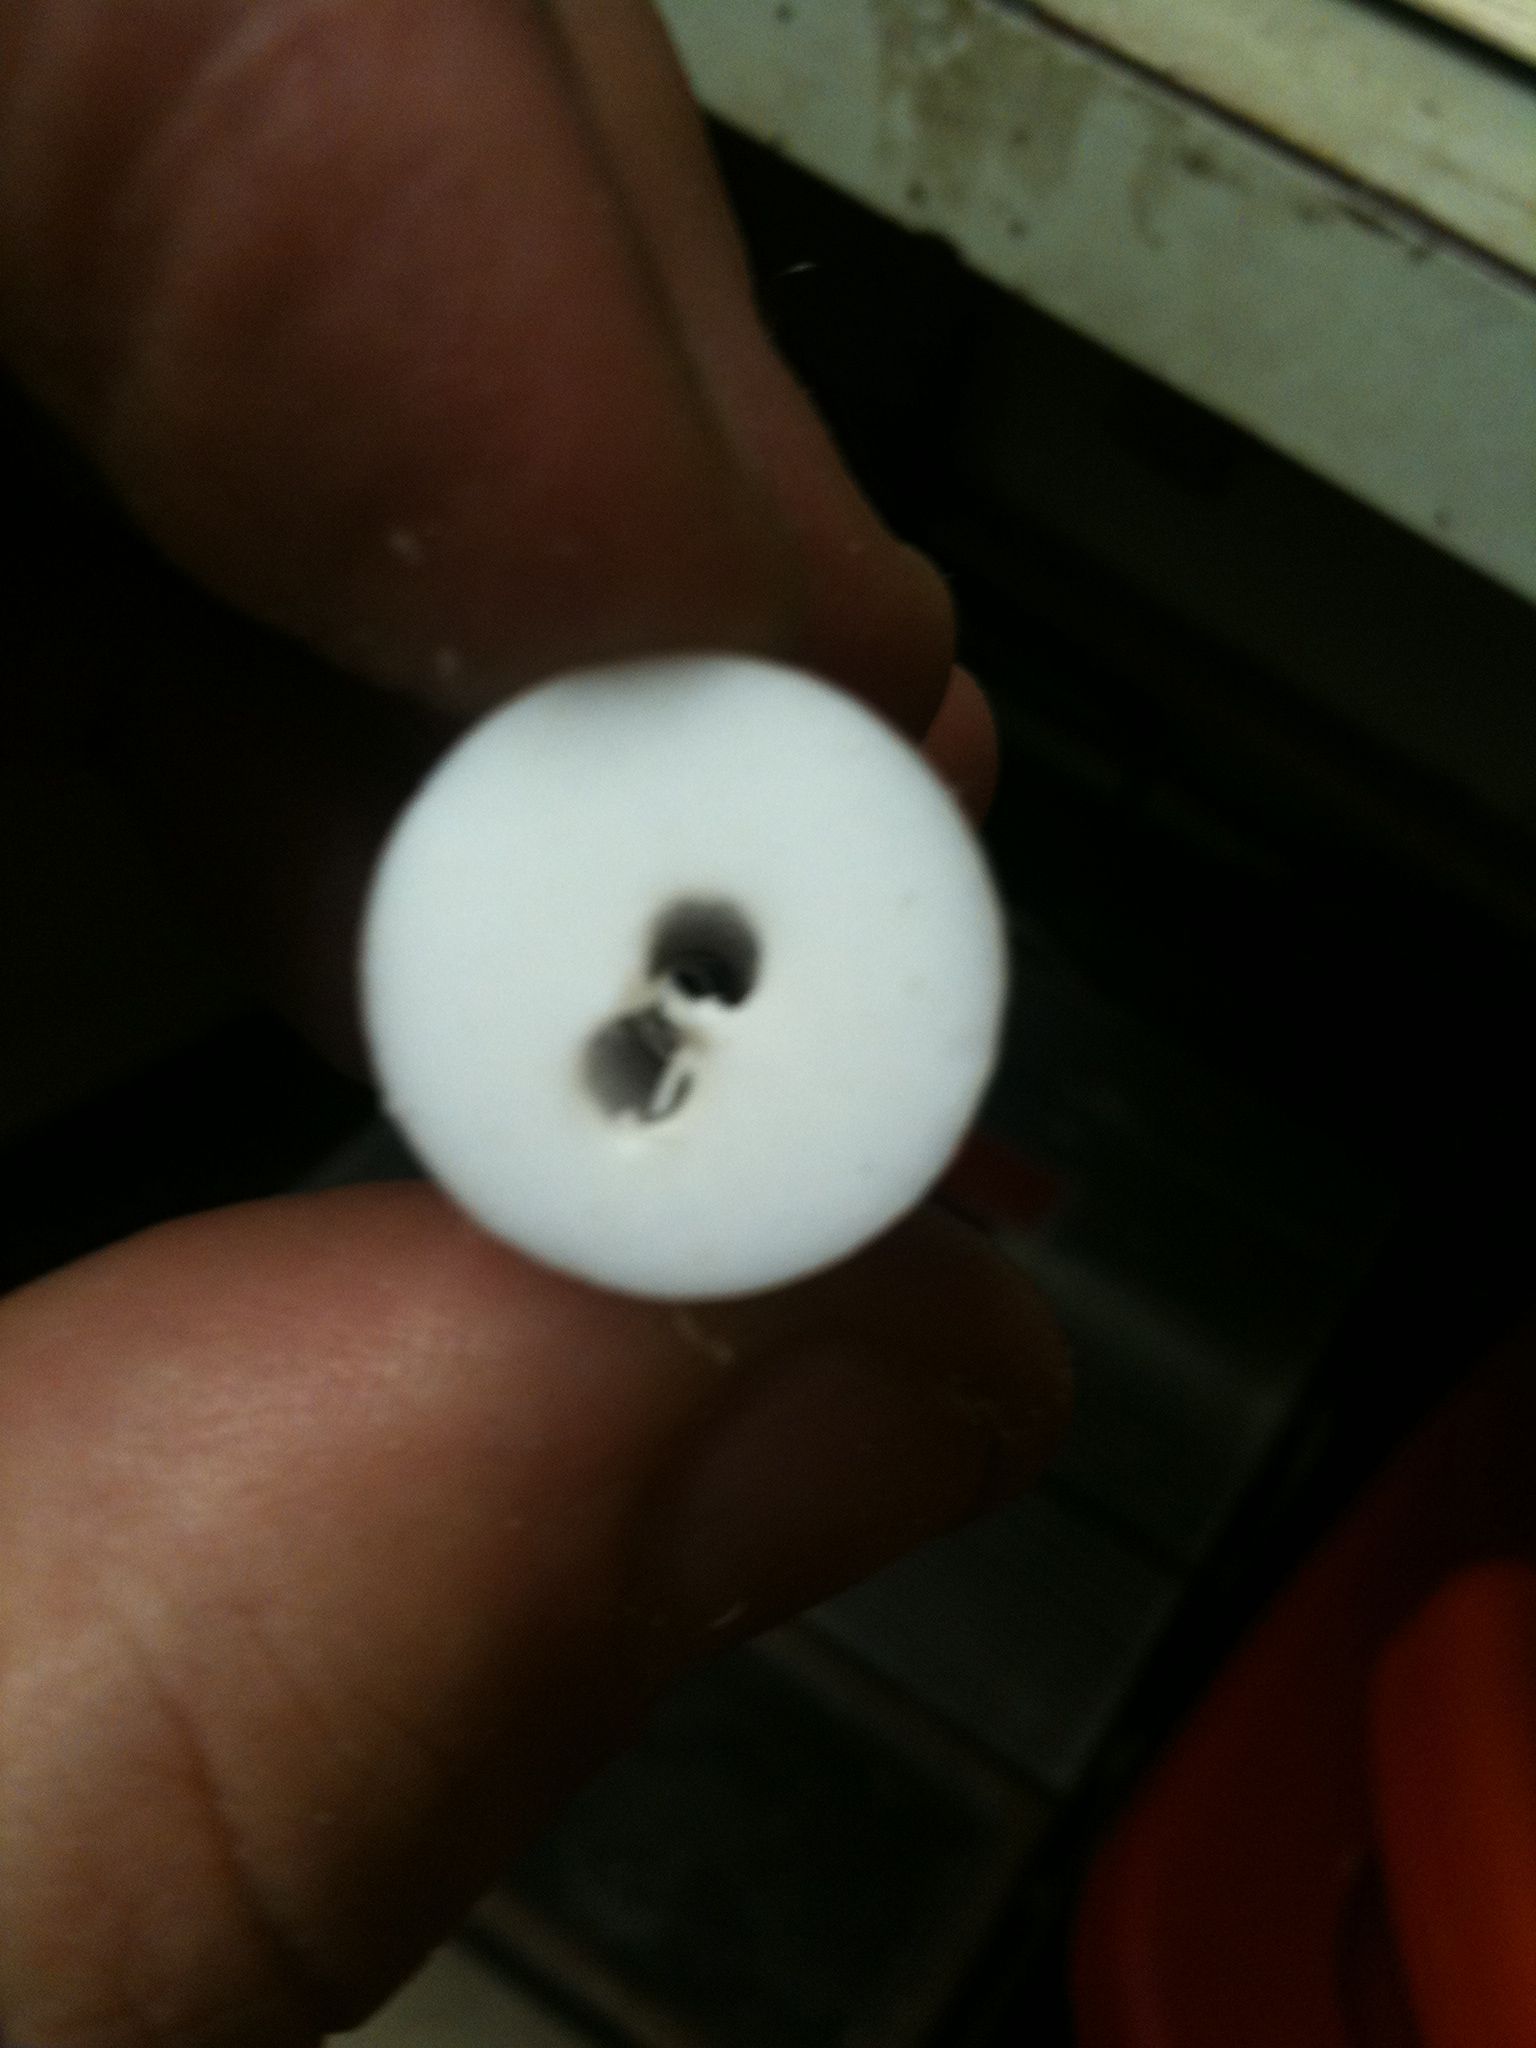
You can even see all the way through:
and here’s that view from the top:
and, of course, video:
So unlike what I said at the end of the video, it’s not quite time for fire cement yet. Next I had to create the copper jacket to fit at the end around most of heater barrel.
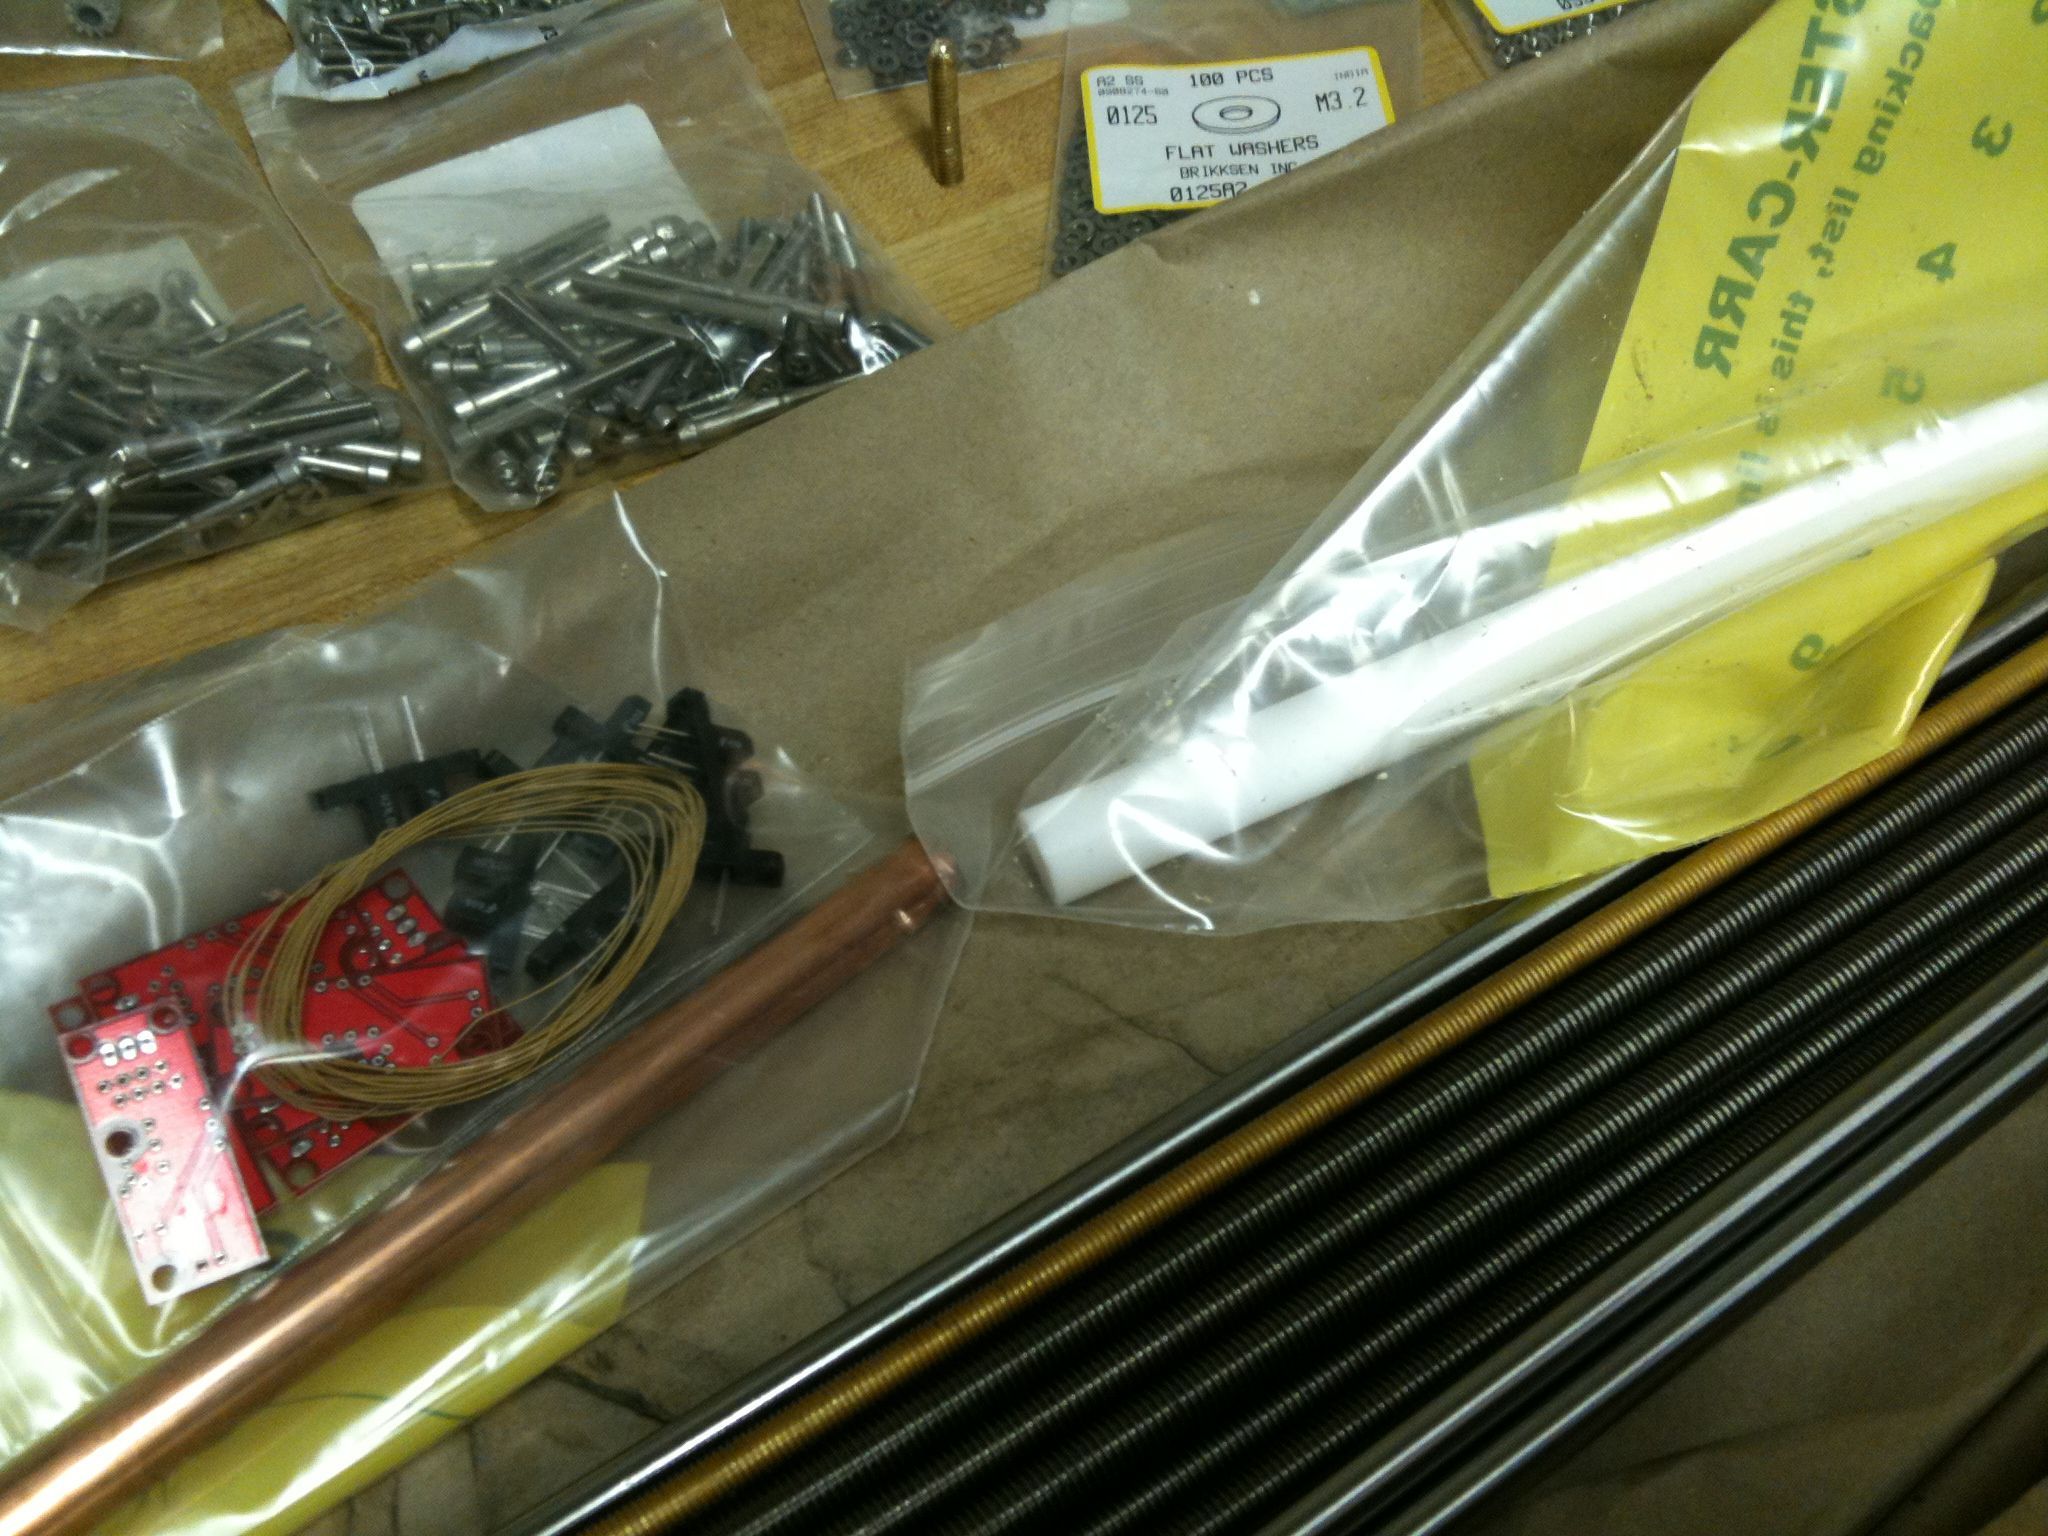
Unfortunately the copper pipe I have doesn’t the same as the pipe in the pictures on the Thermoplast Extruder 2.0 doc page. Mine had far thicker walls, and the outer diameter was a bit smaller than the PTFE rod (looking back at my order, it was: Copper Tubing 3/8″ Tube Size, 1/2″ OD, .37″ ID, .065″ Wall, 1’L). I think it’ll be ok, but there won’t be nearly as much space for fire cement between the nicrome wire and the copper jacket as there is in those pictures. I’m half tempted to go to the hardware store and look for a wider diameter (and thinner walled) section of copper pipe, but again it wouldn’t be in metric measurements, so it’d probably be much wider than the PTFE (and I have no idea how that will affect applying the fire cement. Eh, it’s all a learning experience. We’ll see. So here’s what I did with the copper pipe I had..
Here’s the copper pipe with the “tab” still unbent. As you can see, its diameter is definitely smaller than the PTFE (which the docs say is ok, I just don’t know if the wall thickness robs me of too much fire cement insulation):
I was worried that the thicker wall would make the tab more difficult to bend, but it wasn’t too much of a problem.
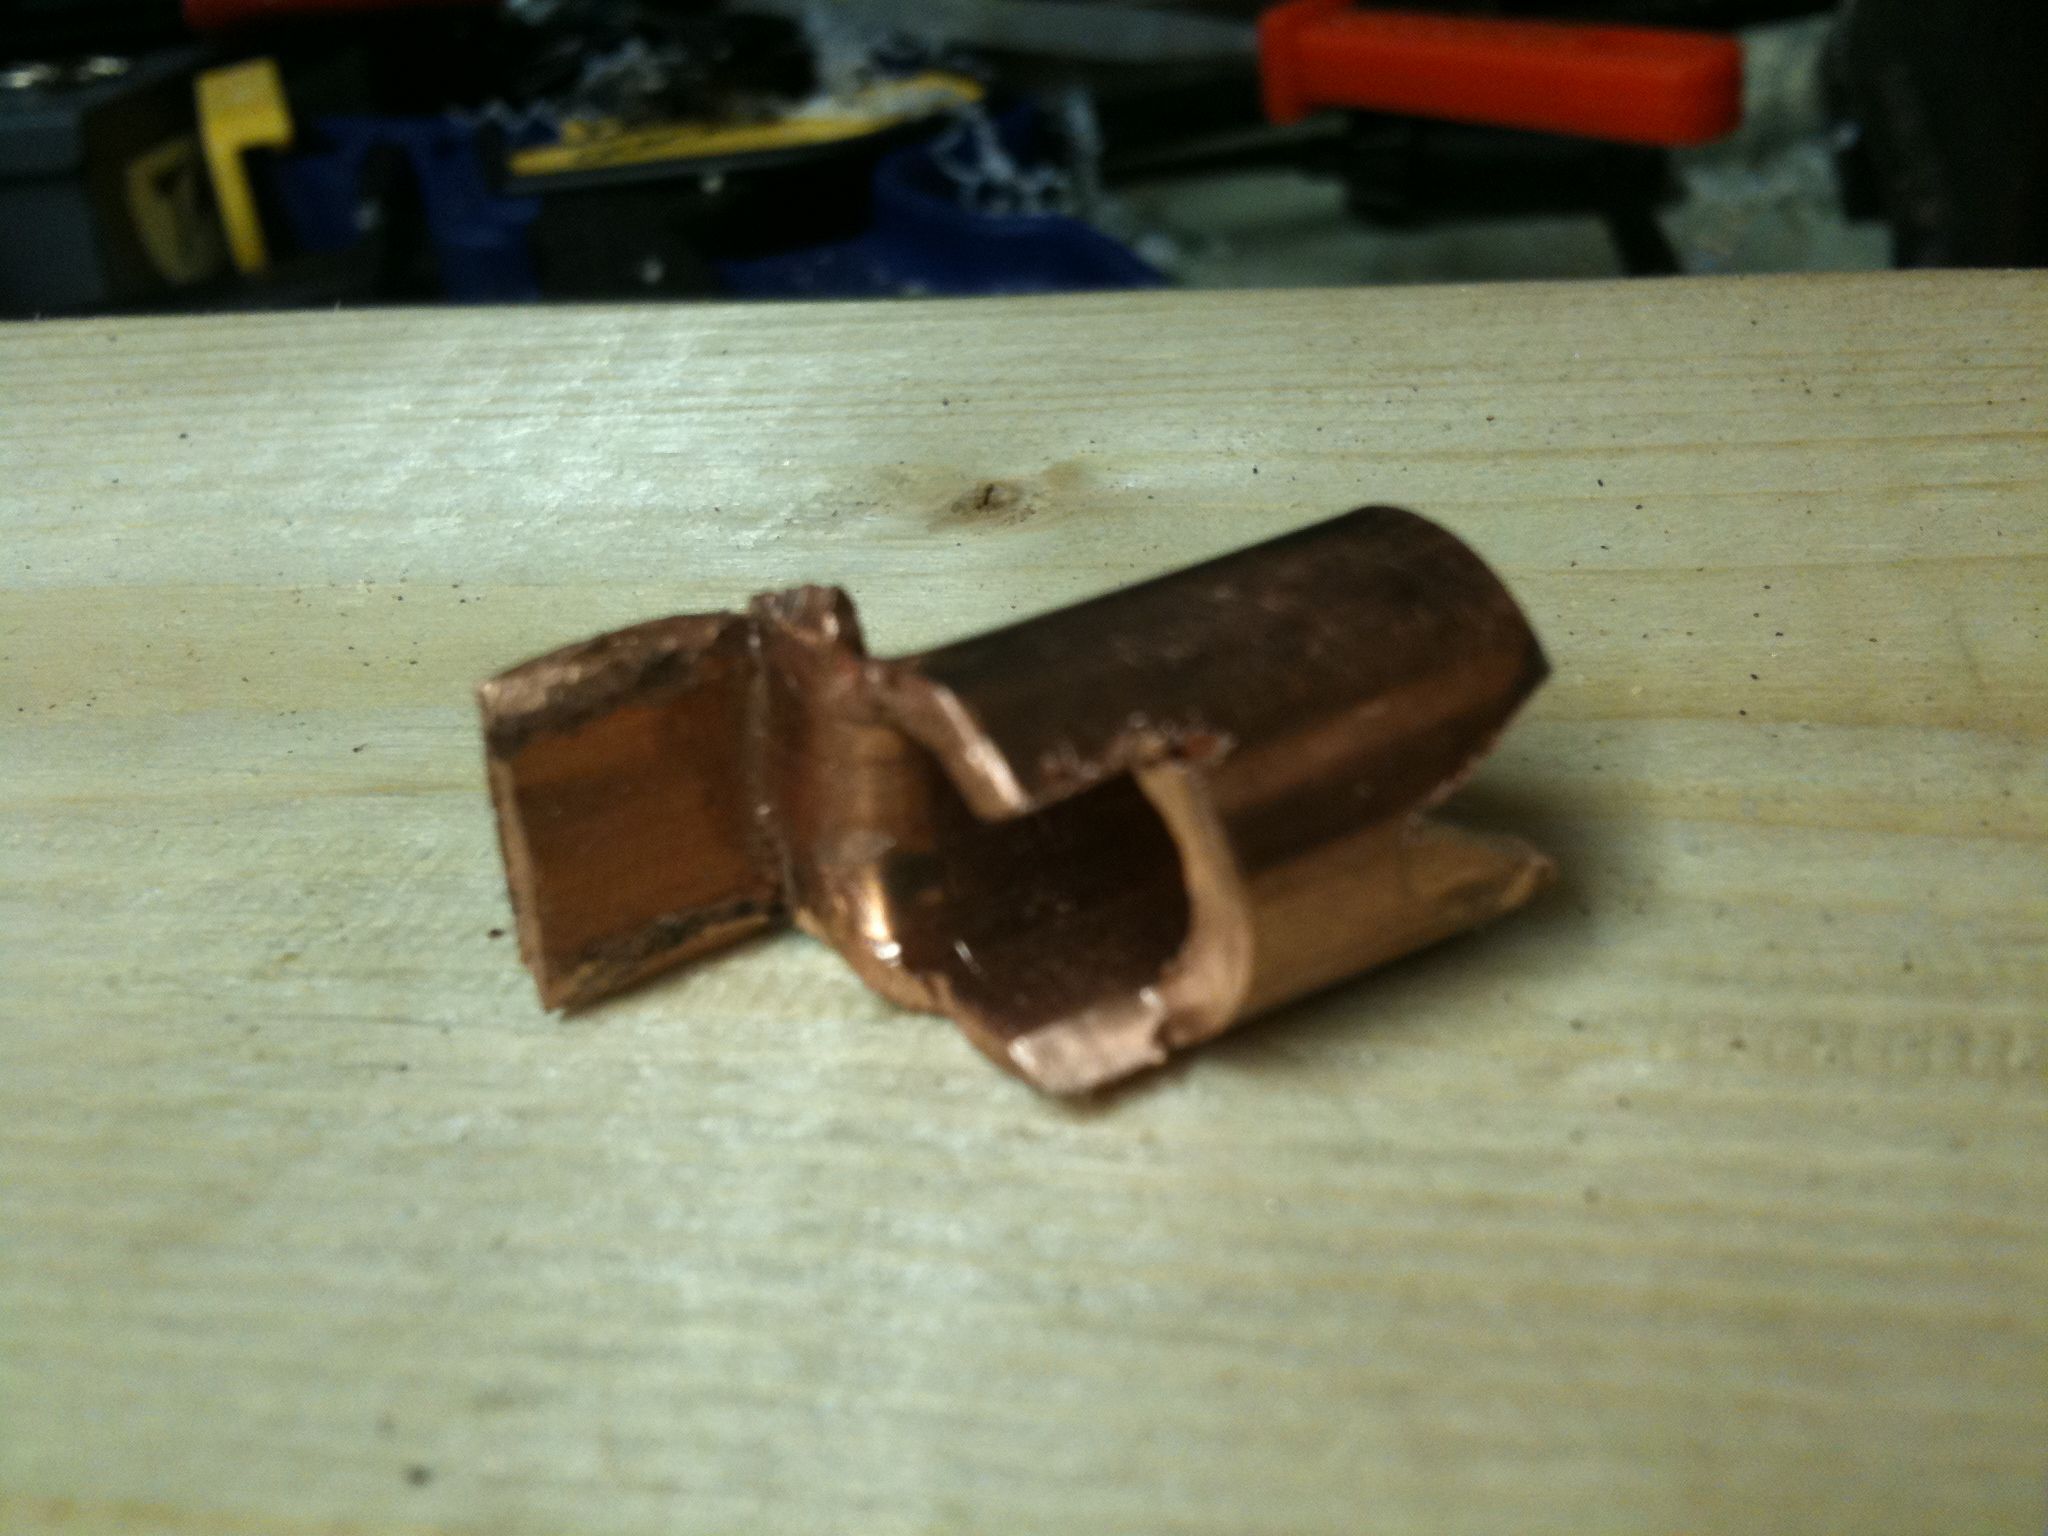
Here’s the jacket with the notches cut out for the nicrome wire leads and for the thermistor:
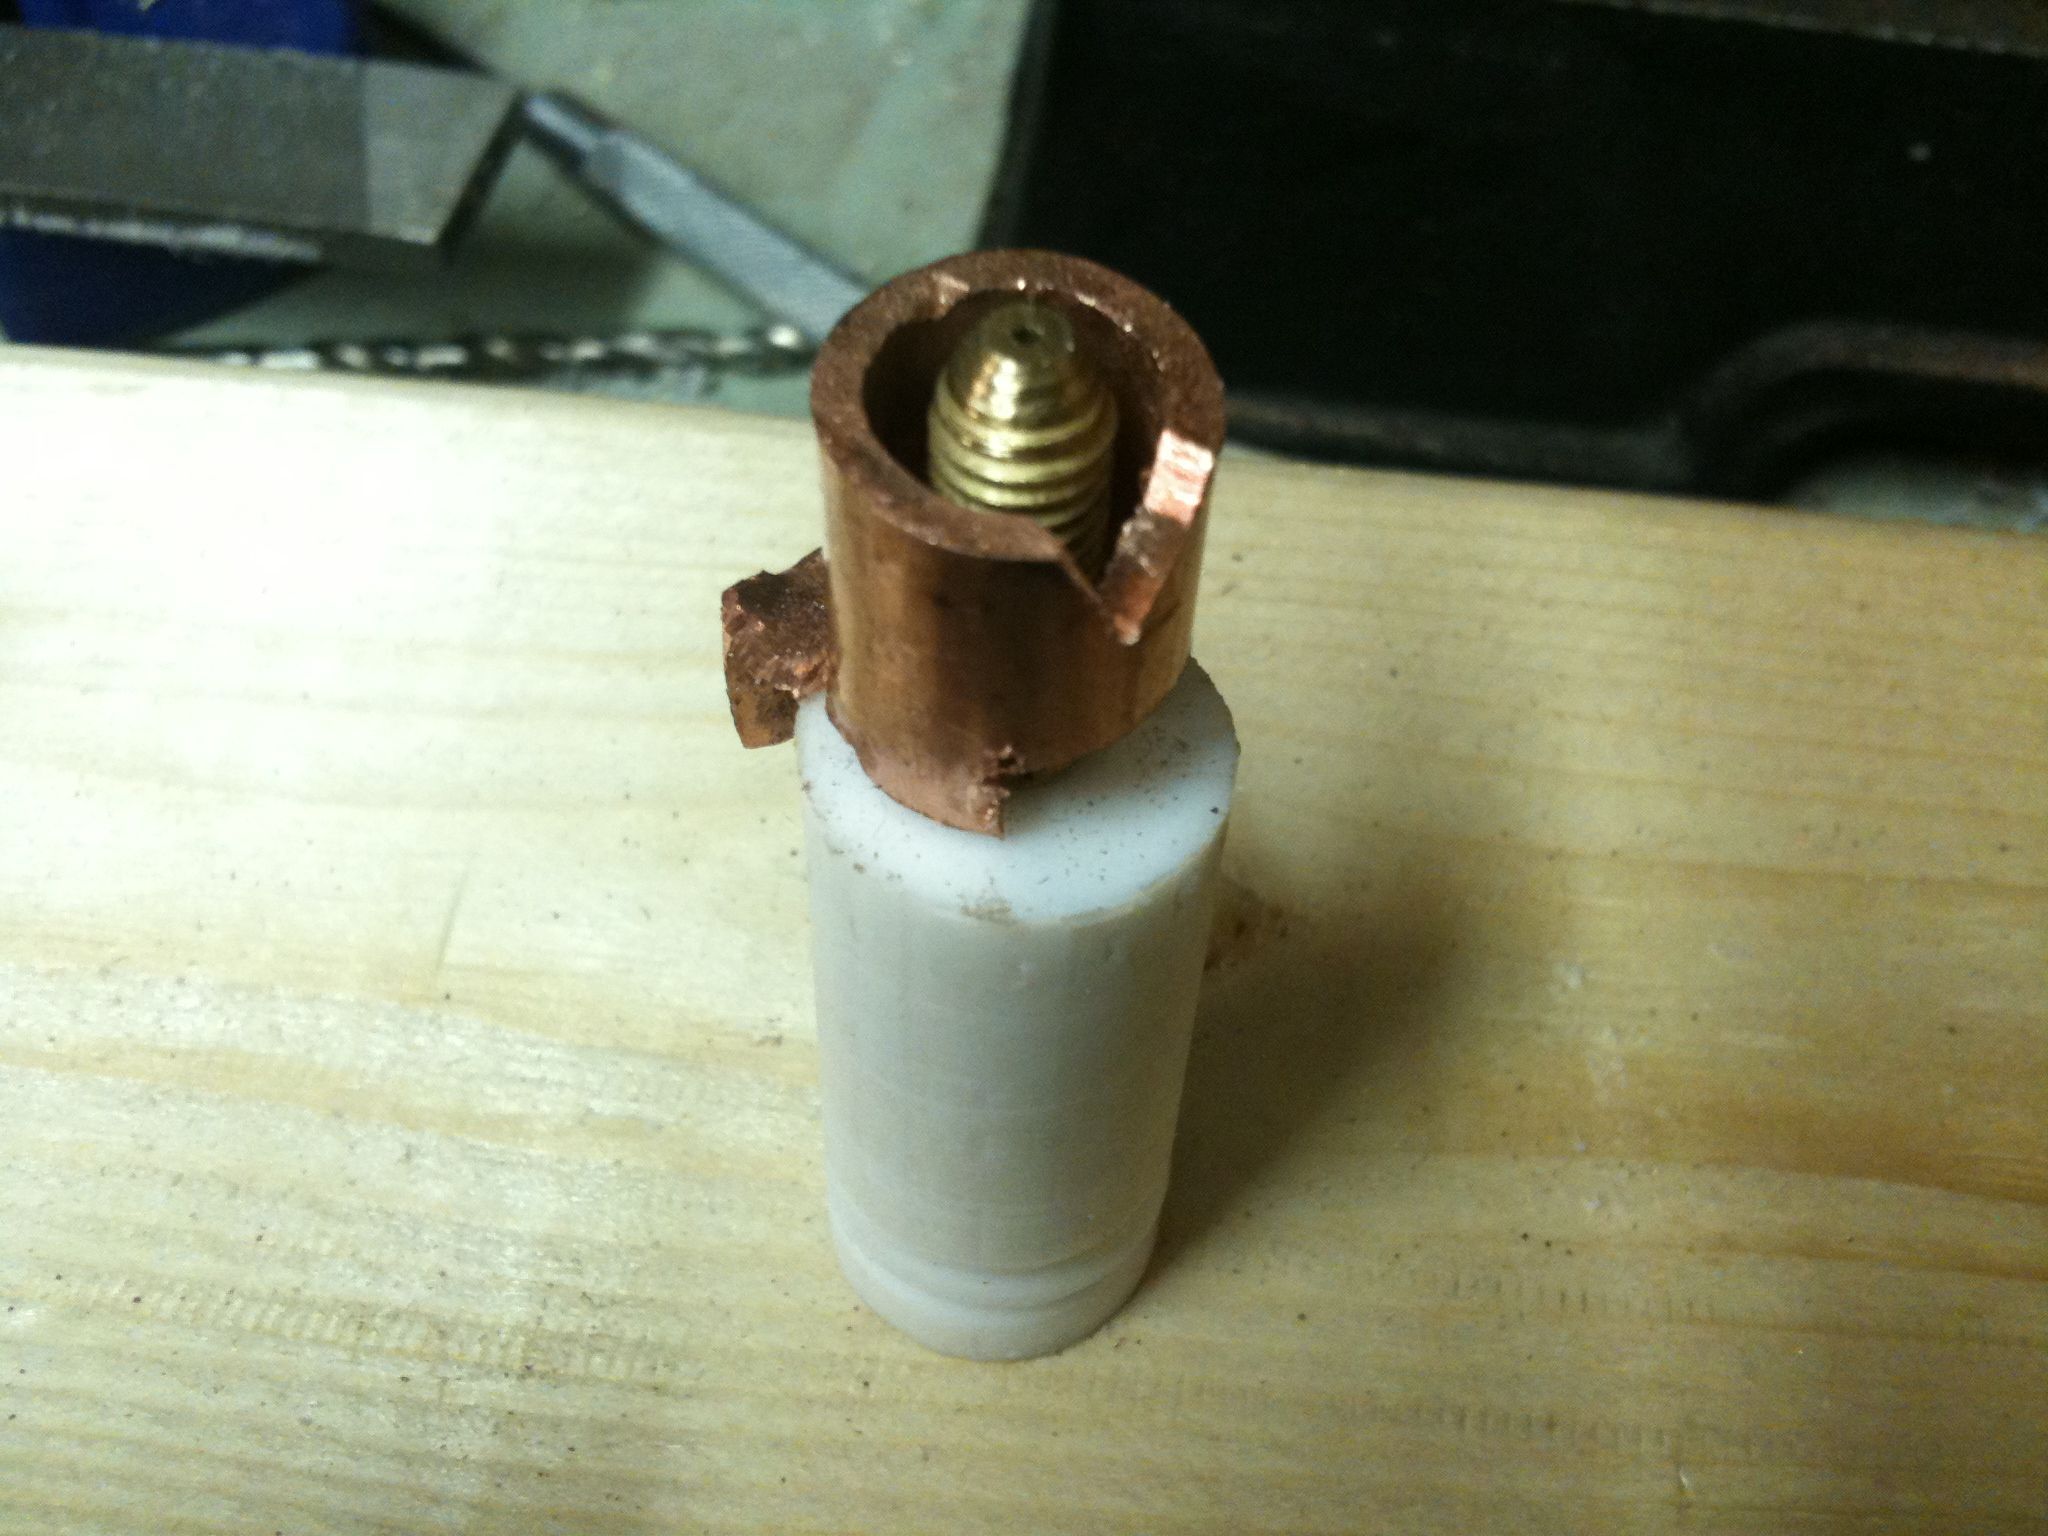
And finally here’s what it looks like when I test out placing the jacket over the barrel. Again, I’m worried about how much space there is inside there for the nicrome wire, and for the cement around that wire. We’ll see.
Since the bootlace ferrules are part of the order that’s not arriving until Monday (with the timing belts and the XLR power connectors), I won’t be able to do any more on the extruder until then. If I did get time over the weekend to work on anything else, it’d be soldering the 6 OptoEndstop boards, but I think I’ll be busy.
Progress! Progress is good! 🙂
