“Aagghh!!!” That’s one way to describe the past few days (Friday through Sunday) of my RepRap experience.
PLA has been an extreme pain. My first sign of major problems was in trying to print the z-tensioner piece out of PLA. This looks like a relatively easy piece to print, but my first two attempts failed. The first was some random unattended mistake:
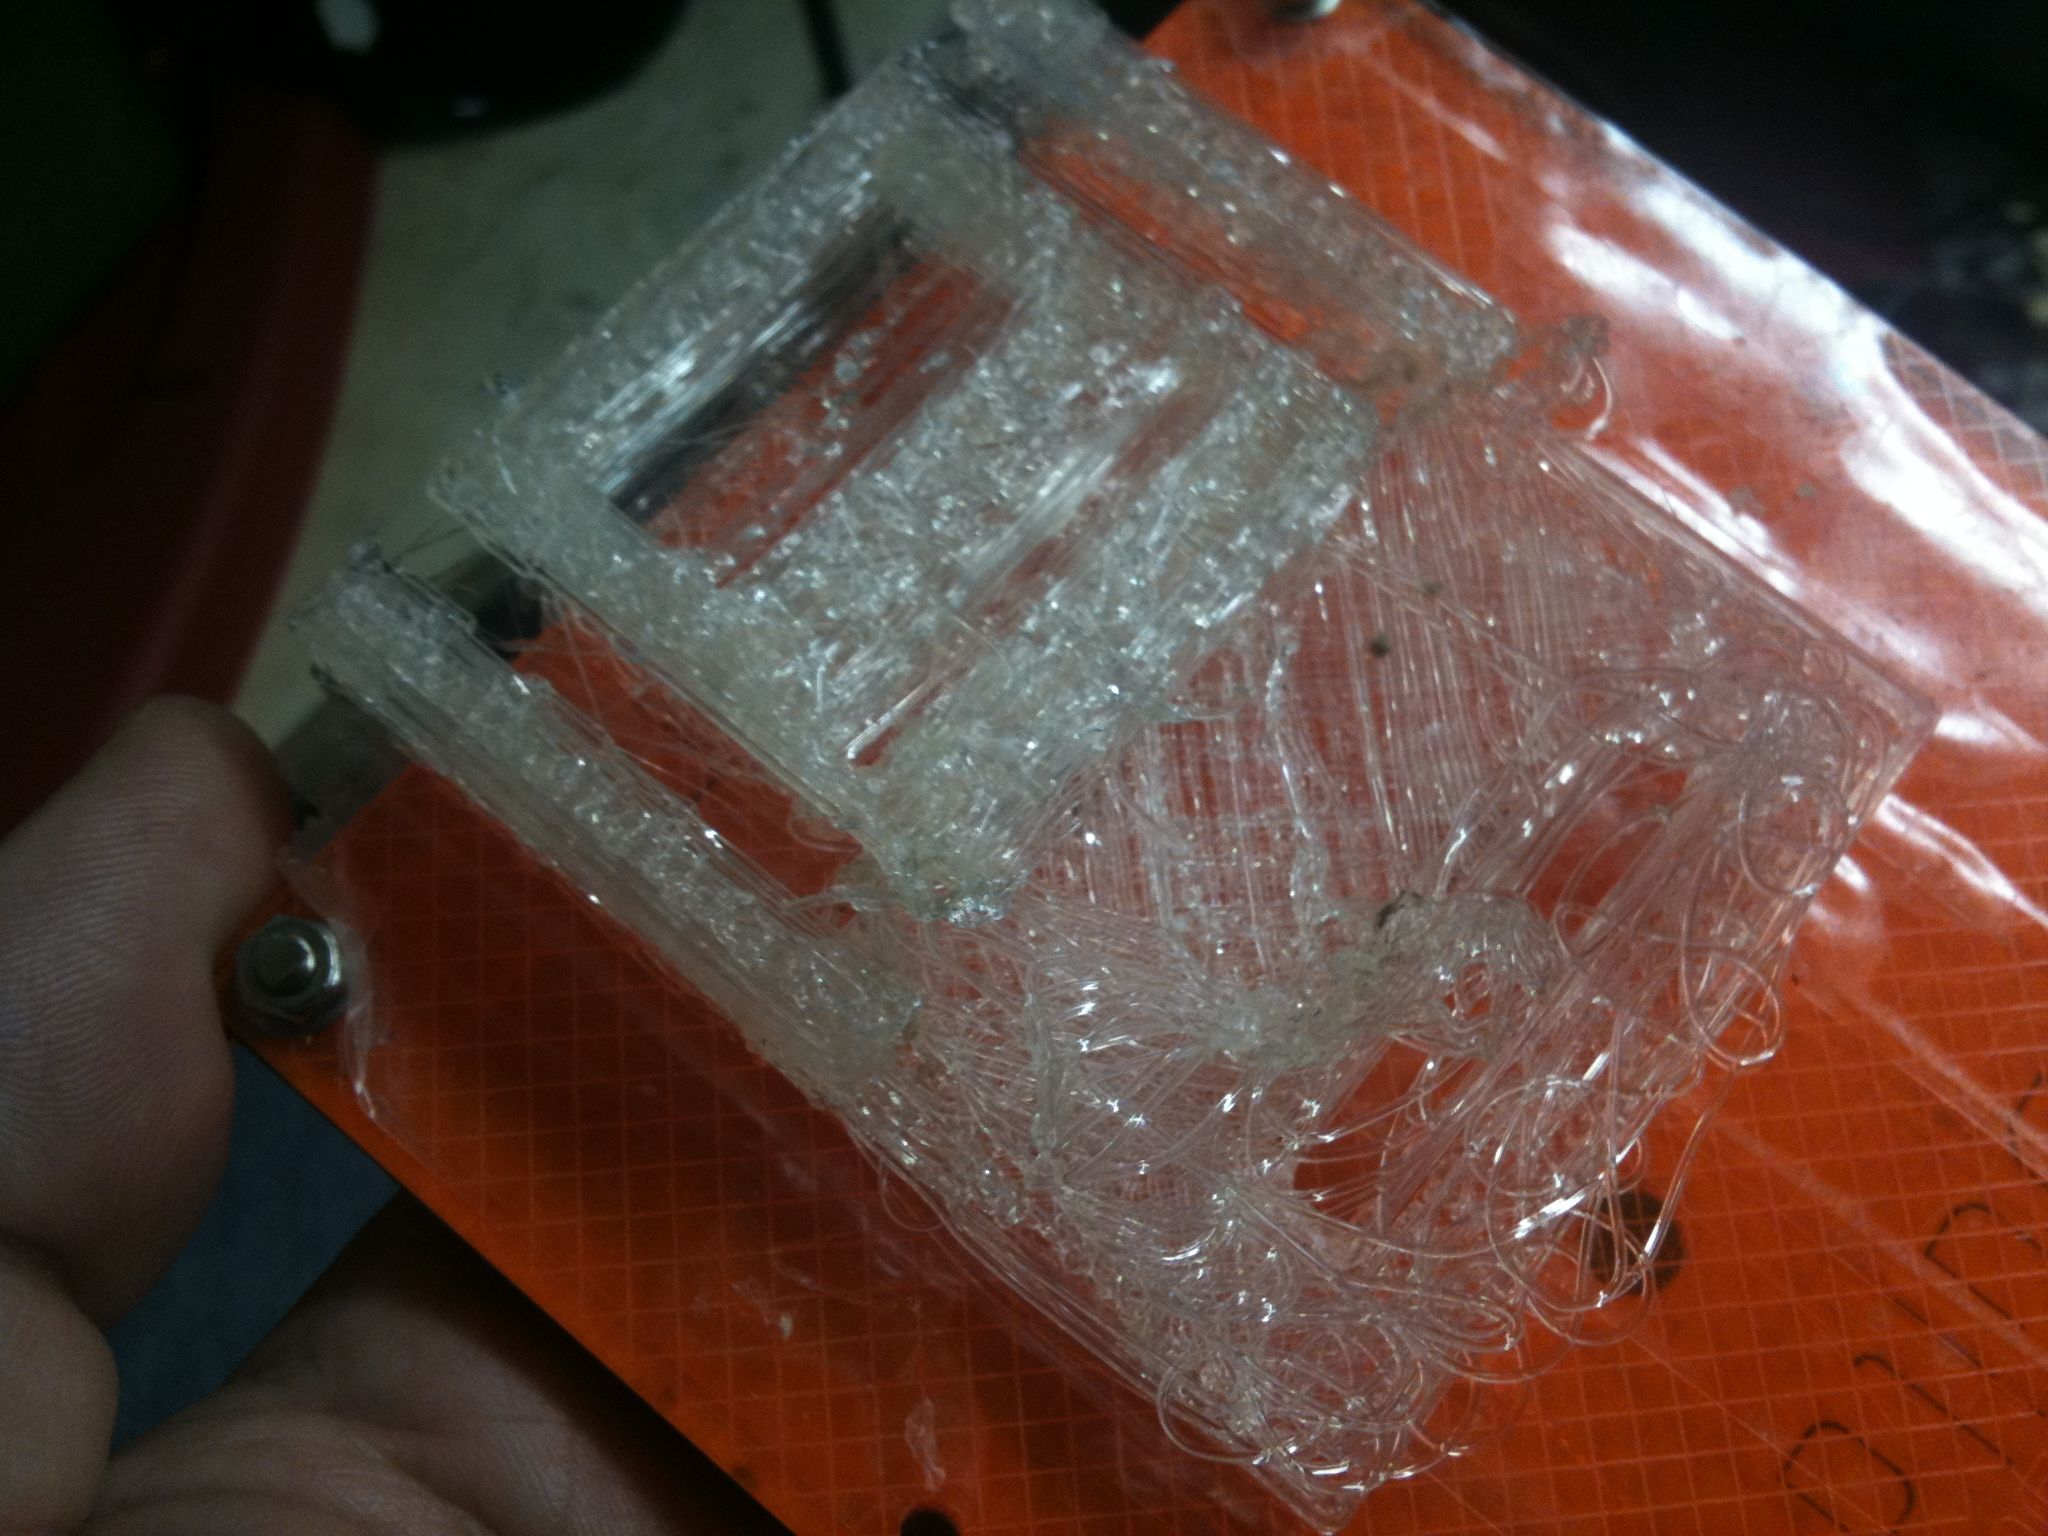
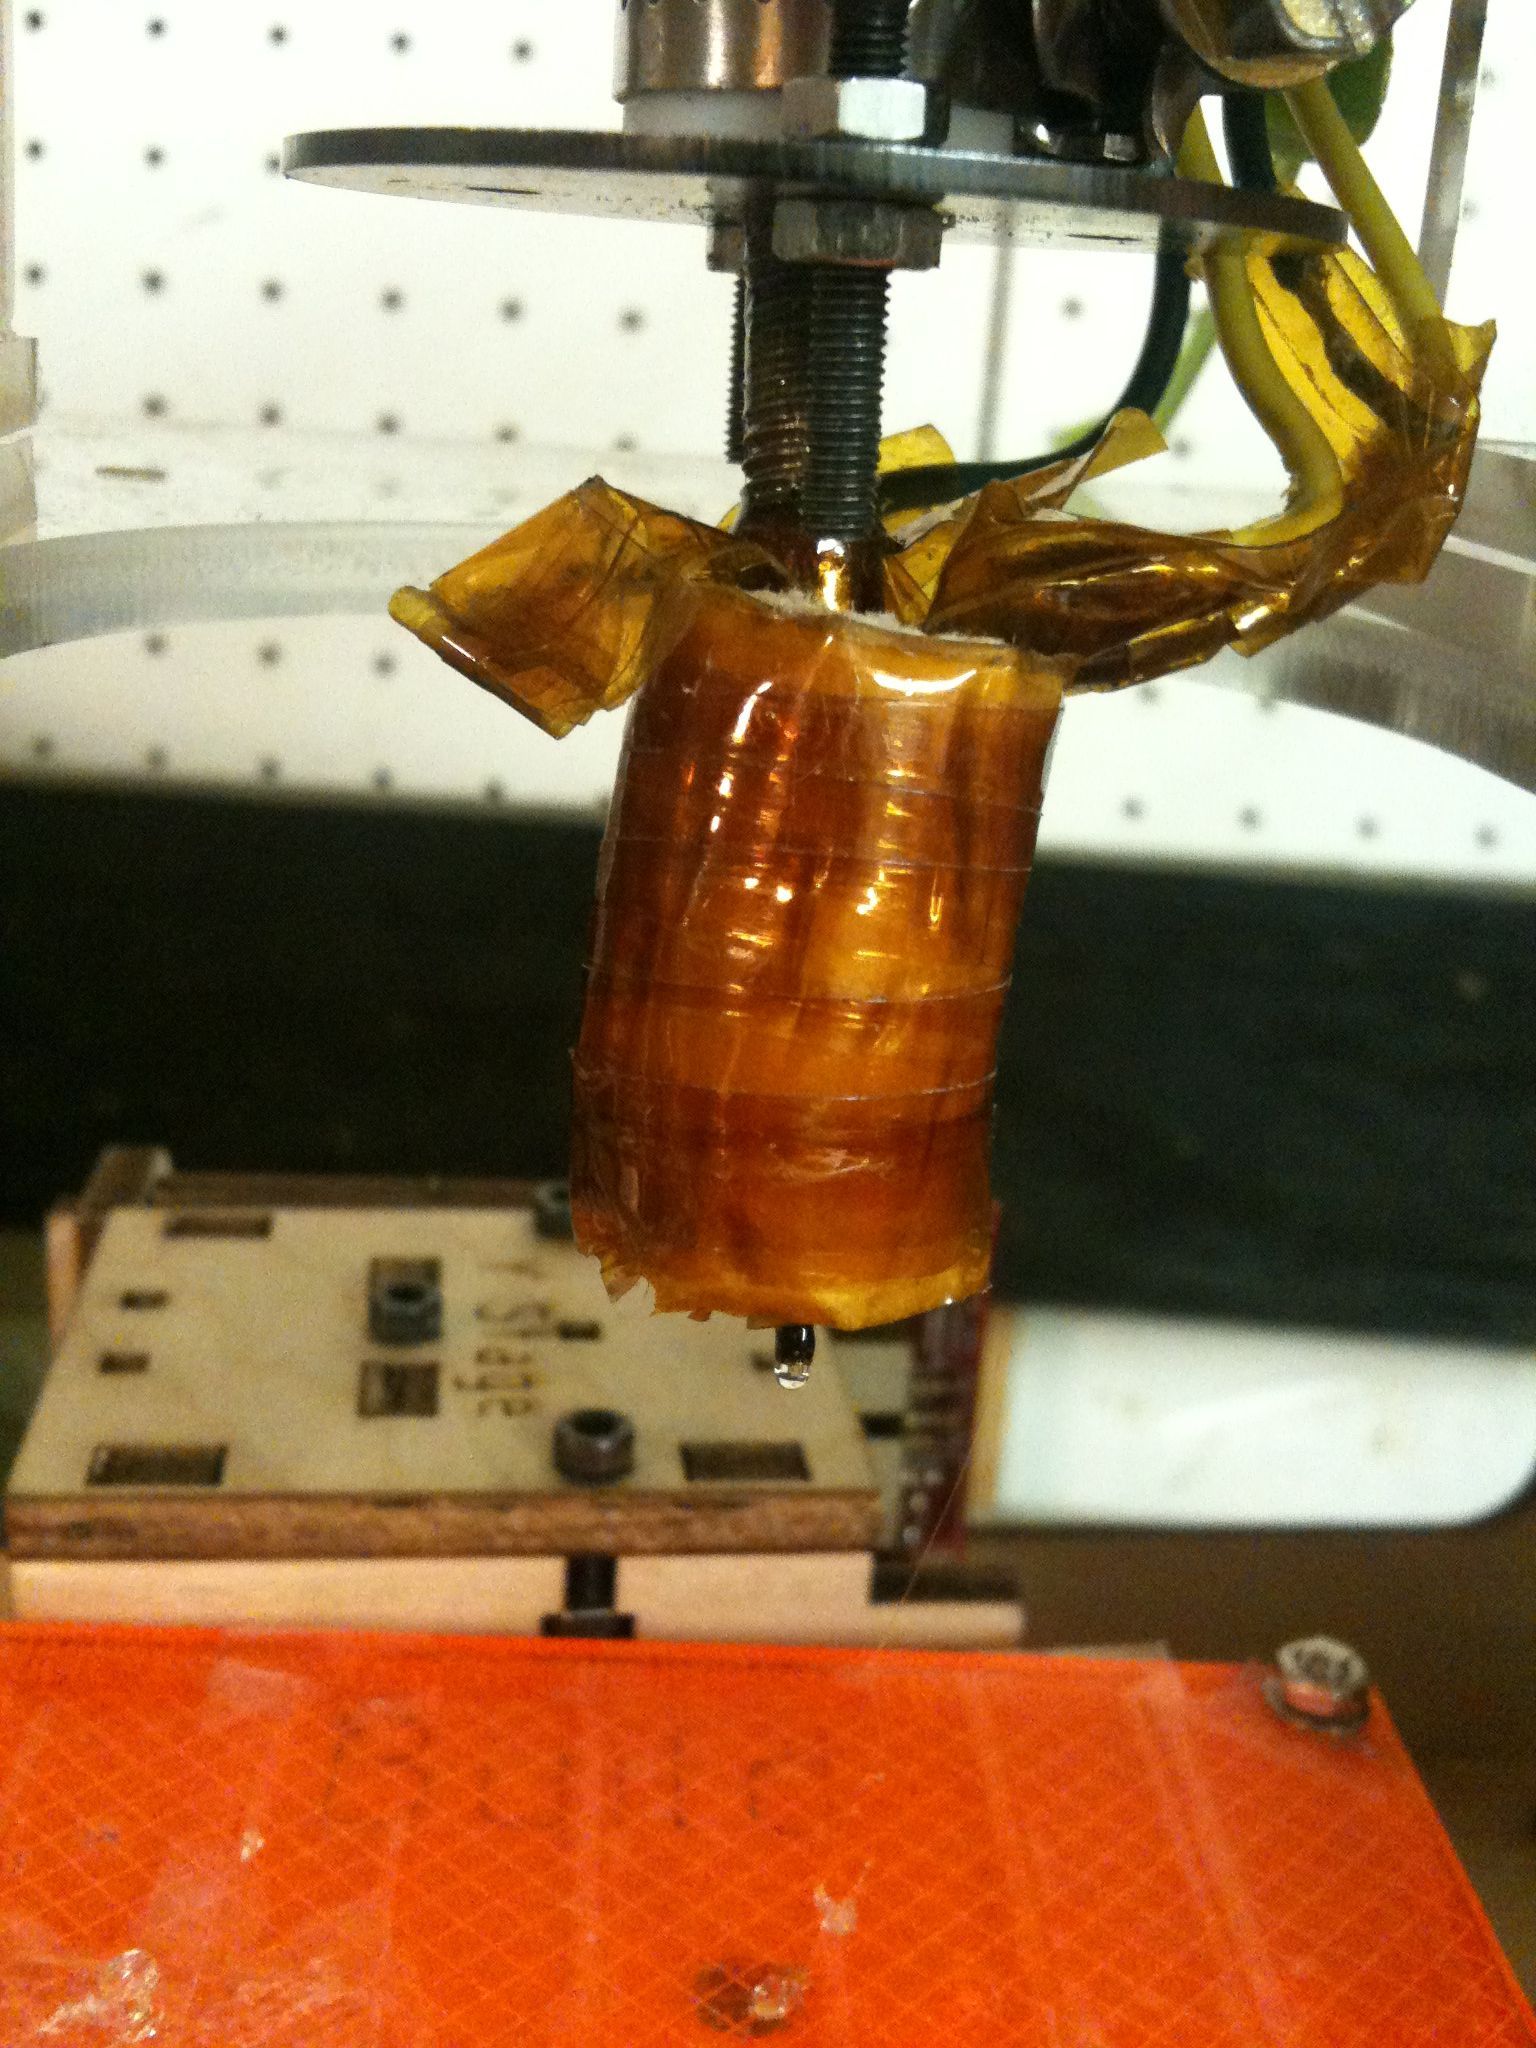
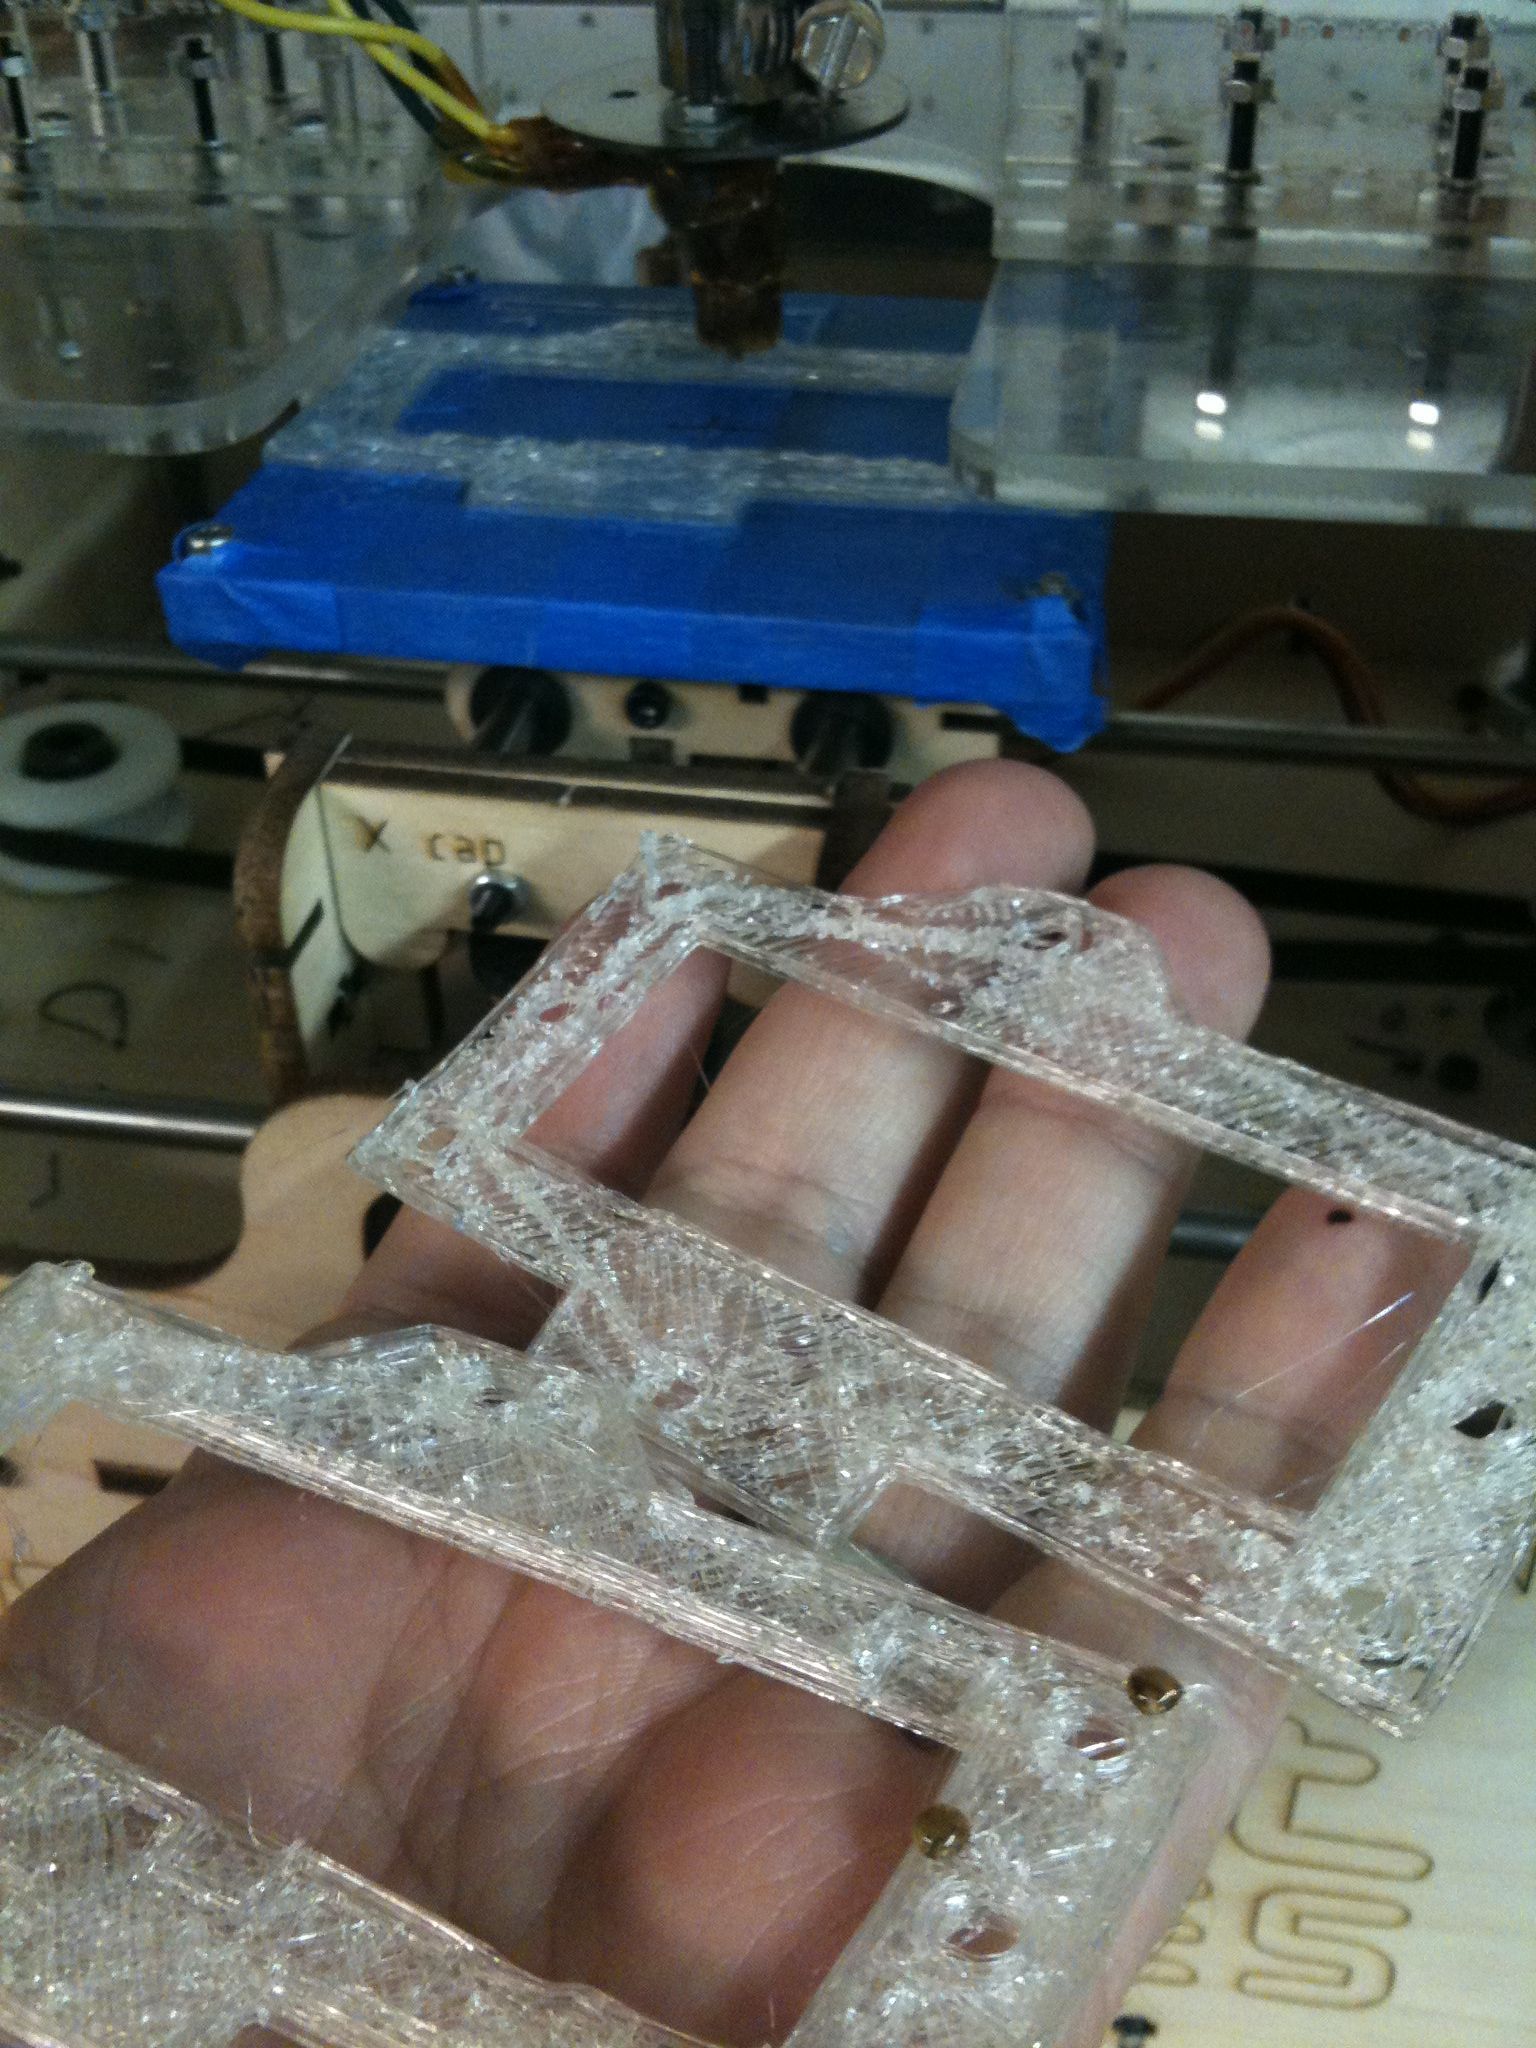
The second though showed the problem I’ve been wrestling with all weekend. Check out the top part of the print in these pictures:
At some point the extruder stops extruding, and if I’m not there to correct it (by pressing hard on the filament and/or turning it etc), then it will leave the rest of the build unfinished. More on that below.
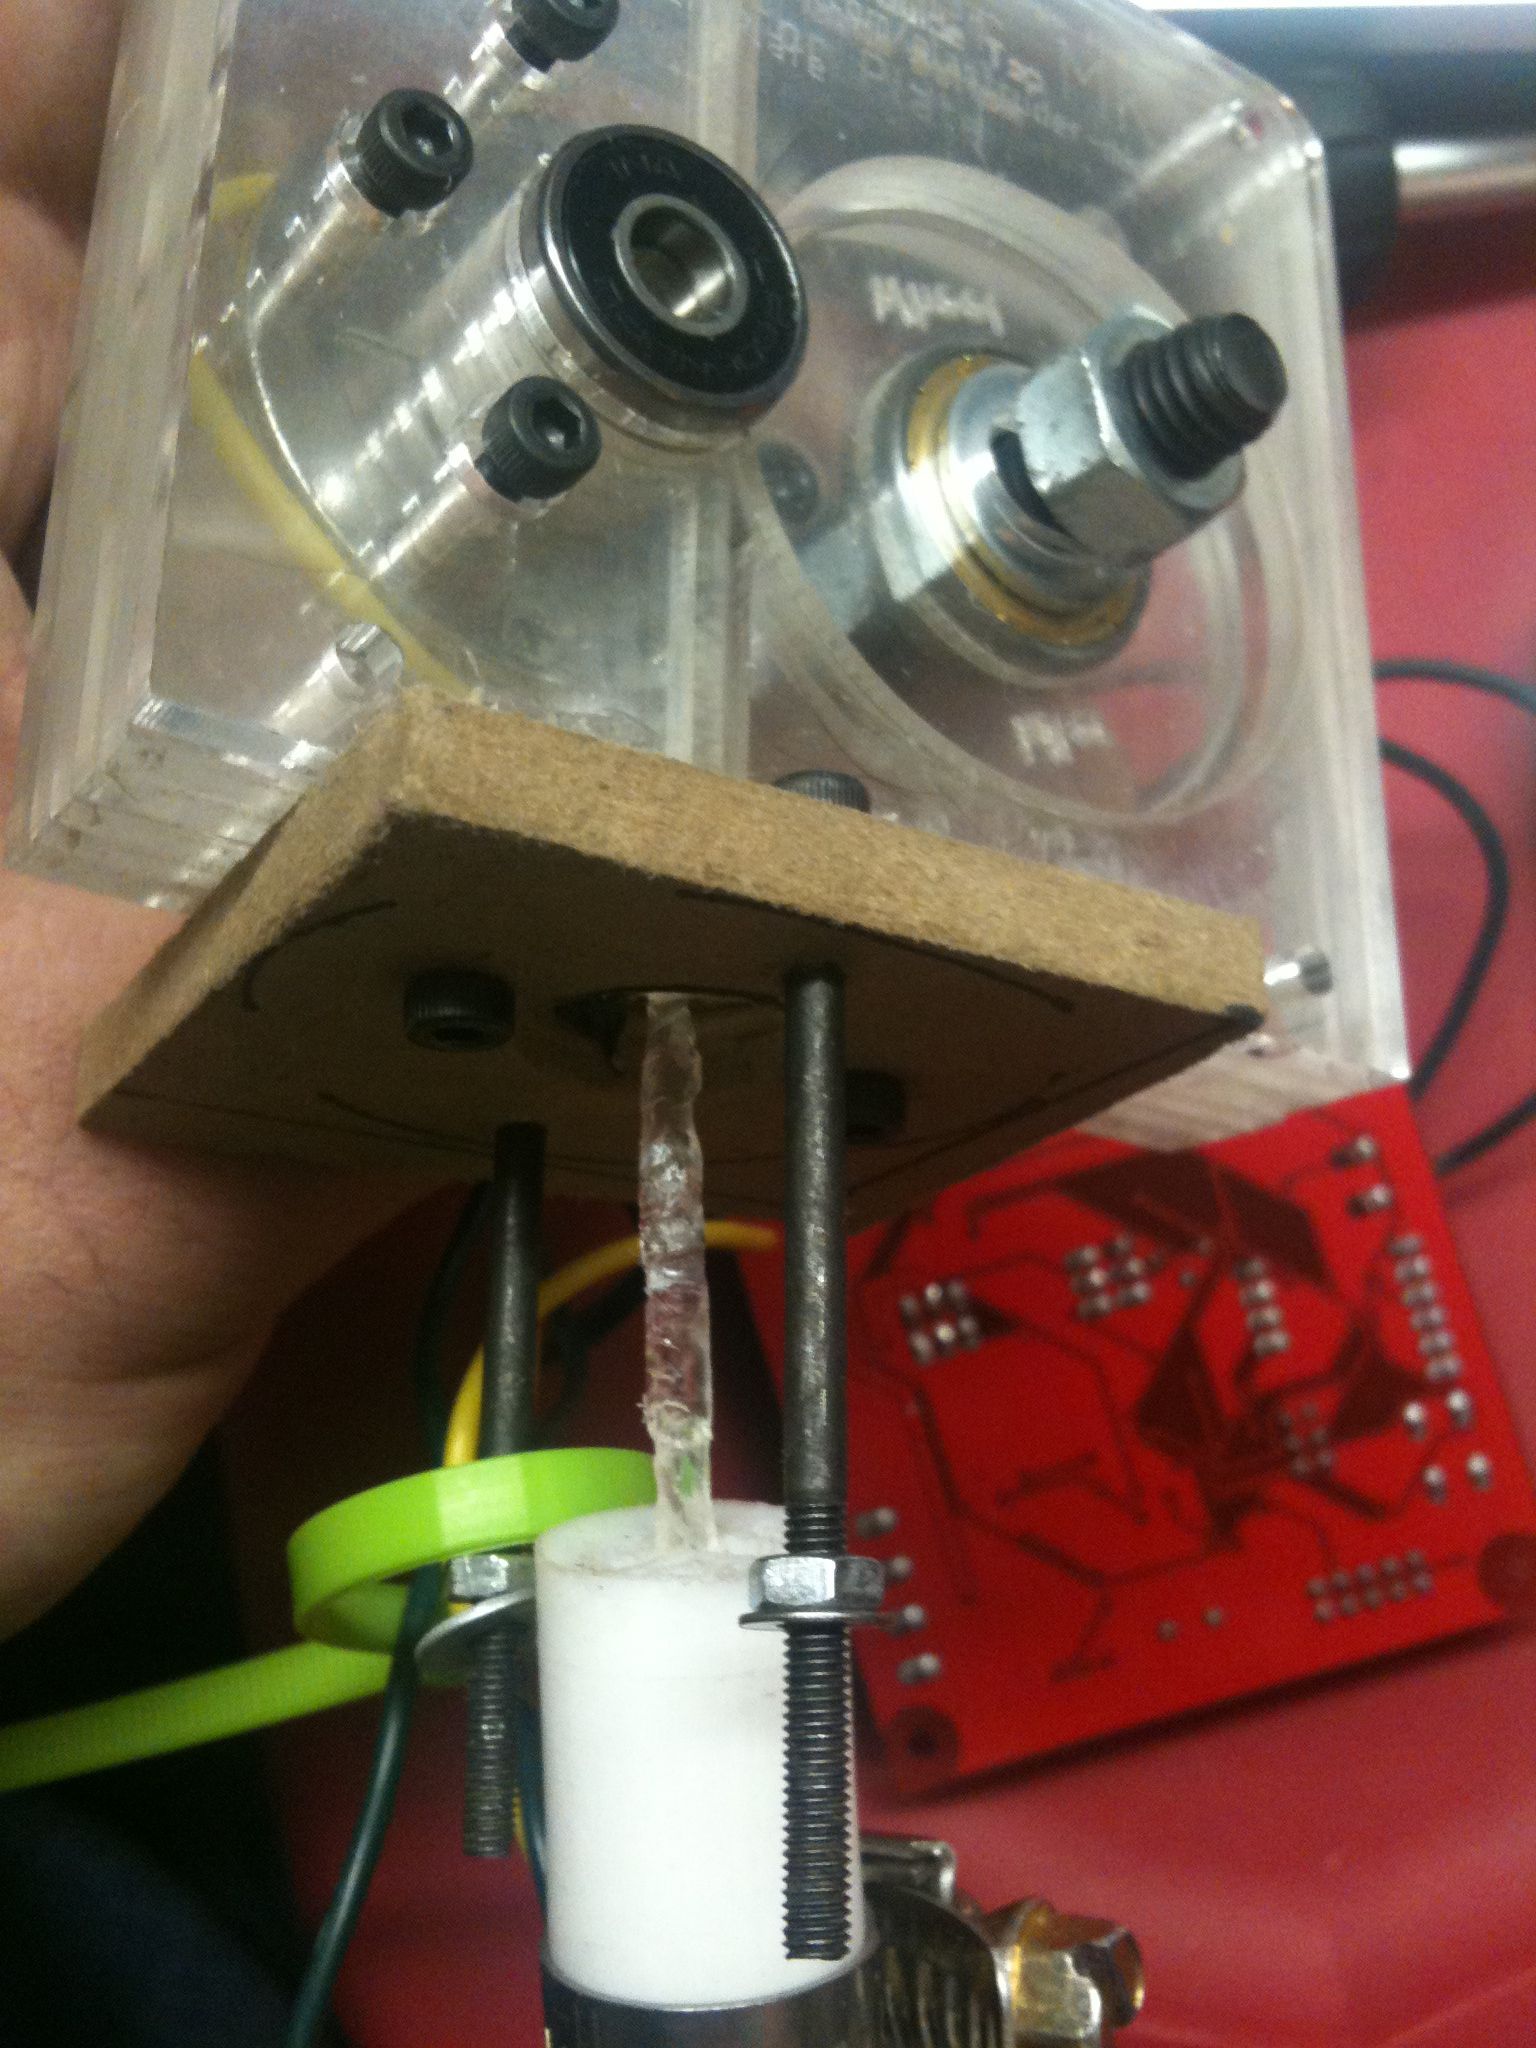
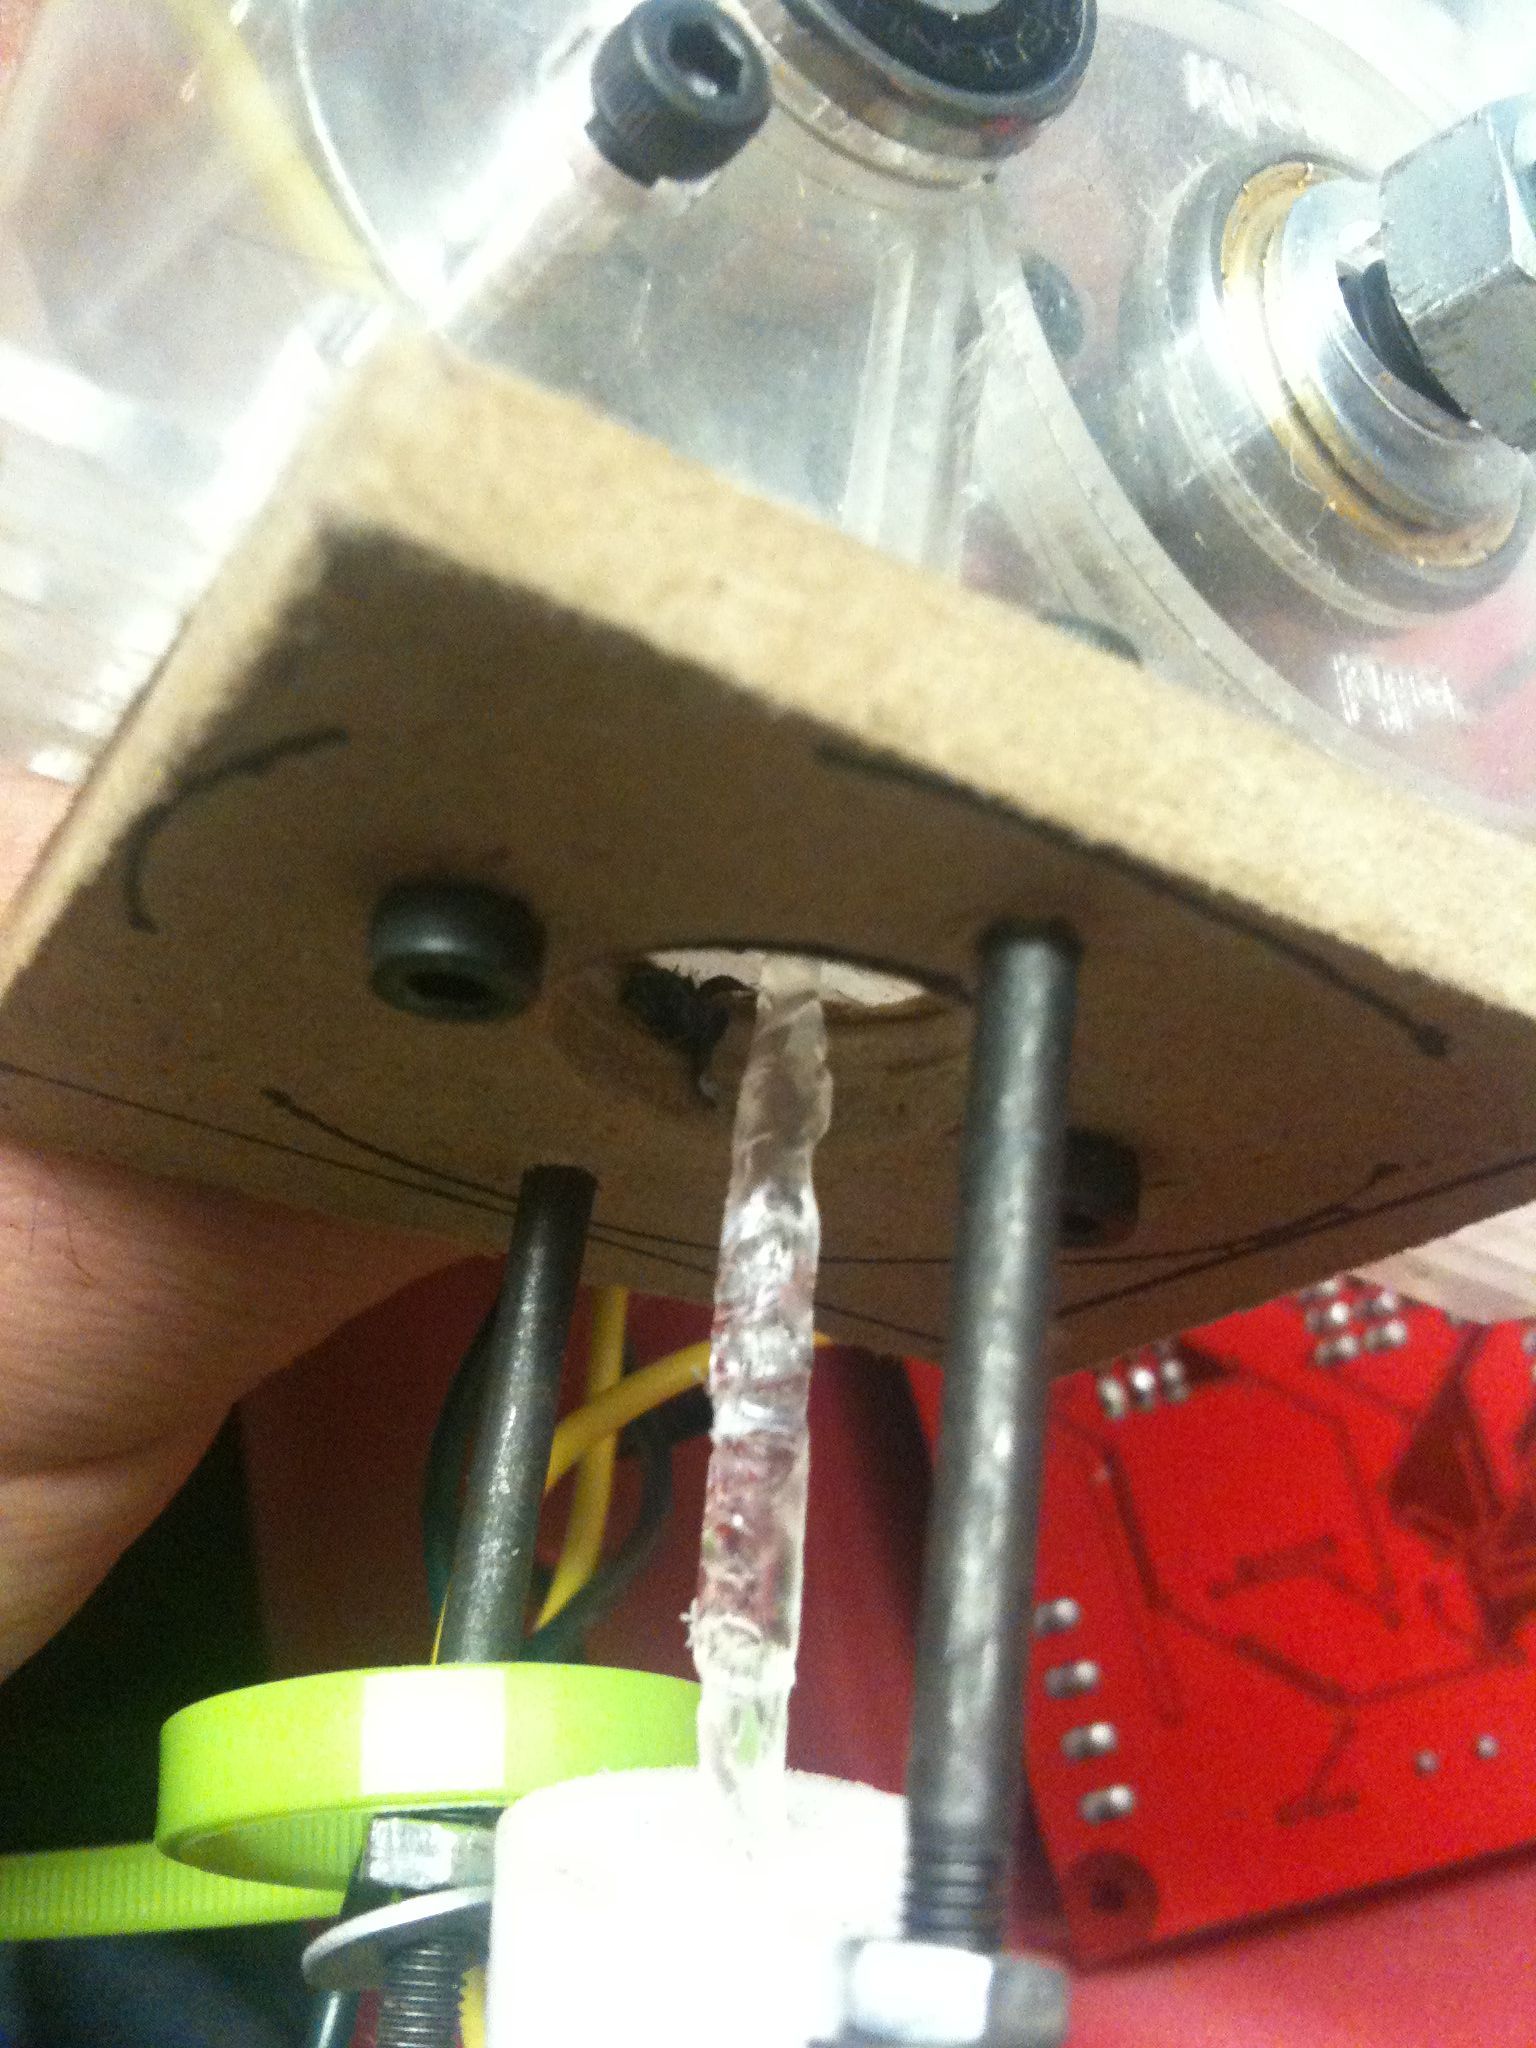
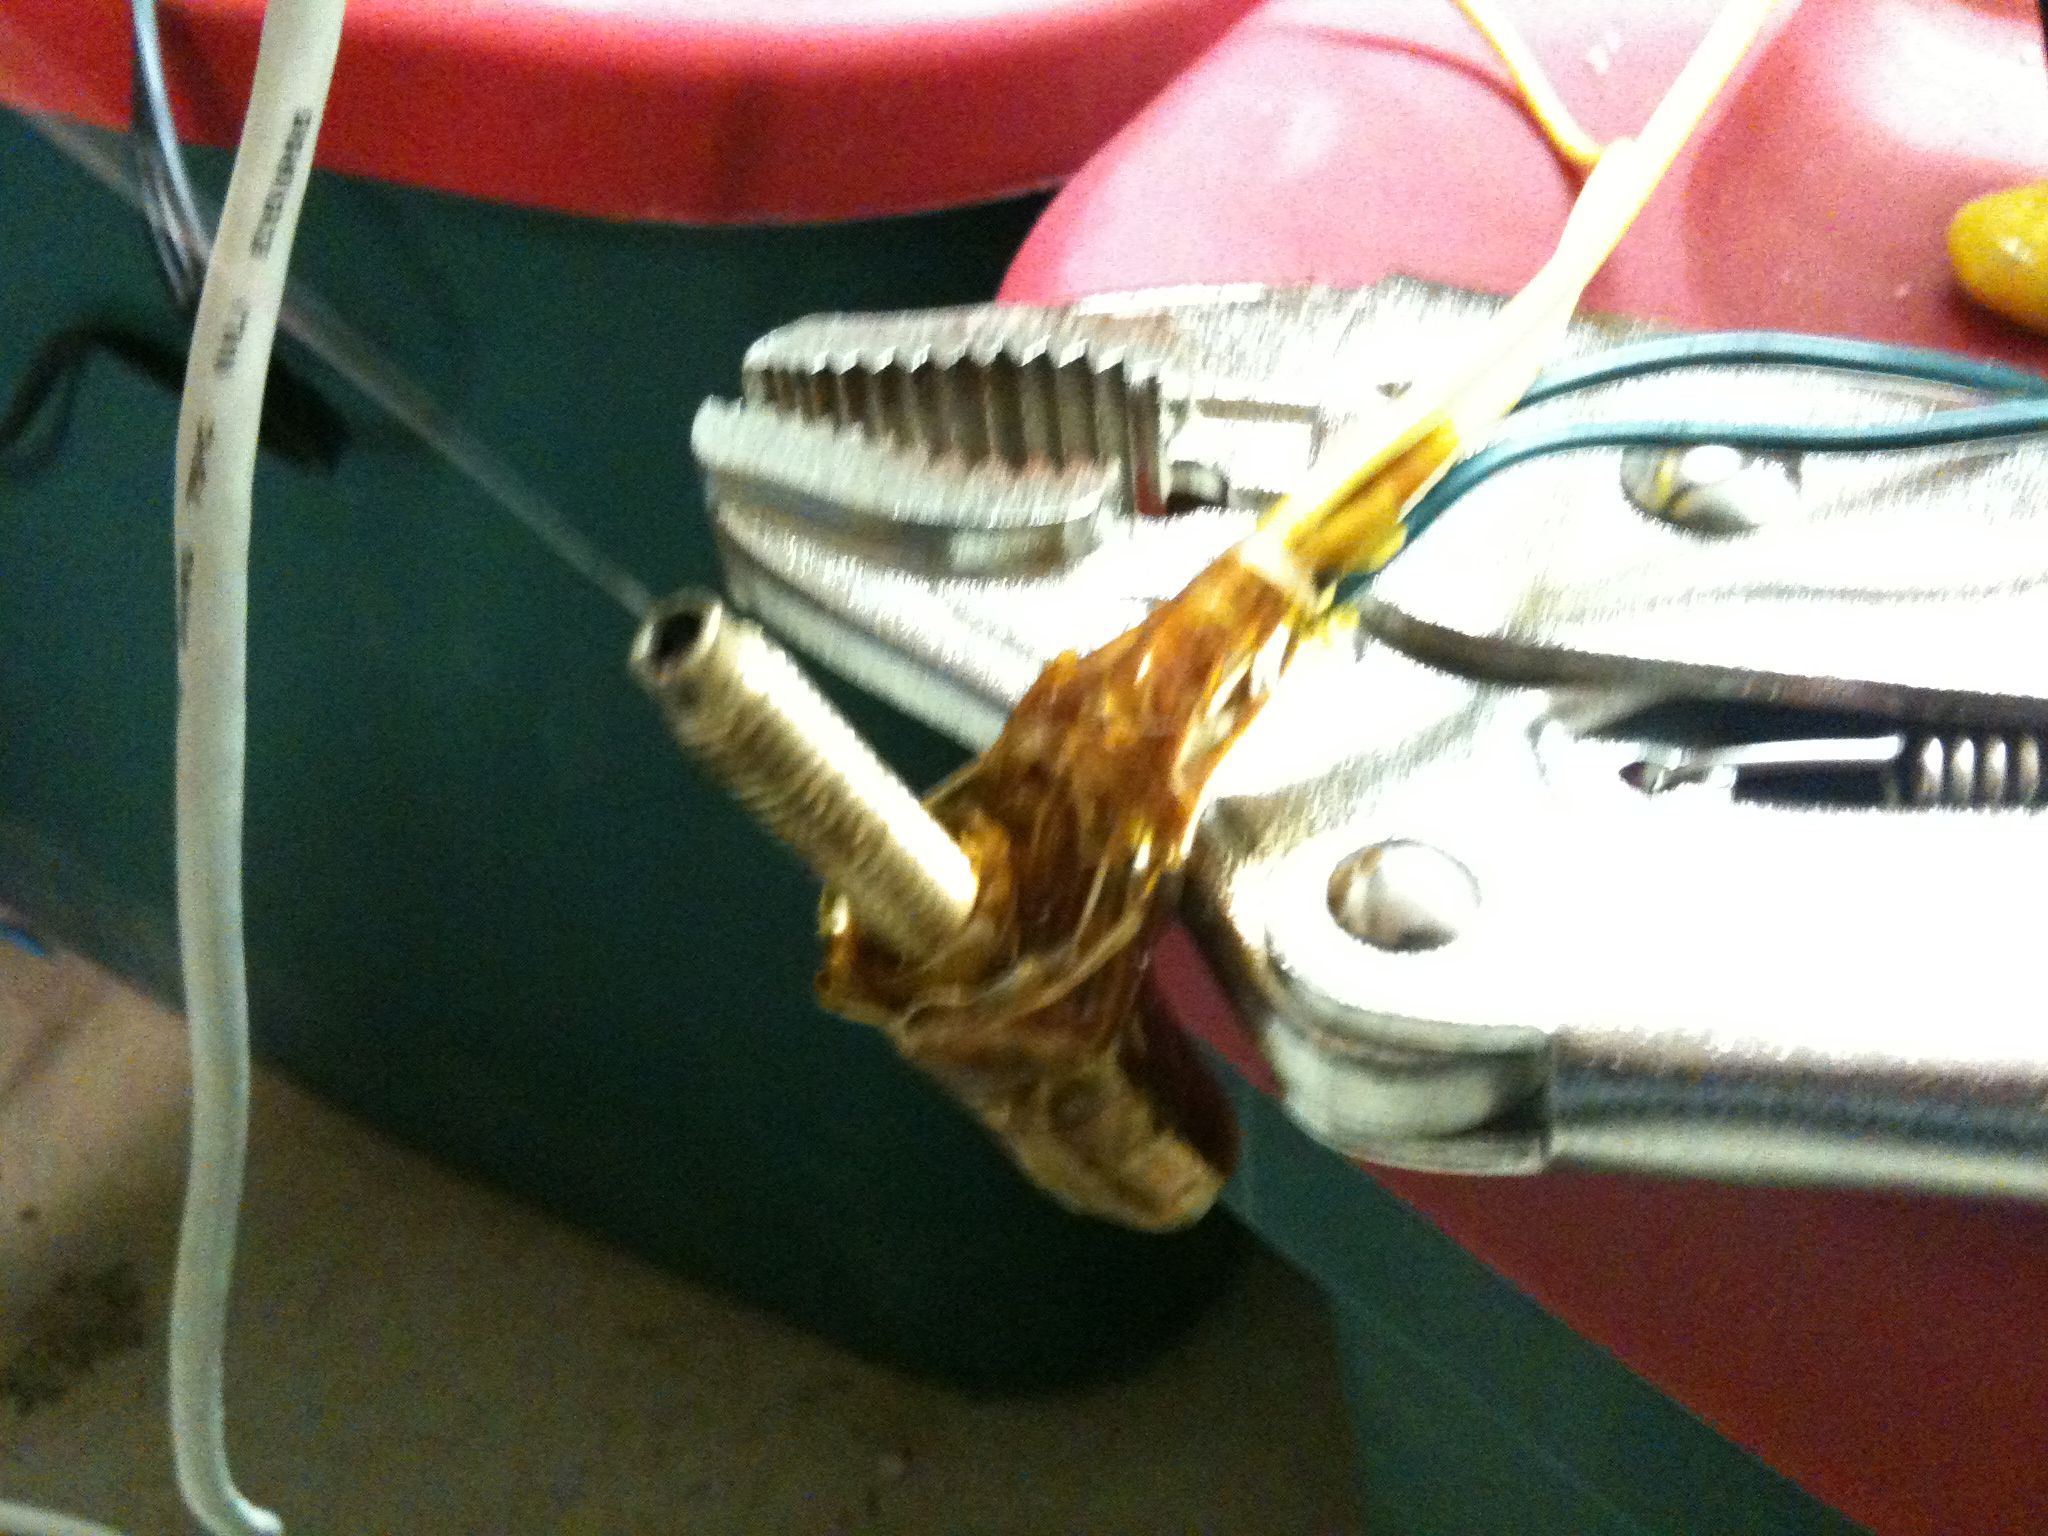
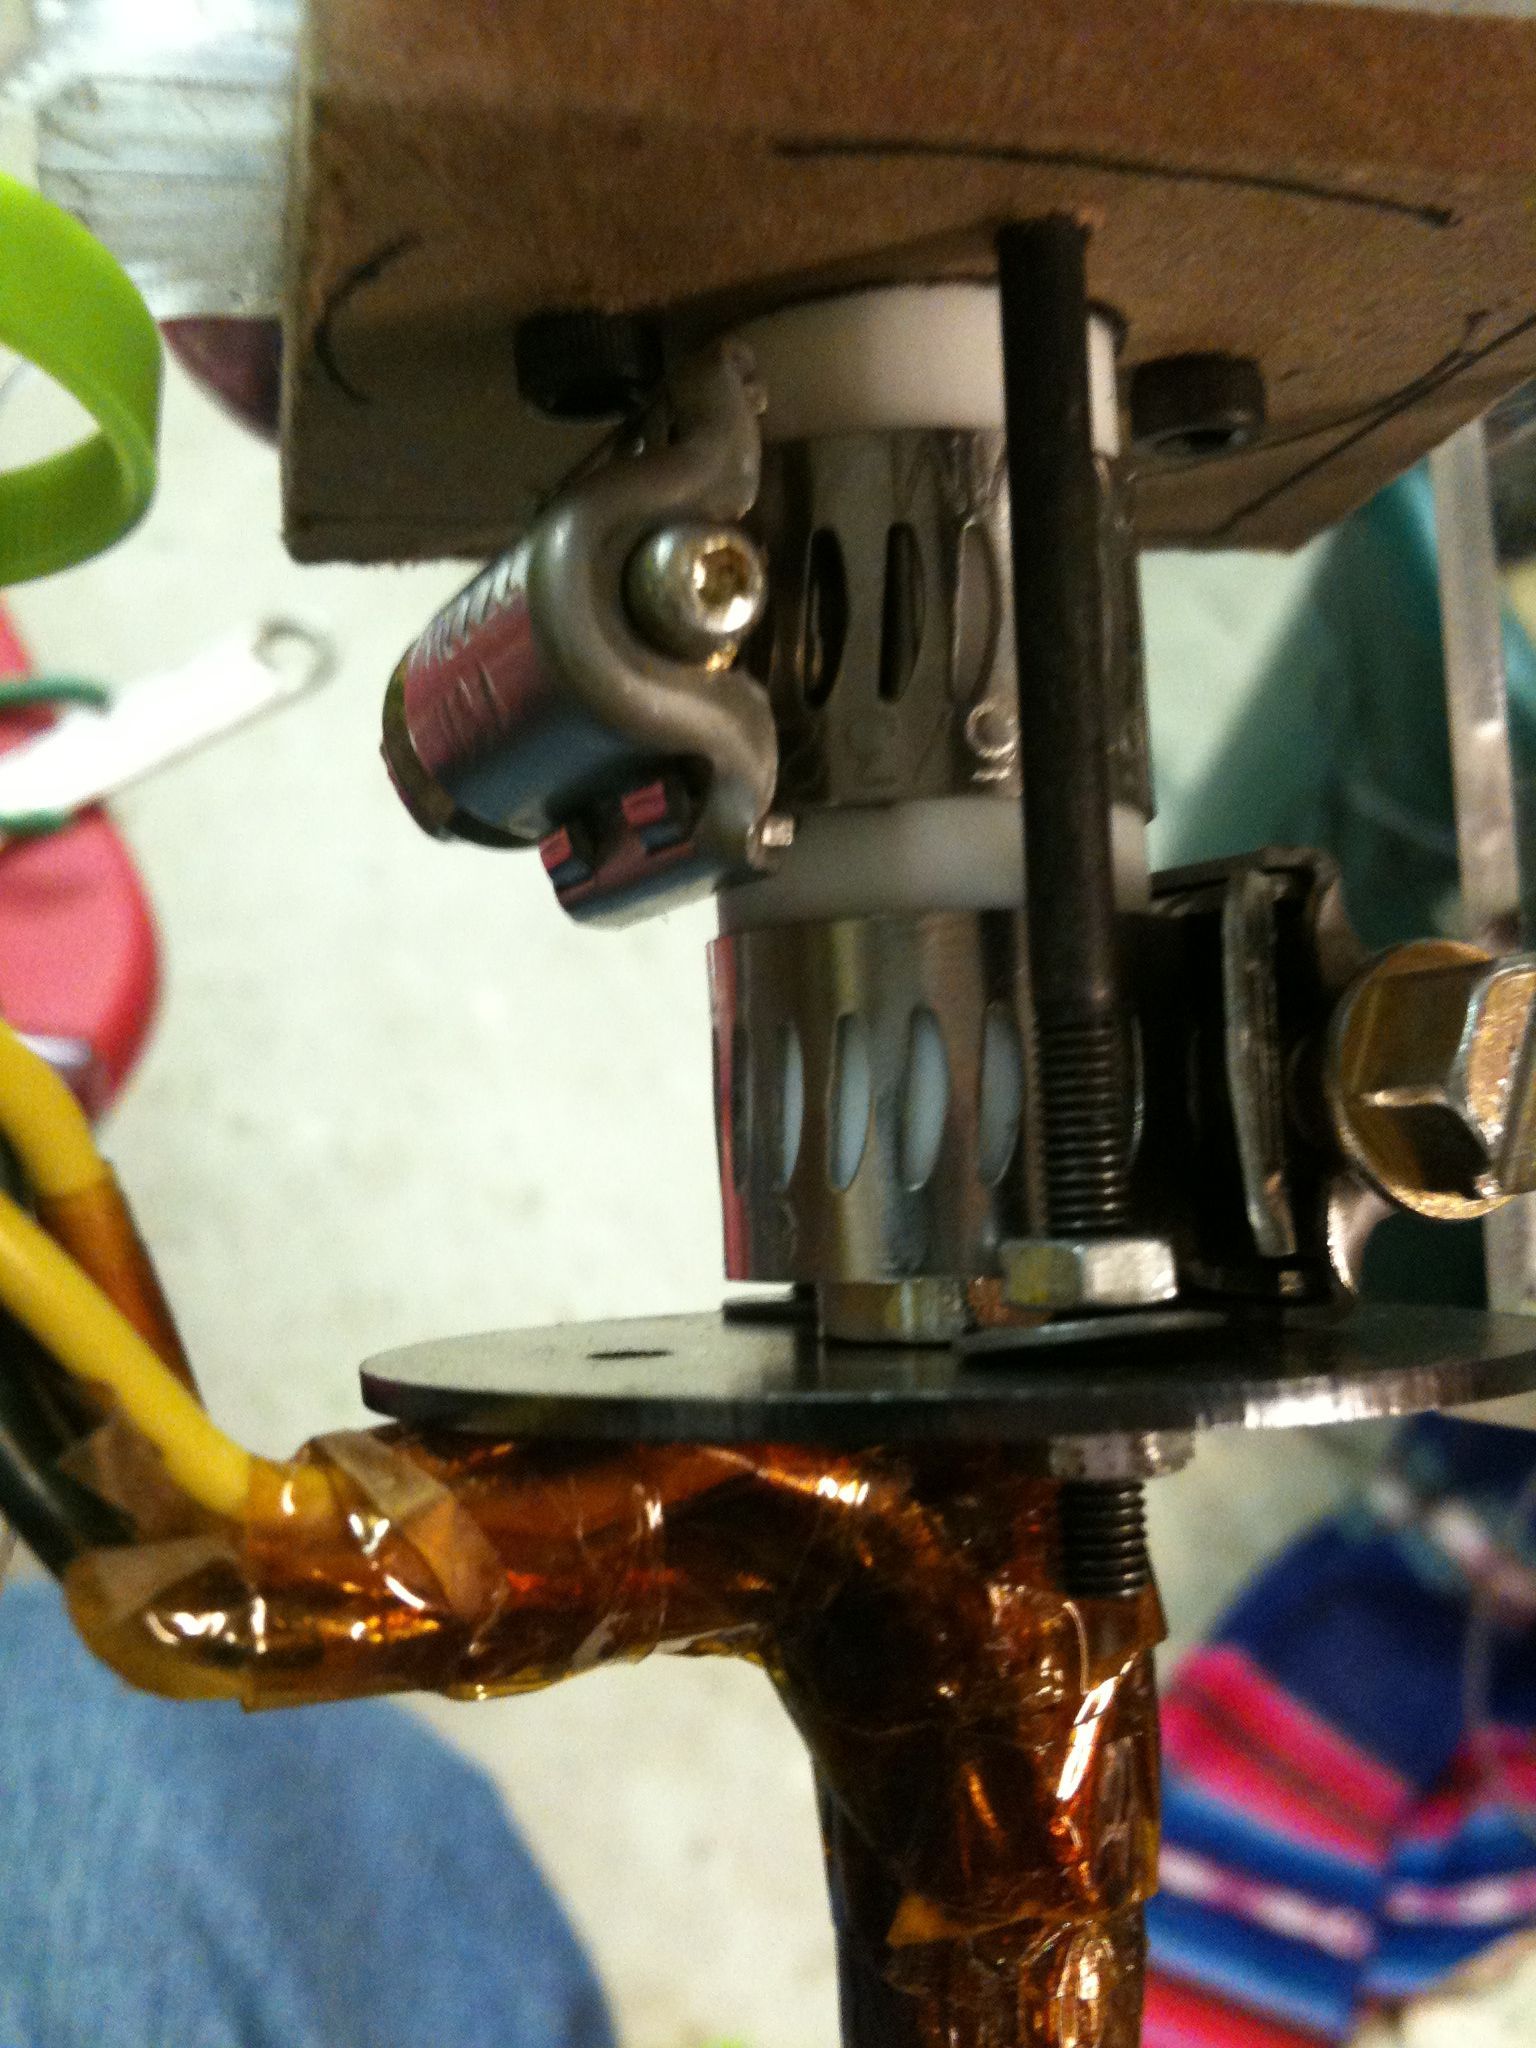
So I put that piece on hold, and tried printing the x-180-z-bearing plate, and that’s when the heater barrel pushed out (again!):
Frustrated, I went to the store. The good news is I bought a lazy susan for the PLA supply, and lots of that Scotch Blue Painters tape (#2090) that Adrian mentioned in August (the tape works awesome.. but I’m getting ahead of myself). Having either a spool or a lazy susan really is important with PLA, because twisting becomes a serious problem. It still doesn’t feel solved. If you buy a lazy susan, go with a large one; I wrestled with a $5 difference (I was at Target and had a choice between a $13.59 11″ or a $18.79 16″), and mistakenly picked the 11″. The spool of PLA had measured about 10″ before, but then it unwinds and actually started getting stuck in between the rotating part beneath it. I put a piece of cardboard beneath it for now, but I’ll probably go return it and get the larger one. [Update: Laurie’s so awesome – she’s returning it for me while at Target tonight]
Back to the pain. I had to disassemble the plastruder to get the PLA filament out (actually, I only went as far as unscrewing the bolt holding the large acrylic wheel, which I keep hoping was the cause of my later problems, but that’s a false hope because as I described above, I had the problem before touching the plastruder). Here was what the filament looked like:

So. I needed a new PTFE insulator. I’d told myself that next time I made one, I’d make a bunch. So that gave me the excuse to create a centering jig for the PTFE rods, leading to this video:
Great, I made four PTFE insulators, and put three in a ziplock bag for use in the probably-not-too-far-future. Then there was just the matter of heating up the heater barrel to get any PLA blockages out. Except that’s when I realized that the heater wire connection had broken, and I had to completely redo my heater barrel, all the way down to putting on new nichrome wire. 🙁 (At least the thermistor was still working!)
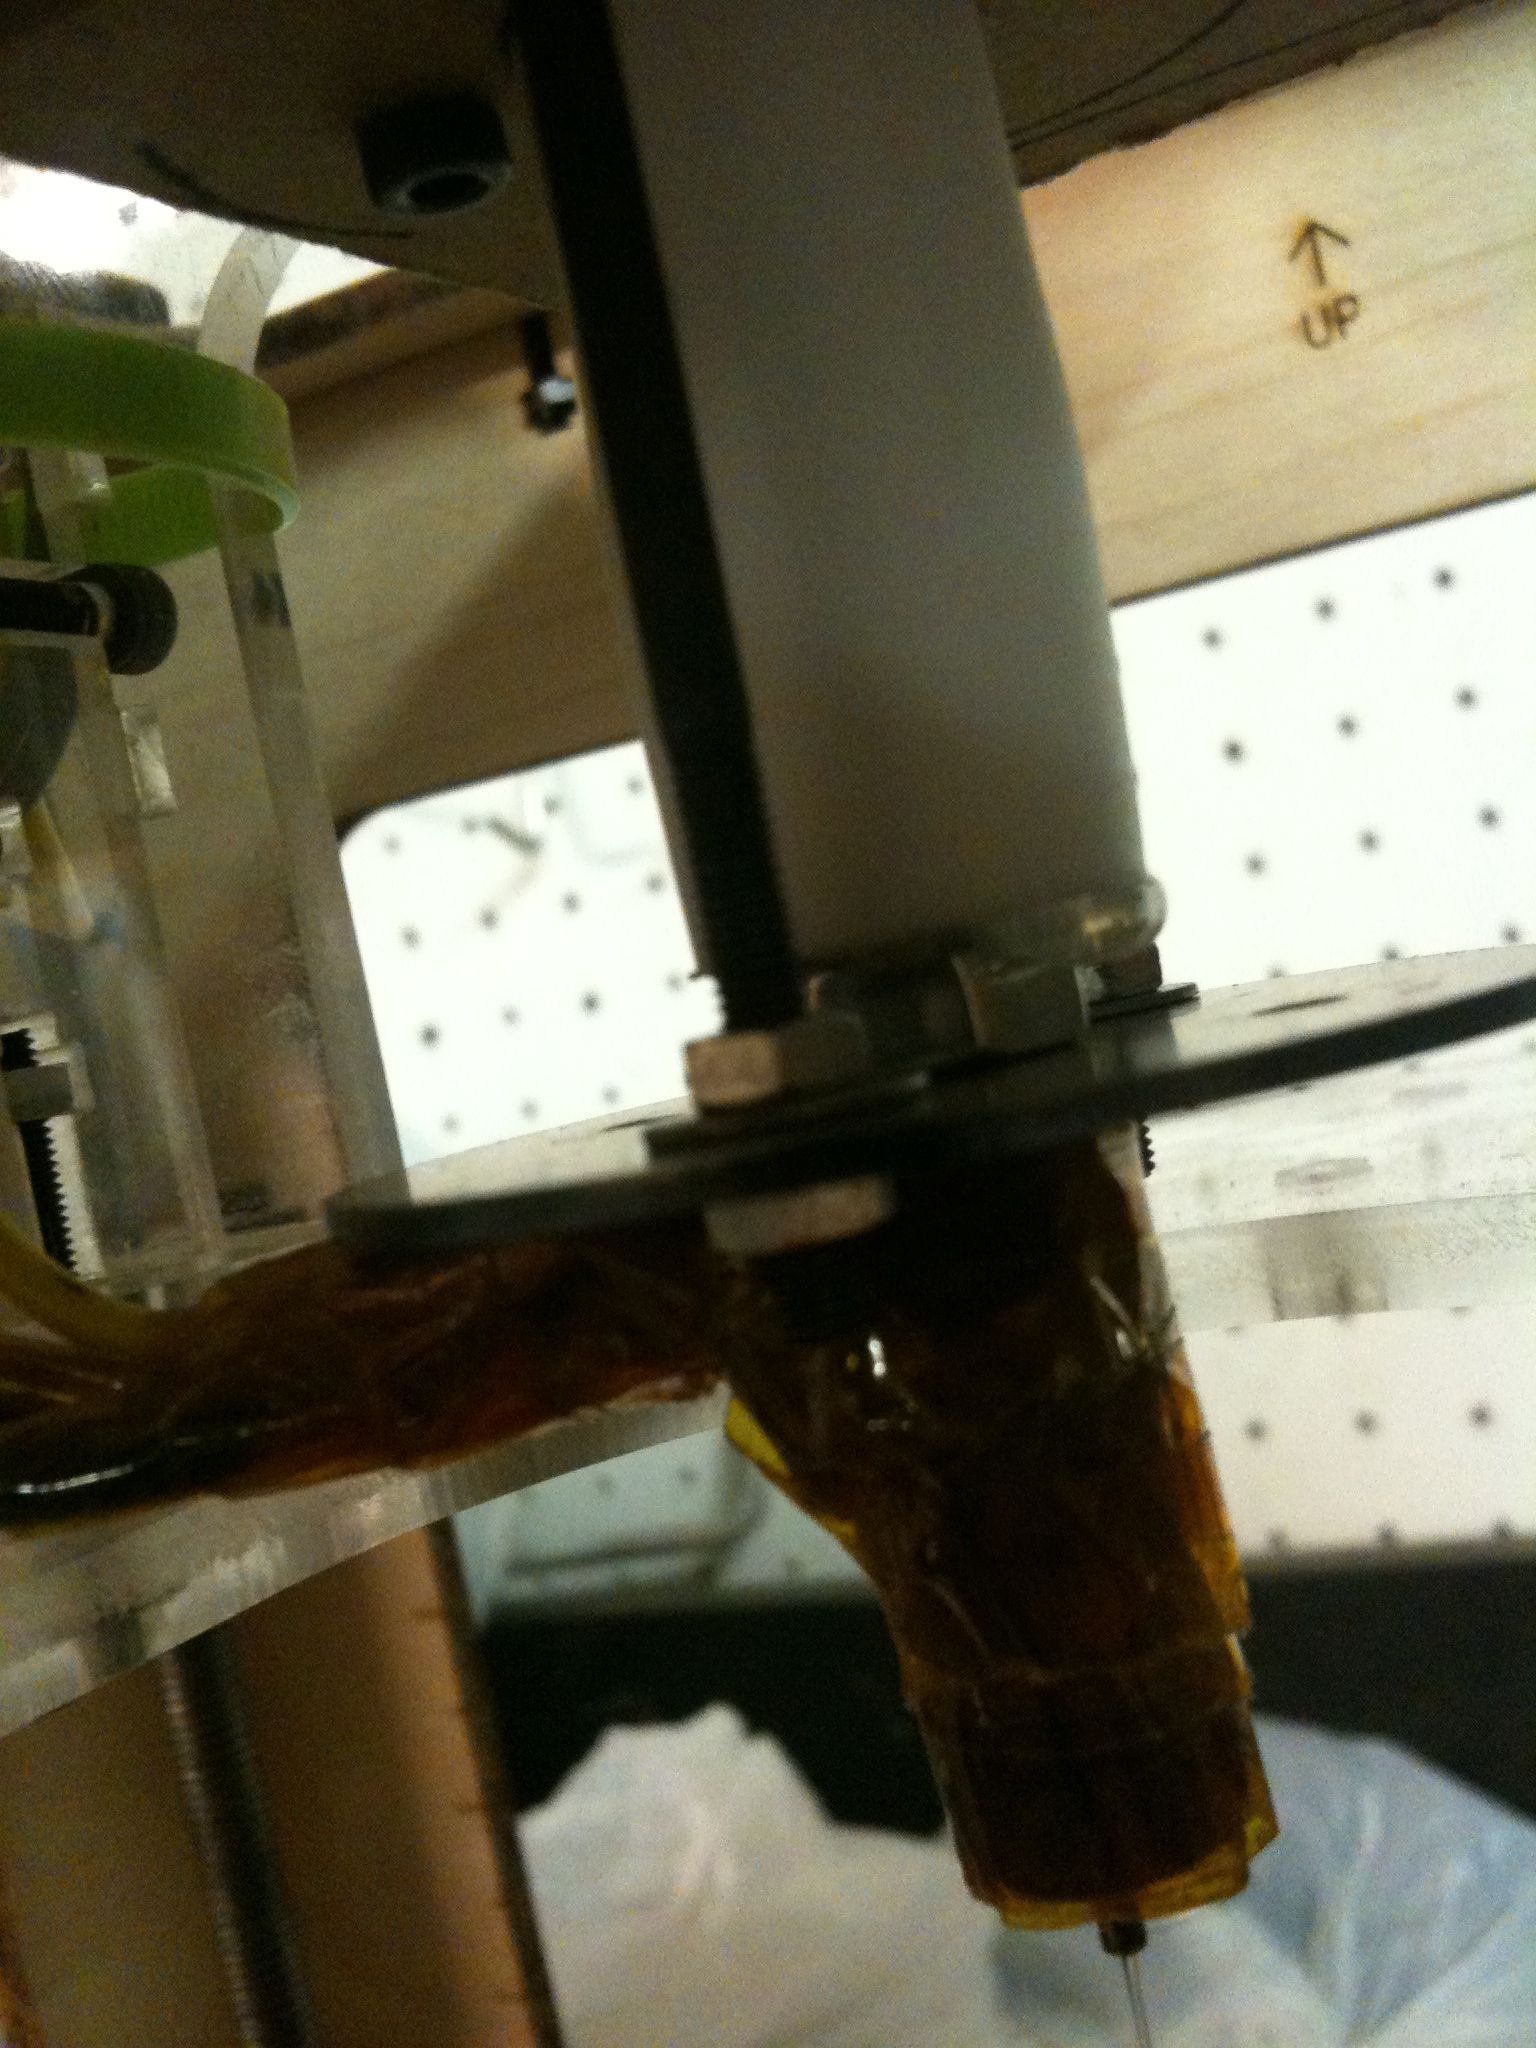
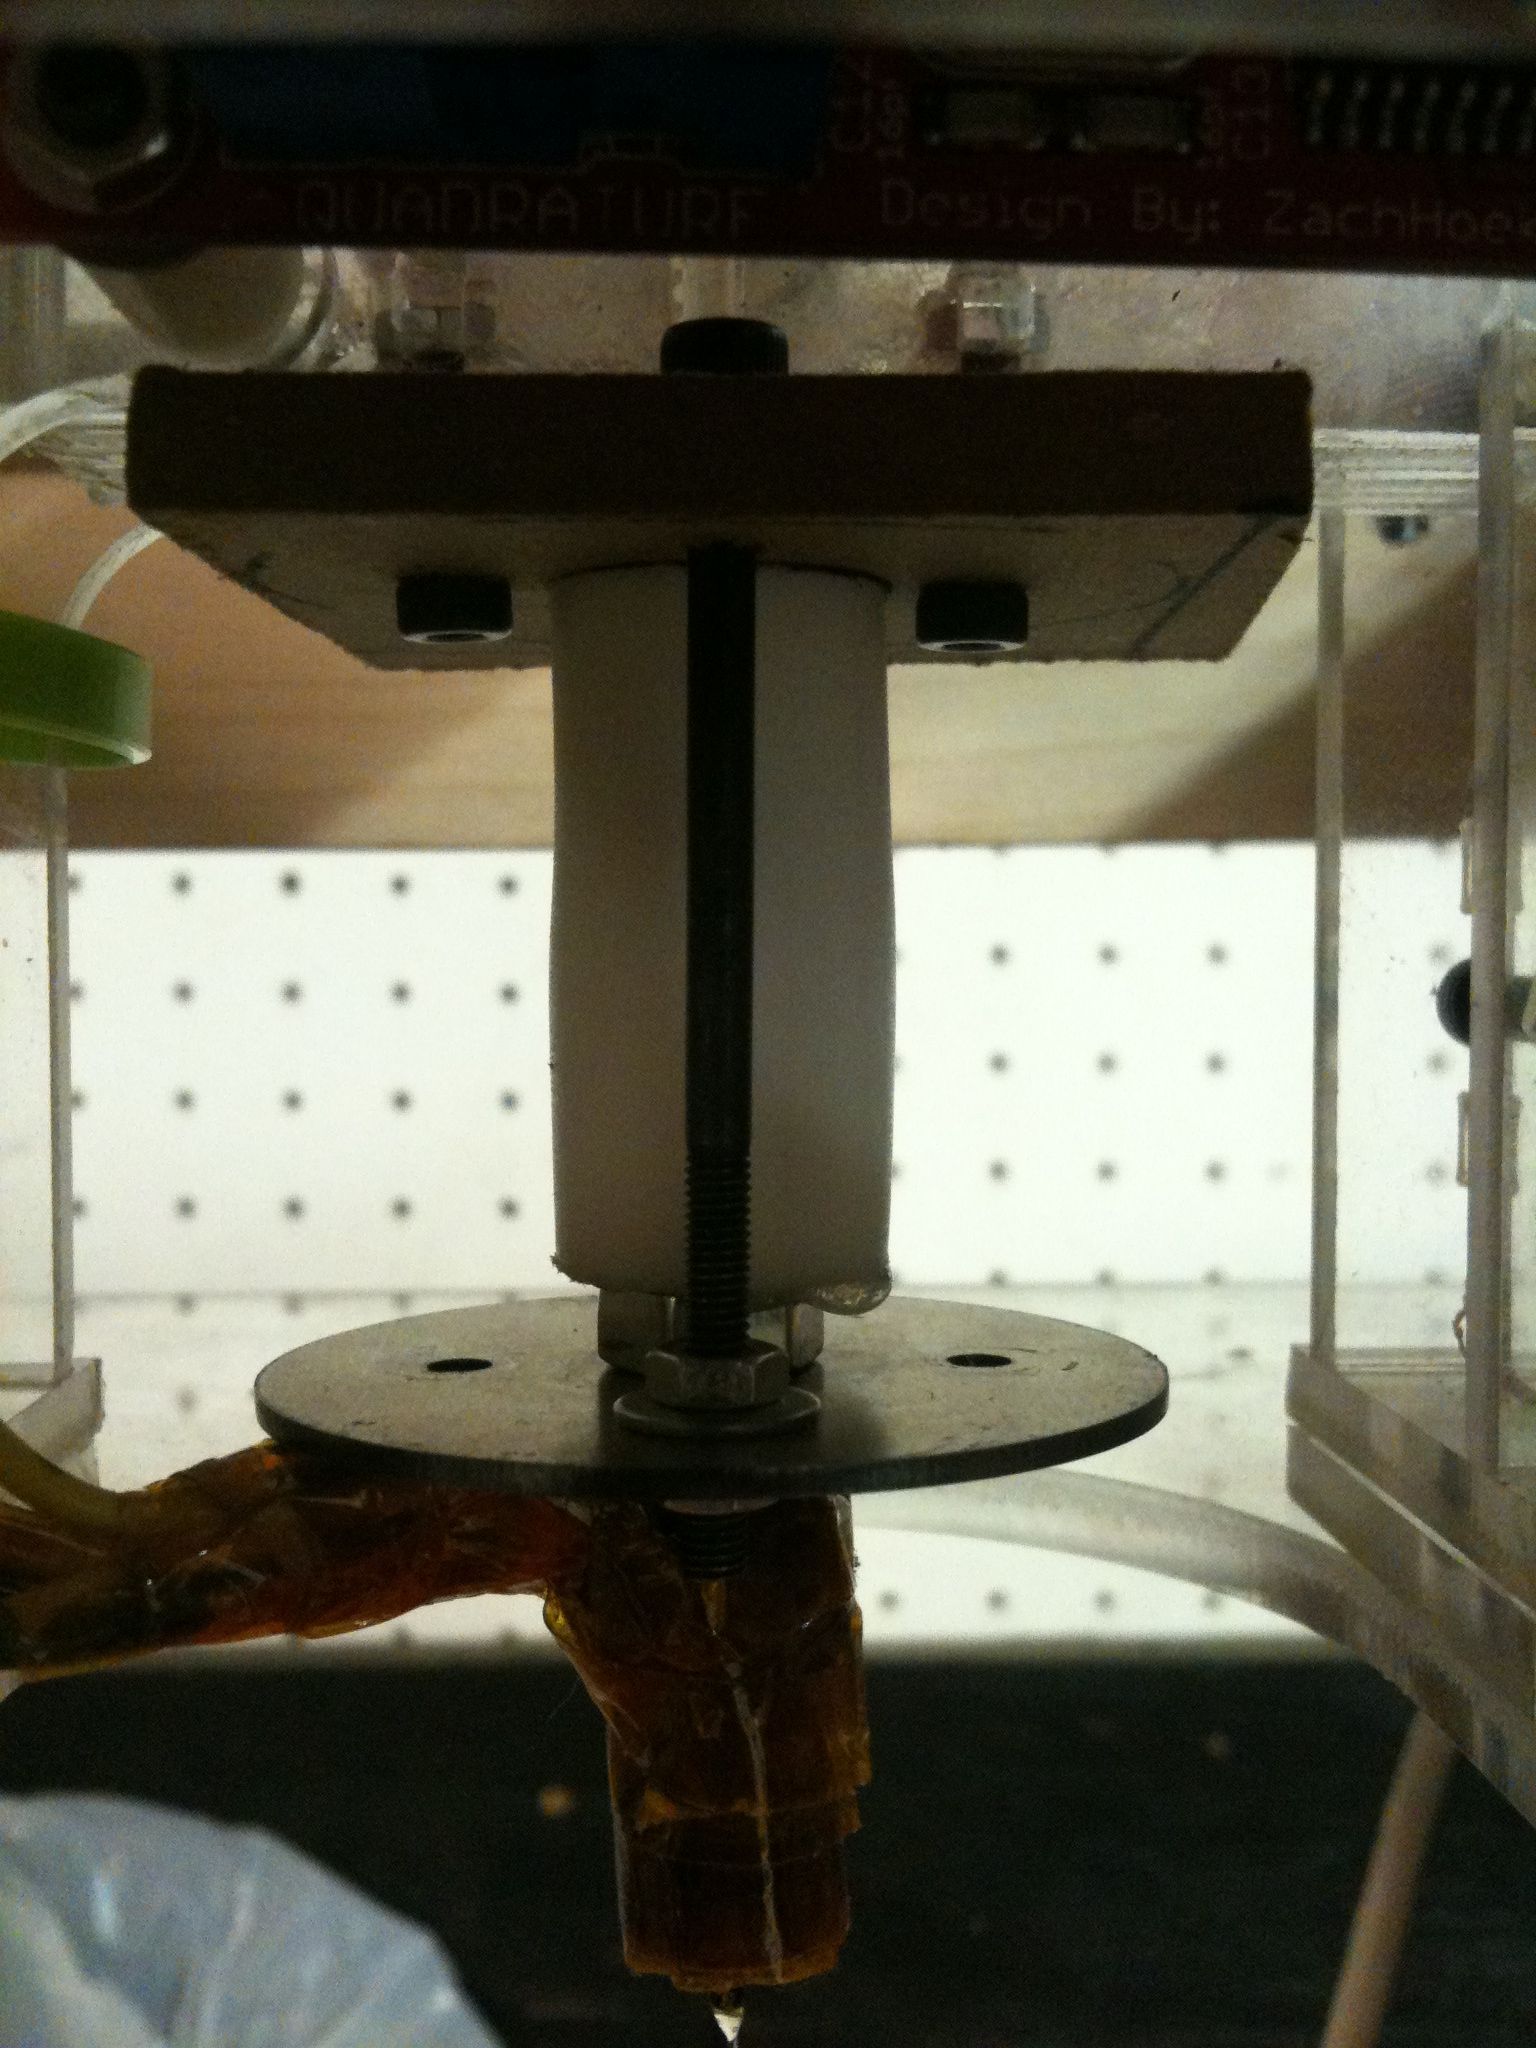
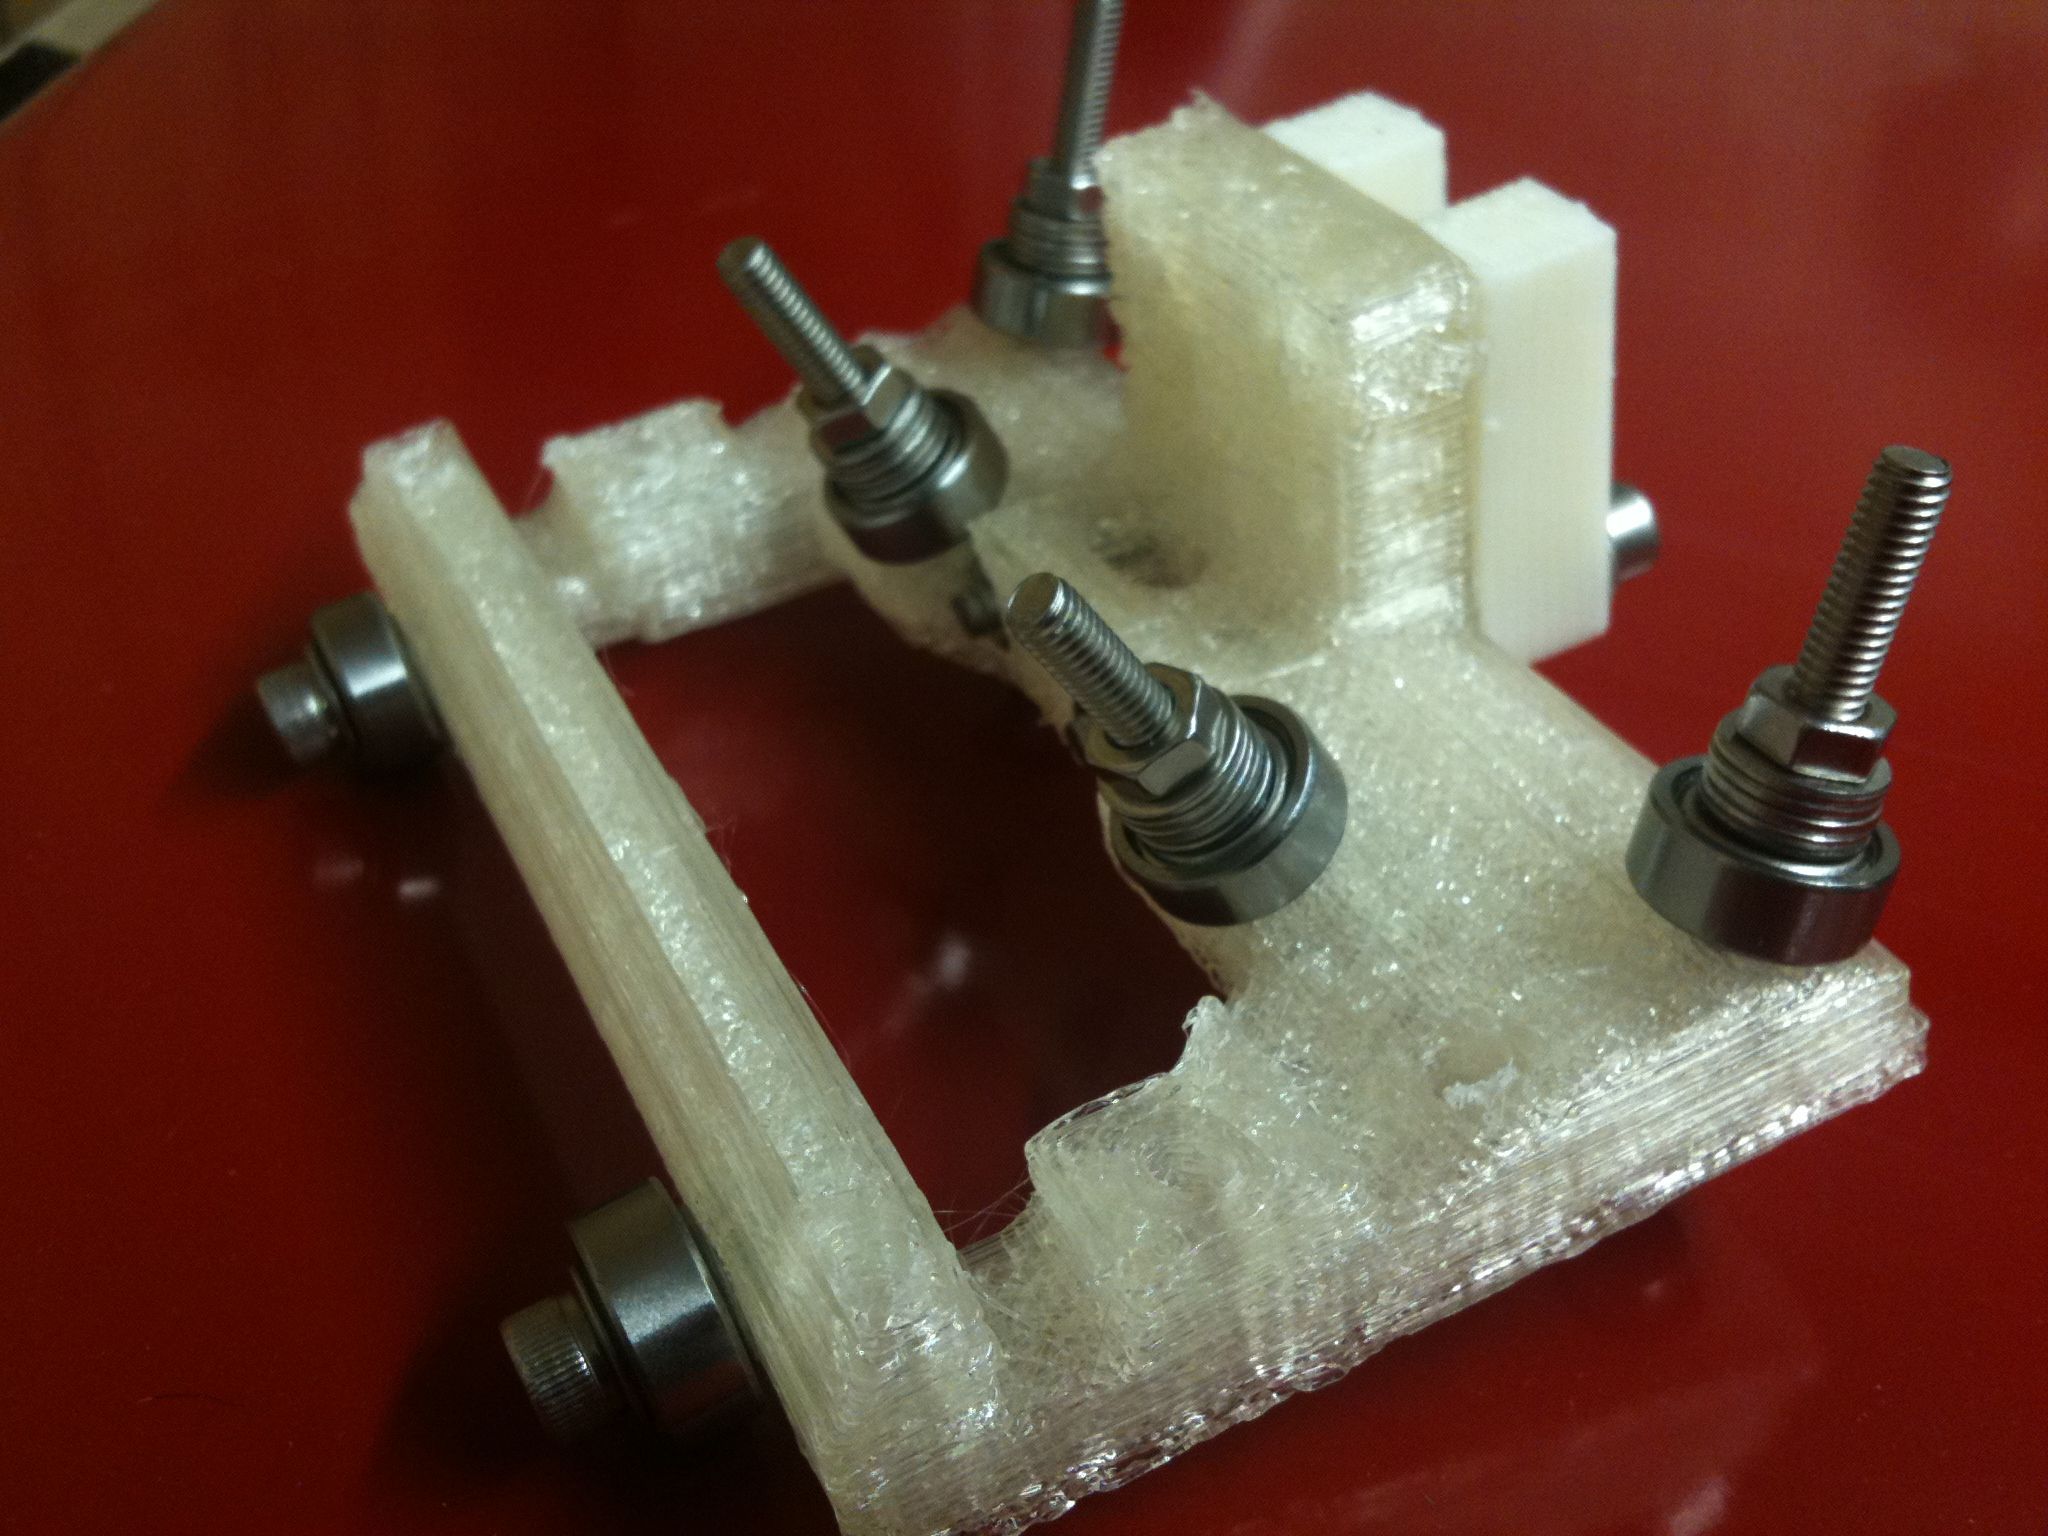
I rebuilt the barrel, and this time put an M6 nut on to keep the barrel from pushing out of the PTFE so easily. Unfortunately it’s not a thin nut, so it uses up more of the barrel. It also acts as a heat sink. All of these things to through my mind when trying to diagnose the PLA jamming problem (maybe the heat sink makes for a cold area in the barrel which solidifies liquid PLA), but again, I keep forgetting that I had the problem BEFORE rebuilding the barrel. Writing this stuff down sure helps.
So now that it was re-wired, I heated it up and pulled out the semi-molten PLA..
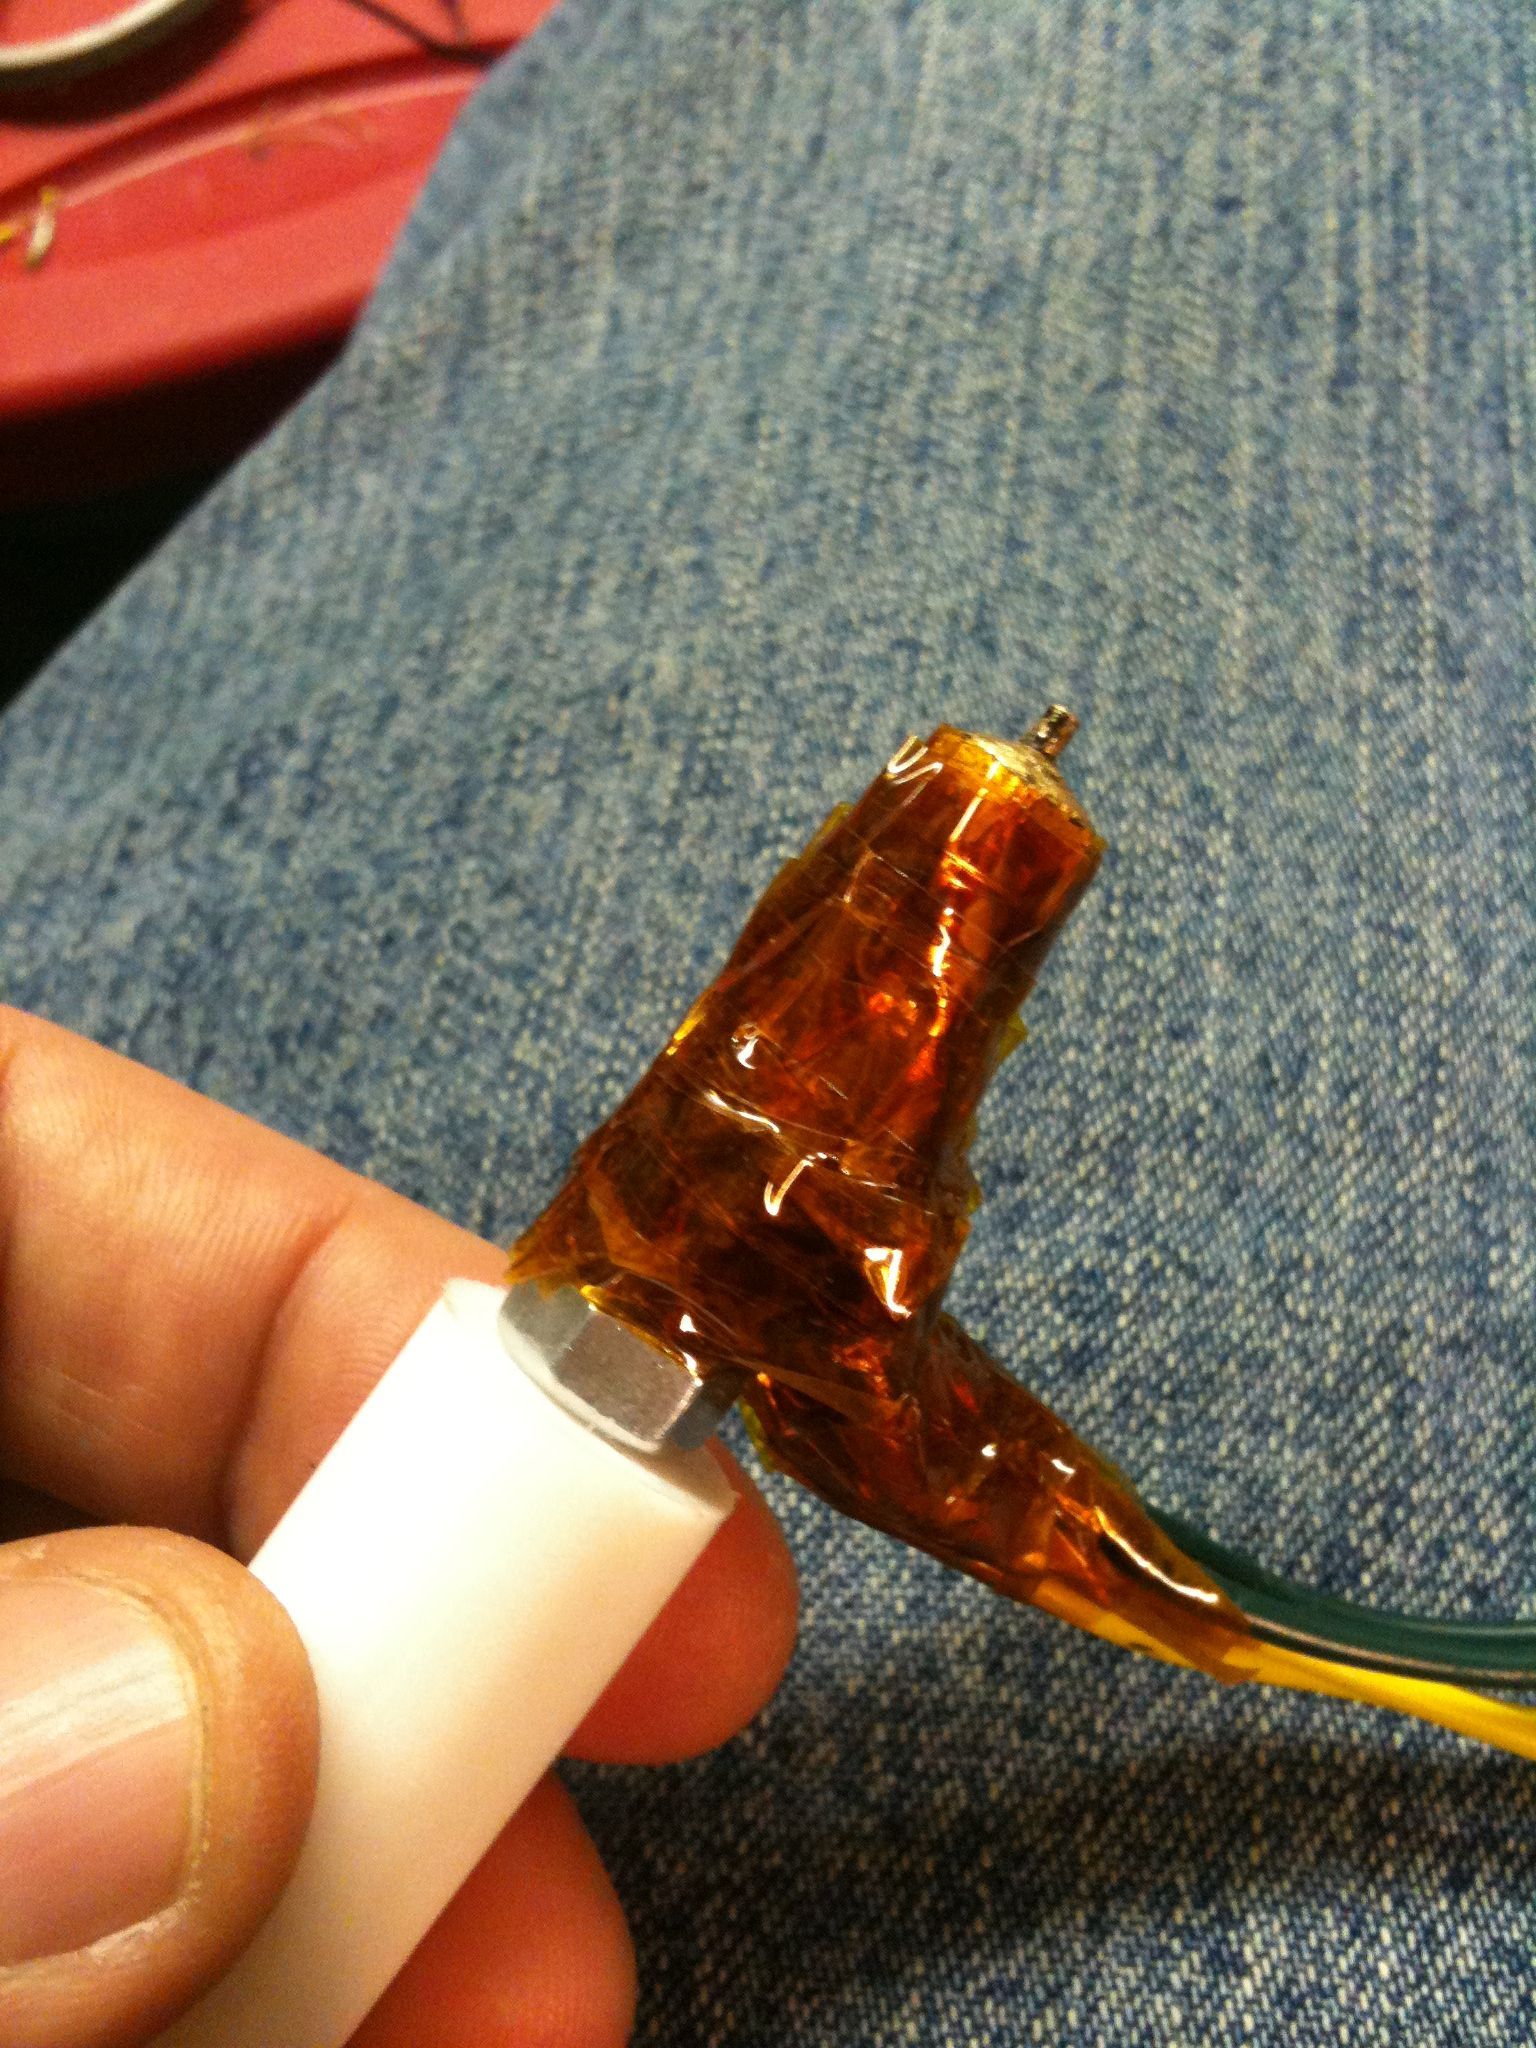
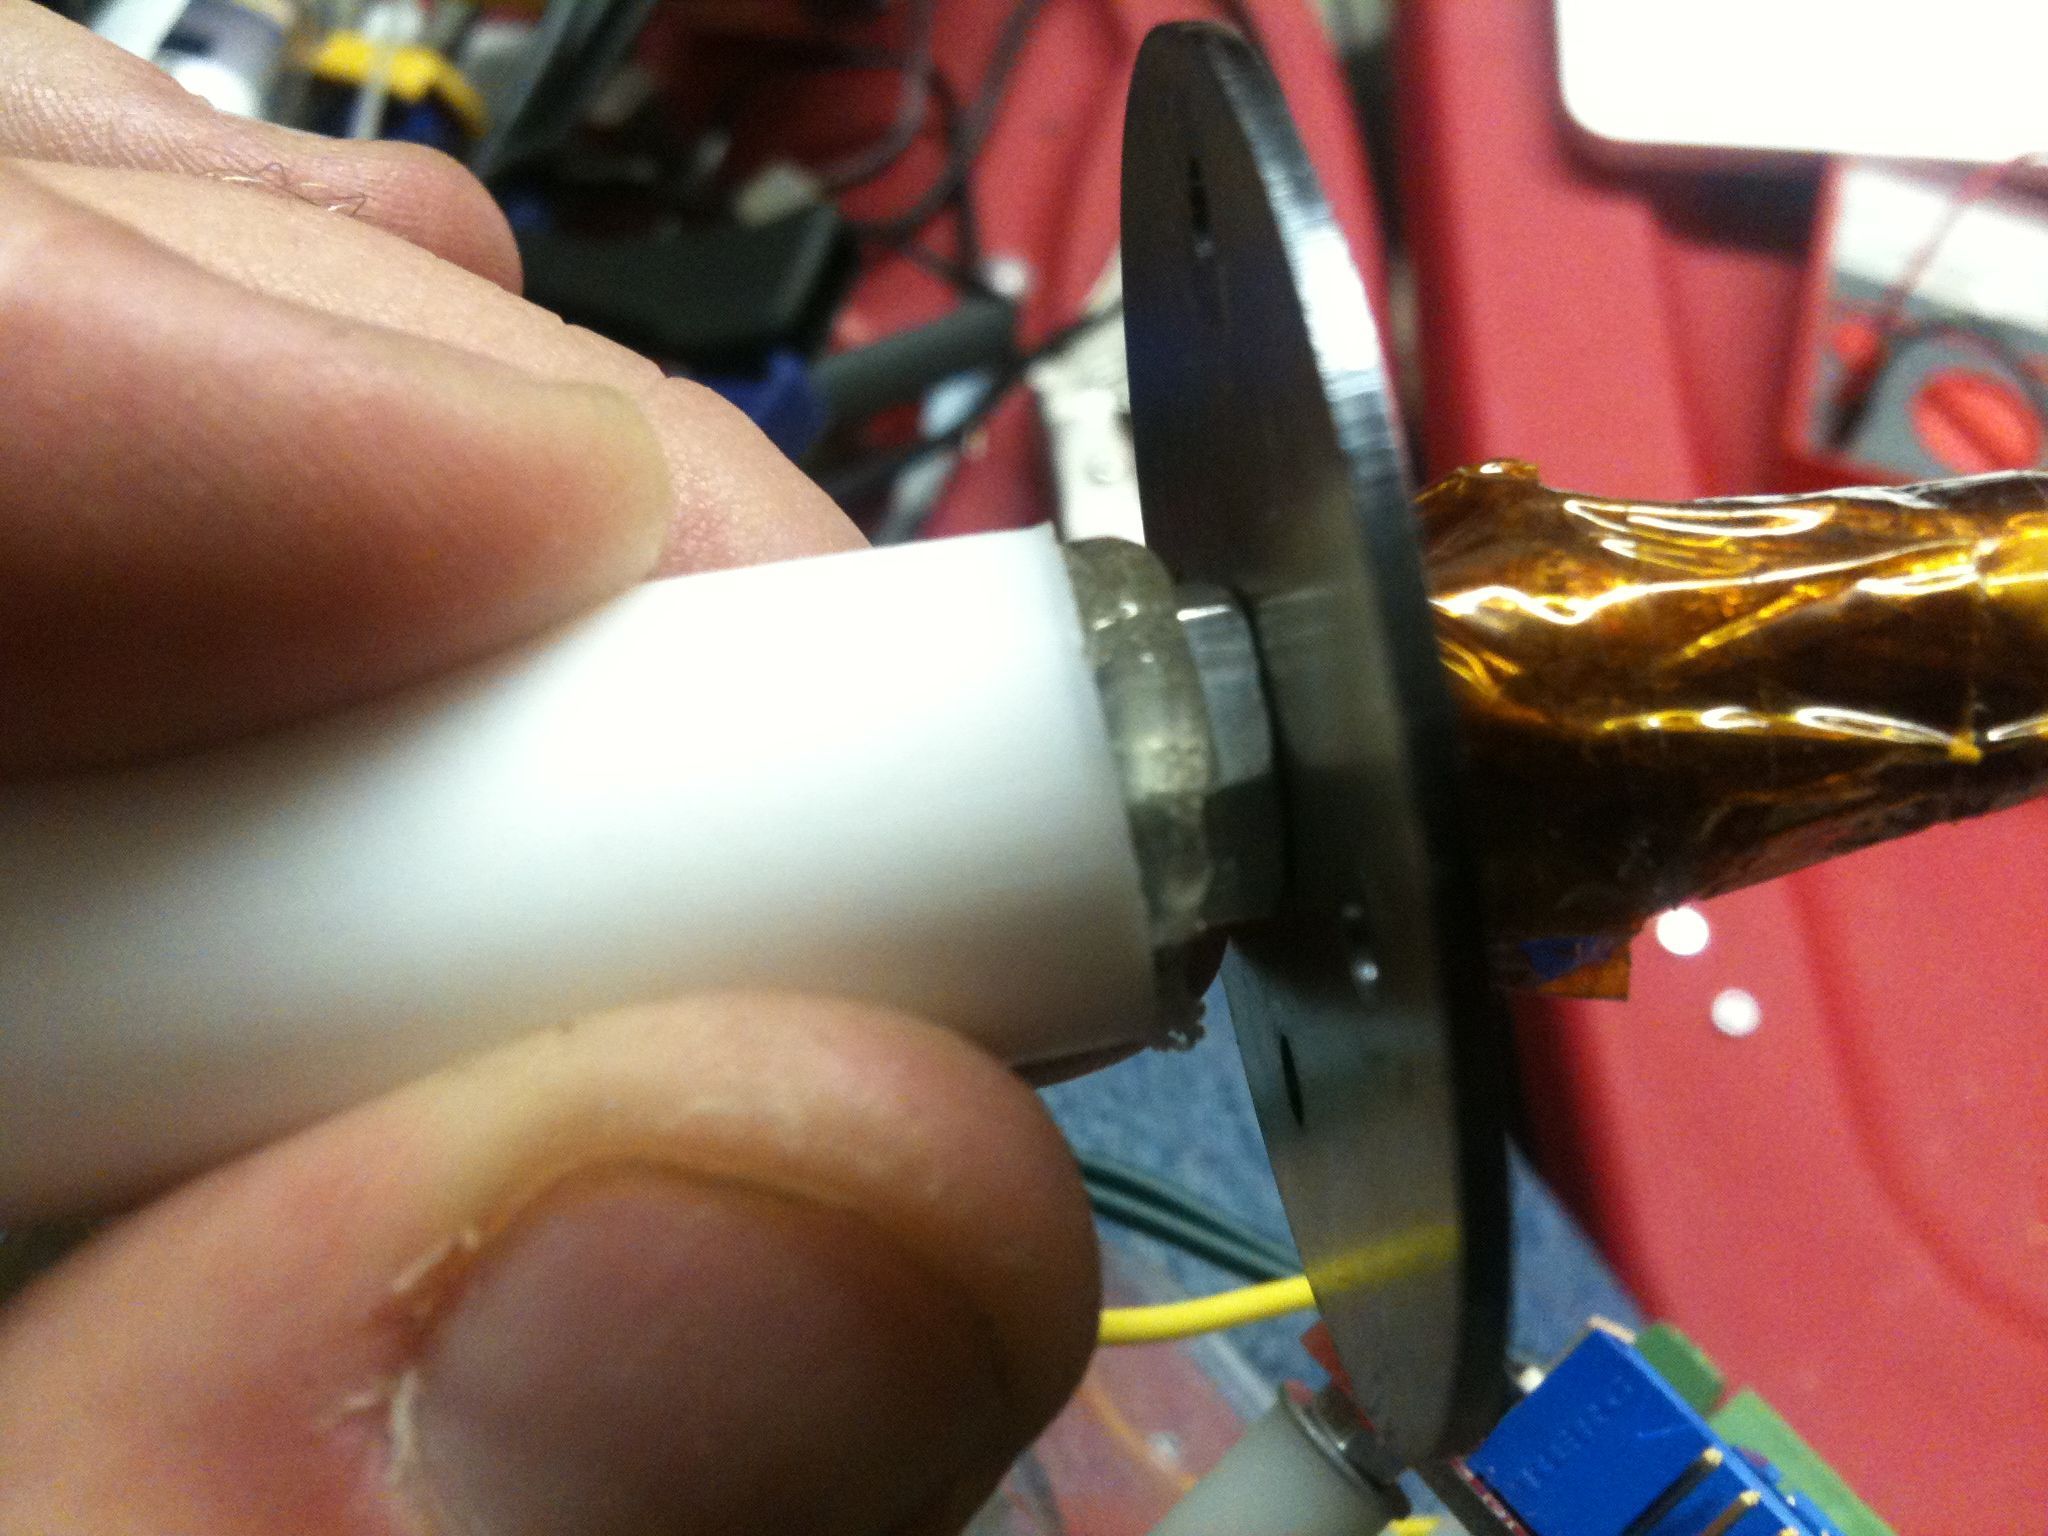
I put it in the plastruder, mounted it back in the MakerBot (forgetting to put on any hose clamps), and started a test extrusion, which worked for a short amount of time. Then, total dismay.. I saw PLA leaking out near the nut:
Pulled it all out, tightened the nut like crazy, put two hose clamps on, and put it all back together.
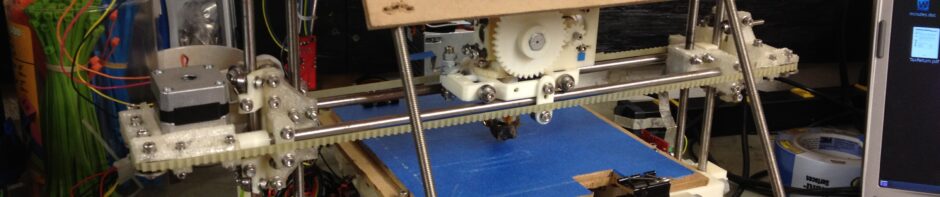
Finally I had a working RepStrap again.
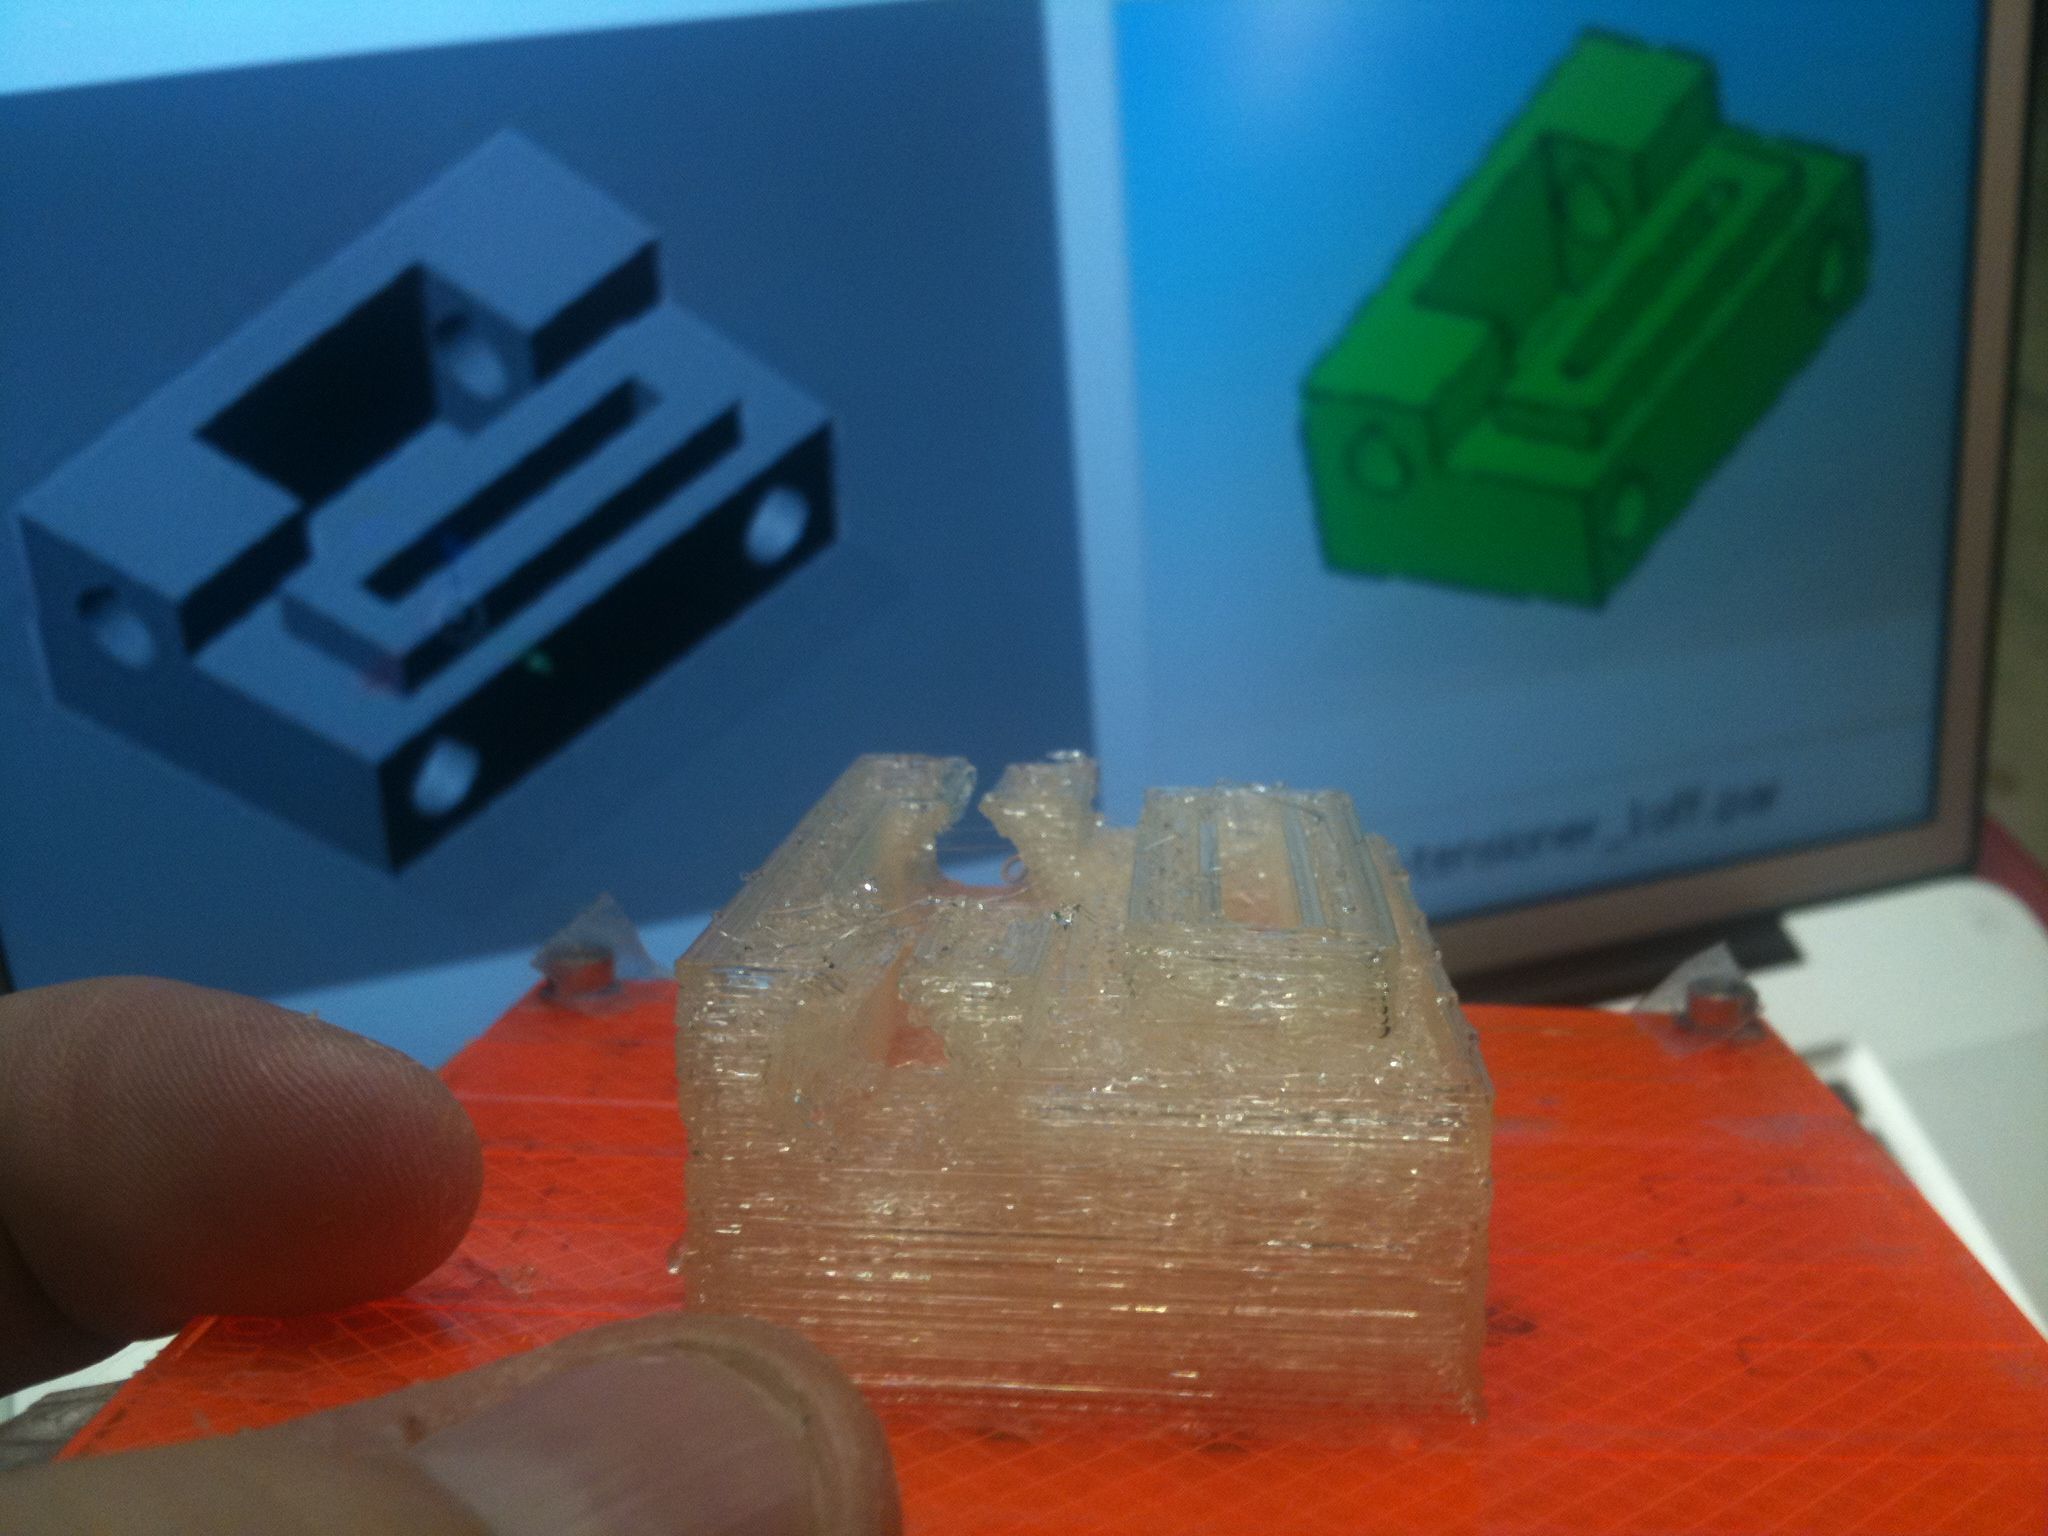
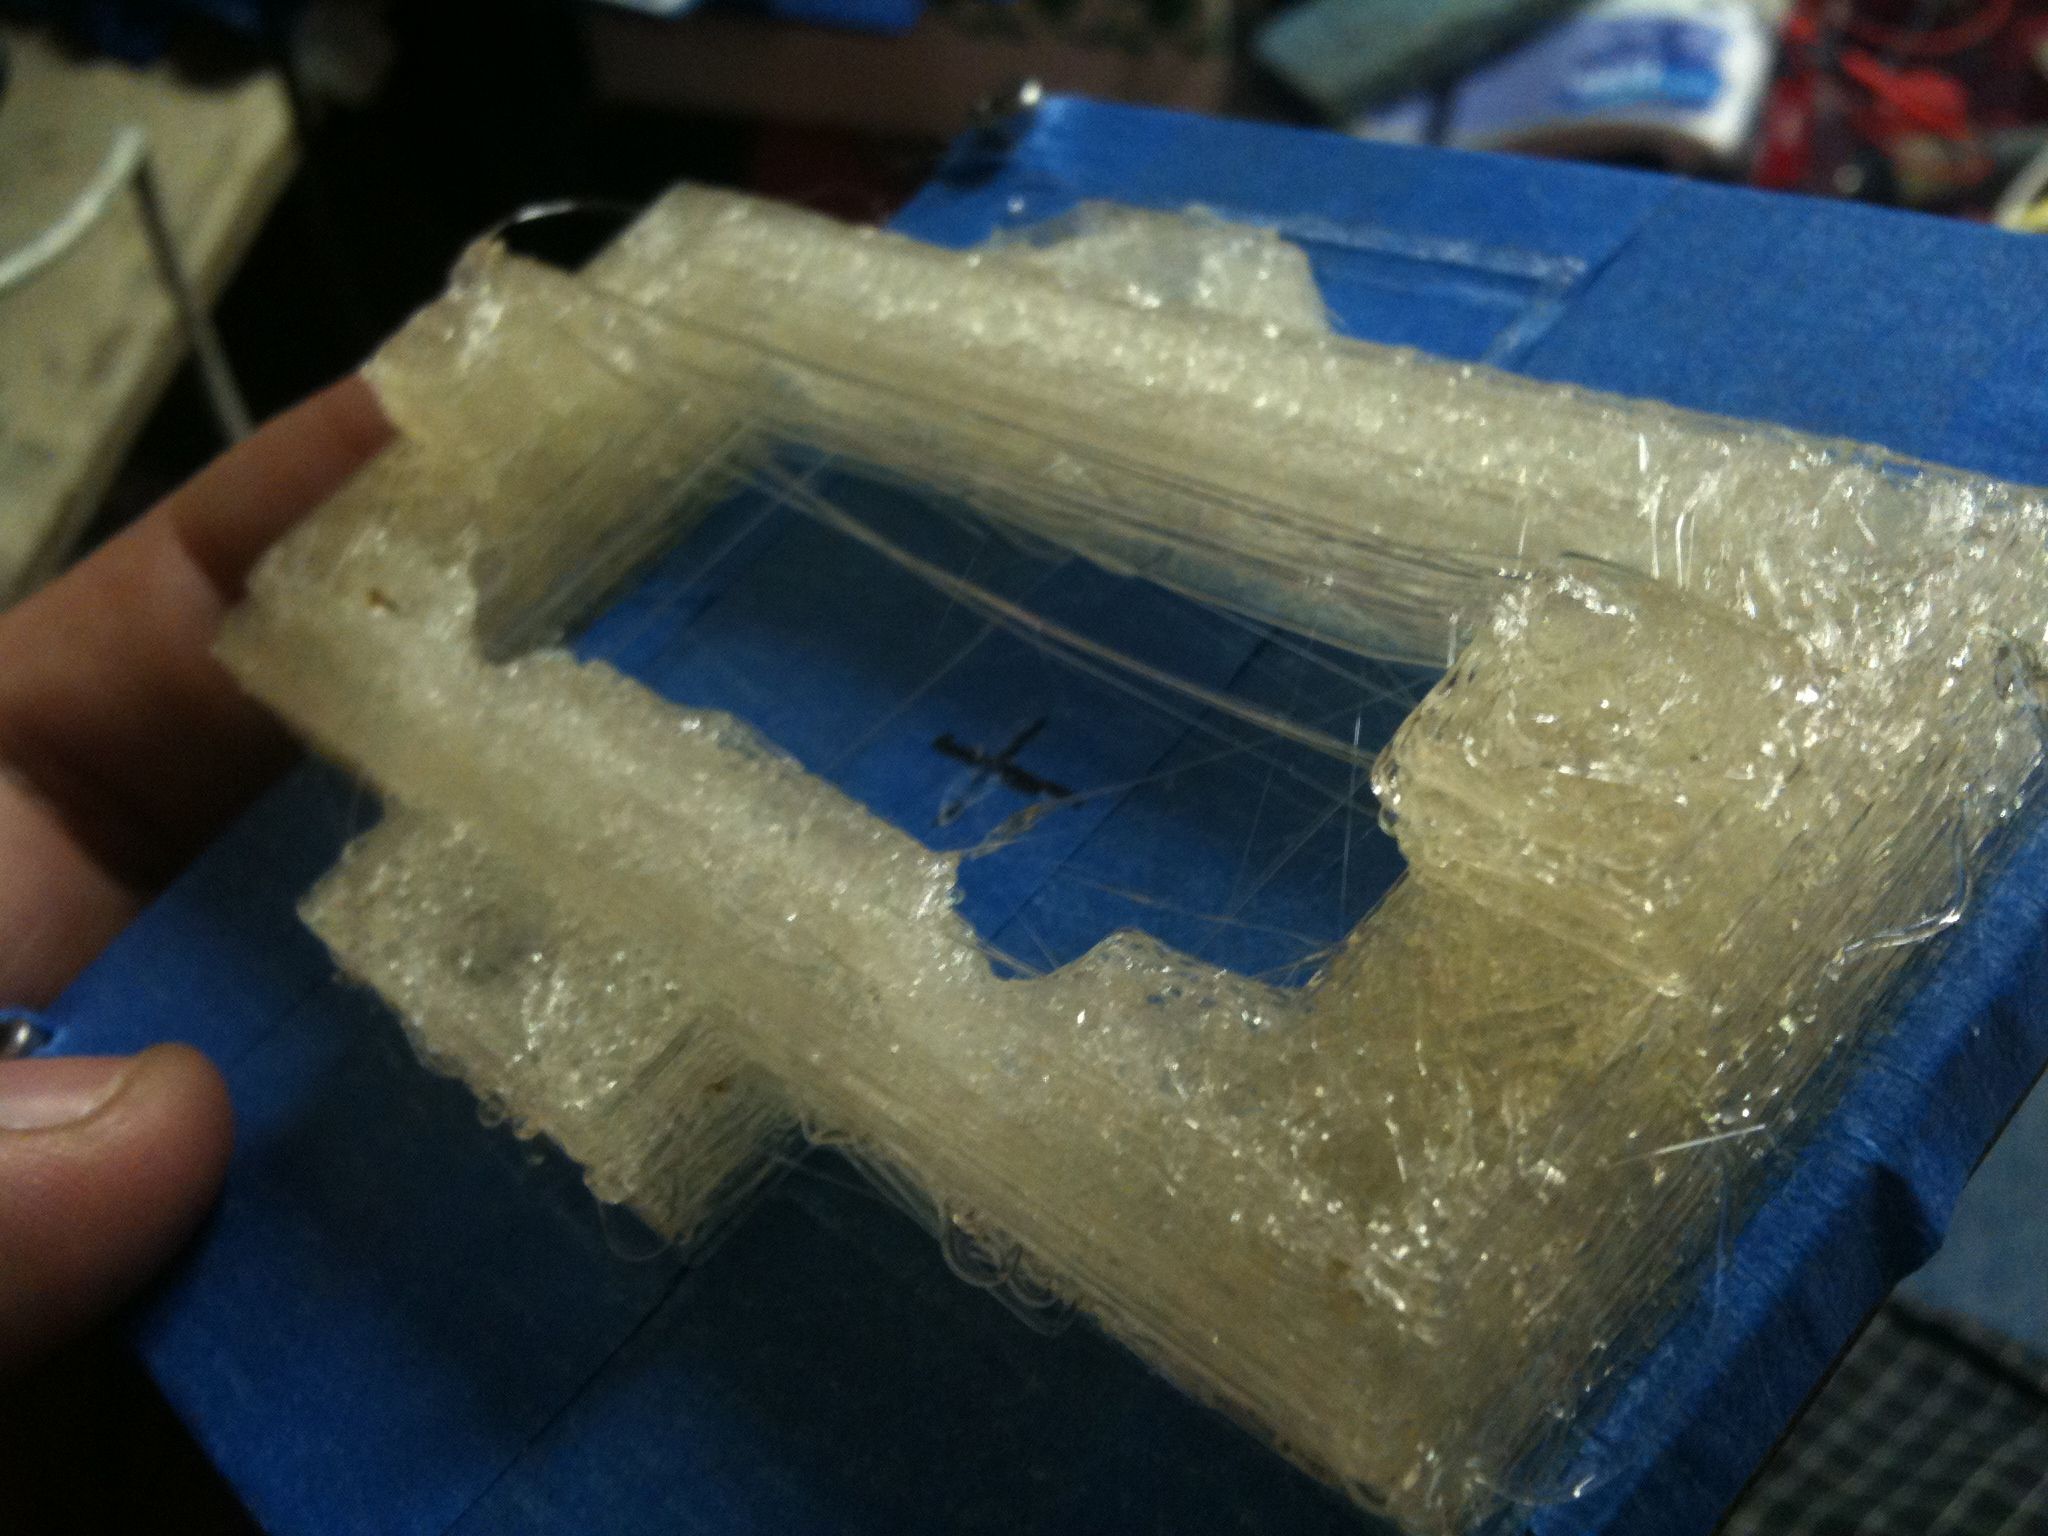
Then I went to print. The test extrusion at the beginning almost always fails; either PLA doesn’t come out, or it comes out and curls up and clings to the heater barrel like spray cheese on a ritz cracker, or I push the filament down by hand super hard and it eventually catches. After pressing down until a good base of the x-carriage-lower piece was laid out, I had a promising print going:
Success, kind of?
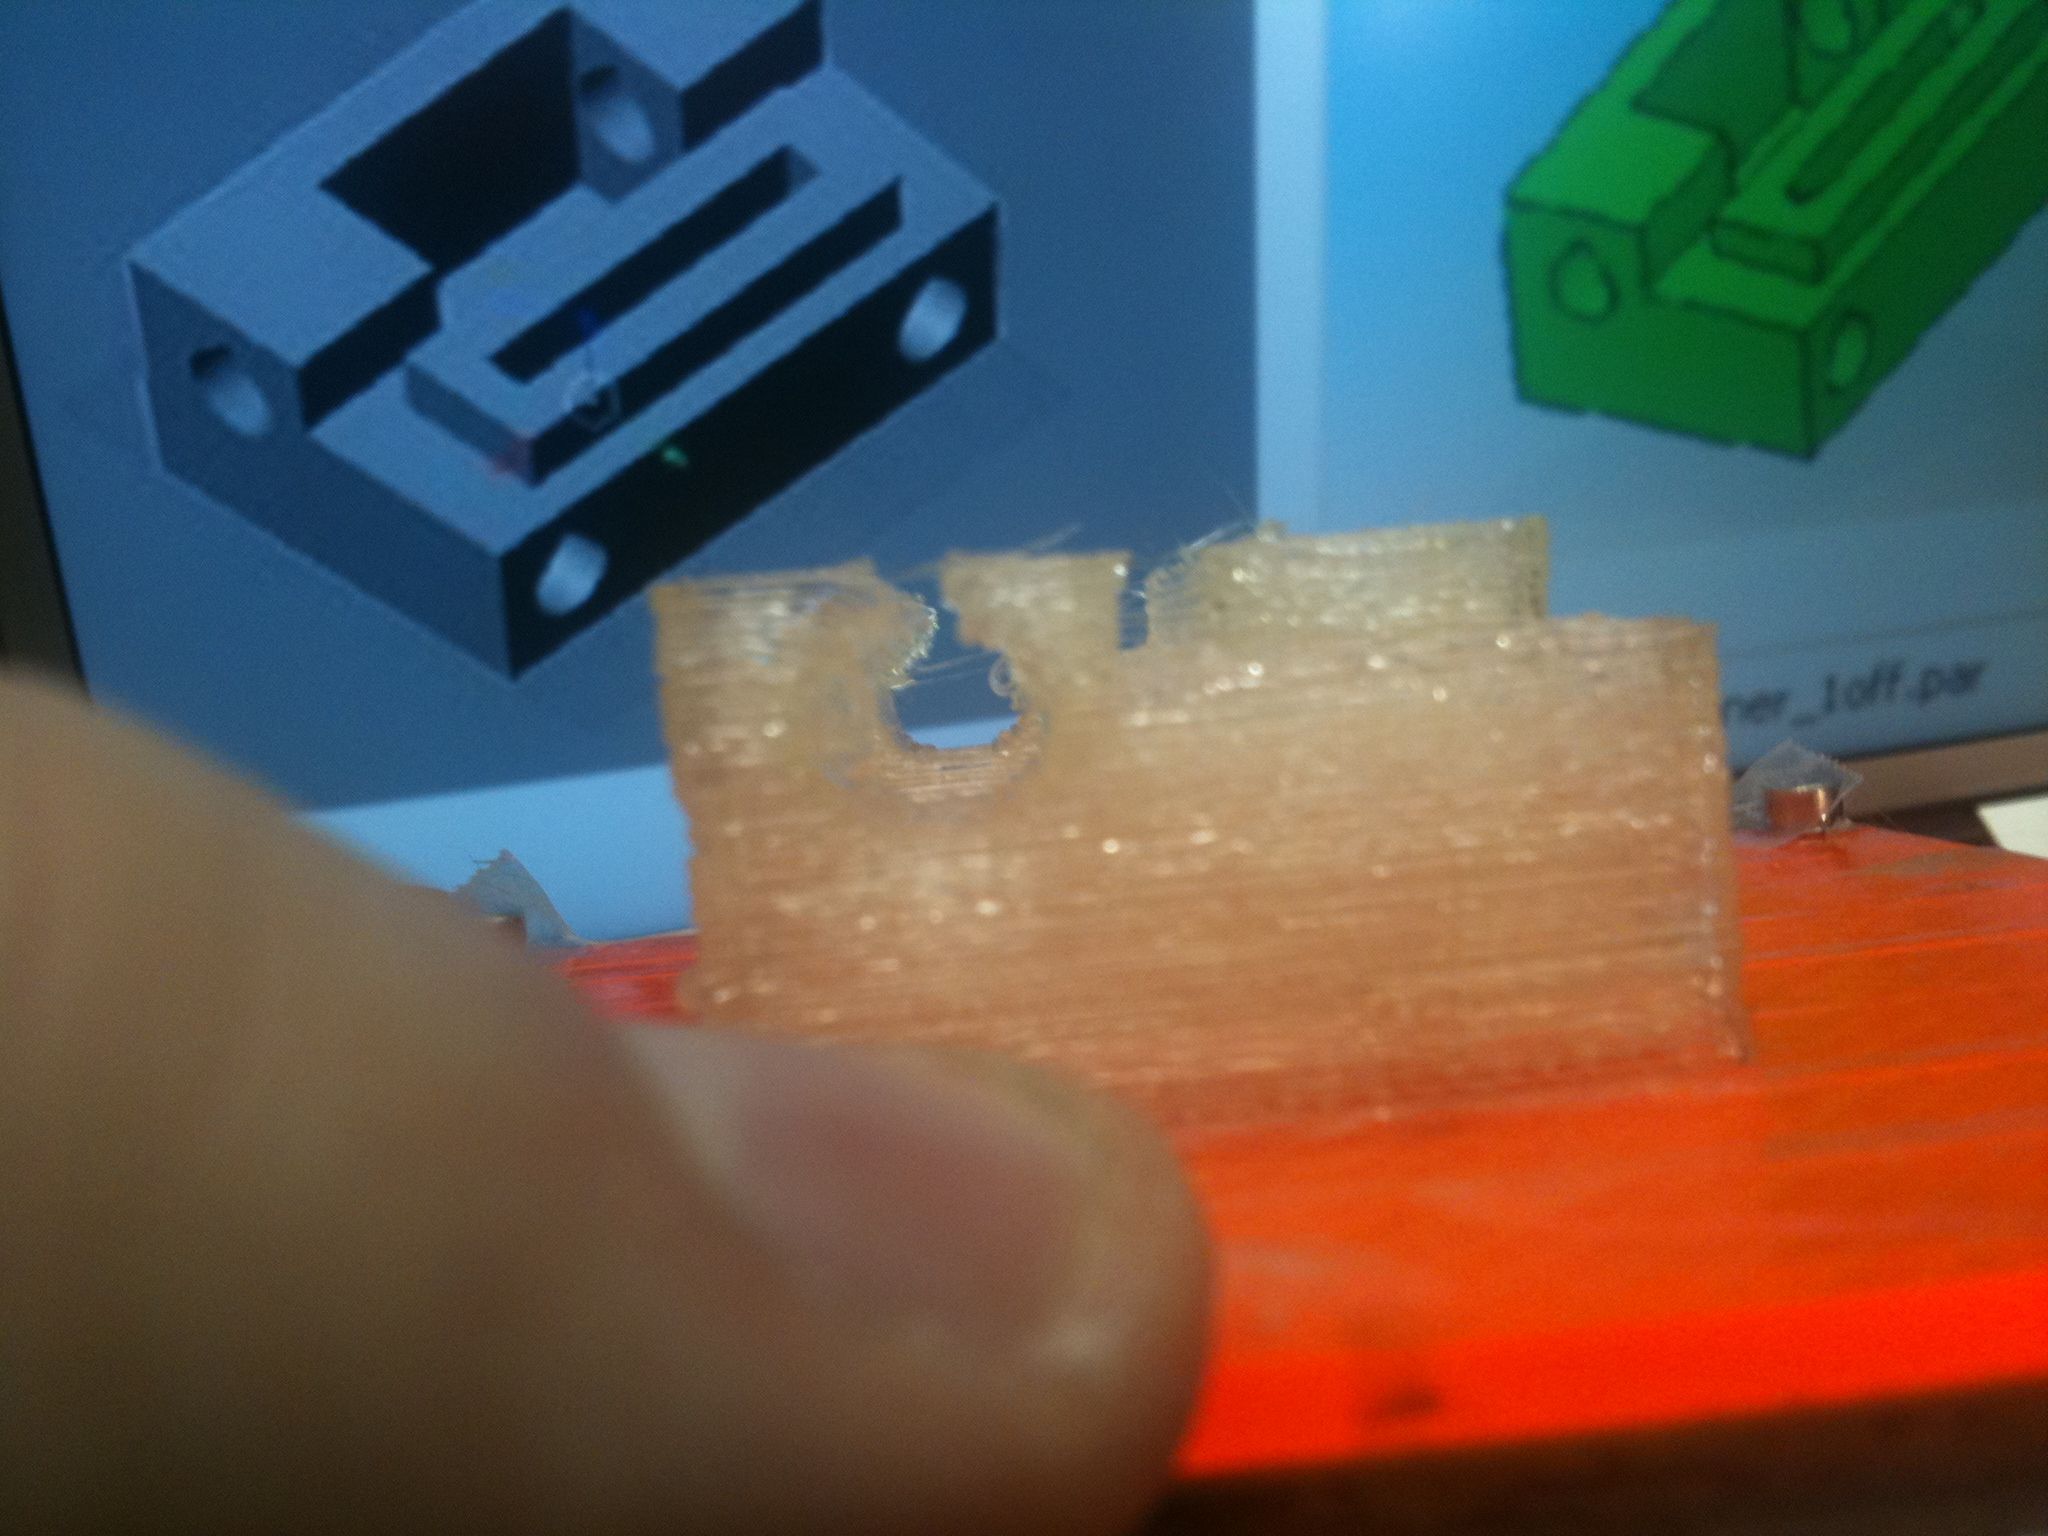
Then, I went through around 3-5 attempts of printing the x-carriage-upper piece go to above that. Each one failed ultimately because the extruder stopped extruding. I’m no longer convinced it’s a blockage (or that it’s always a blockage – I could have overlapping problems). I think that the extruder isn’t able to grip the filament well sometimes. I tried reversing the extruder after one of those times to examine the filament and look for a worn off part that it couldn’t grip, but I couldn’t find anything conclusive (although maybe that time it was a blockage instead). Aagghh. So one thing I did is I recompiled the 1.6 extruder firmware and changed the motor reverse speed to 0, so it wouldn’t do the reverse-the-motor-to-prevent-ooze trick (the thought being that maybe melted PLA was being pulled back up to an area that was cool and it solidified). That didn’t fix it.
So out of my frustration printing that piece, I felt the need to cheer myself up, and I decided to assemble my first pieces together!
That was enough motivation for one more try Sunday night to get a working x-carriage-upper piece printed. It was not easy. Basically 2.5 hours of babysitting and being a human-powered extruder motor assist.
A video I call “Lowered Expectations”:
There ya go. So, PLA = lots of pain, but it’s a way to actually get non-warping pieces without a heated bed (which at some point I’ll revisit). I’m psyched that I was able to make it far enough to actually assemble something. That x-carriage-upper piece is so messy that almost none of the captive nut areas work, so it’ll be interesting to see if I can actually use it, but I’m hopeful. Of course, I’d rather have a reliable printing process that I could walk away from and print another one that worked! 🙂
Technically, I’ve started assembly of my Mendel! Woohoo!
You should know that the proper way to center a hole in a cylindrical object ( ask any gunsmith, or lathe/milling machinist ) is to turn the object instead of the drill bit: Put the PTFE rod in your drill chuck, and clamp the drill bit in your vice. lower the (turning) ptfe onto the (stationary) drill-bit, and it will essentially self-centre.
Cool! I wanna try that now just to see it work.
So this is the 2nd time I’ve read someone suggesting putting the PTFE insulator in a drill chuck. Are there some type of adapters or something that you can put in an existing drill and then hold larger objects? The PTFE I’m using is 5/8″ and is way too big to fit in my drill press or hand drill.
Wahoo! The assembled pieces look great!!!
Hi Jeff,
Nice post. I too know the frustration of extruder breaking down continually!
The reason PLA is so hard to push is that it melts at 160Cbut softens at about 50C. That means there is a long section in the PTFE with the consistency of rubber. The more you push it the more it expands and grips the sides. If you have any gap where the barrel ends then it will expand into that and really take some shifting.
Does your barrel have a few mm turned down at the top end? It should also be chamfered to match the drill cone.
I know I’m about to be picky, but there are plenty of woodworking places that sell bushings for dowelling and shelf pins and the like. So you could drill the hole with the forstner, use the pilot-bit divot to center a drill for the bushing (or just rely on your chuck being centered – ha) and then drill while your ptfe was held in the jig…
But that doesn’t really help the sticking problem.
Pingback: Pain and Promise
Pingback: Pain and Promise
Pingback: Pain and Promise
Pingback: Pain and Promise
Pingback: Pain and Promise