This is part 2 of my recap of what I’ve been up to since January. My last post “Four months.. part 1 of ?” brought us up to speed with everything I skipped over when posting my minimug post in January. Now let’s continue with what I did after that..
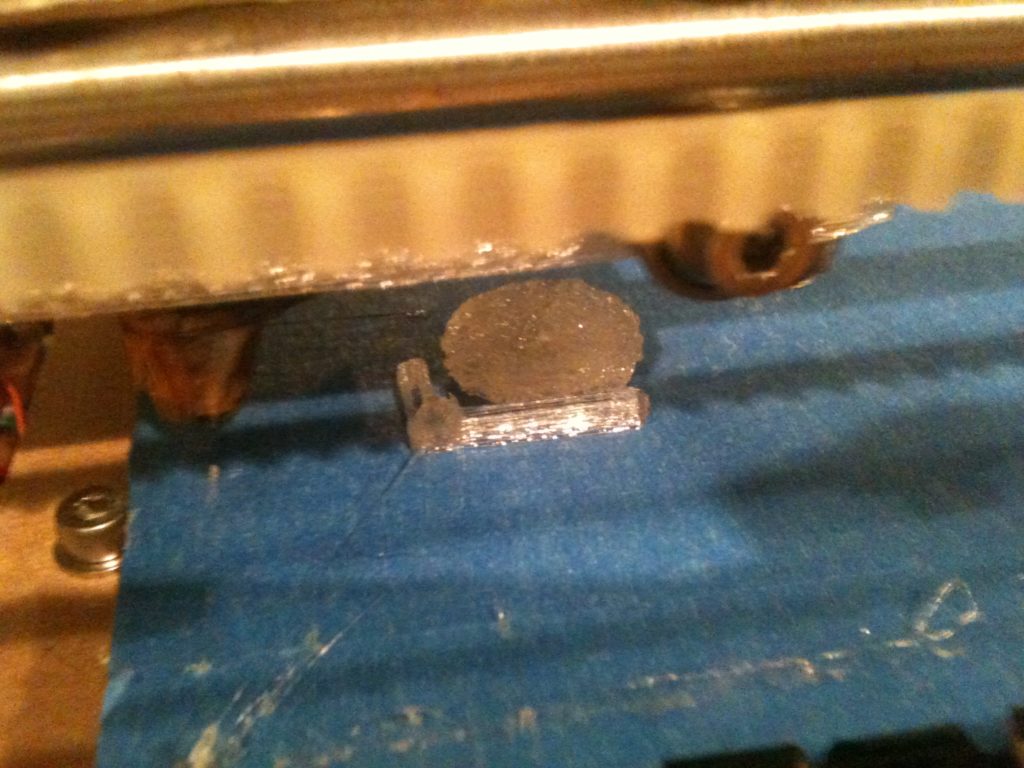
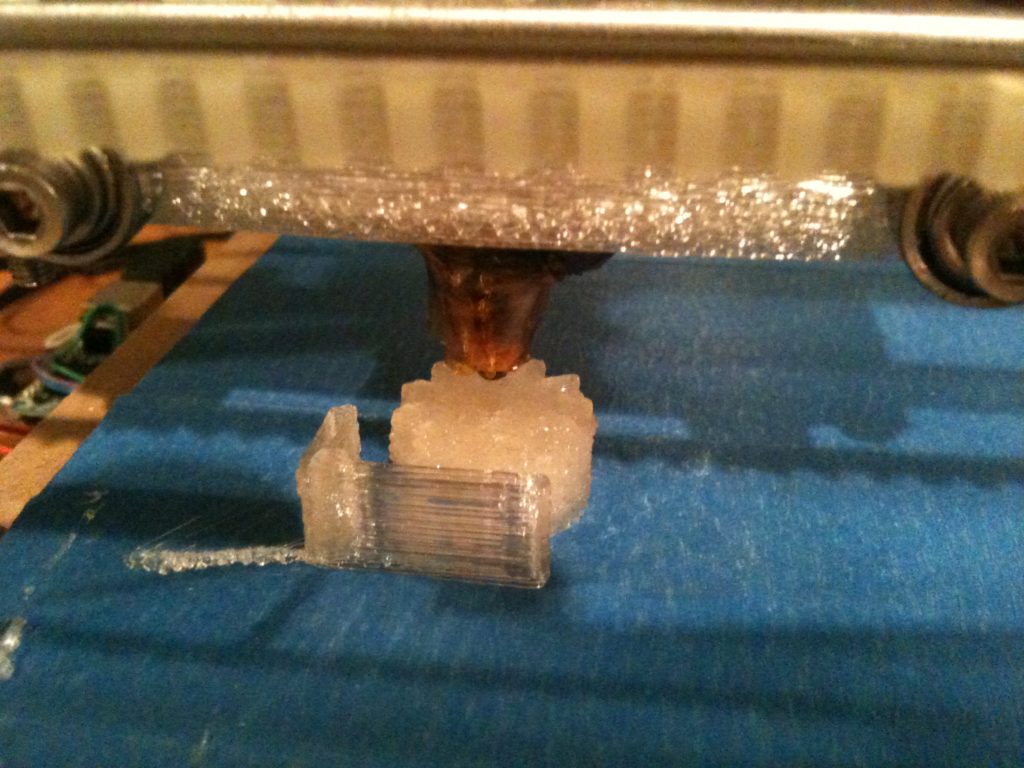
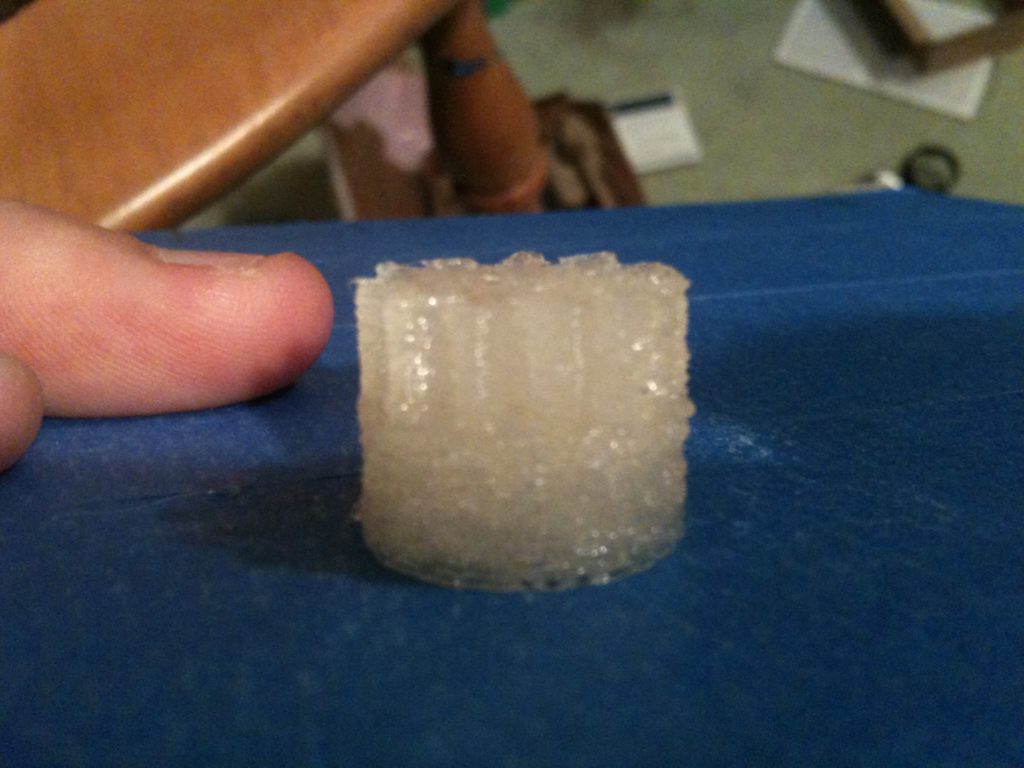
First I tried printing the small gear for Wade’s extruder. I tried with an infill width of 0.6, which was too close together (should have stuck with 0.7).
Here’s more video of it printing (no narration):
And here’s video comparing the result to previous failed attempts:
The result:
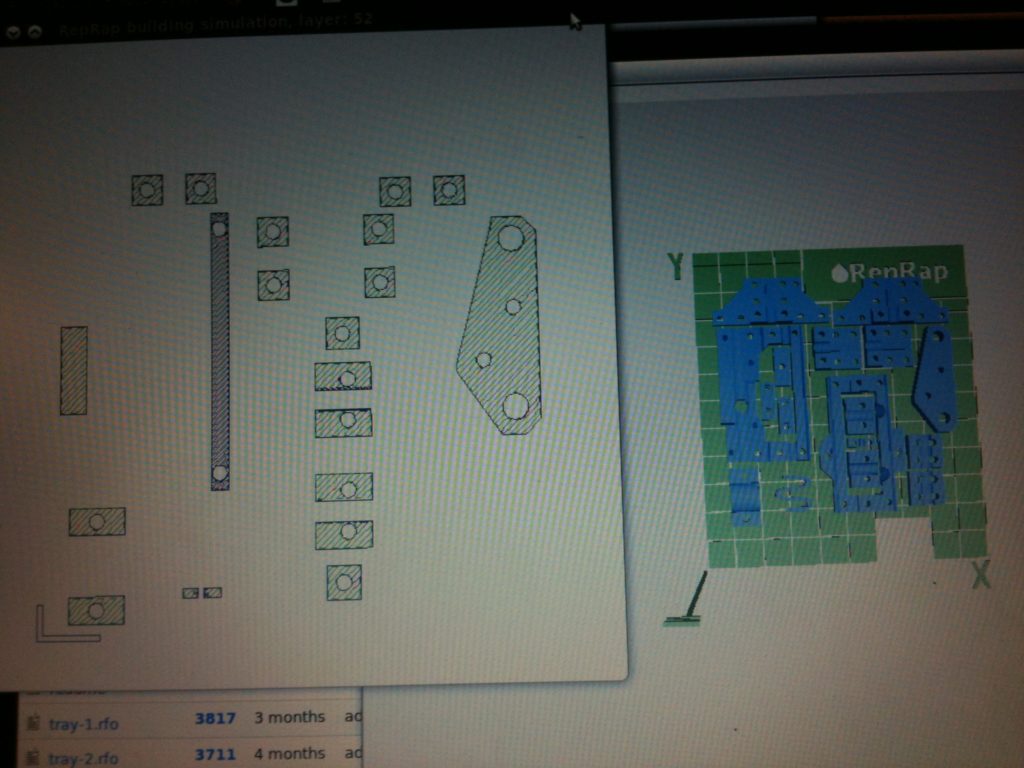
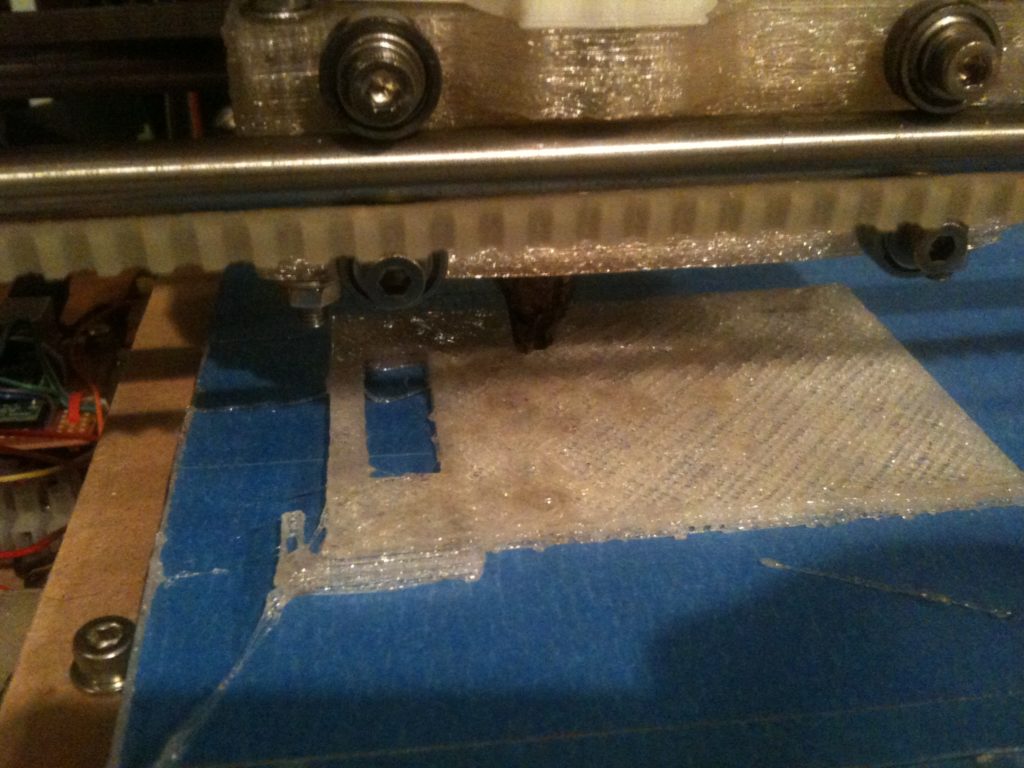
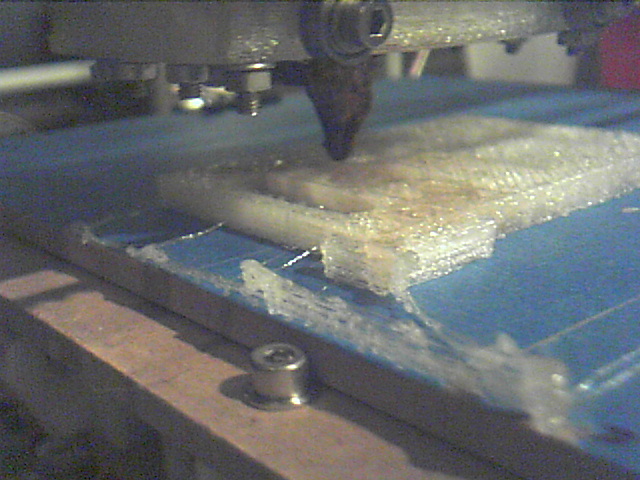
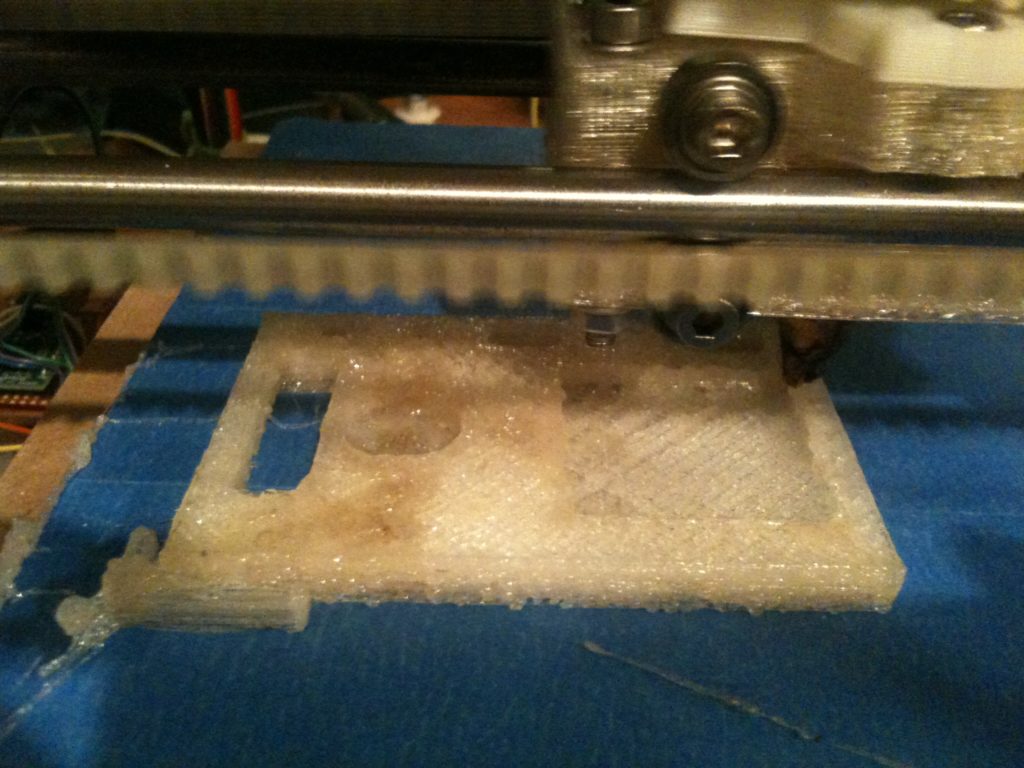
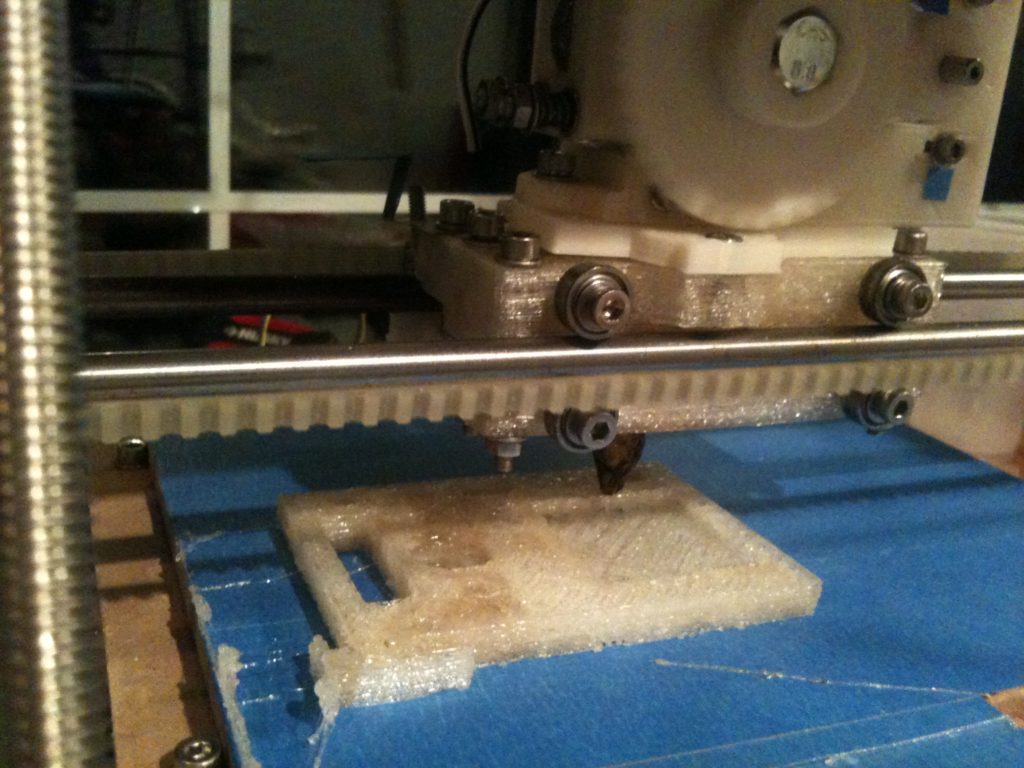
Given the globs of PLA inside that previous gear, I thought that maybe one of the issues was that the previous layers weren’t cooling in time, resulting in a messy goopy print. So instead I tried printing all of Bed 3 of the Mendel RepRap (an entire bed of parts), so that each layer was separated from its previous layer by a huge chunk of time.
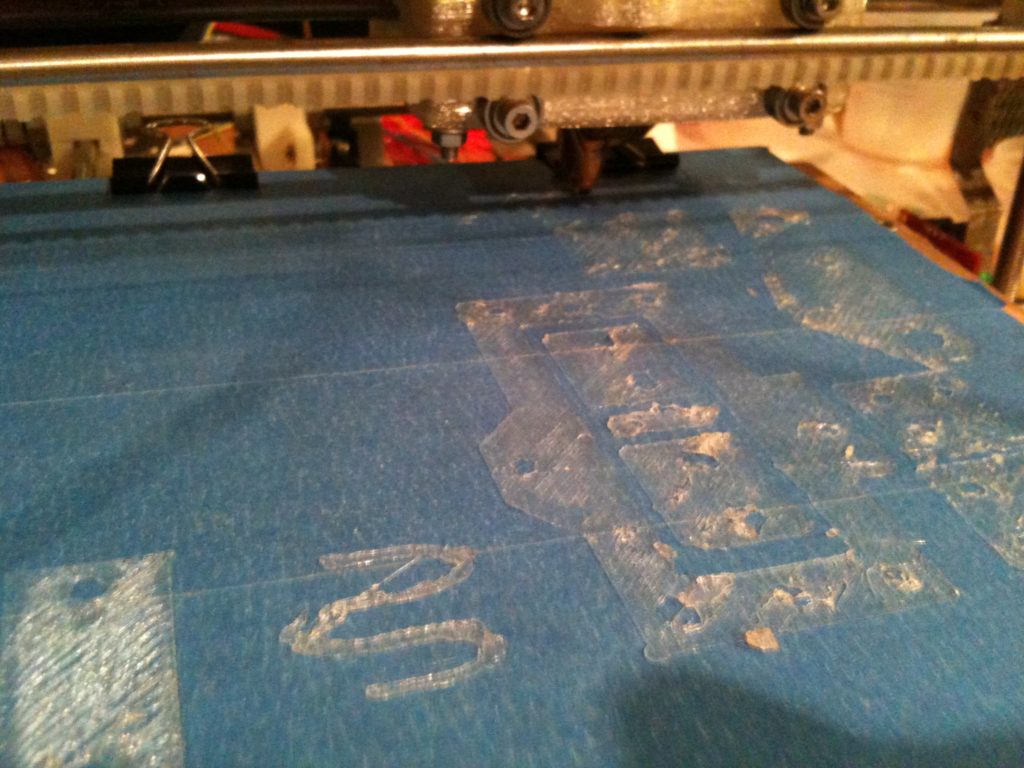
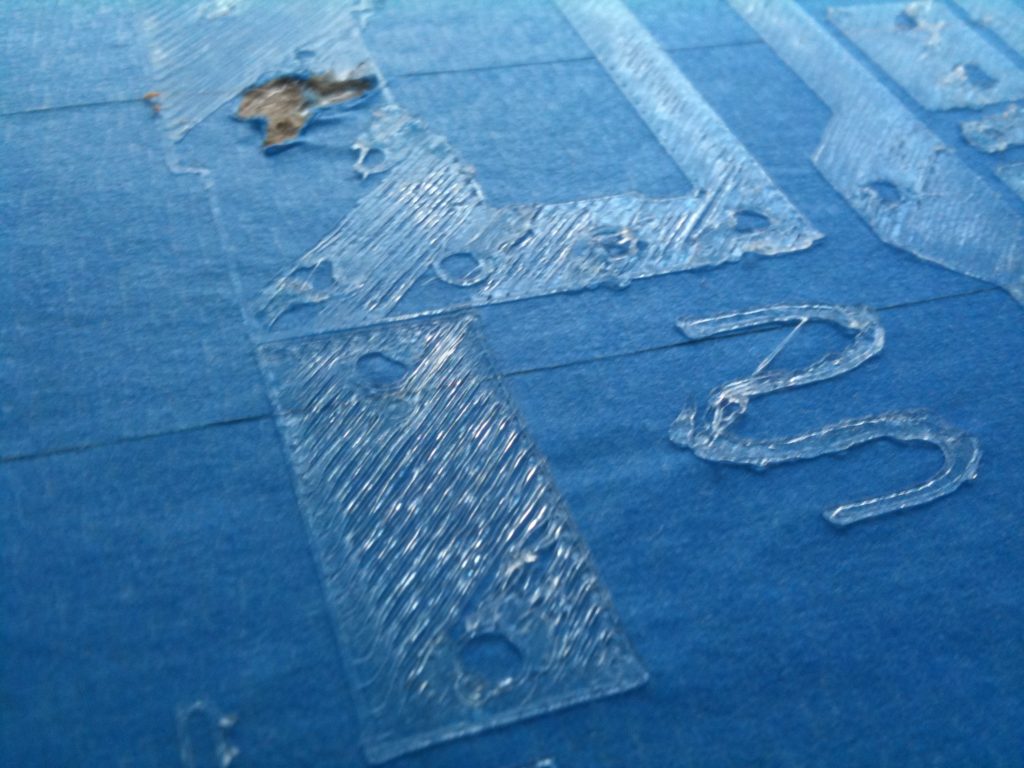
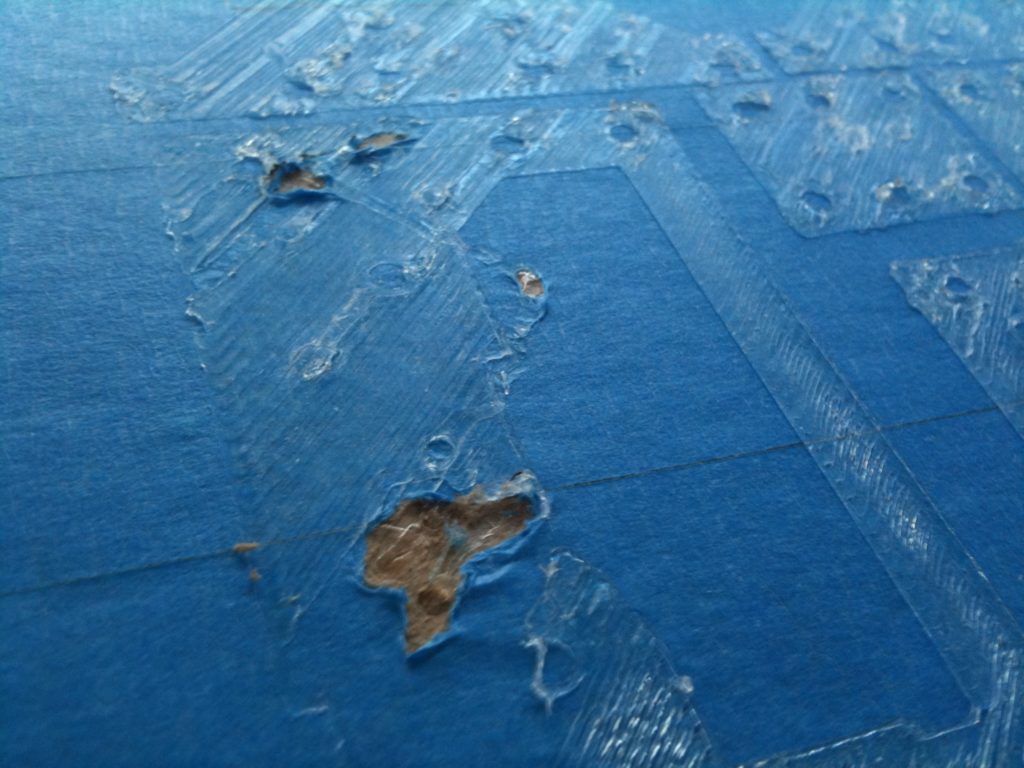
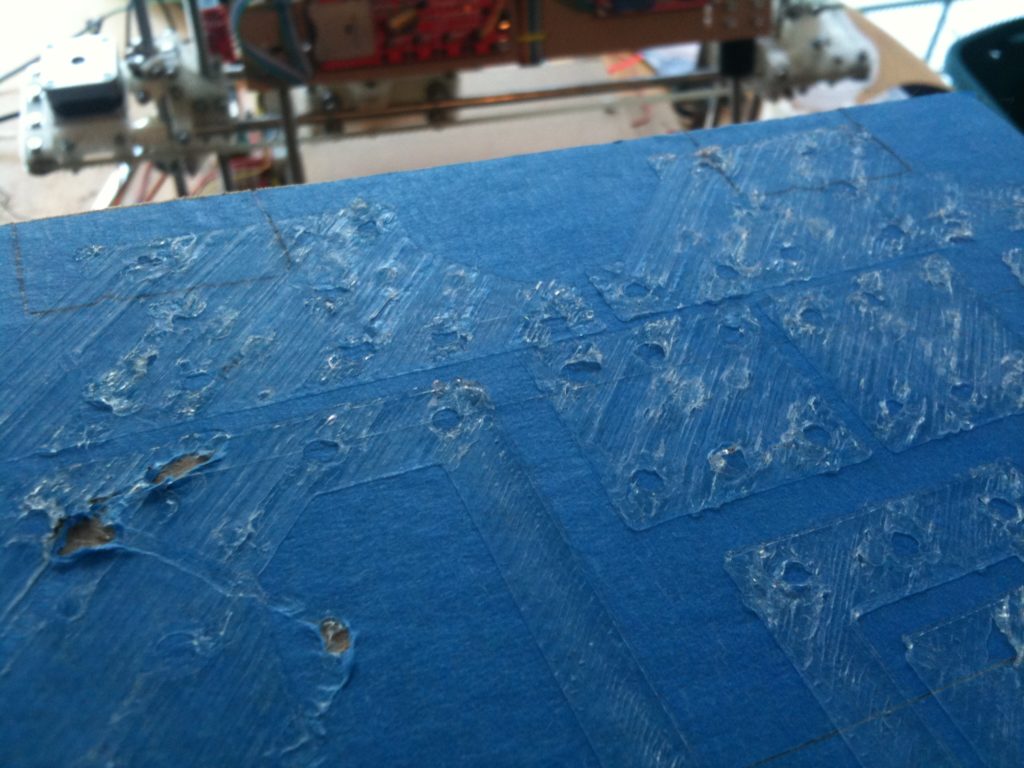
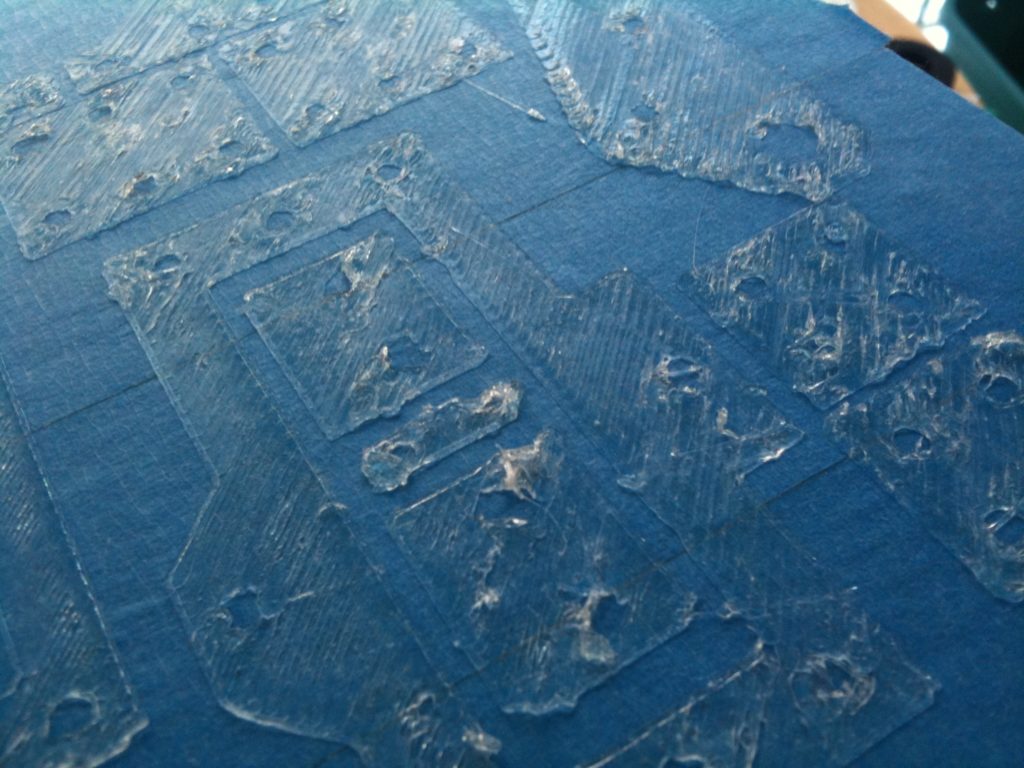
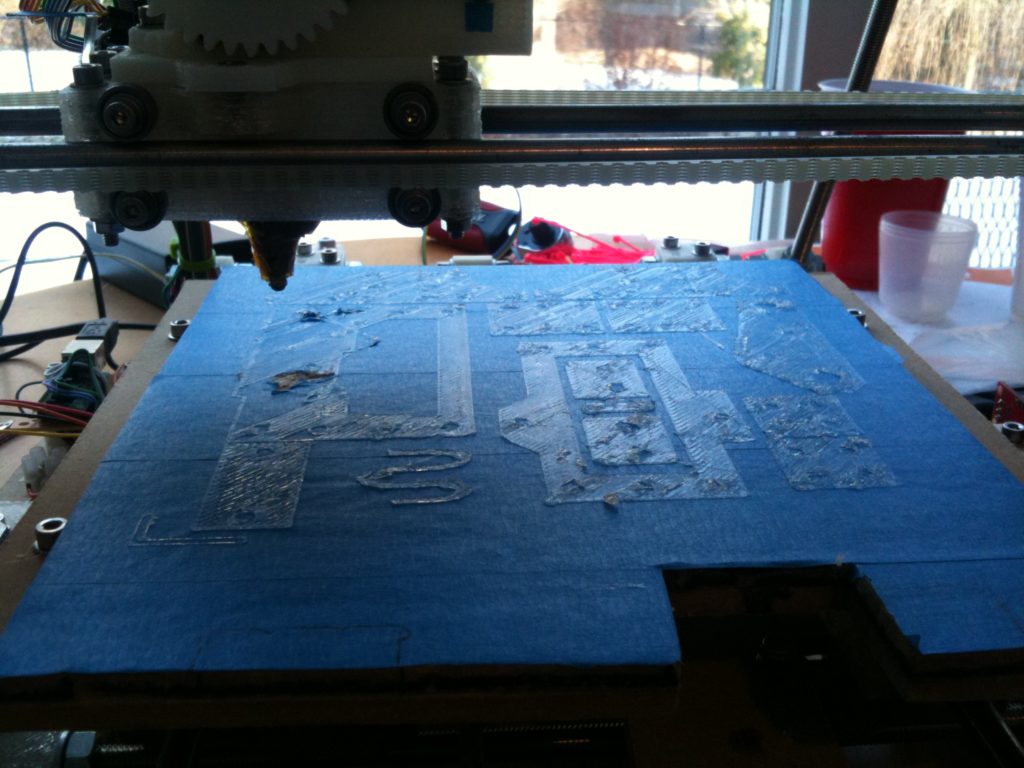
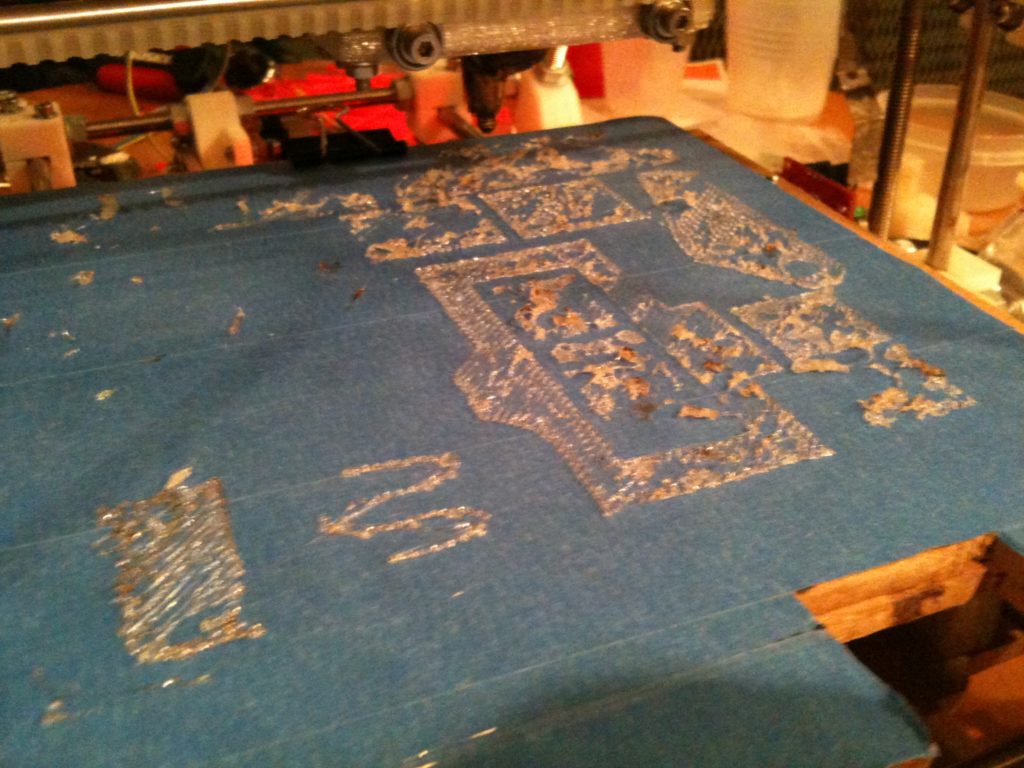
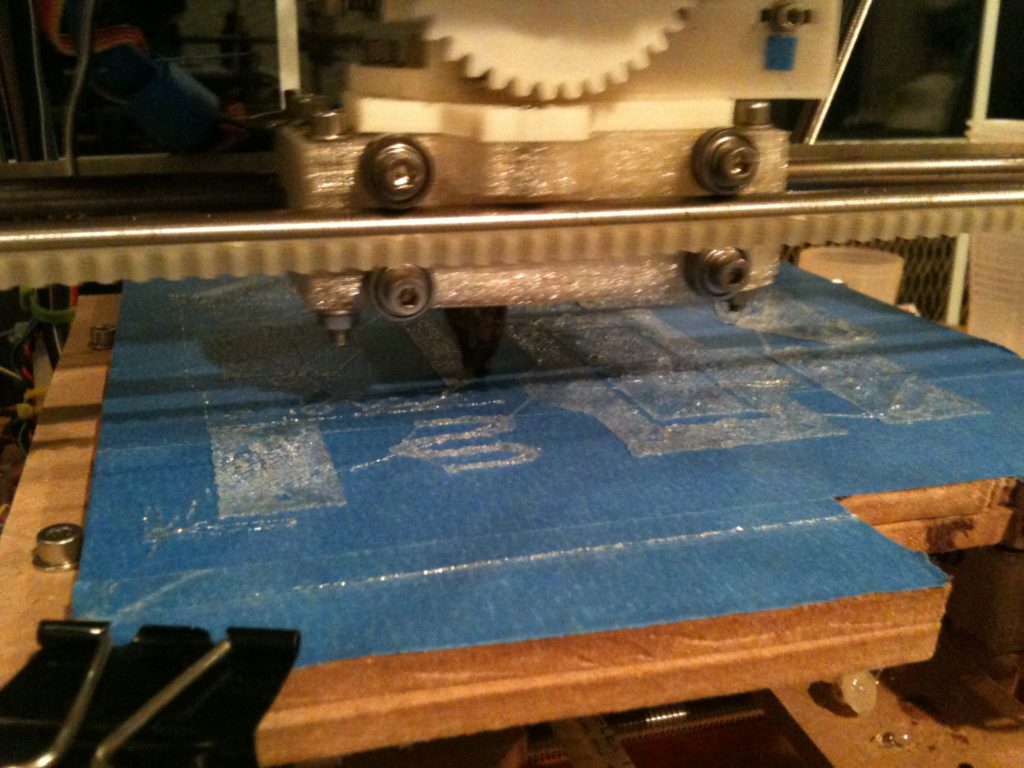
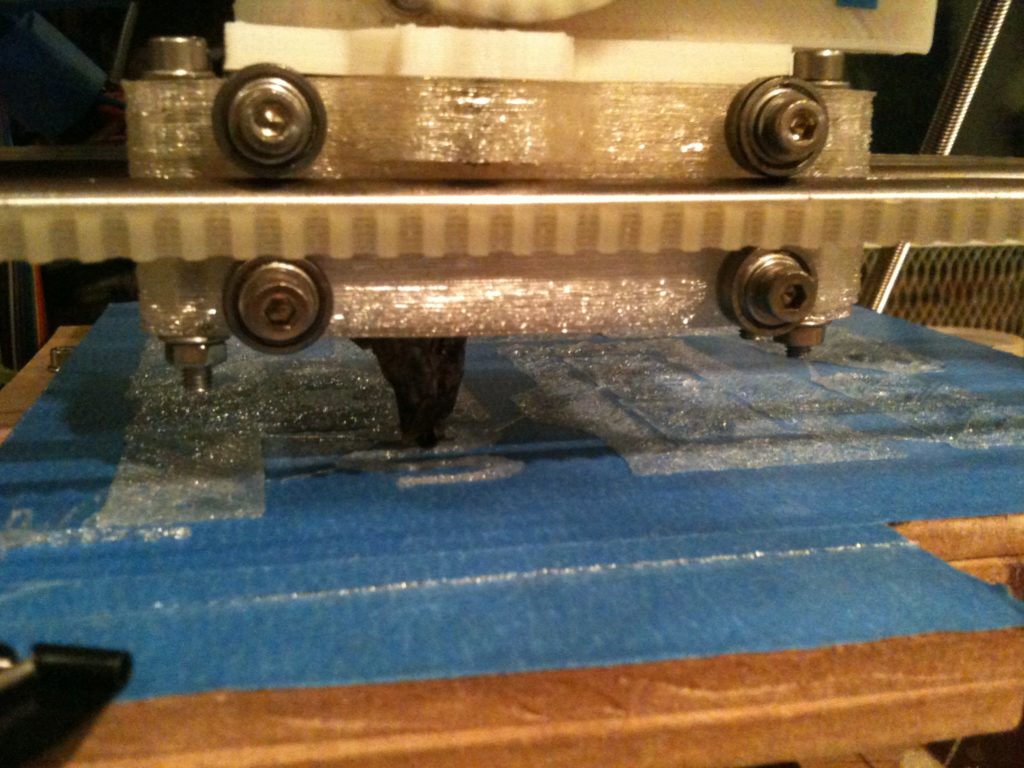
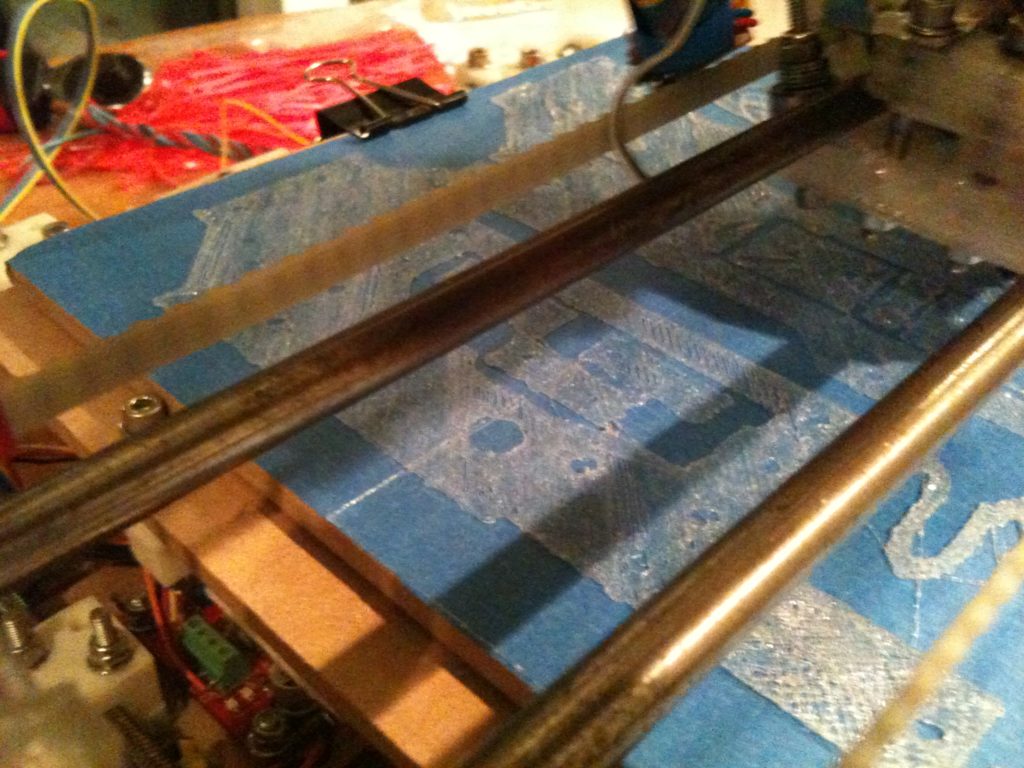
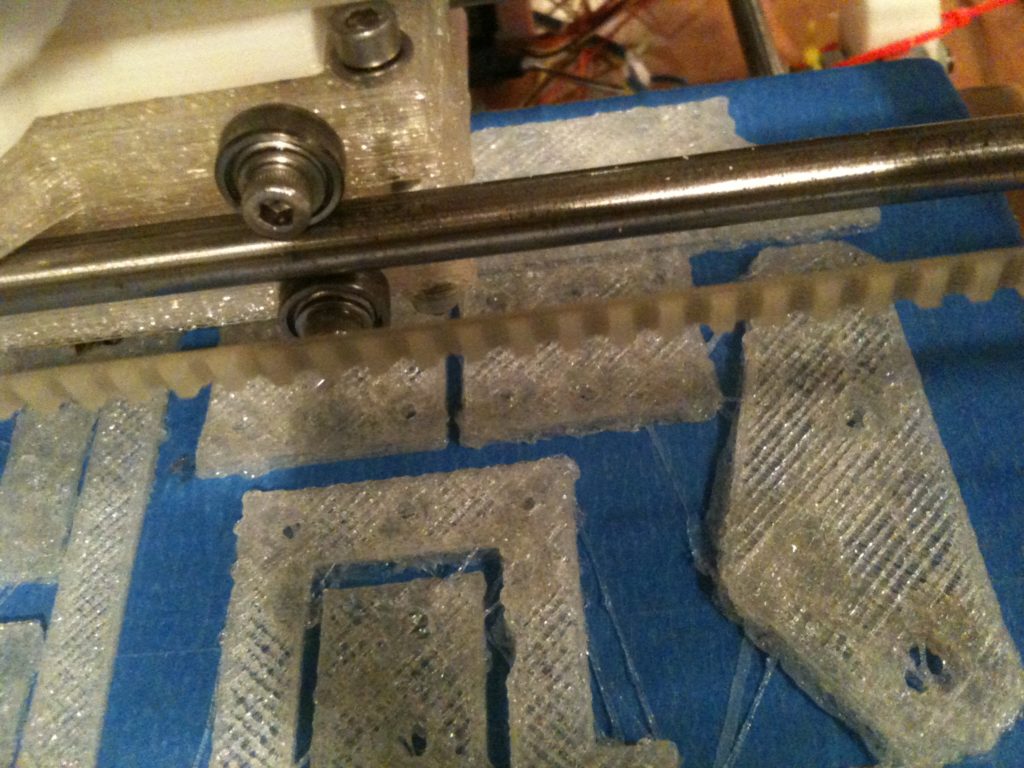
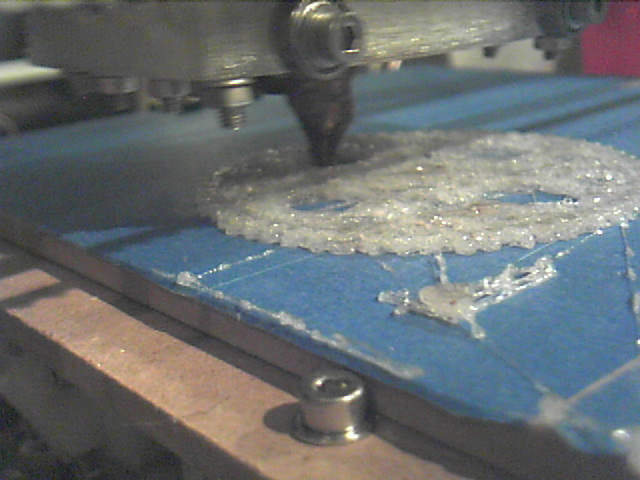
My first attempt failed – it ALMOST completed the first layer, then jammed the head into the bed, resulting in a video I won’t include here because of the anger it contains. 🙂 Here are pictures after the head crash (which was causing the heater barrel to be dragged from side to side):
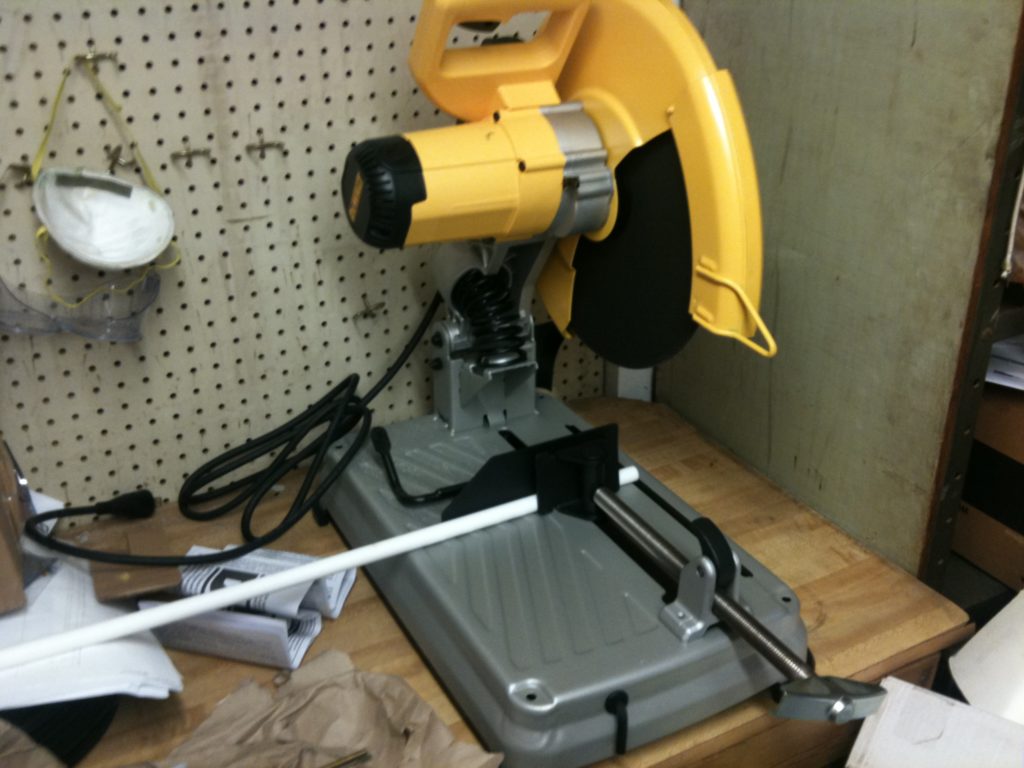
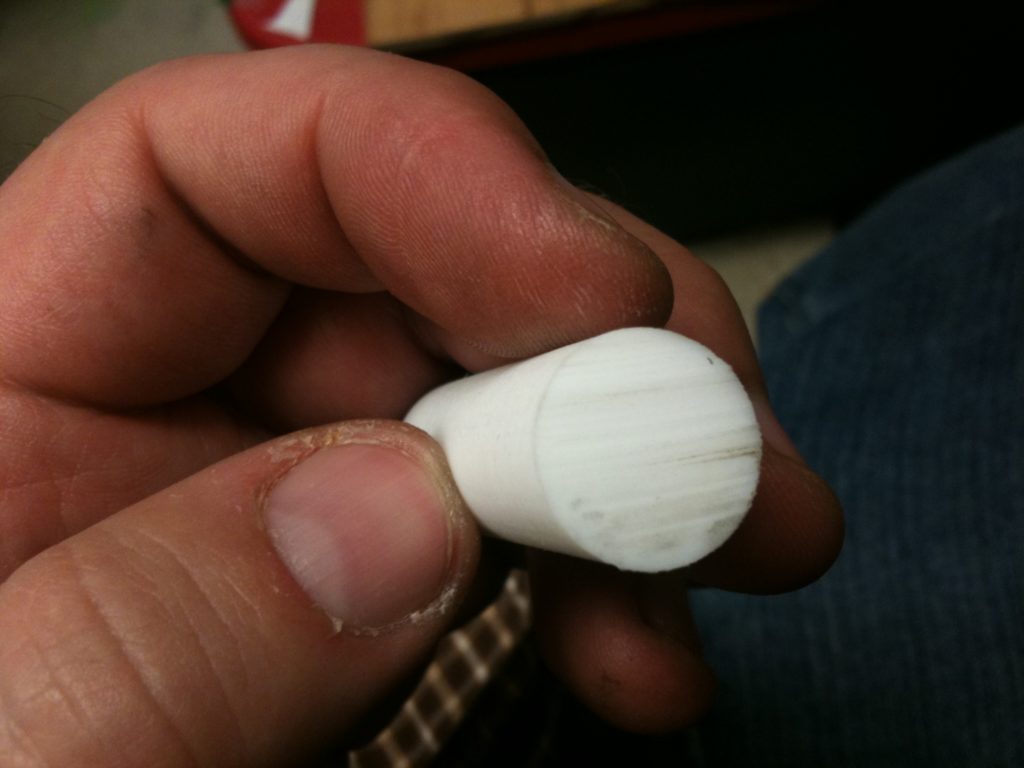
A week later, I used my new chop saw to cut a new piece of PTFE:
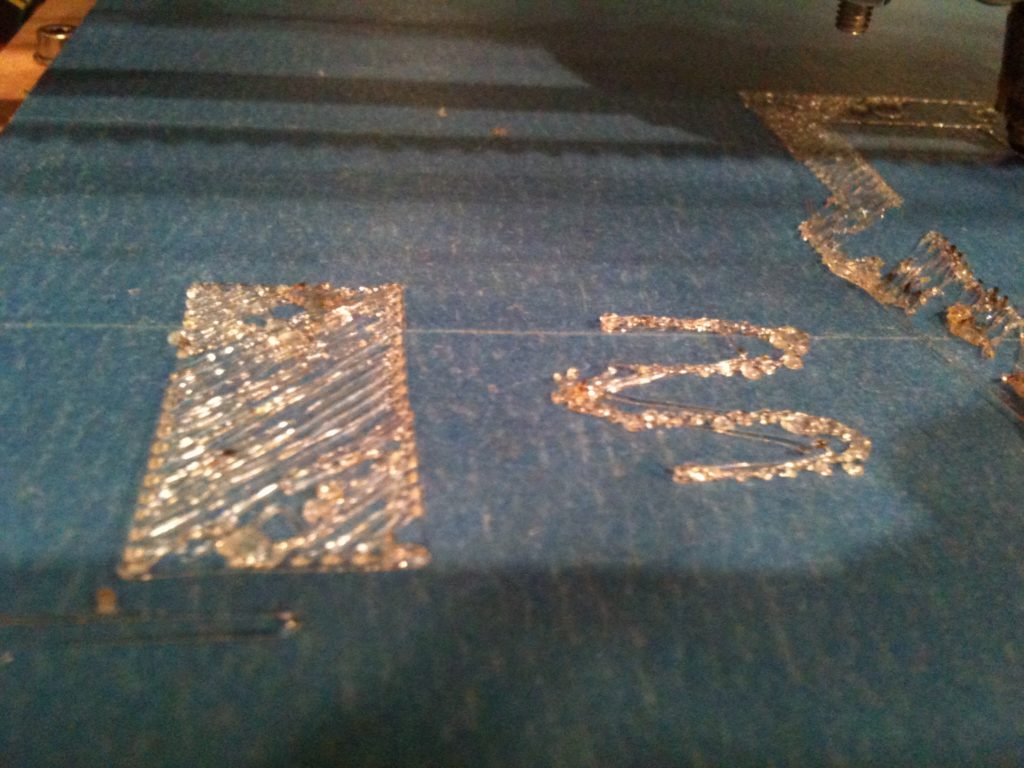
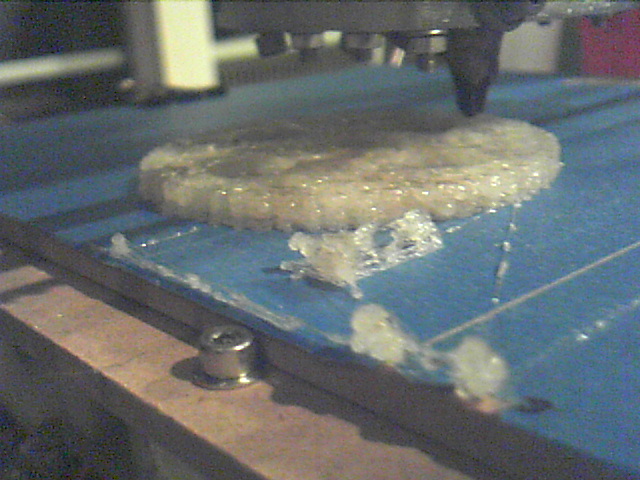
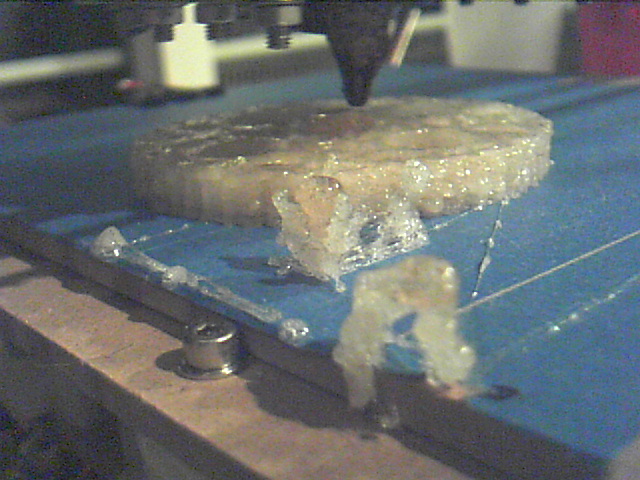
I then had a worse attempt at printing Bed 3:
To the basement! I went downstairs to make (another? can’t remember) PTFE insulator, and hob a new bolt (with the hobbing jig I’d printed previously, which I showed a few posts ago).
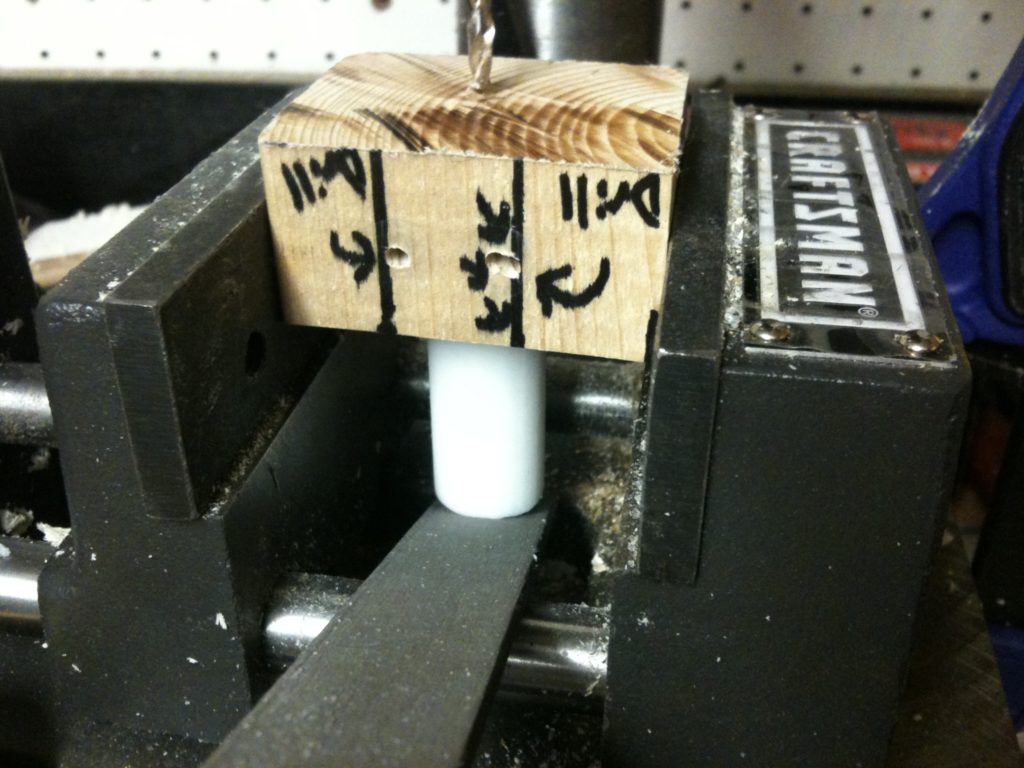
Here was a wood jig I made to cut the center hole in the PTFE, and the two side holes to mount it in Wade’s extruder (which I’ve now used successfully multiple times):
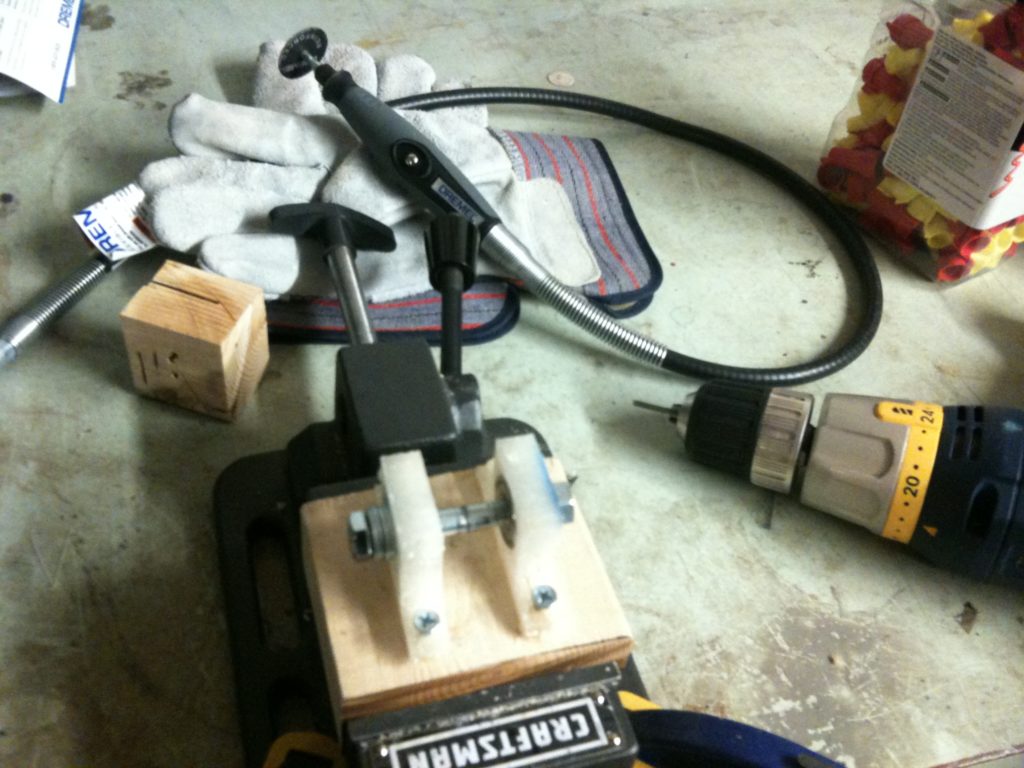
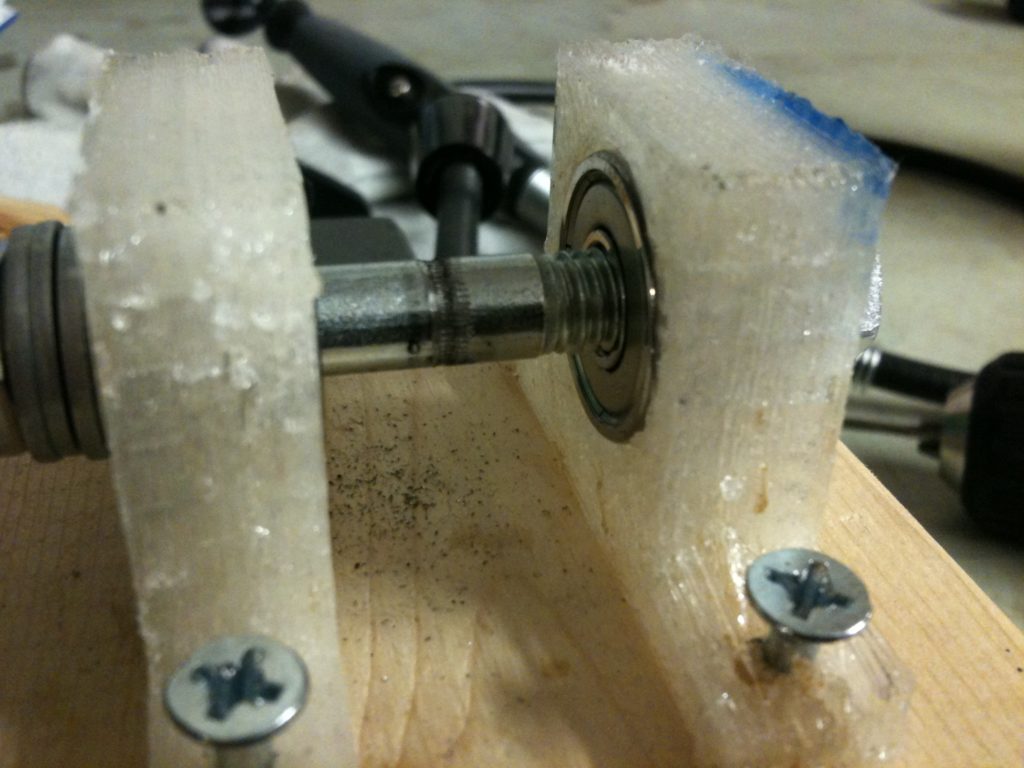
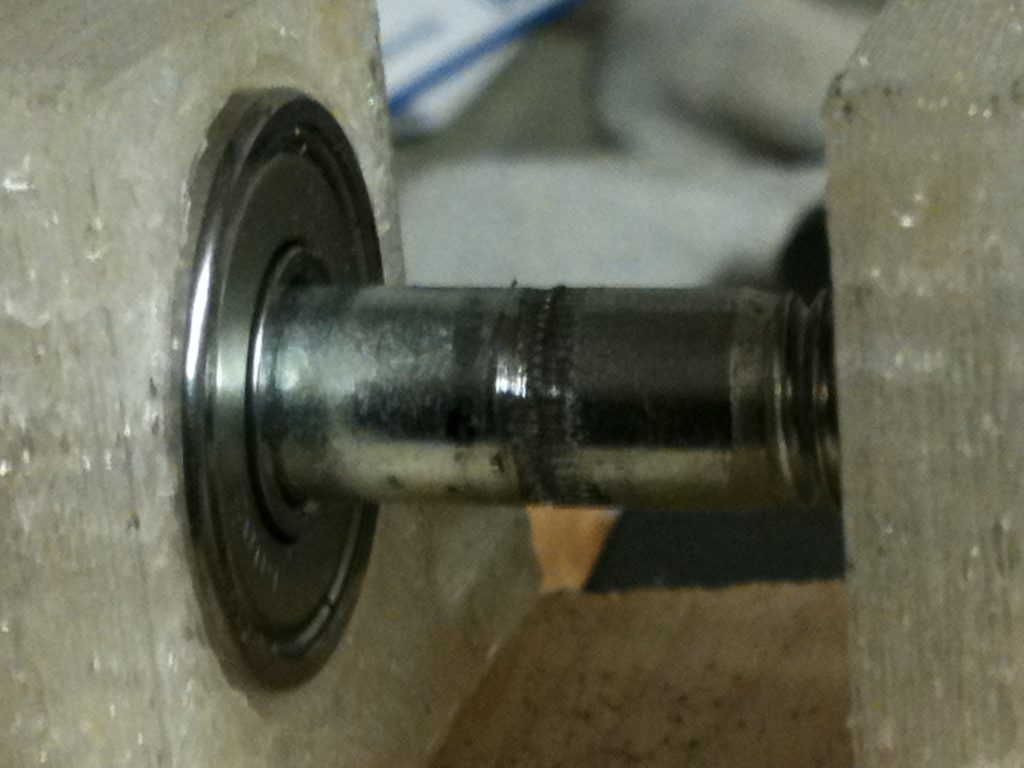
Next I wanted to hob another bolt. Last time I’d done this, I held two bearings together between two pieces of wood clamped in a vice, which wasn’t the most ideal solution. This time I used the Pinchwheel Worm Drill Jigs that I posted about previously.
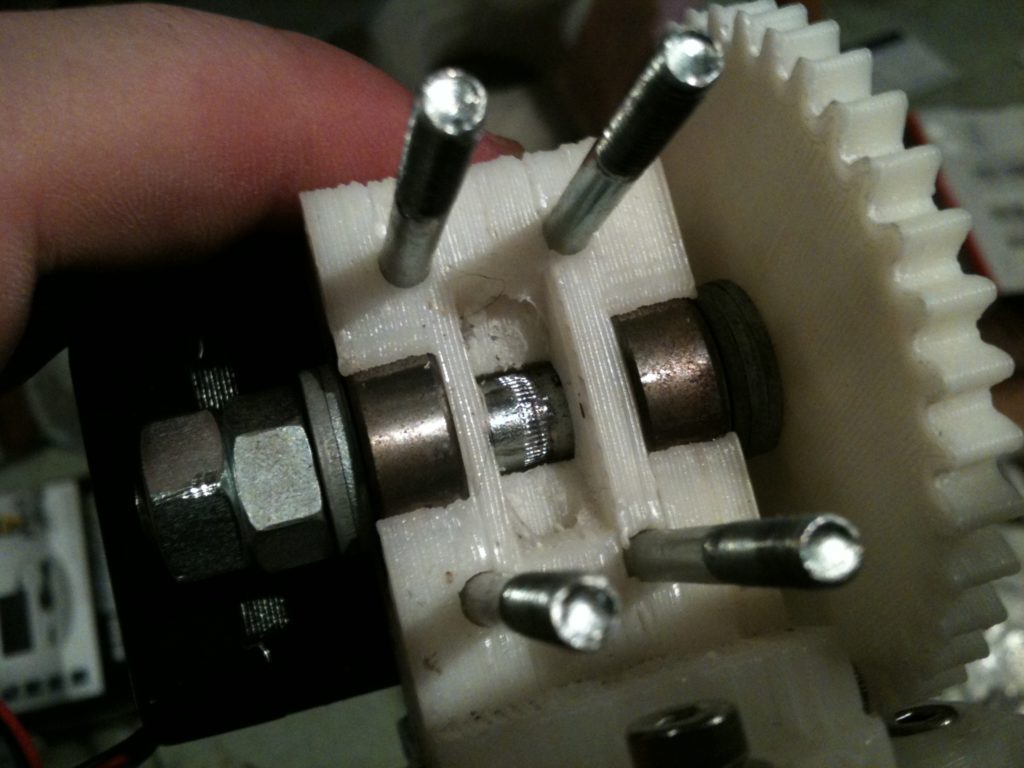
Then I assembled the extruder. Here you can see the newly hobbed bolt in place:
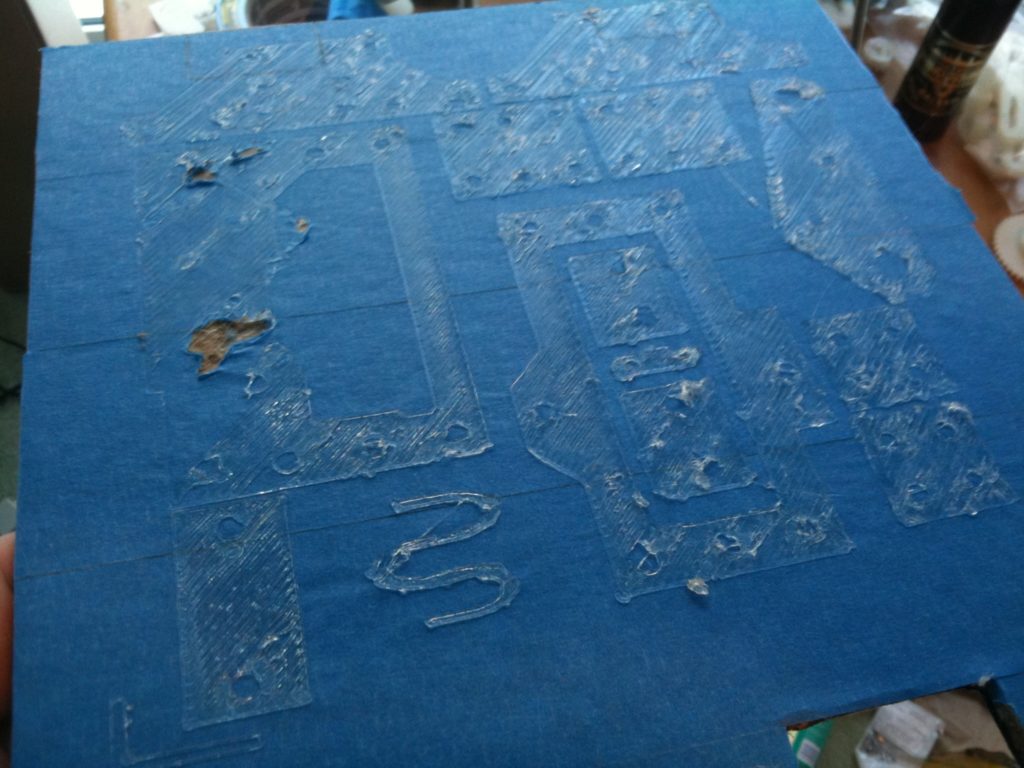
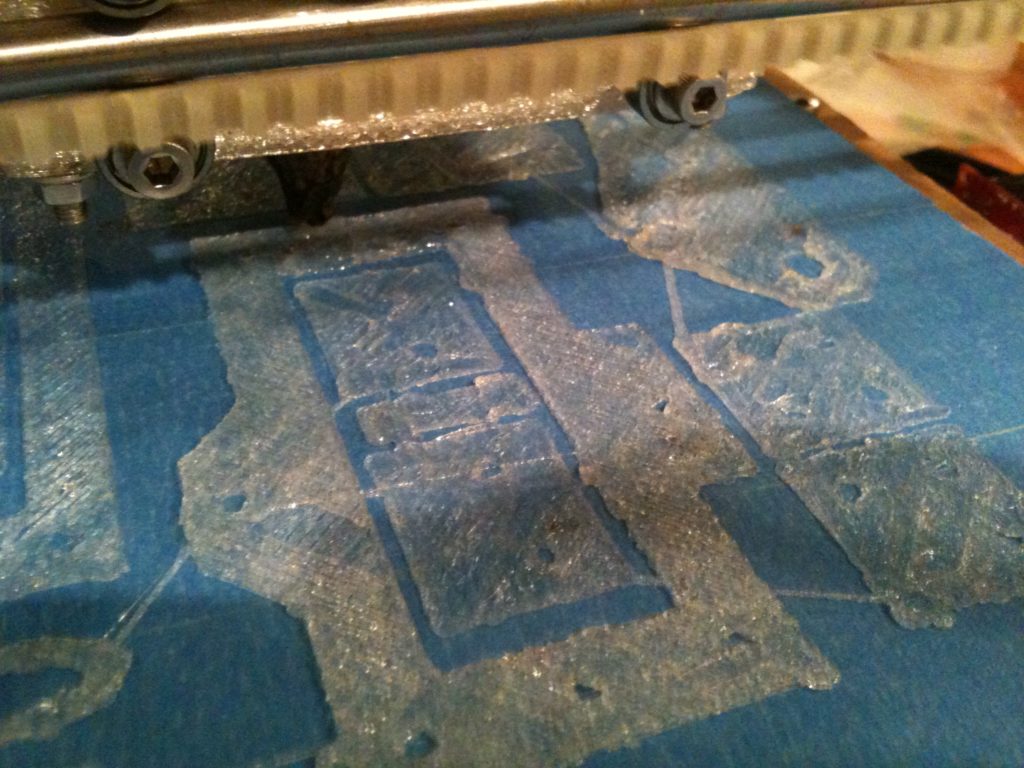
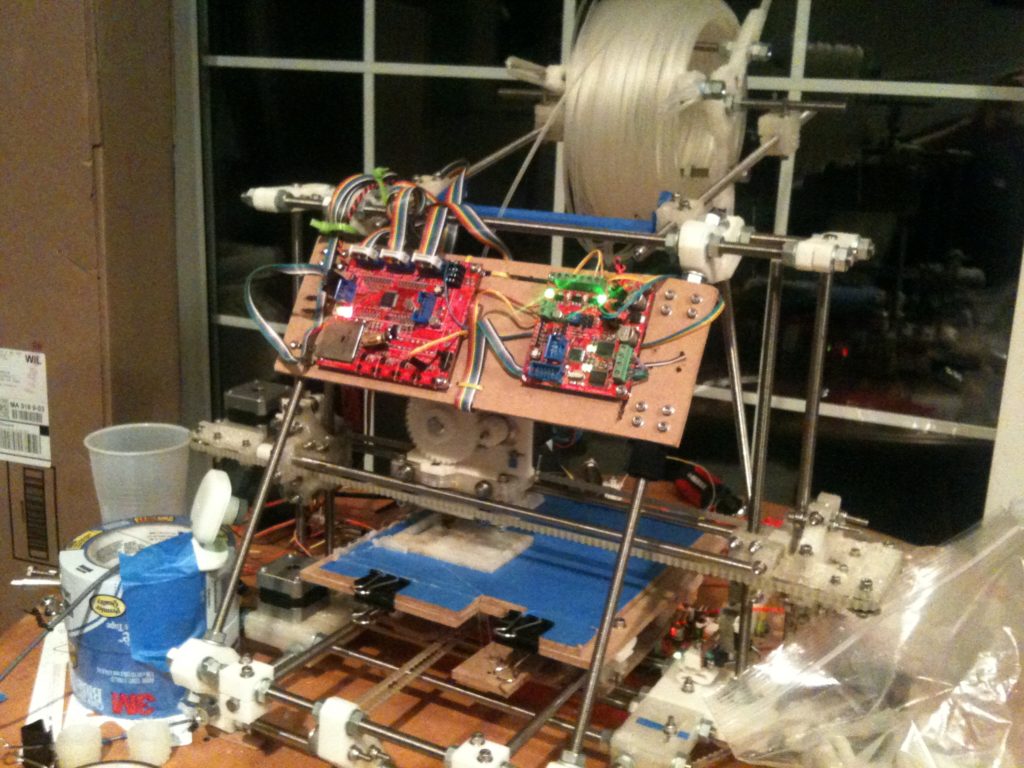
Next, I tried printing a bed of parts again.
At this point I started to get pretty hopeful.. The shapes were the right proportion/size, I’d made it past the initial layers, and everything seemed to be going well..
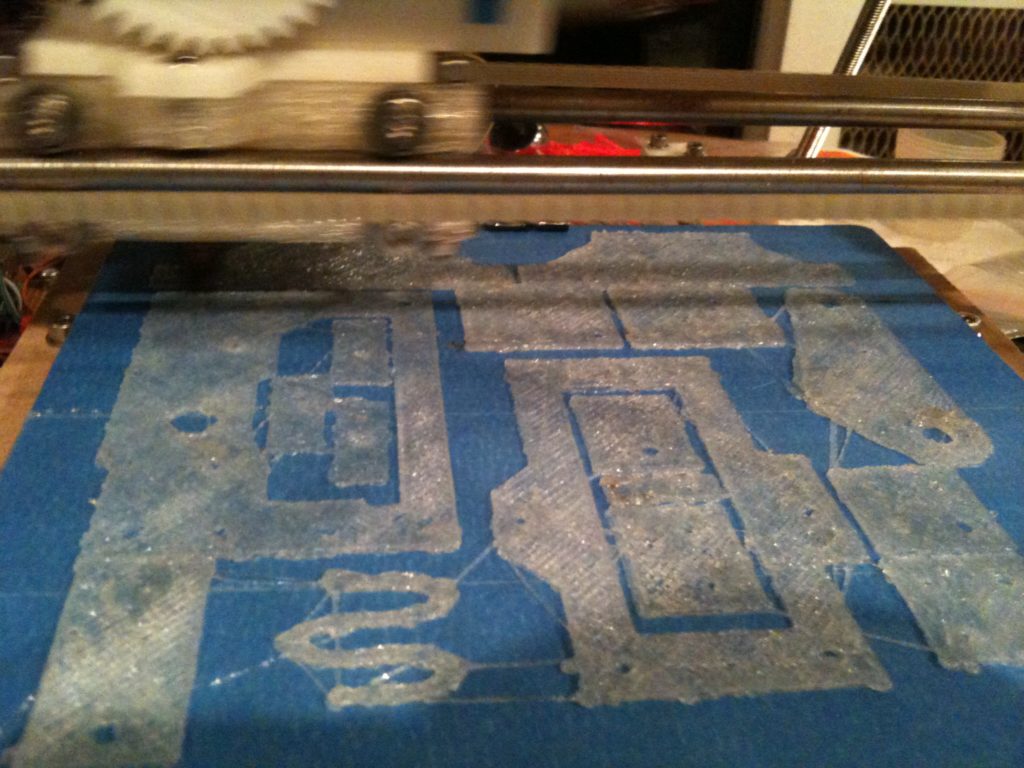
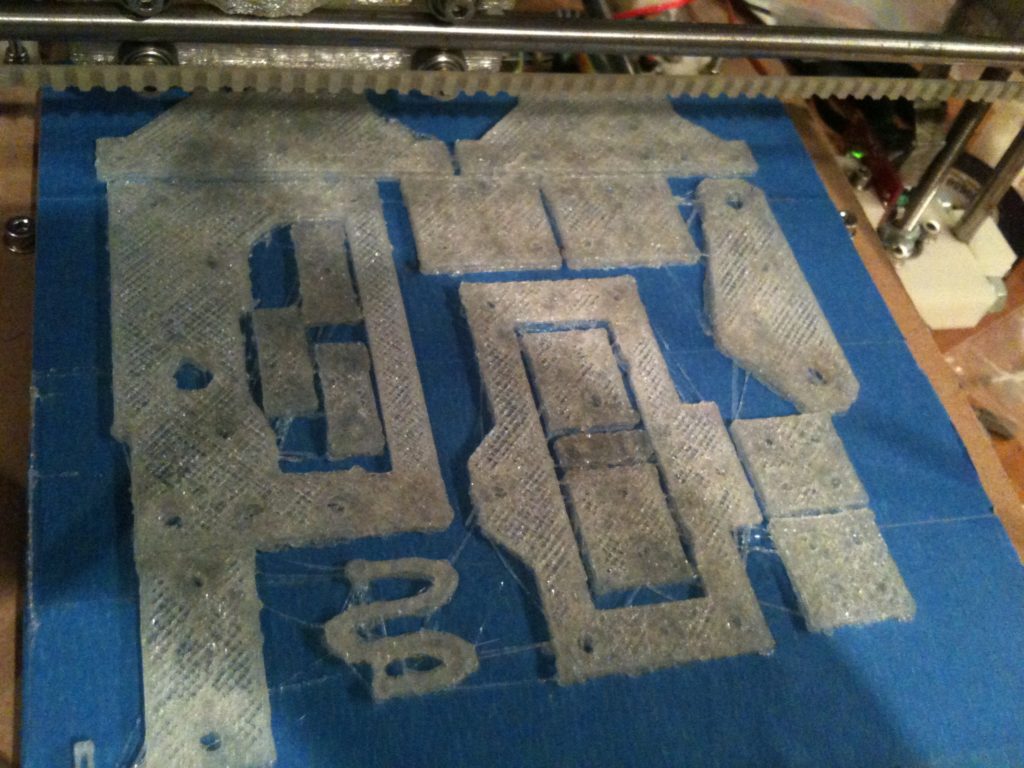
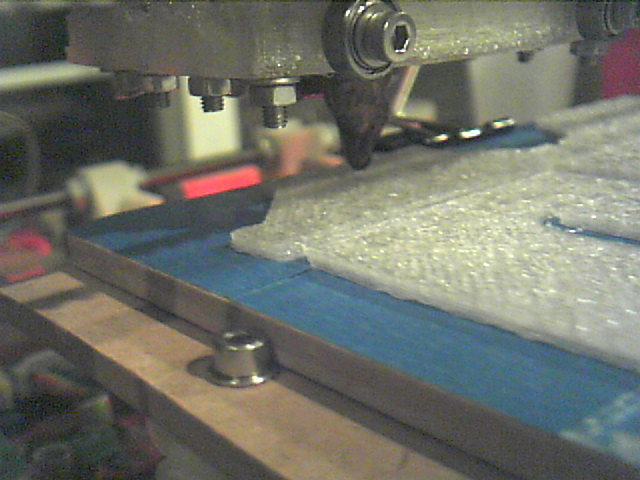
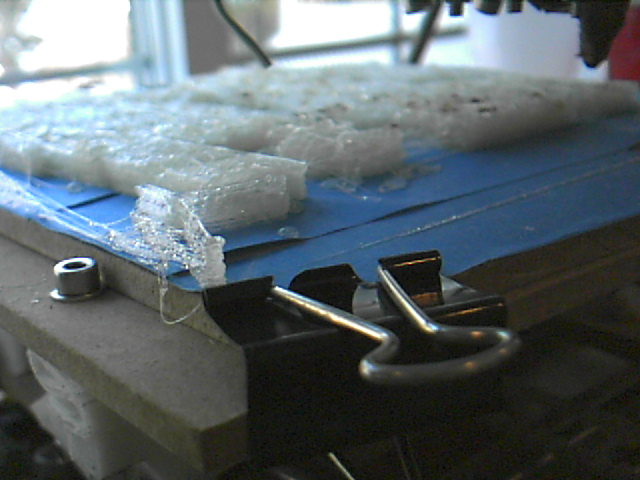
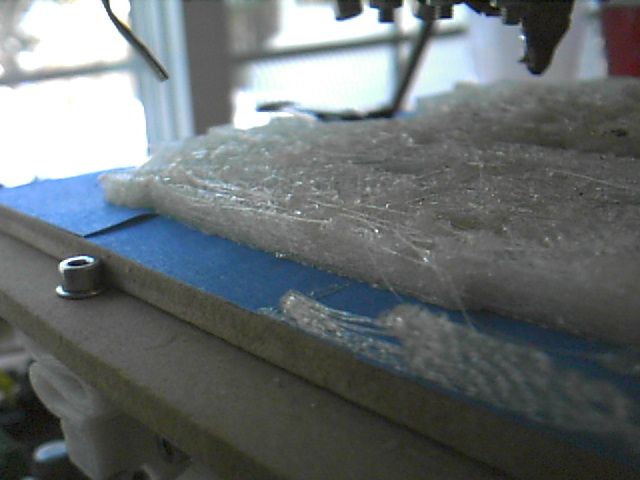
So I went upstairs to go to sleep, and allow my RepRap to continue printing its own spare parts into the night. Of course I brought my iPhone with me, and occasionally woke up just enough to take a peak at my iPhone to see my webcam feed of the RepRap to see how it was going. I saw these:
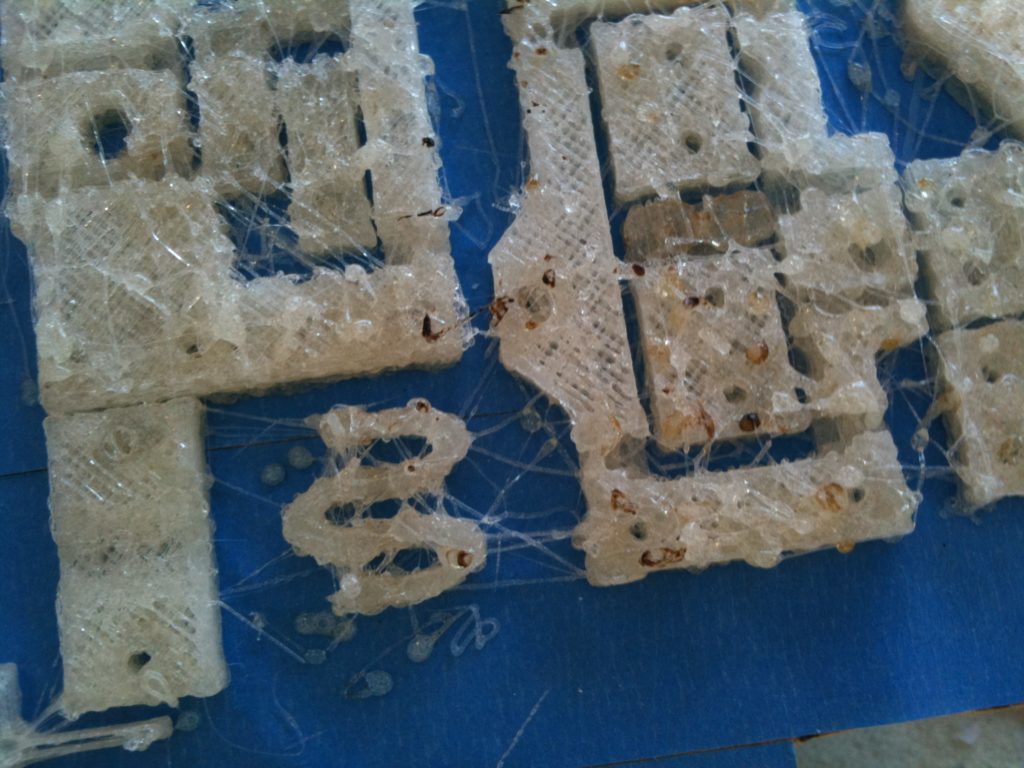
Fail! It was fine in the first two of those pics (at night), but the last two show a mess.
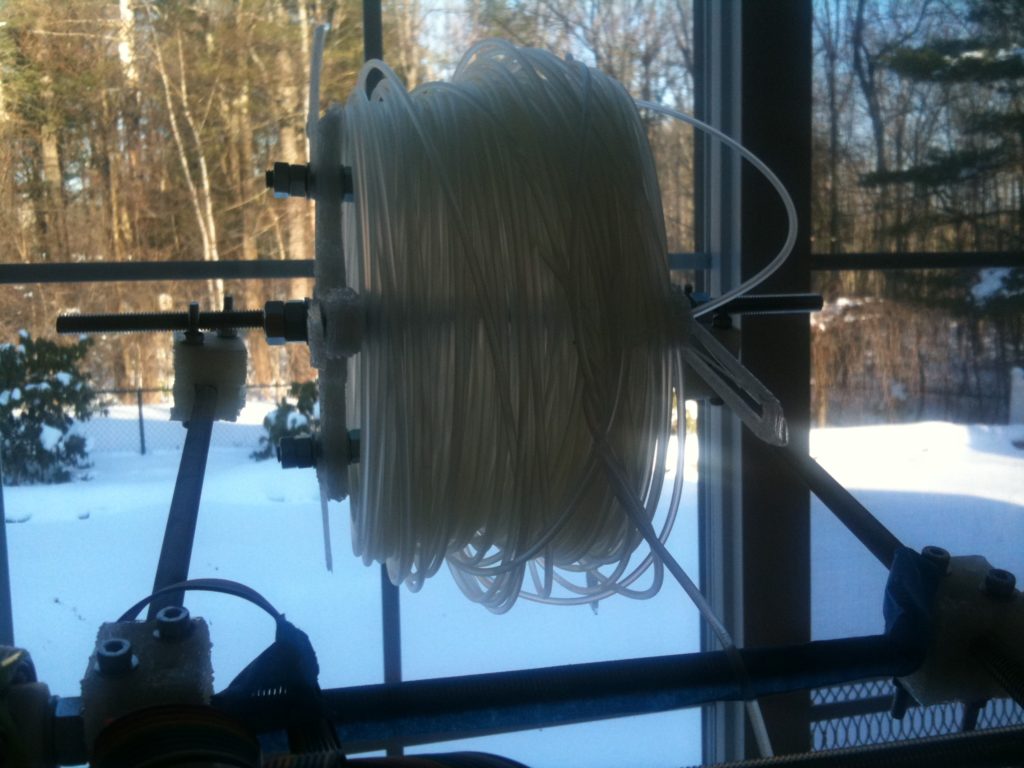
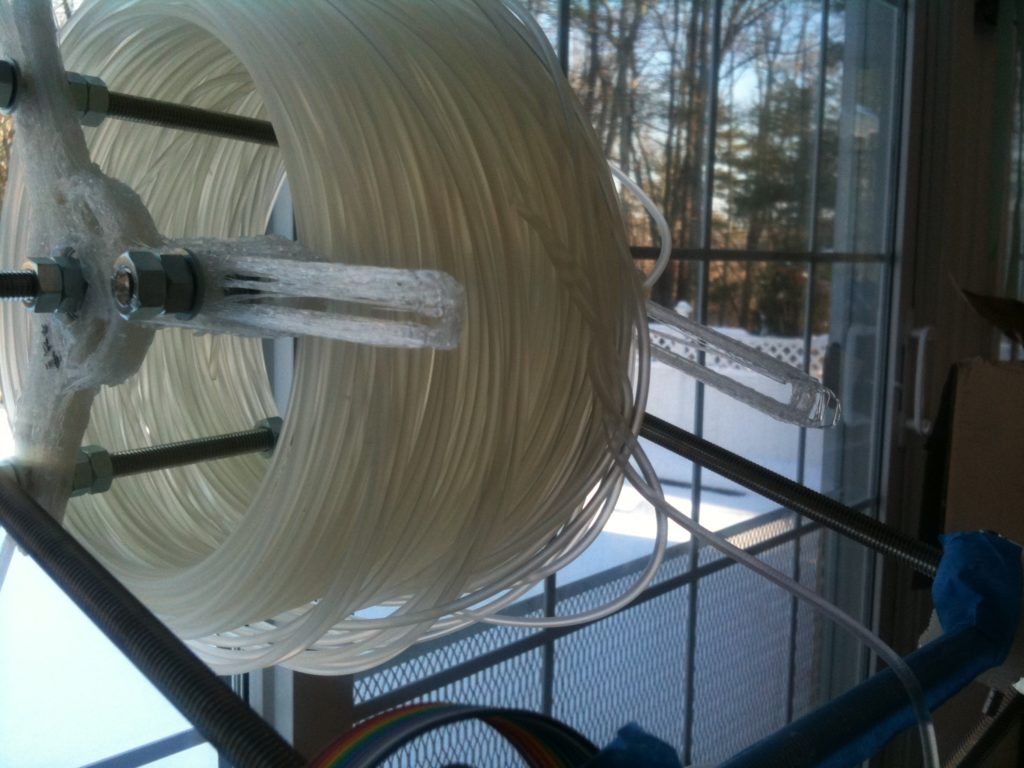
The reason? The reason was this:
Aaaaggggh!
The pictures taken at night showed everything going well, so the problem only occurred after the knot held the spool from turning, and plastic must have poured all over the place..
Since then I’ve found myself pretty paranoid about the filament spindle and whether it has enough slack in it, and I check on prints every 15 minutes or so to make sure they’re not having problems. PLA is pretty strong, so a knot isn’t pretty.
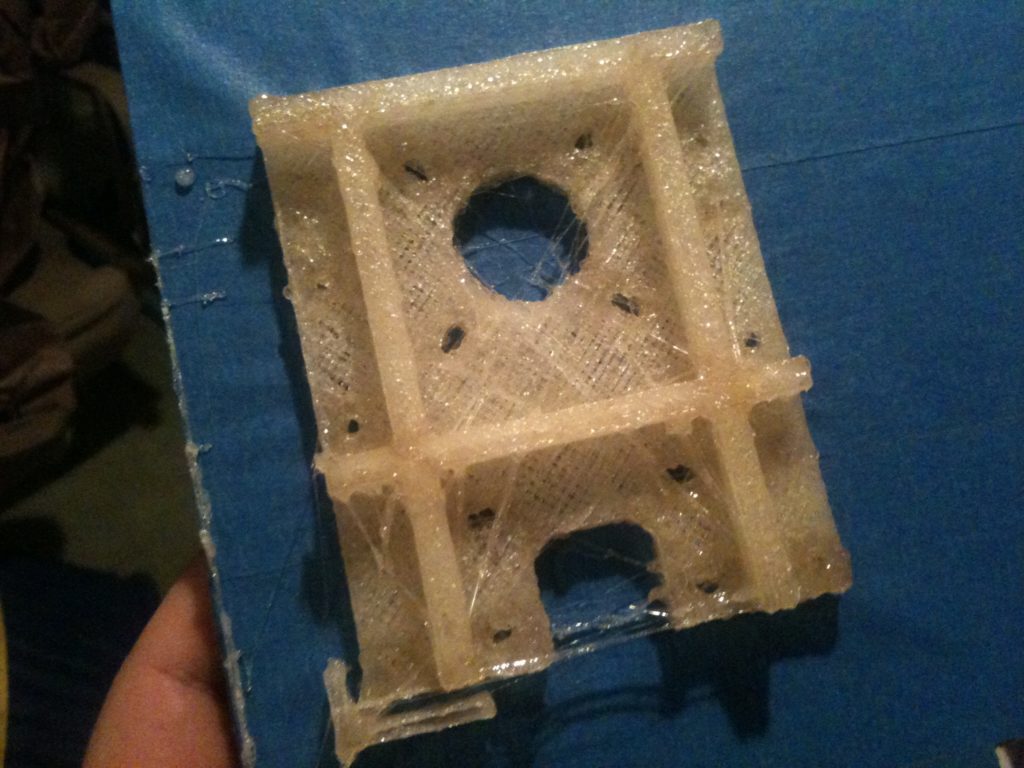
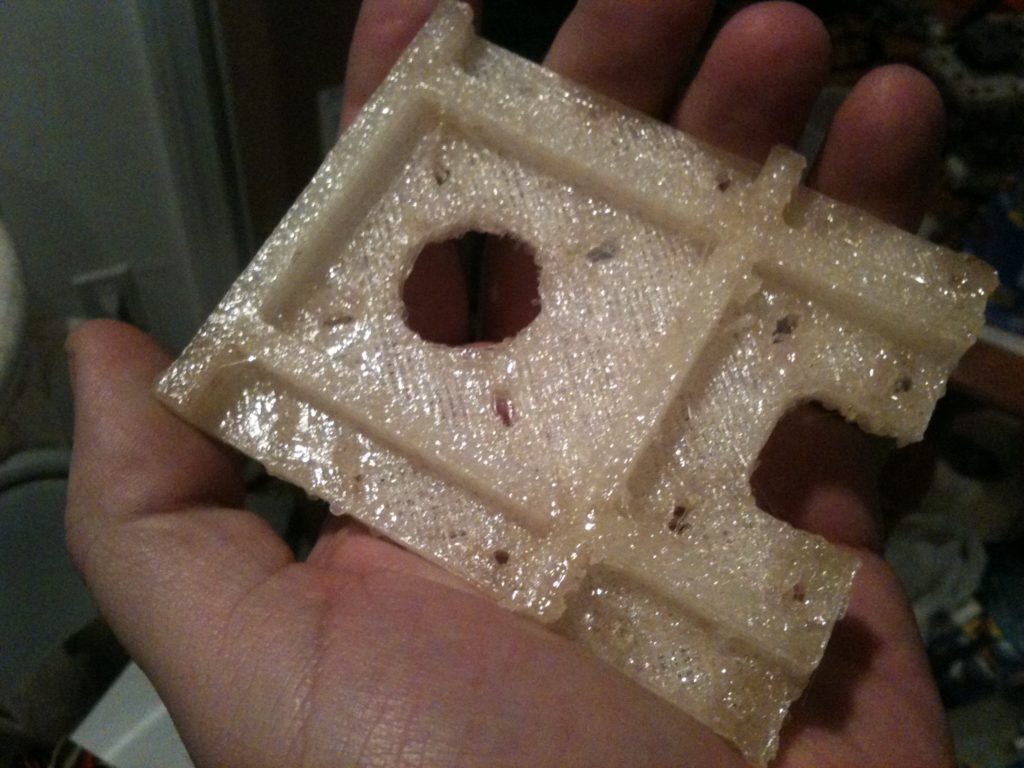
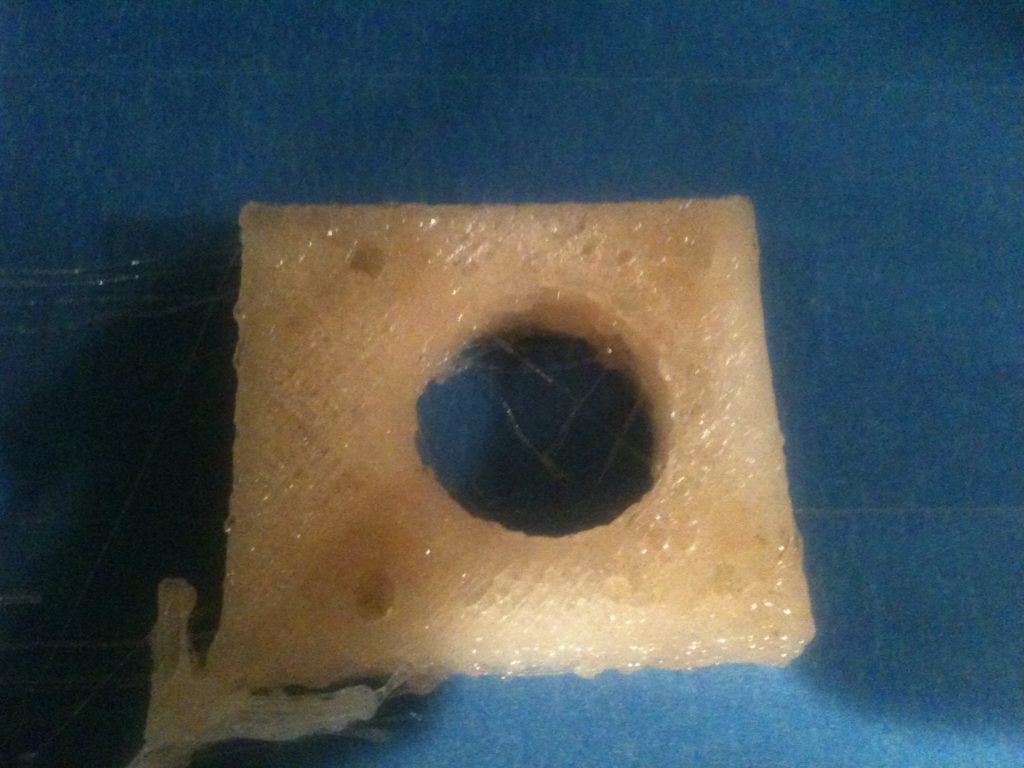
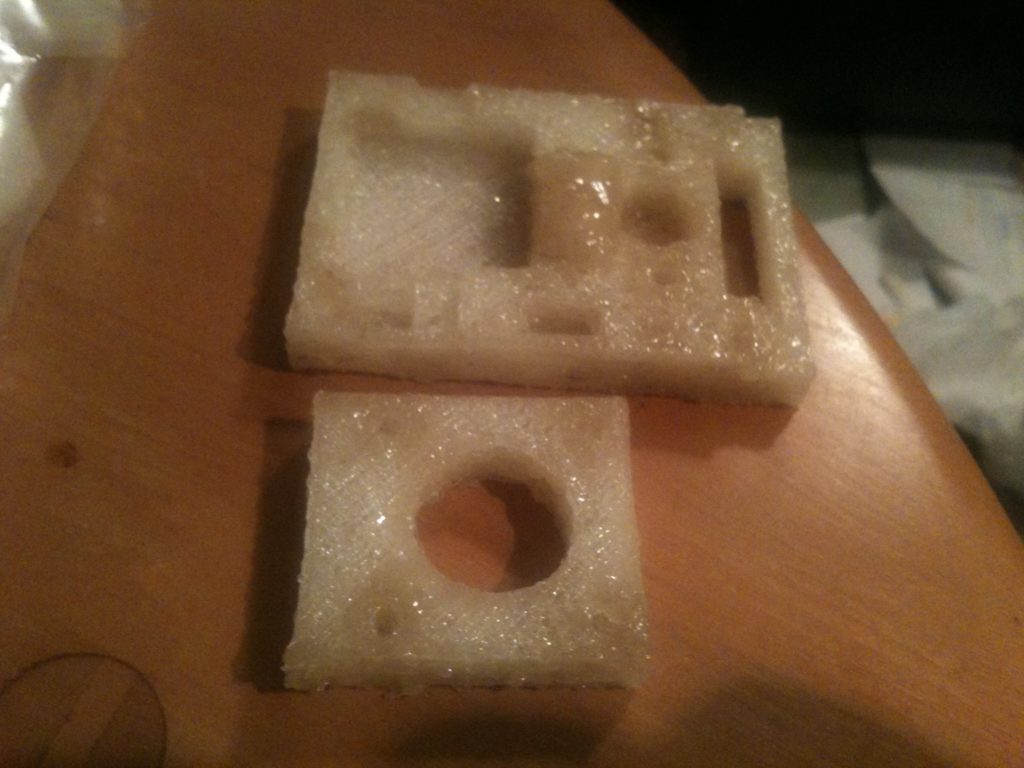
Anyway, two days later, I tried printing again, and managed to print this entirely usable alternate X-axis motor bracket, which takes the X-axis belt on a far less torturous path than the old one. (I still haven’t used this piece)
At some point I tried printing out this gear for the Z-axis, which didn’t come out too great:
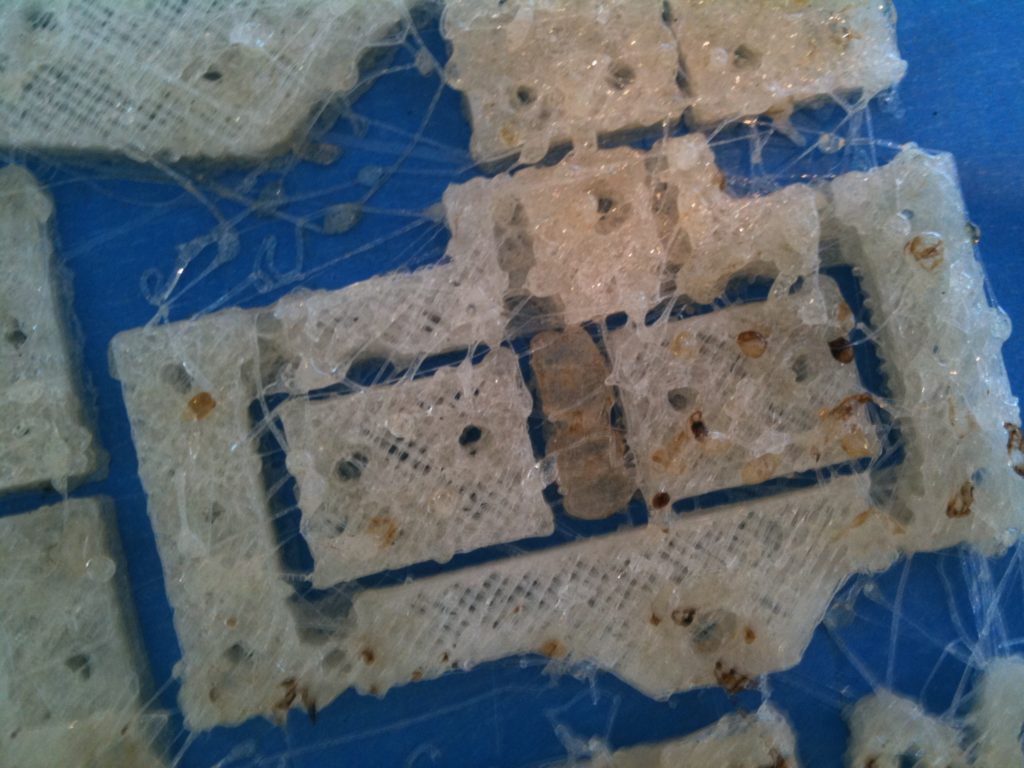
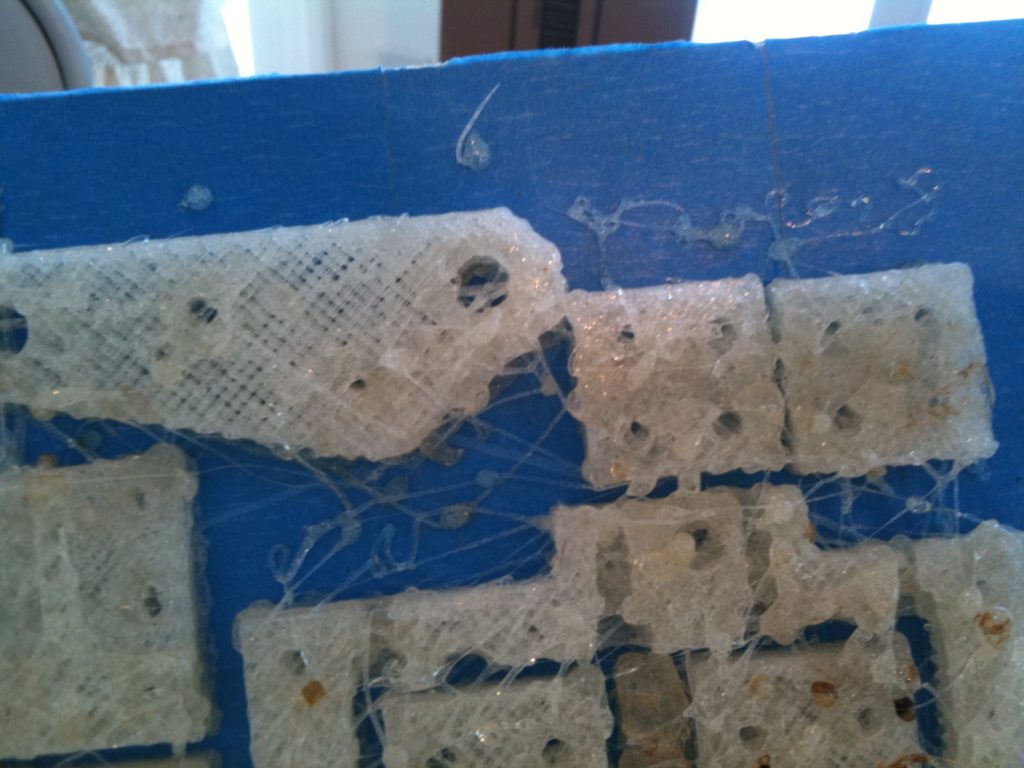
It was around this point where I started trying to print parts for Adrian’s Geared Extruder. With the temperature problems I was having I didn’t have the best quality prints, but at least they were close:
And then this piece..
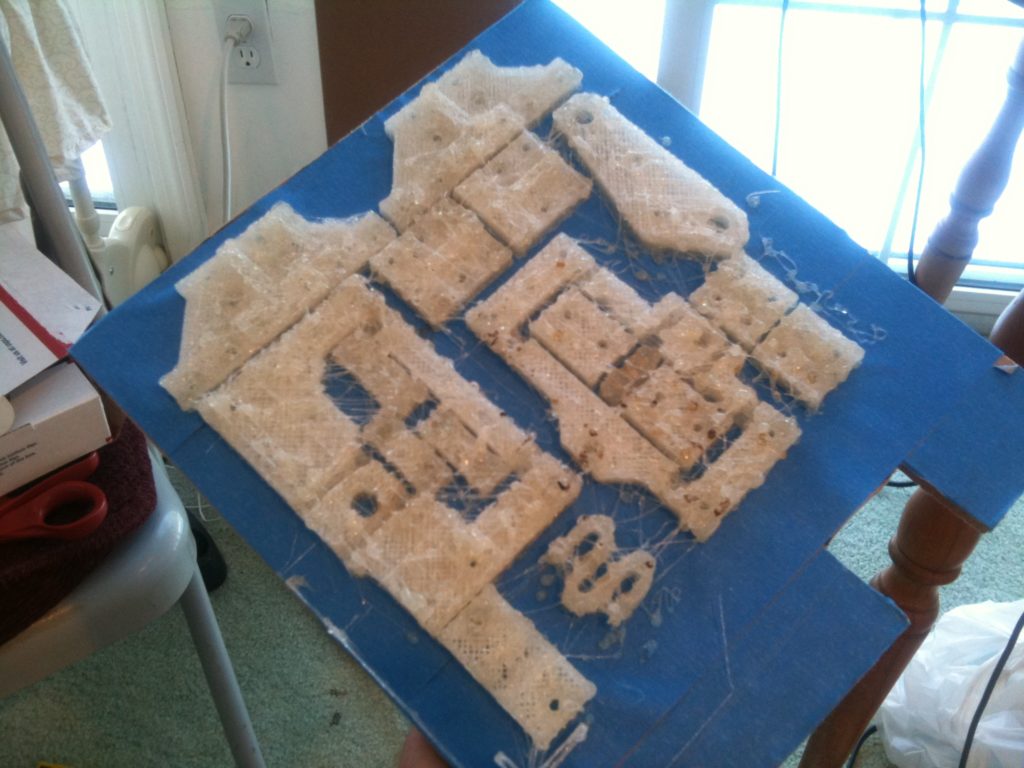
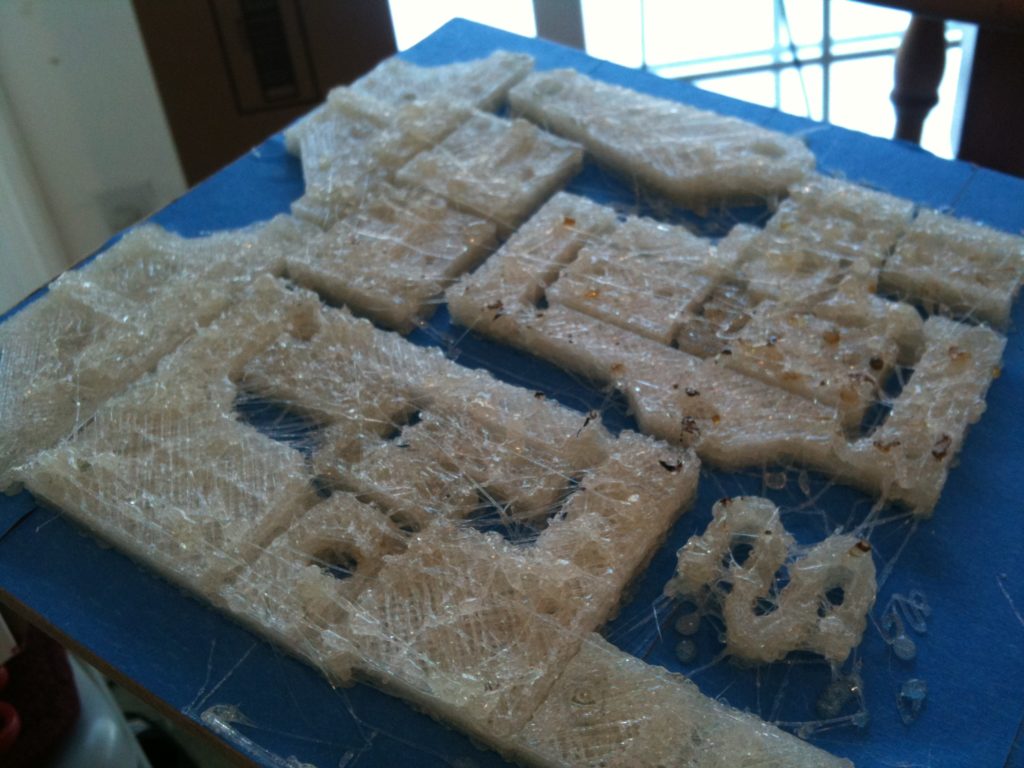
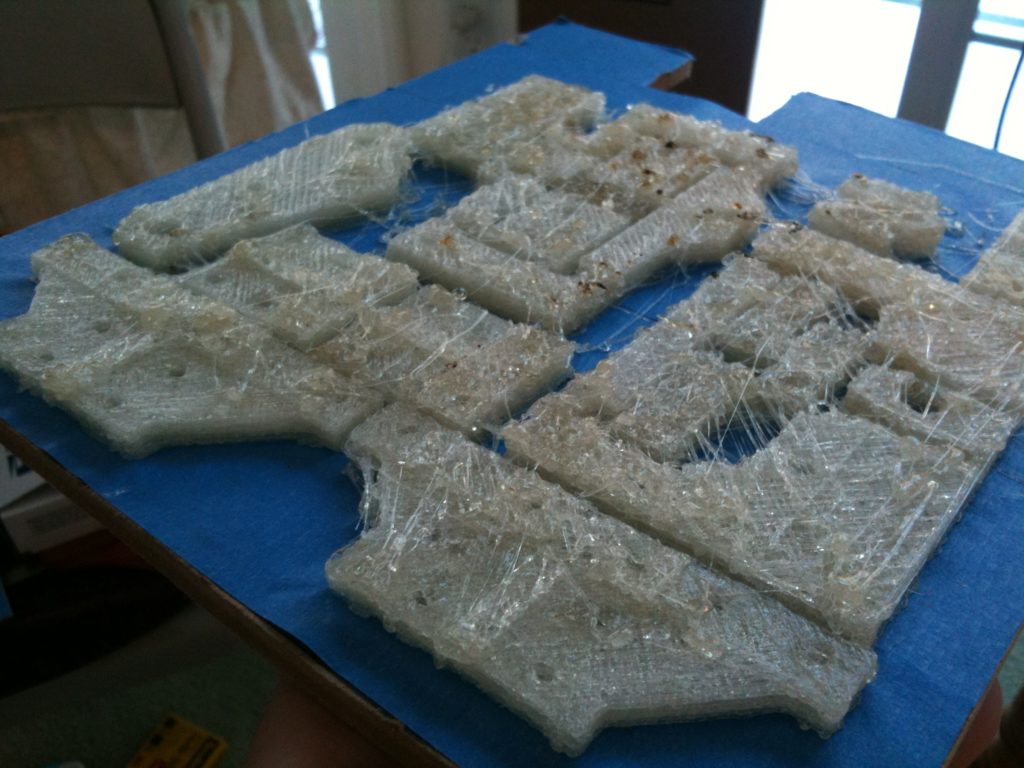
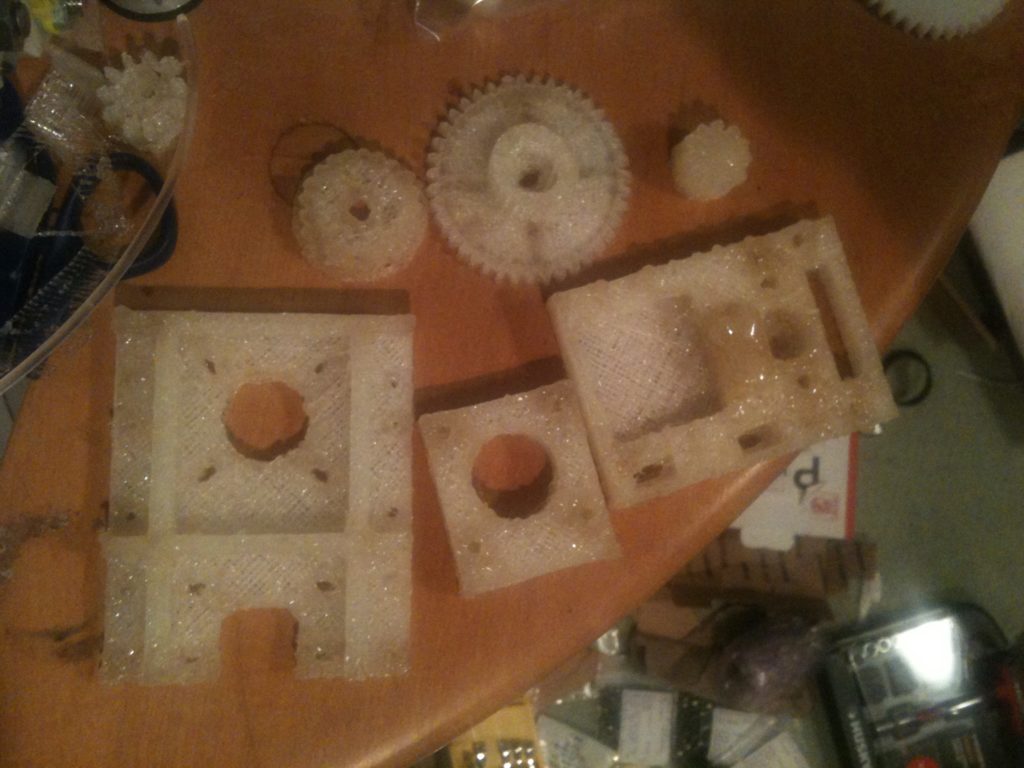
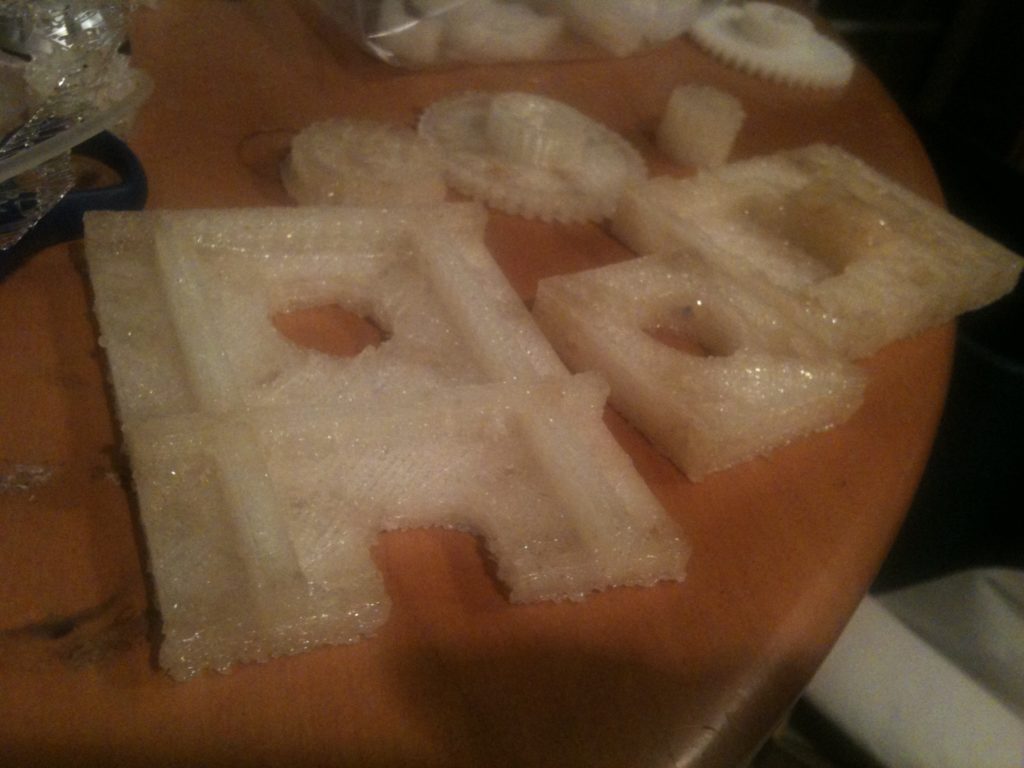
Here was a picture of a bunch of the PLA pieces I’d recently printed, all arranged together:
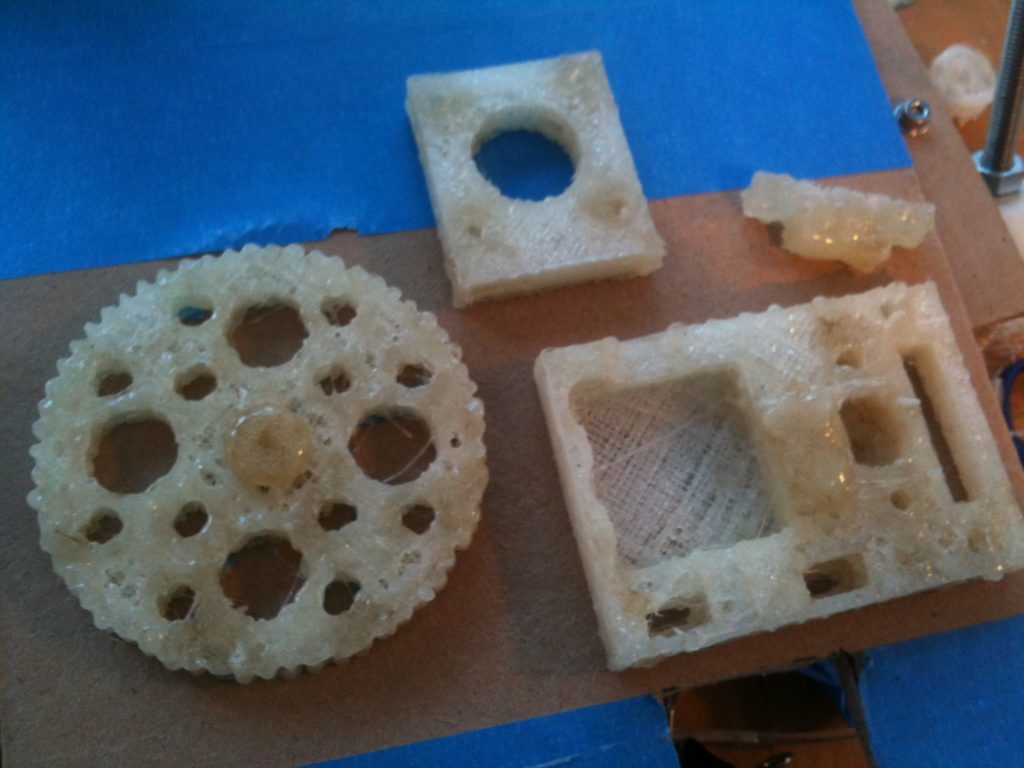
Finally, I tried printing the big gear for Adrian’s Geared Extruder:
Here’s another arrangement of pieces (this time just for Adrian’s Extruder).
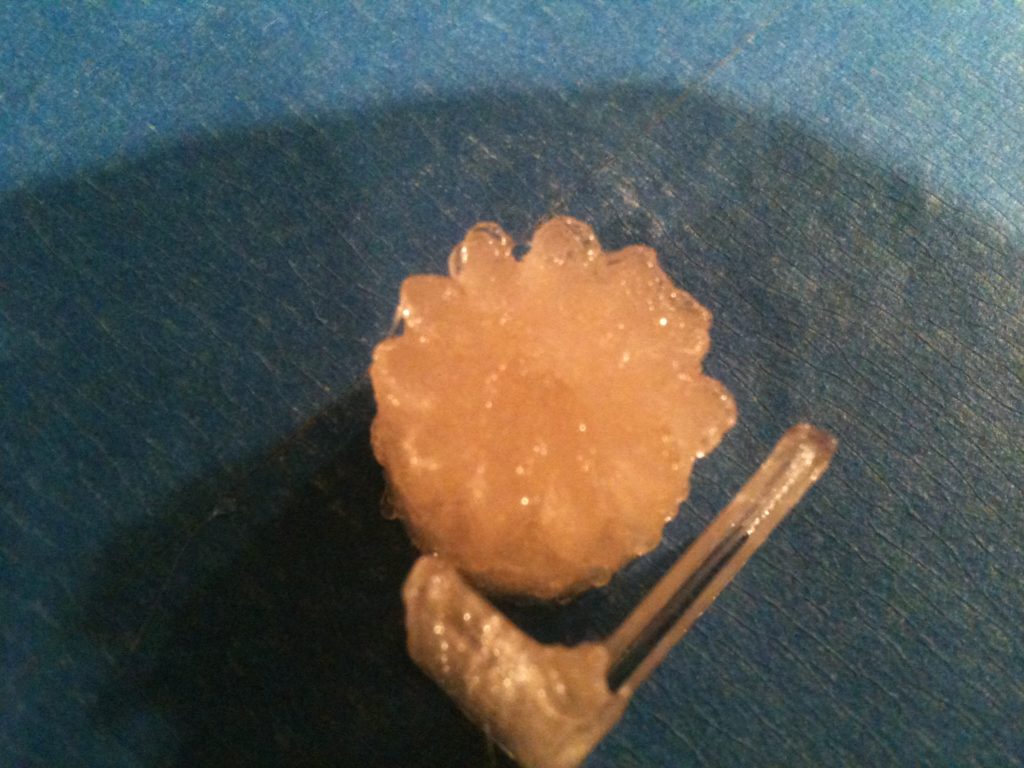
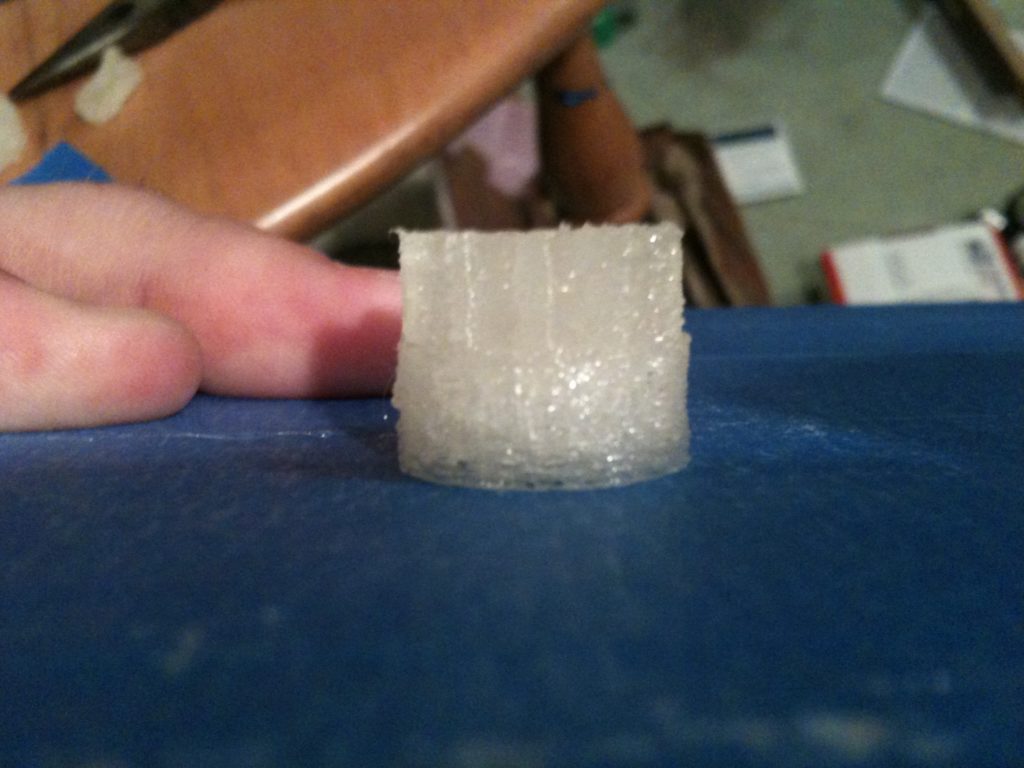
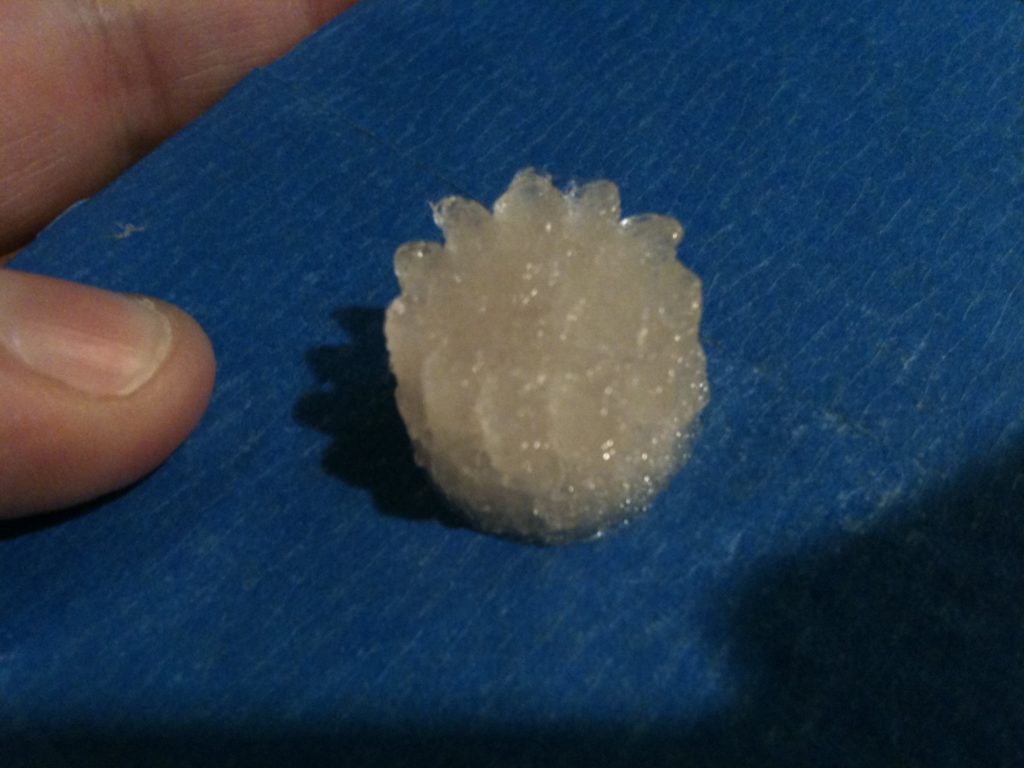
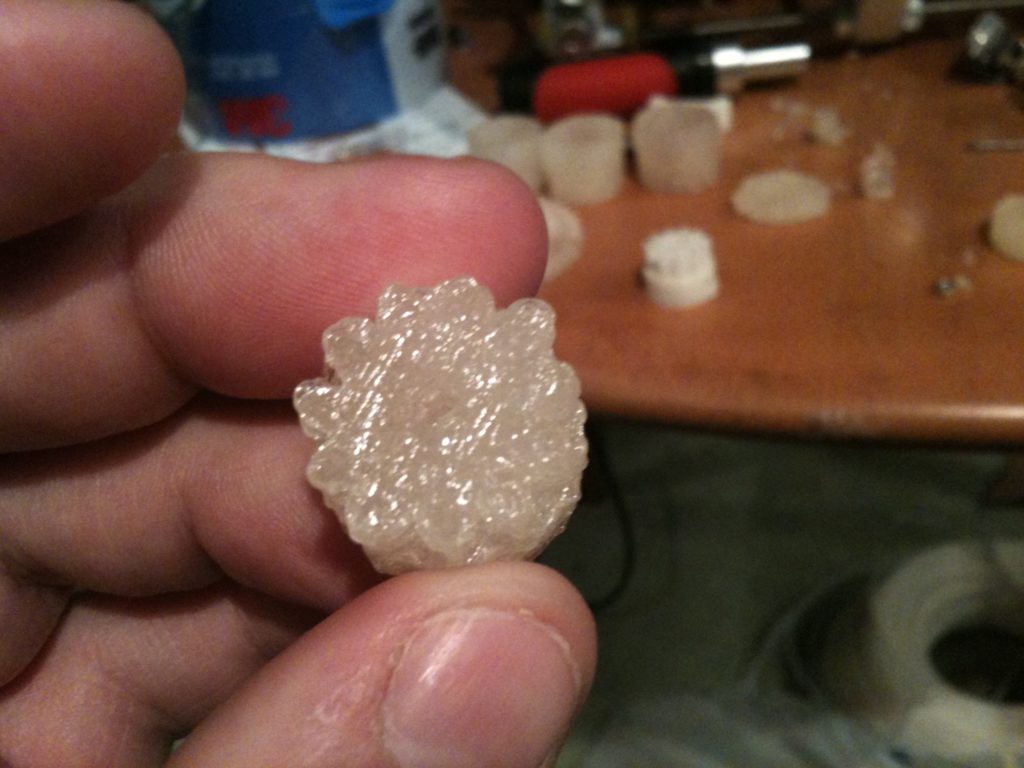
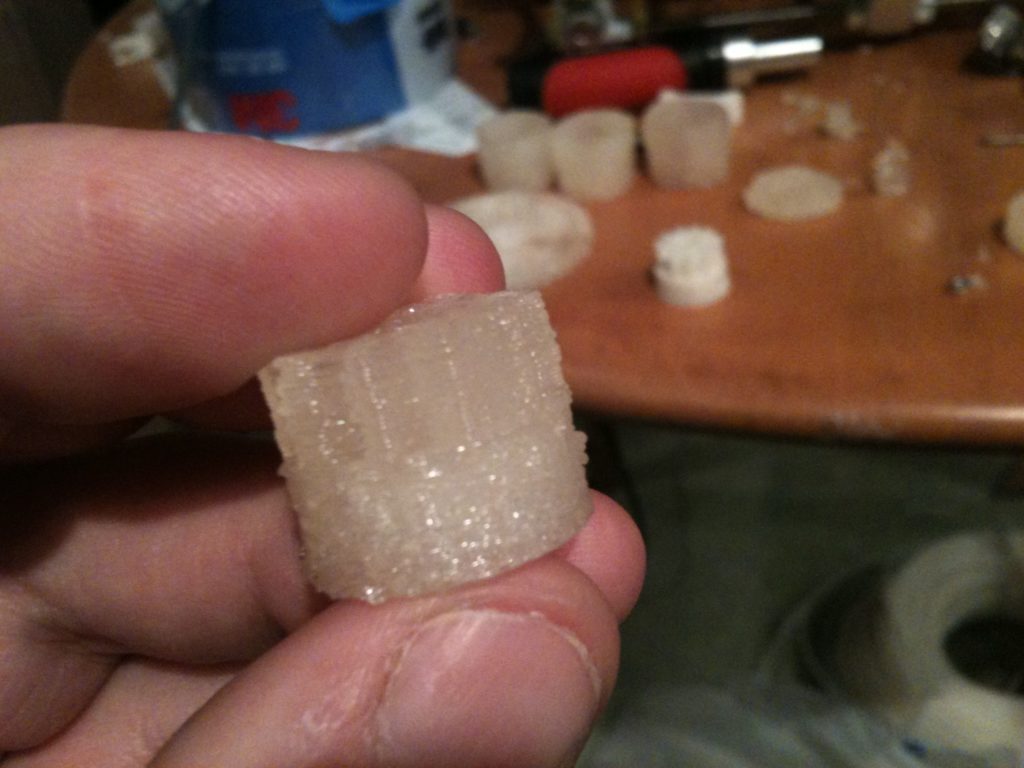
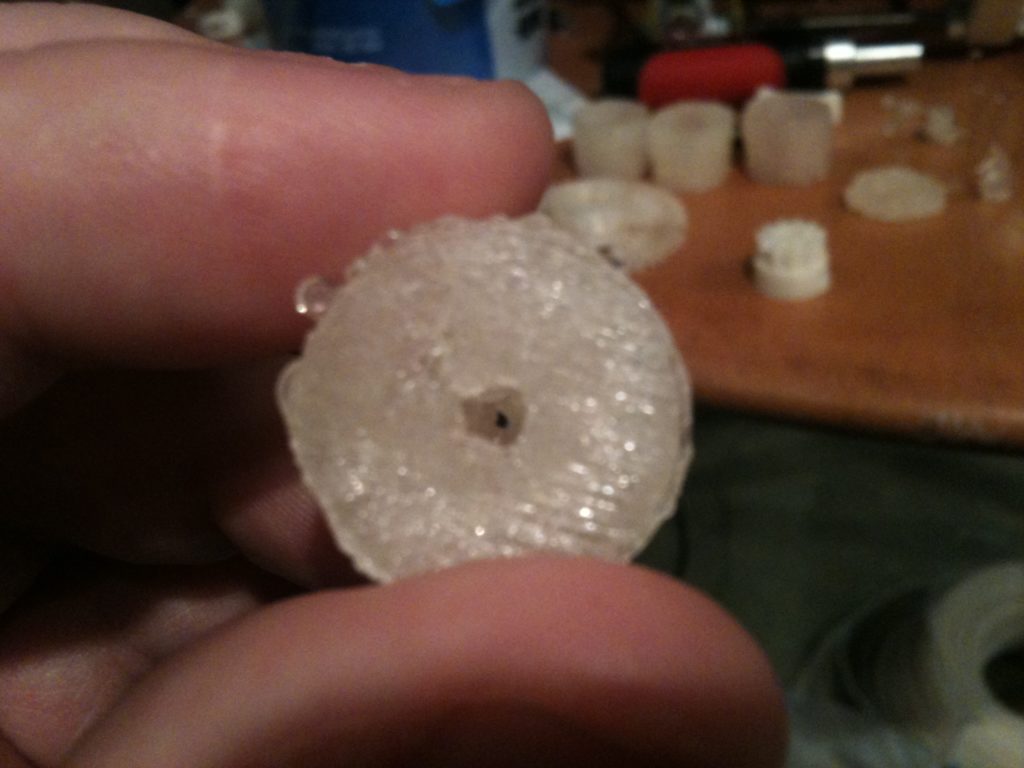
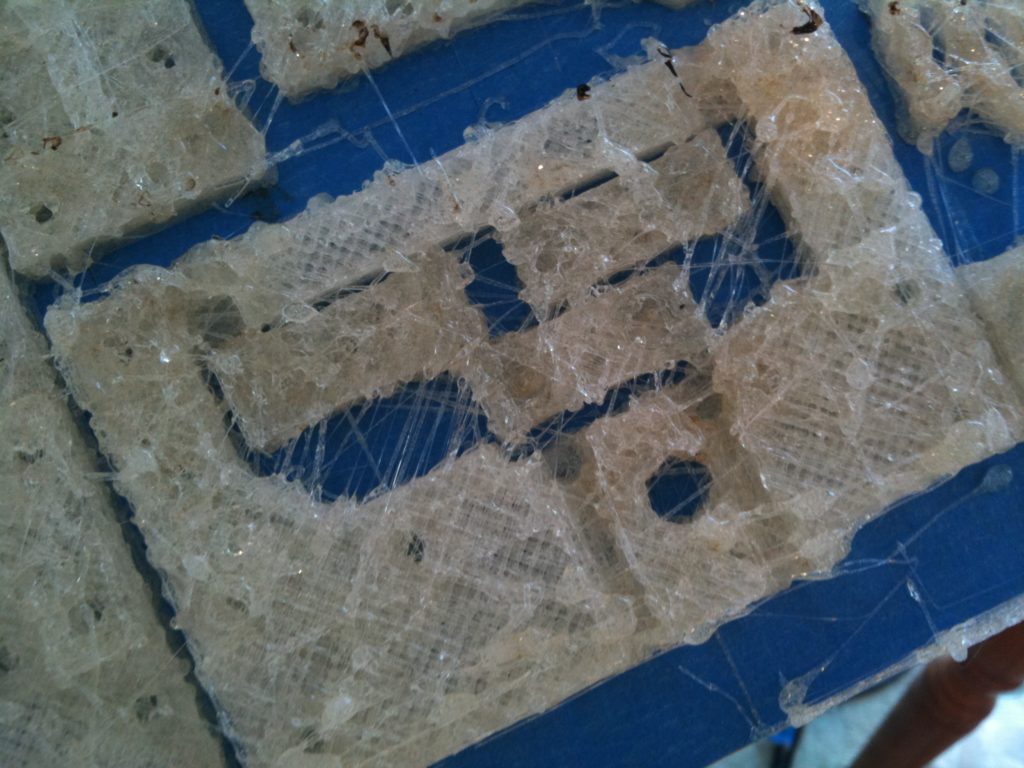
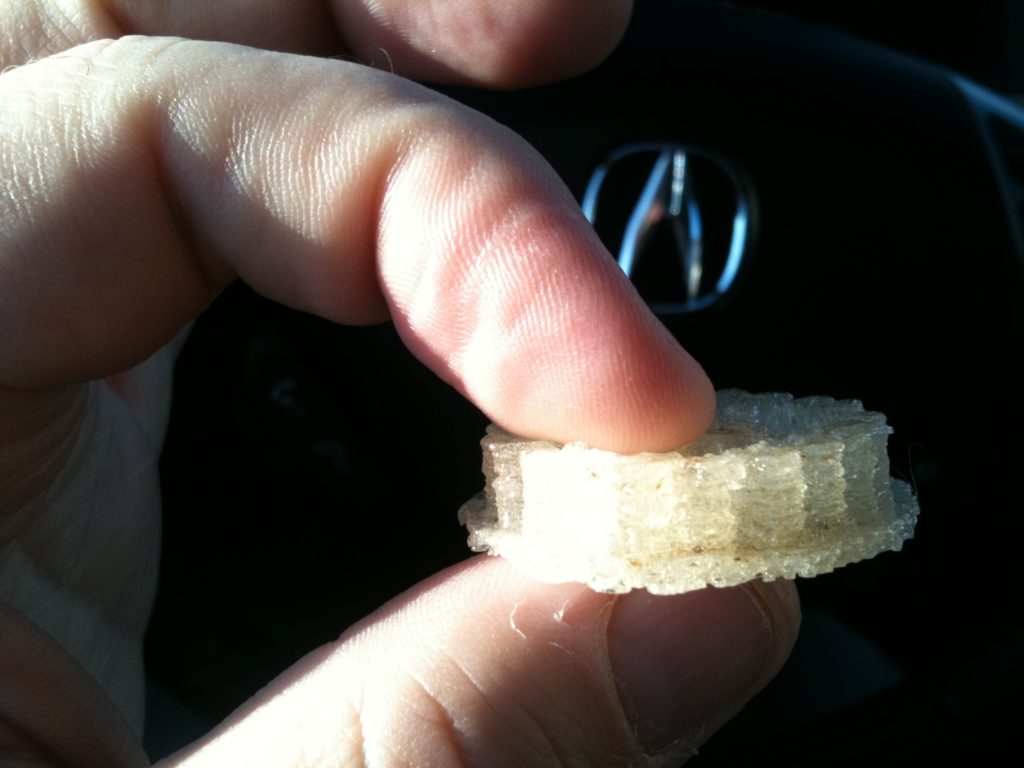
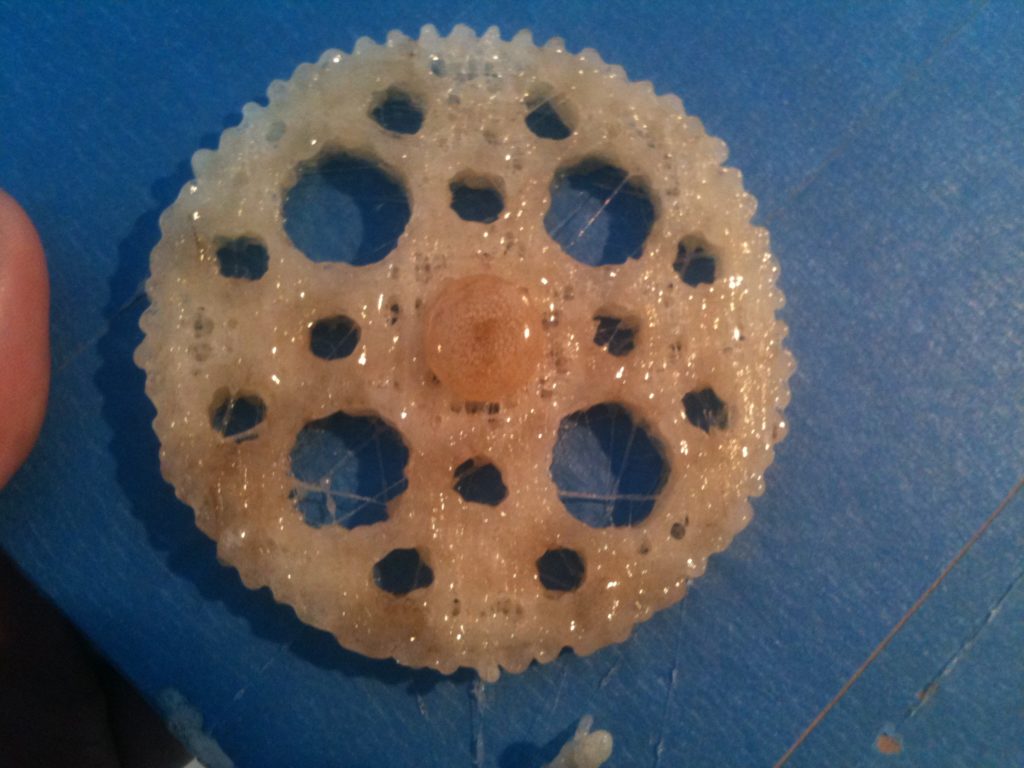
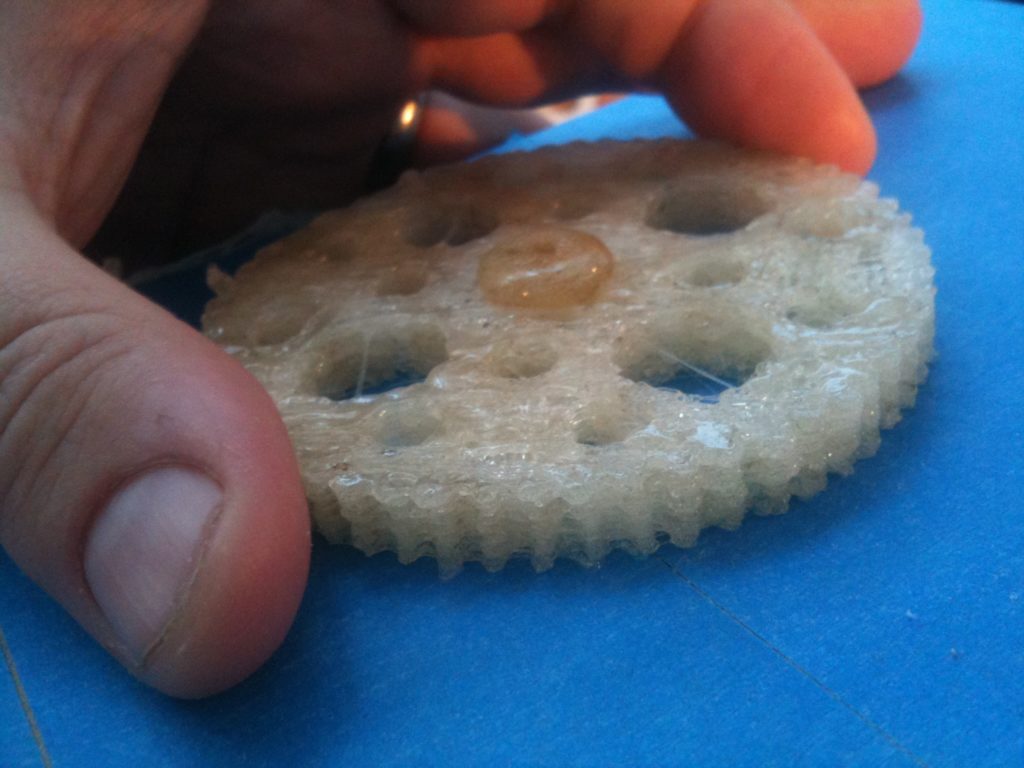
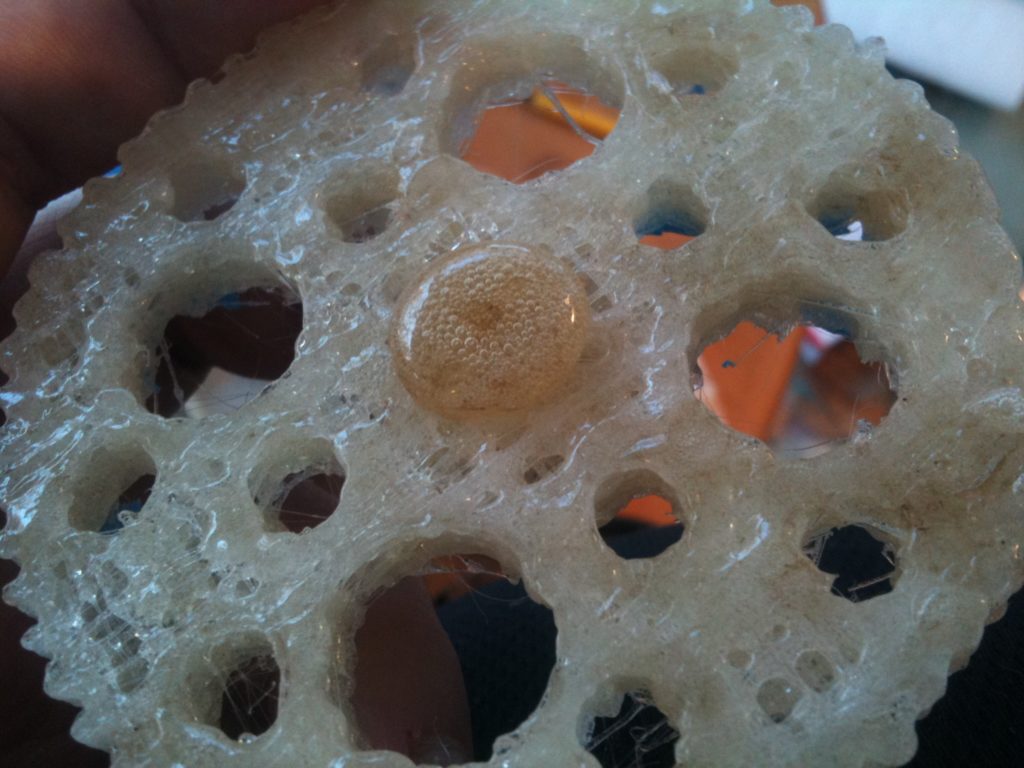
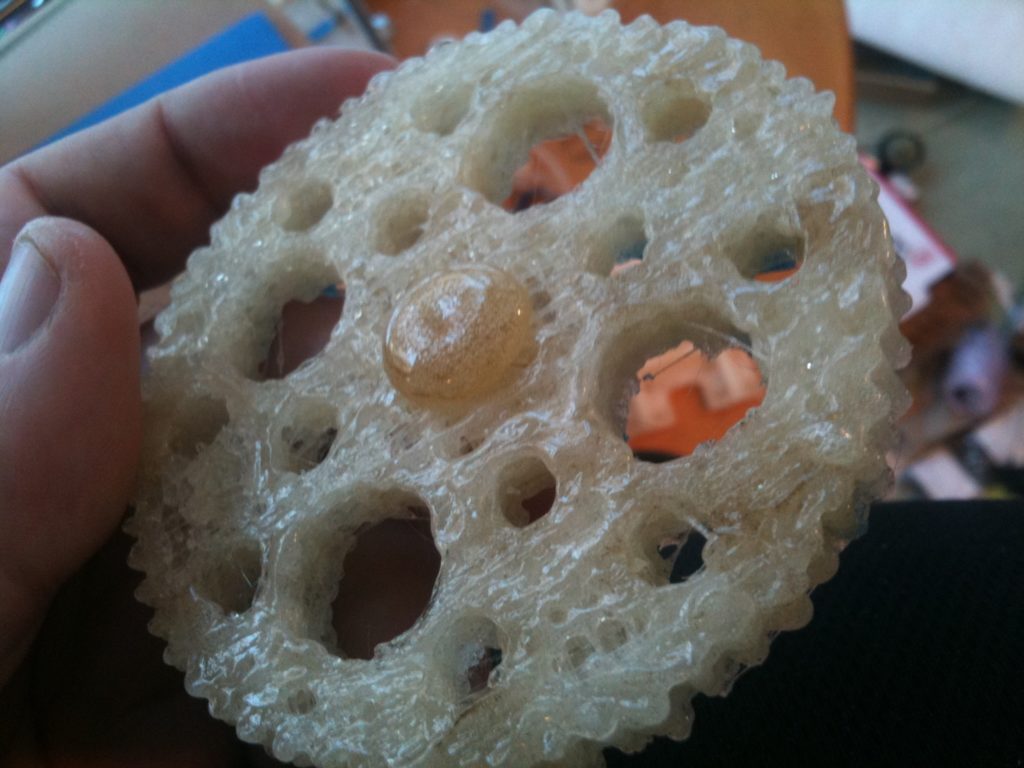
And finally, here are two close-up pictures of that gear. The temperature problems created this possibly usable, but certainly strange looking, gear. It’s more interesting to look at than to use at this point:
Well even though this is a pretty short post compared to most of mine, I feel like this is a good point to stop. Coming up in part 3 – my metal lathe arrives! (remember, I’m still catching you all up on things from around January/February).





Hi,
Try hobbing your bolt with an M5 or M6 tap instead of M3, trust me it works way better.
Also, looks like your temperature is way too high. I print at about 5c above where my nozzle doesn’t ooze. You need a really good hobbed bolt to print that cool!
haloha, i adore this place and note: do not study to hack, make to learn!