Archive for the ‘MyRepRap’ Category

Giving the MoS their RepRap – Four, no, 45 months.. part 20 of ?

Saturday, September 13th, 2014

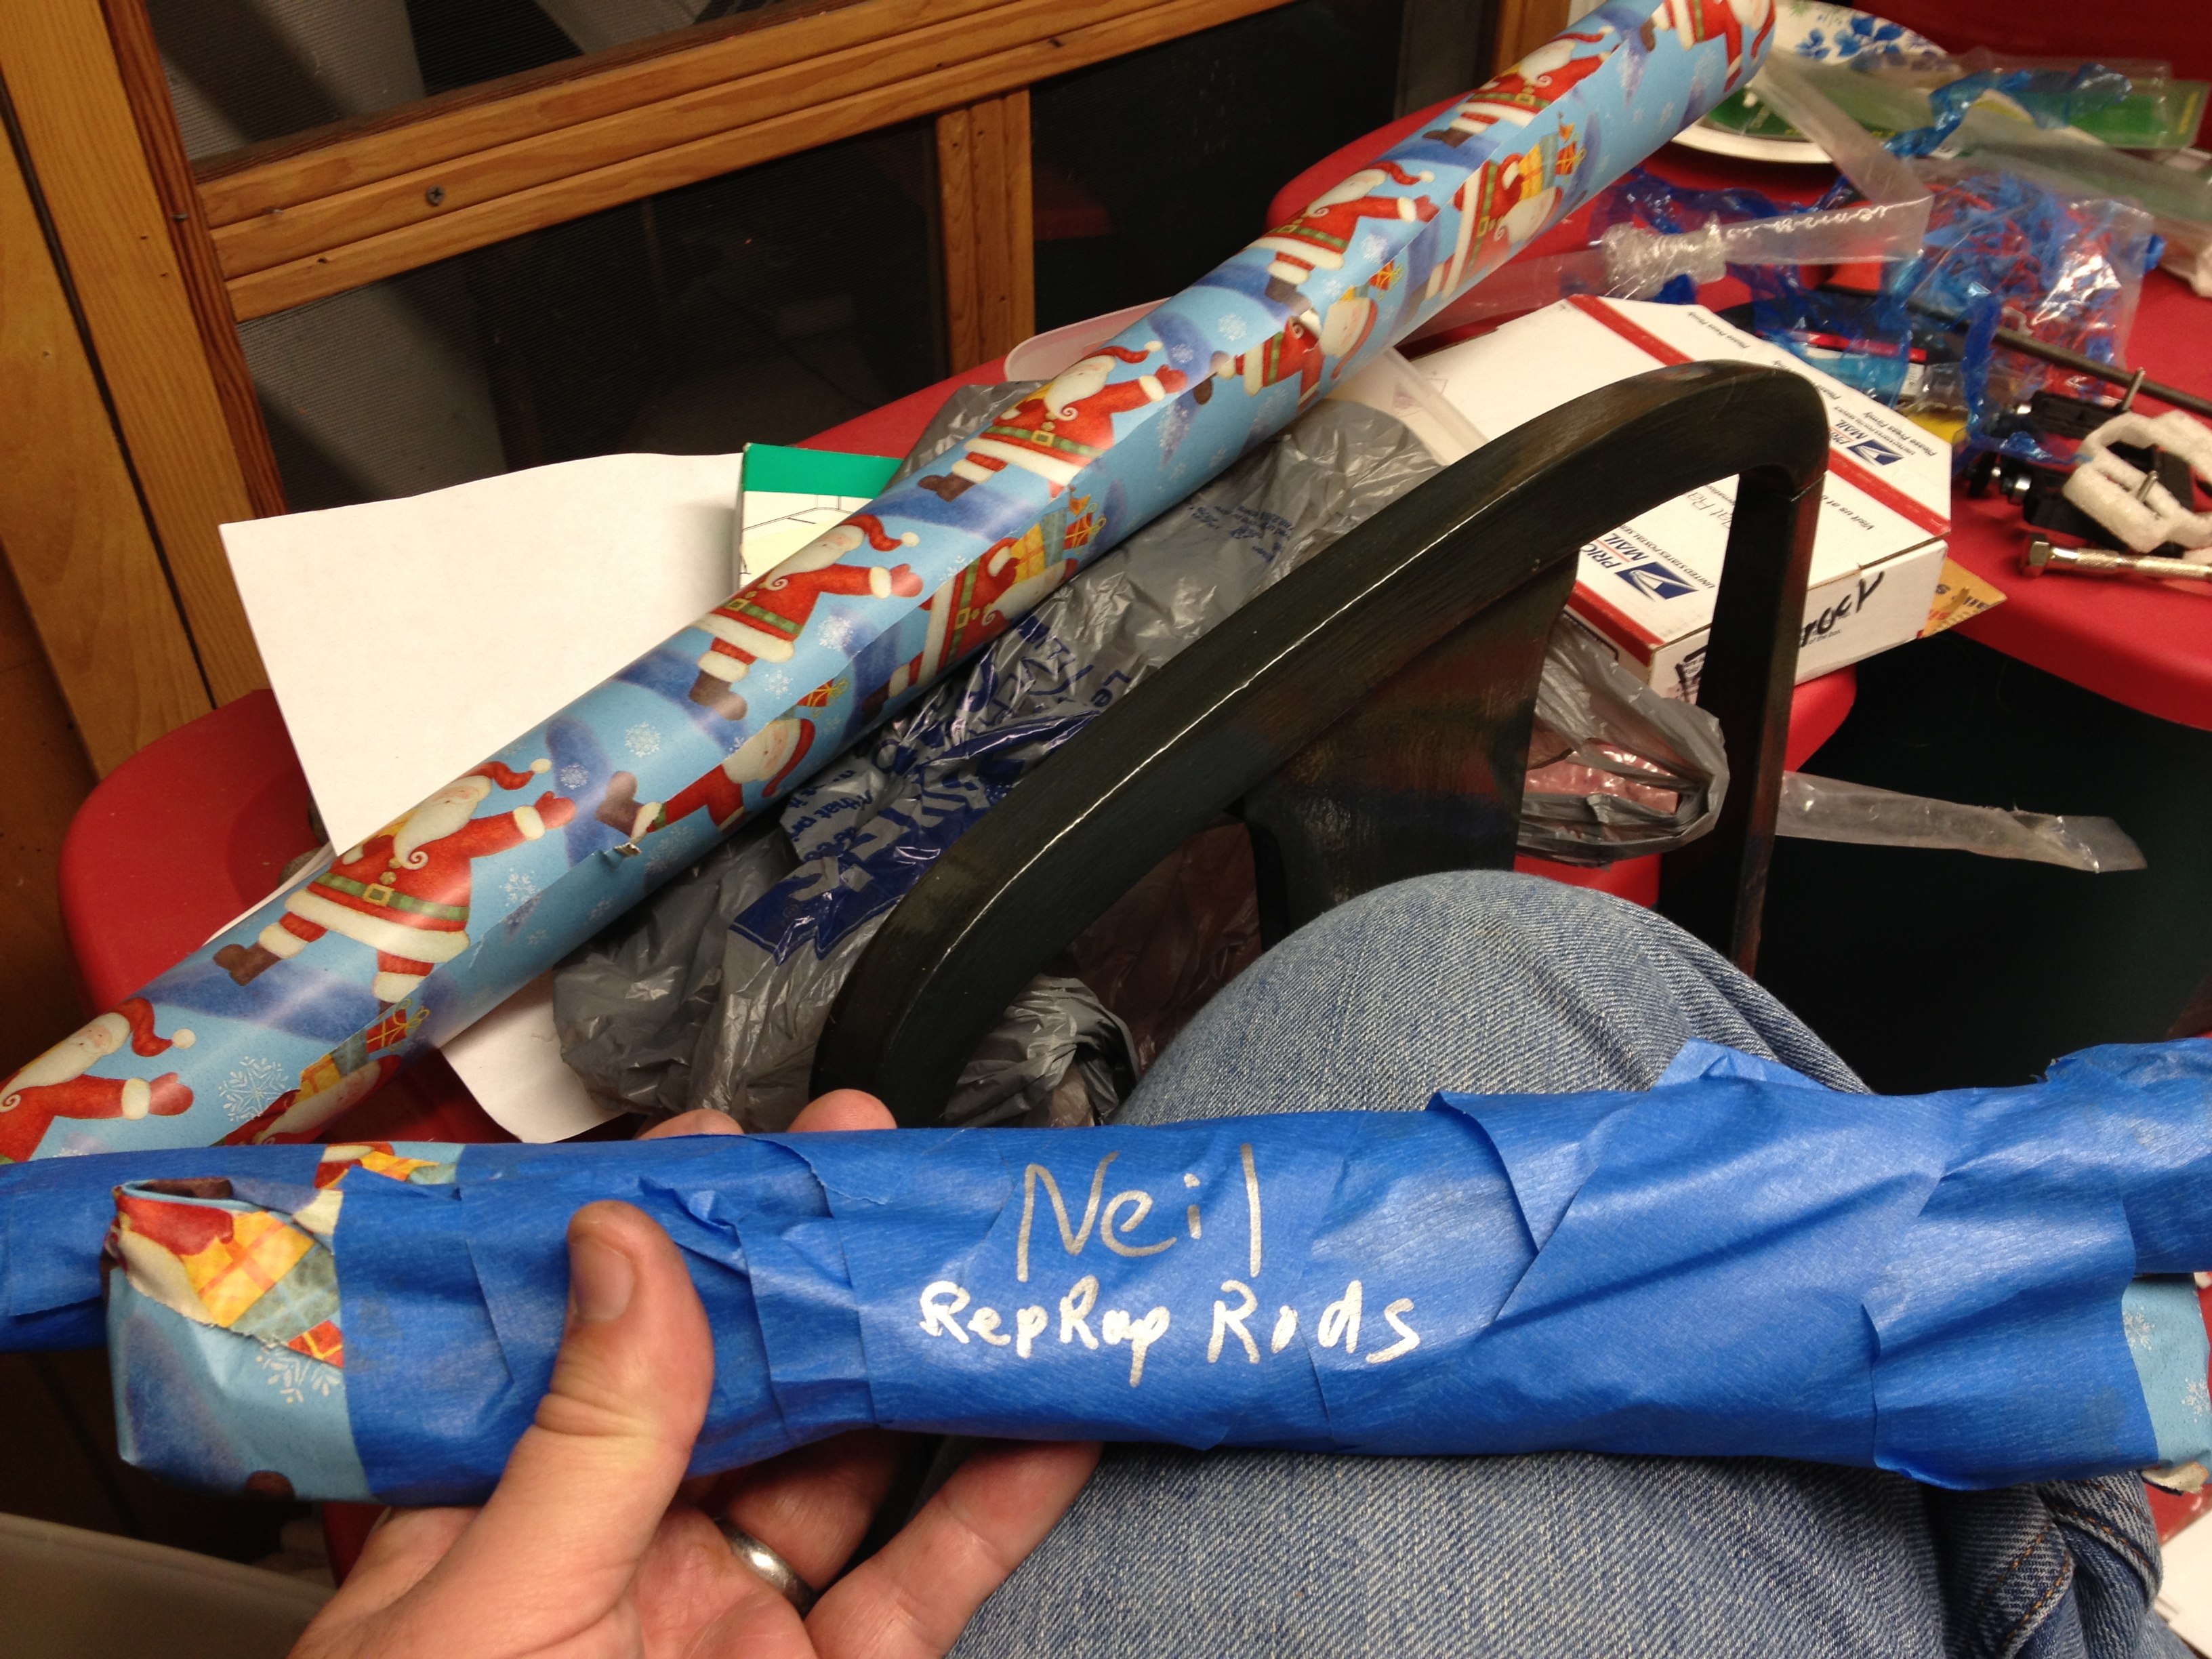
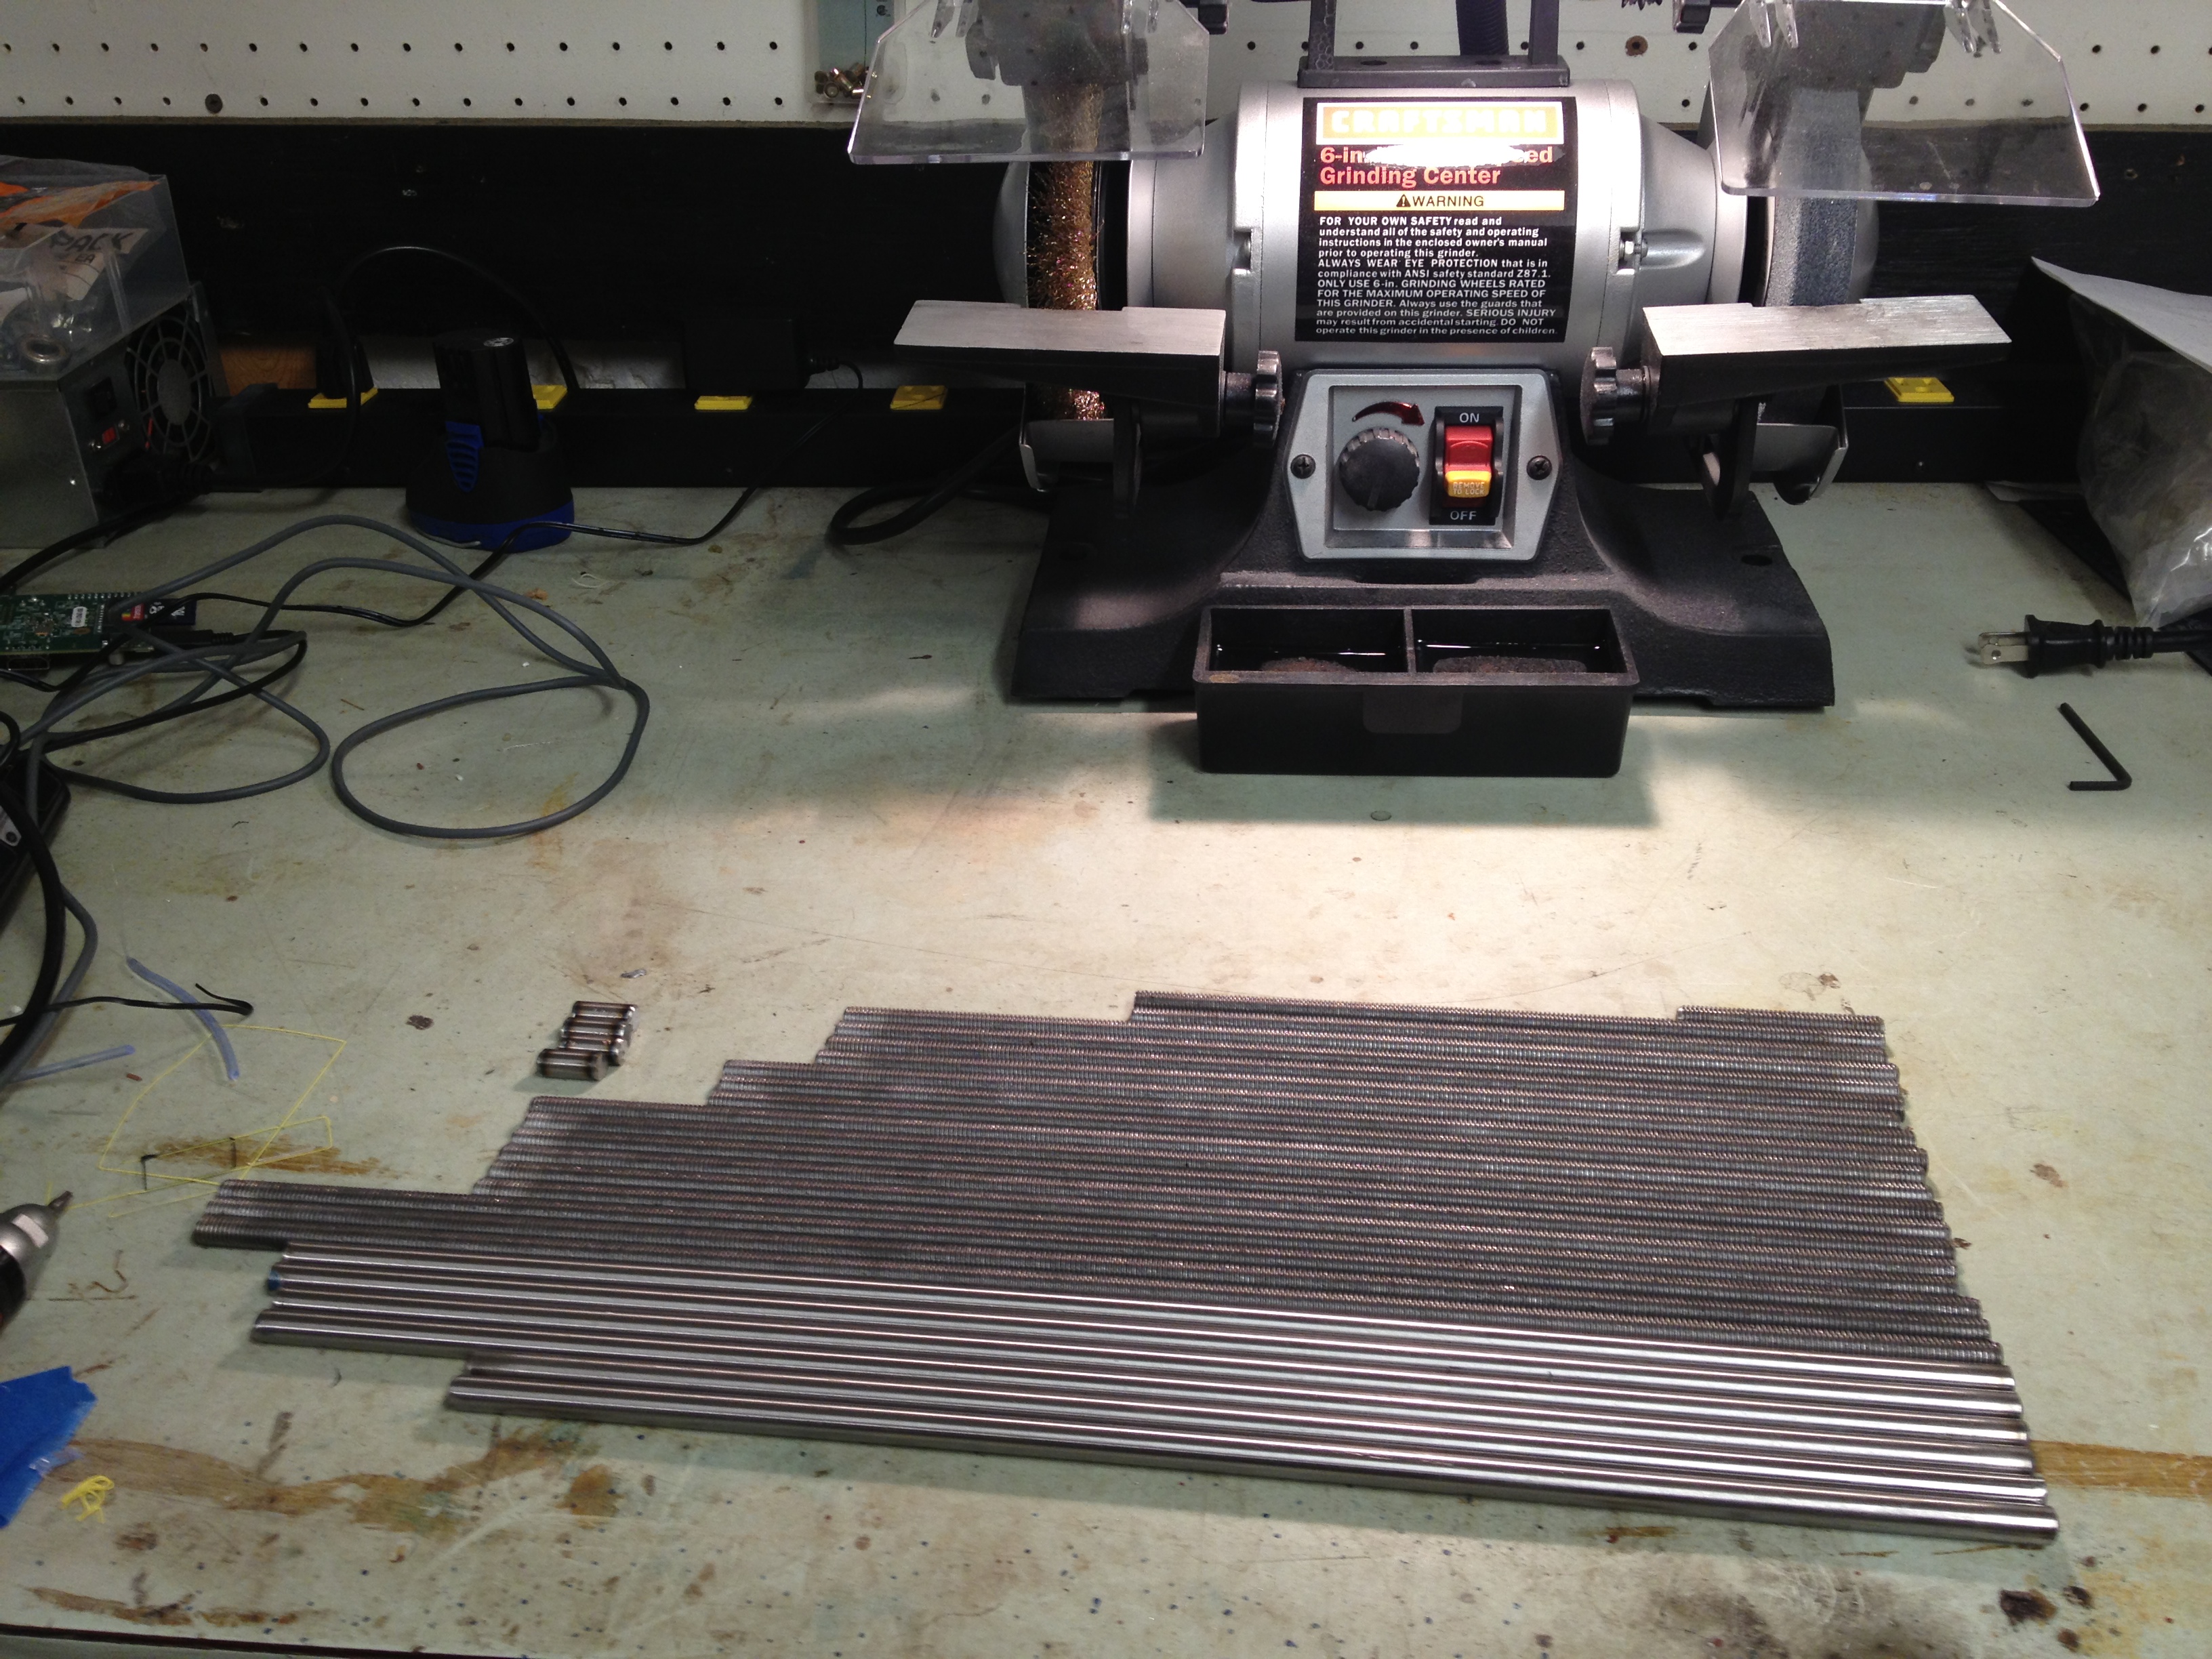
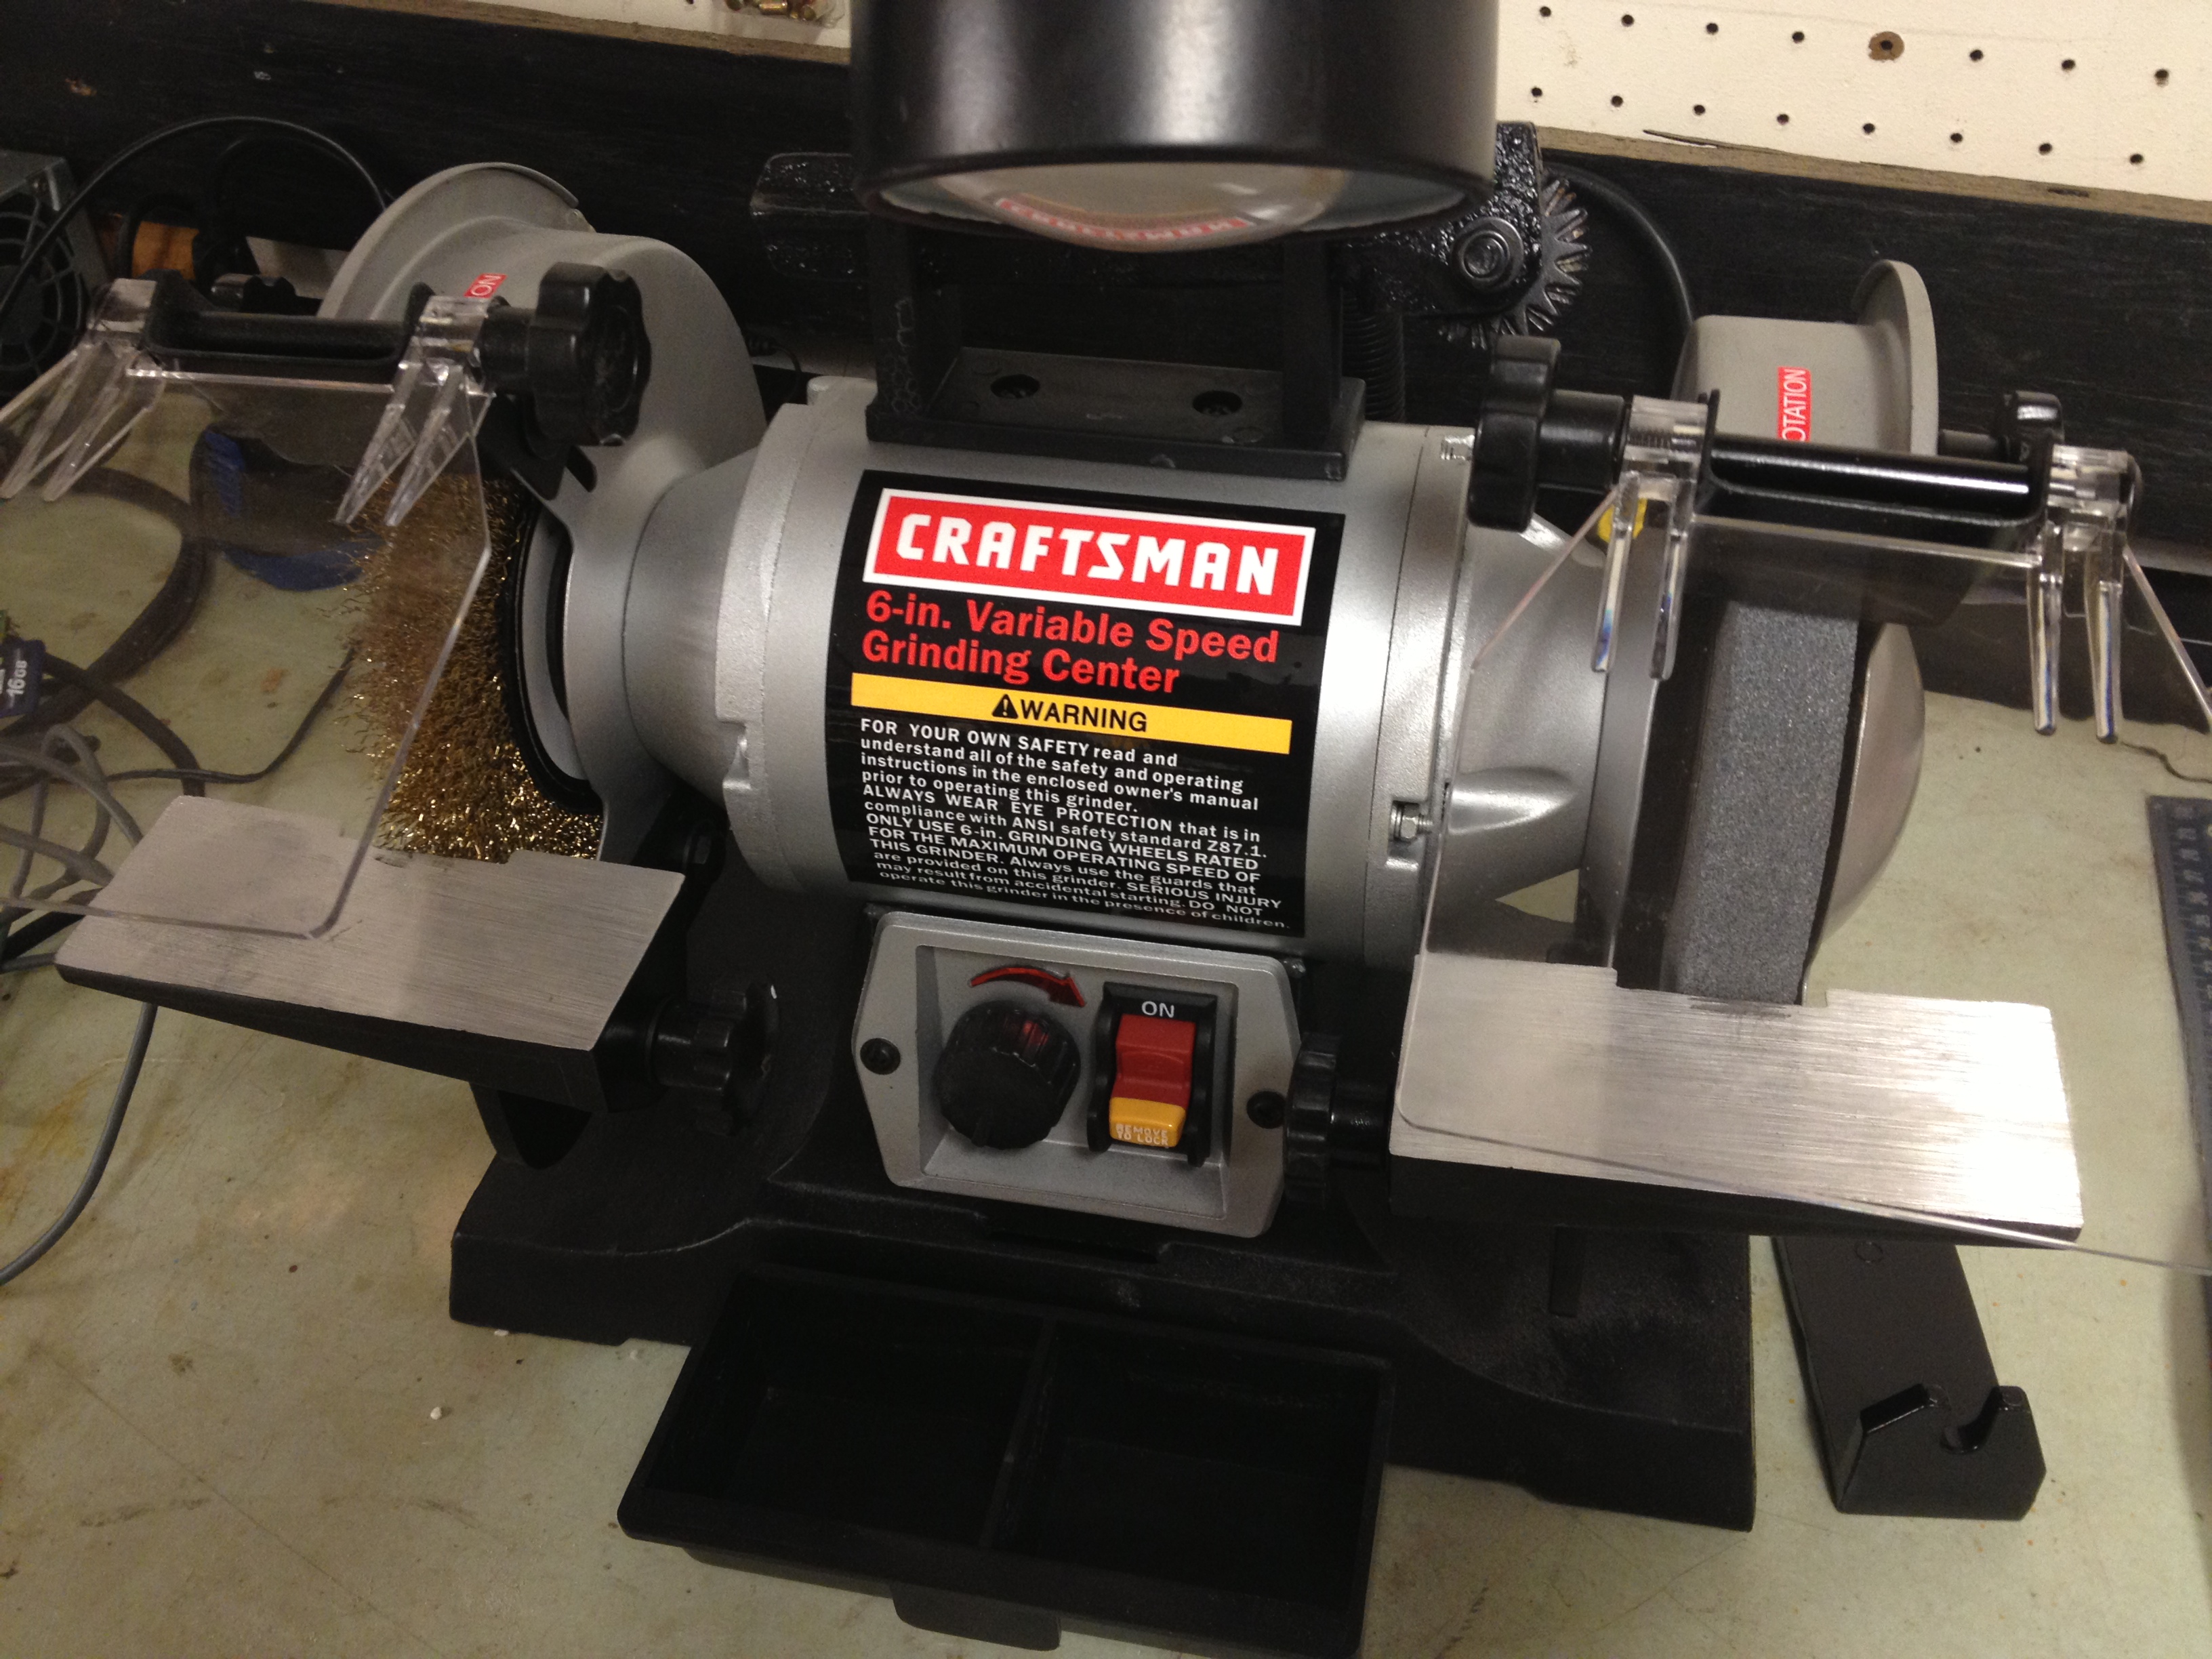
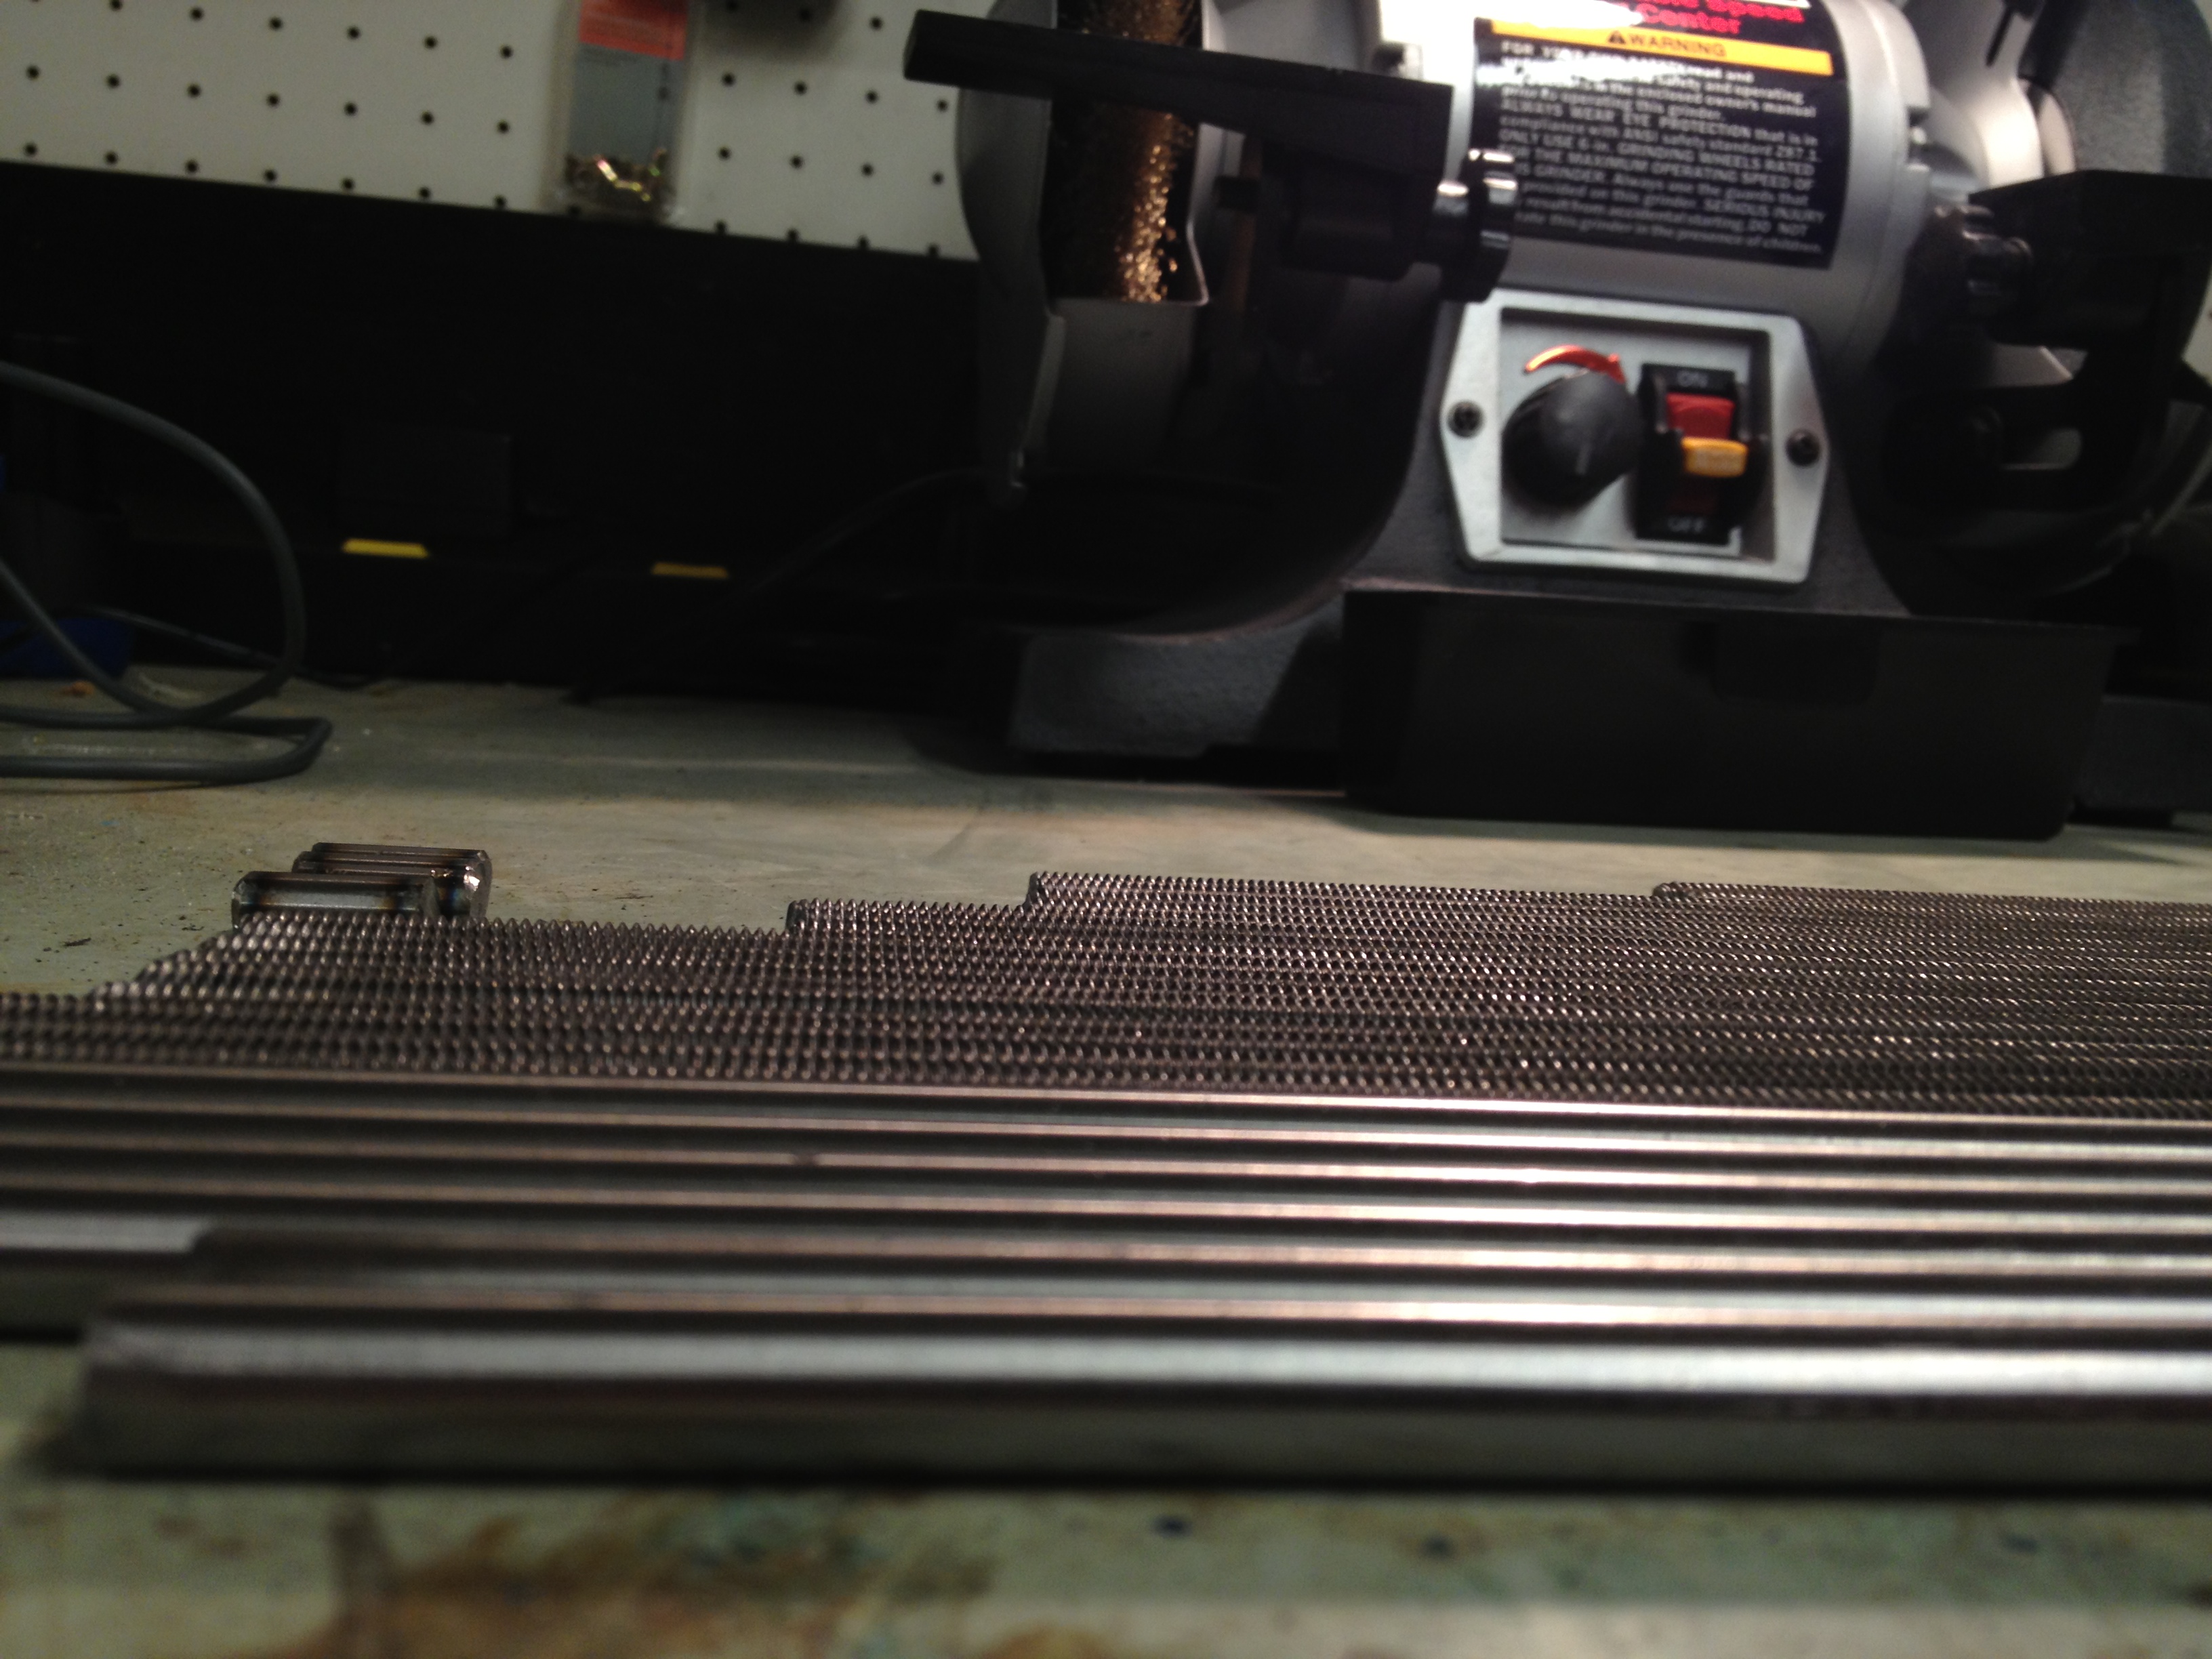
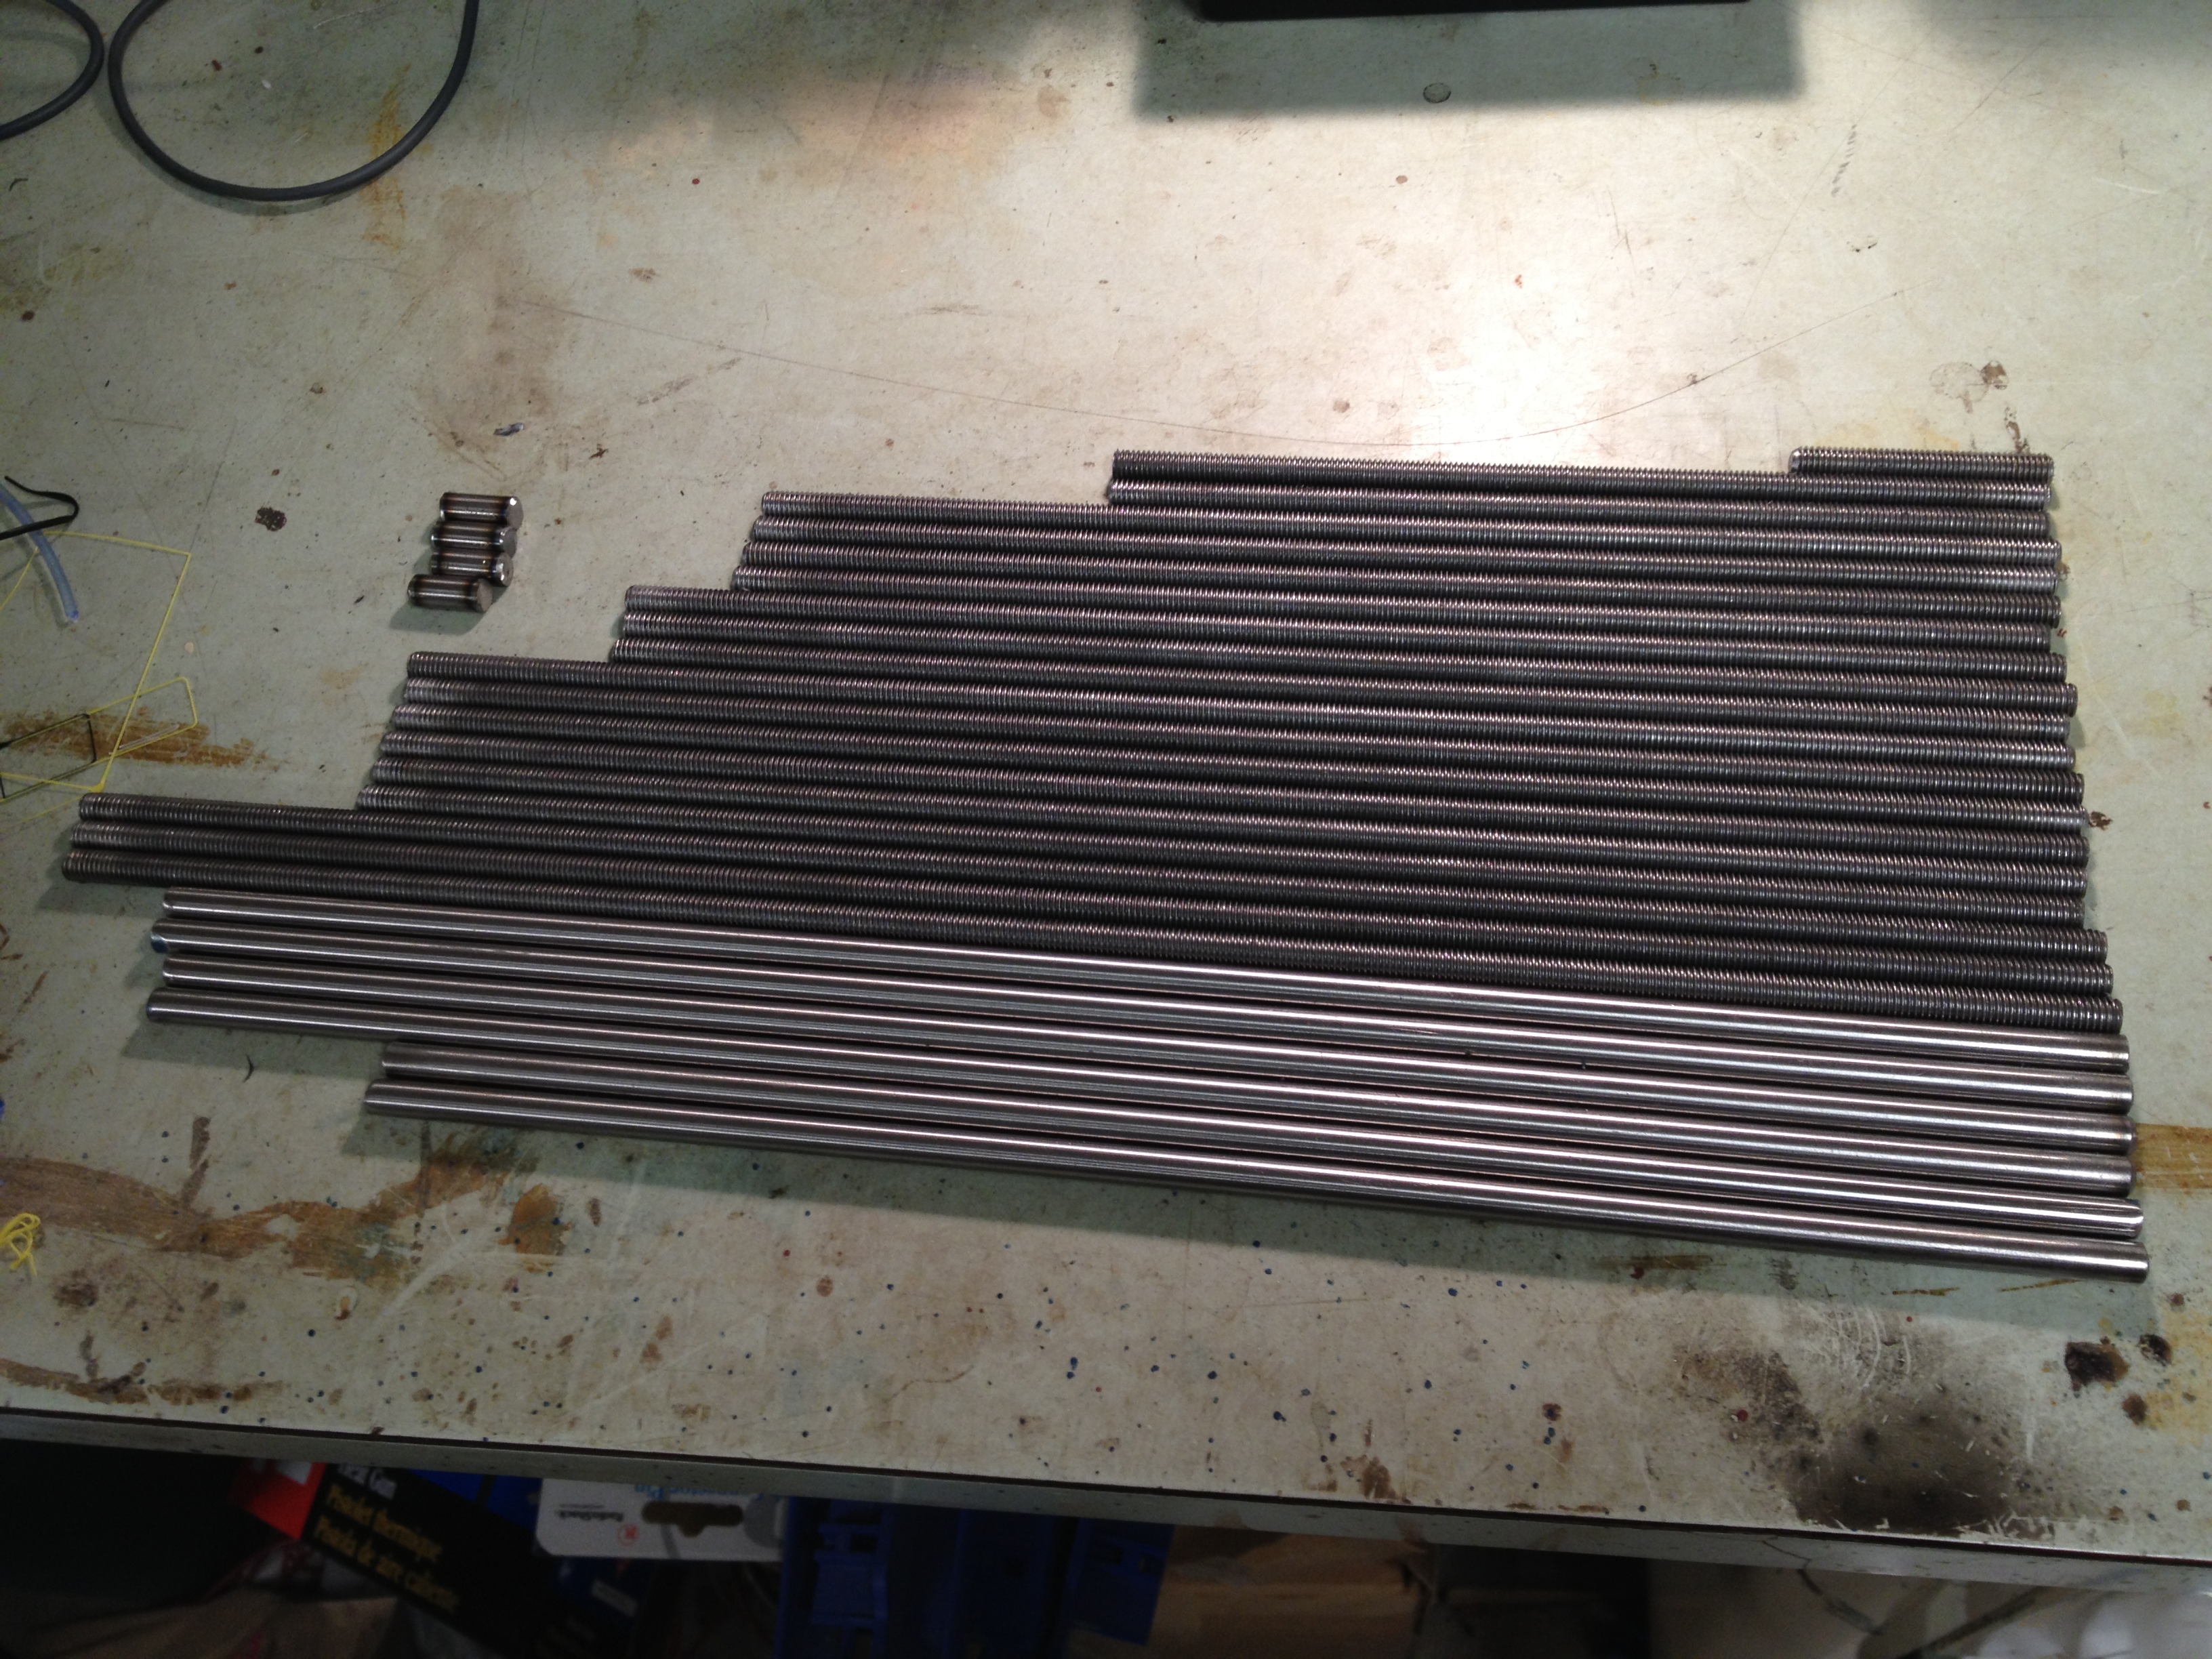
On April 27th 2013, I started cutting the rods for my second RepRap (a Prusa IT2). I was just about to permanently give the other Prusa IT2 that I’d printed and assembled to the Museum of Science in Boston (see more below!), so I wanted to overlap them and start construction on mine before handing them theirs, to keep my motivation up and avoid any empty nest syndrome. 🙂

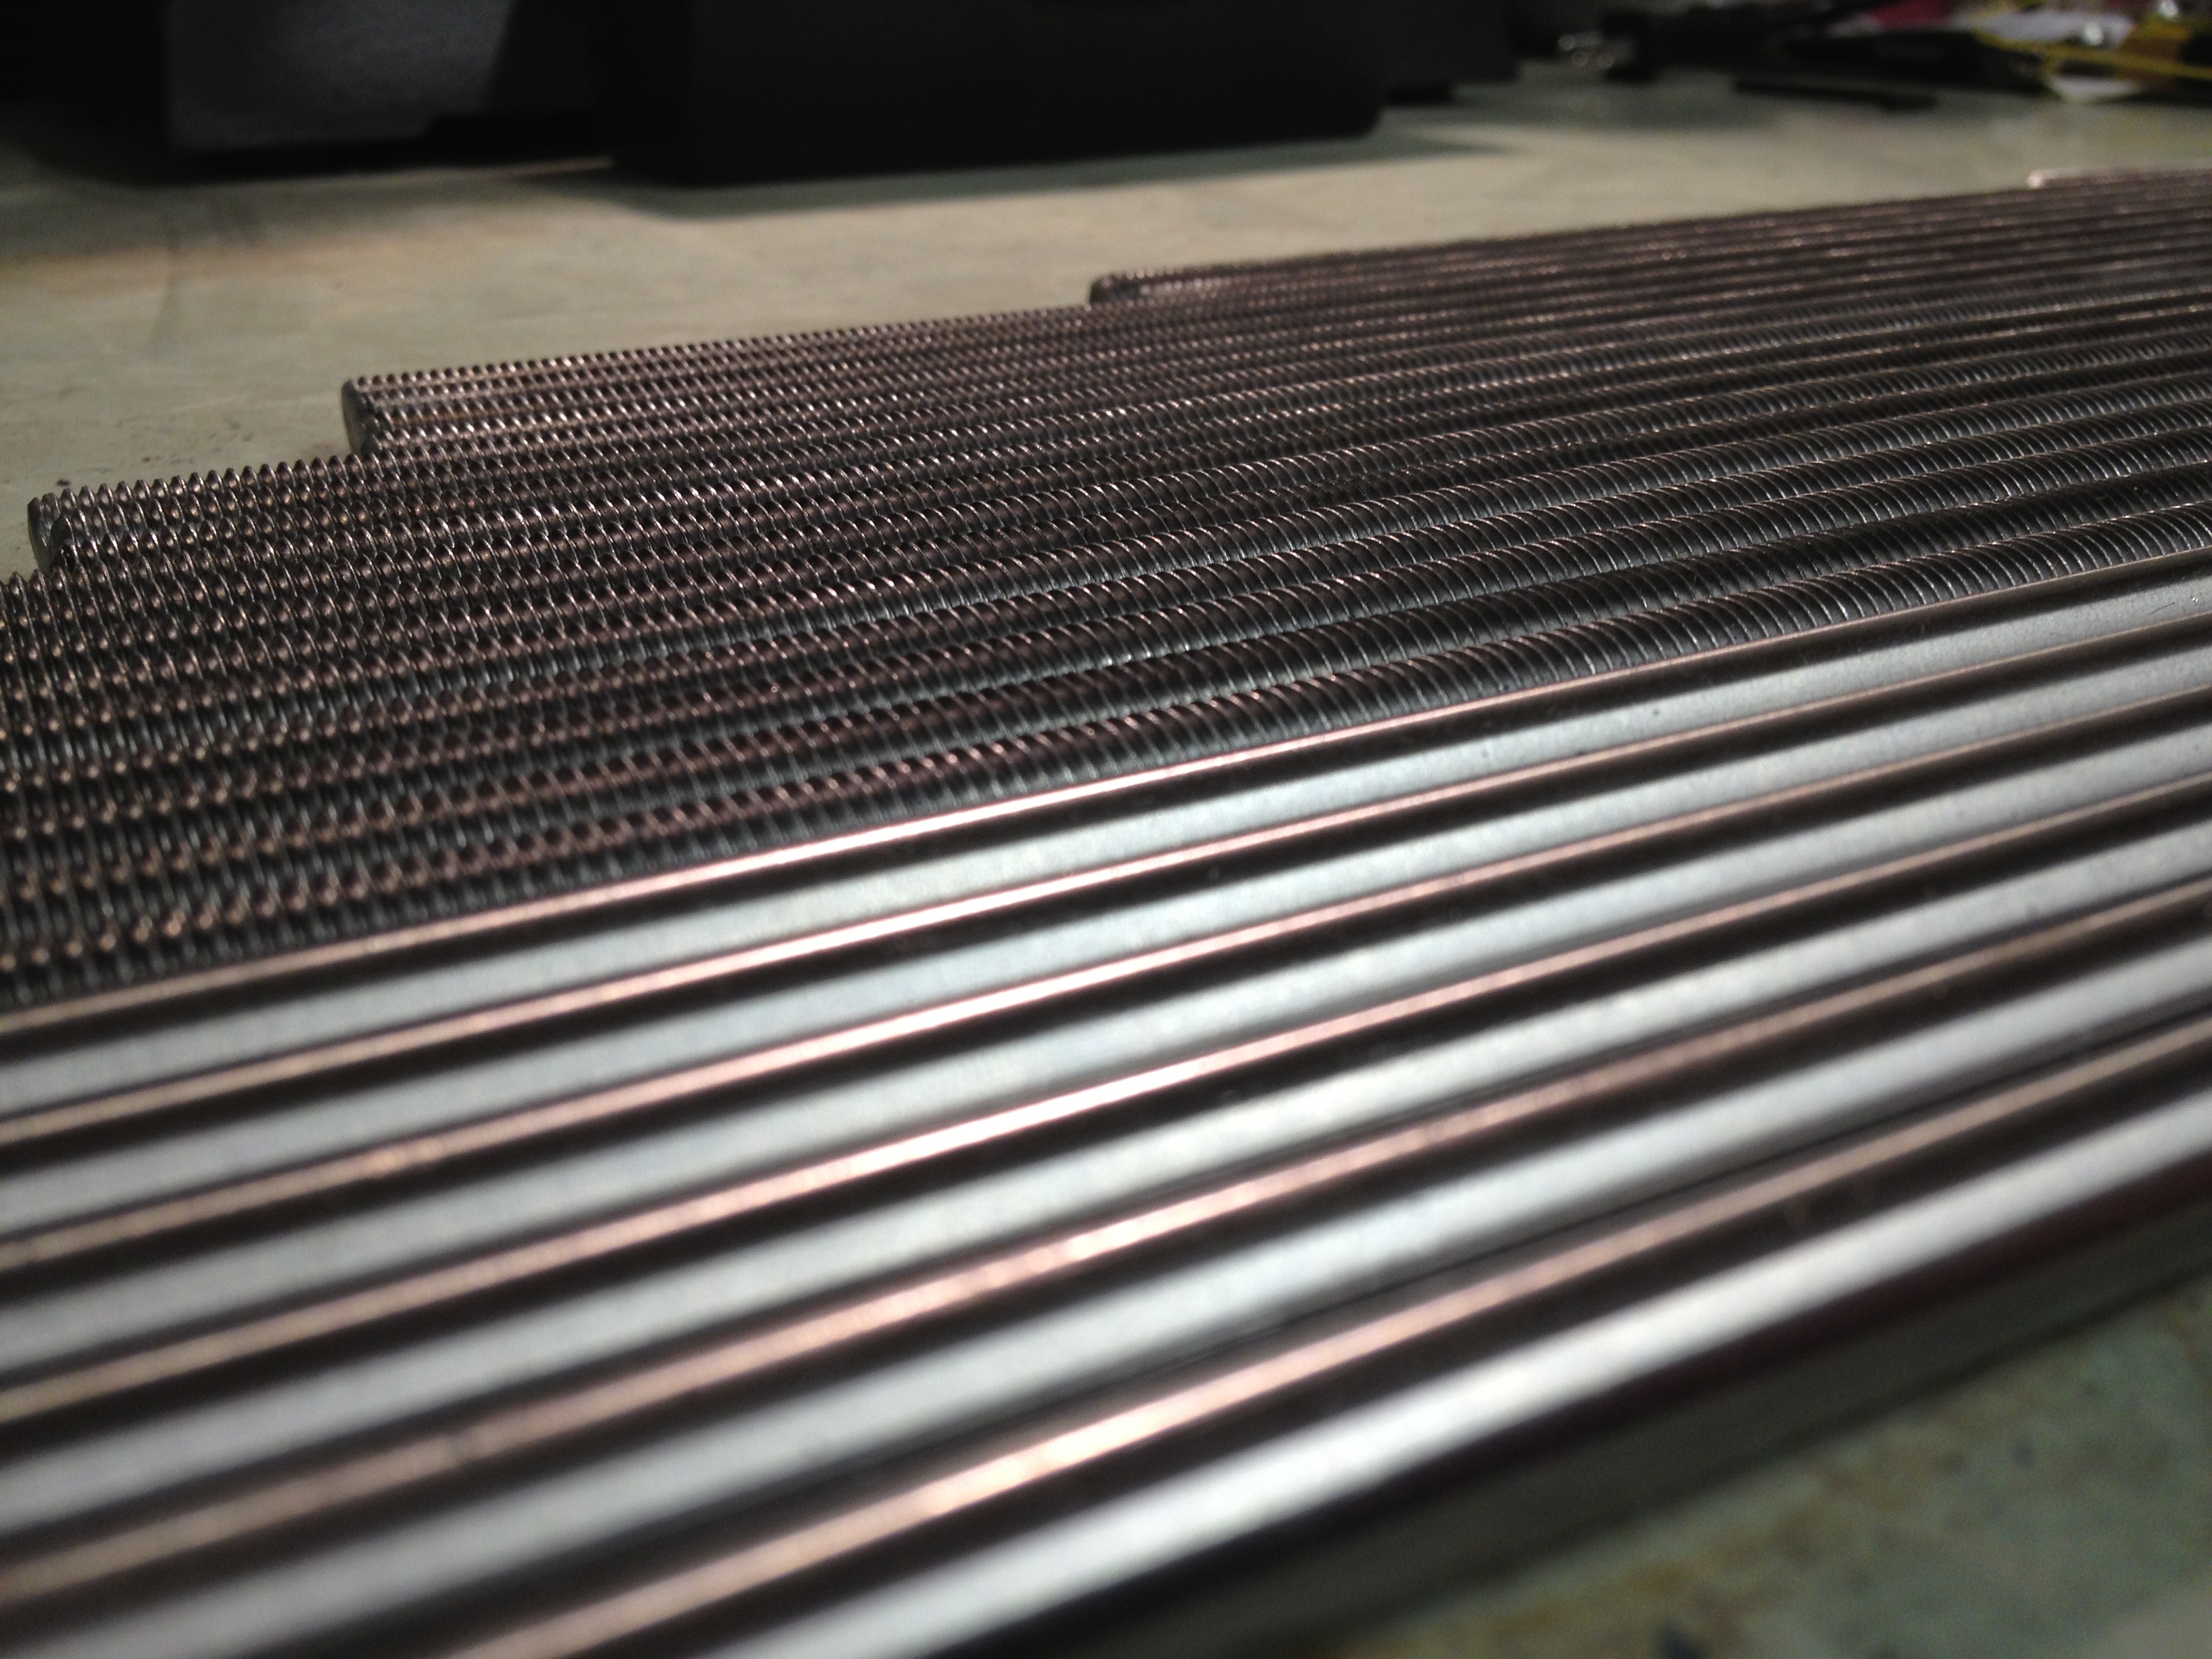
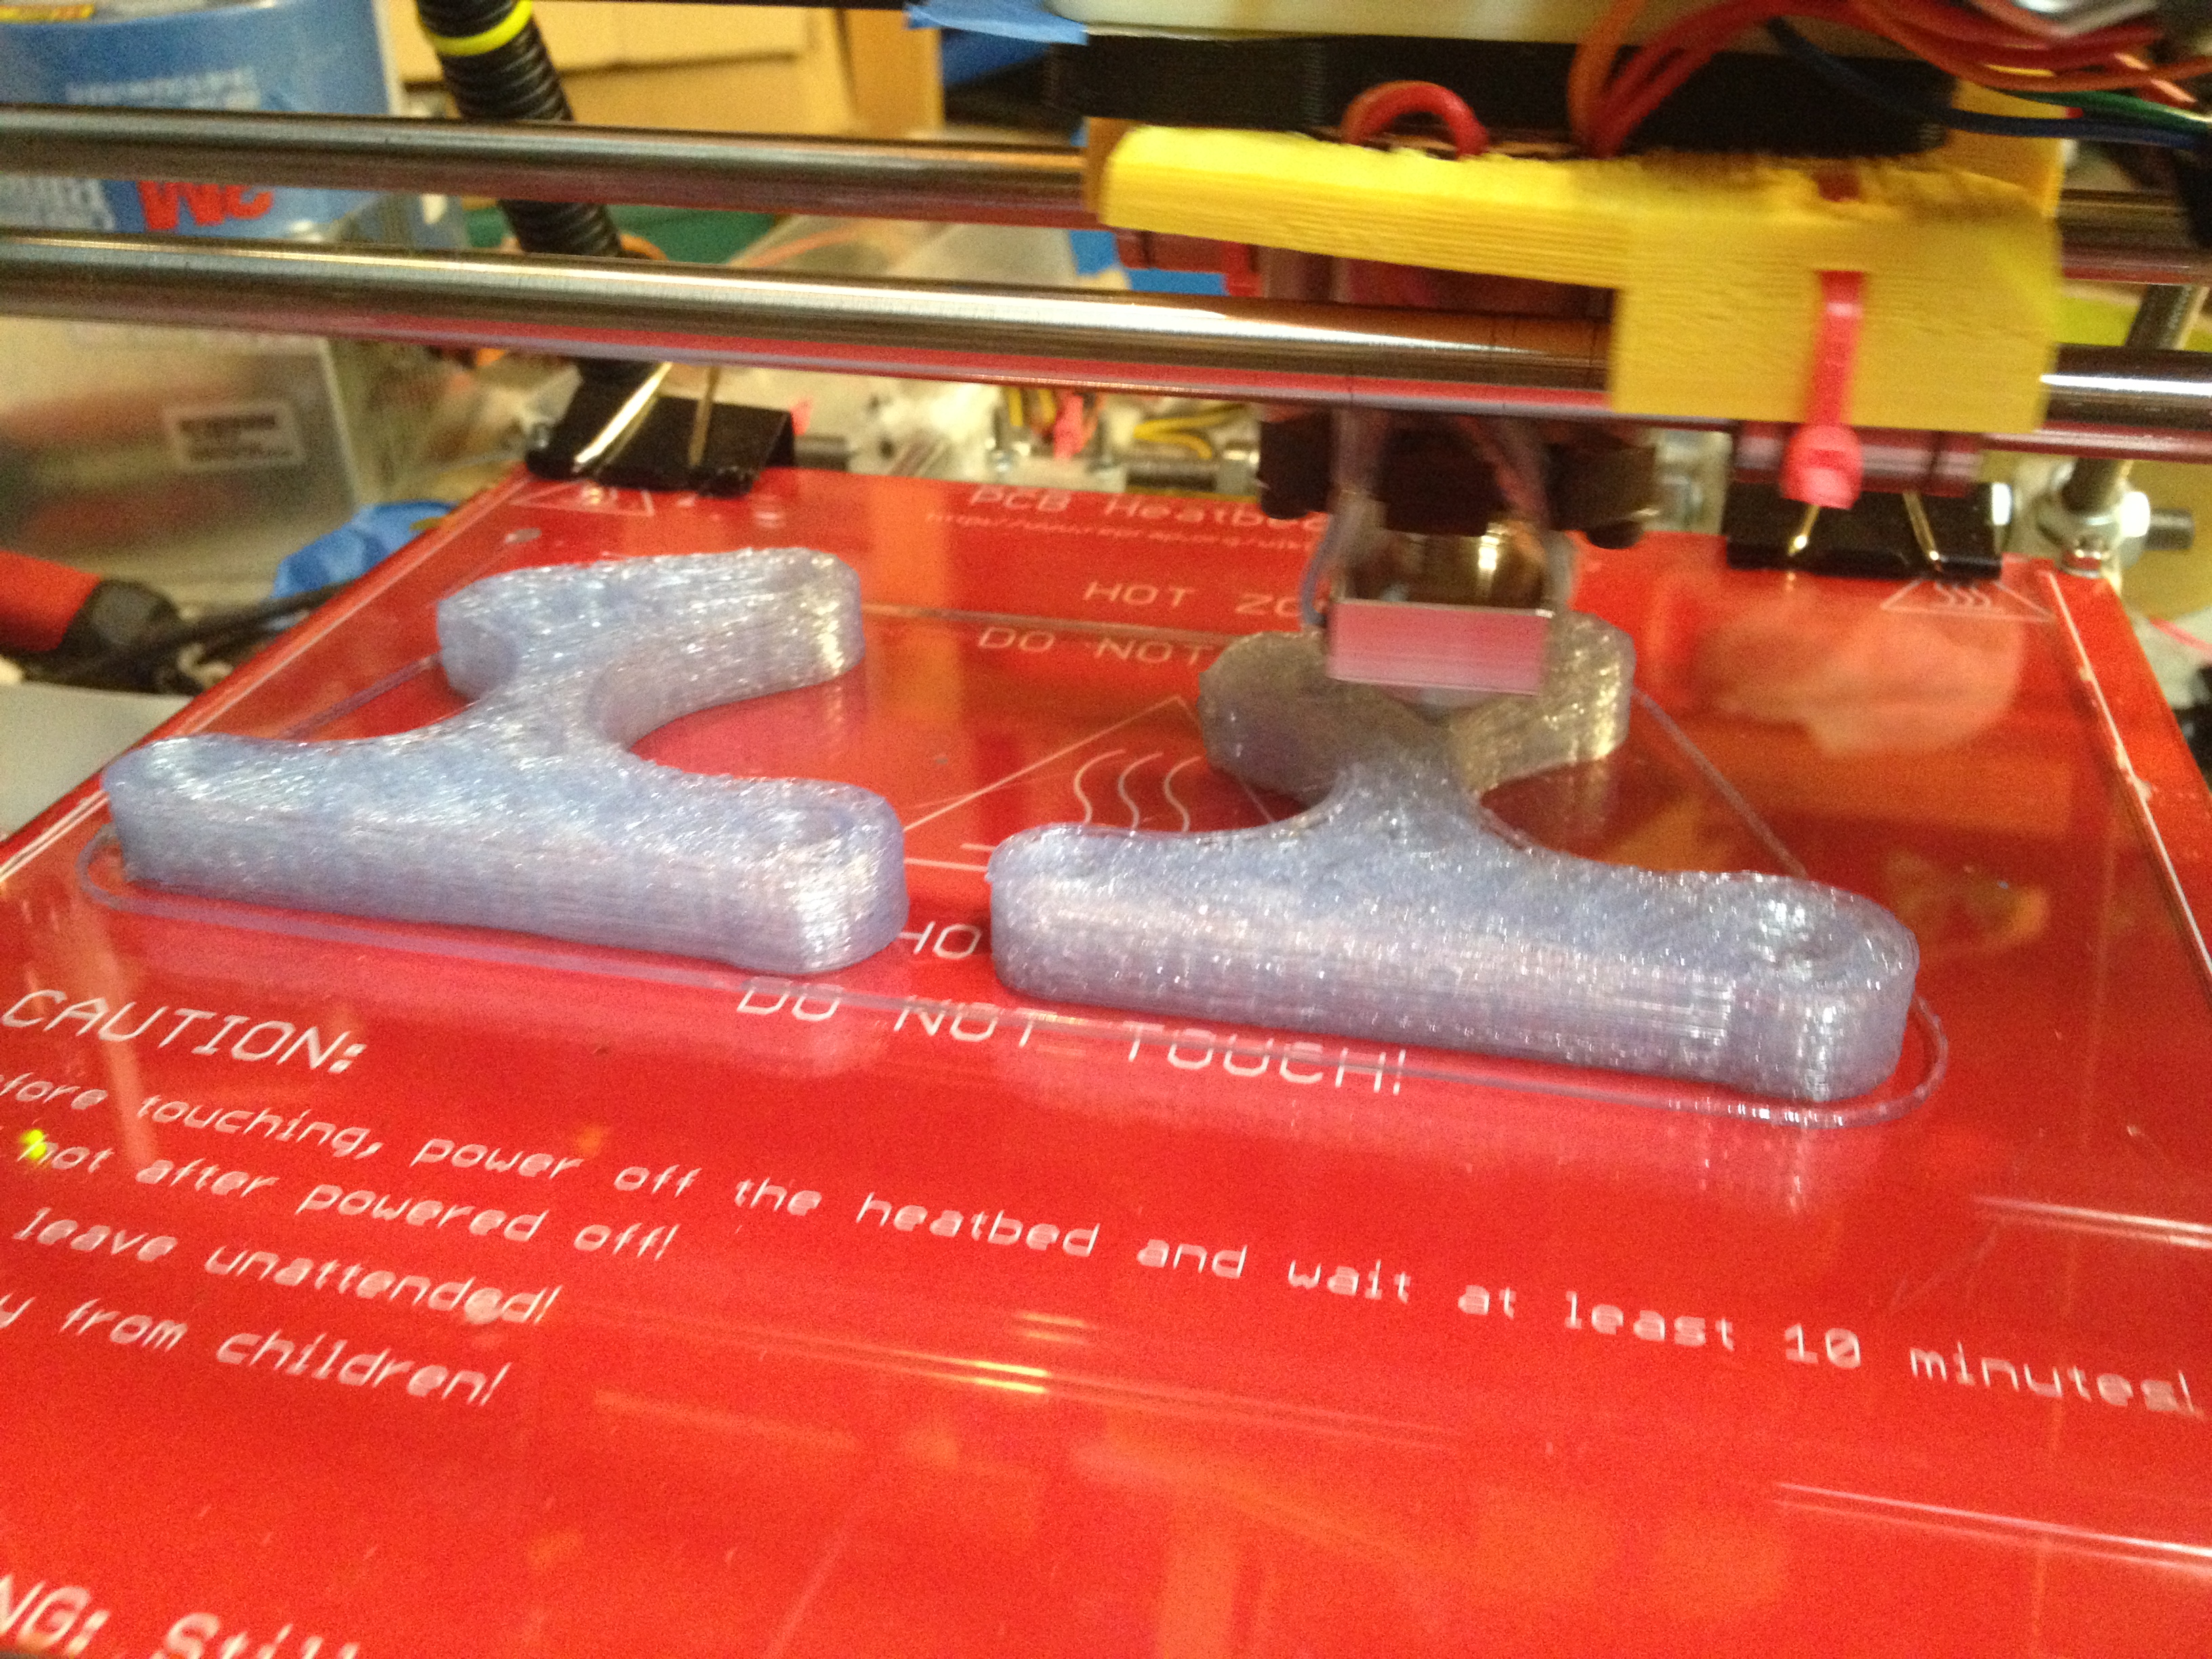
Here are two of the pictures of the rods, freshly cut and ground, as I posted at the end of the last post:

IMG_2548

IMG_2546

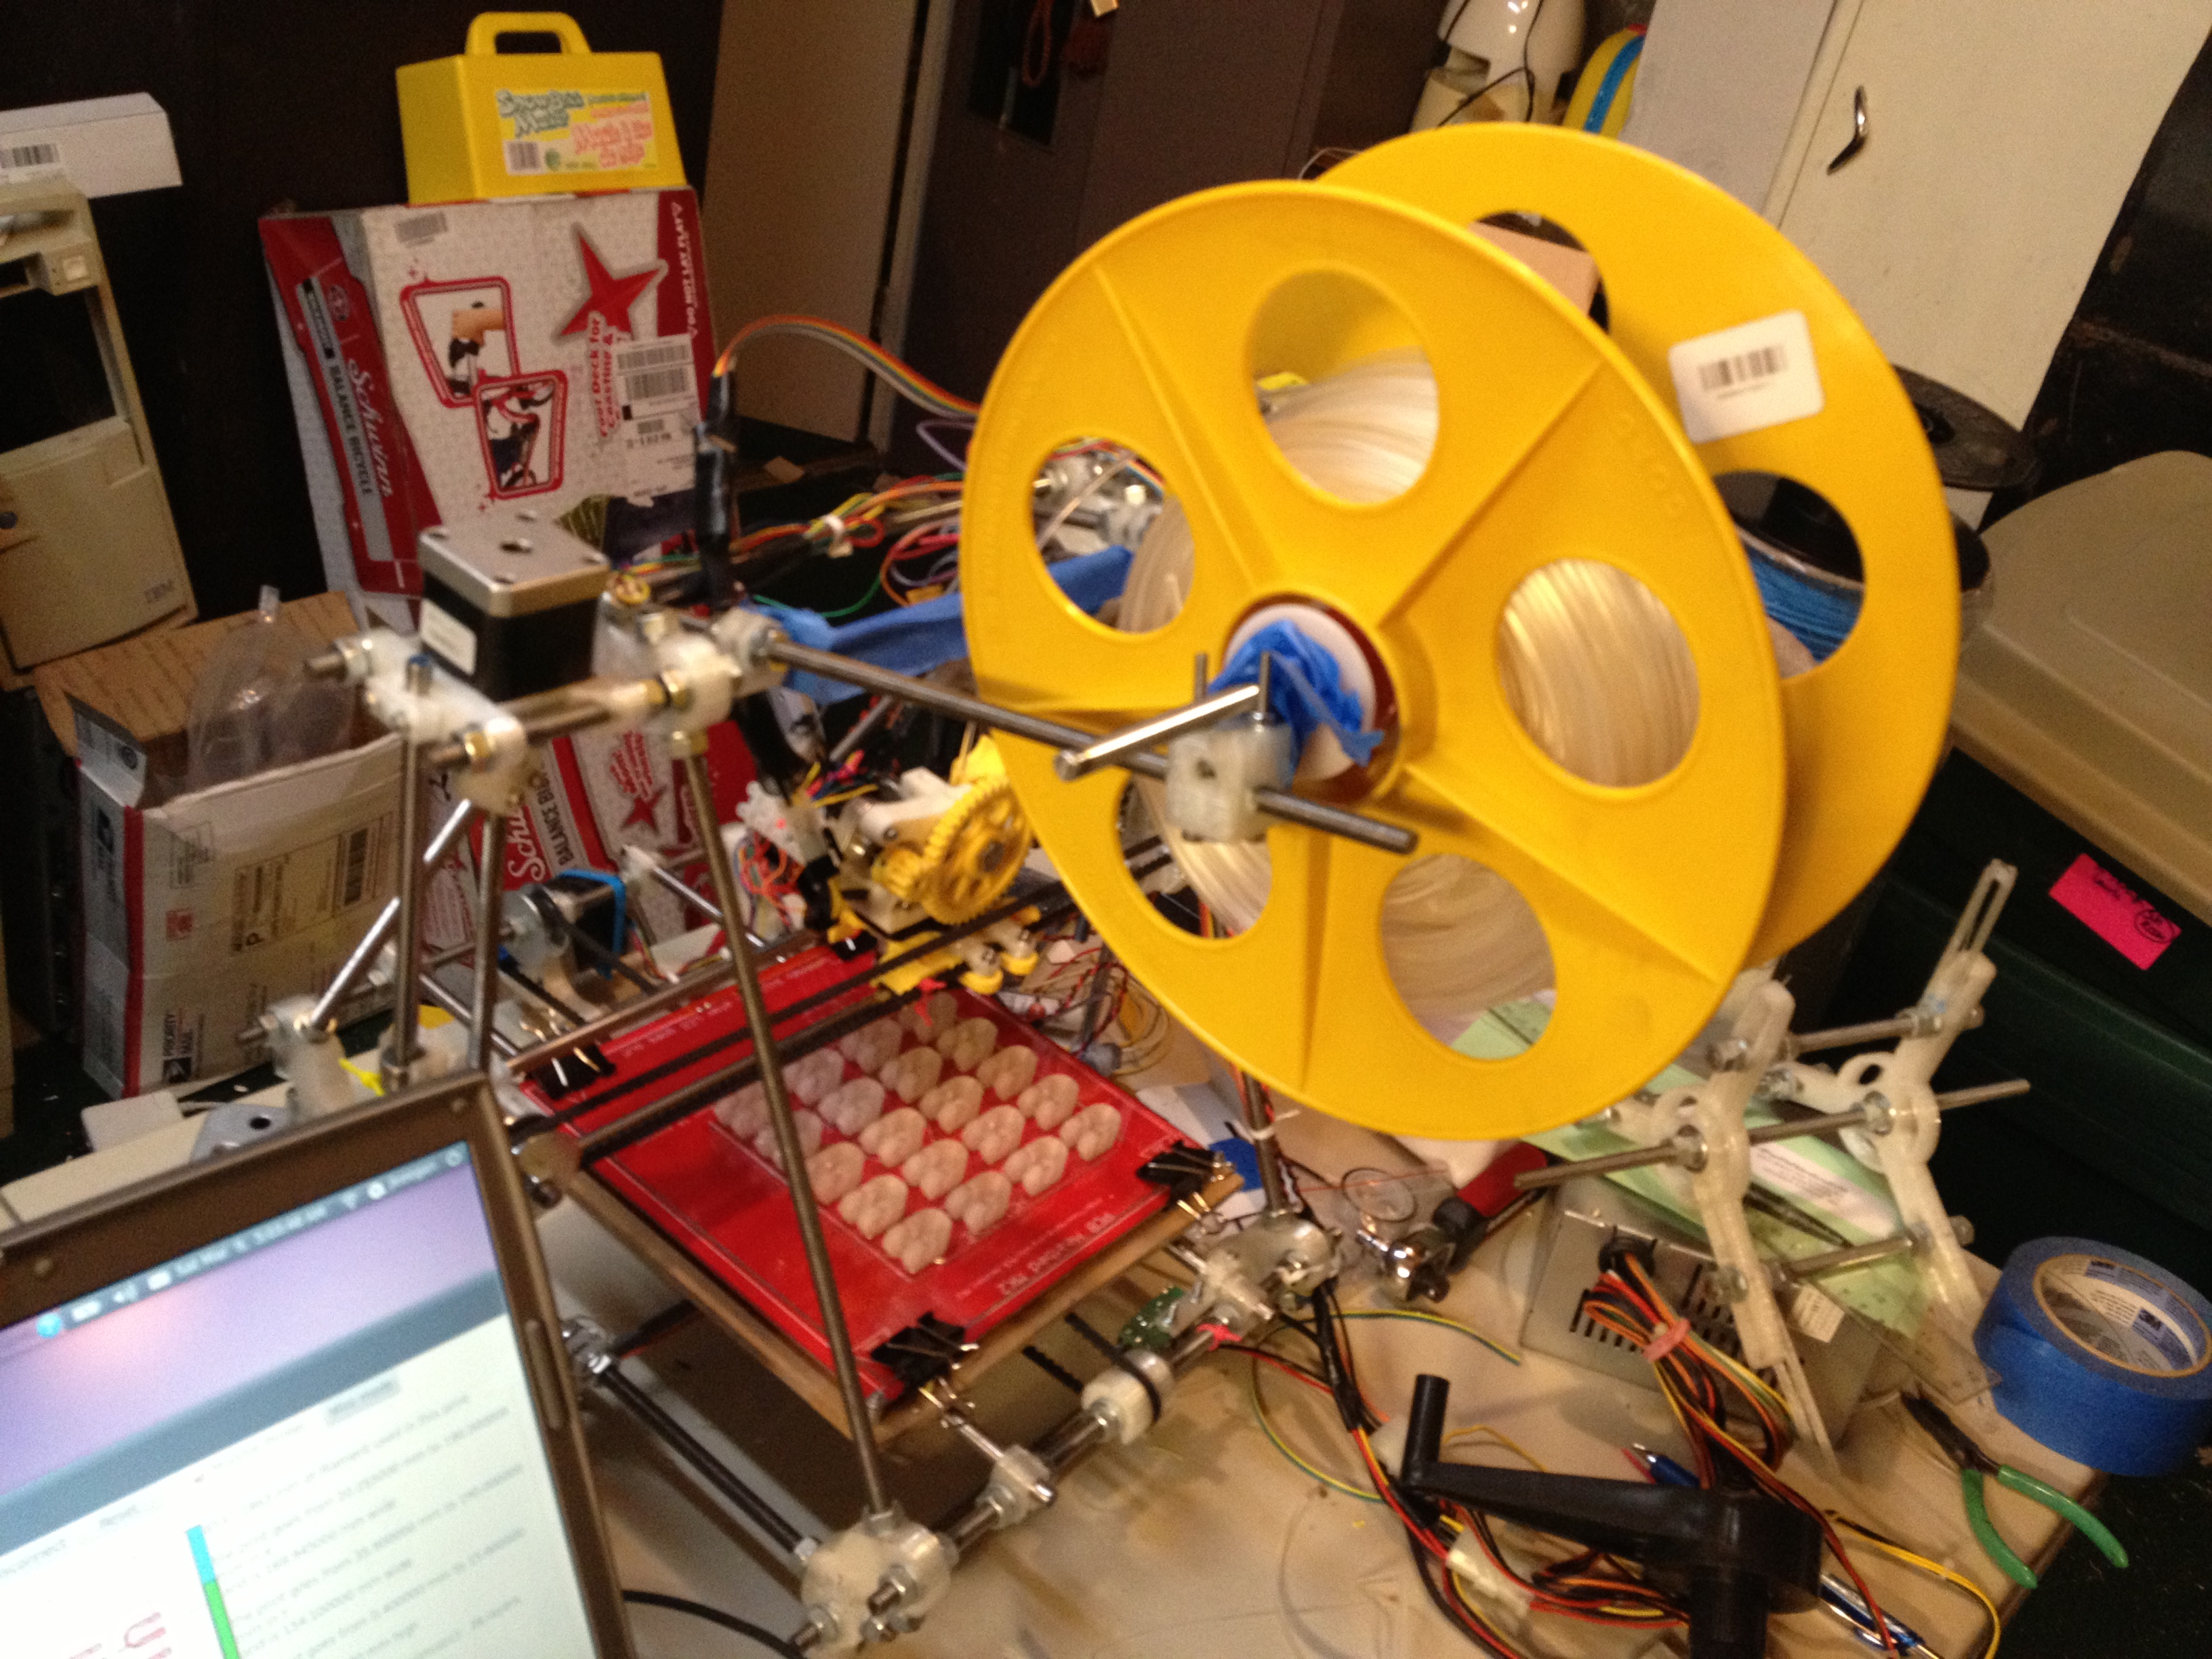
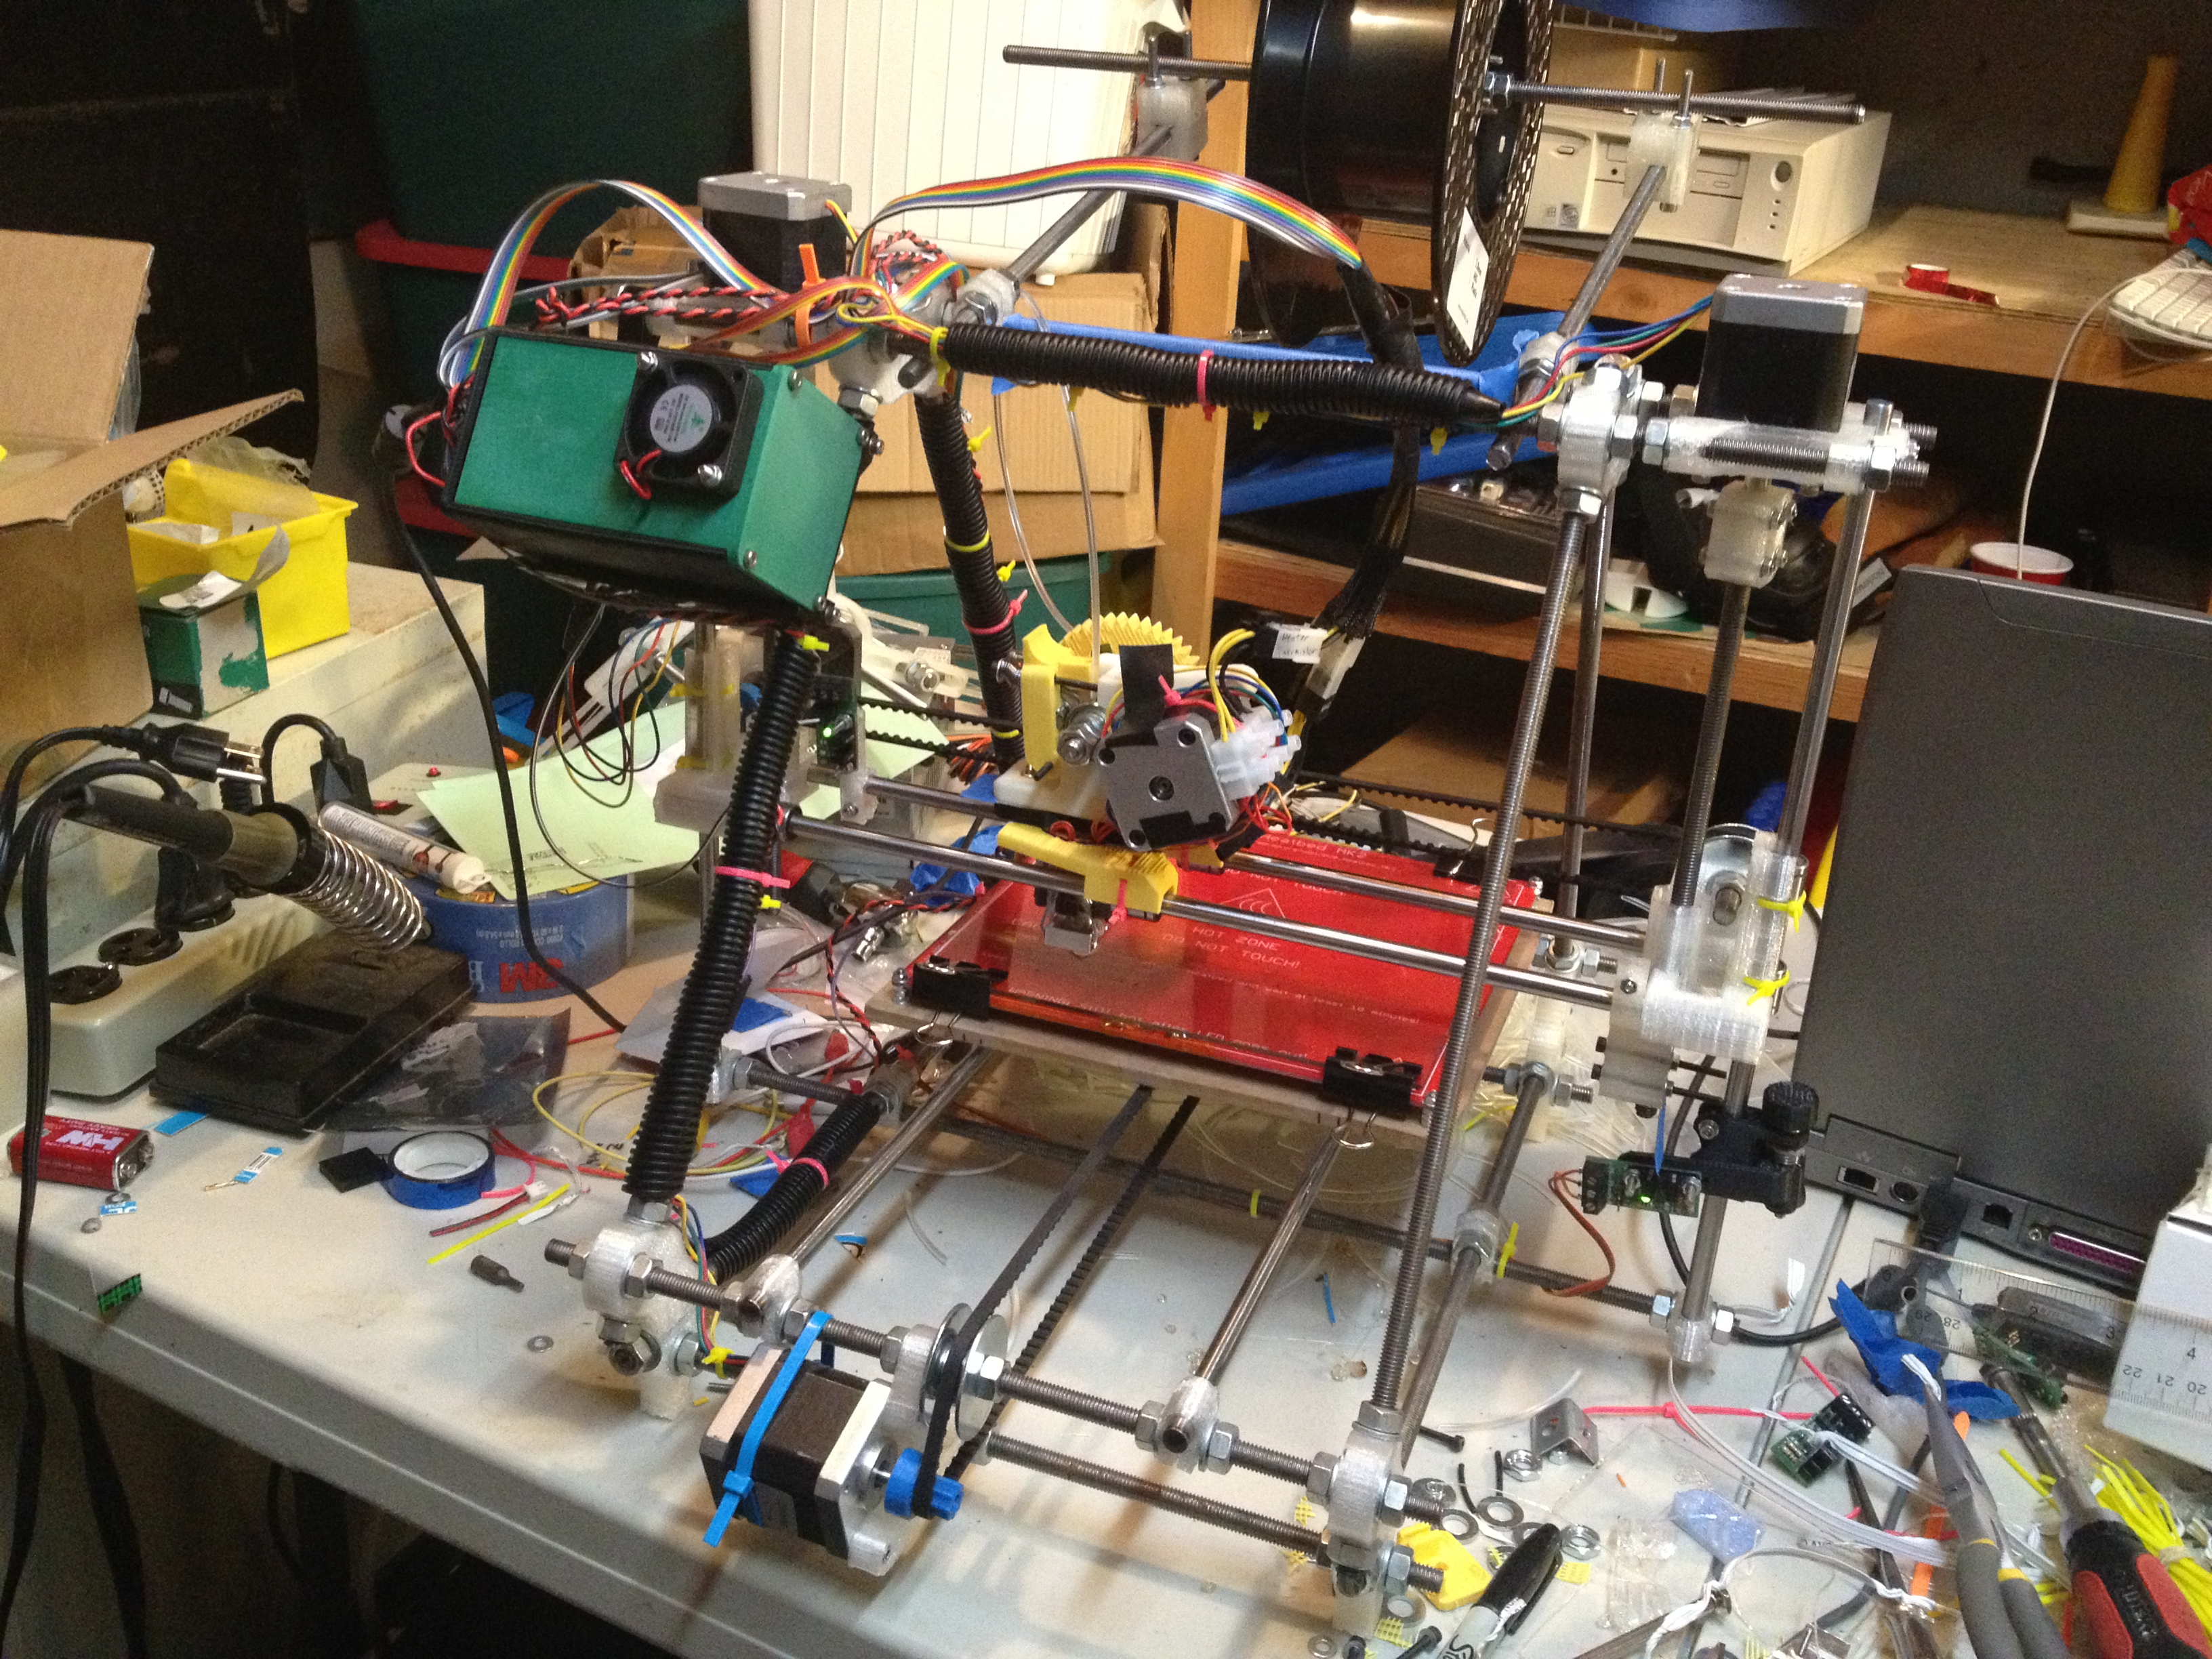
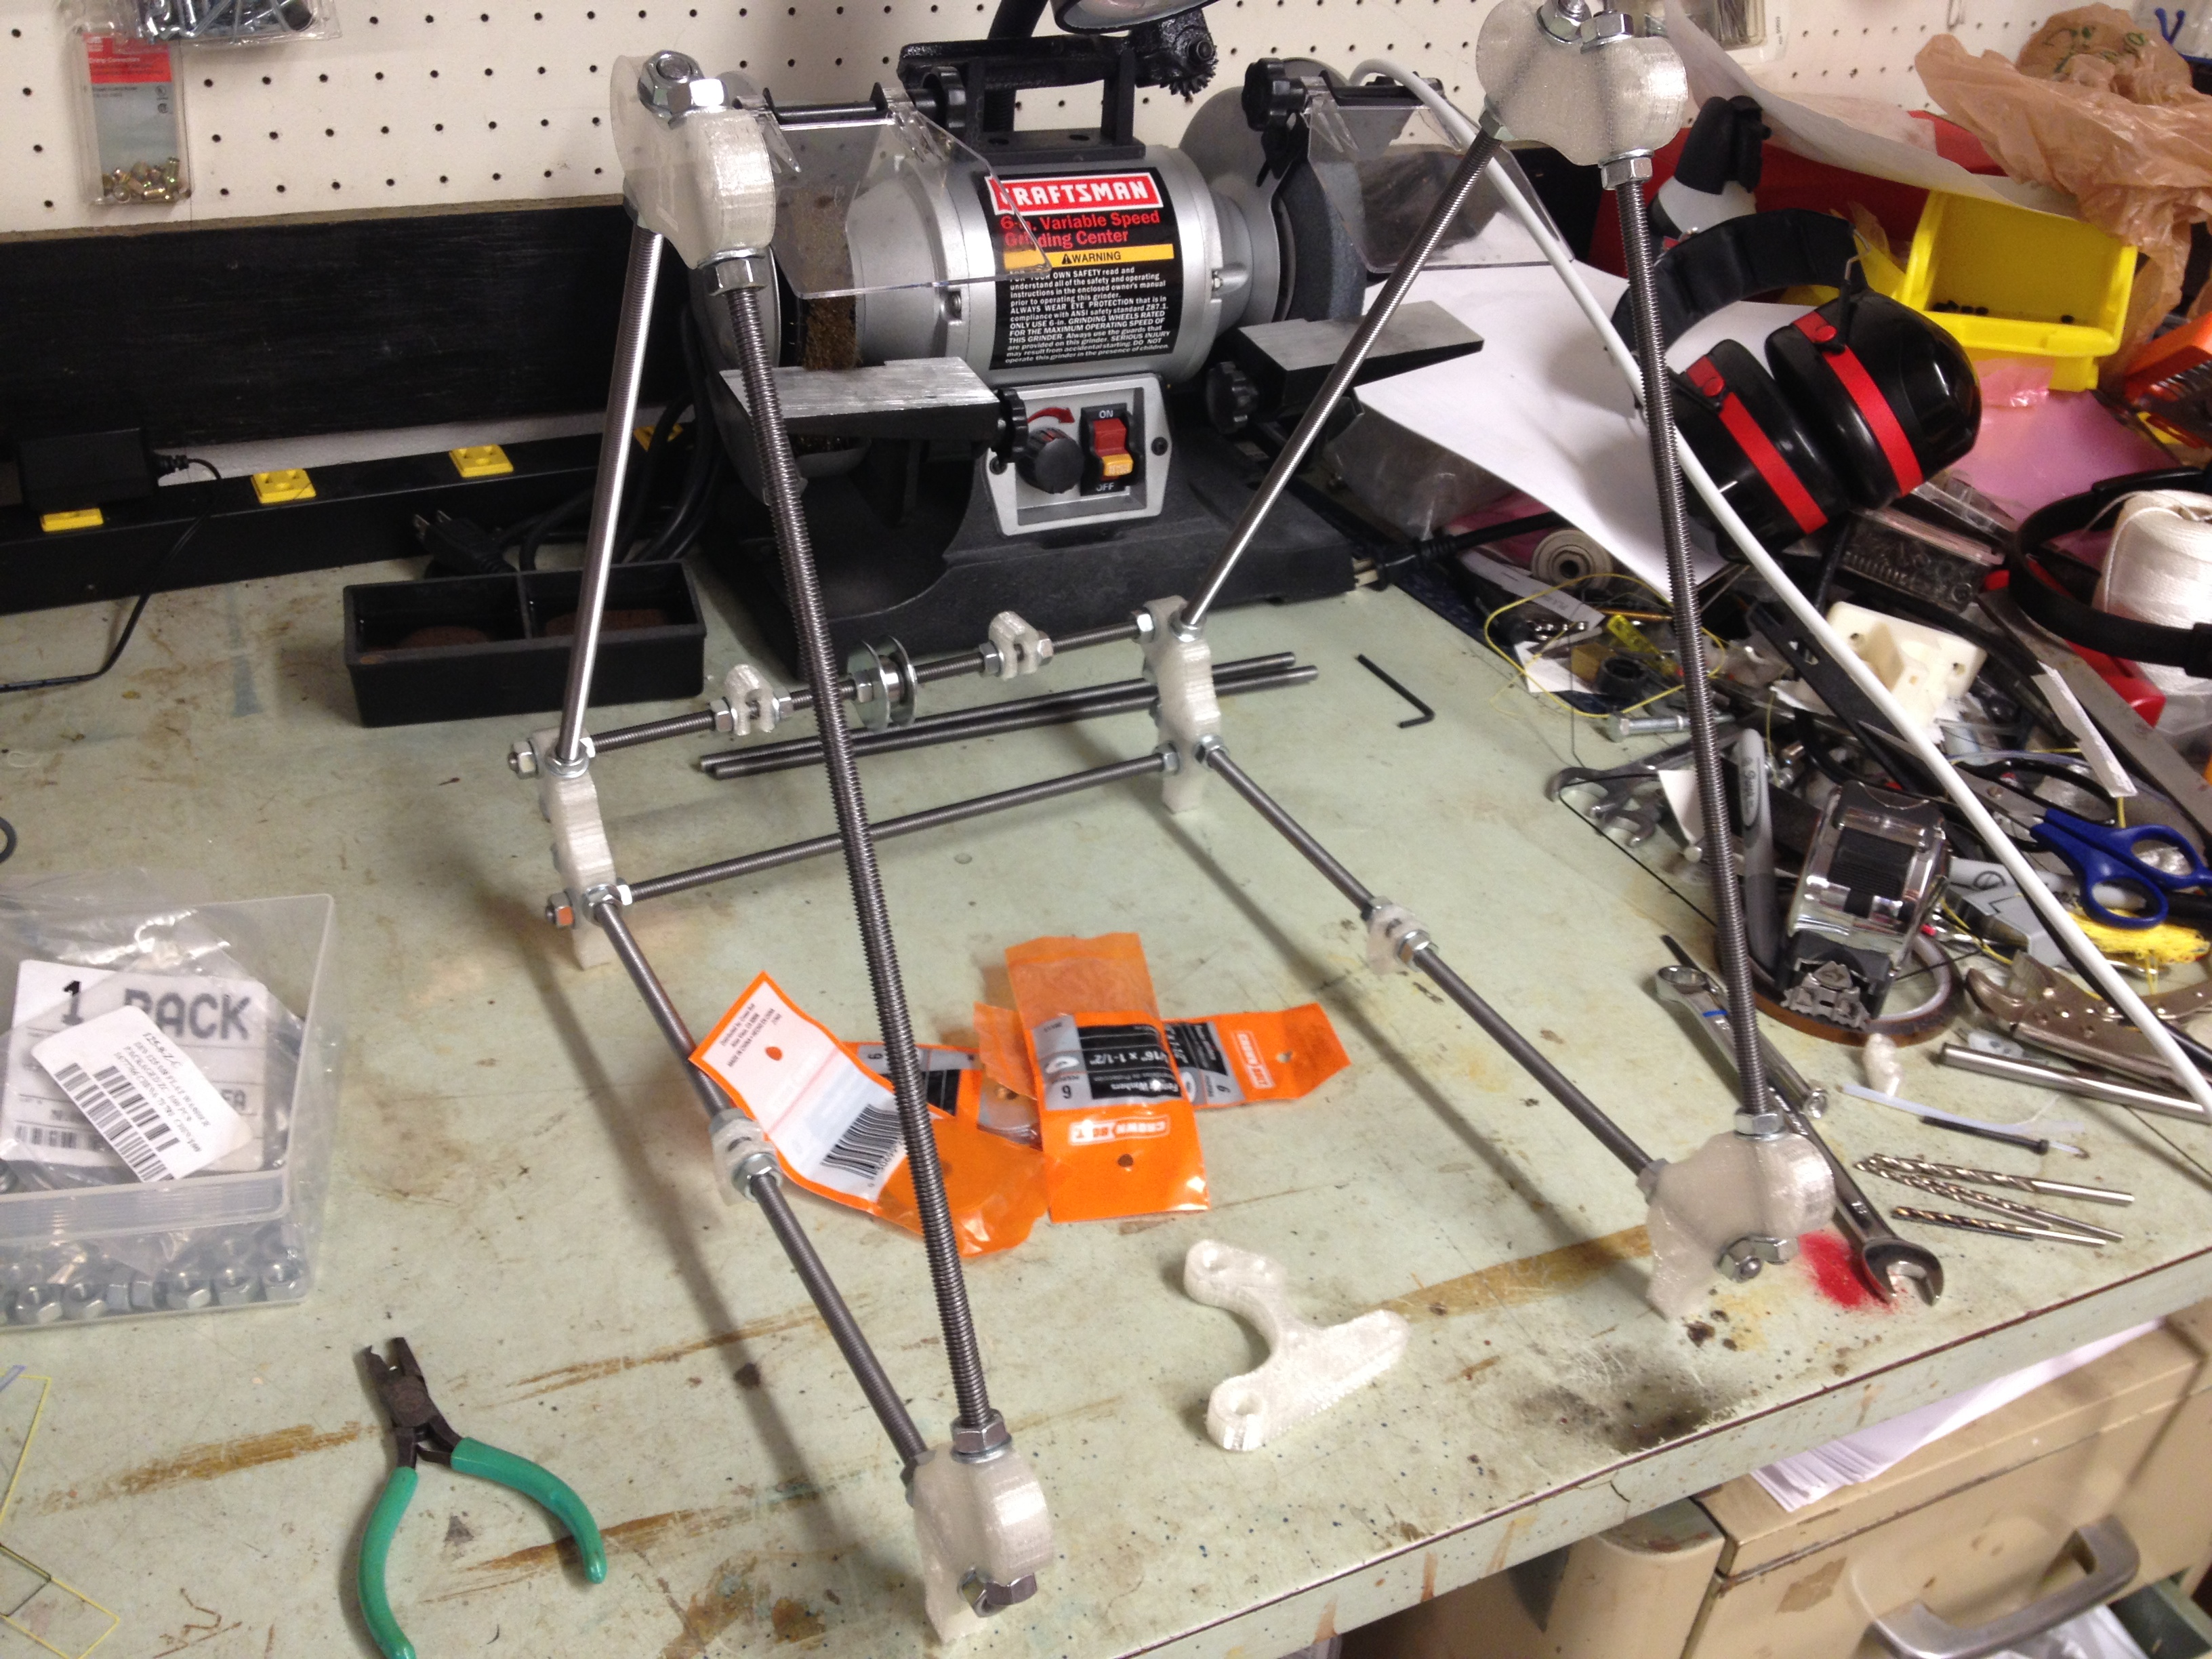
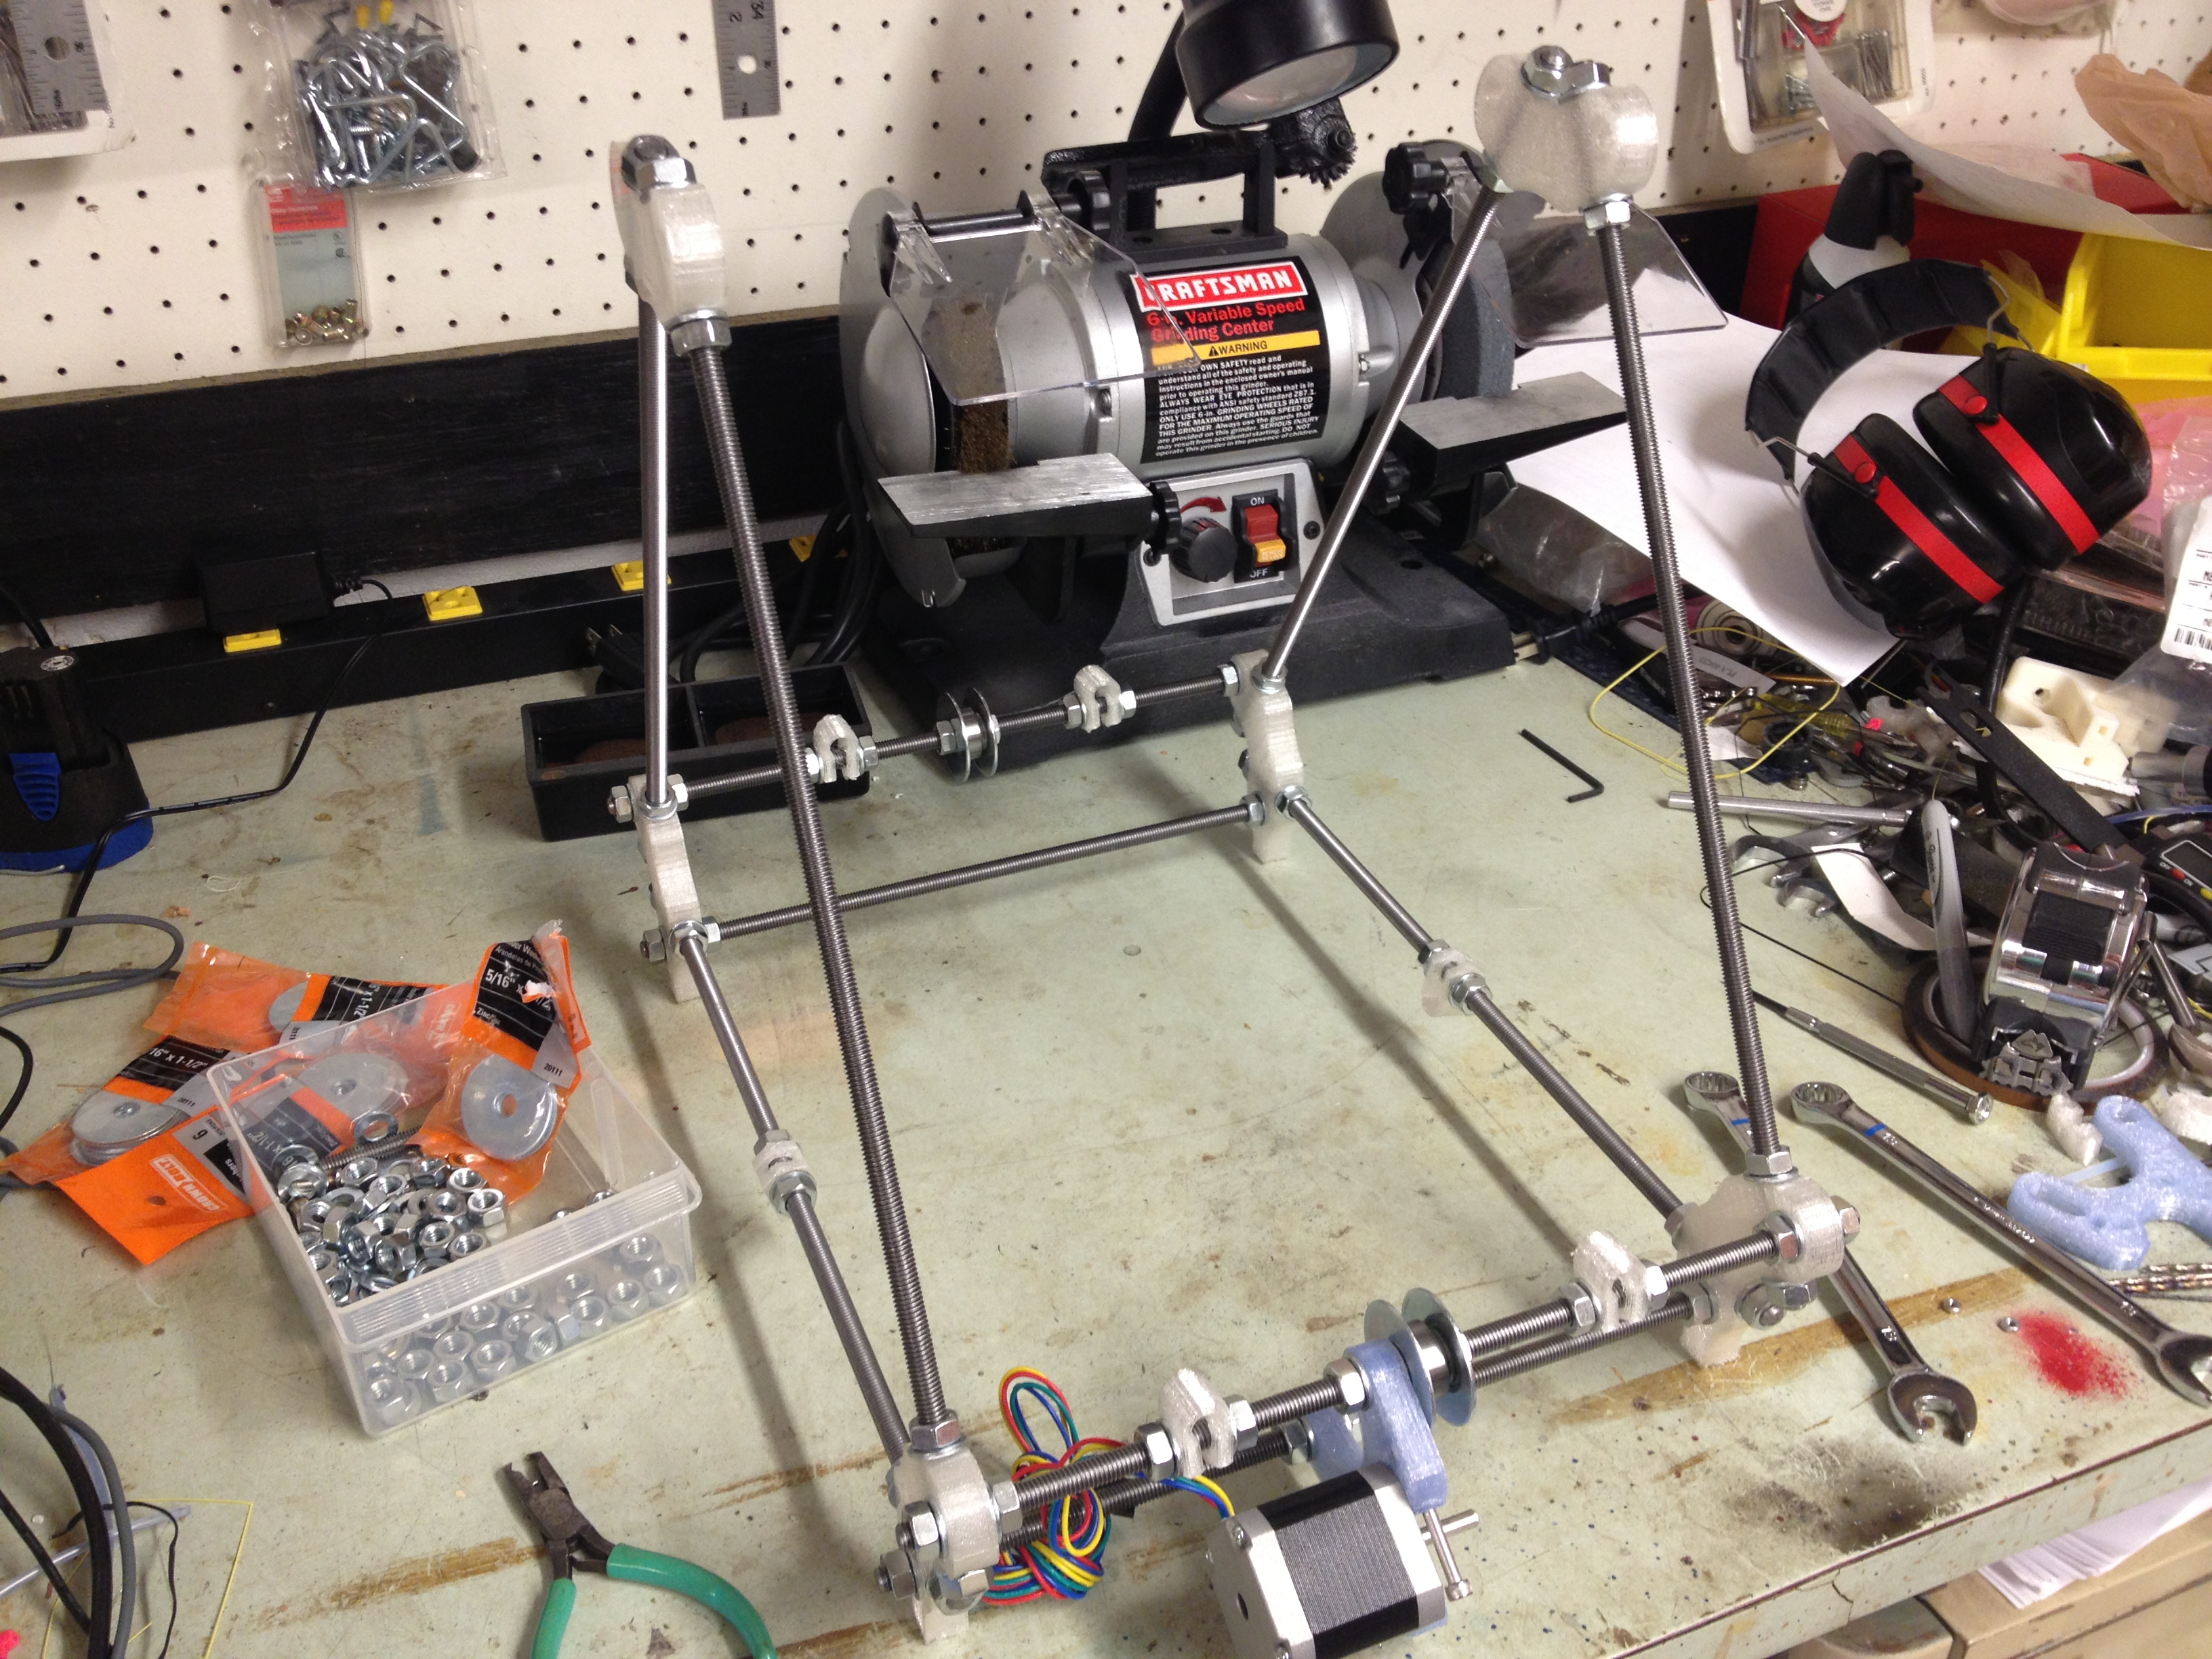
I started assembling the frame..

IMG_2570

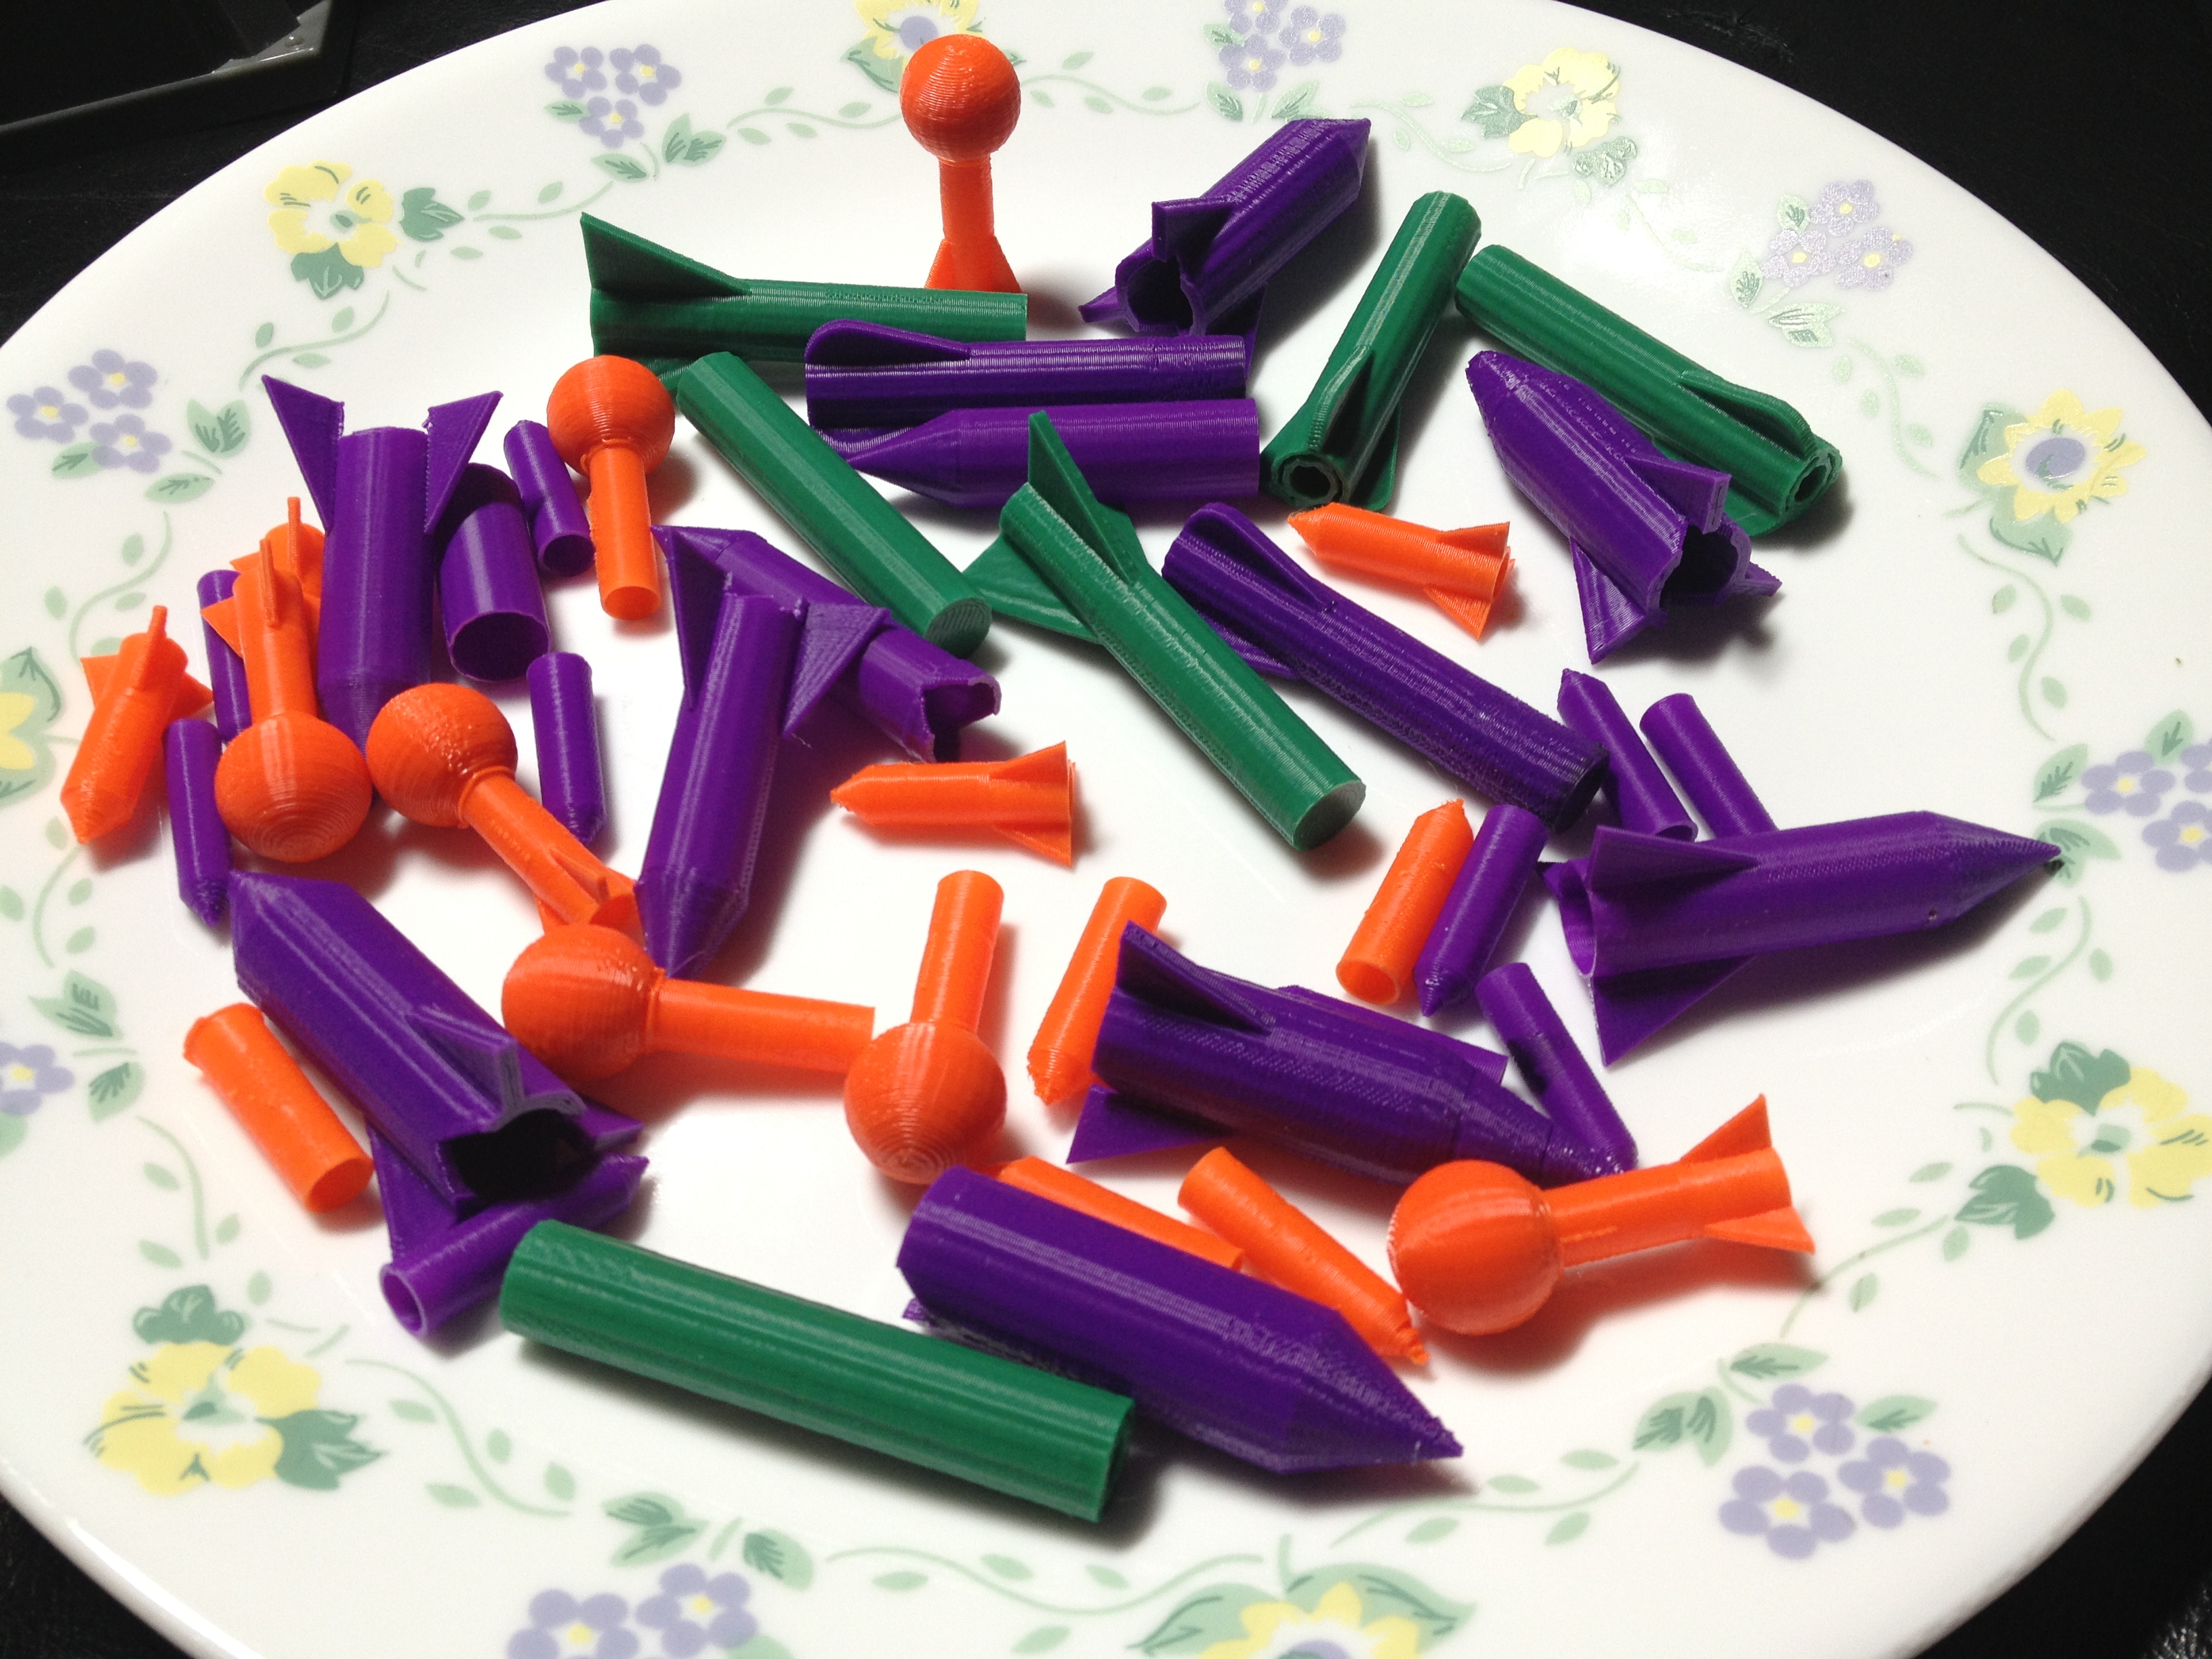
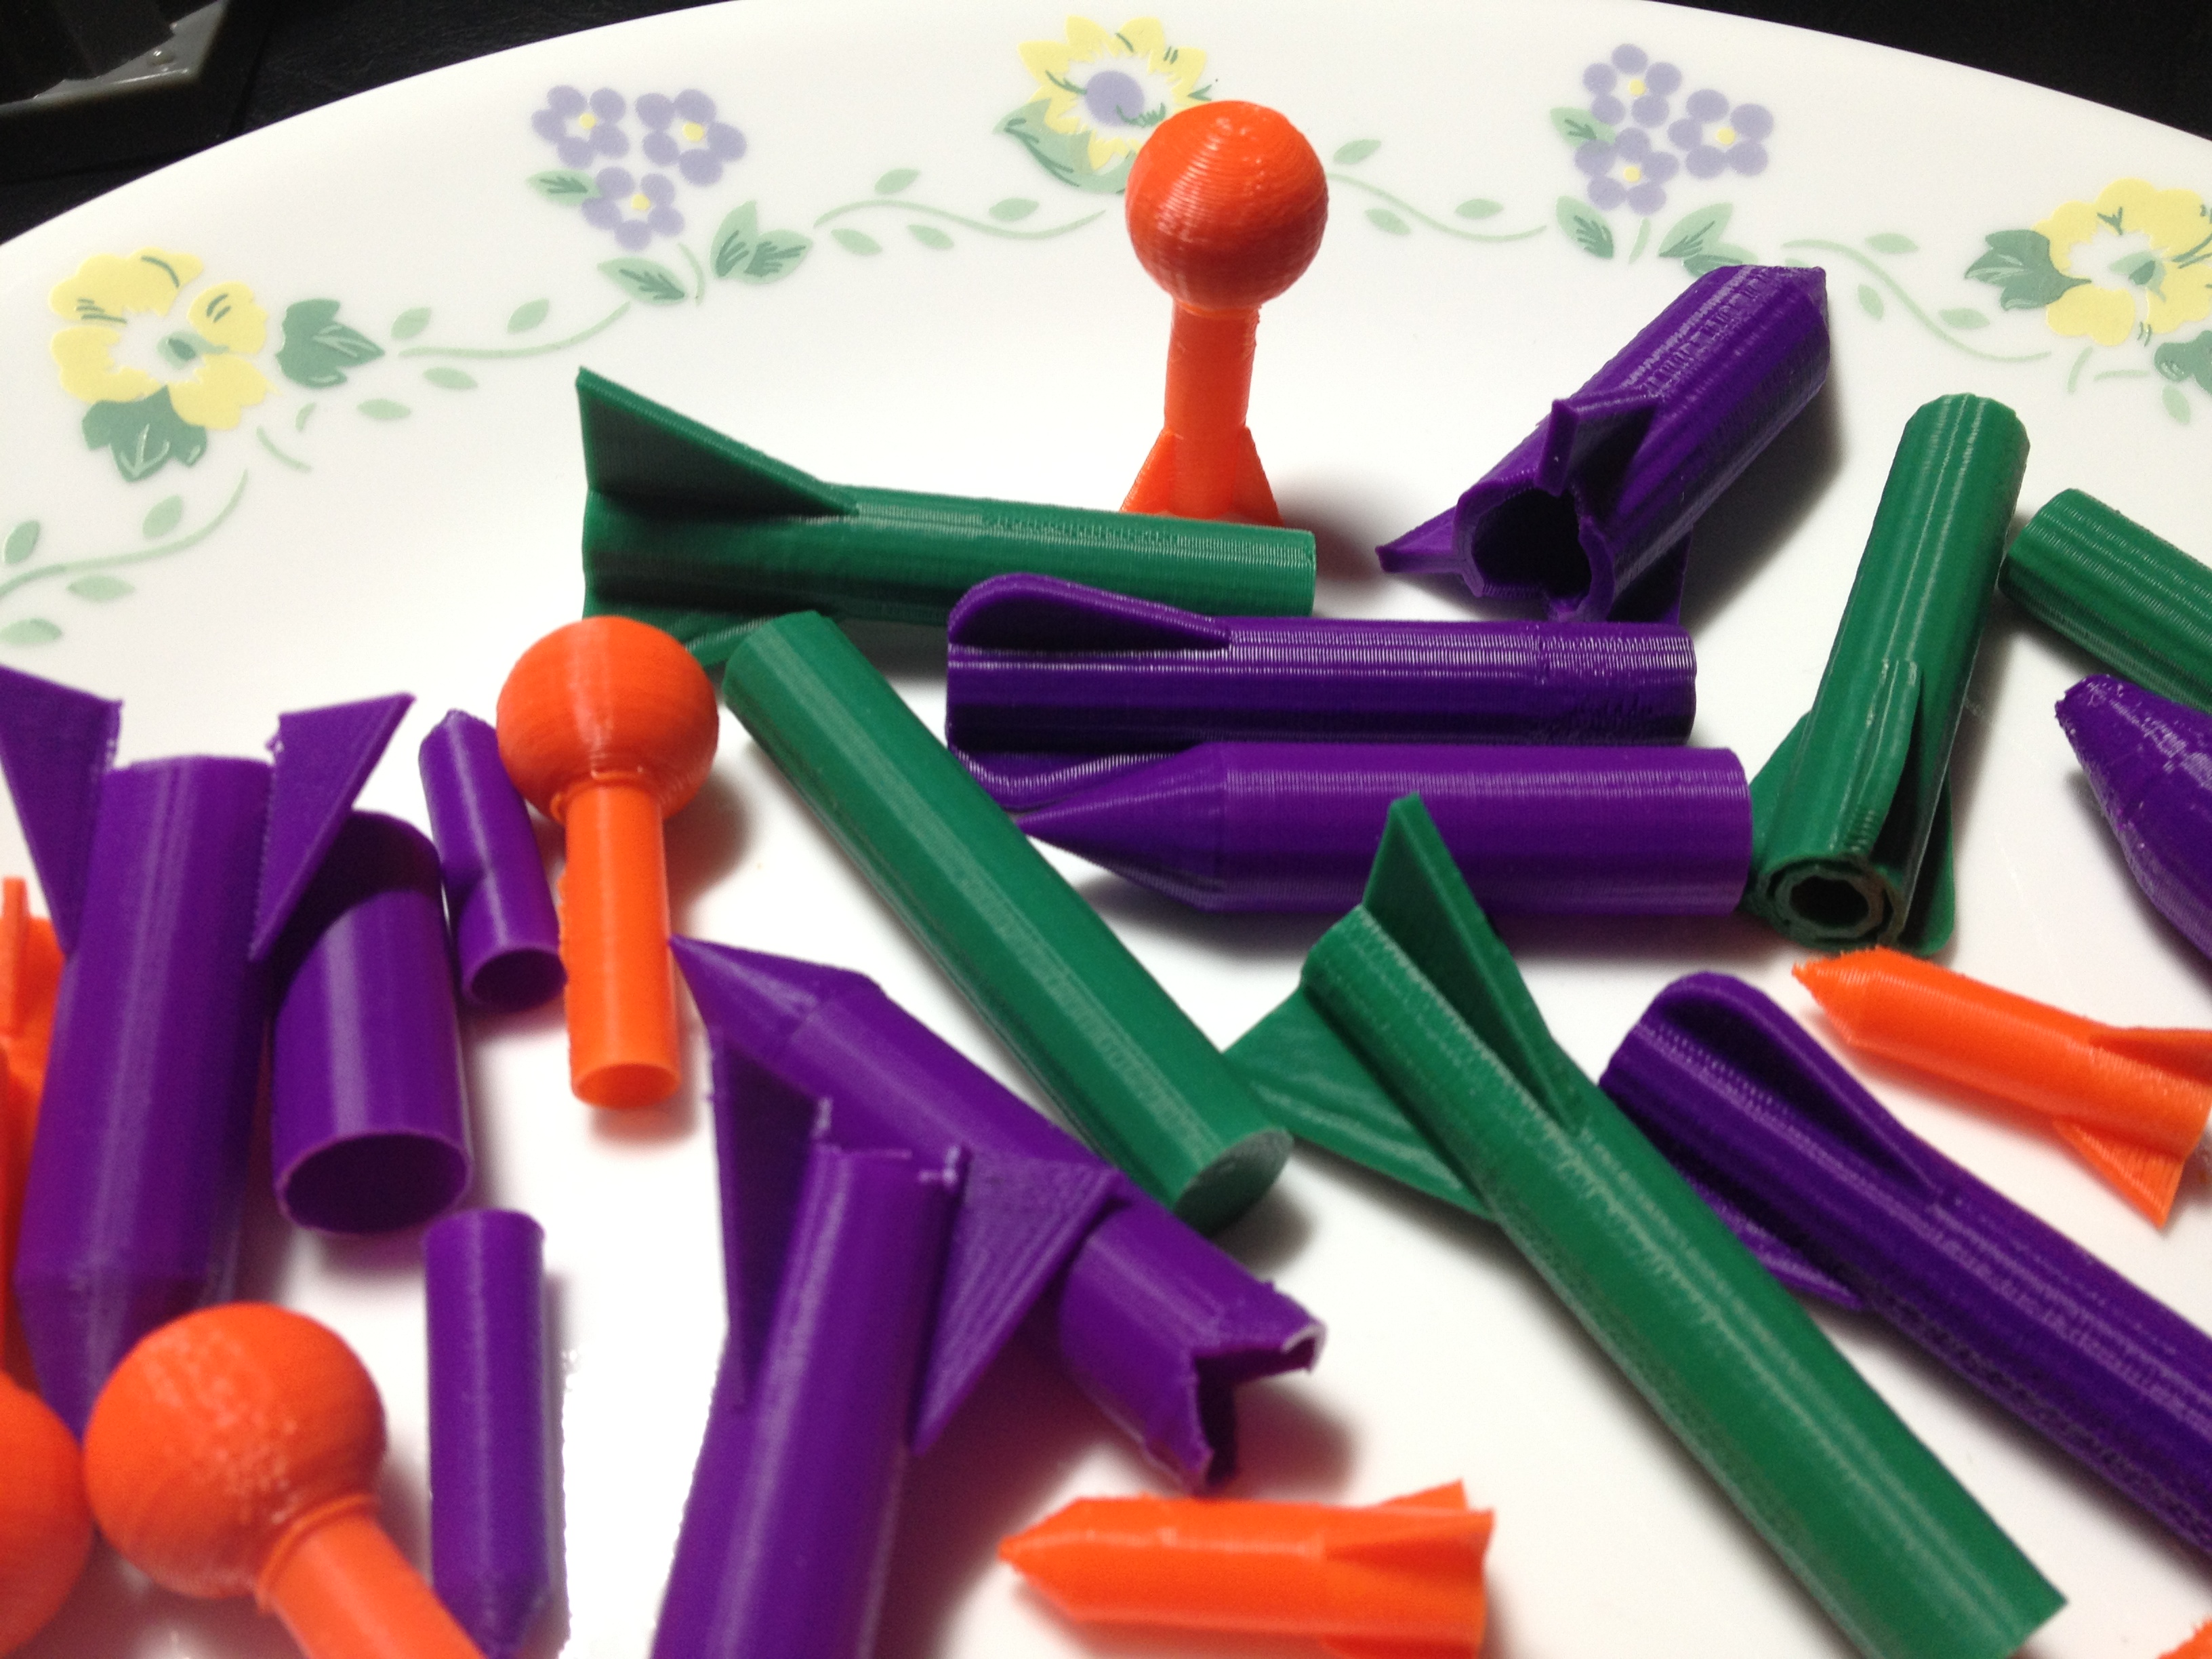
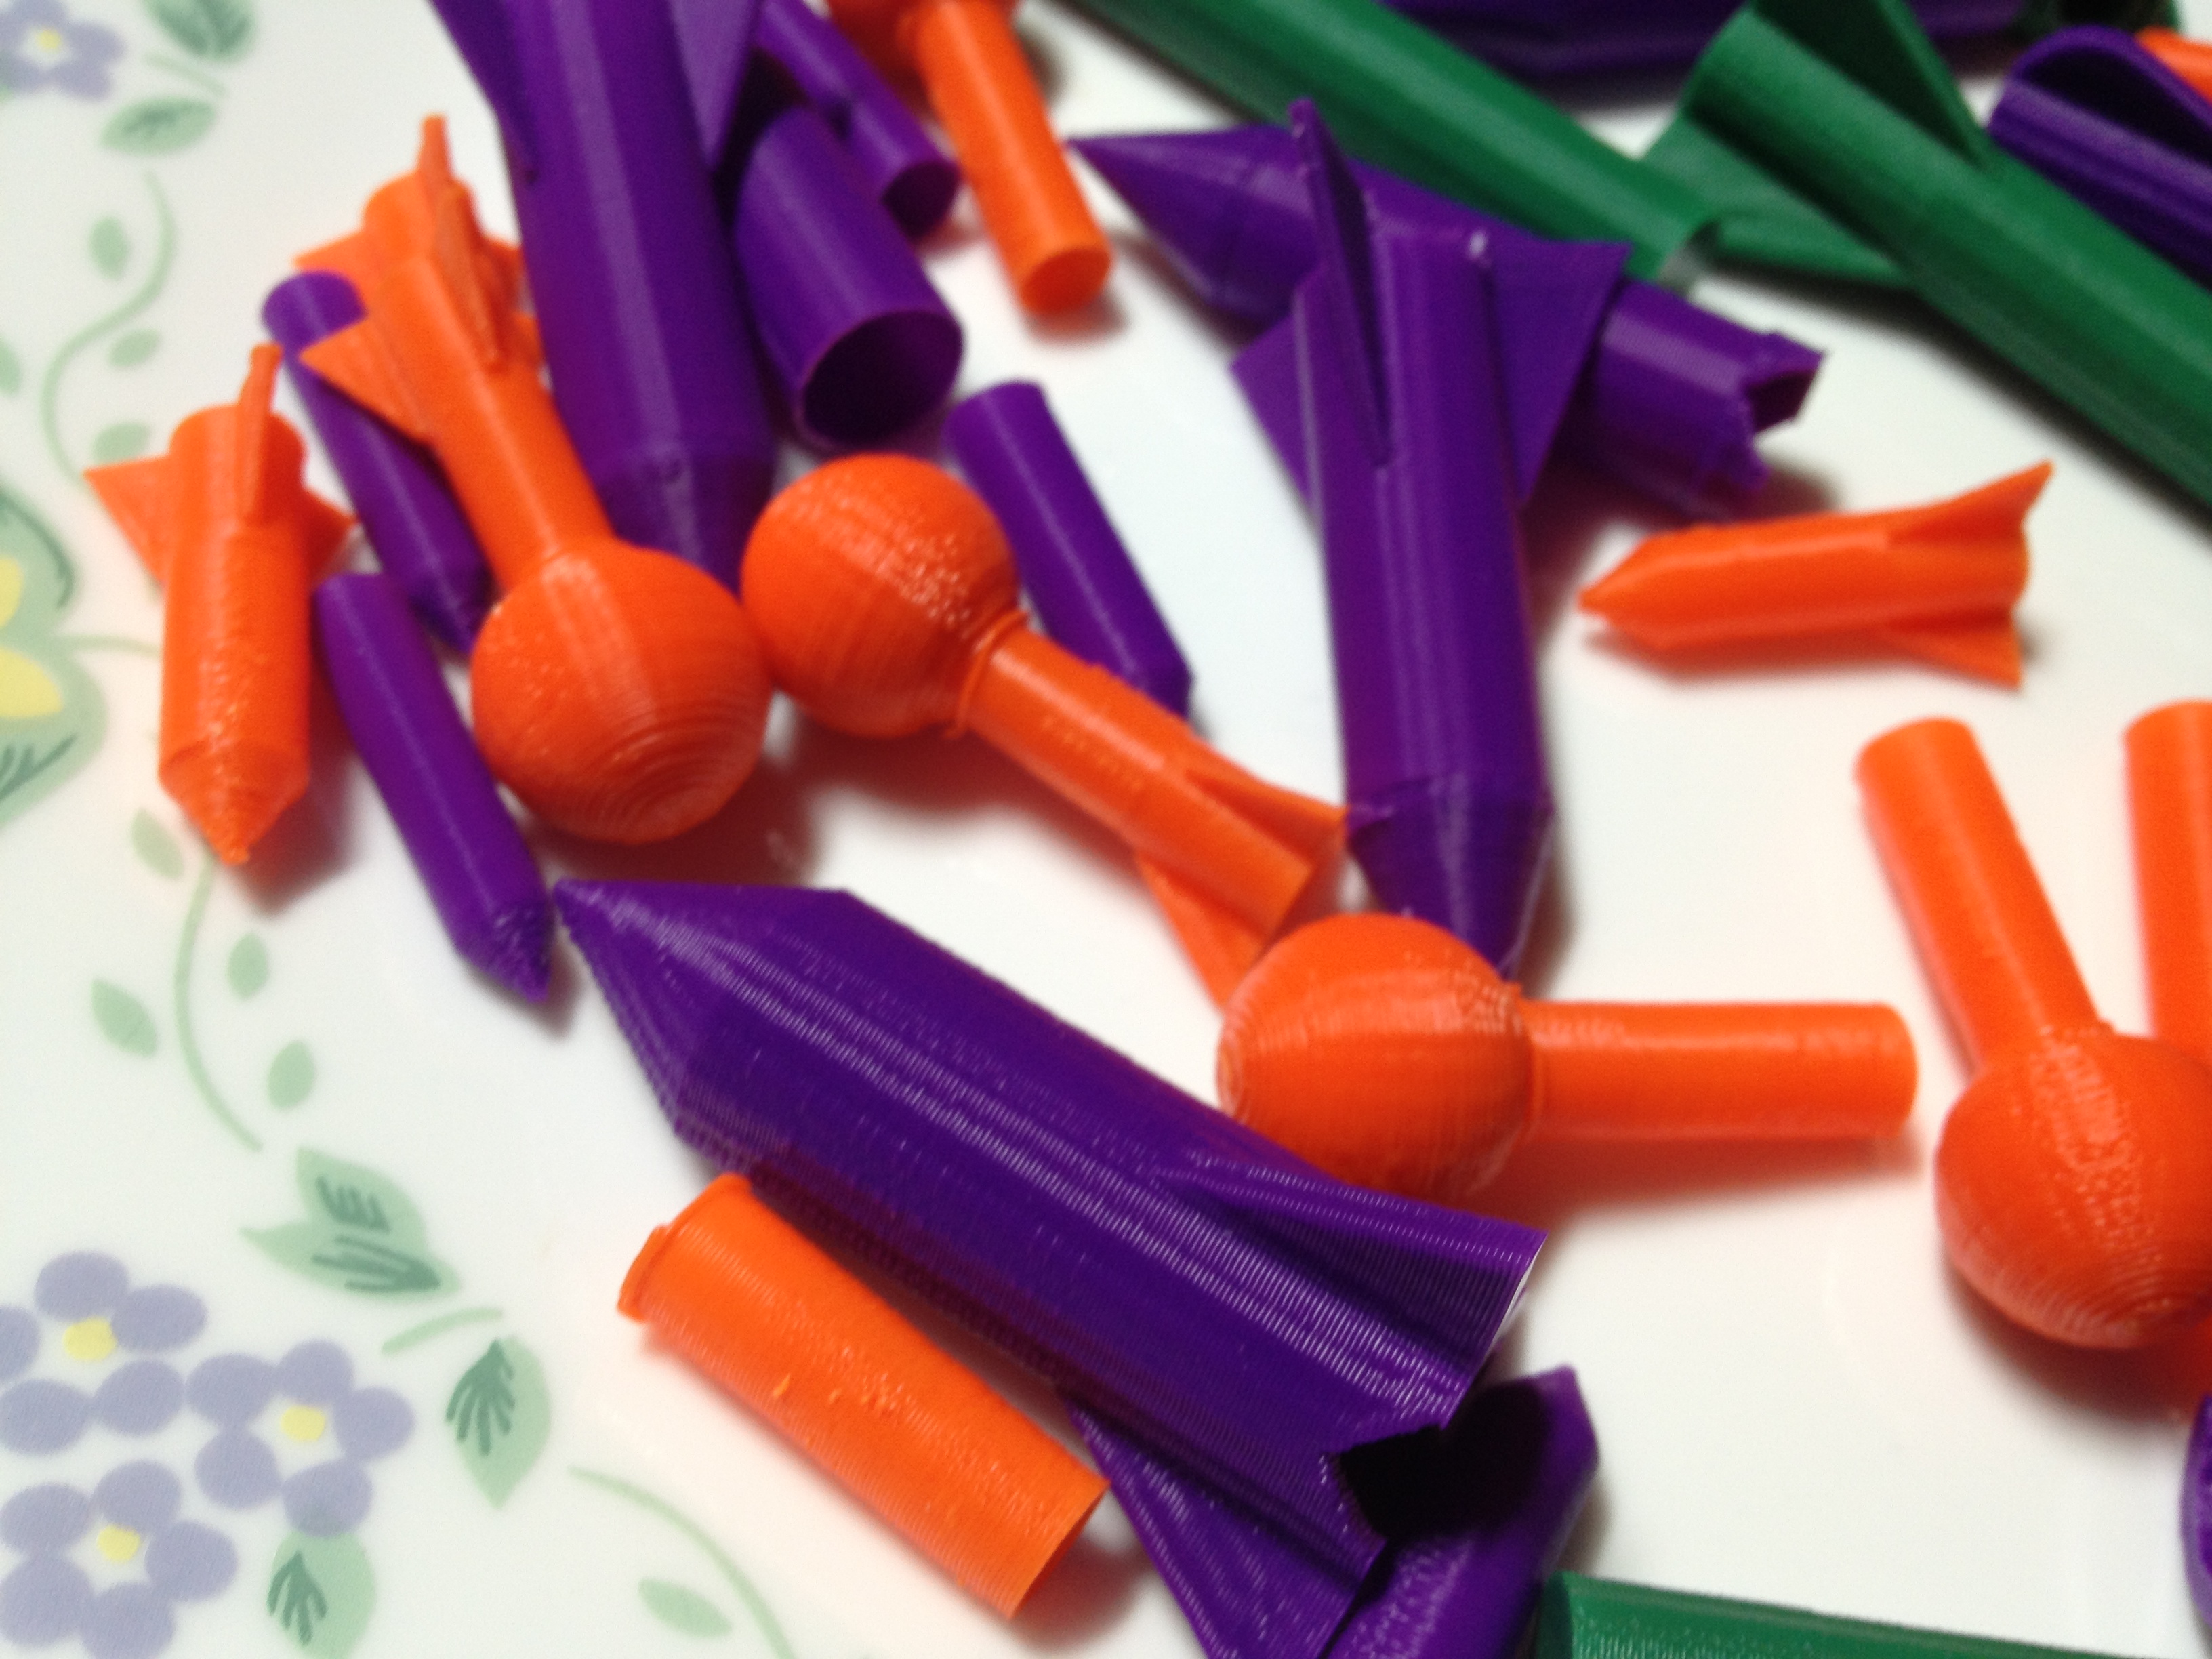
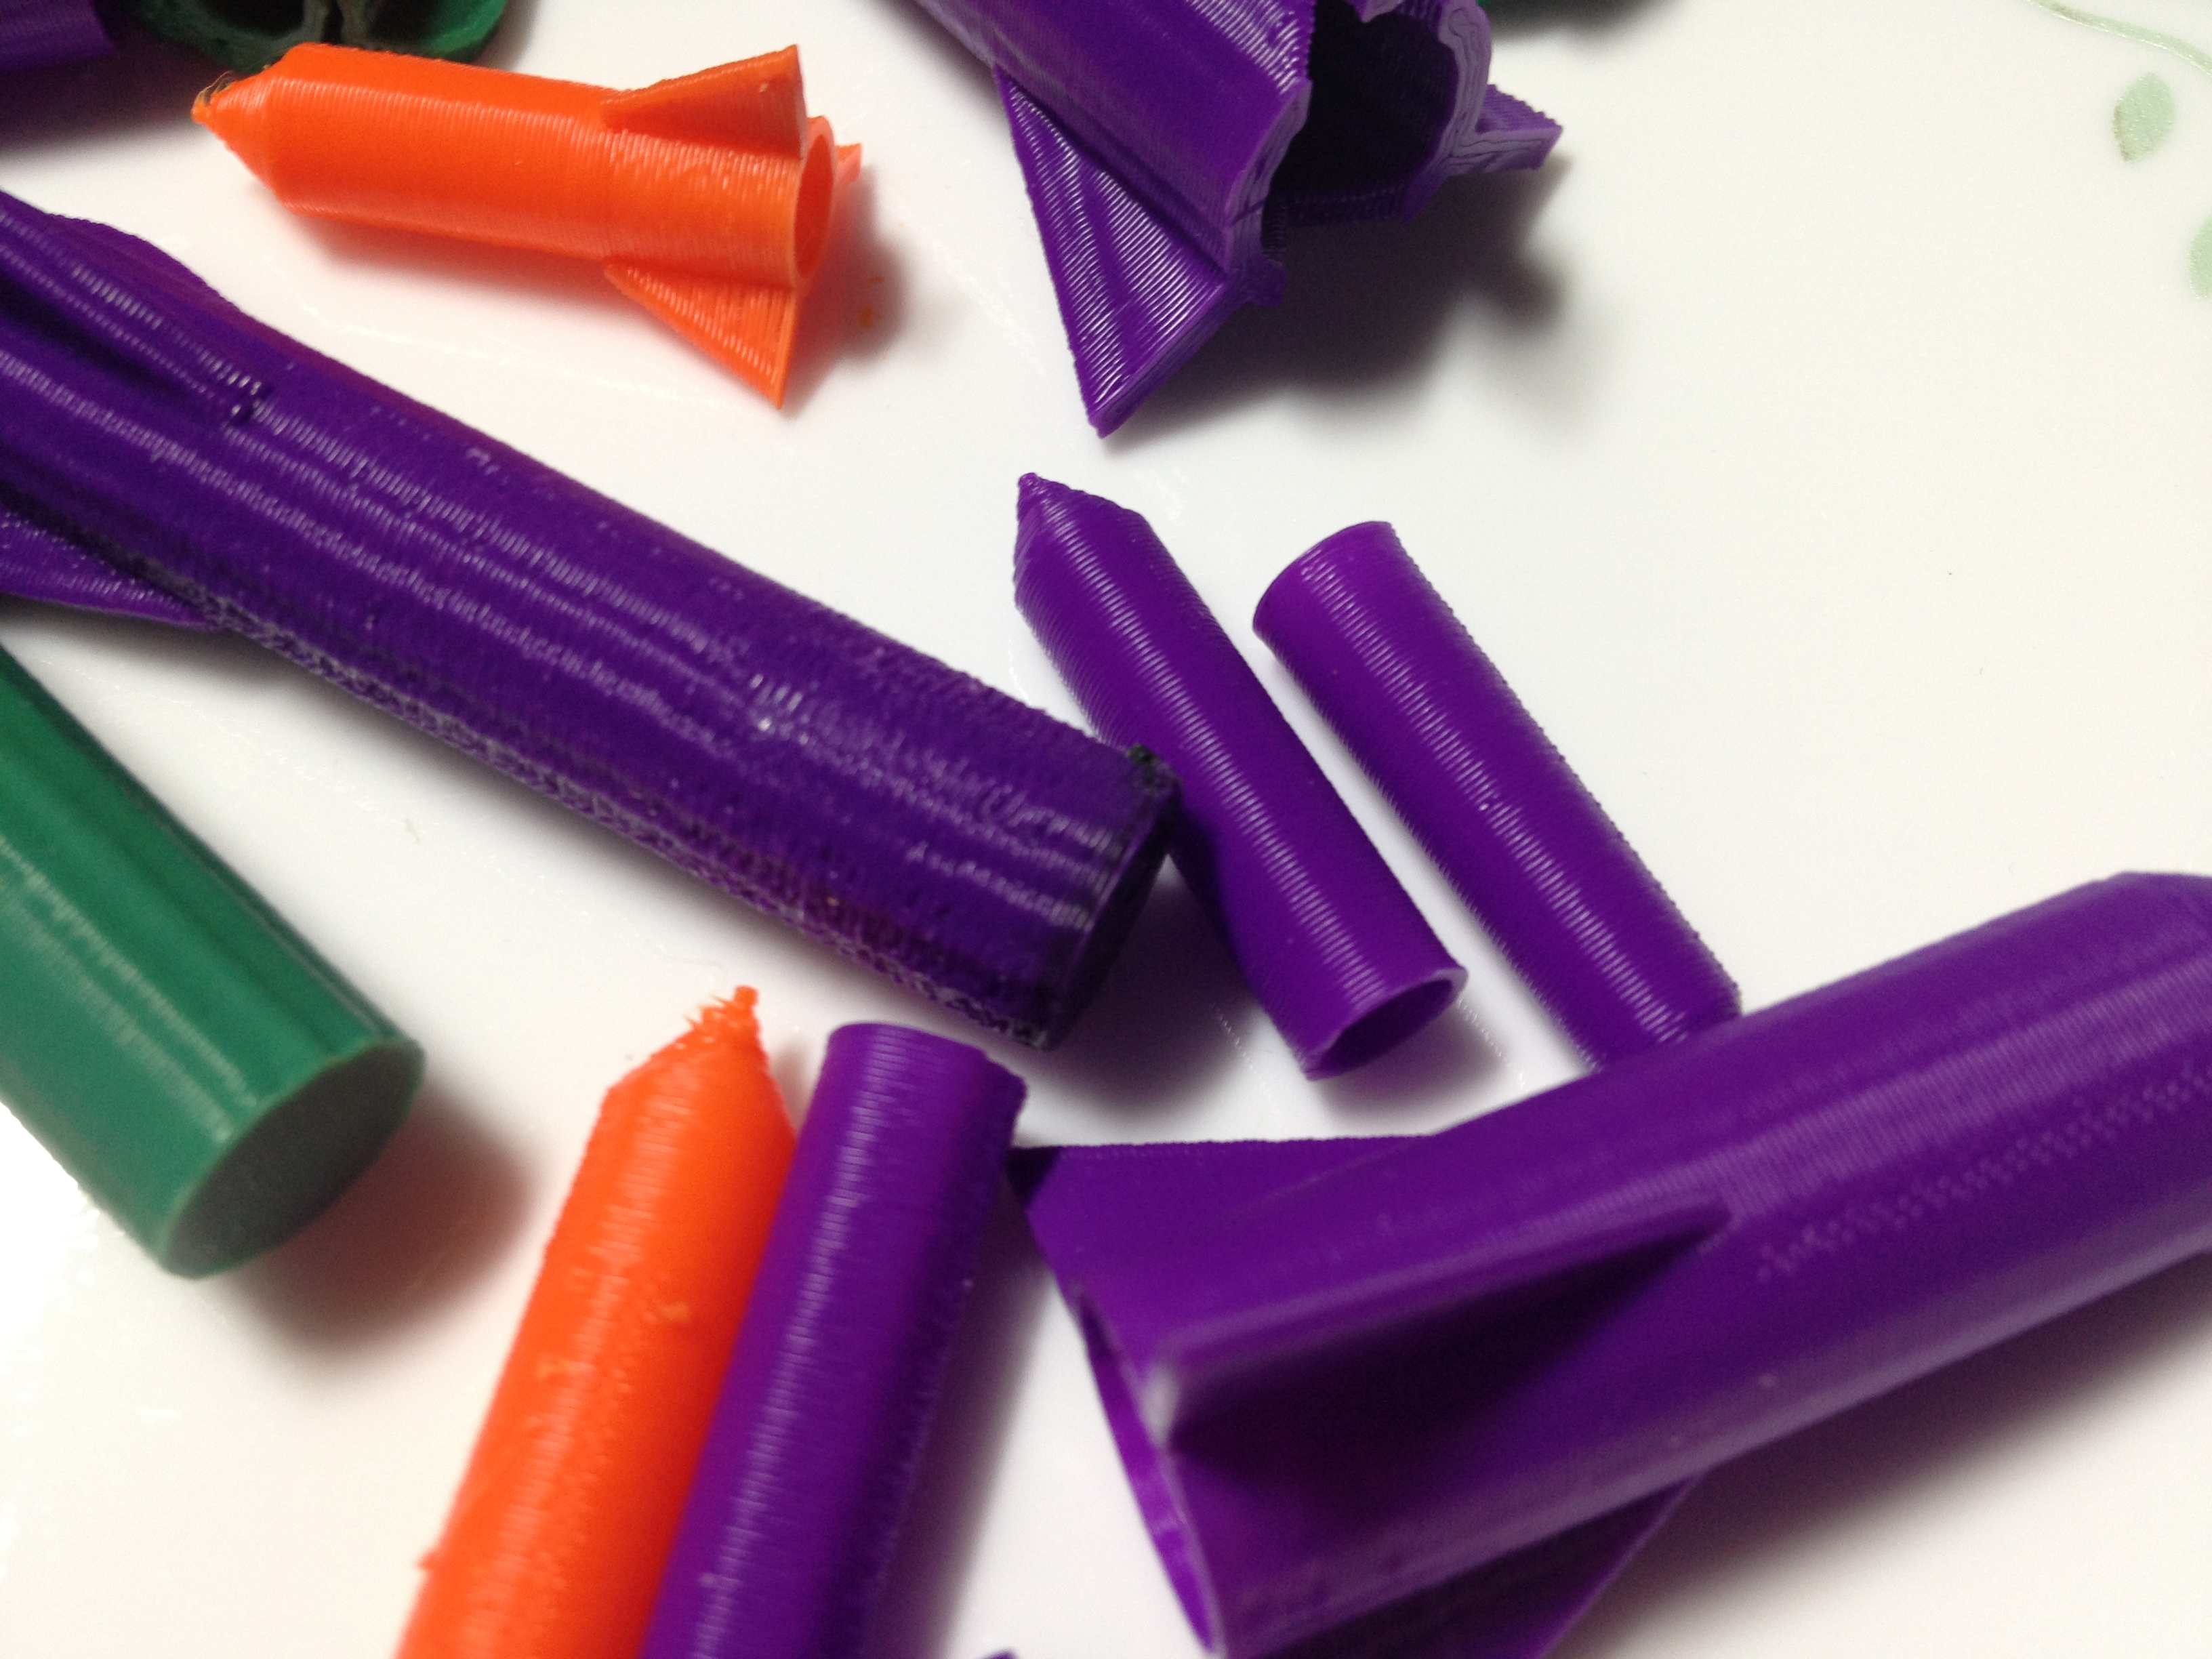
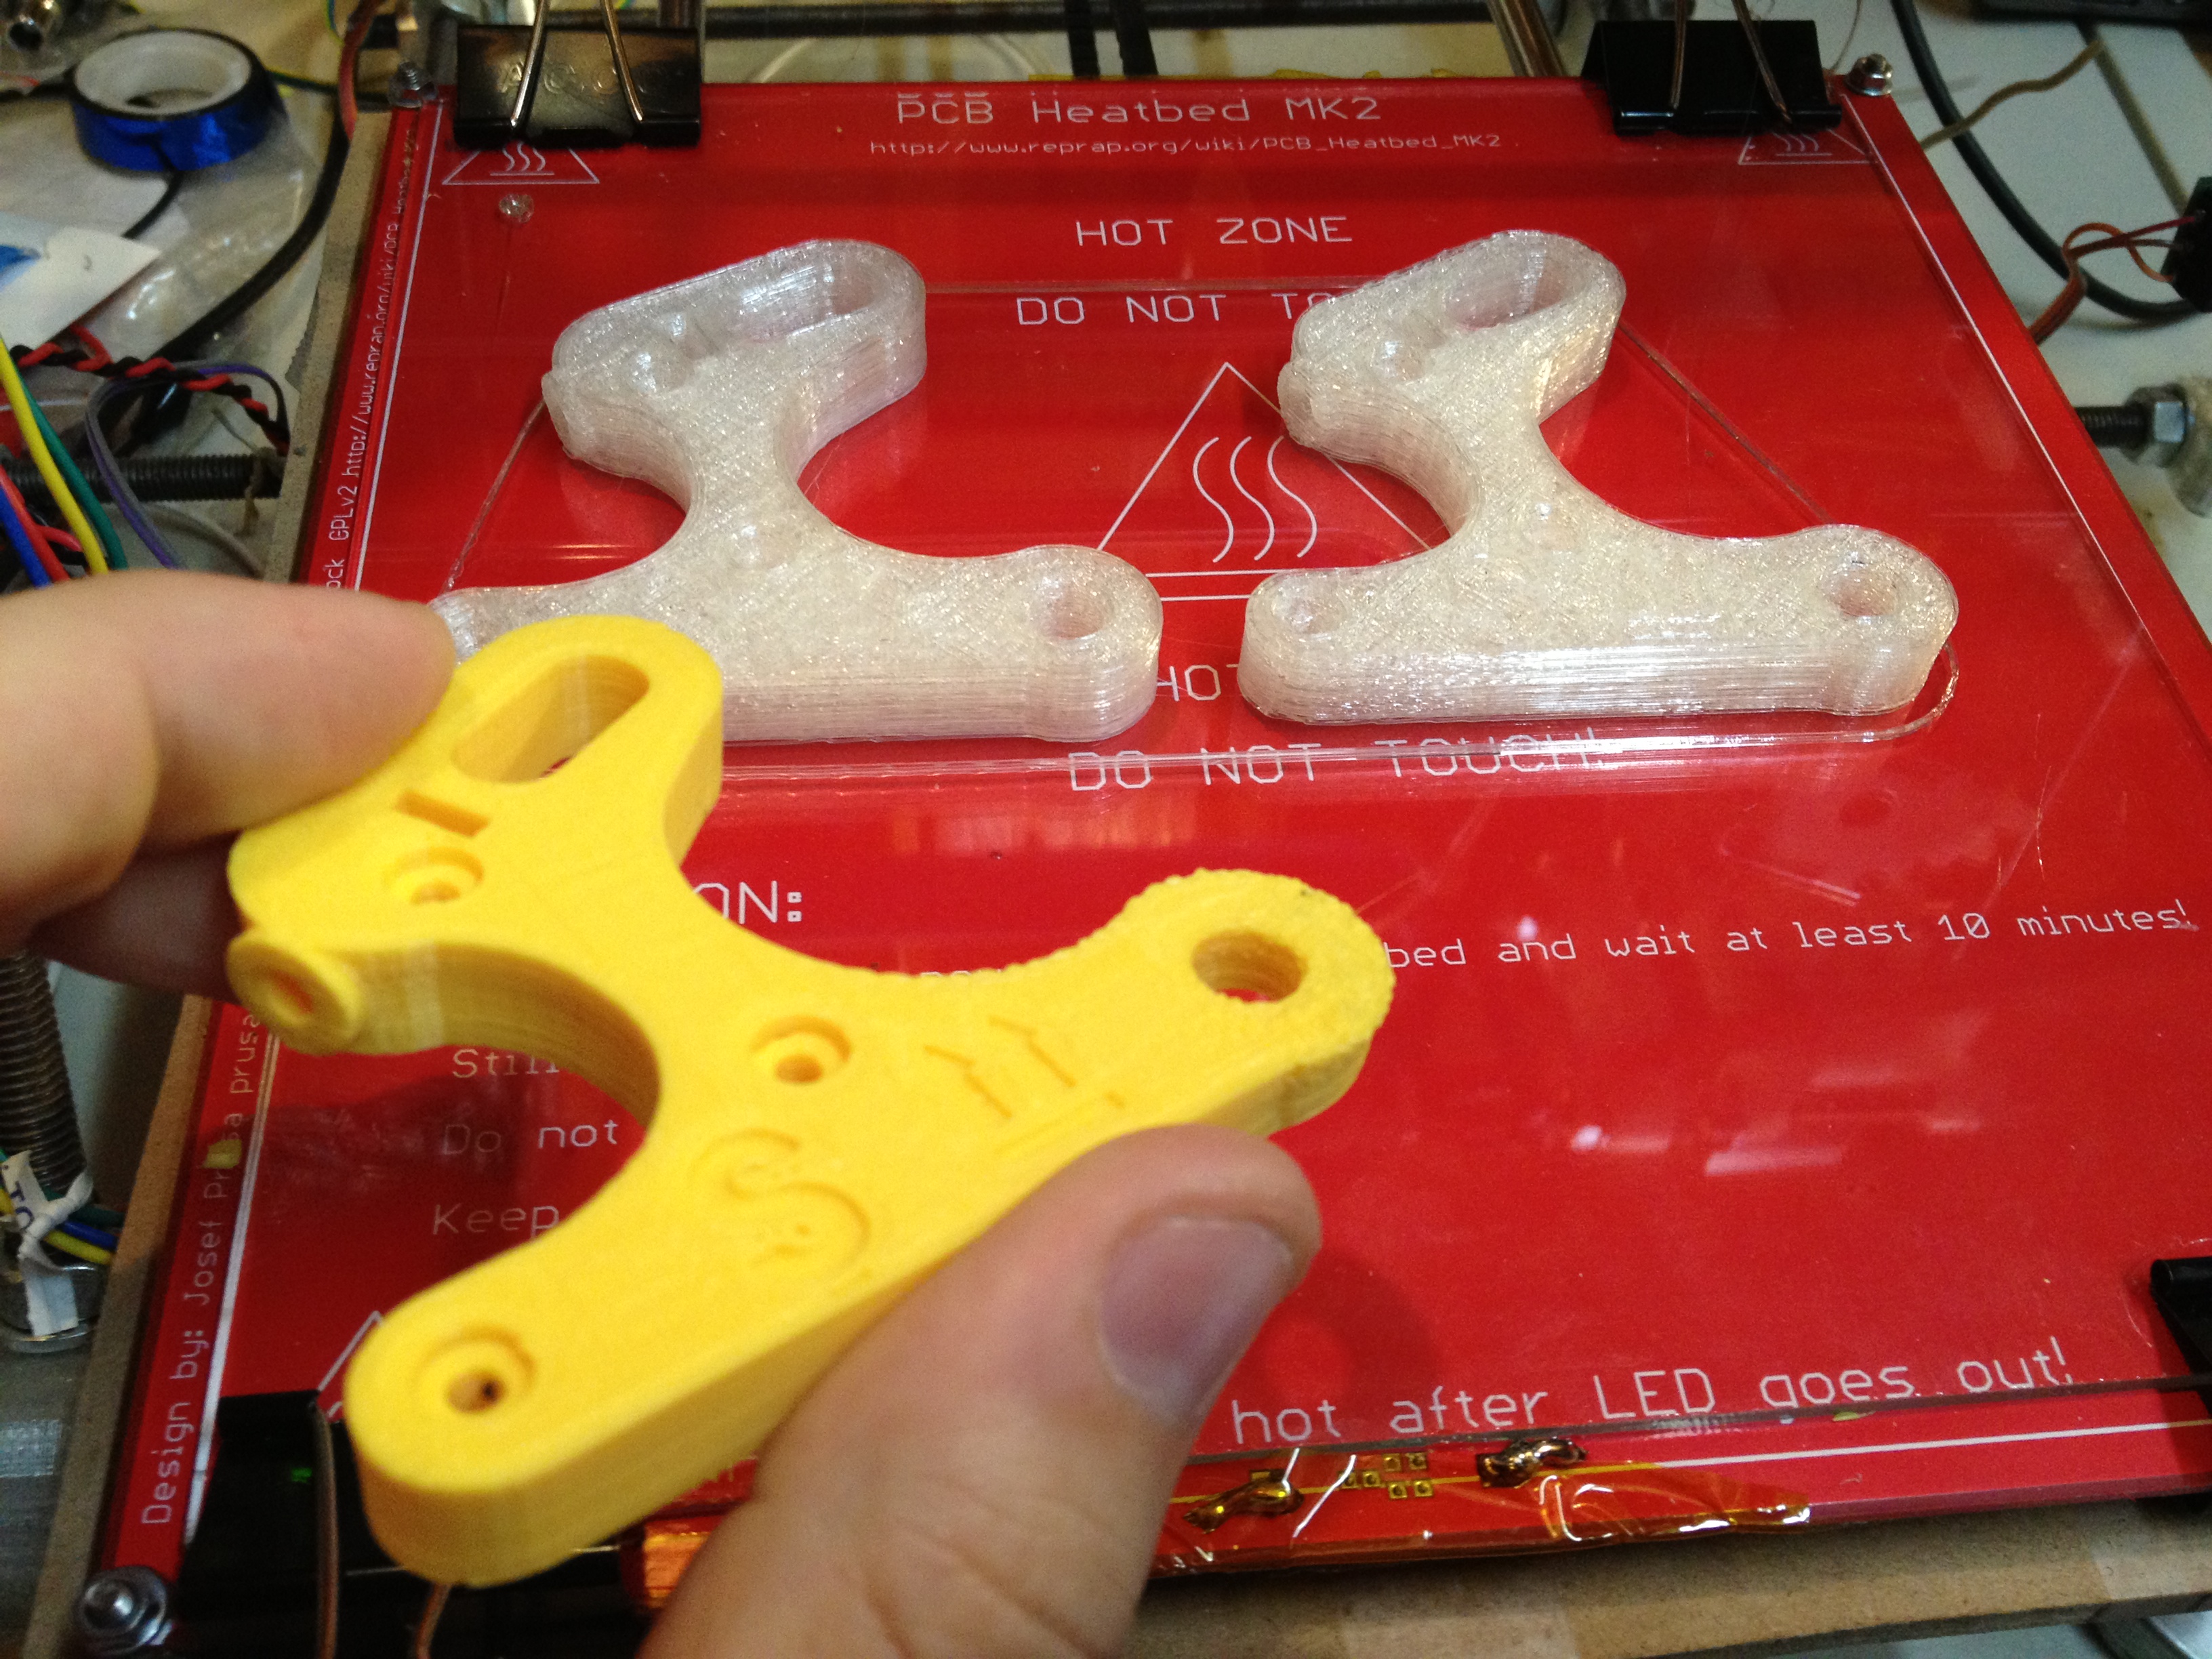
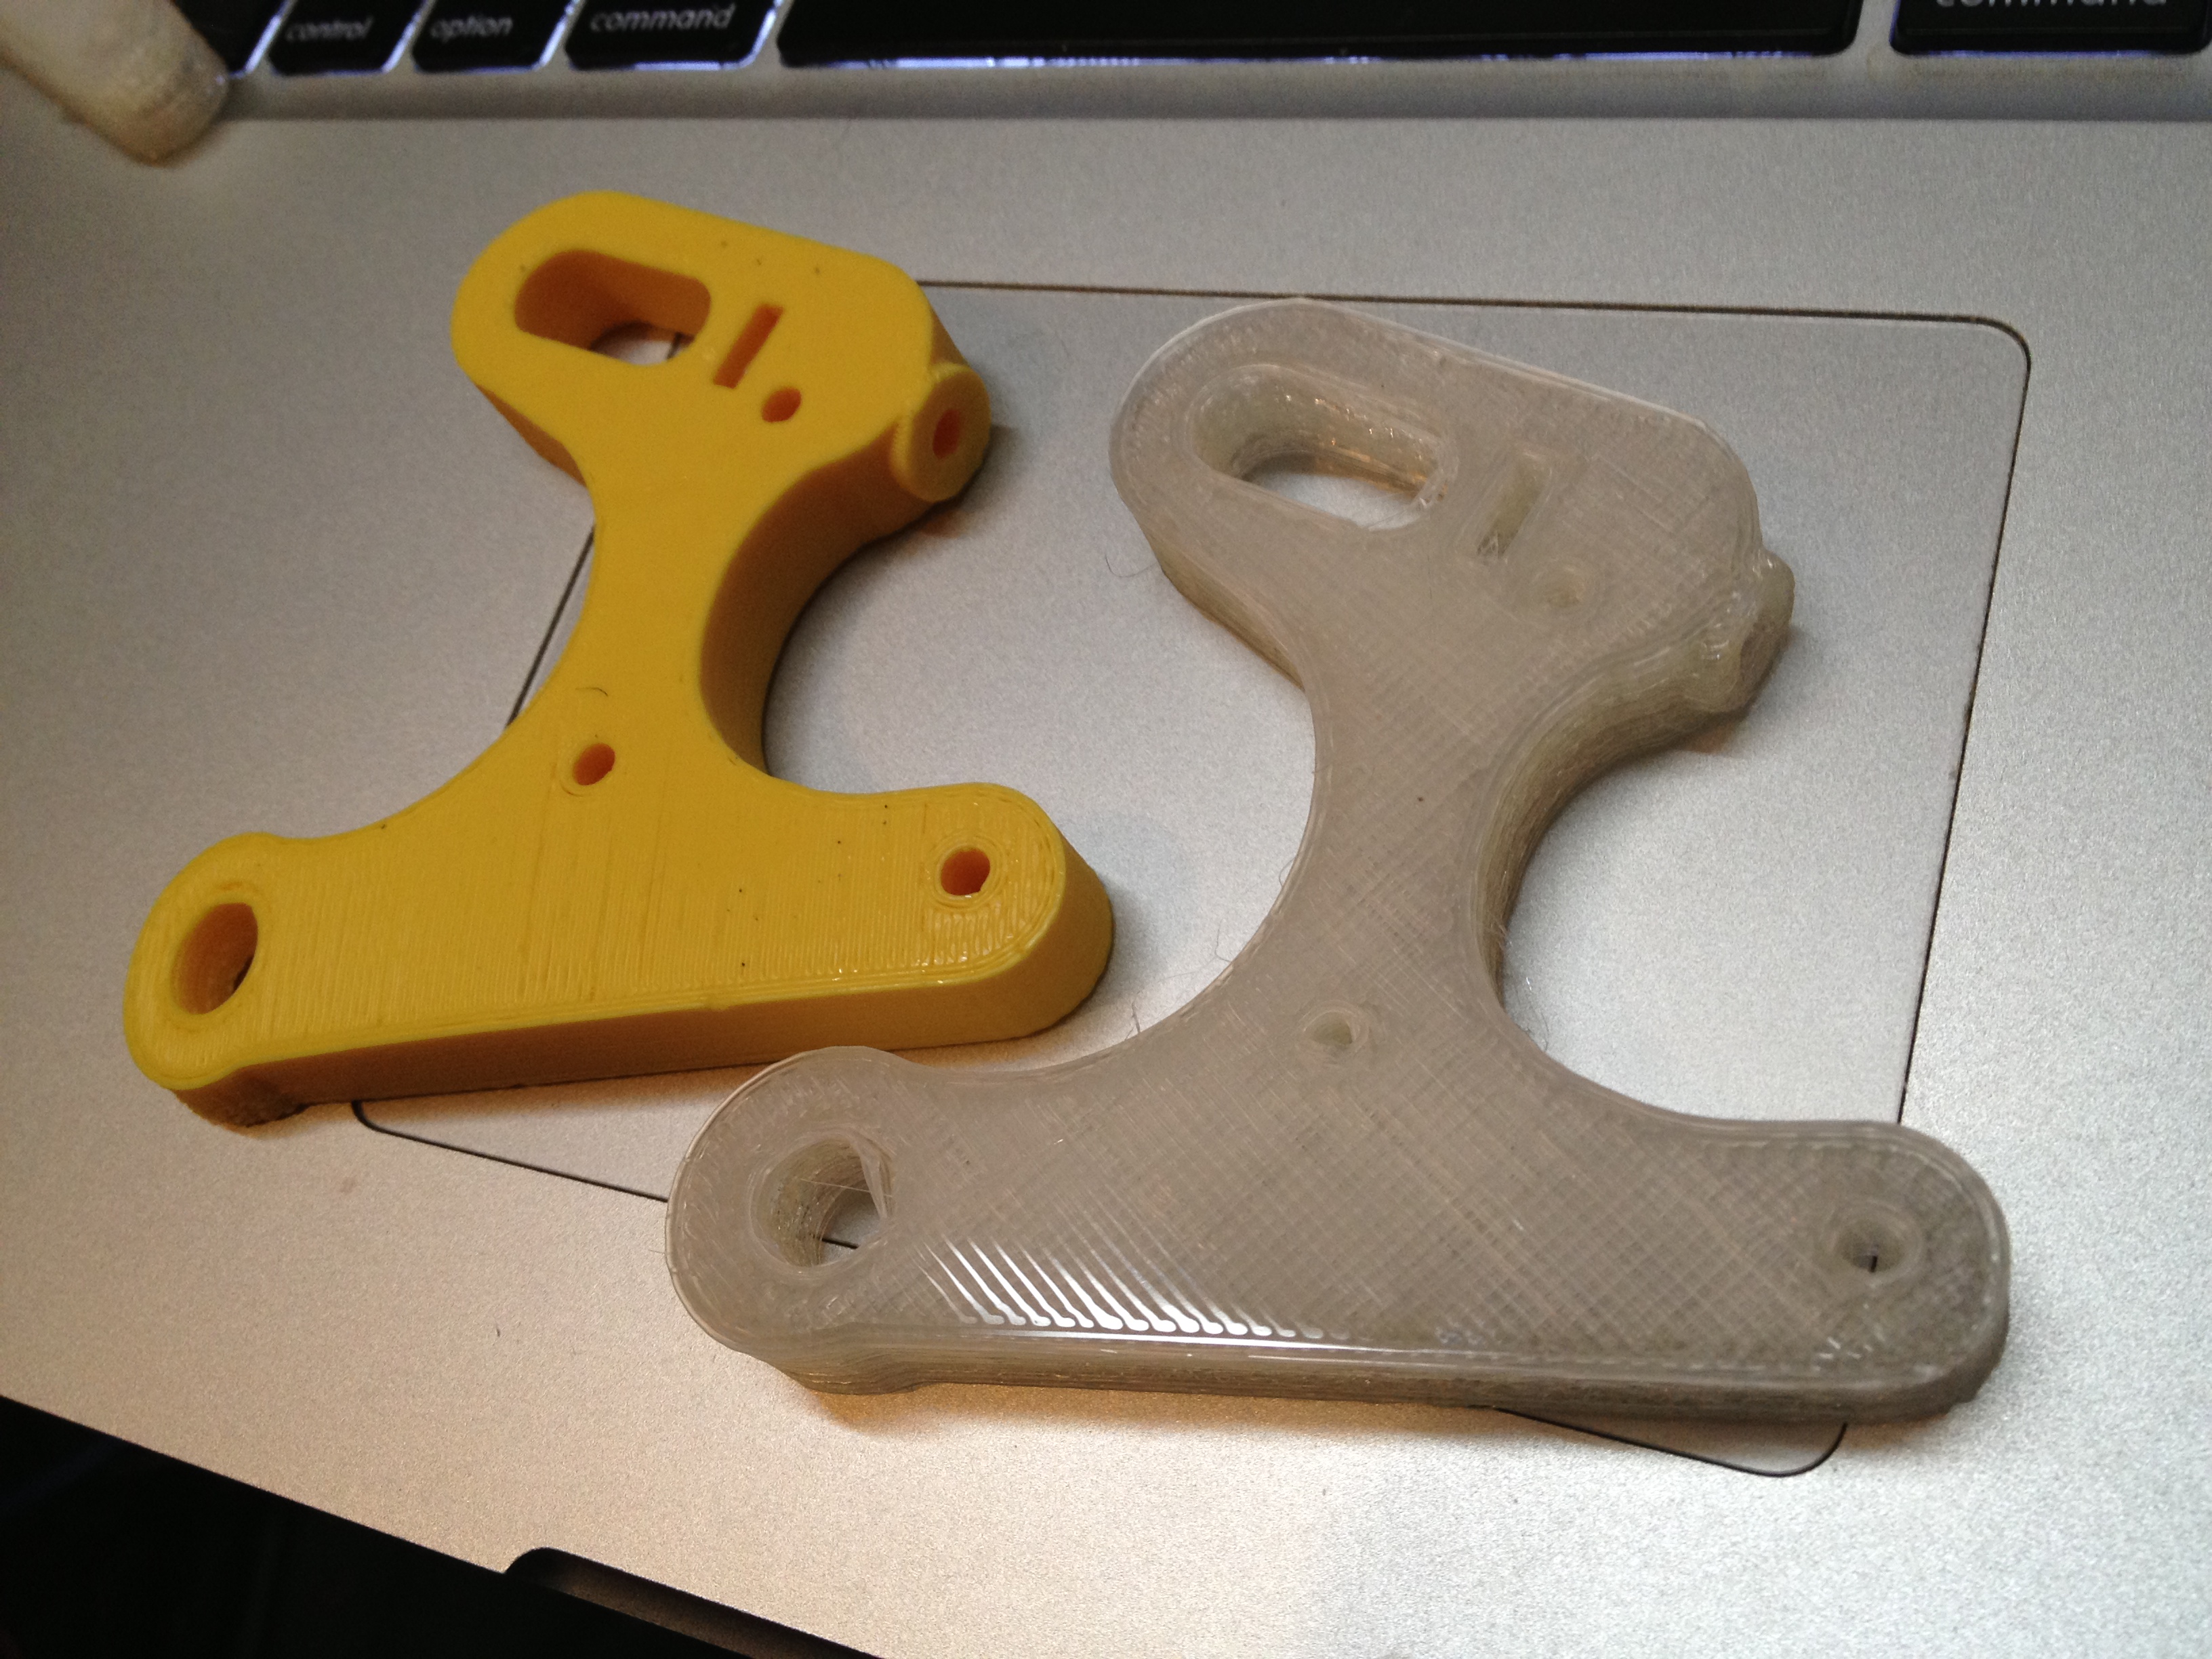
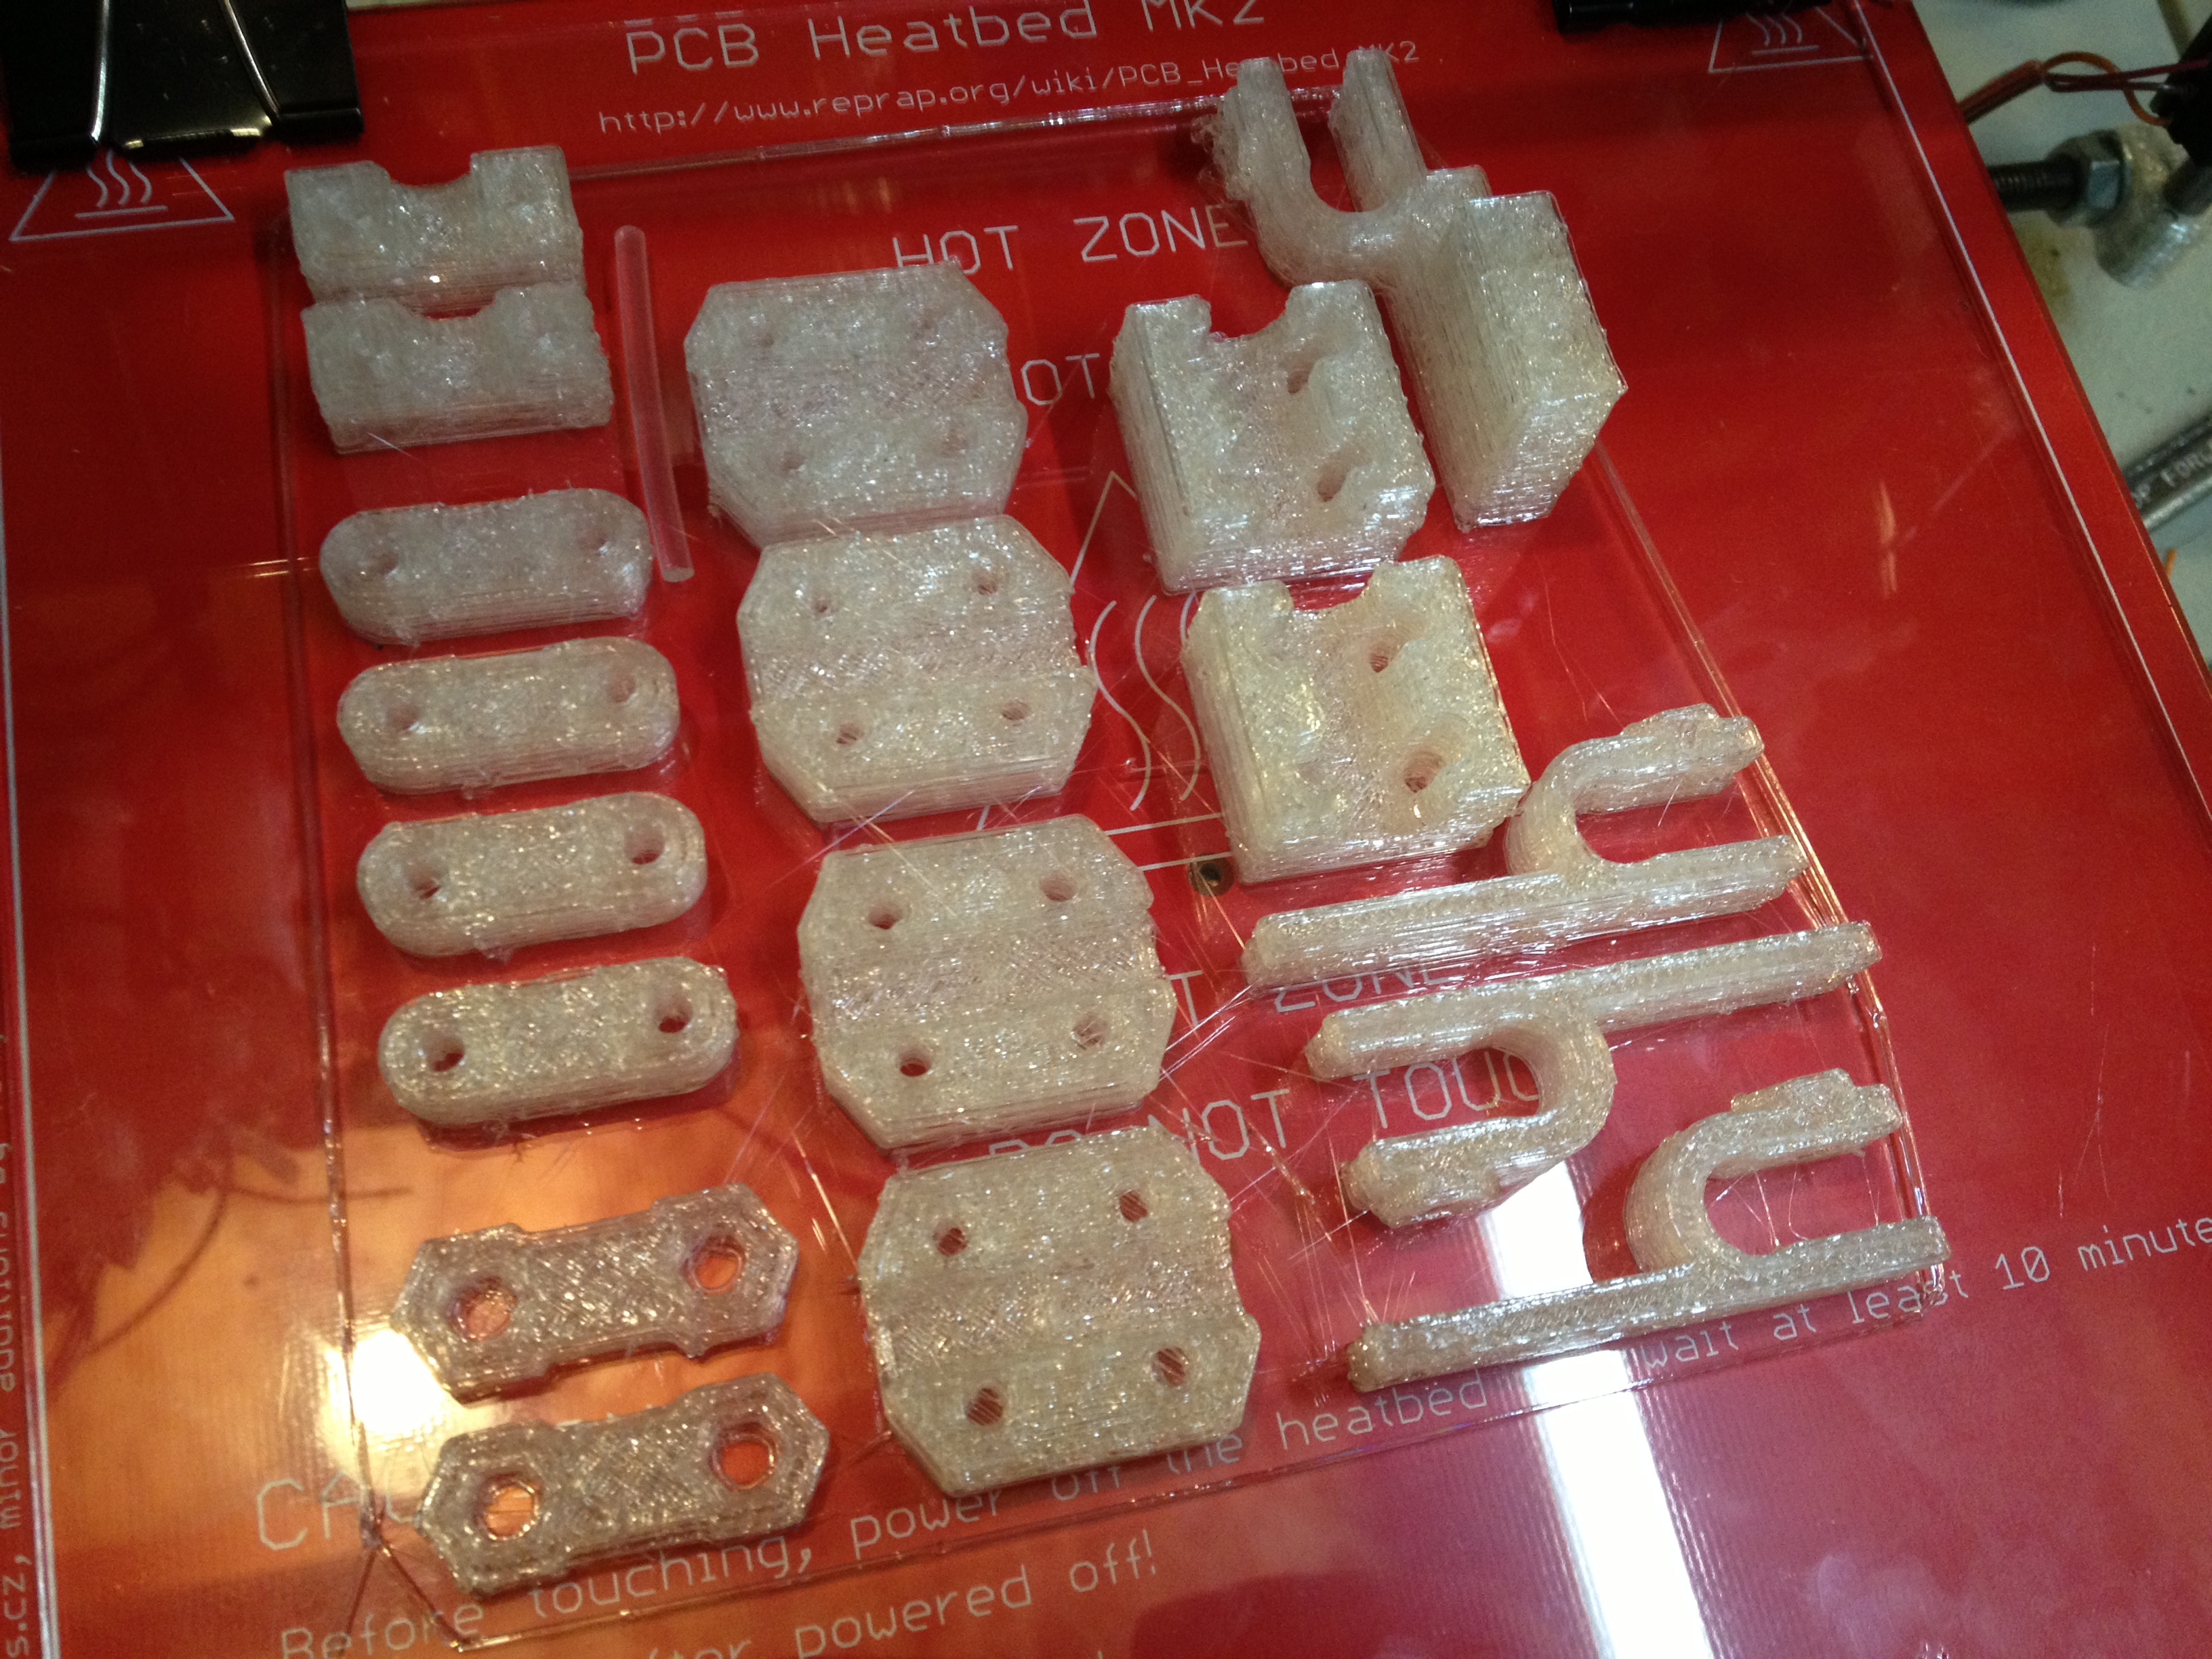
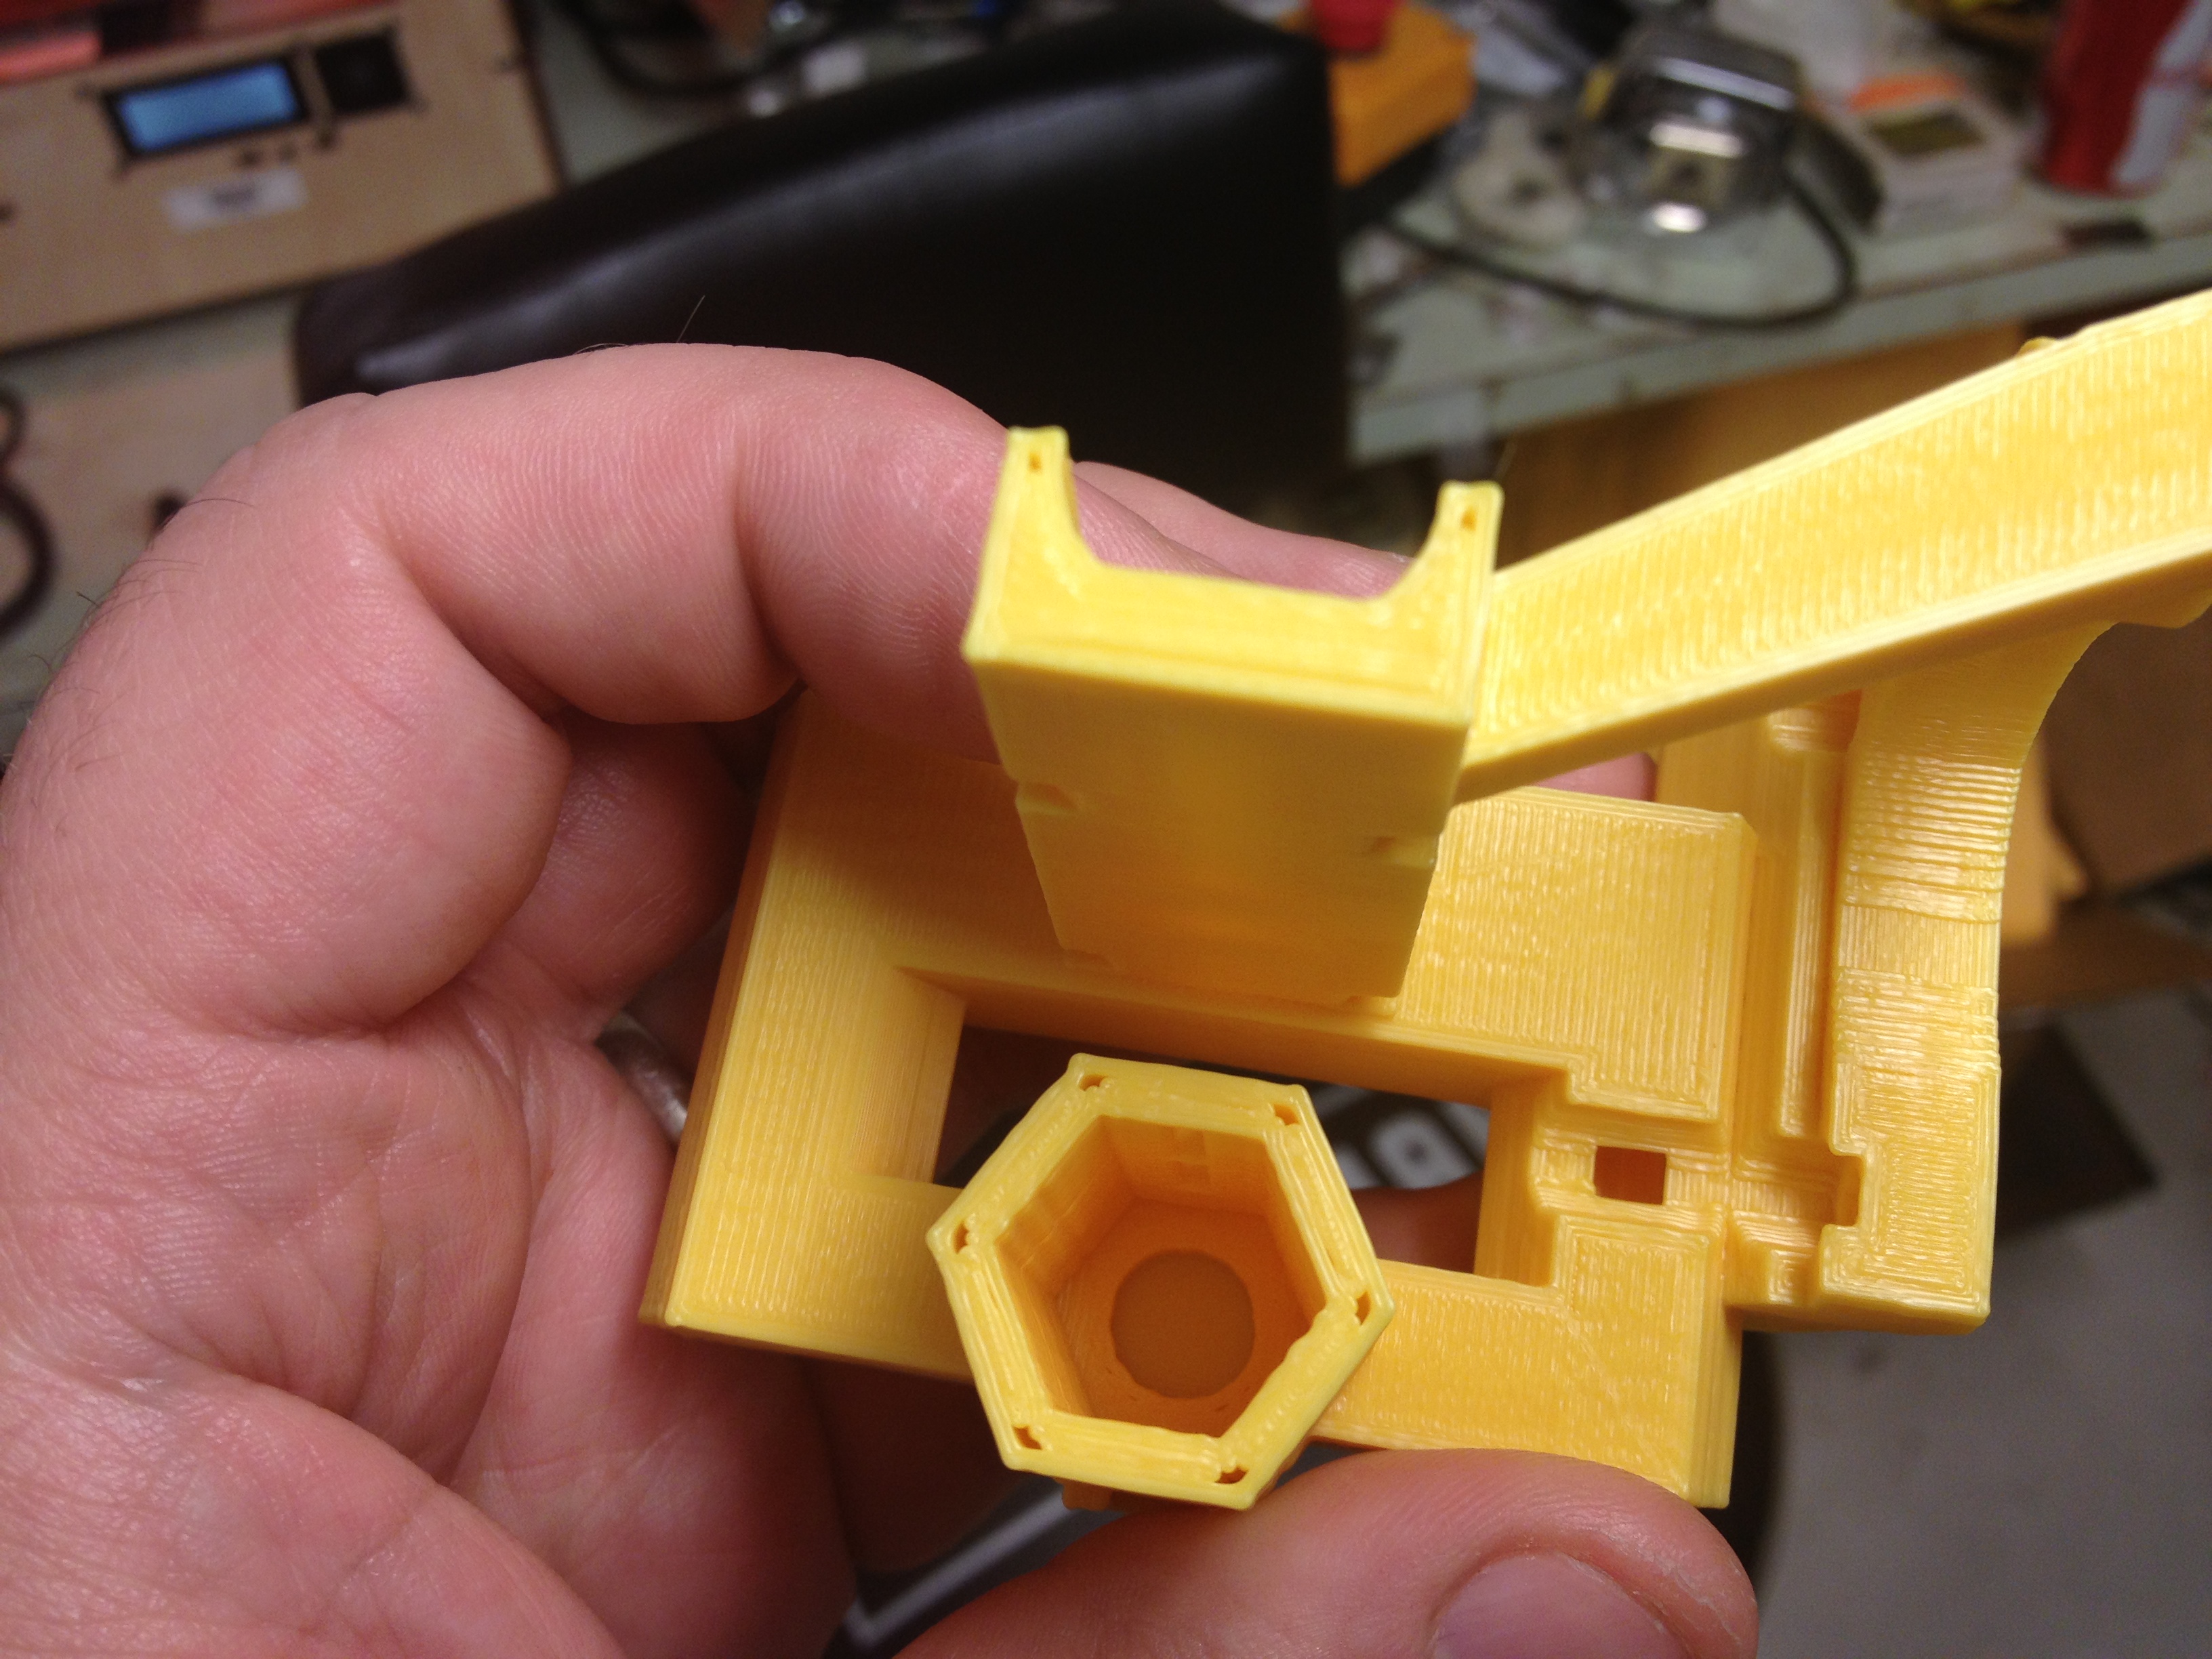
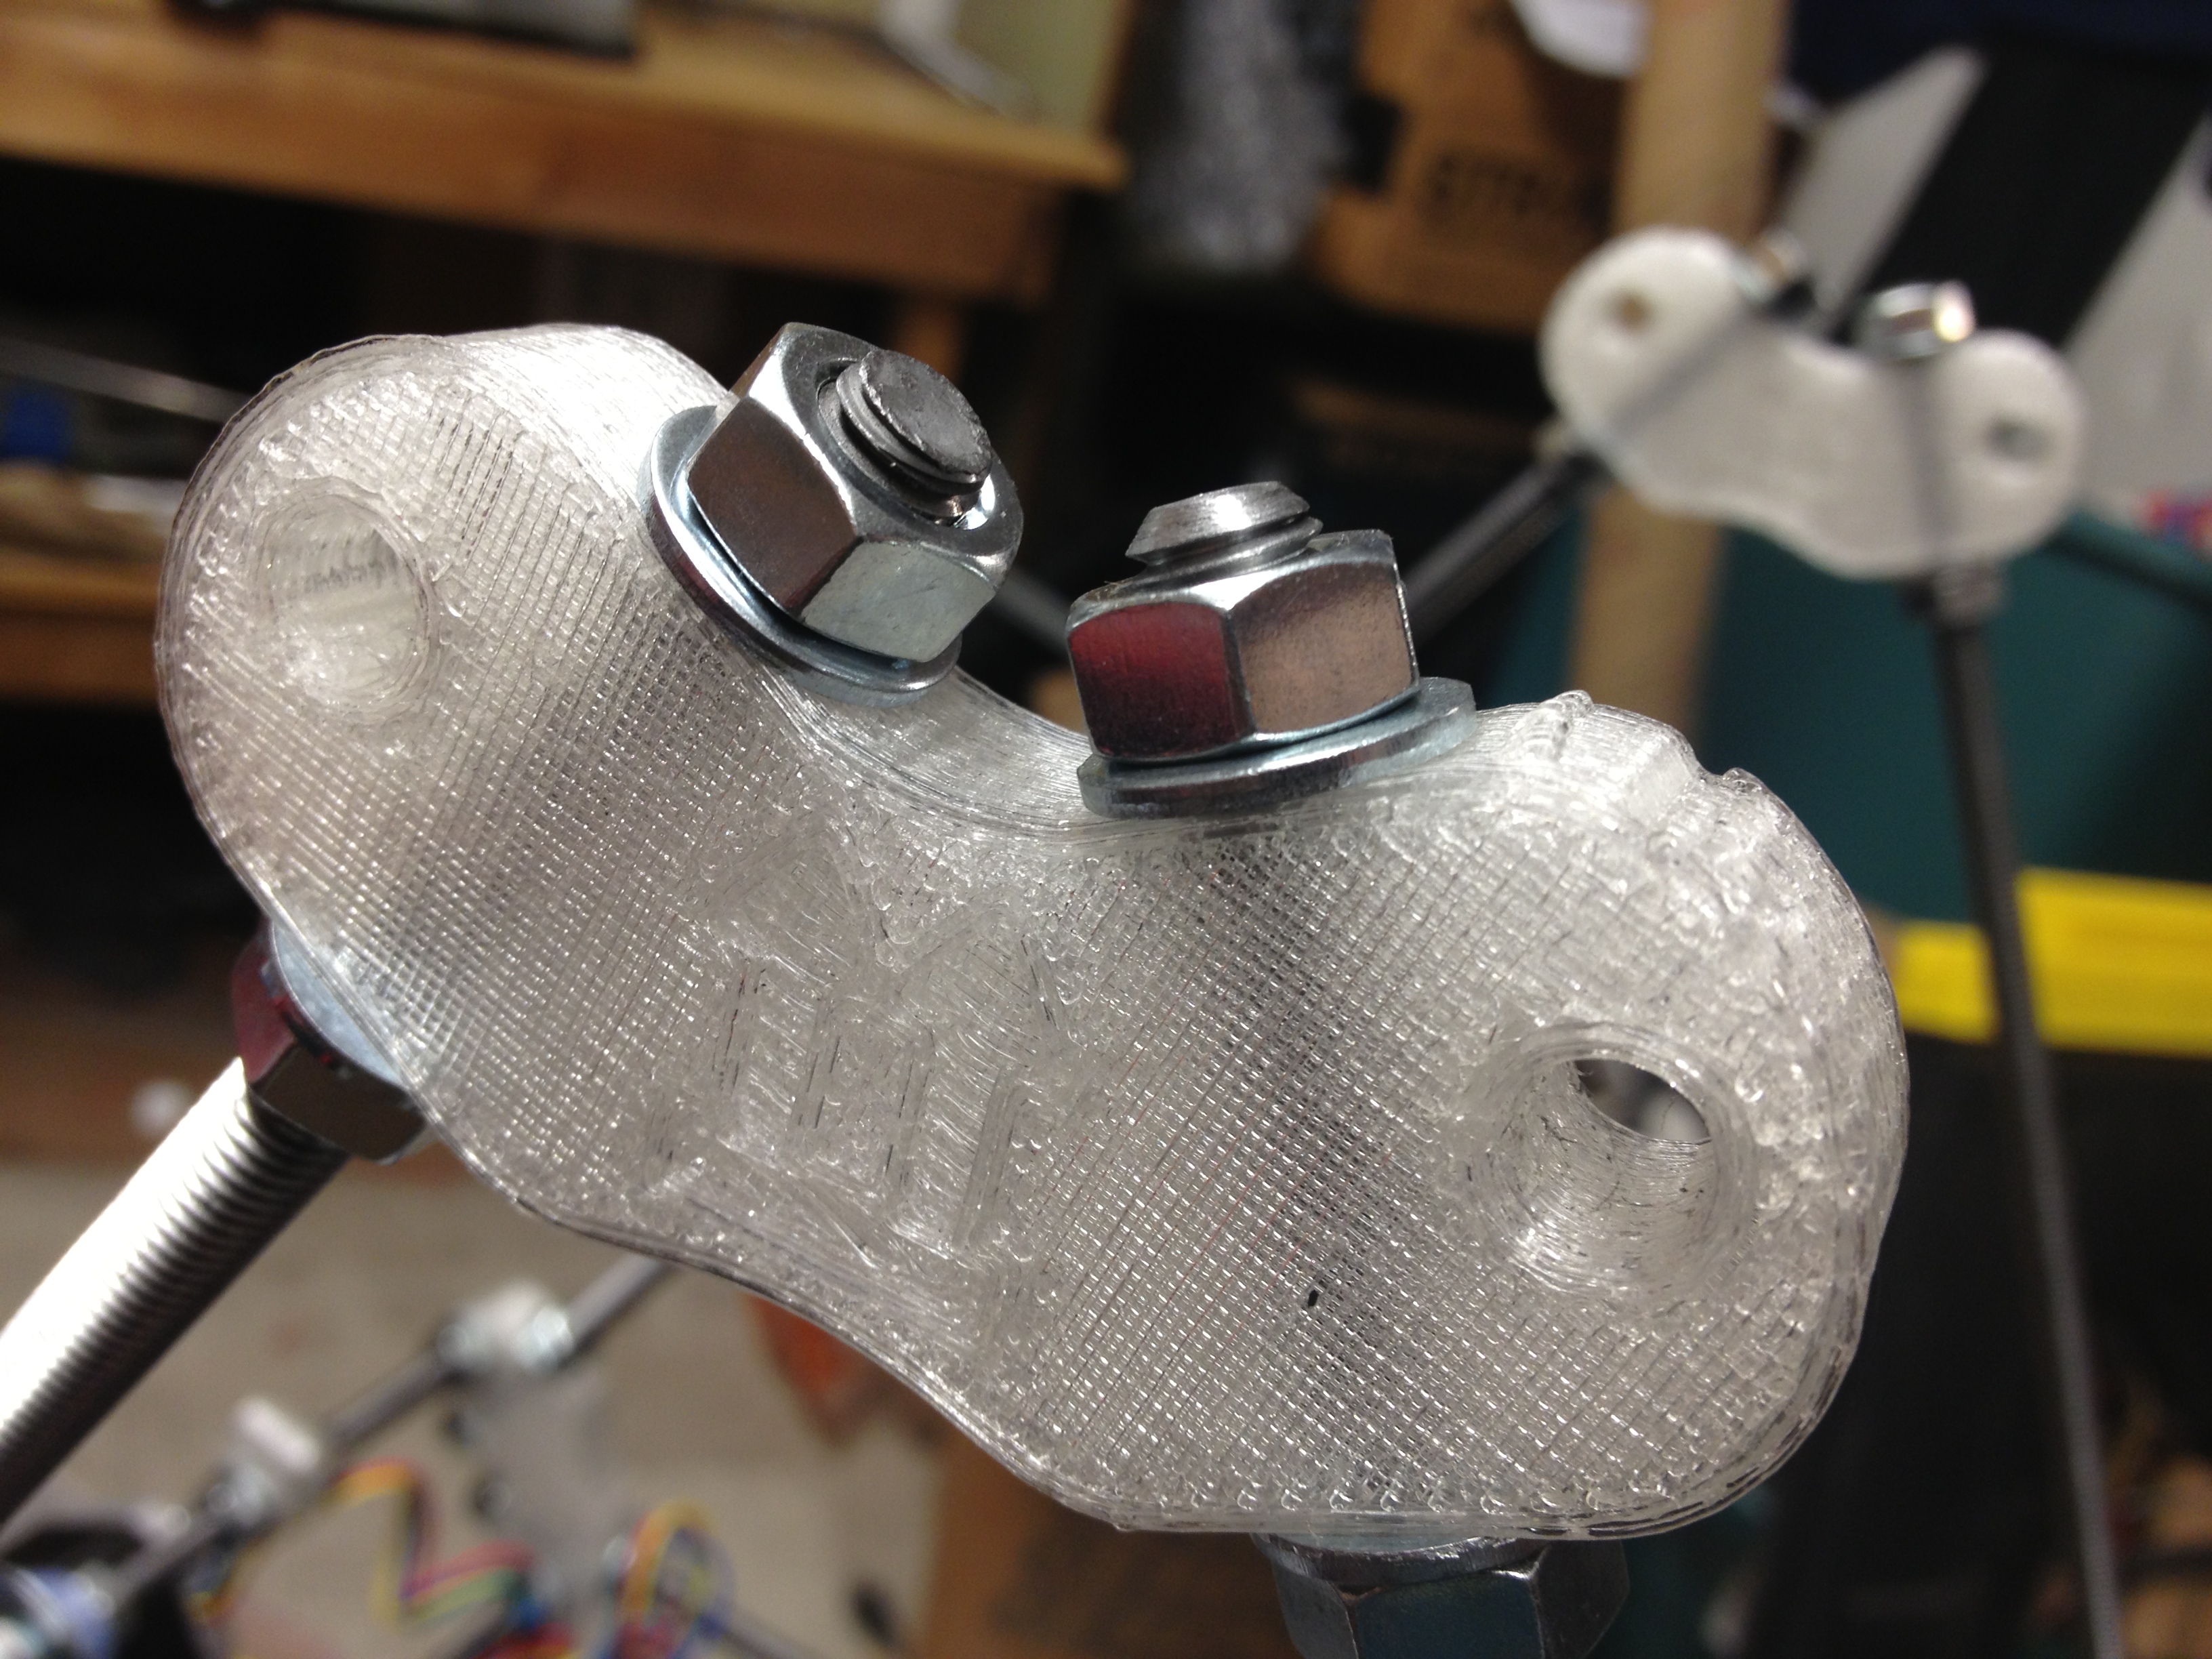
Then I got to the Y-motor mount on the front. I had decided to try a new version that had an integrated belt-tensioner (this one here)). I had the one I’d printed for Joe Werther, but I couldn’t find the one I’d printed for myself. After looking everywhere, sighing, and deciding that I must have left it at work or something (and I’d have to wait until Monday to get it), something occurred to me…..

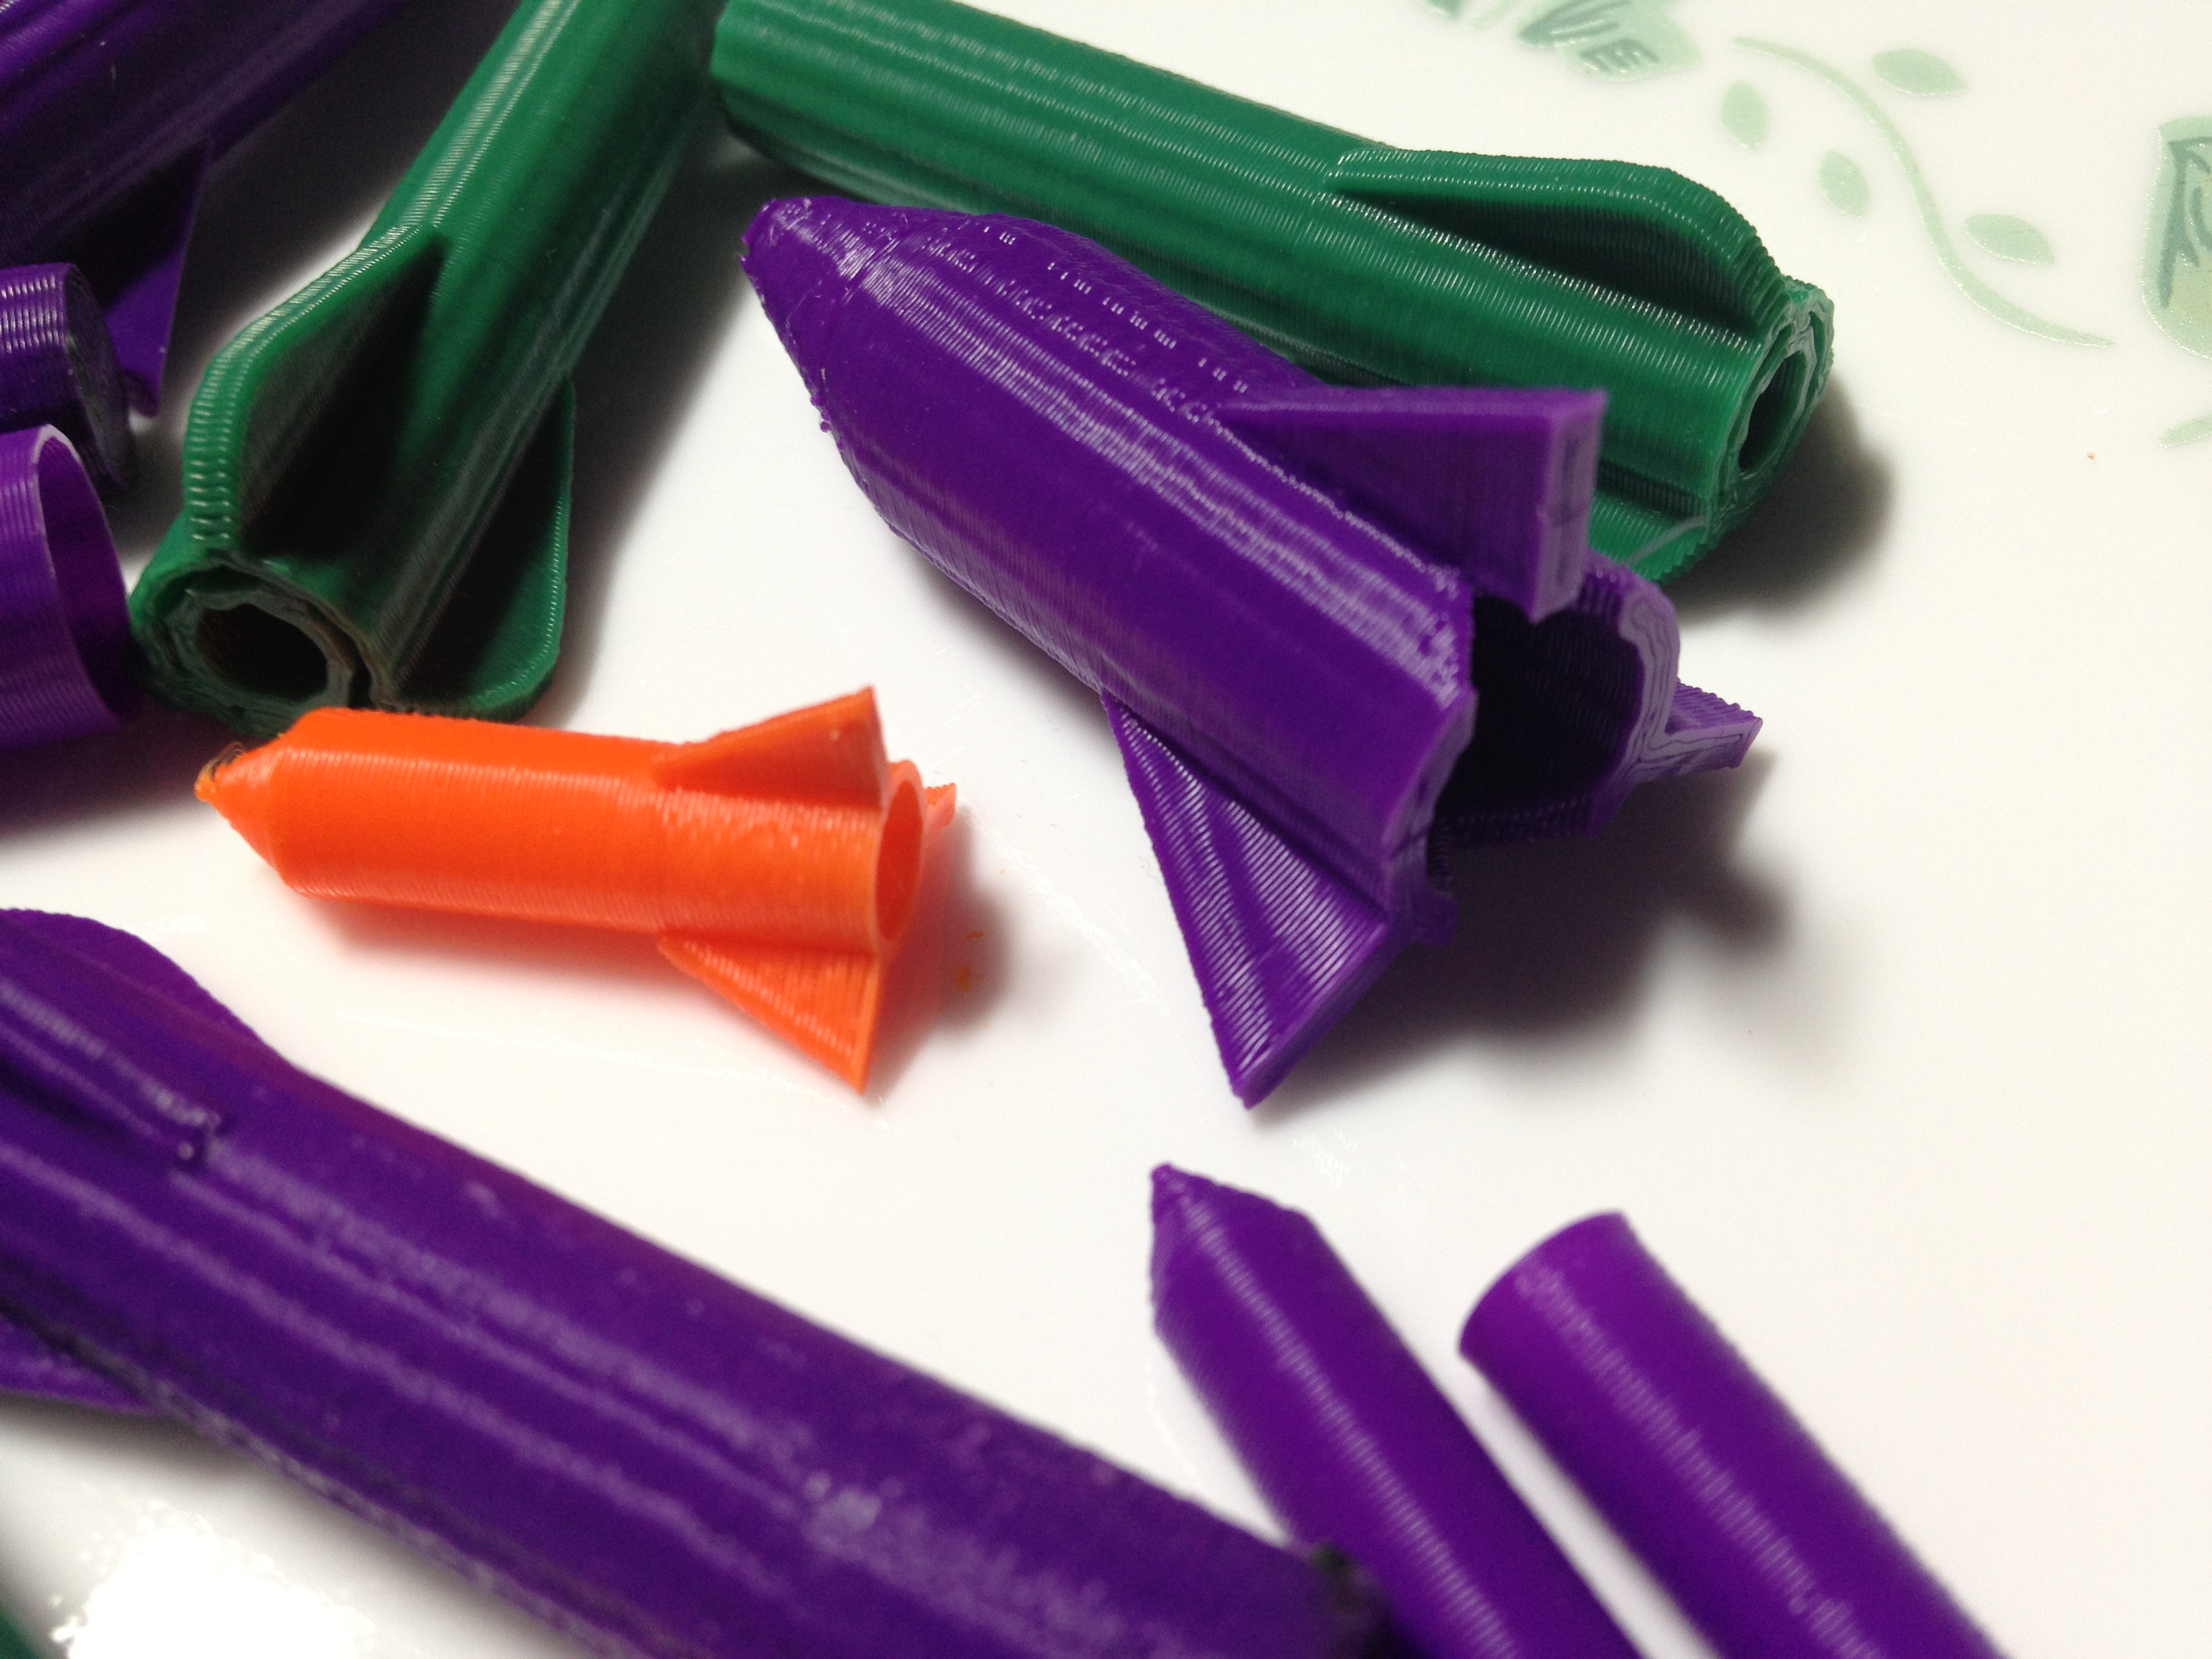
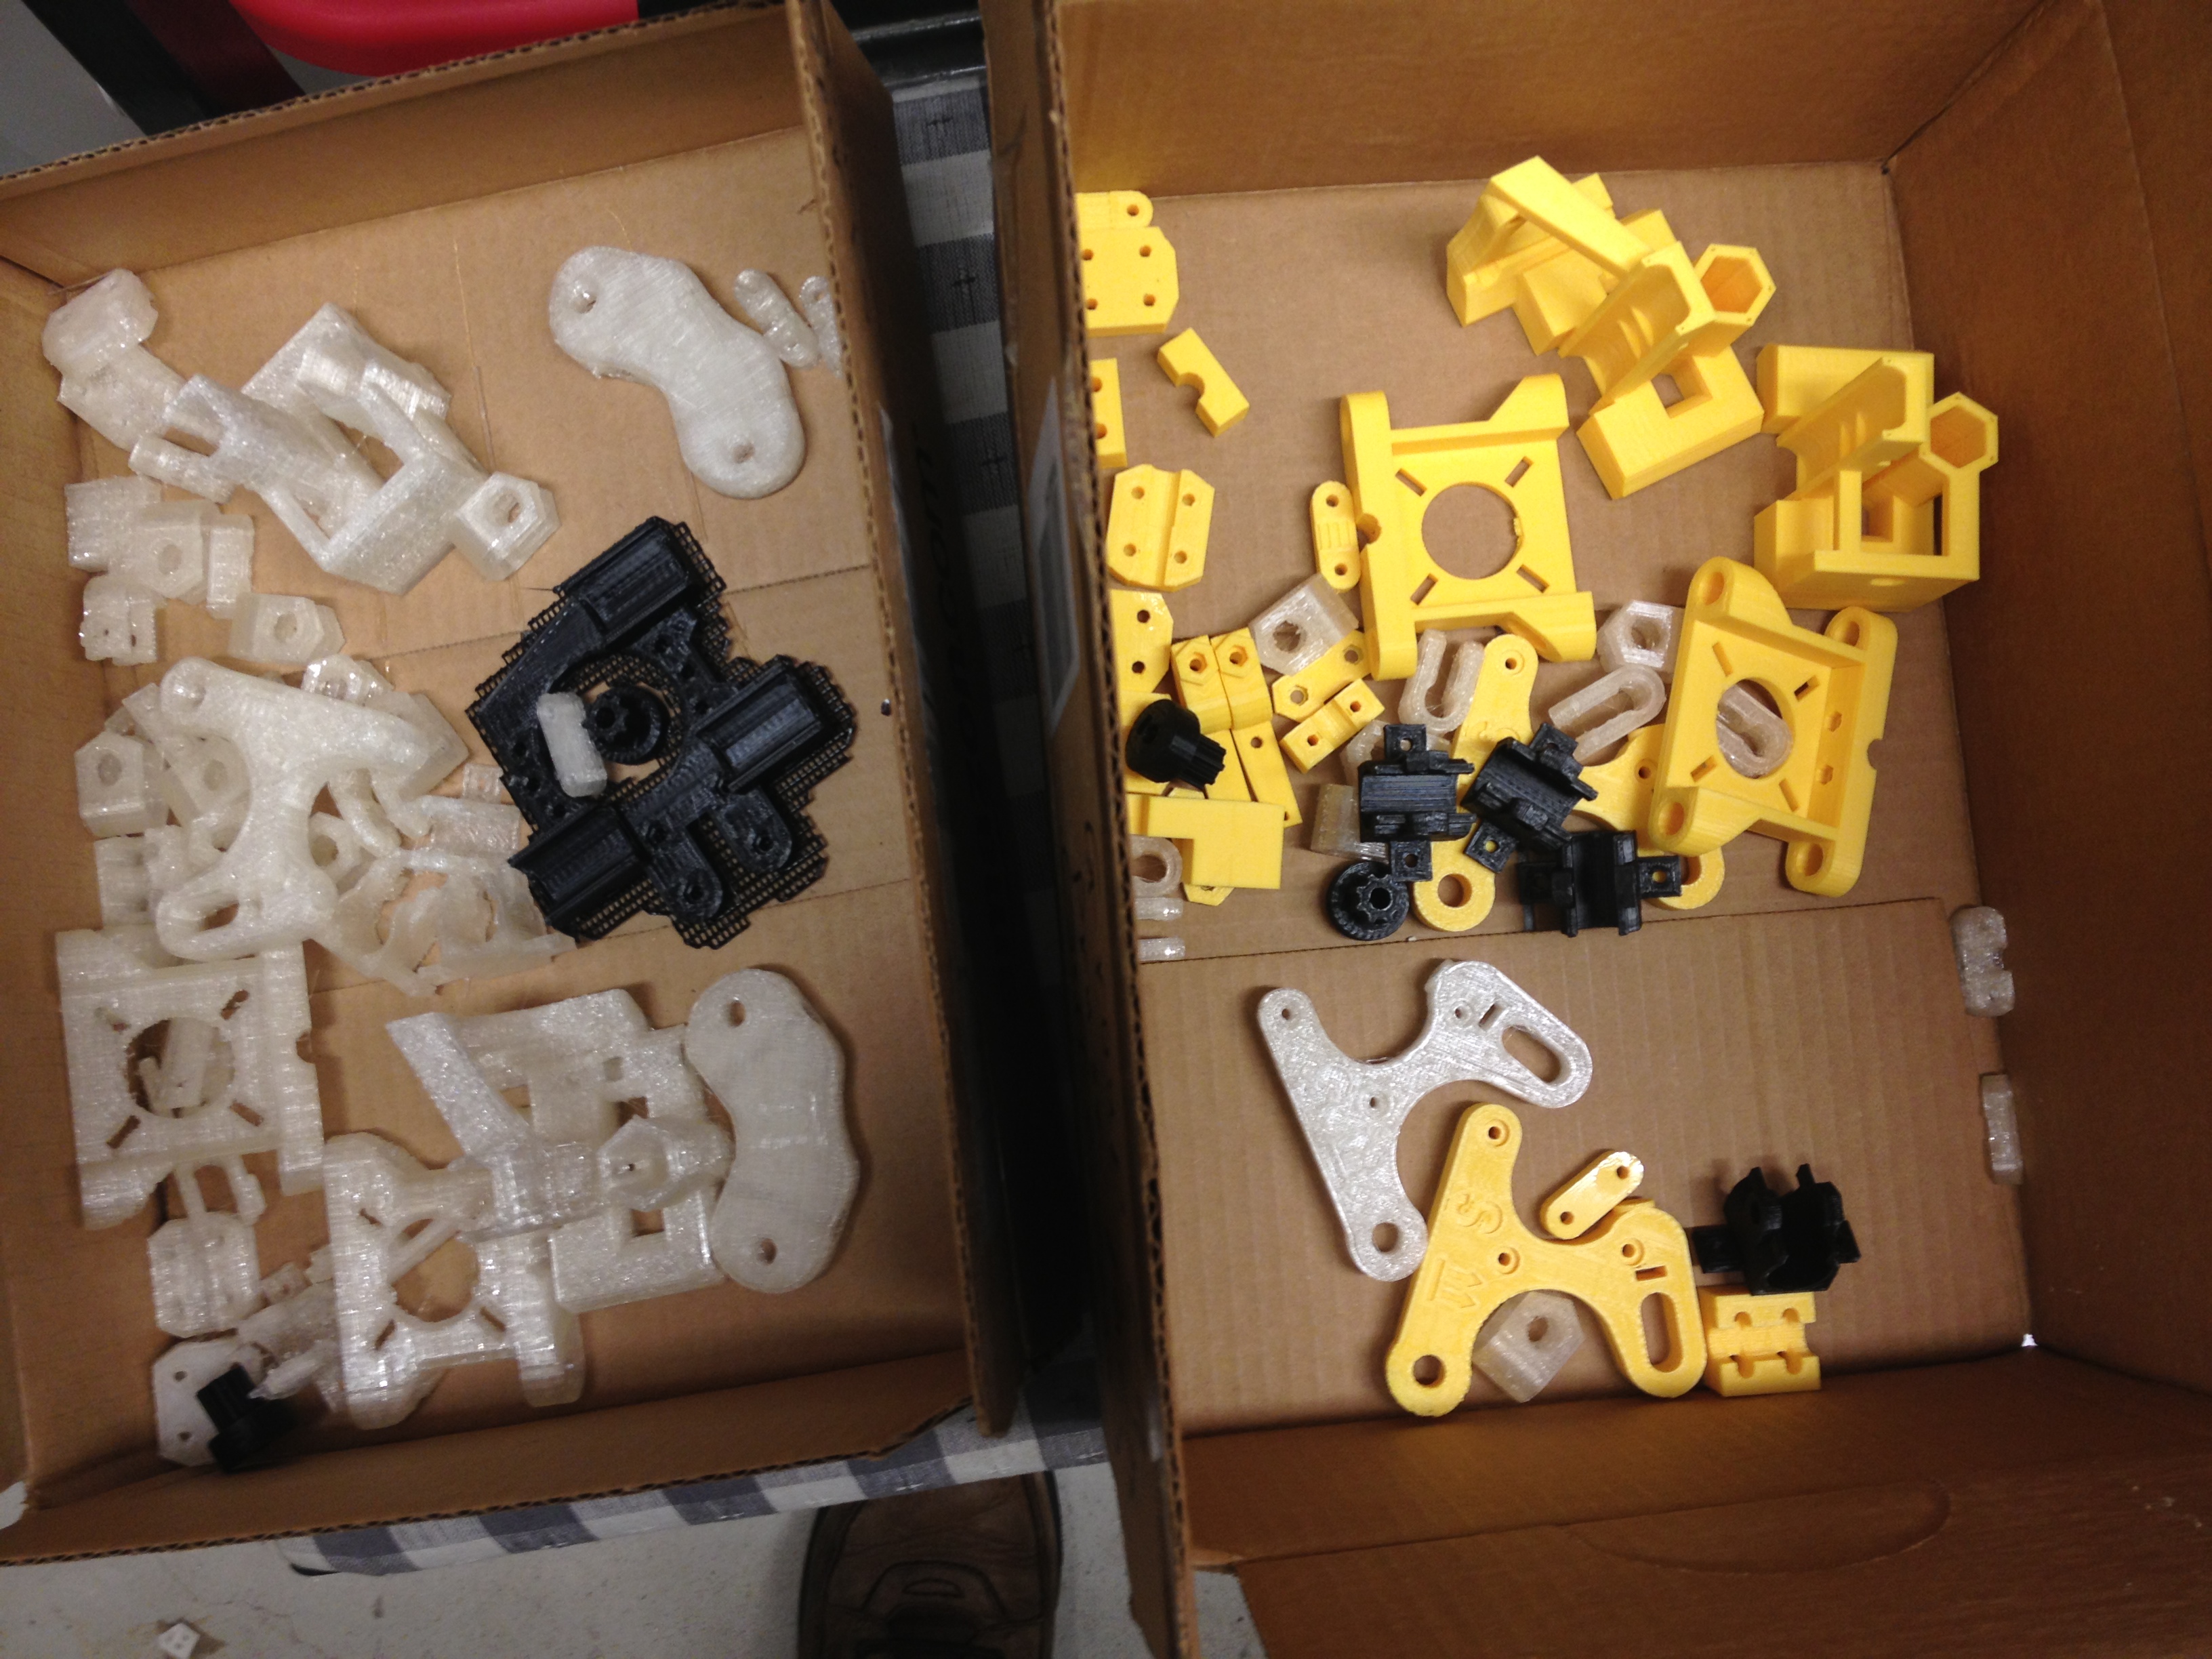
Here’s a picture of them (you watched the video right?):

IMG_2573

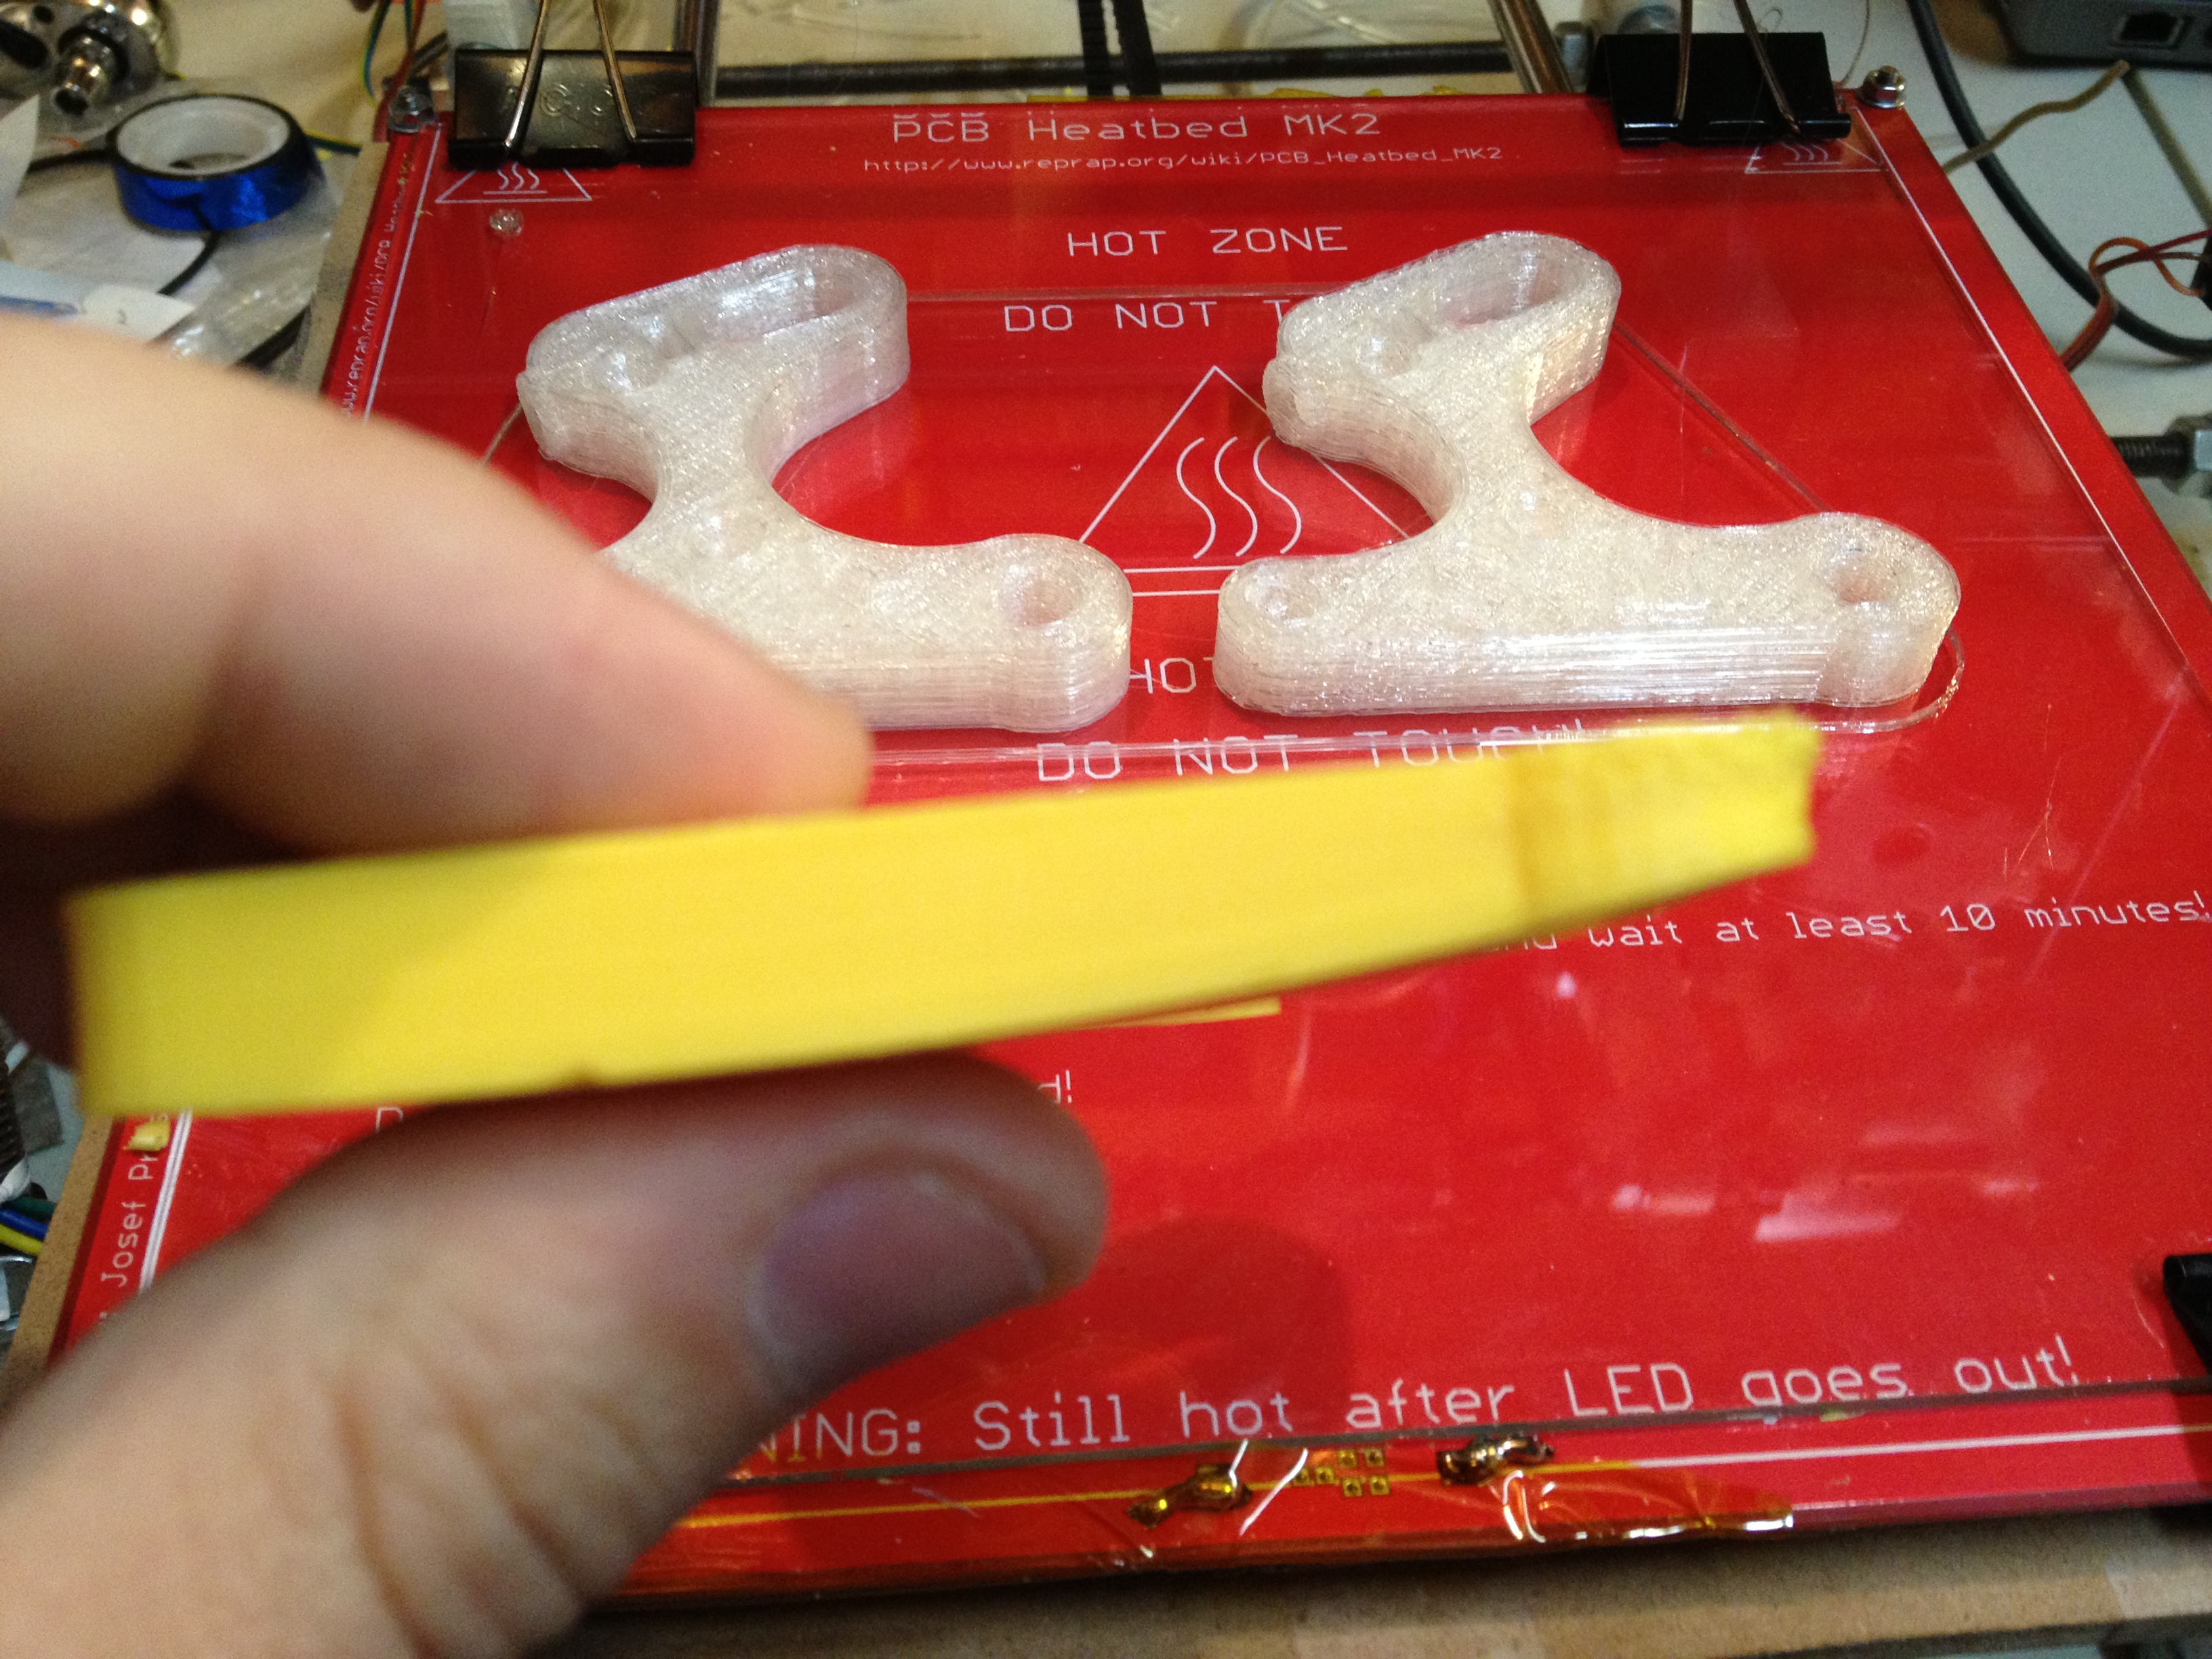
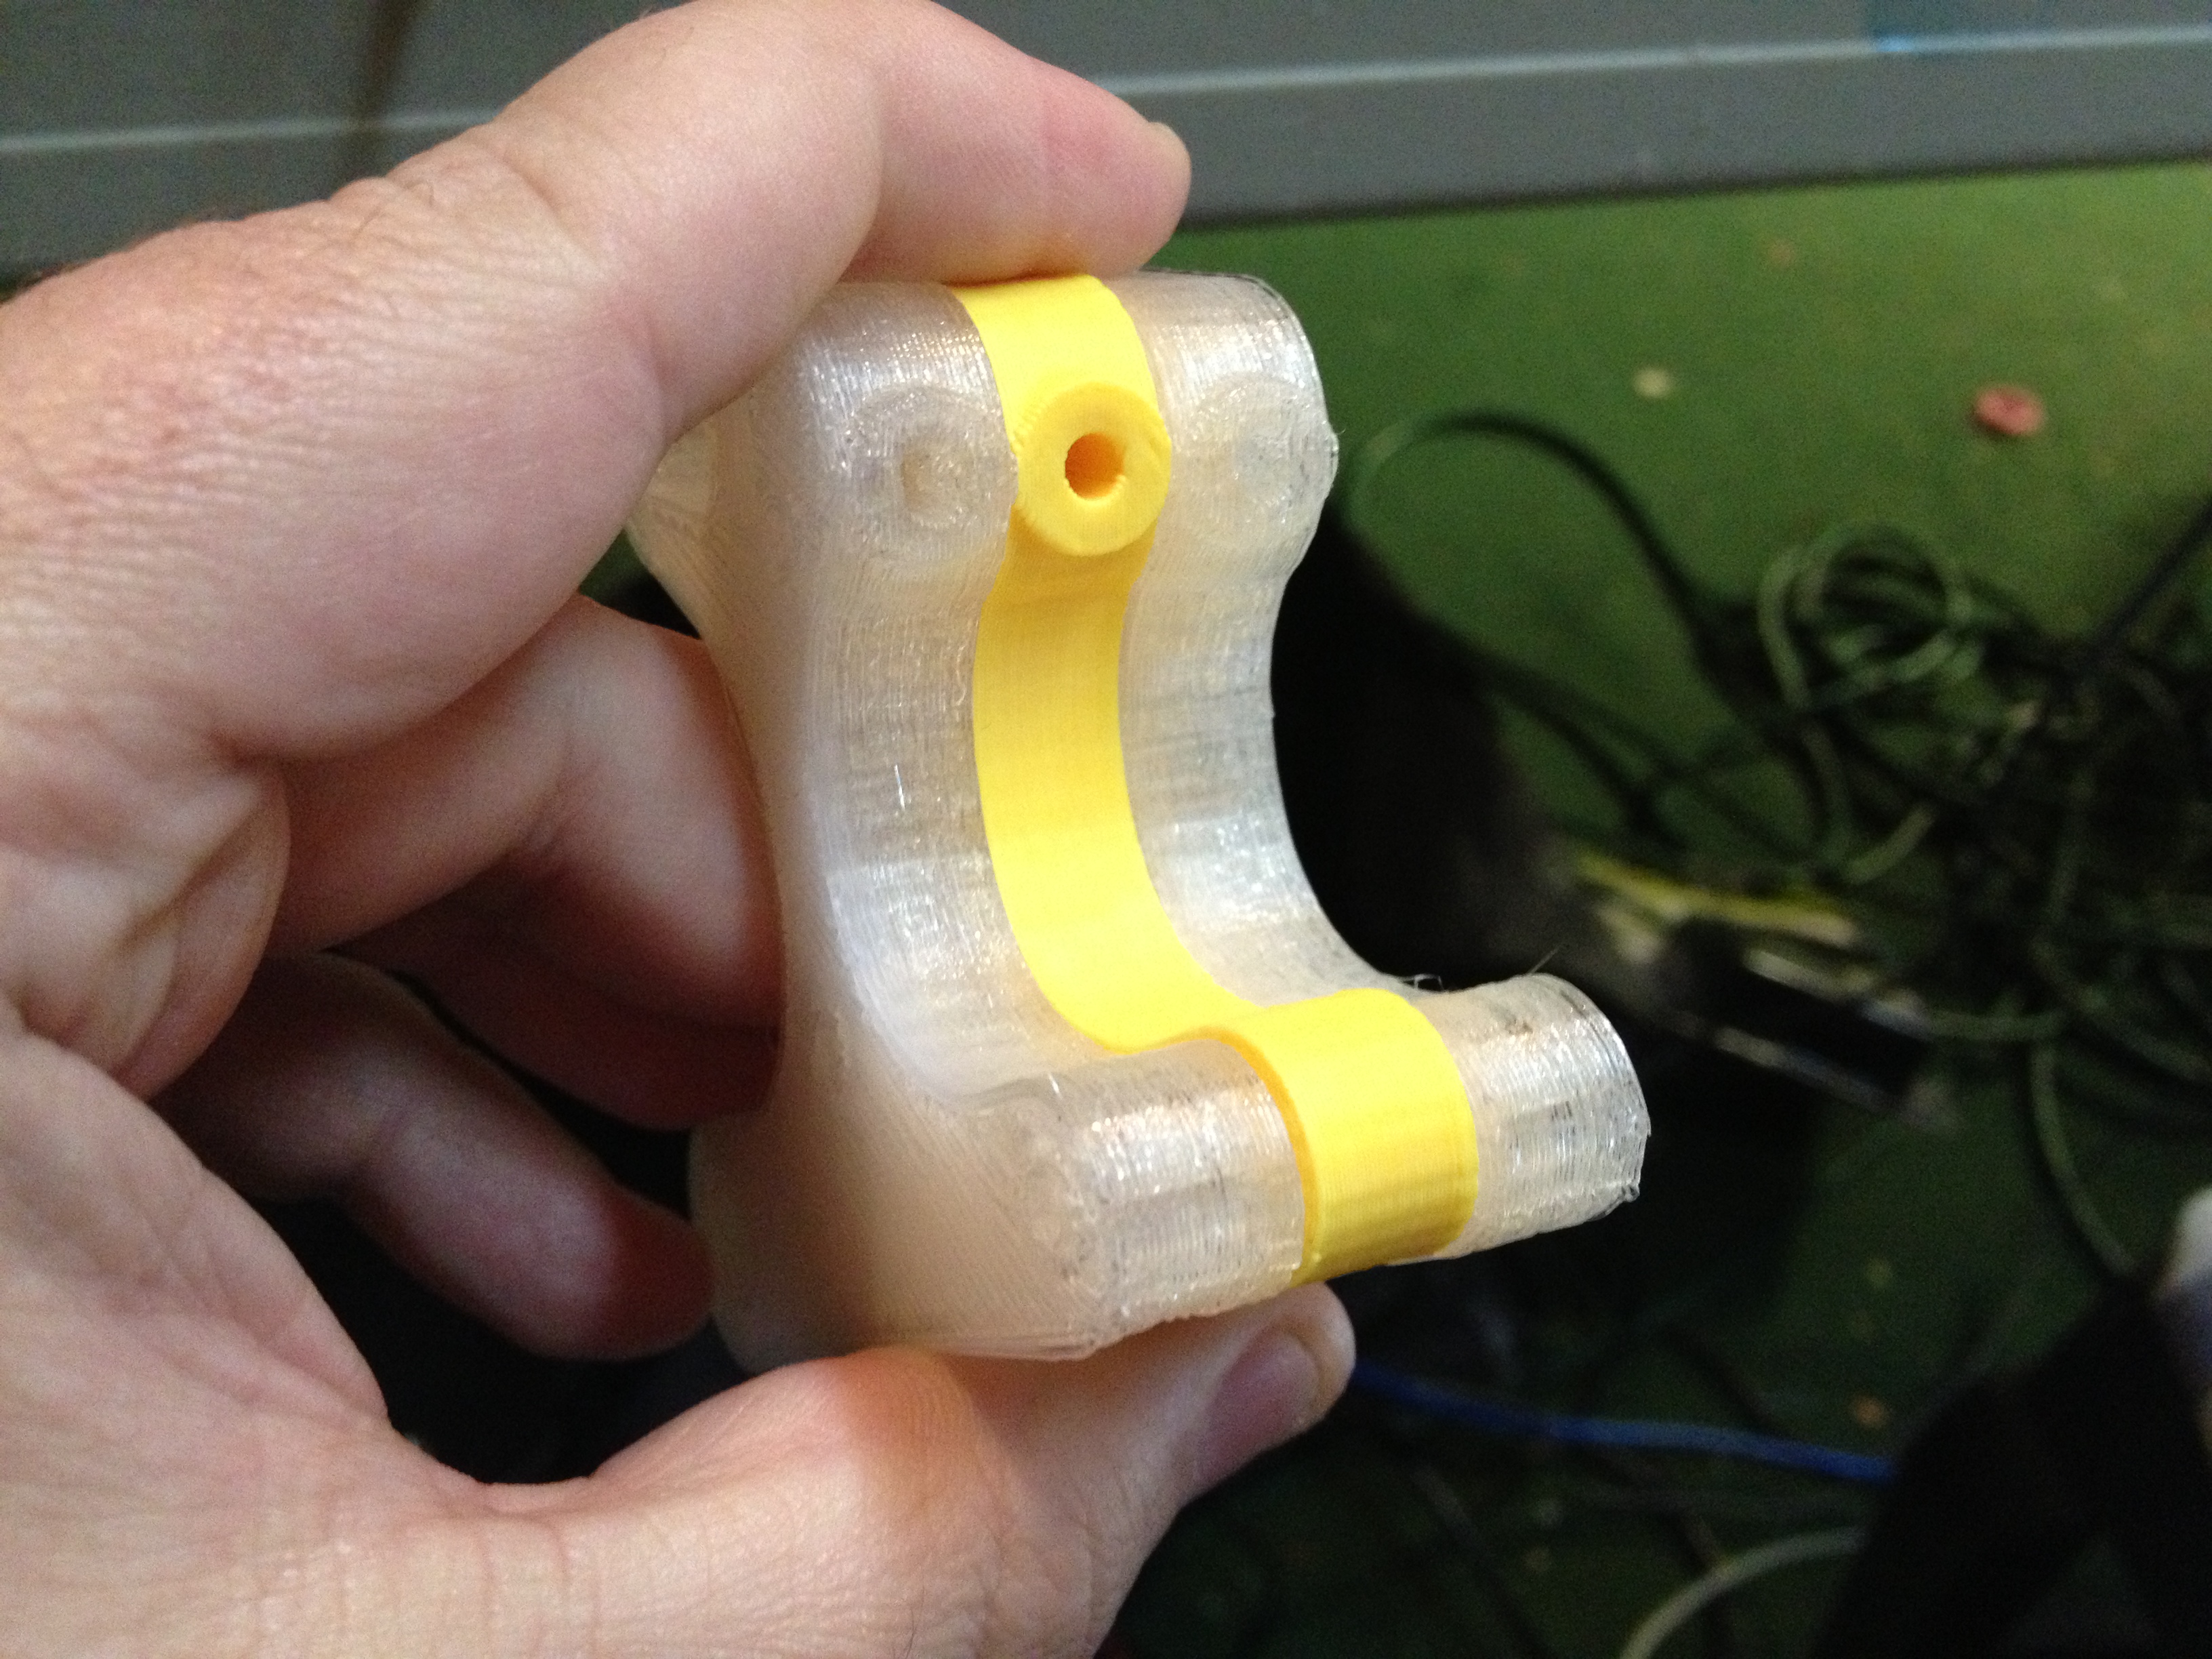
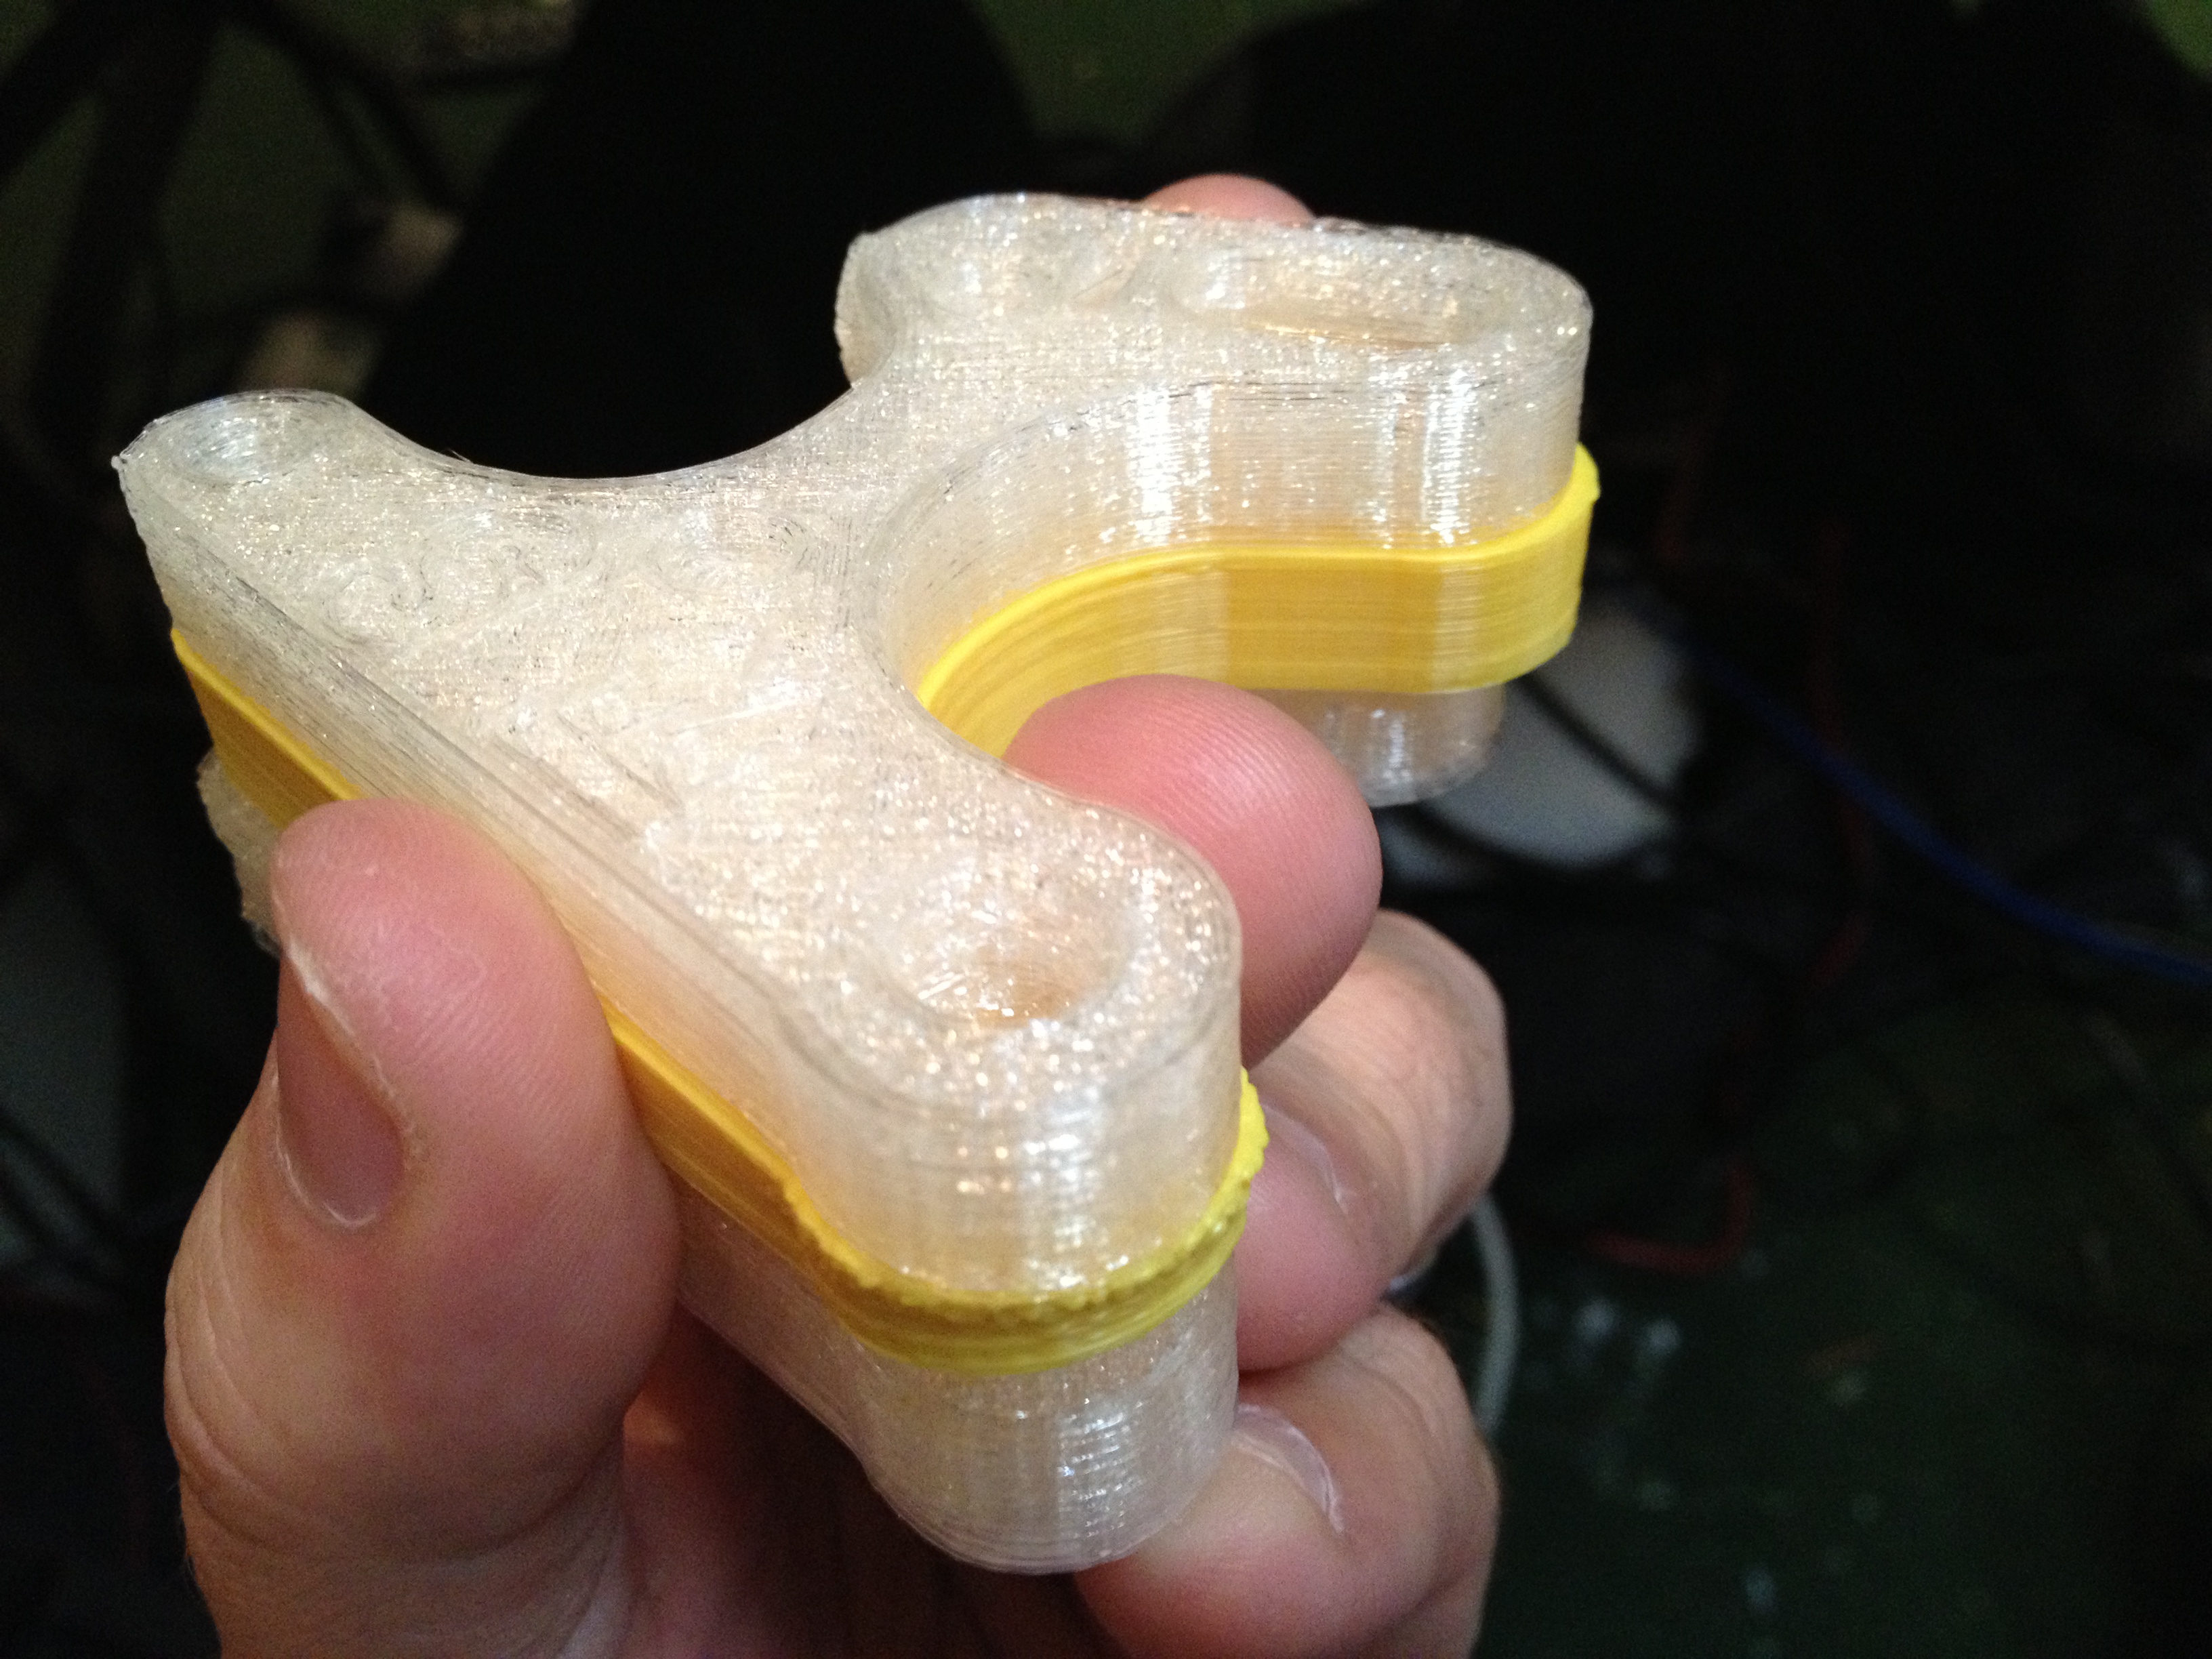
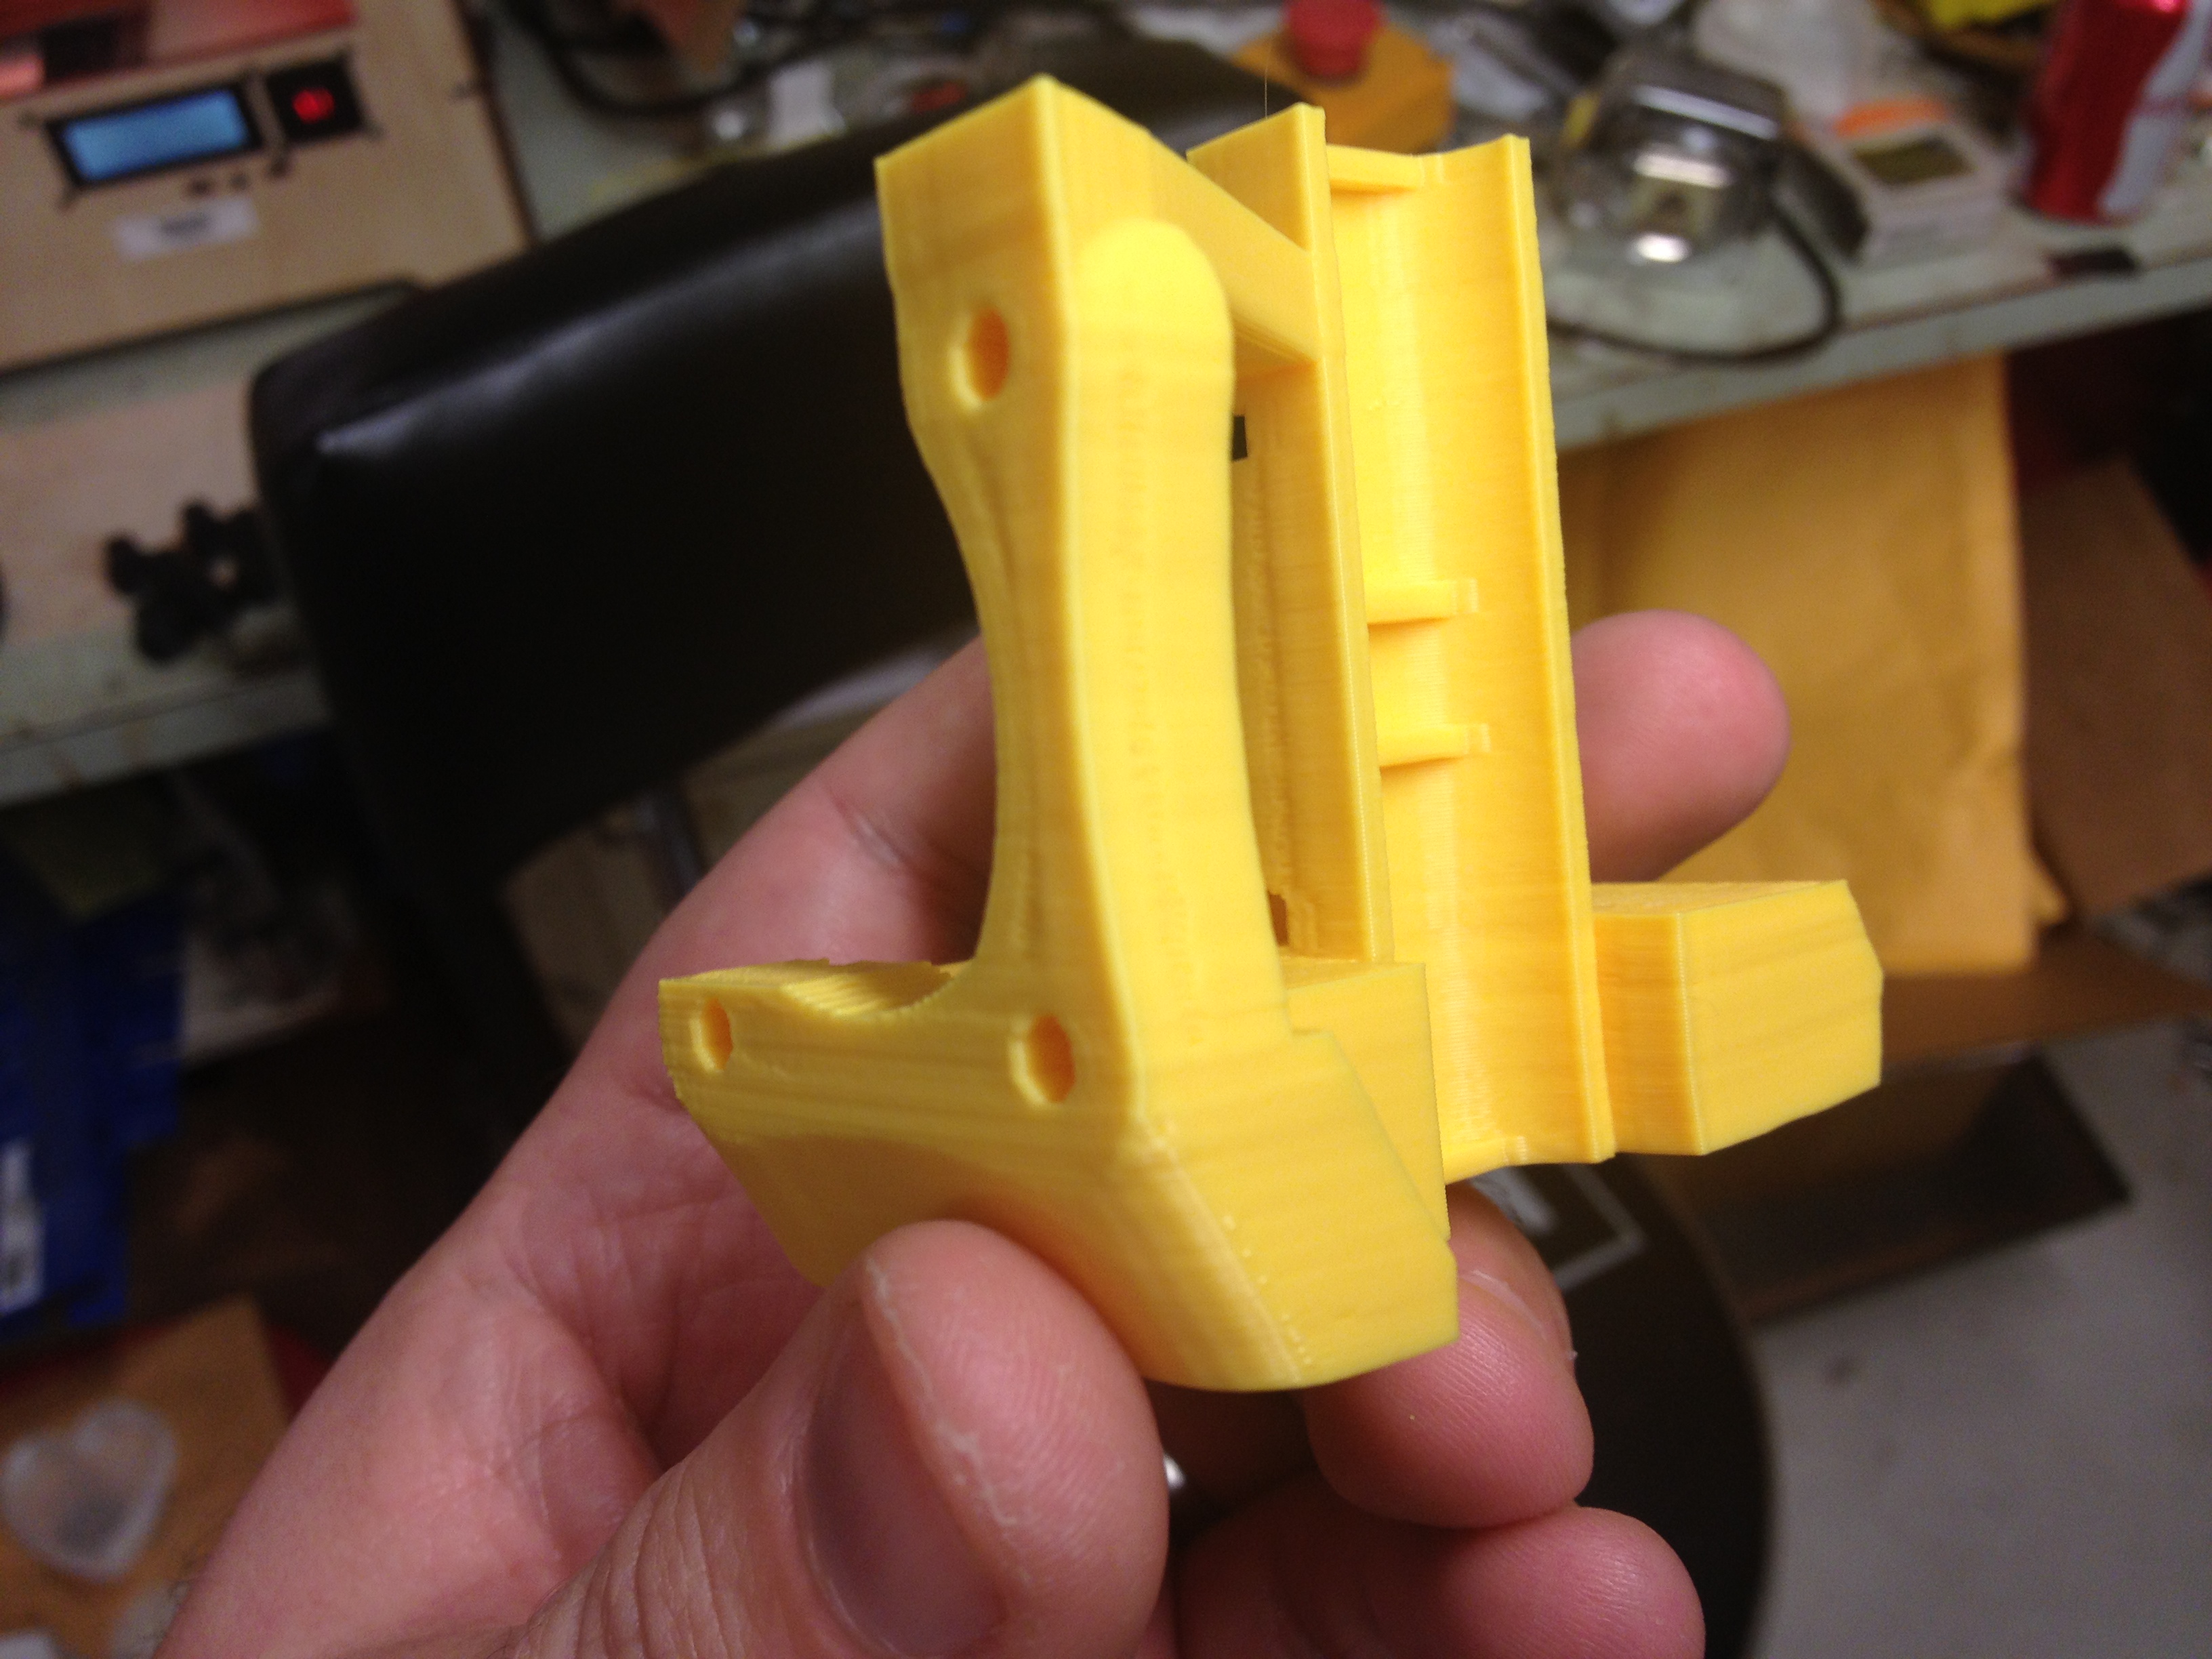
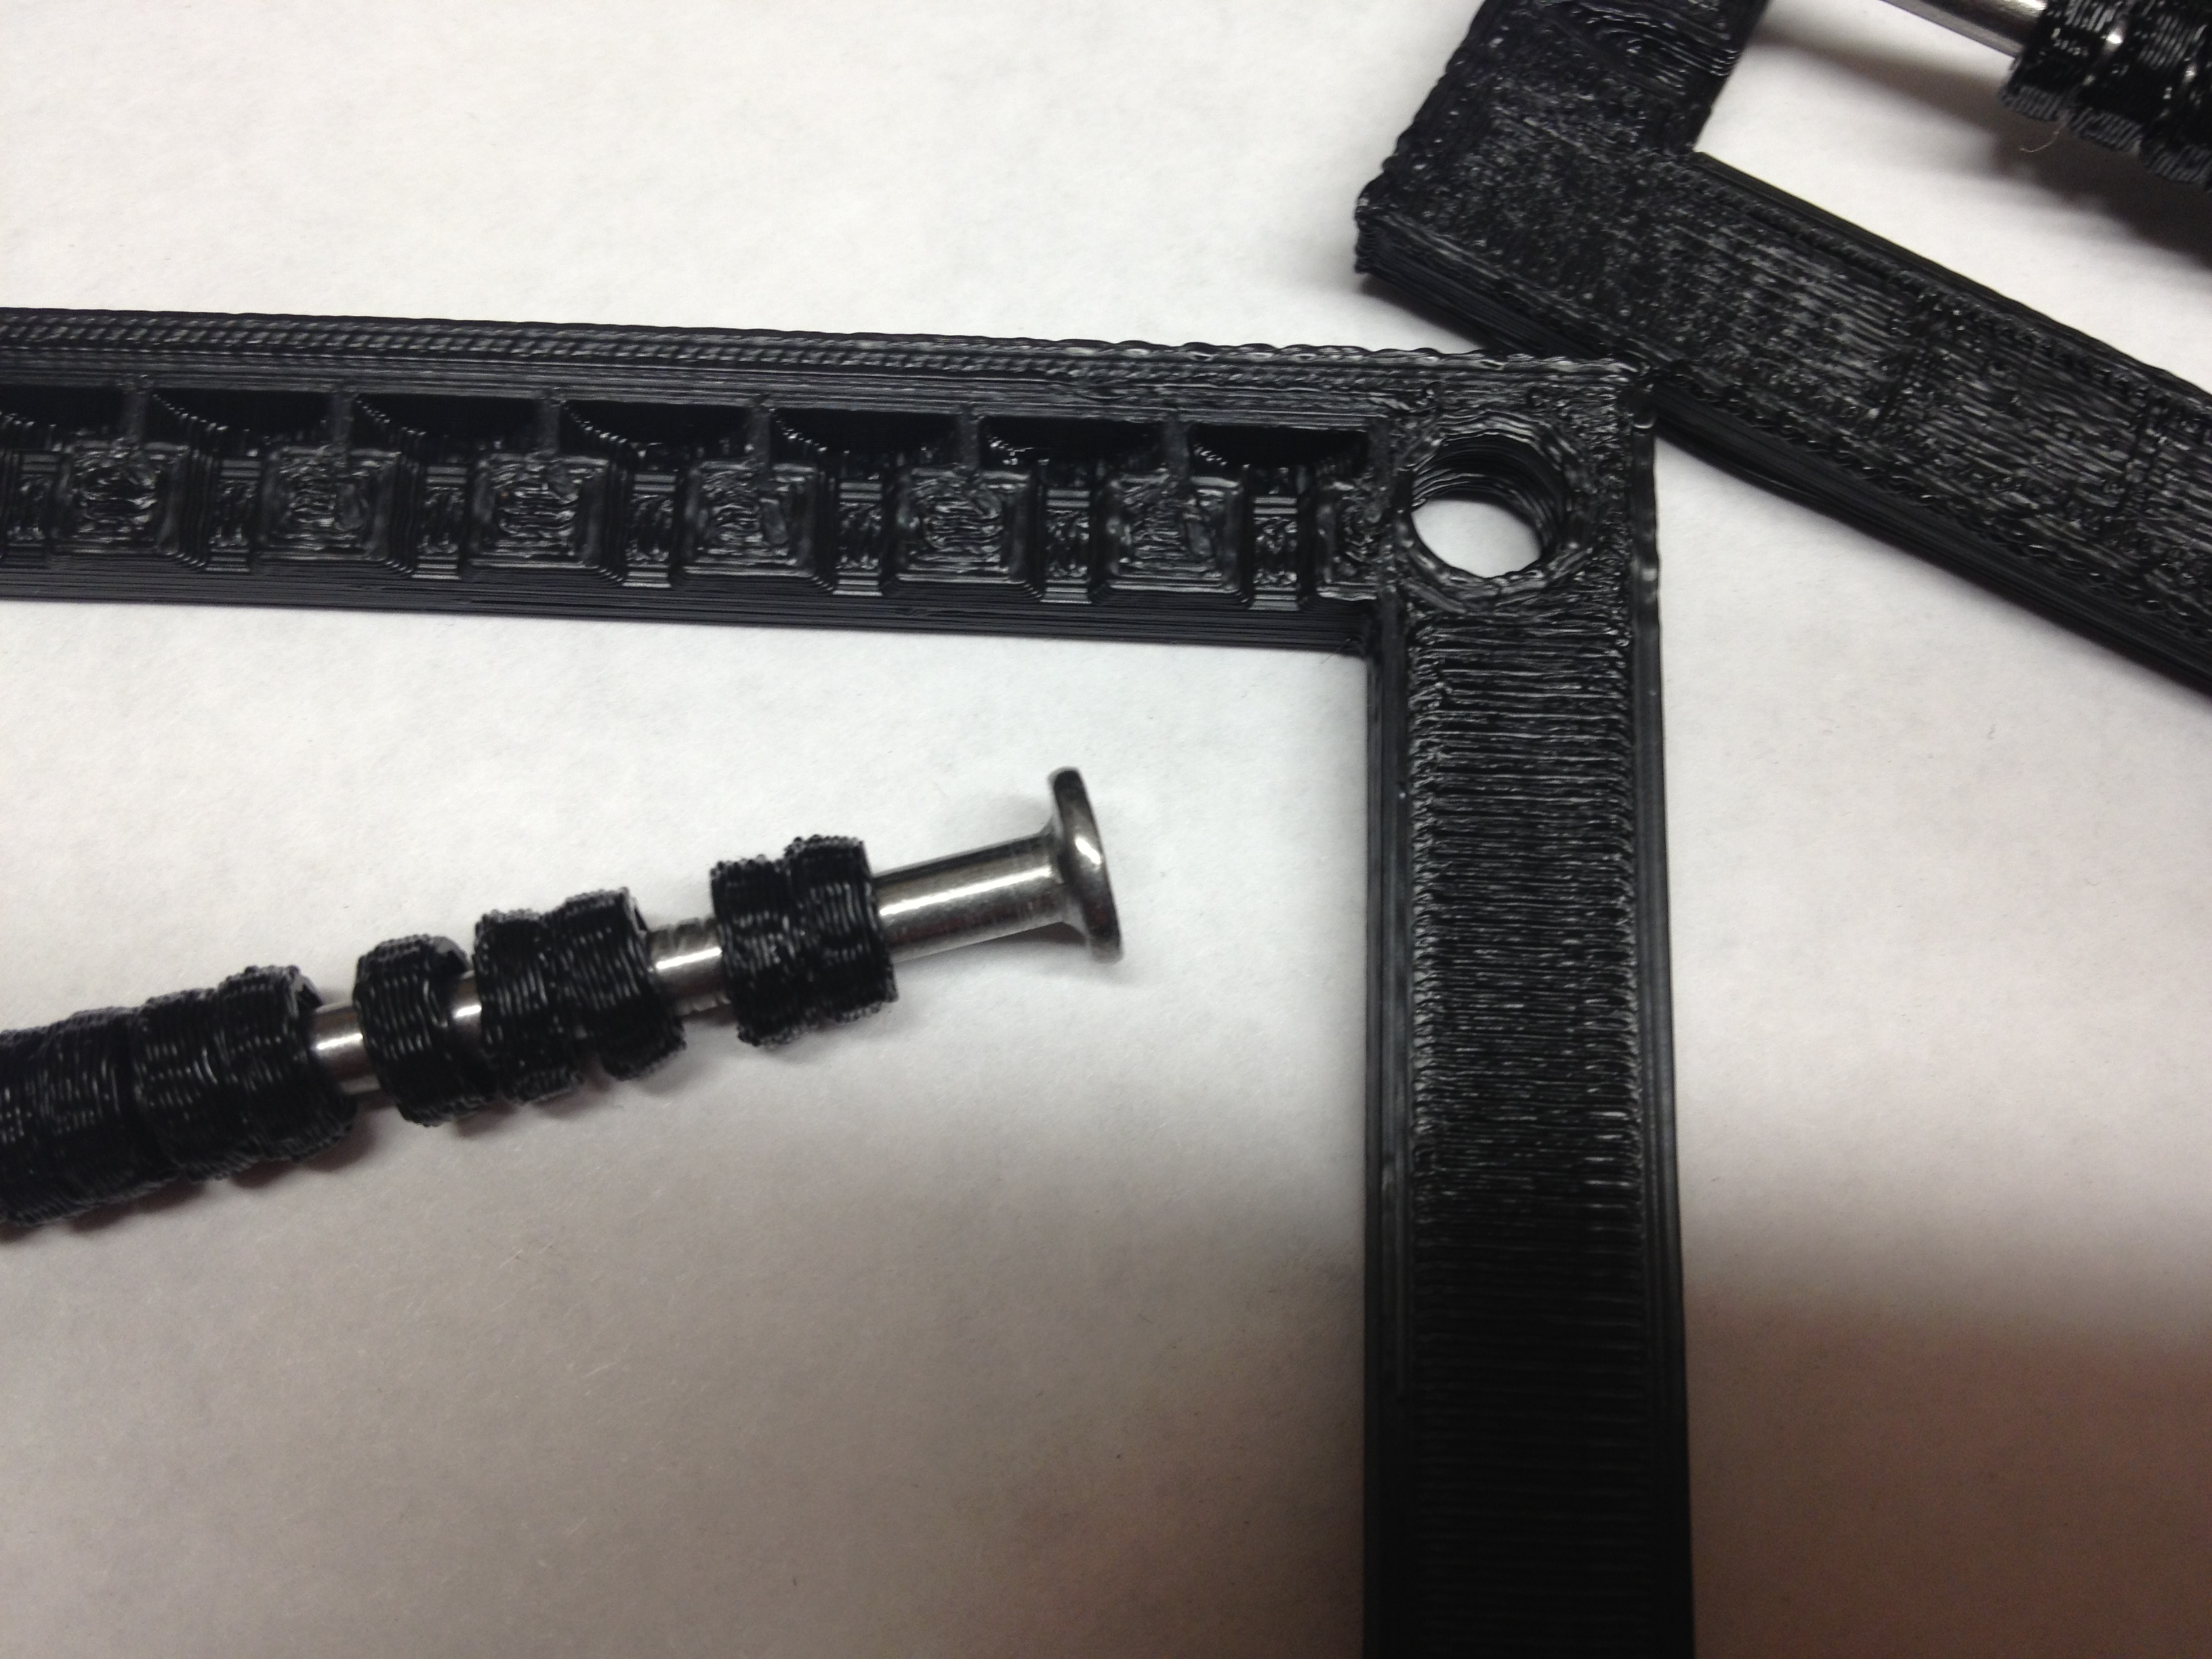
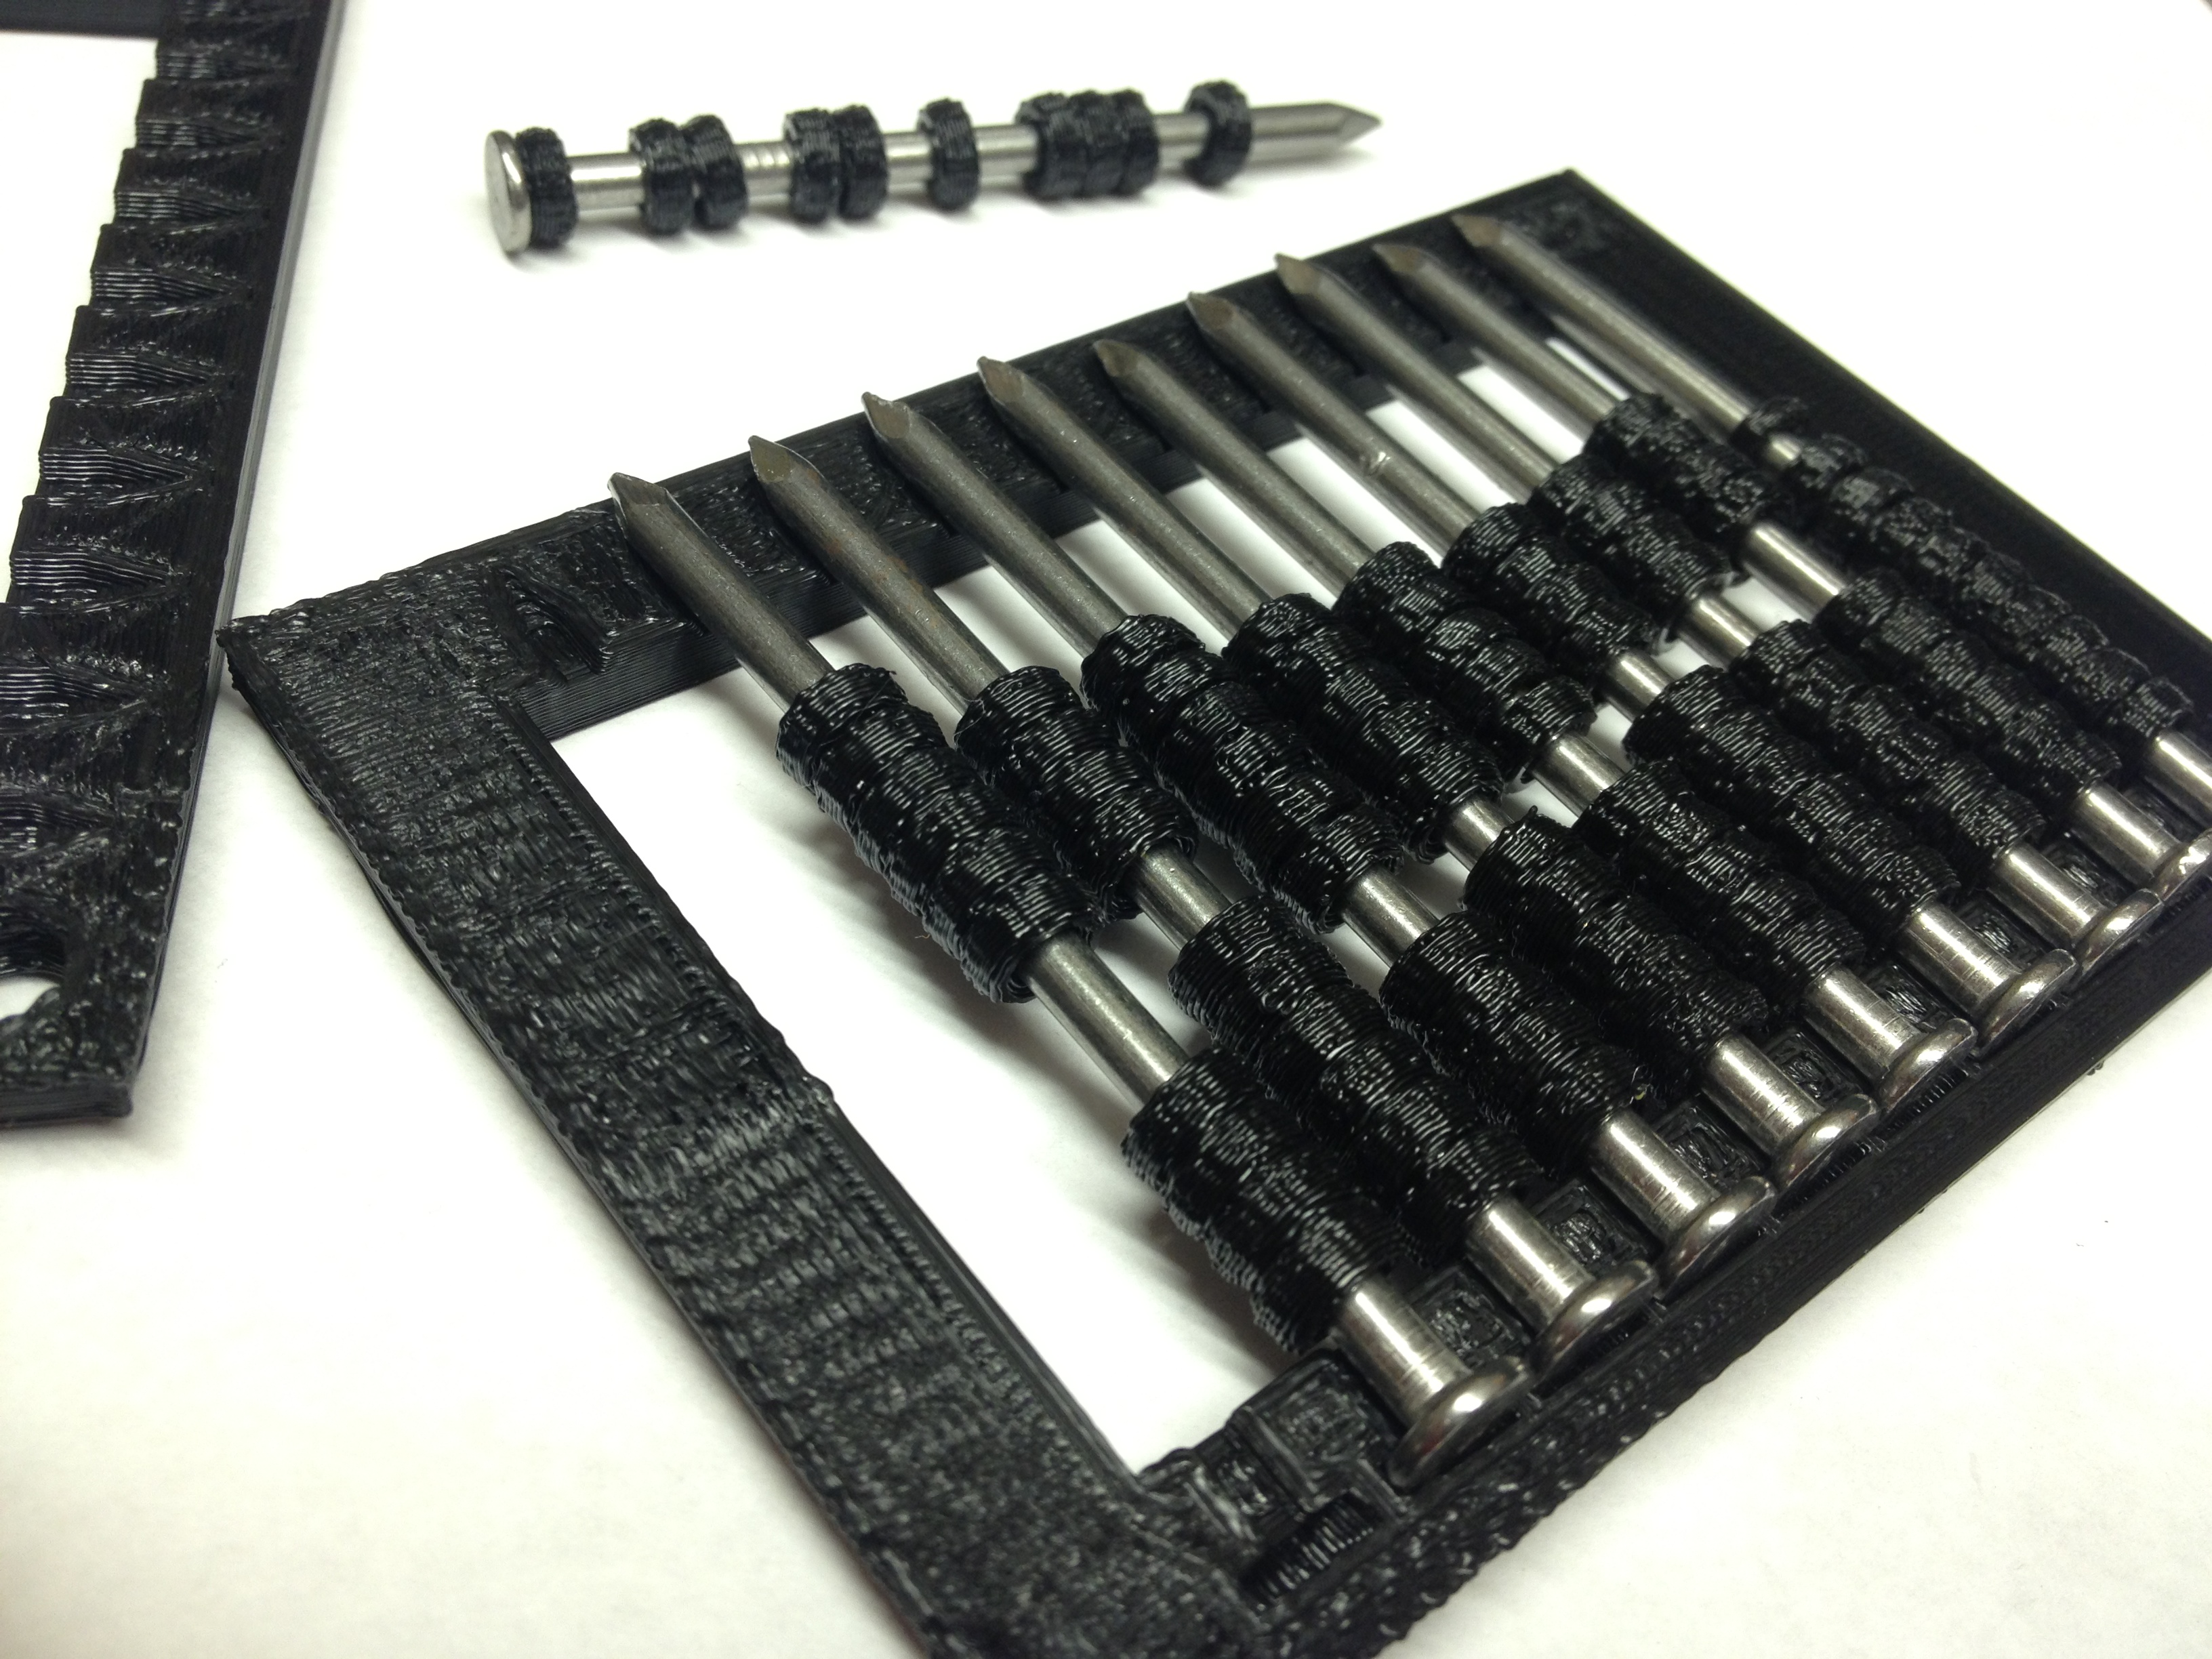
Here’s a more dull one you can skip, unless you use that y-axis bracket and have problems with the trapped nut..

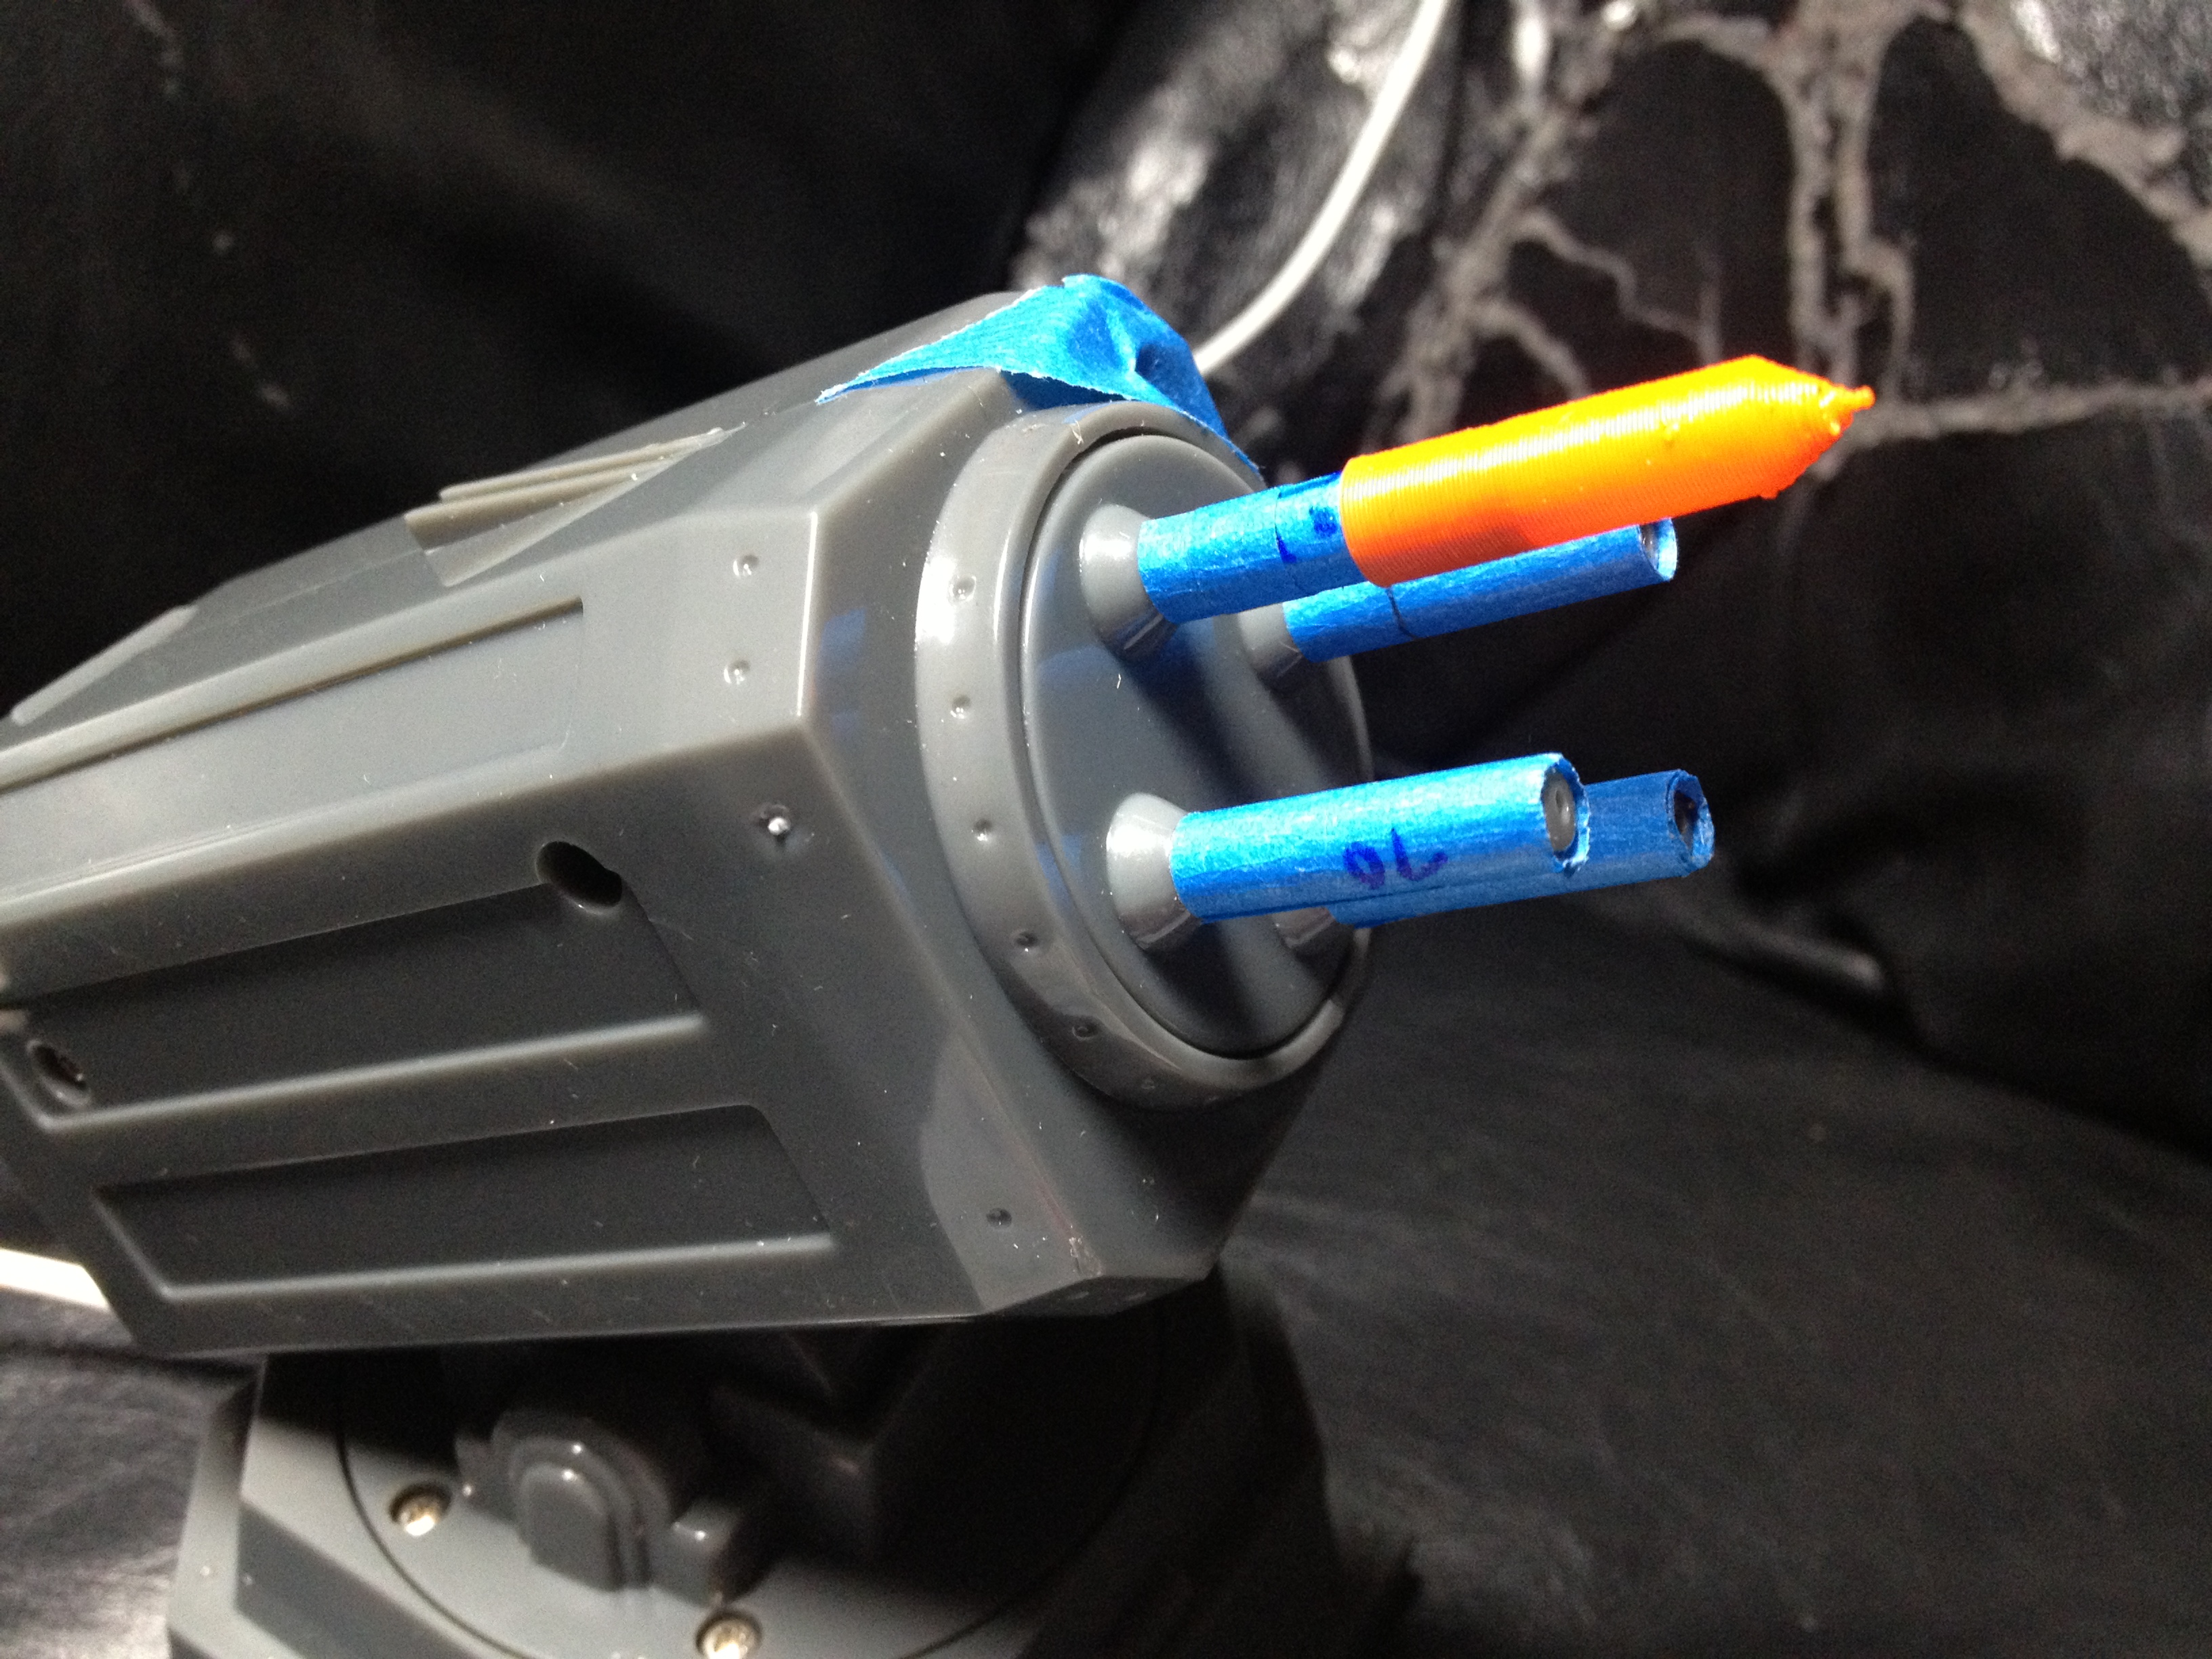
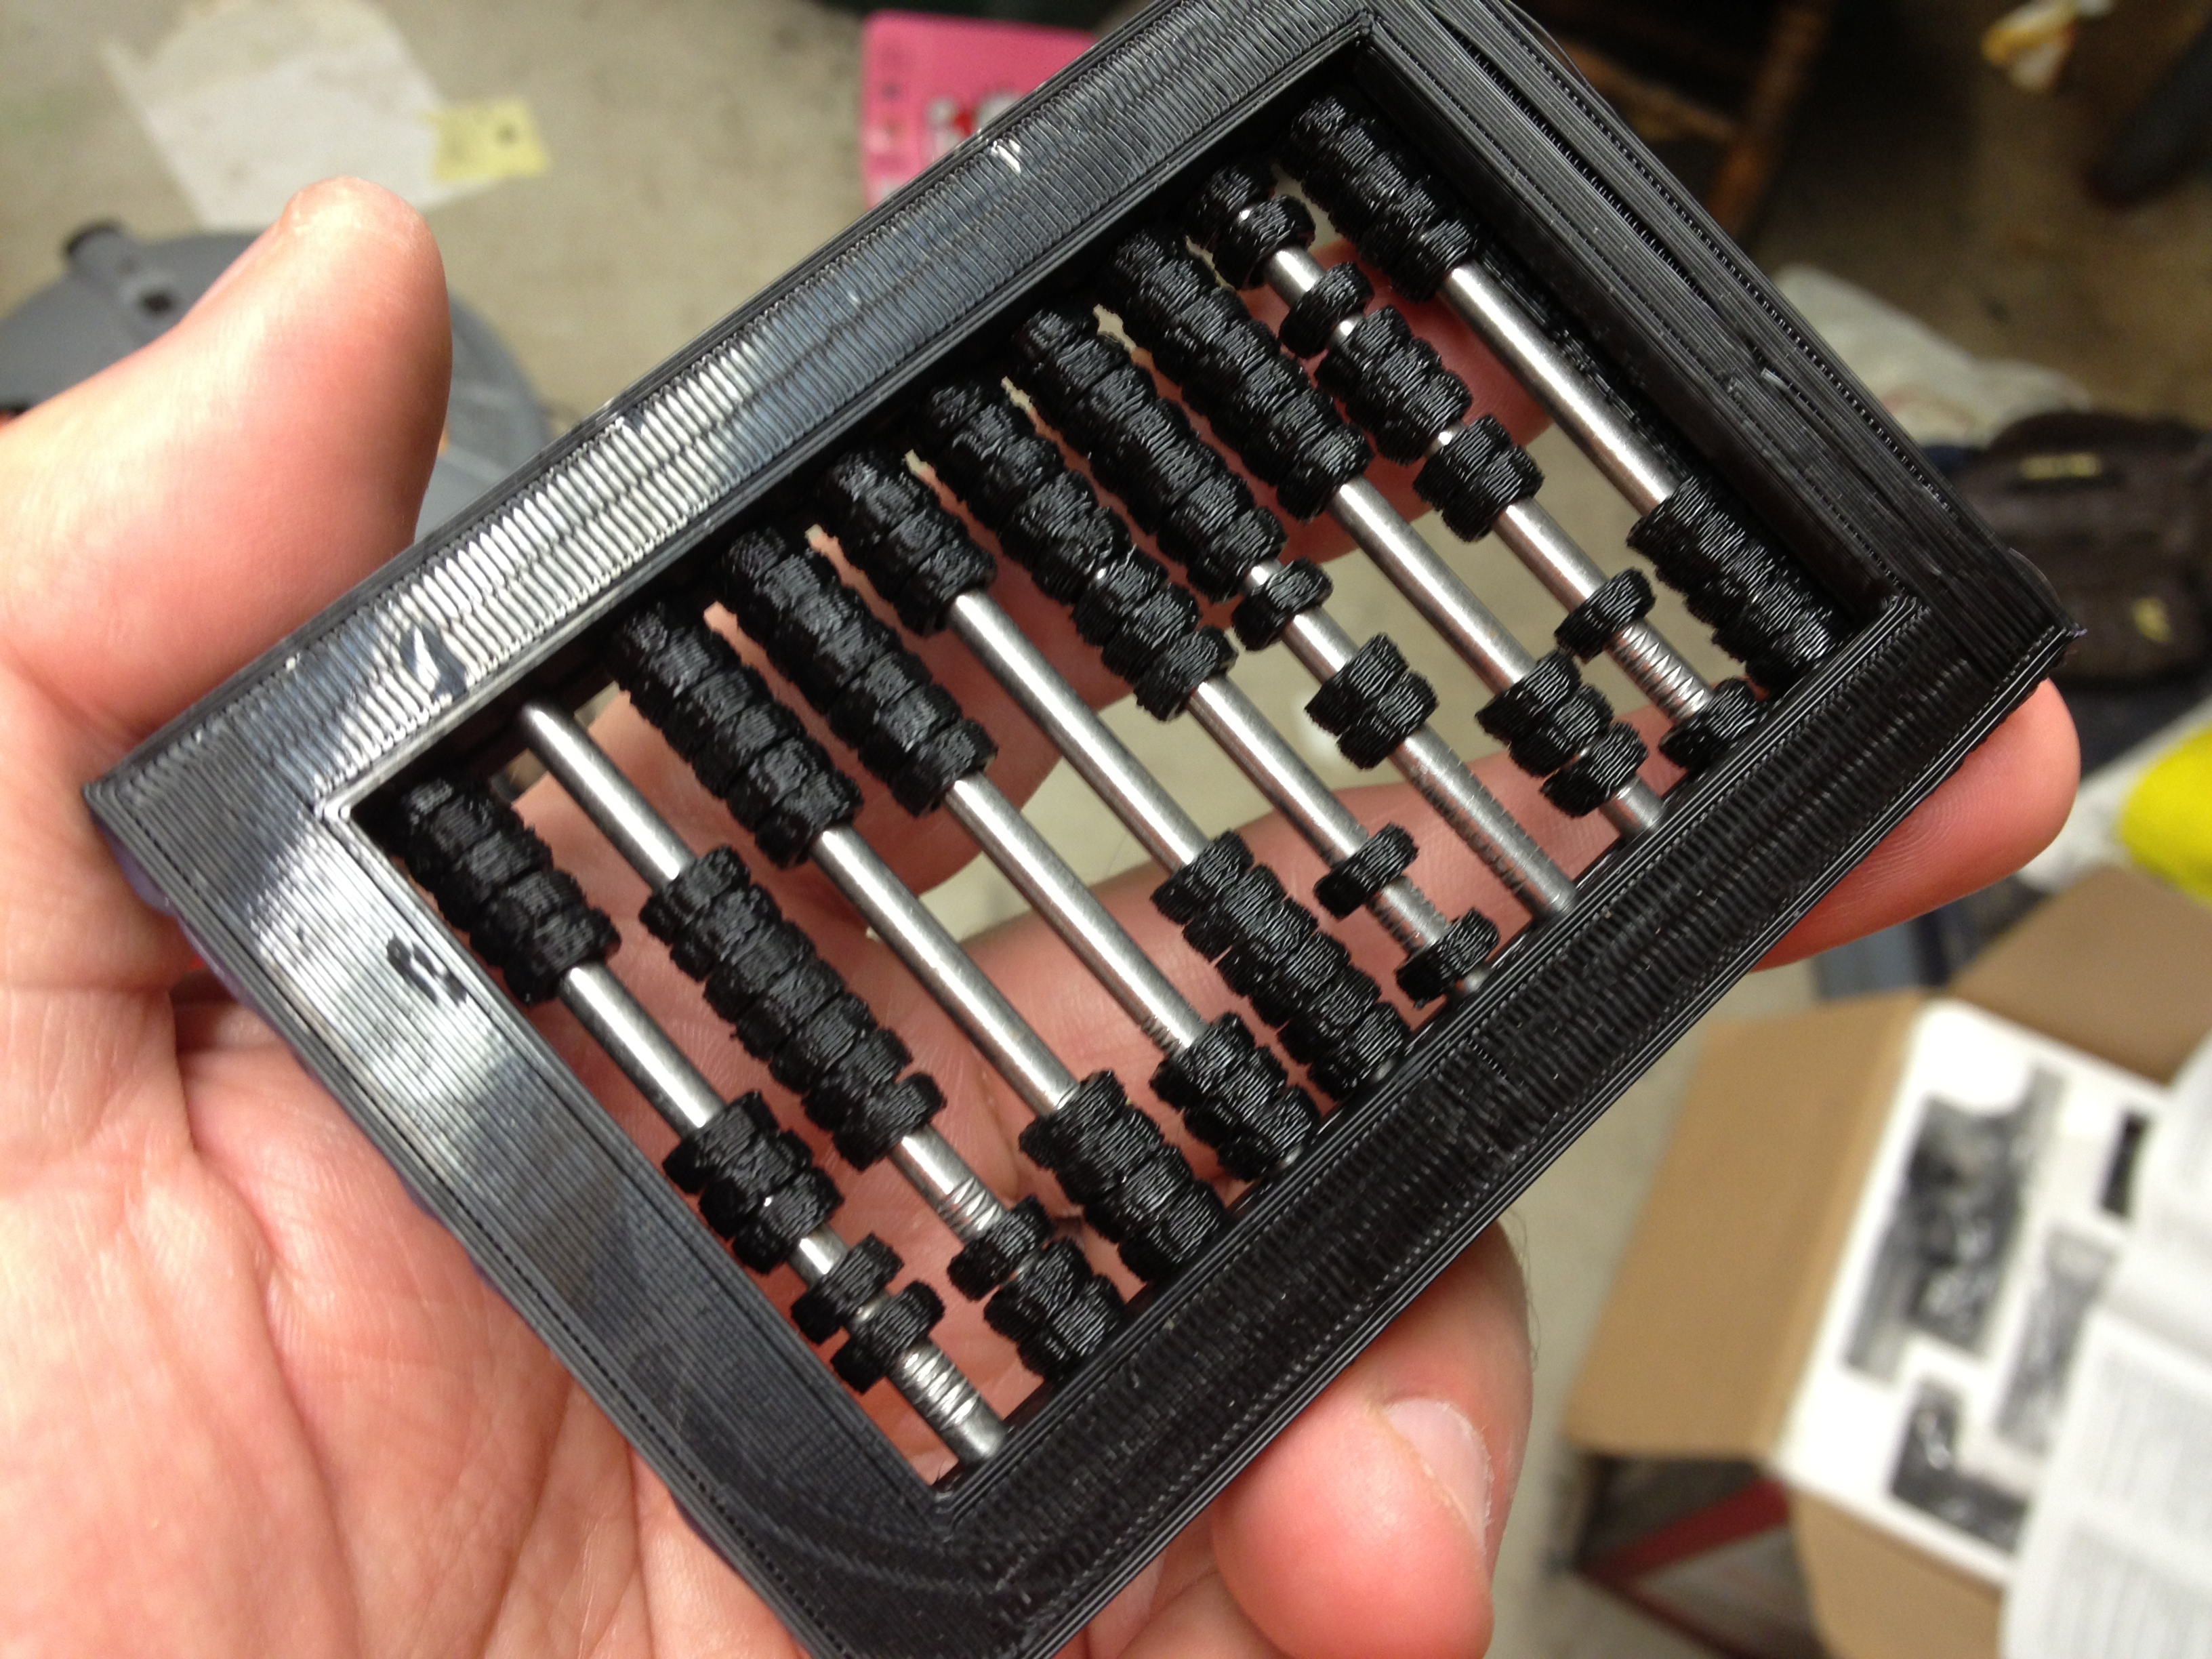
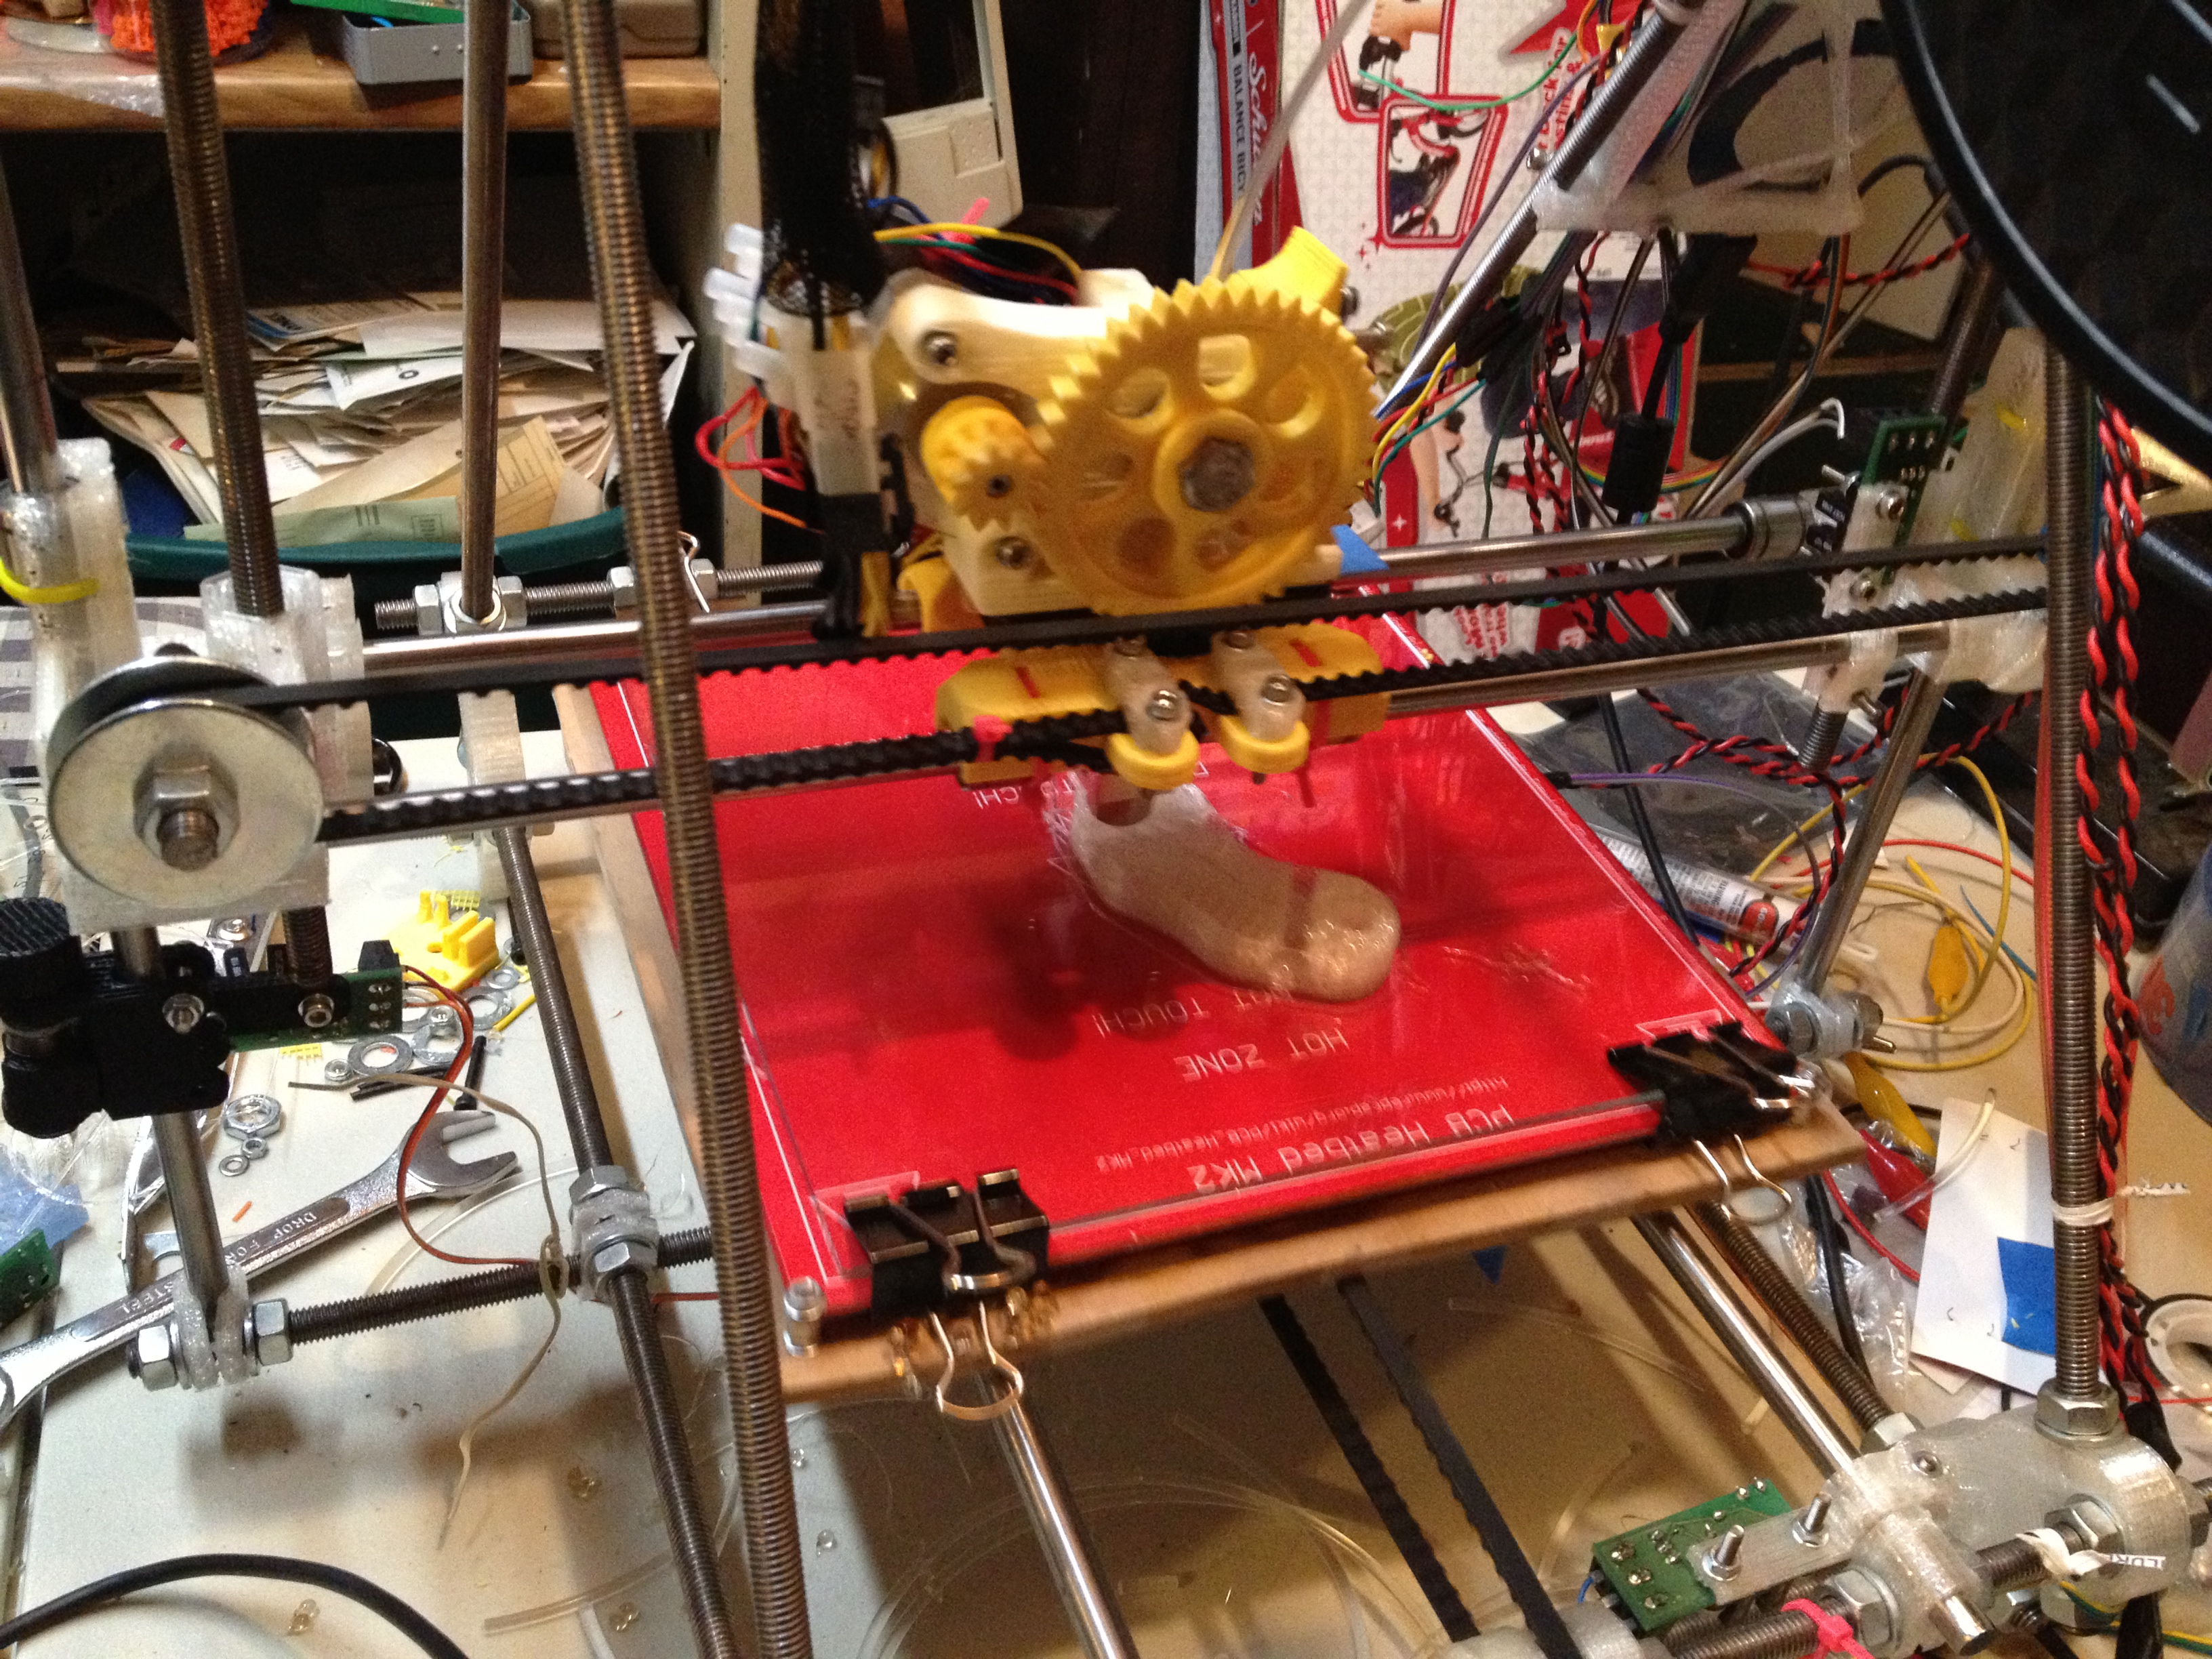
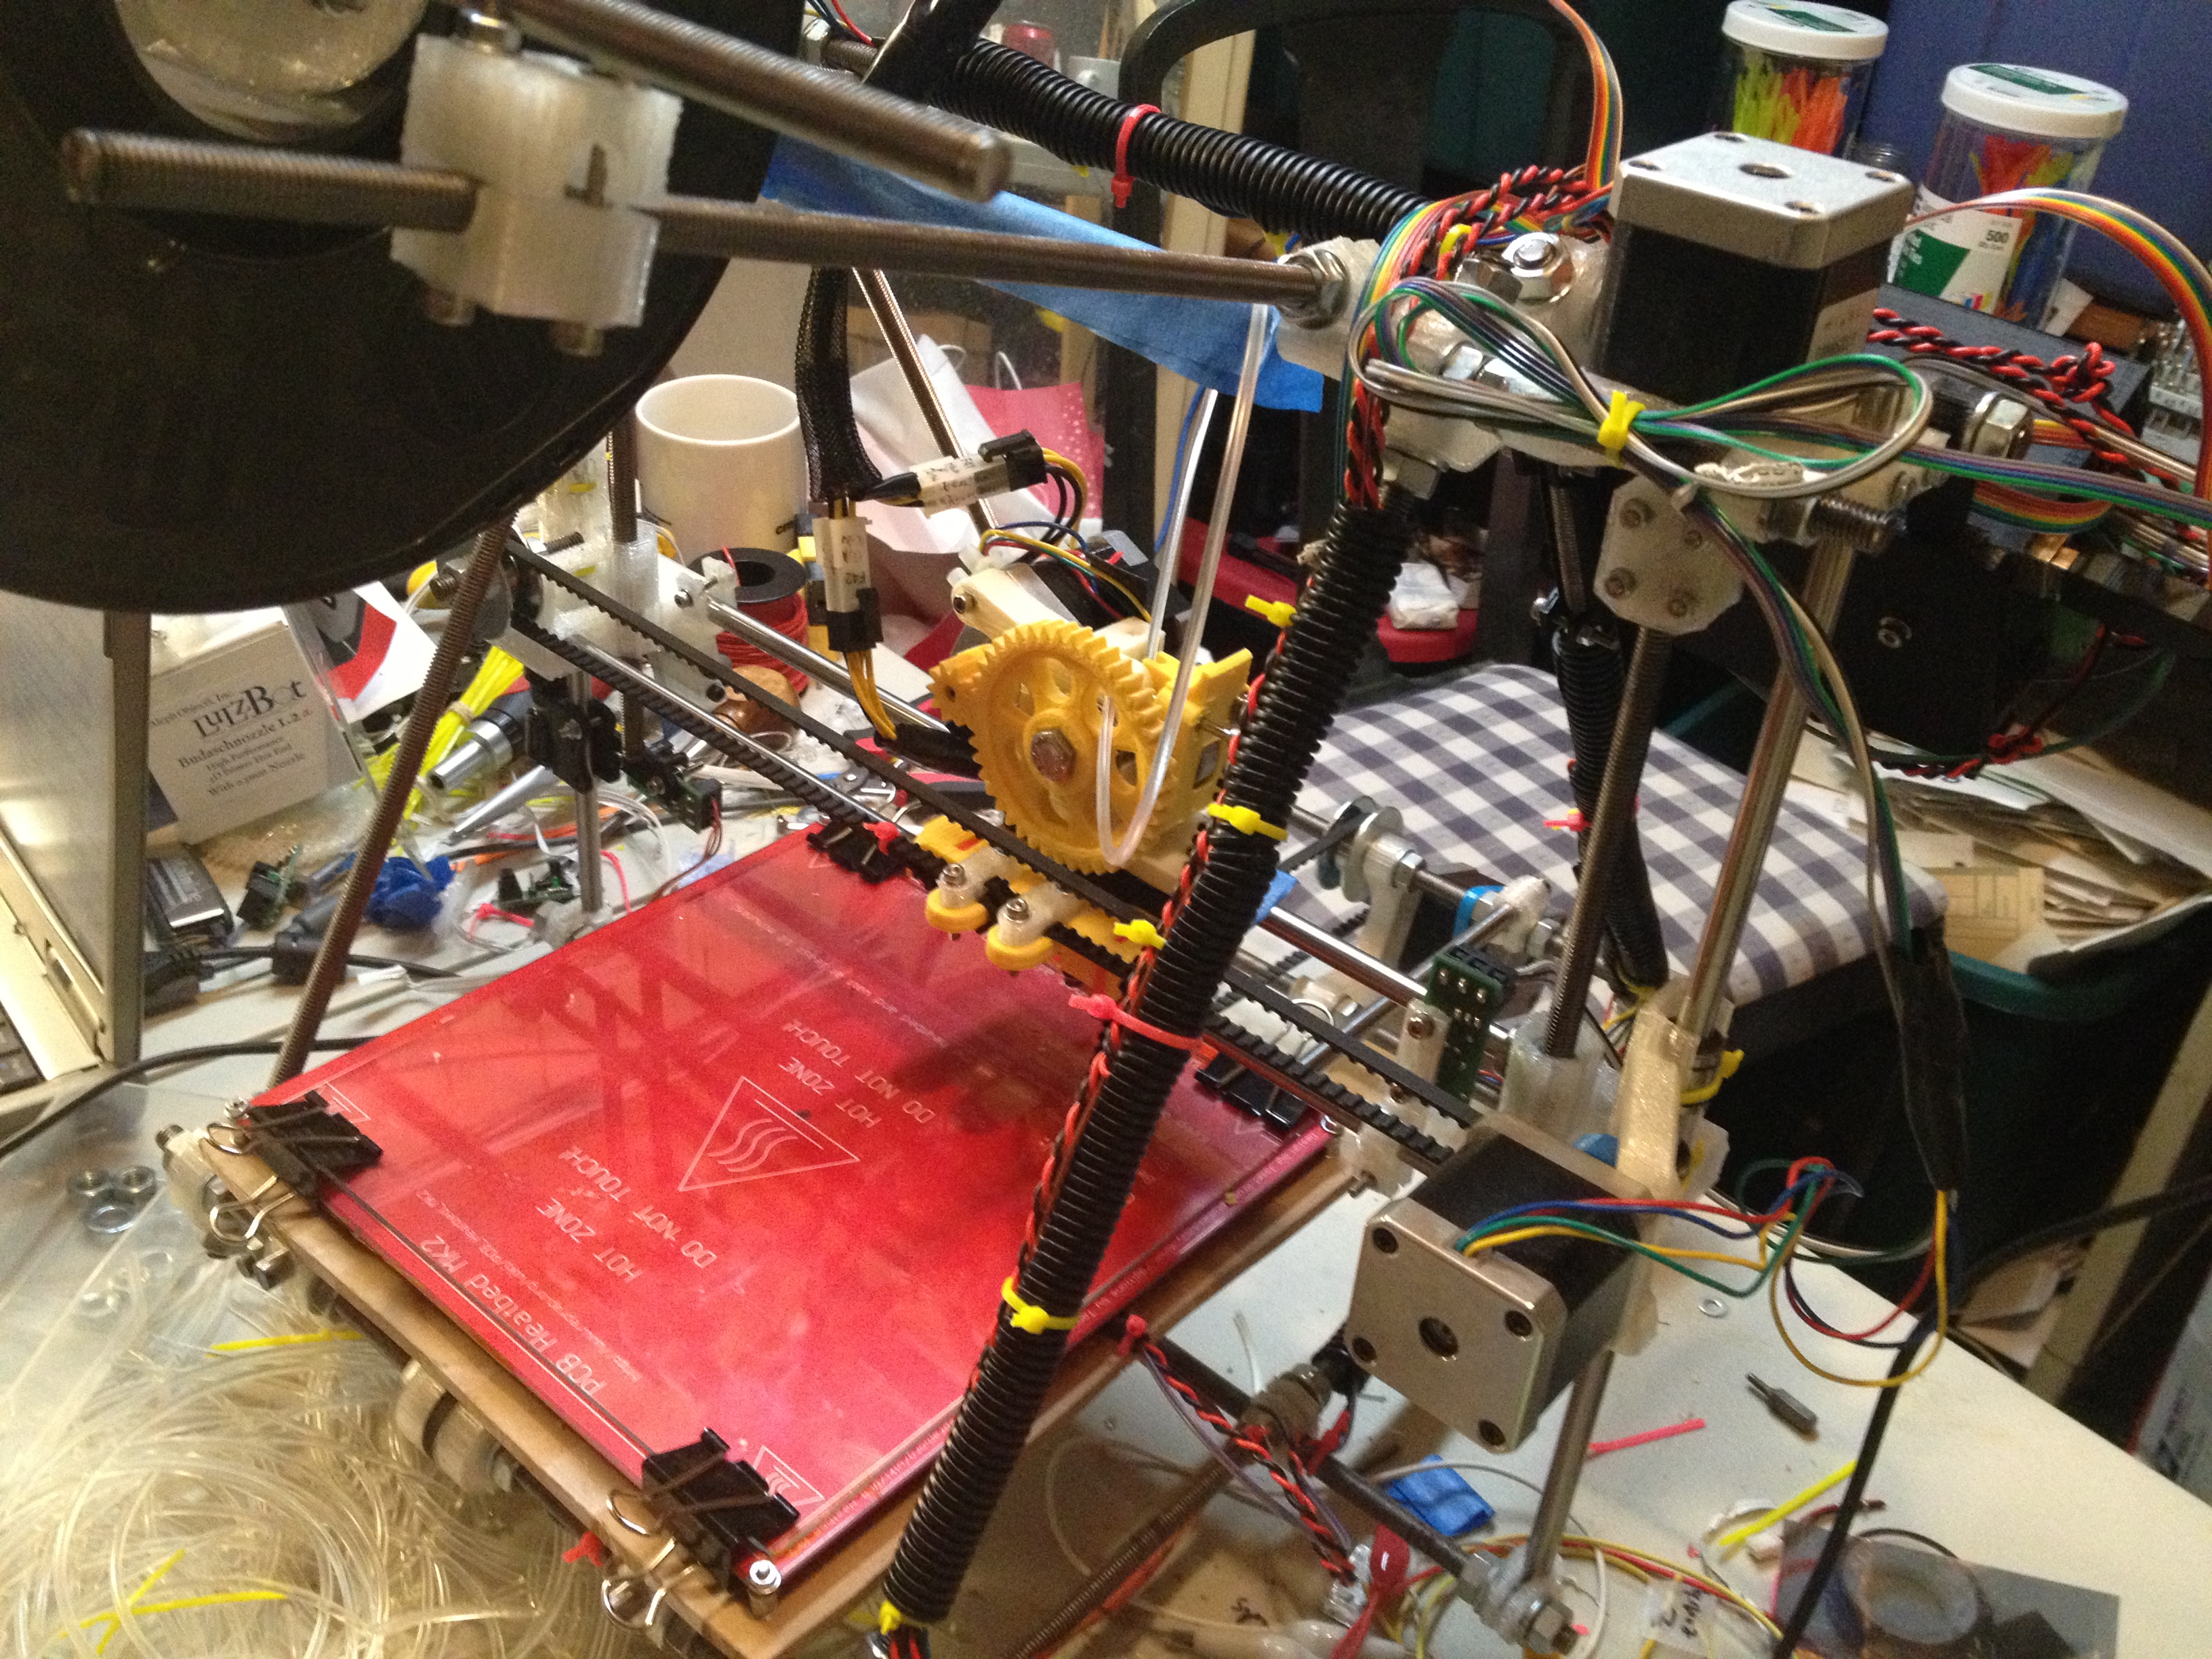
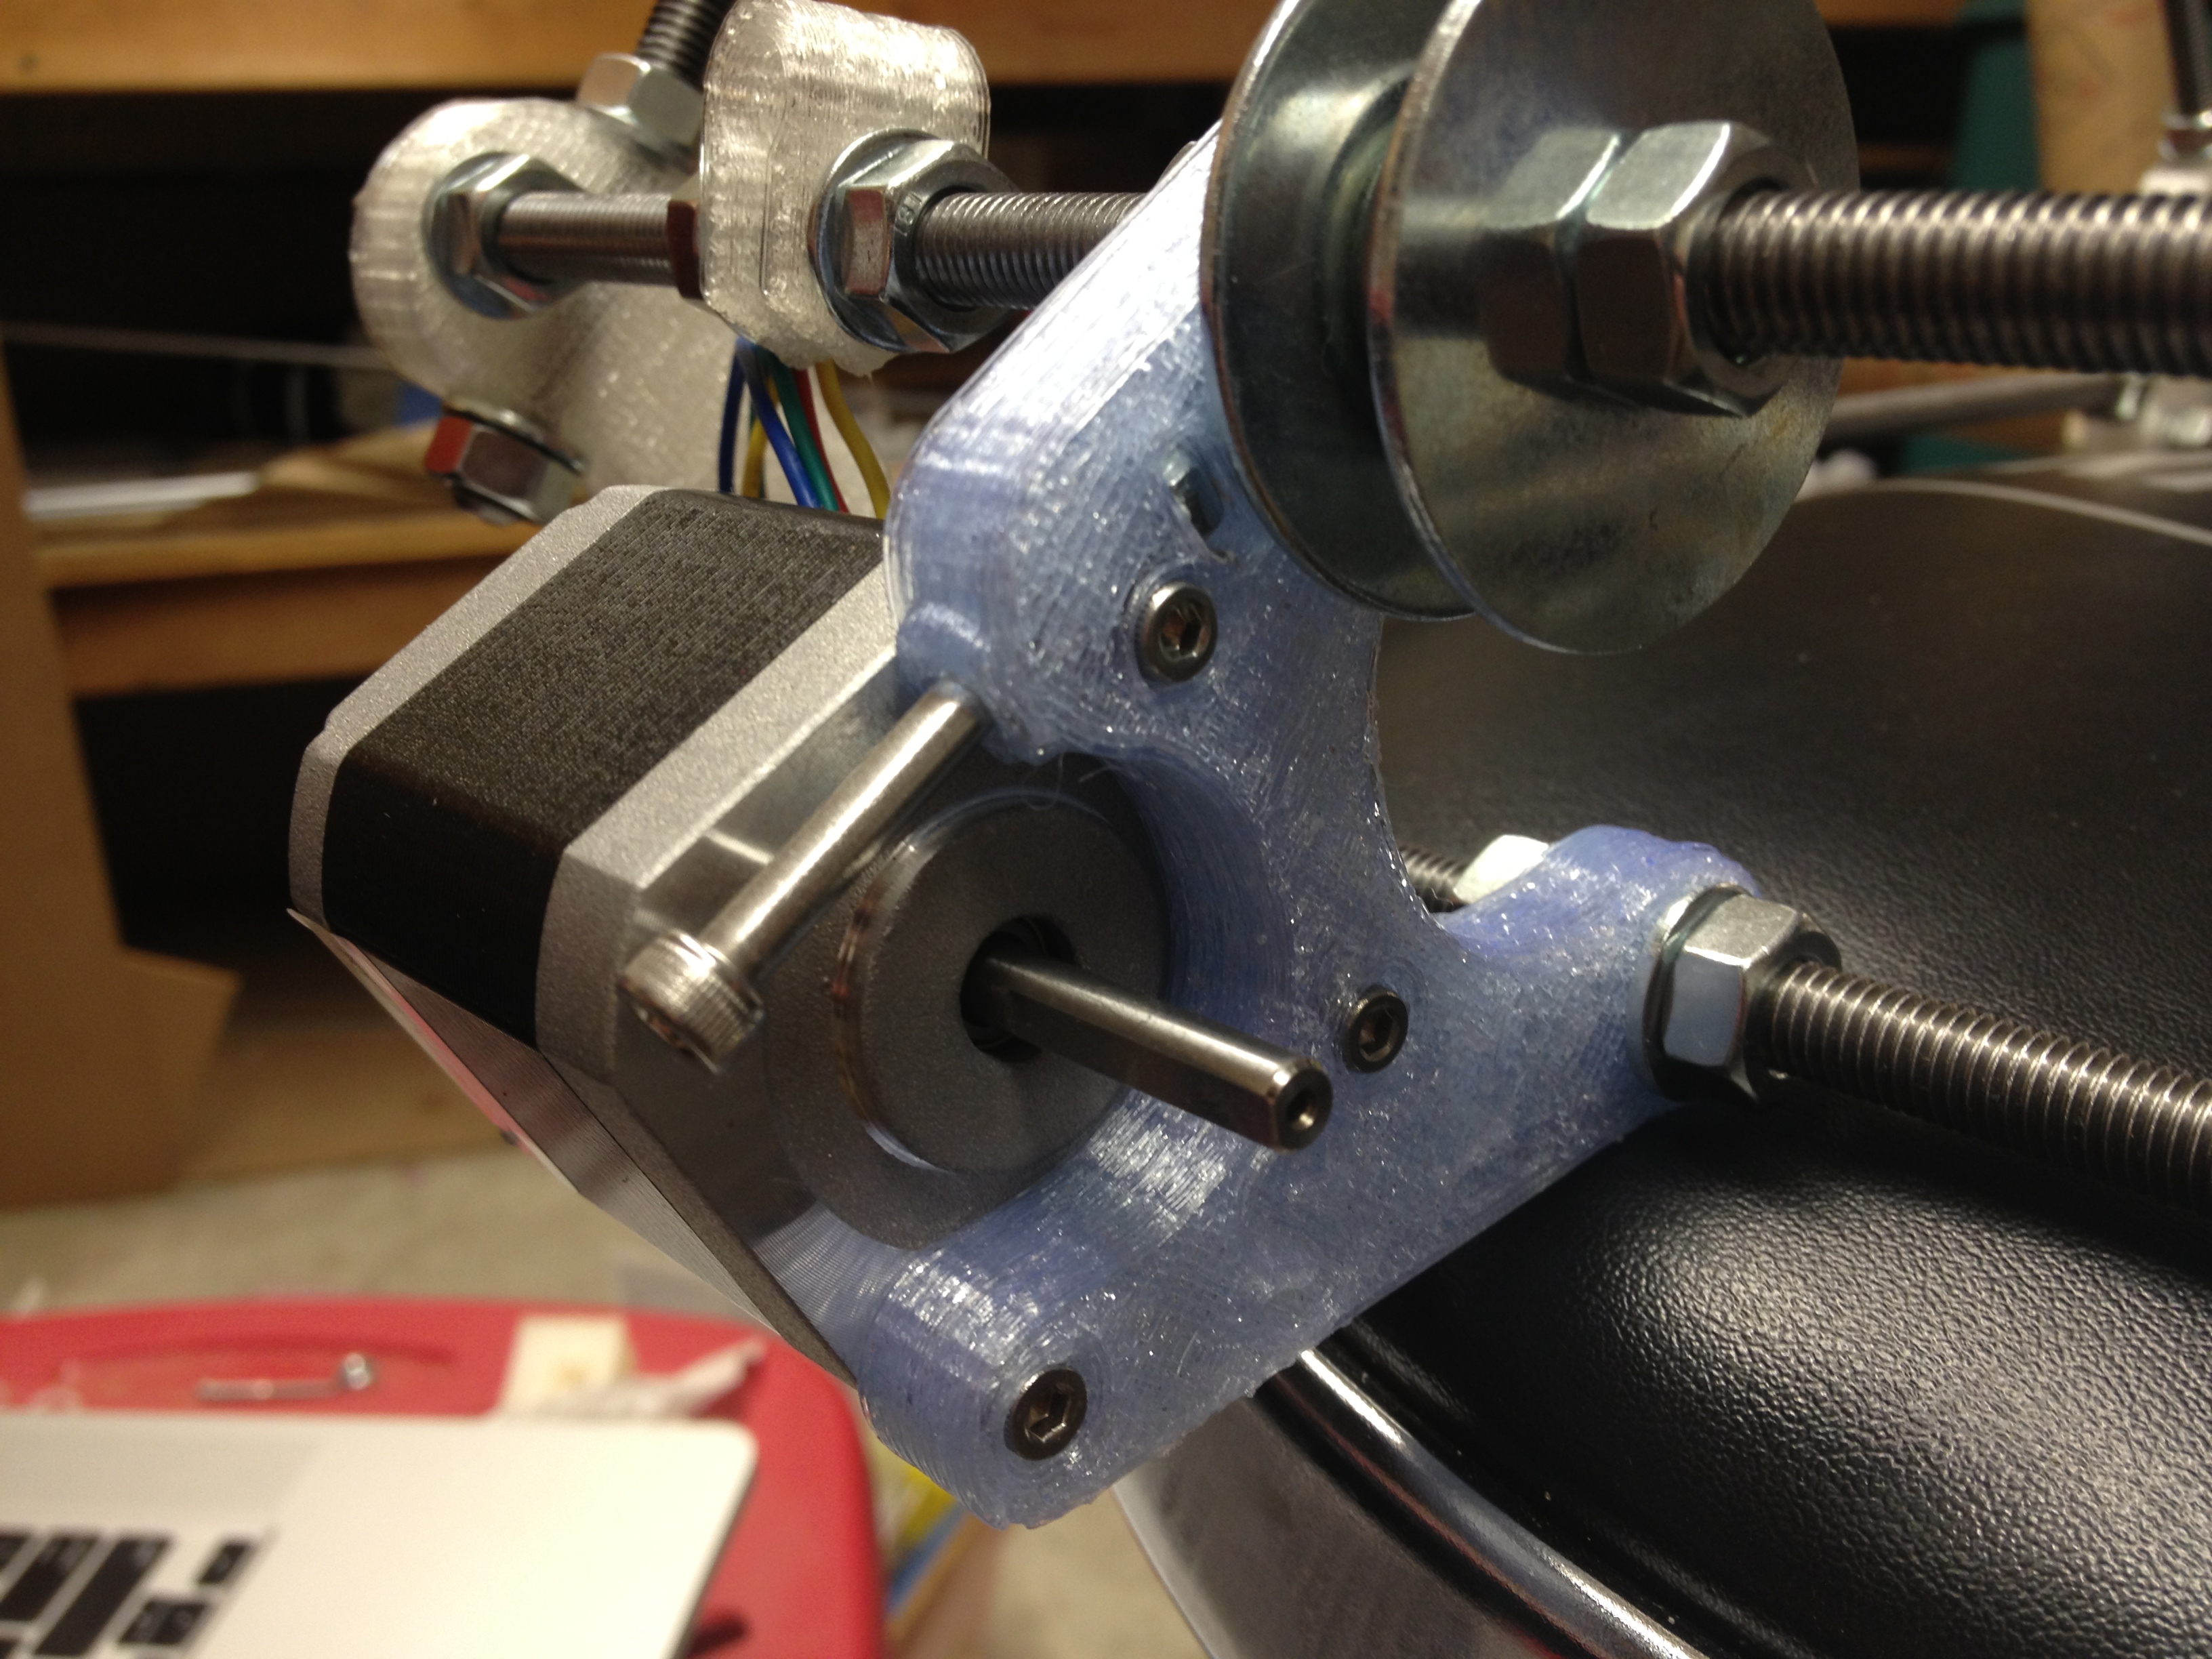
Here it is on the RepRap, holding the Y-axis motor:

IMG_2610

IMG_2616

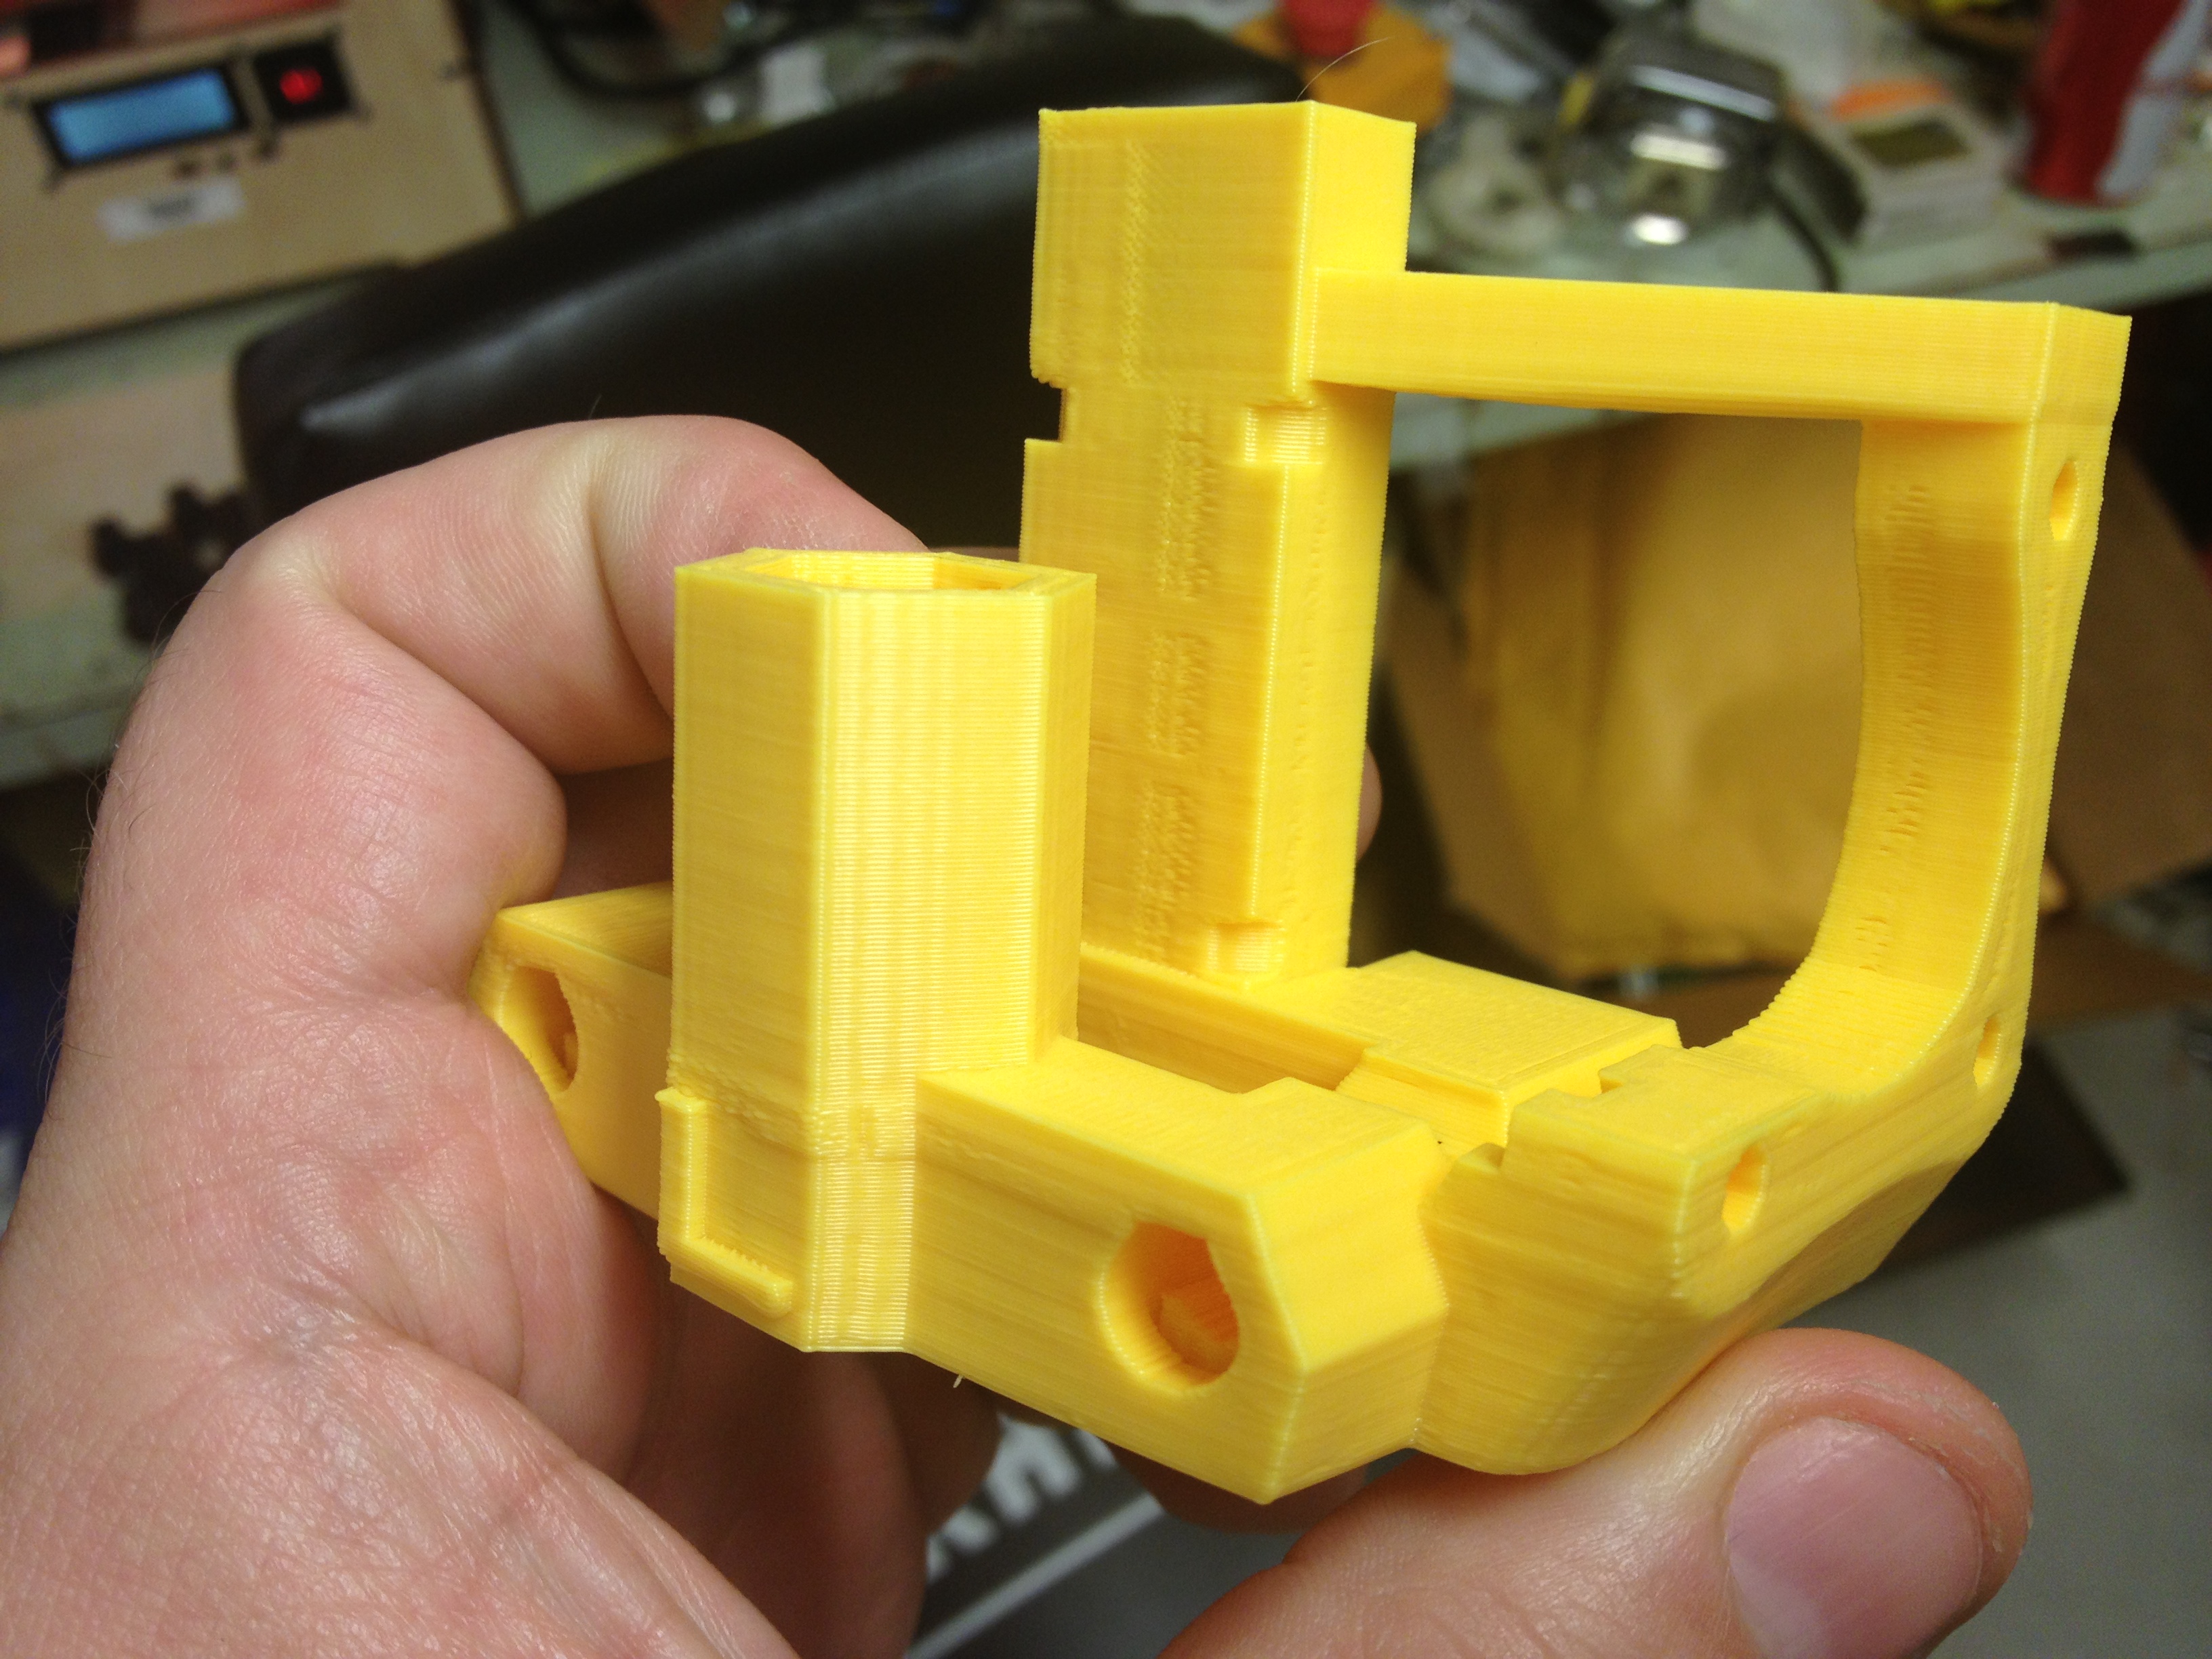
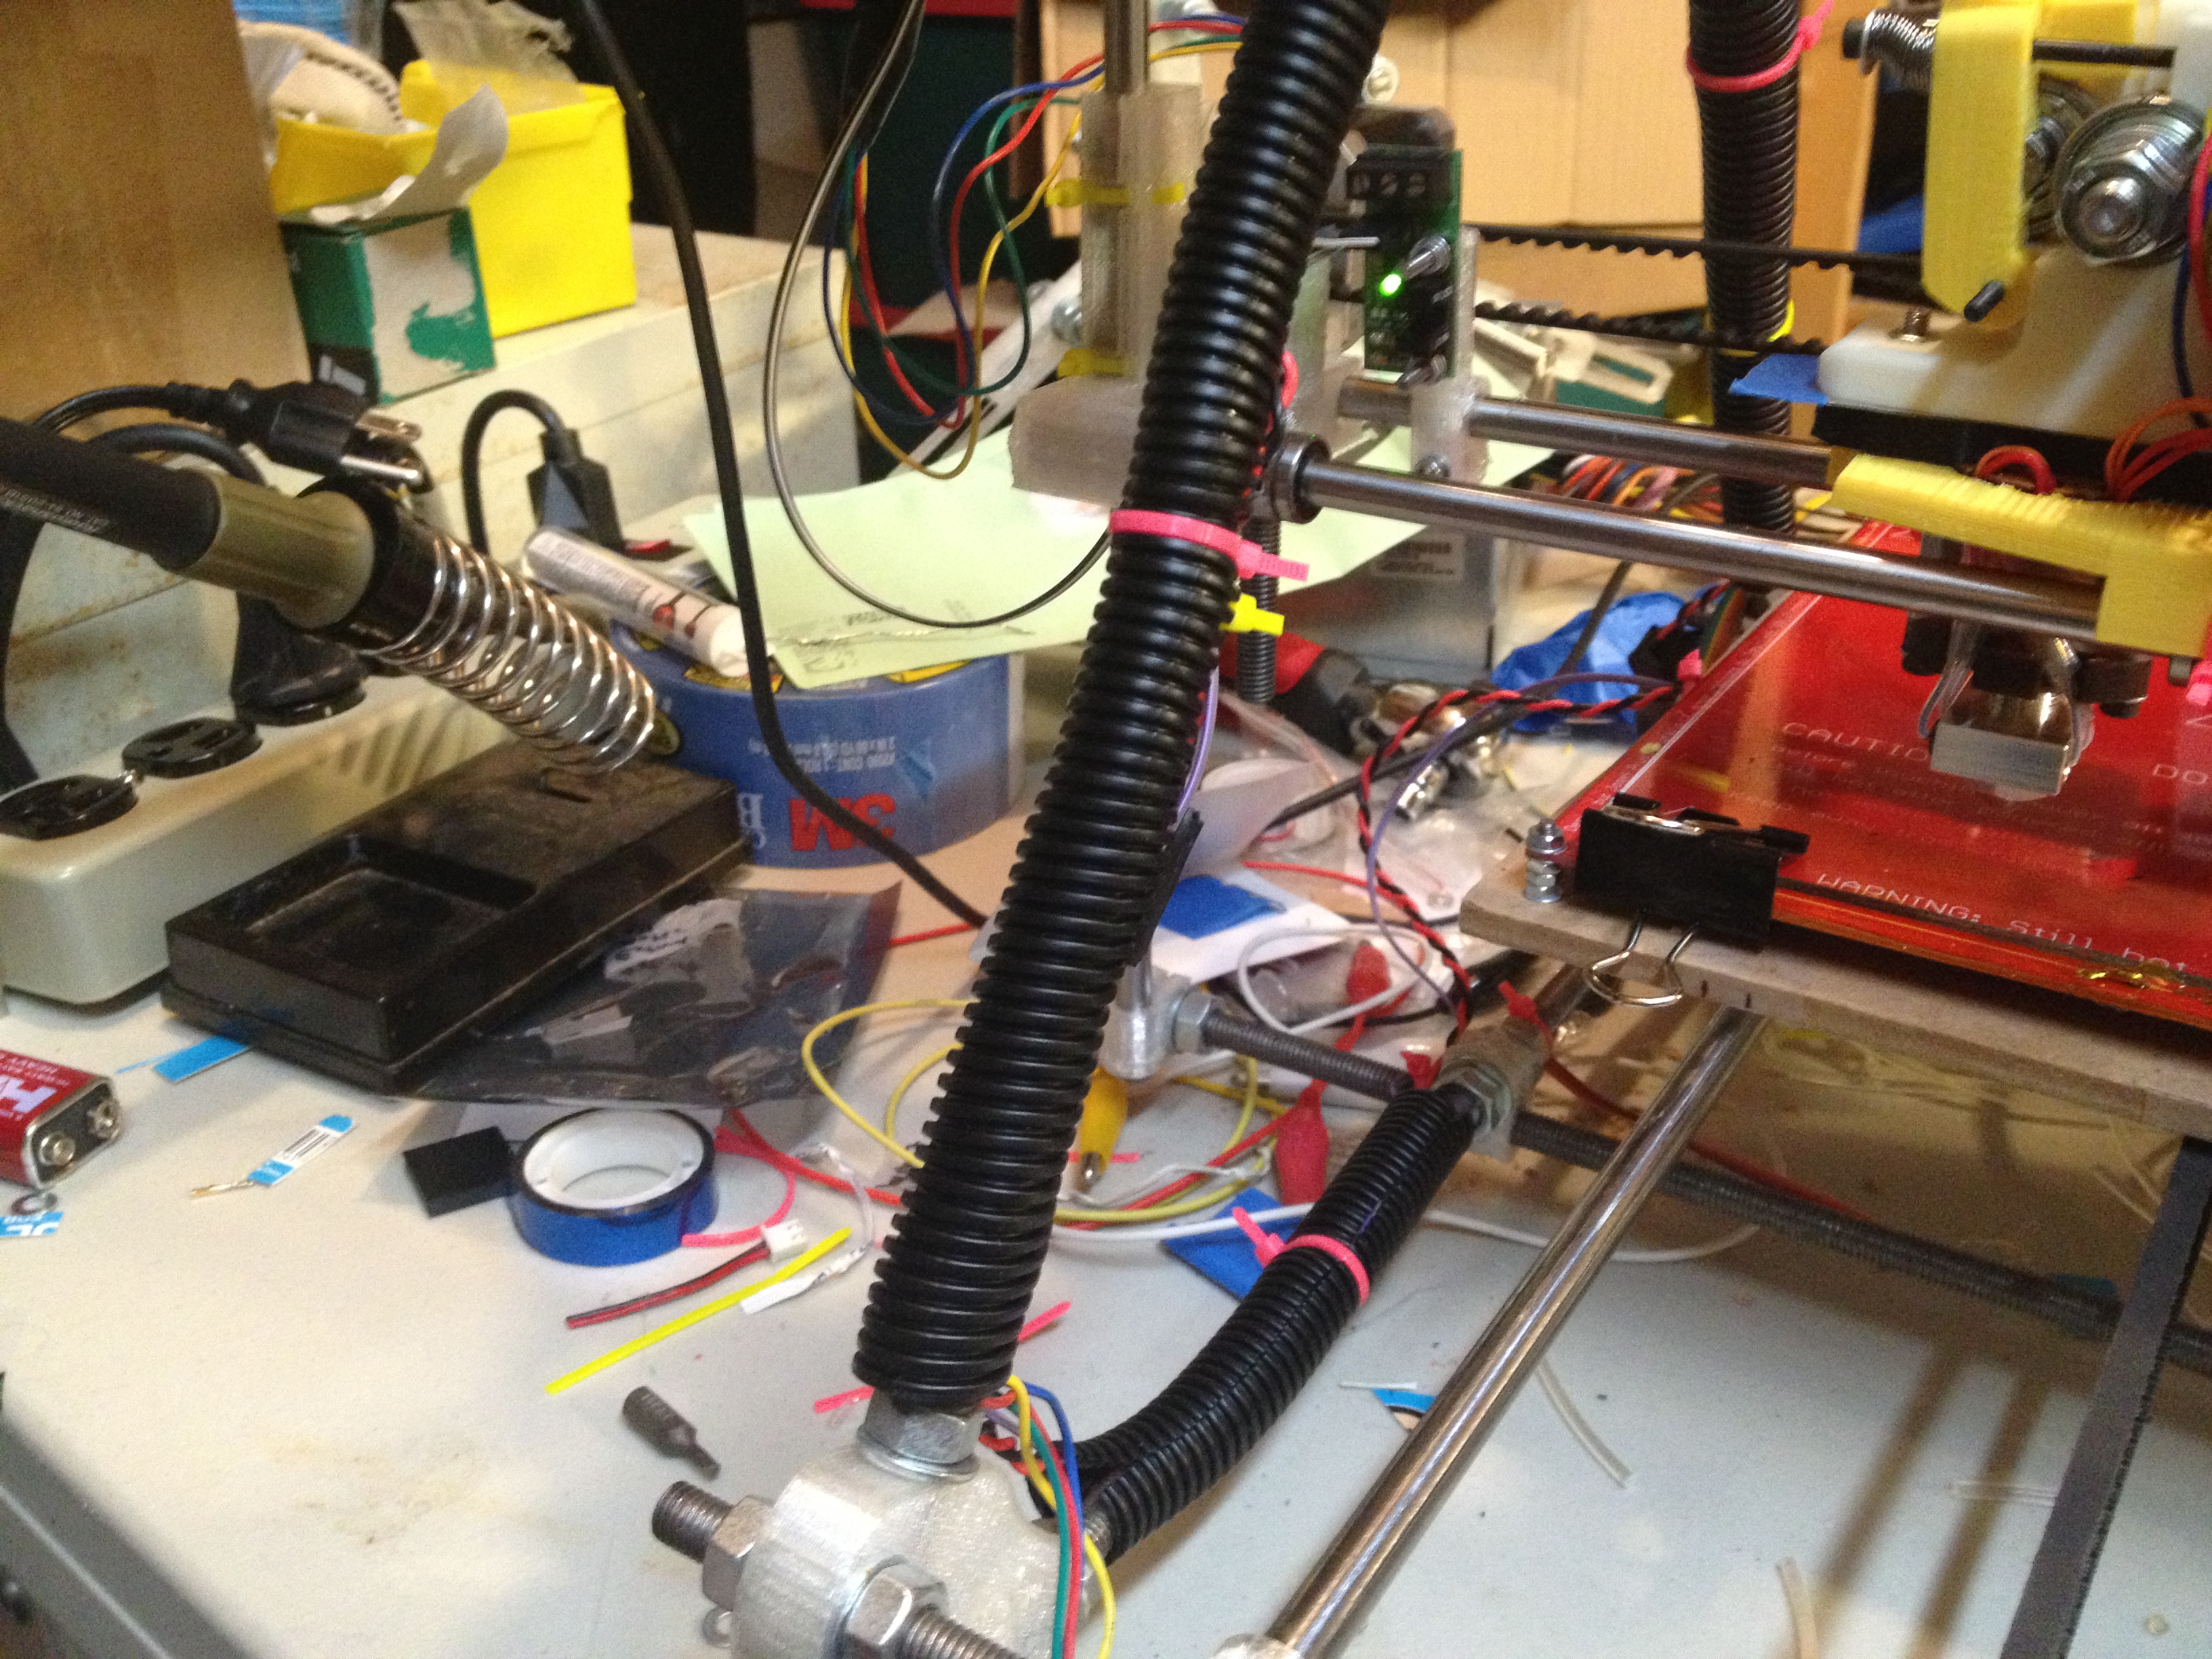
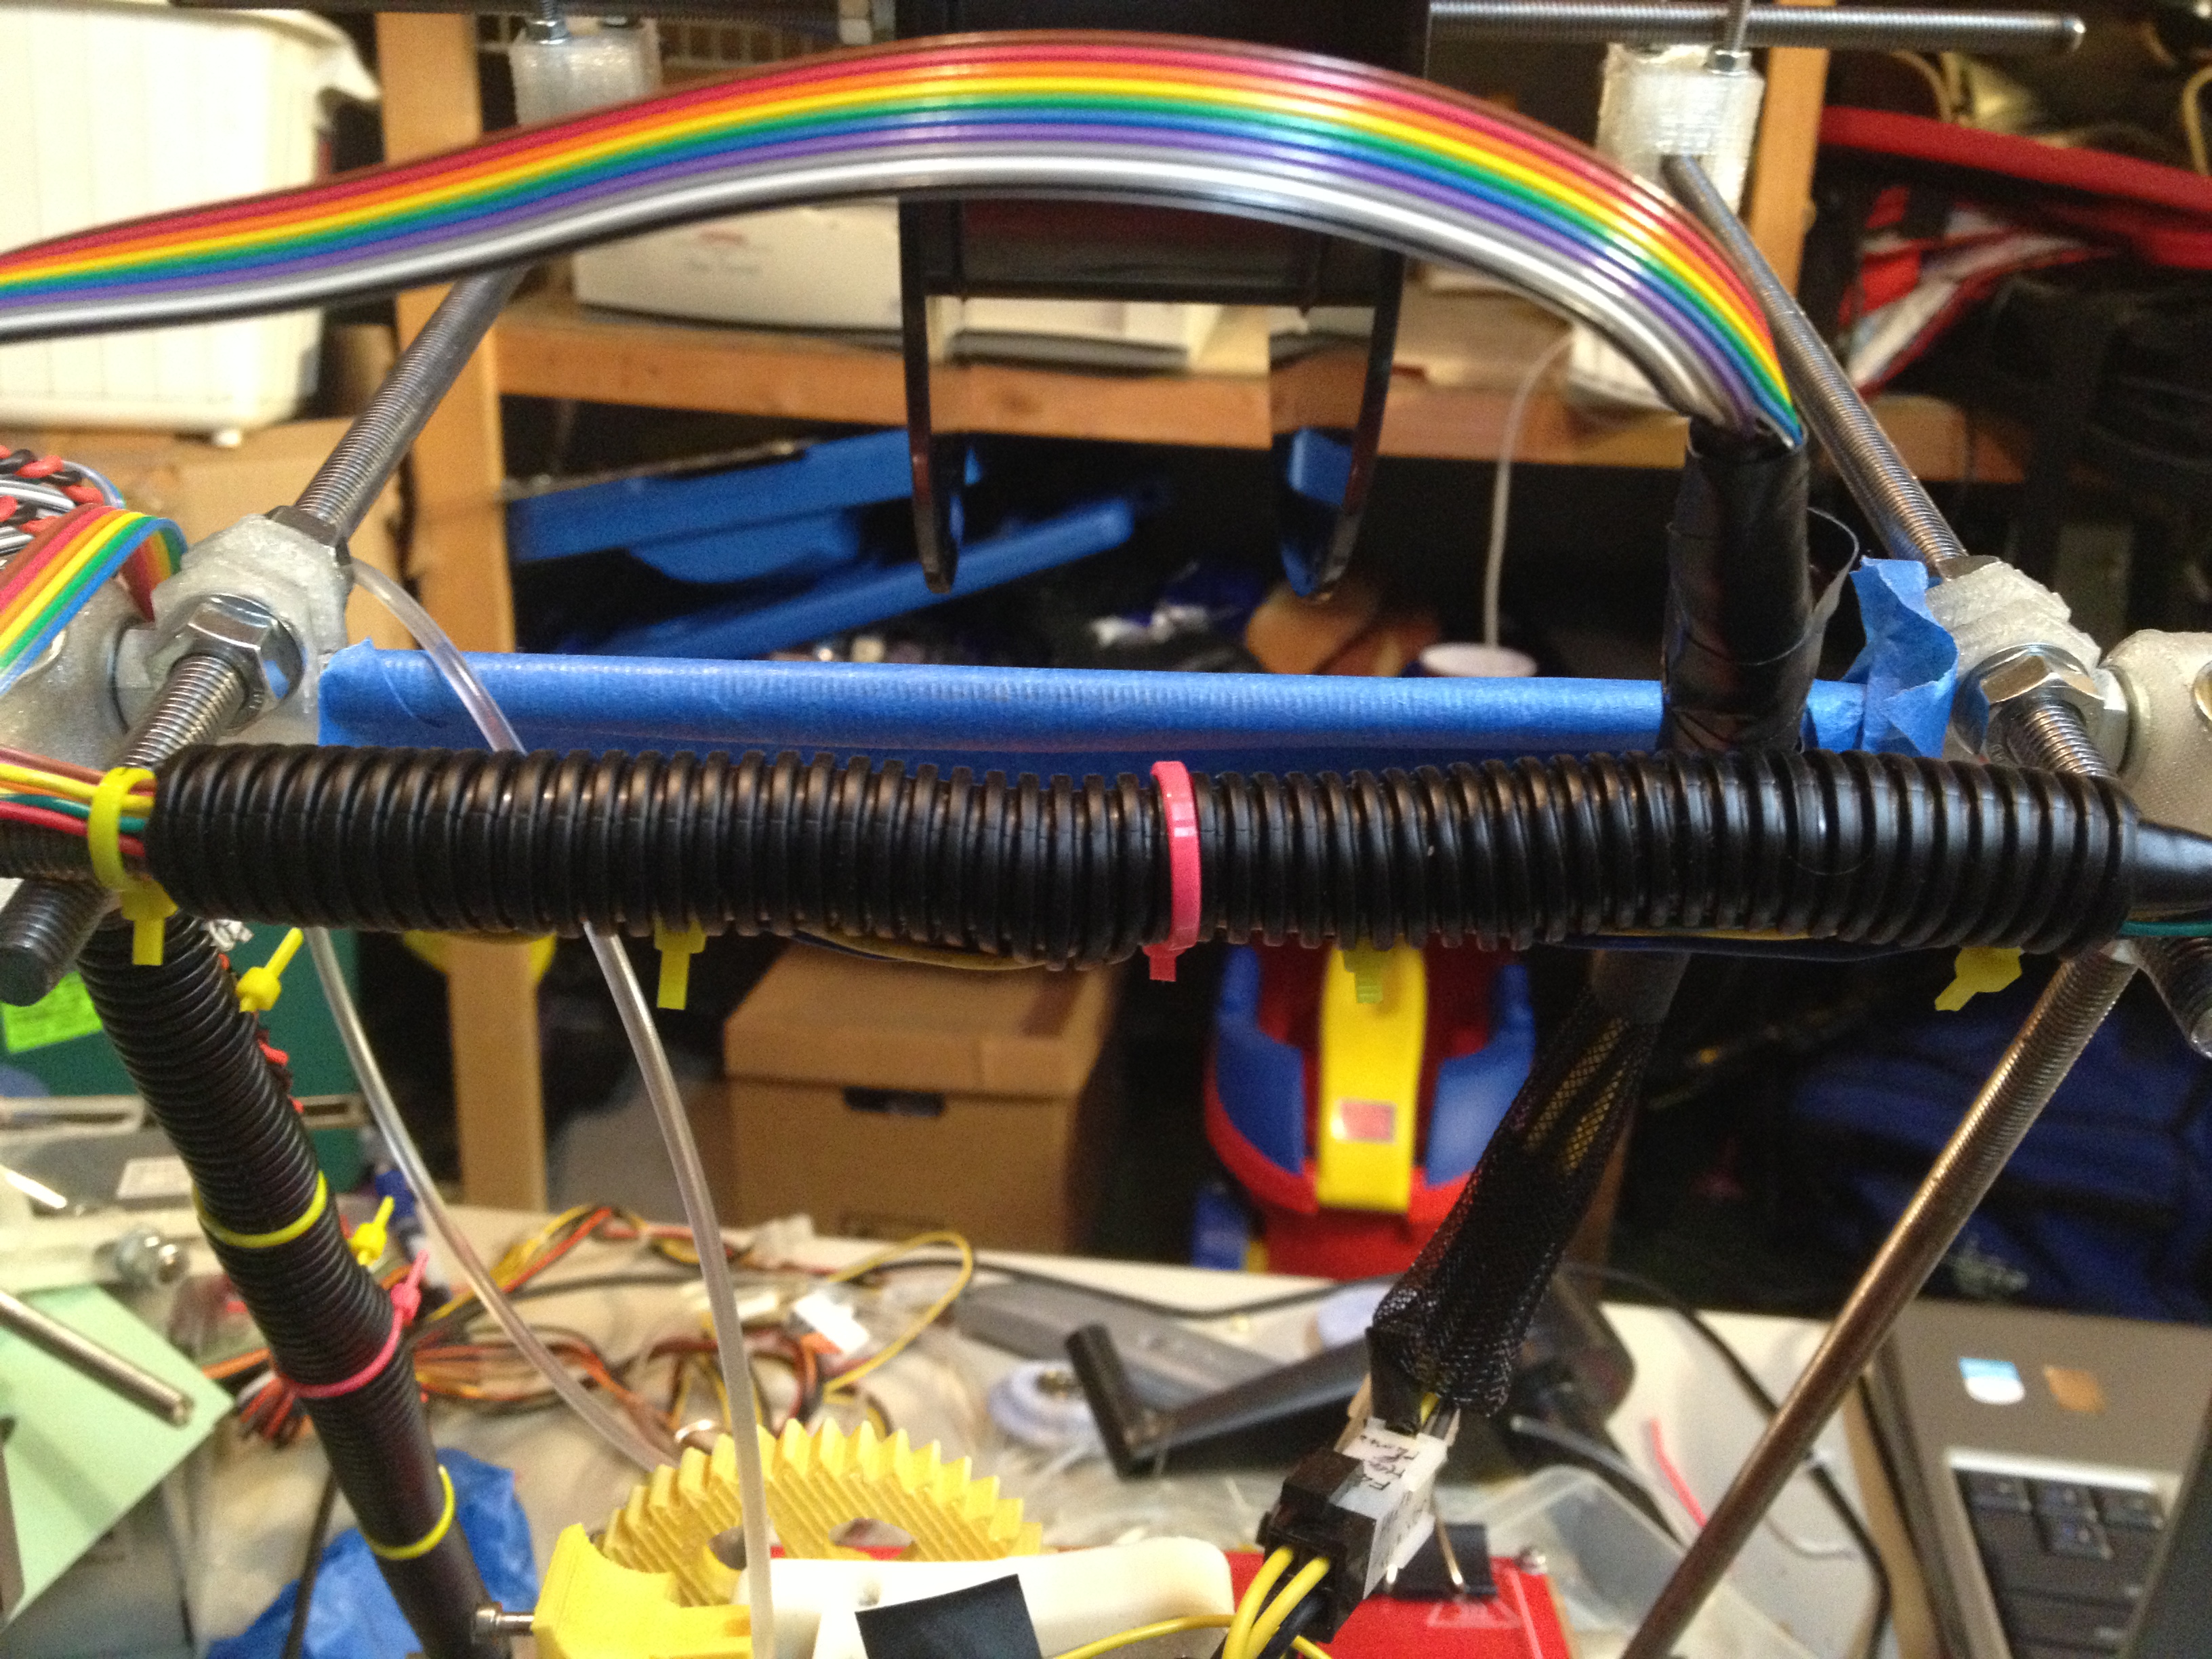
Here’s just a cool picture from the side of one of the upper frame vertices:

IMG_2612

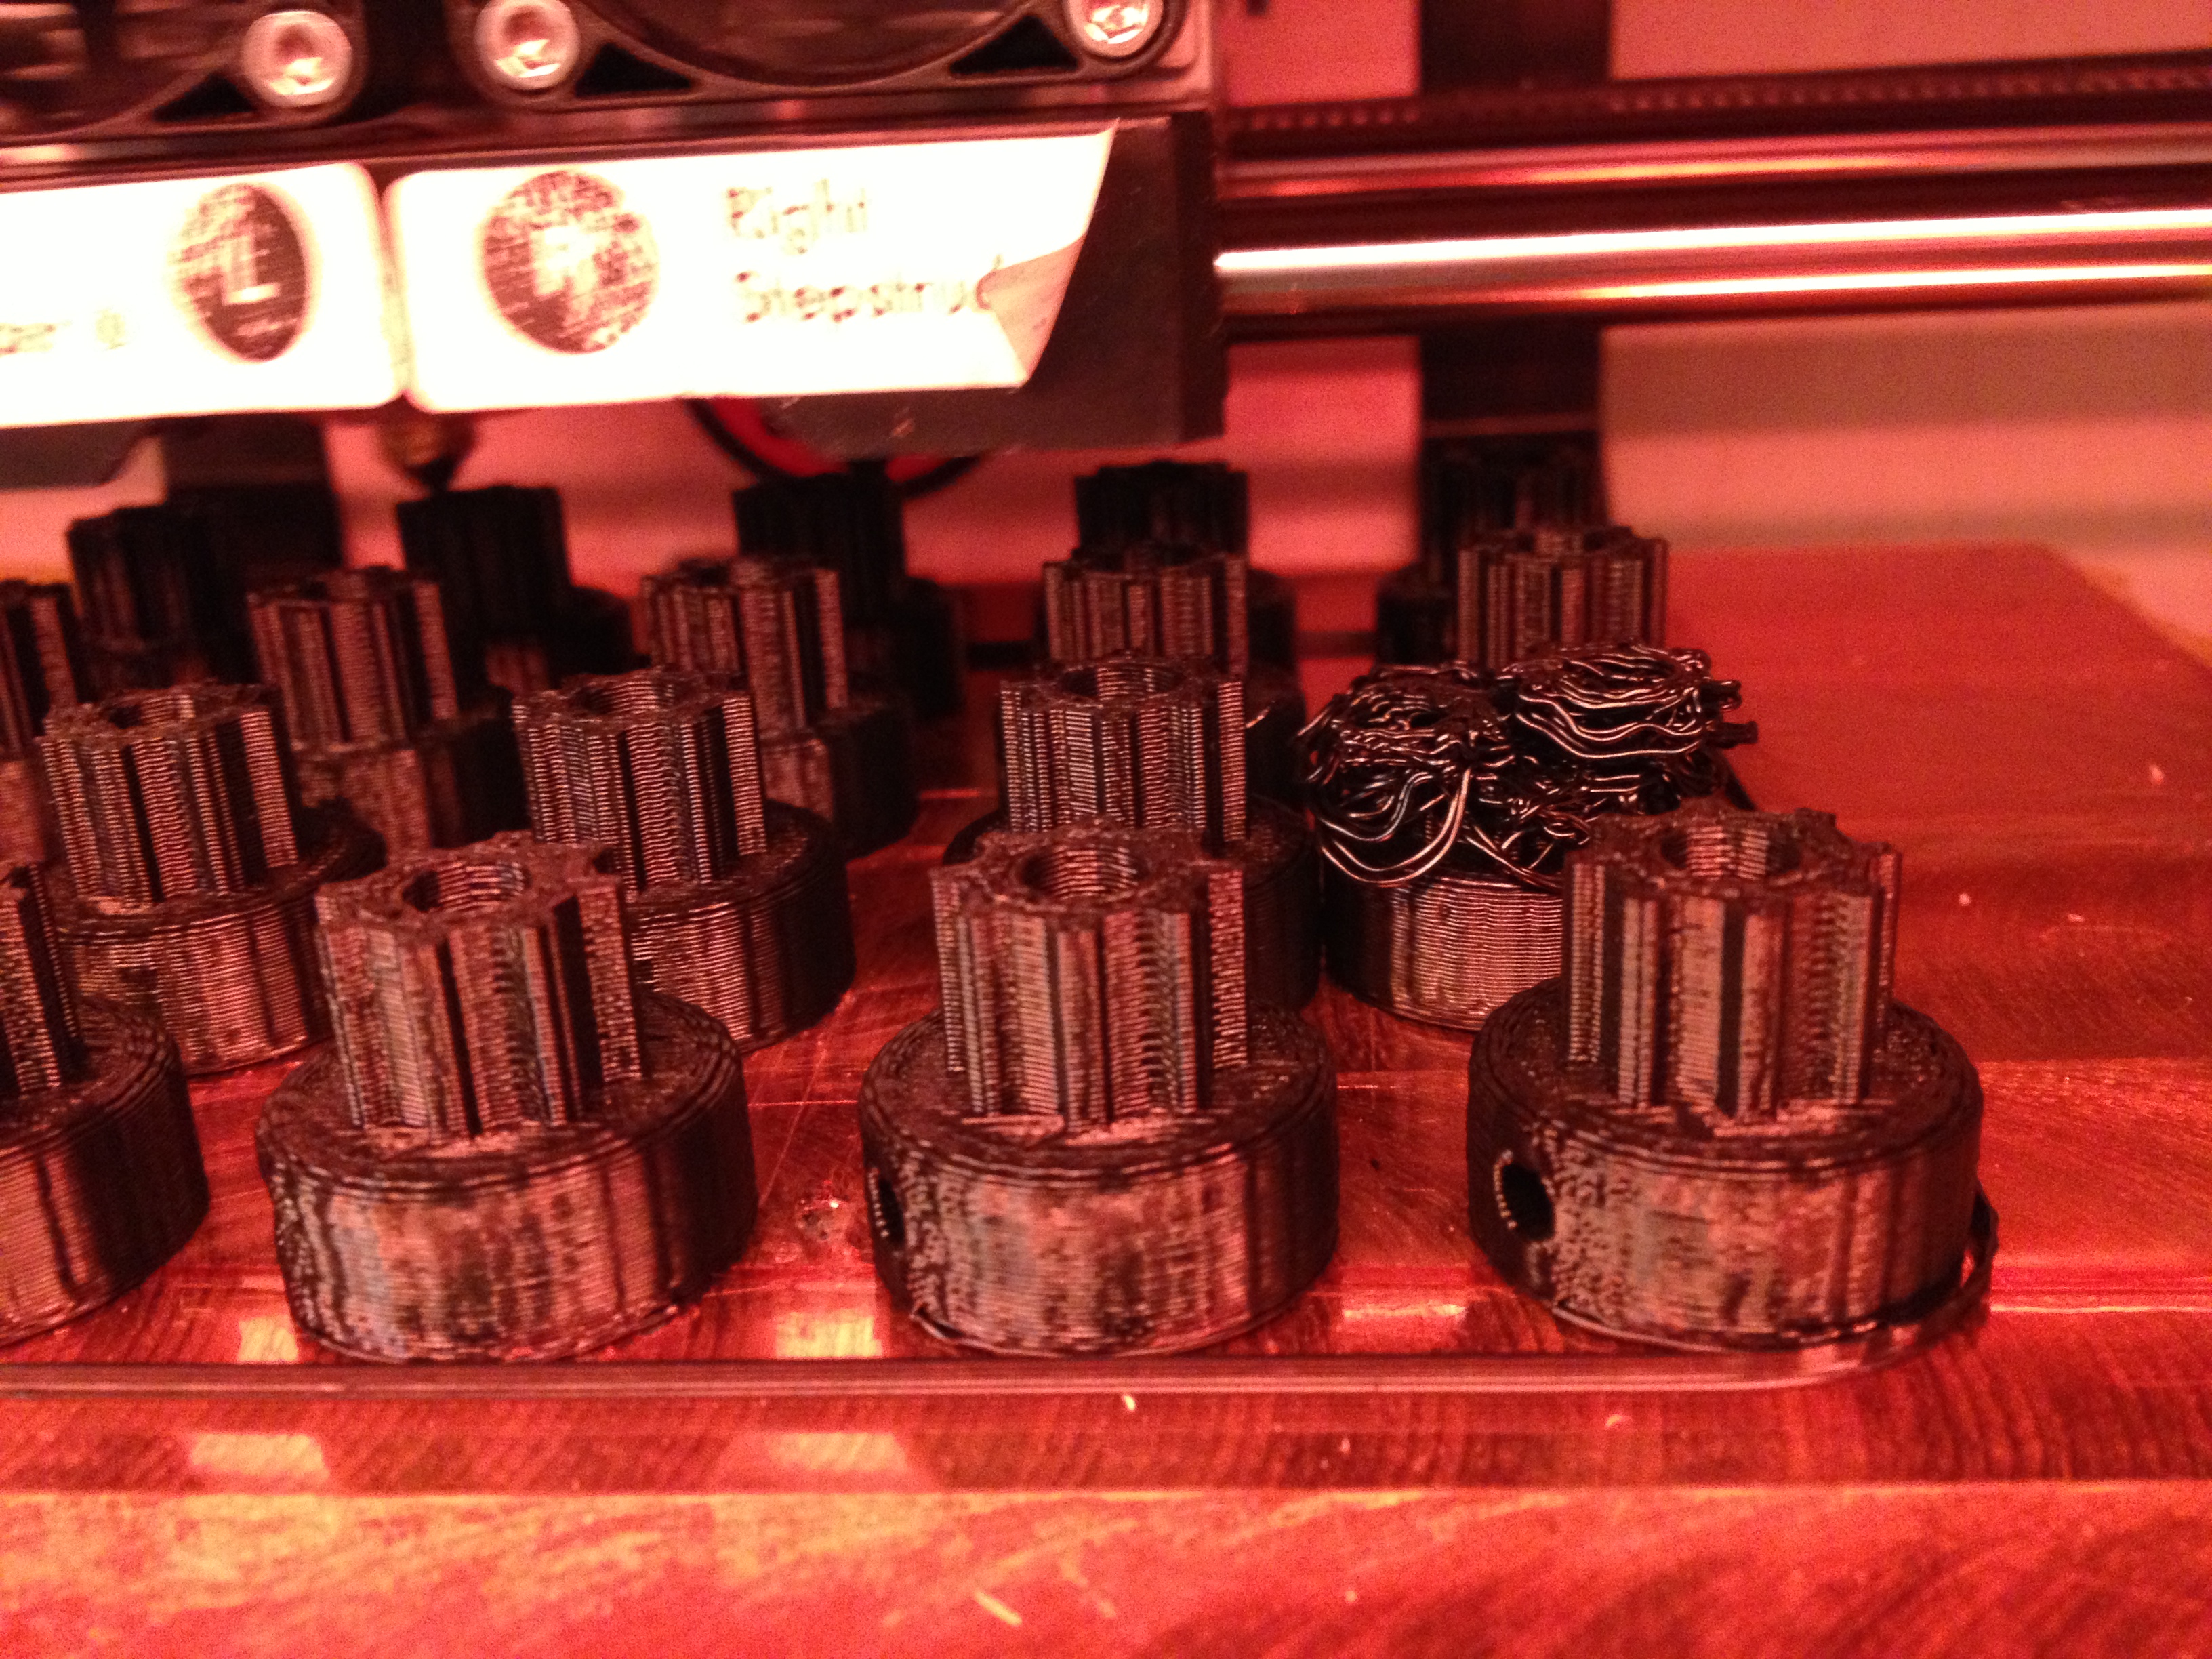
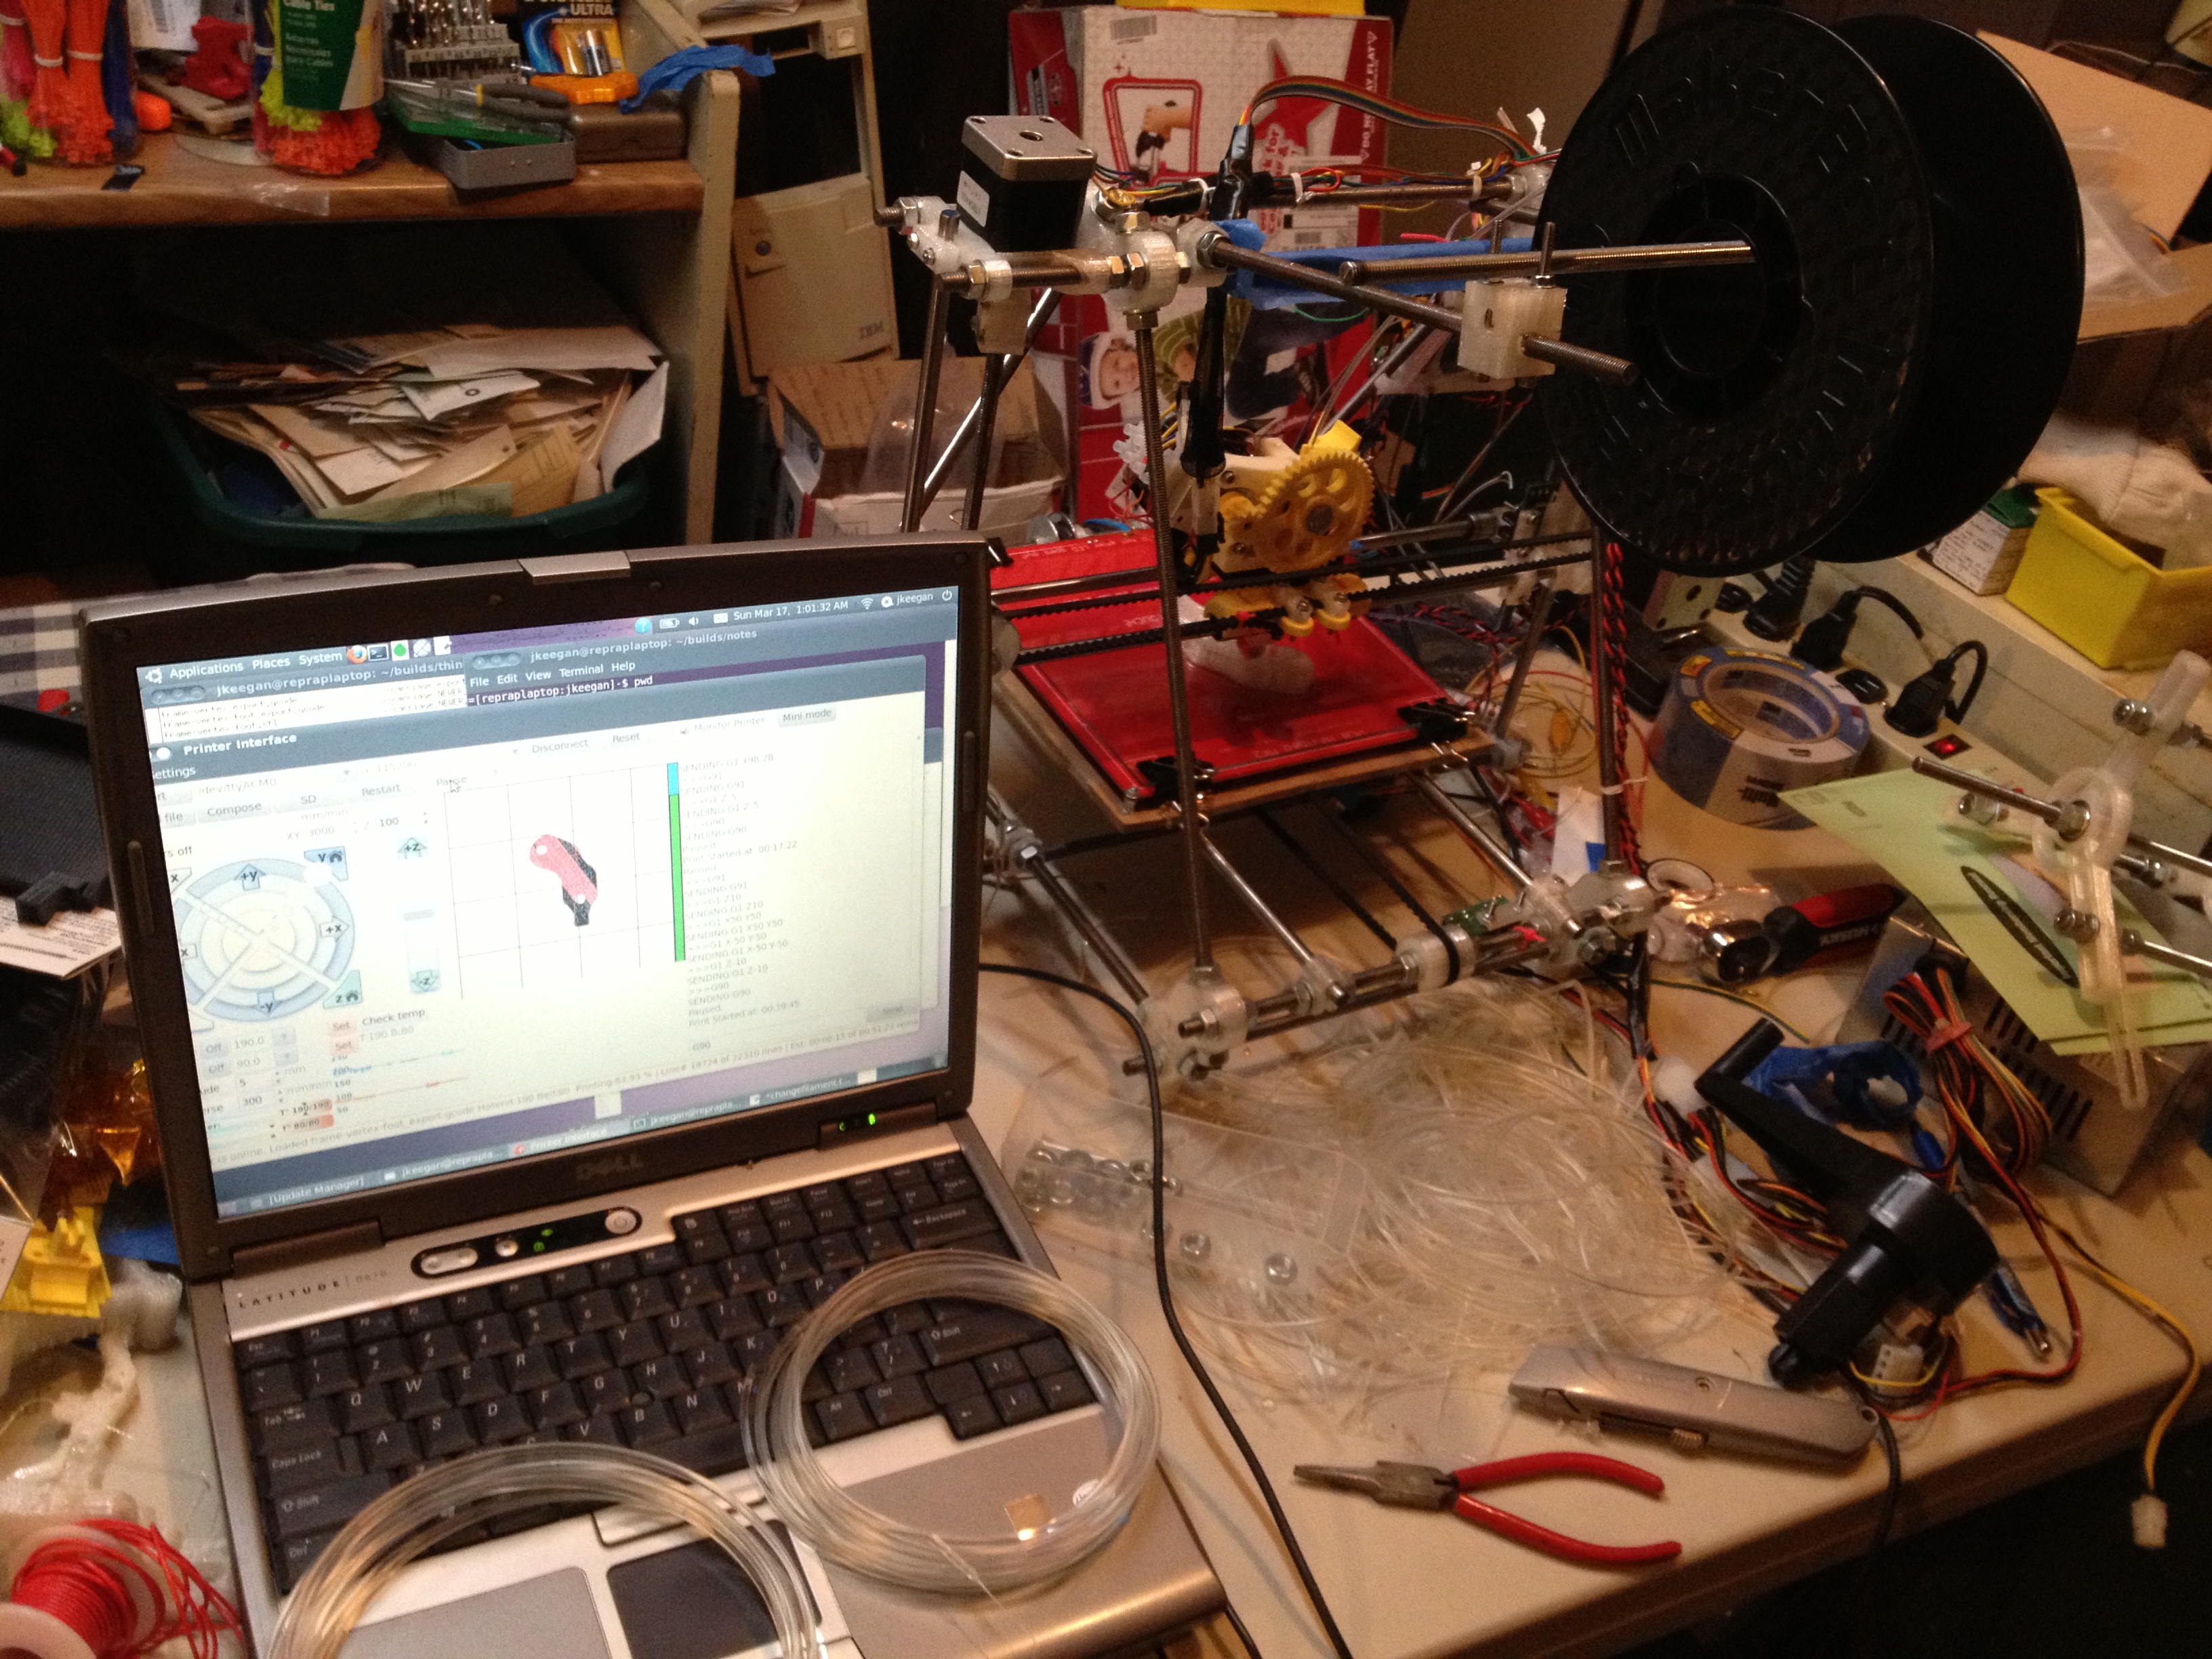
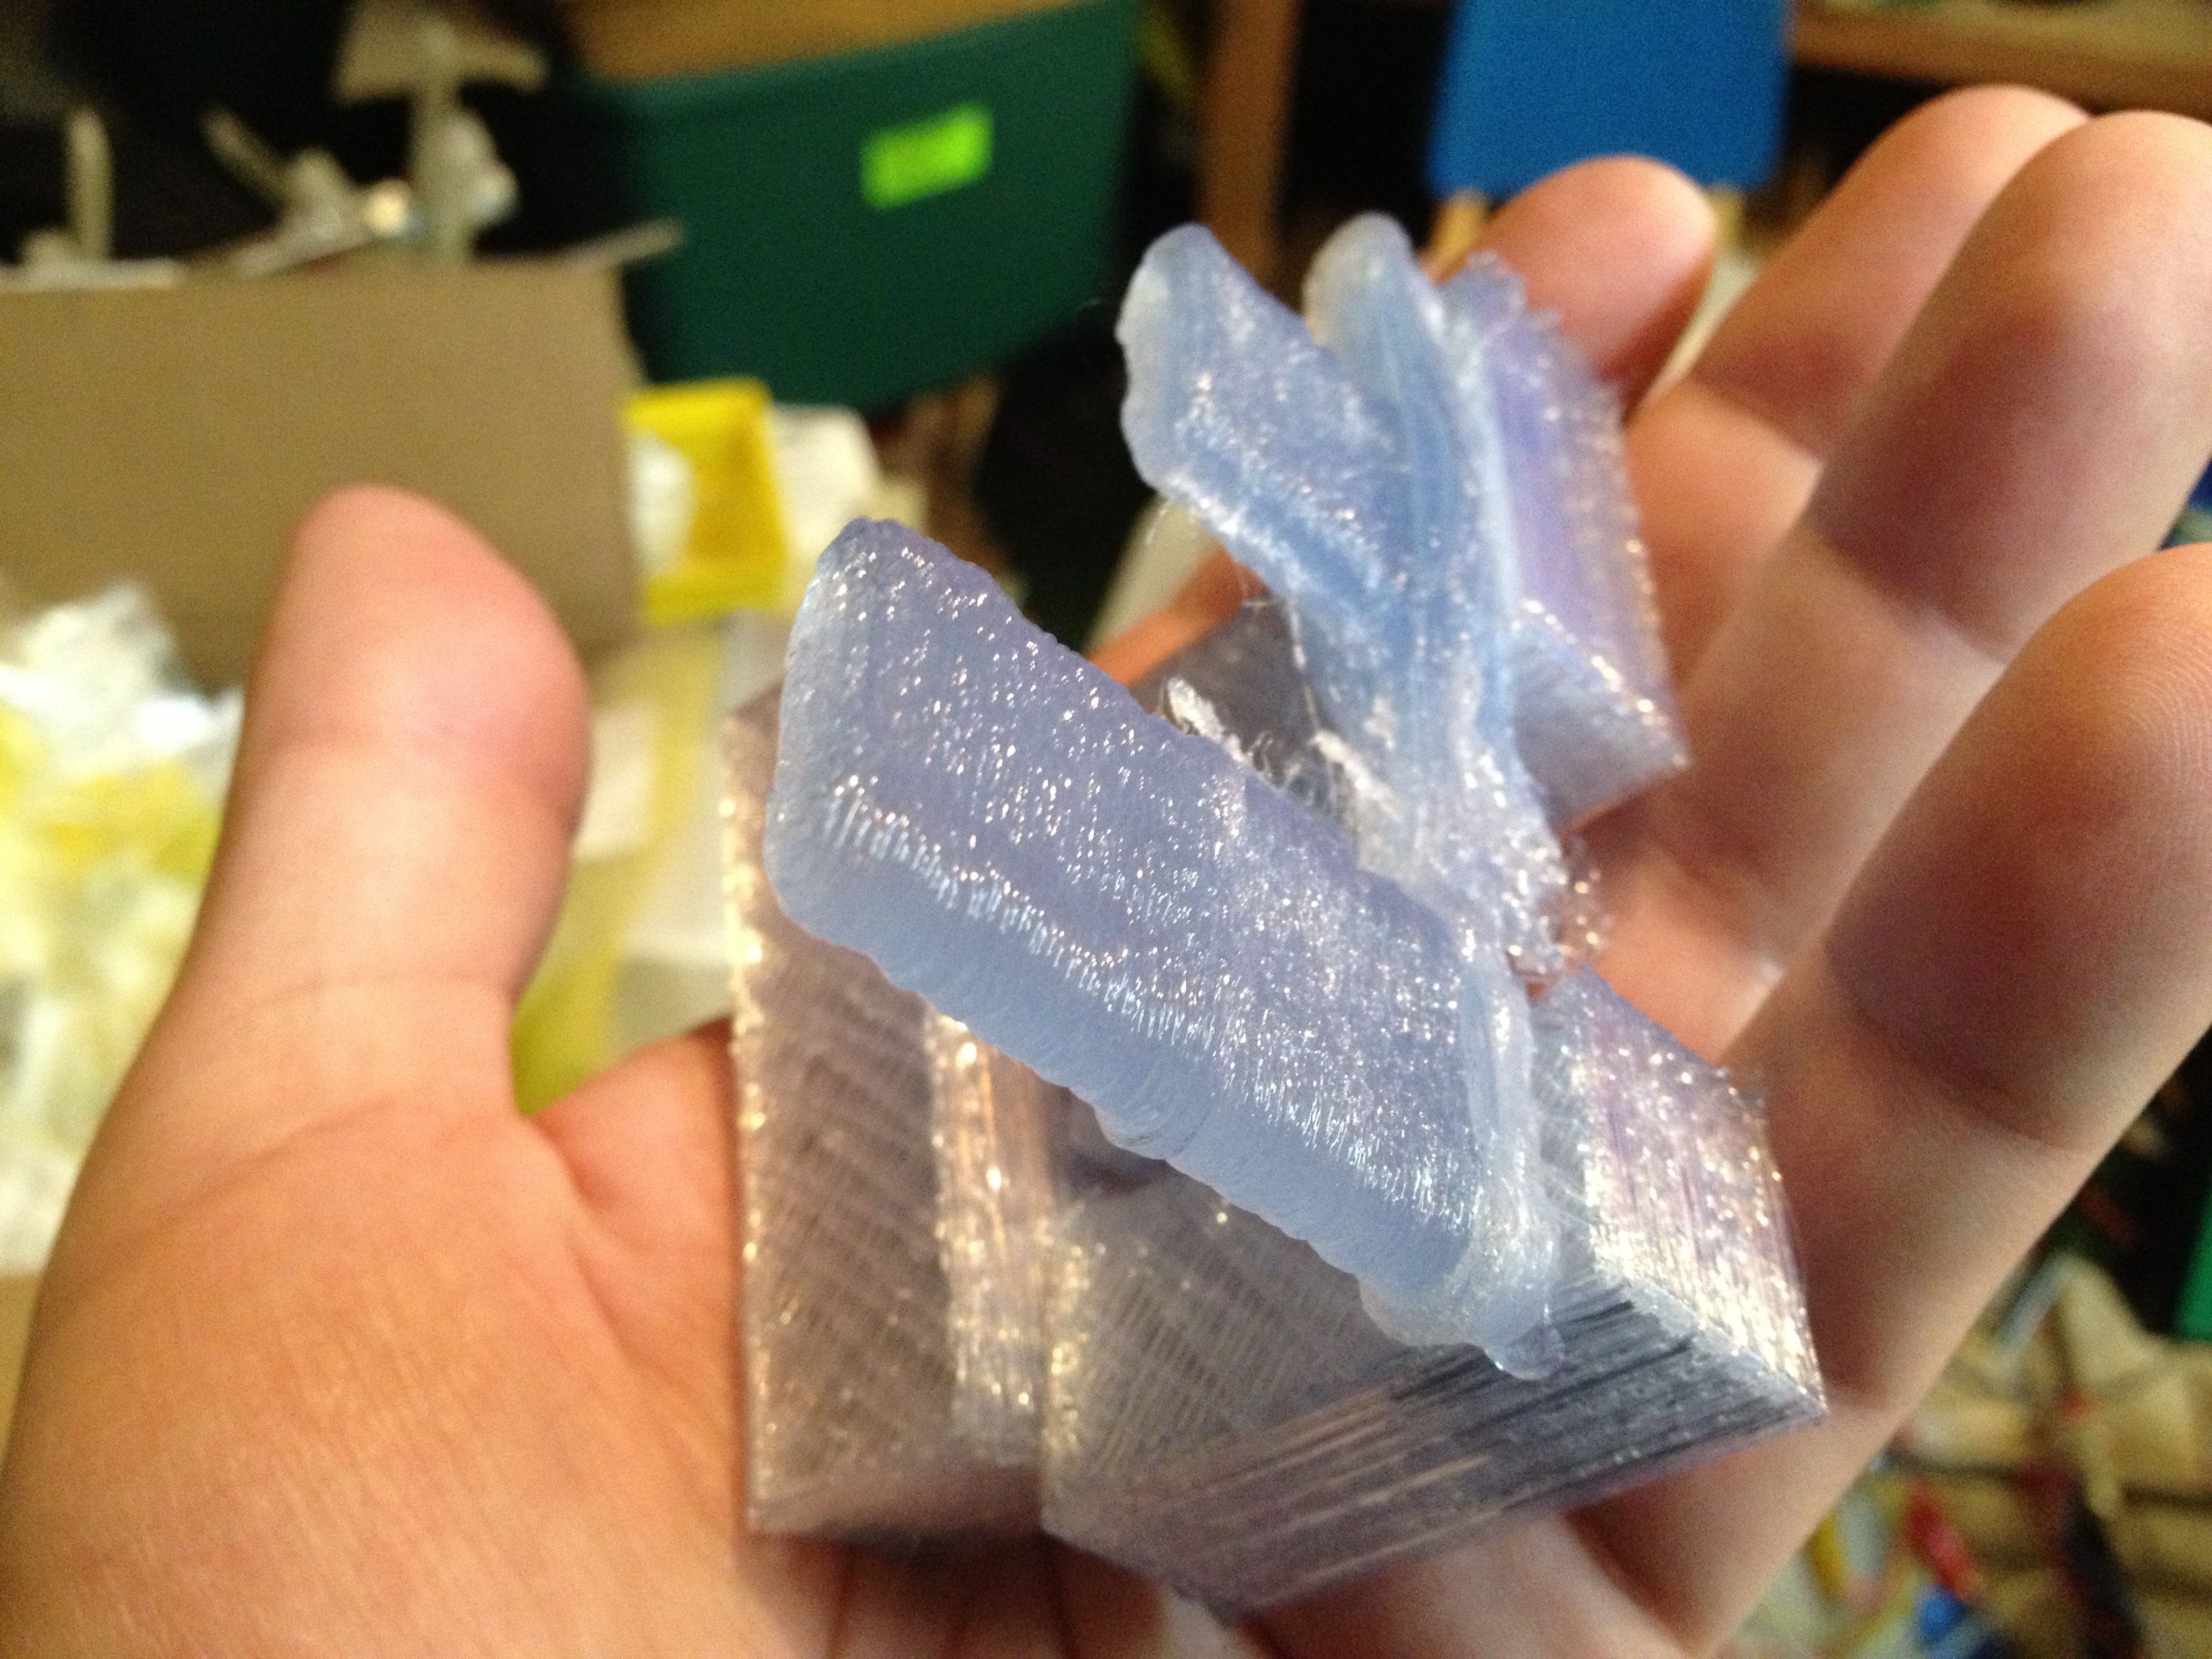
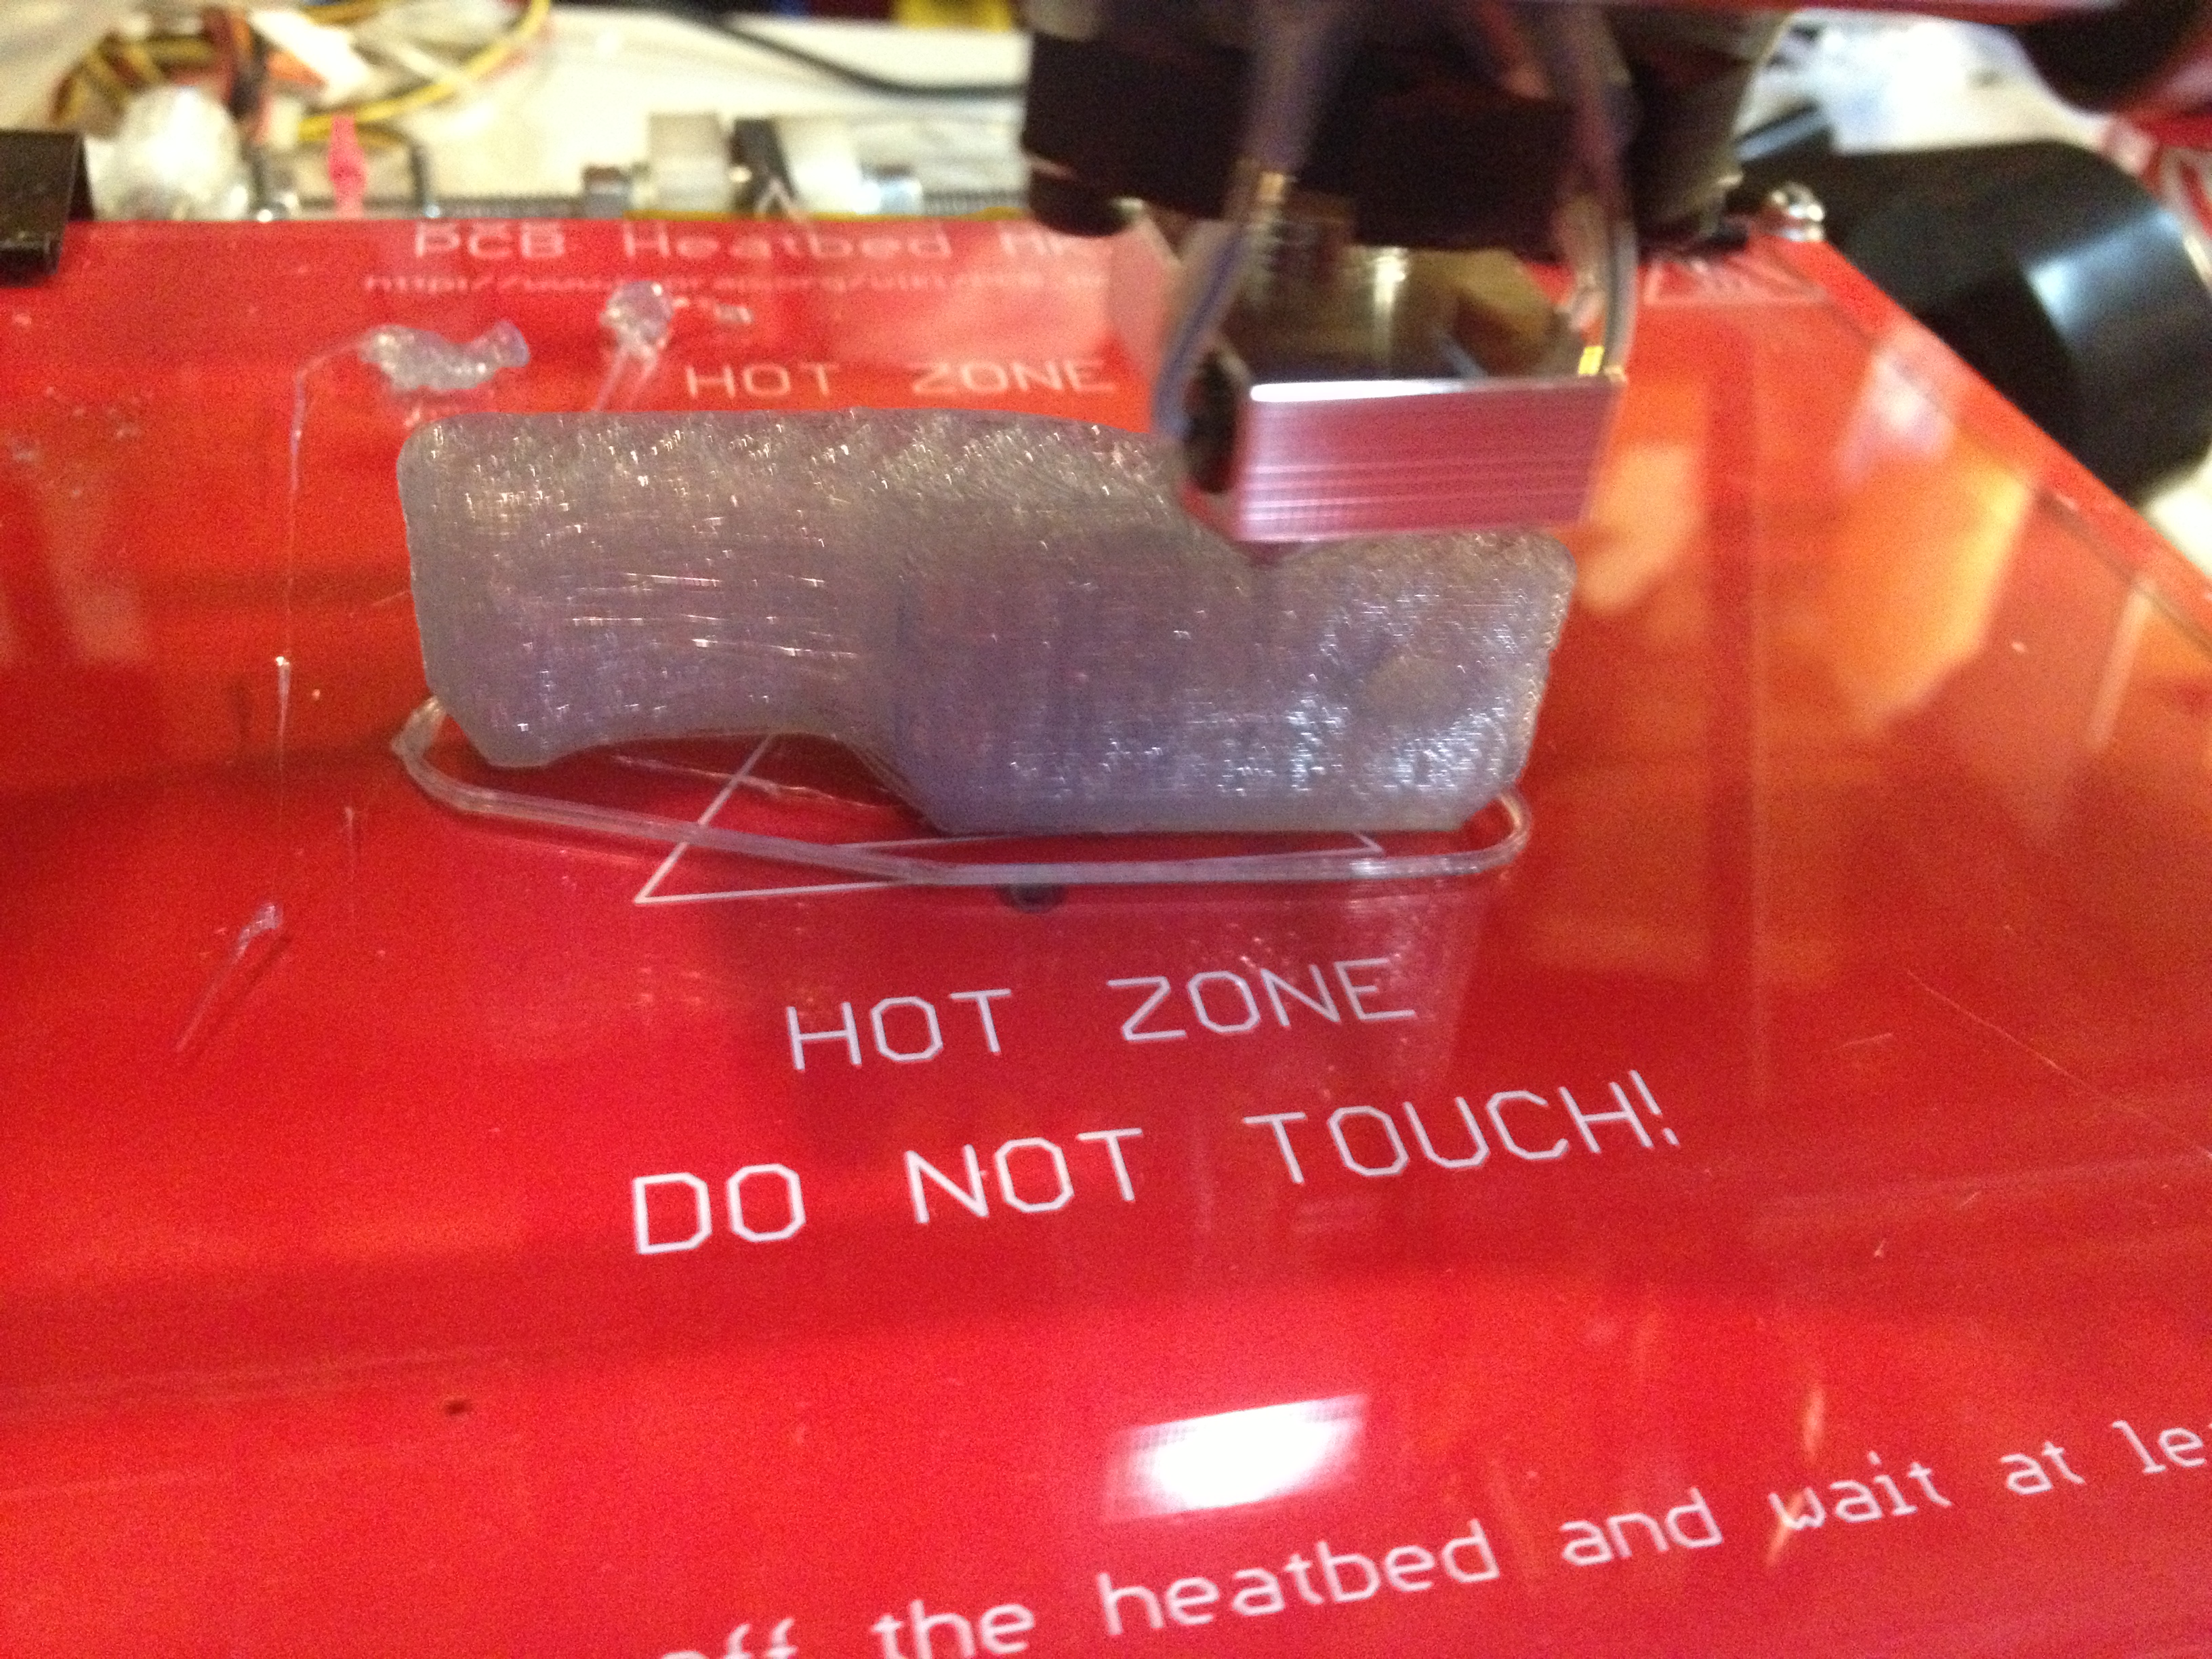
I had successfully started enough of my second RepRap that I didn’t fear any lull after giving the Museum of Science their RepRap, leaving an empty space on my desk. Ok, back to the Museum of Science’s RepRap. I was getting ready to hand it back on April 30th, 2013. The day before, I did a few last prints. I had tried printing a SOMA puzzle but the pulley on the X axis was loose and fell off, resulting in this:

IMG_2621

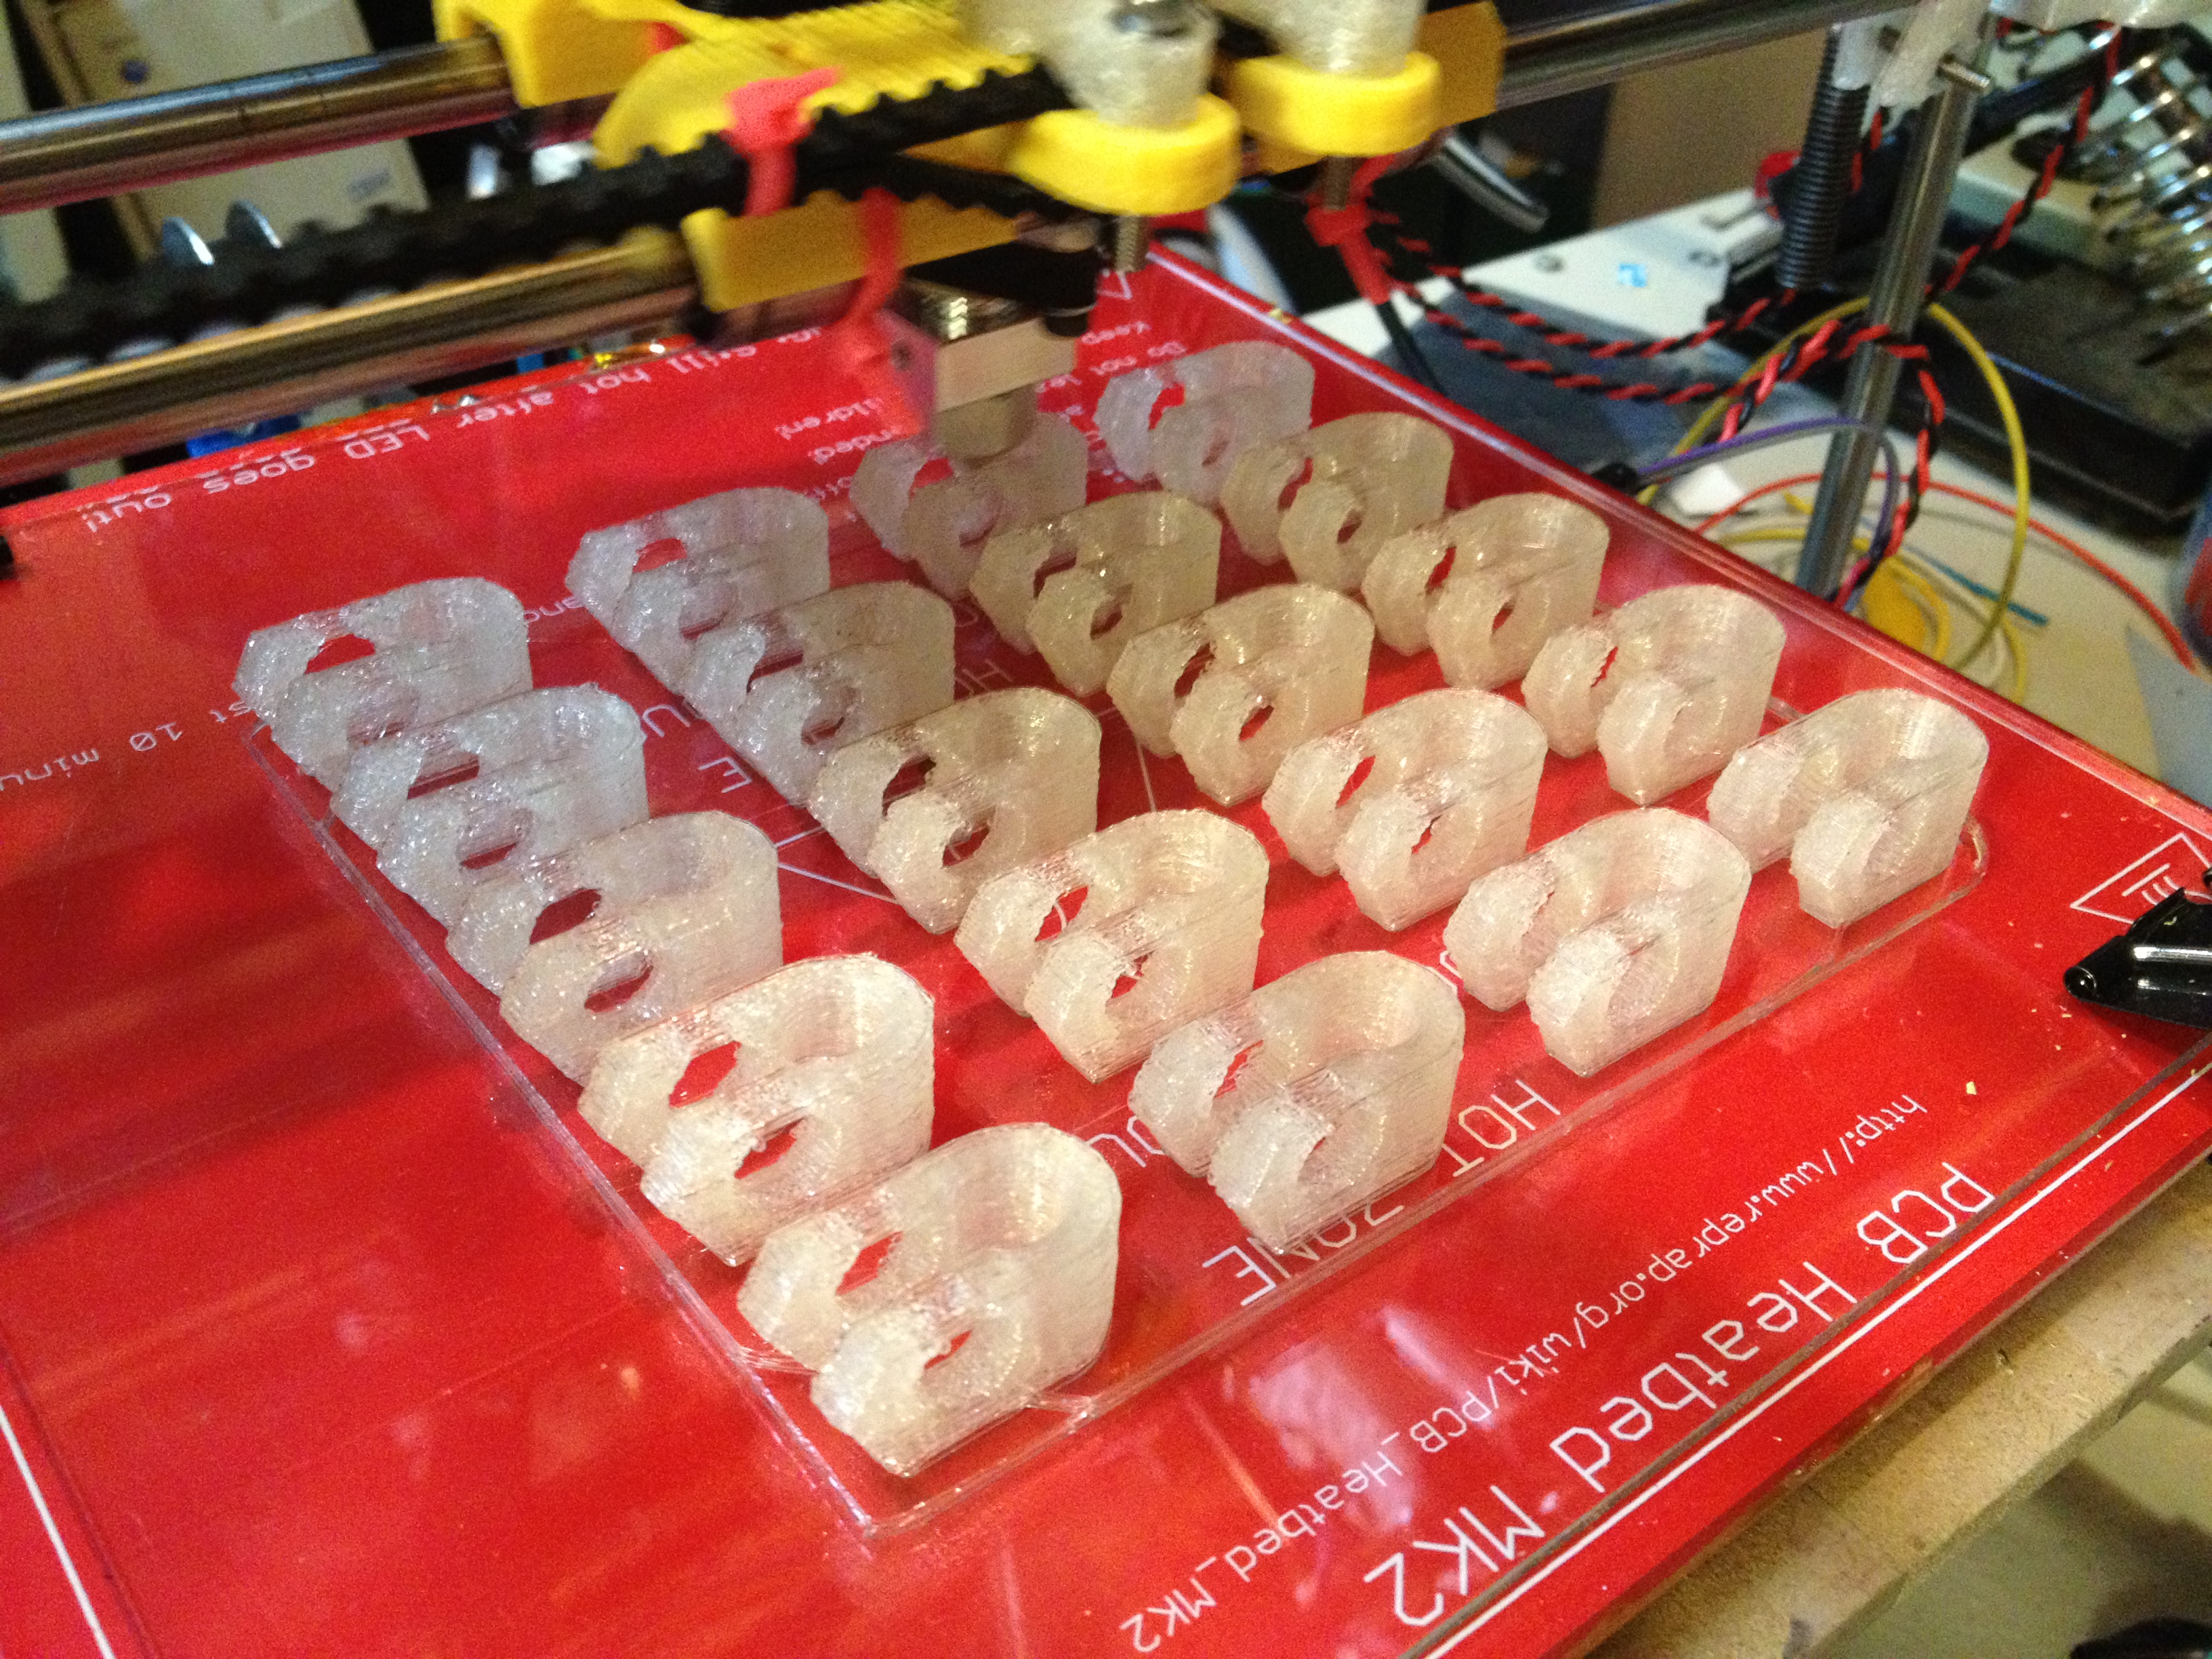
I fixed up the pulley but didn’t have time for another attempt at the SOMA puzzle. I printed the last print that I’d ever print on the Museum of Science’s RepRap at my house, another keychain bottle opener:

IMG_2626

Thank you Museum of Science Boston for all my childhood memories! Here is my small way of paying back.

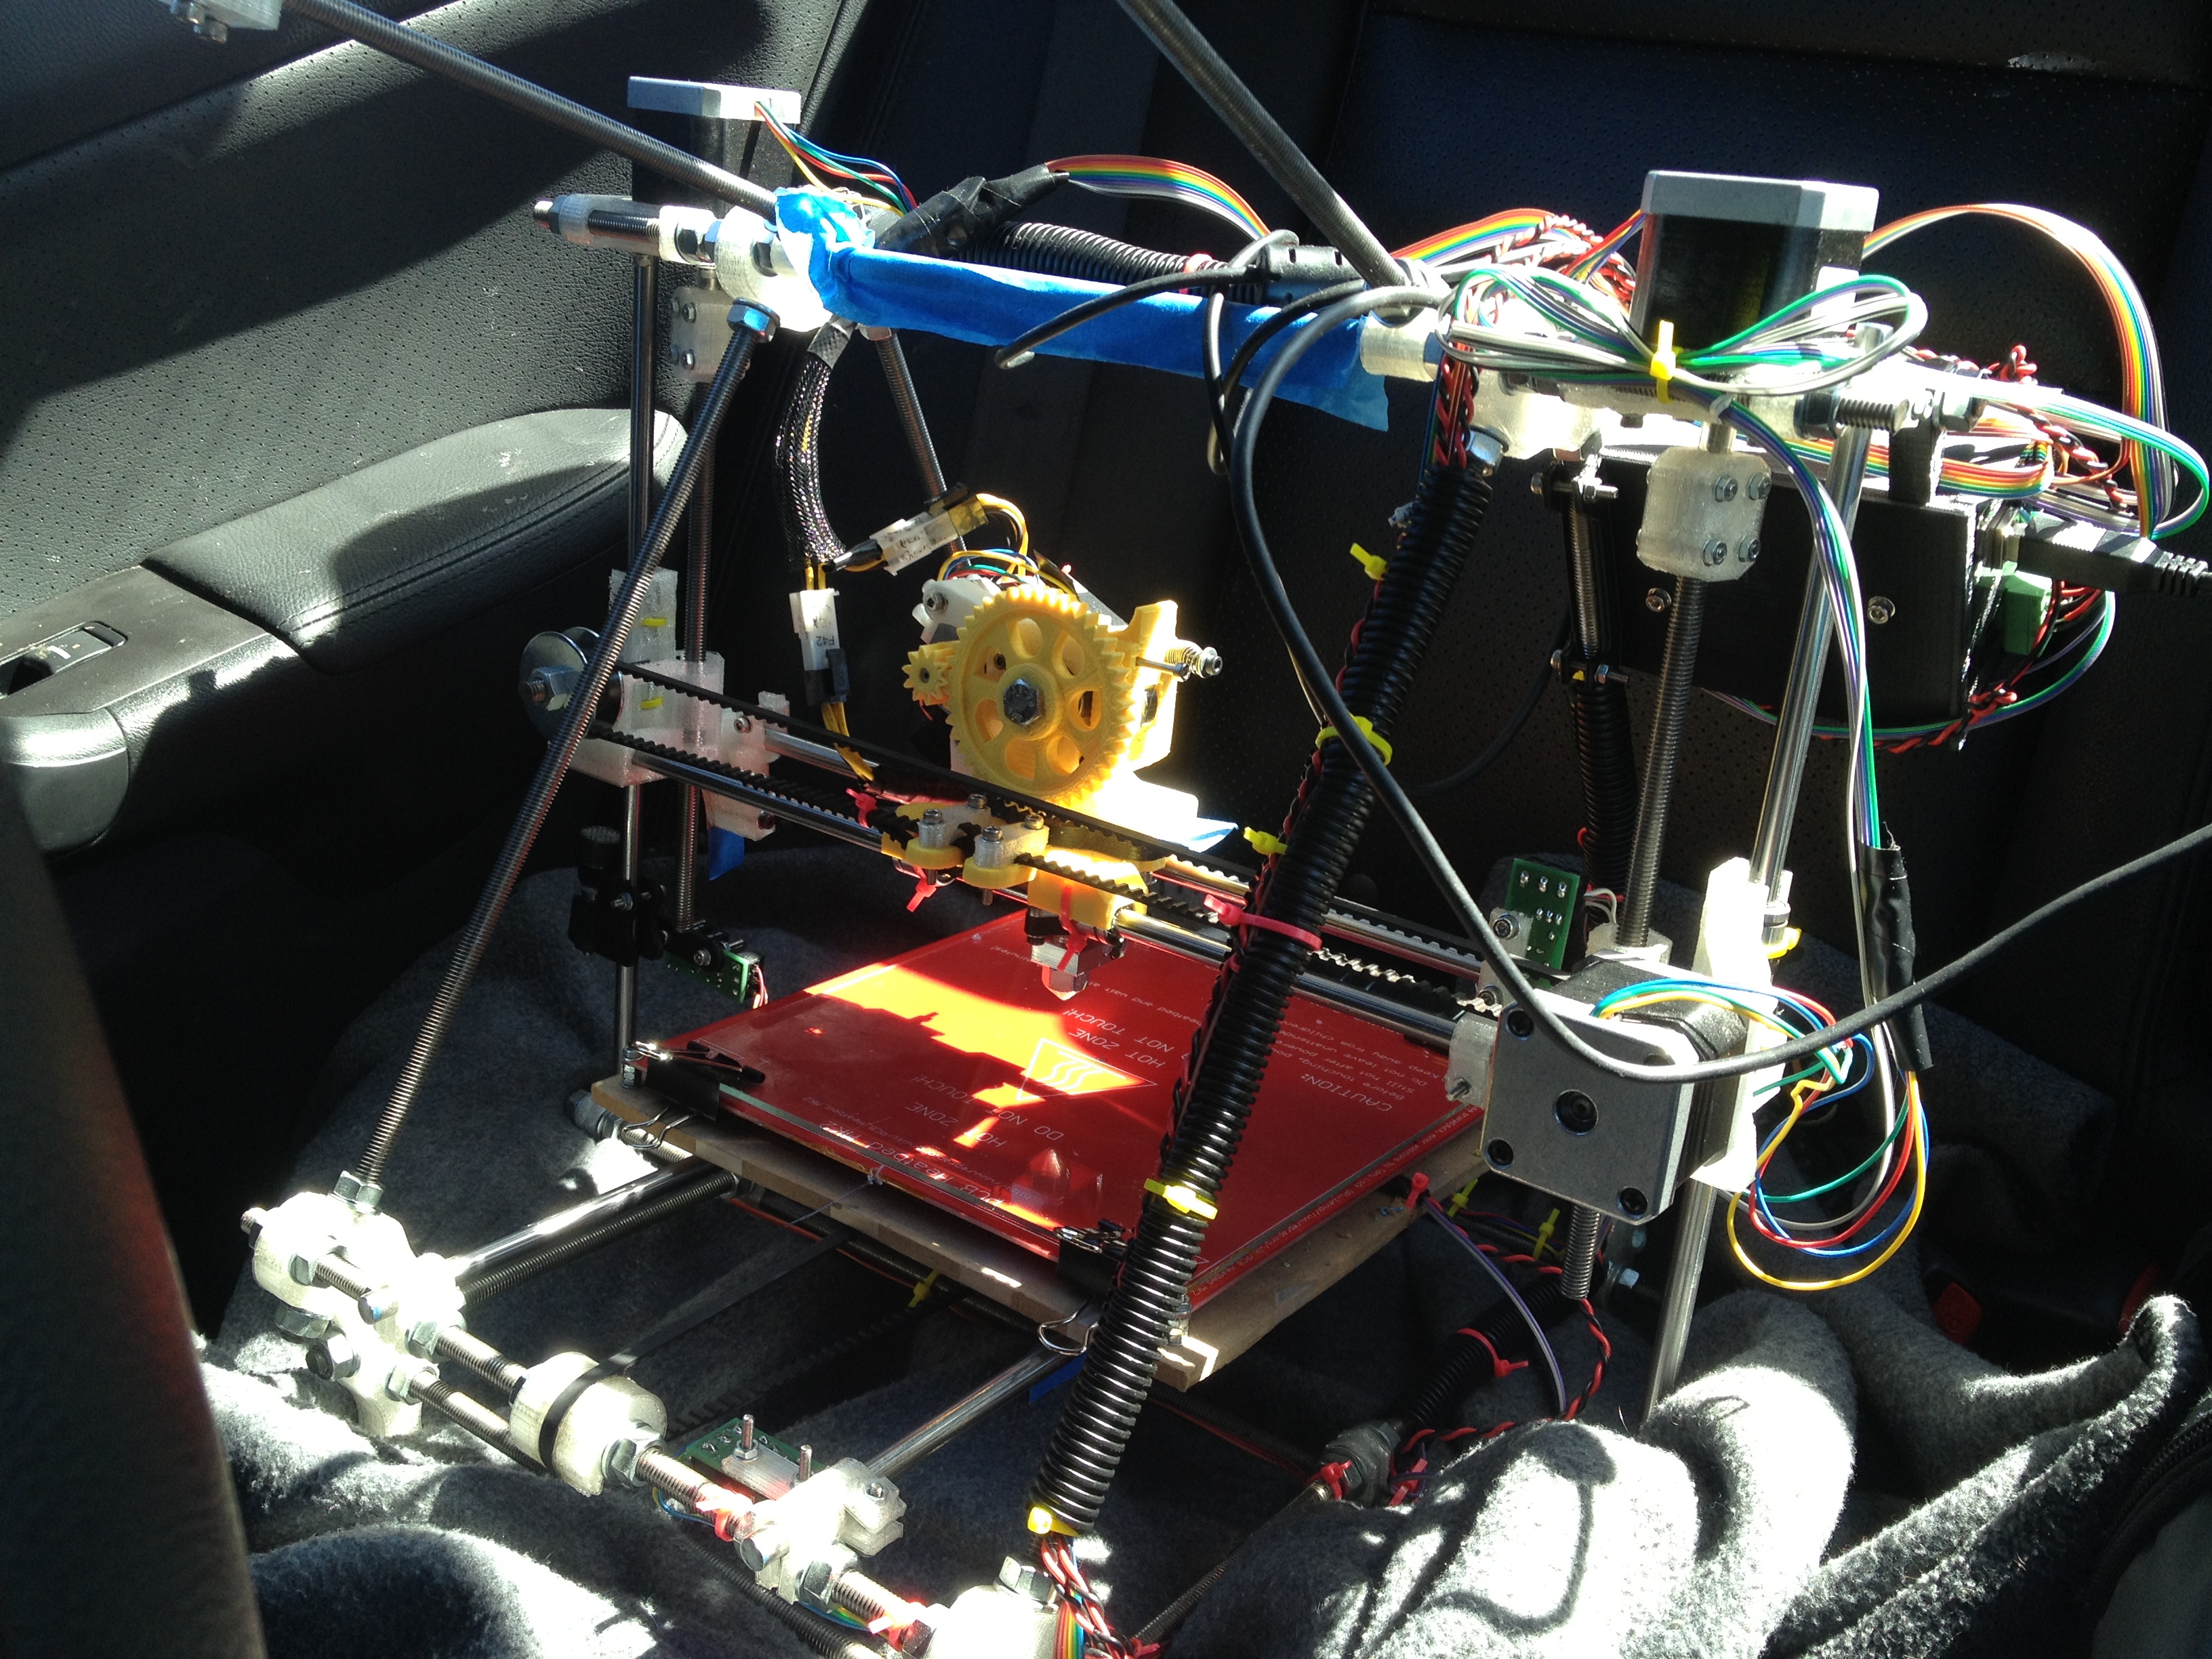
I packed it up in the car, ready to be driven down to Boston (I’m about 30 minutes North of Boston in Methuen).

IMG_2643

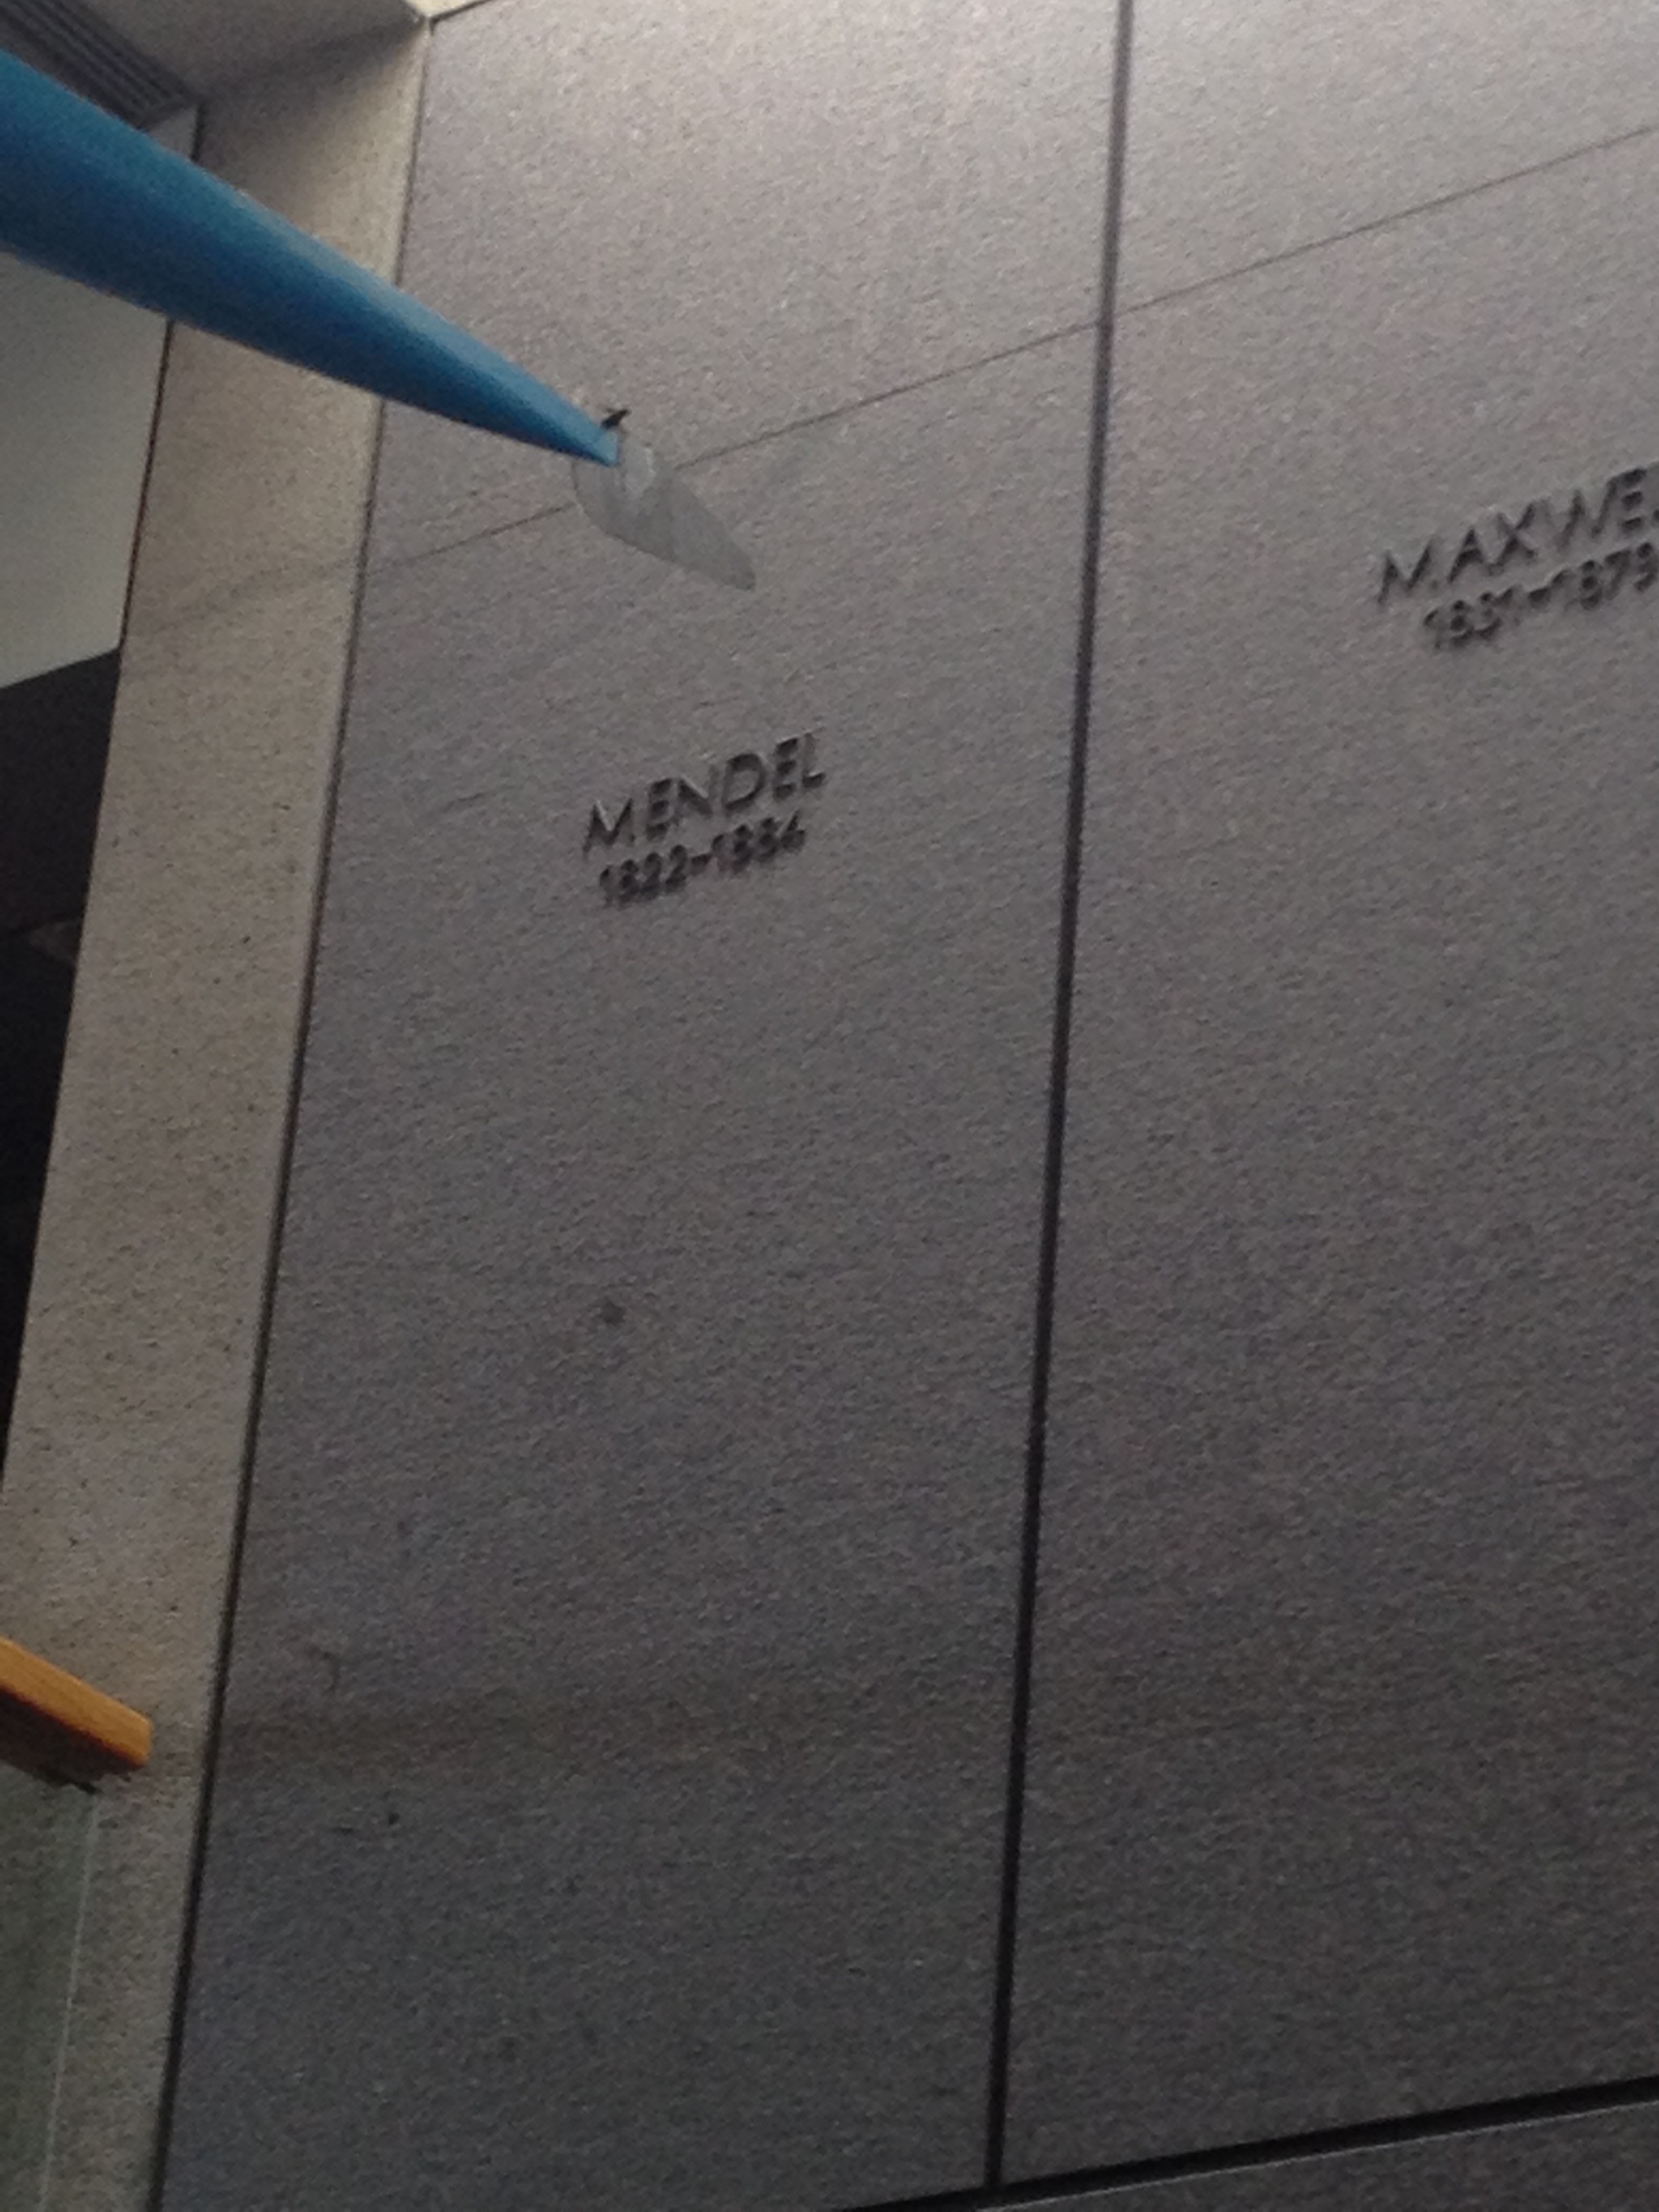
Here was the view of the Museum of Science as I drove up..

IMG_2653

IMG_2654

In the Museum lobby I couldn’t resist taking this picture specifically for this post:

IMG_2655

🙂

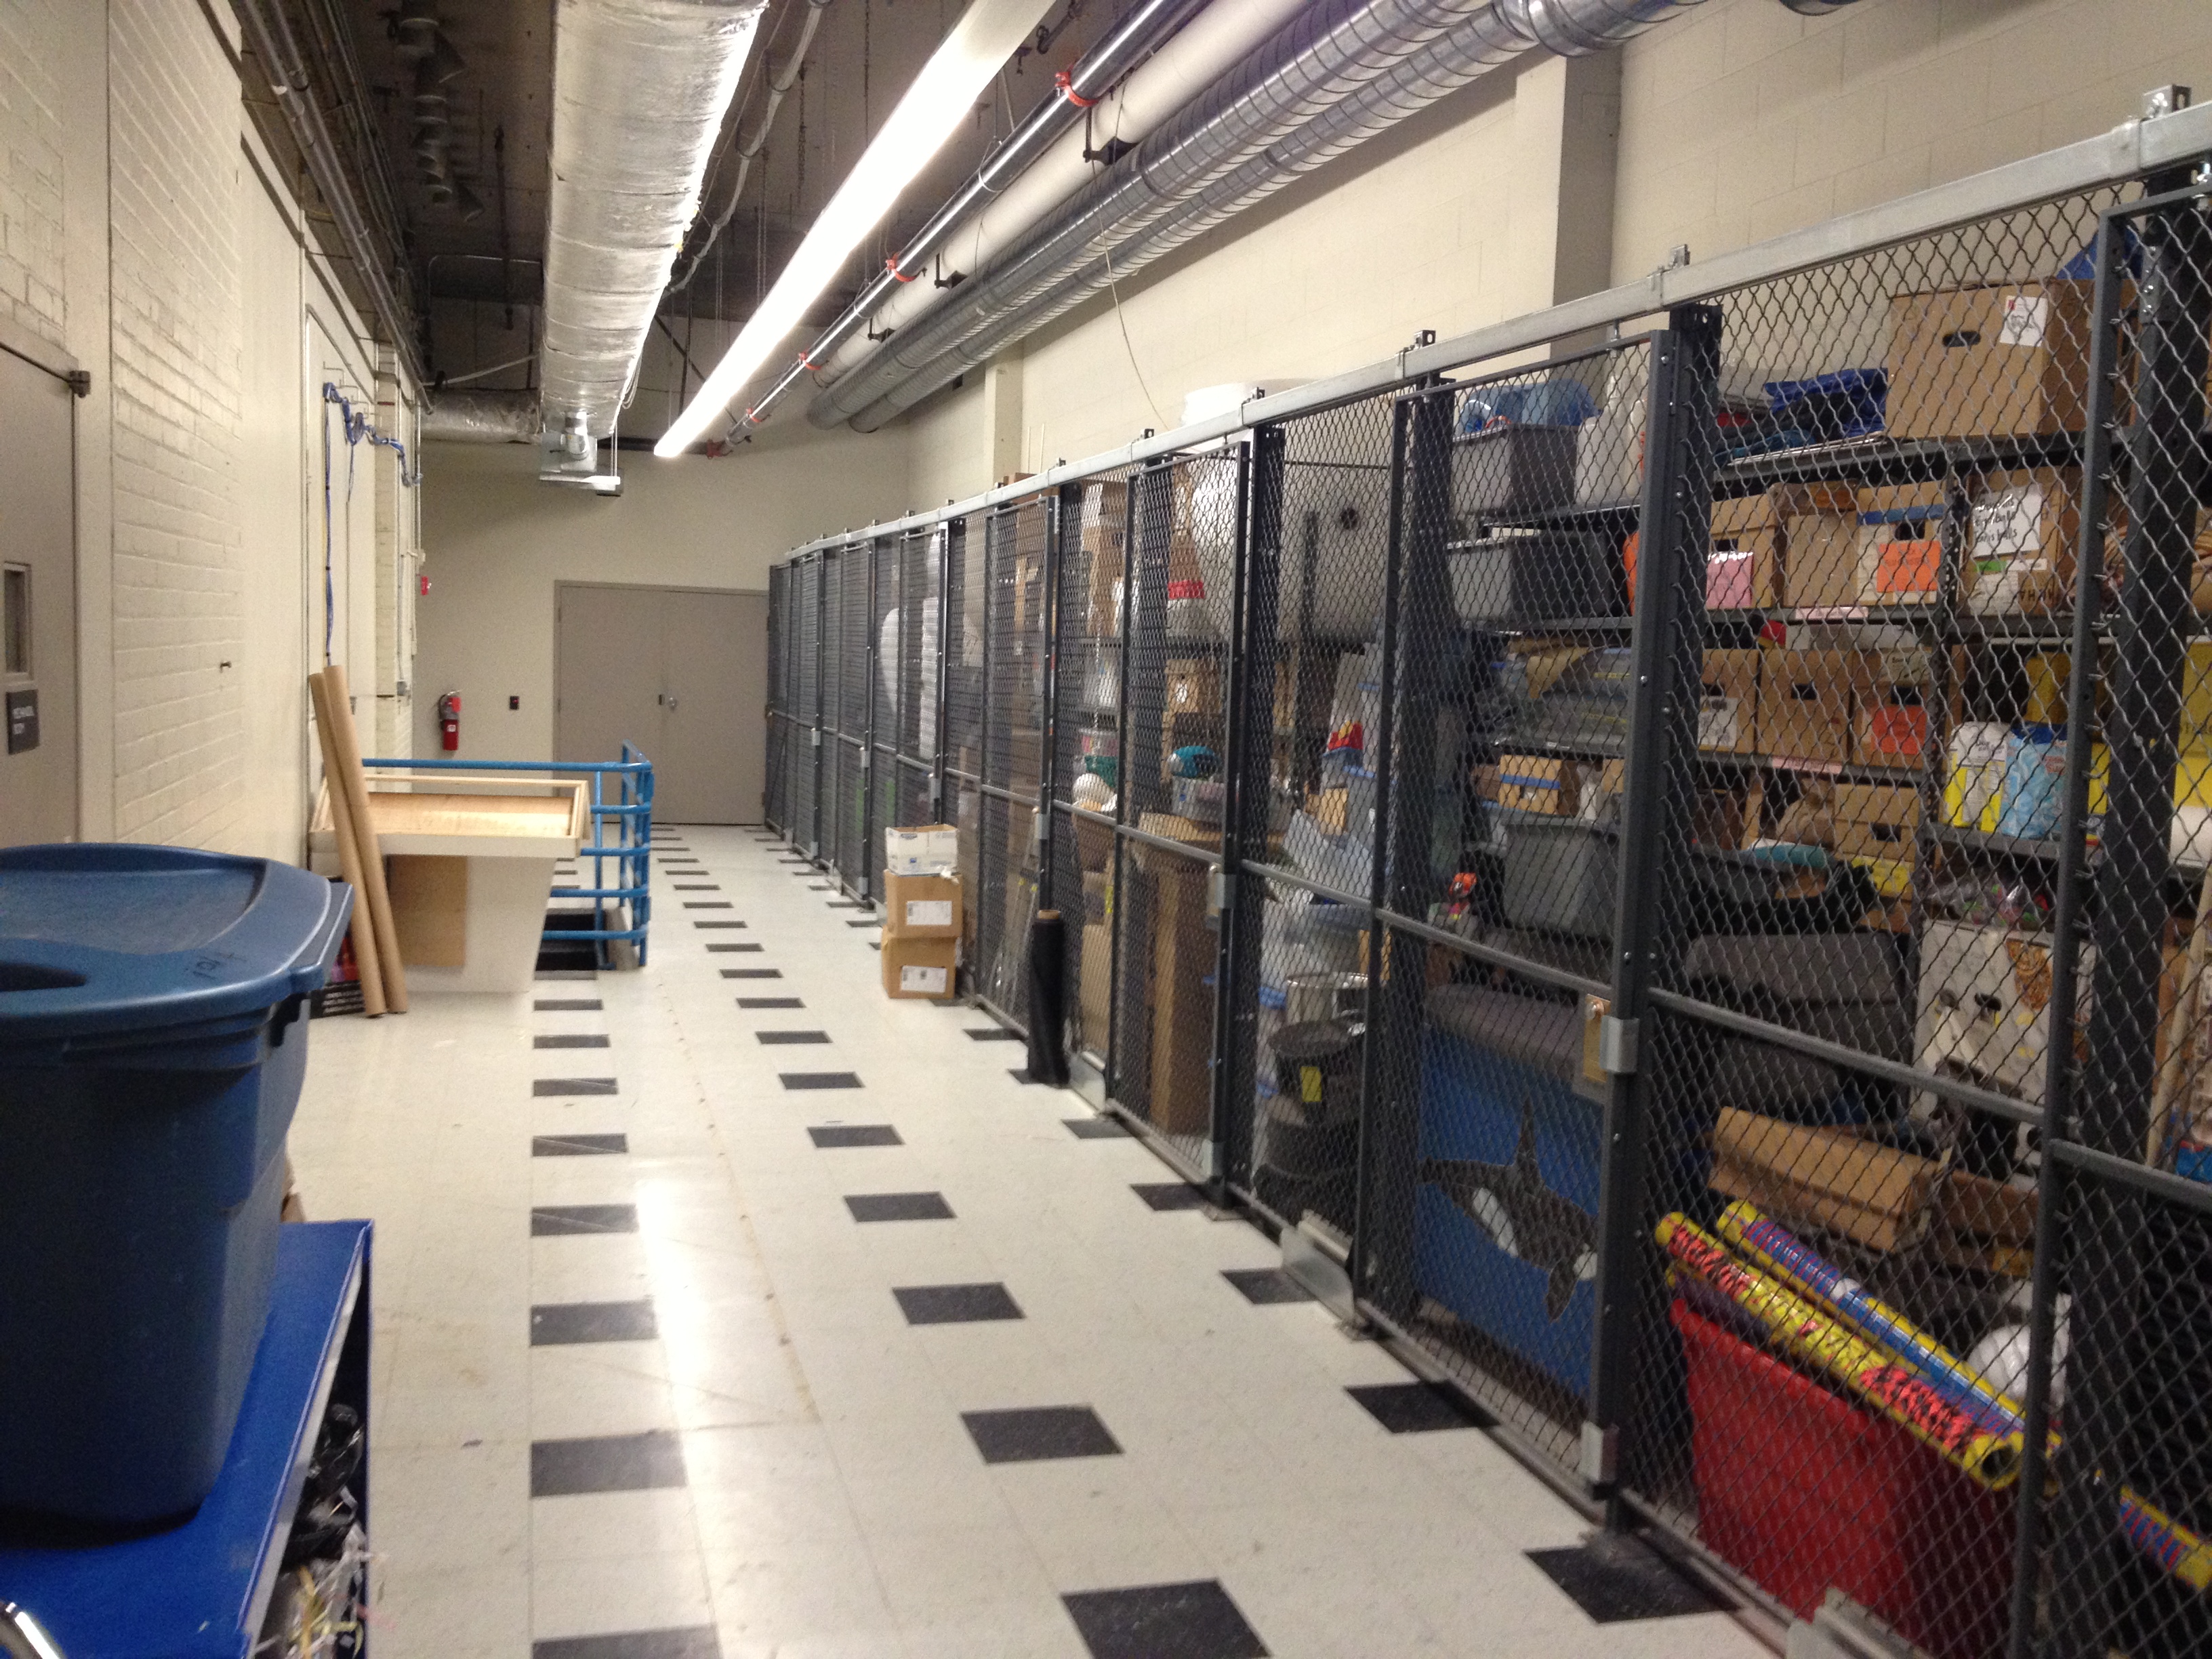
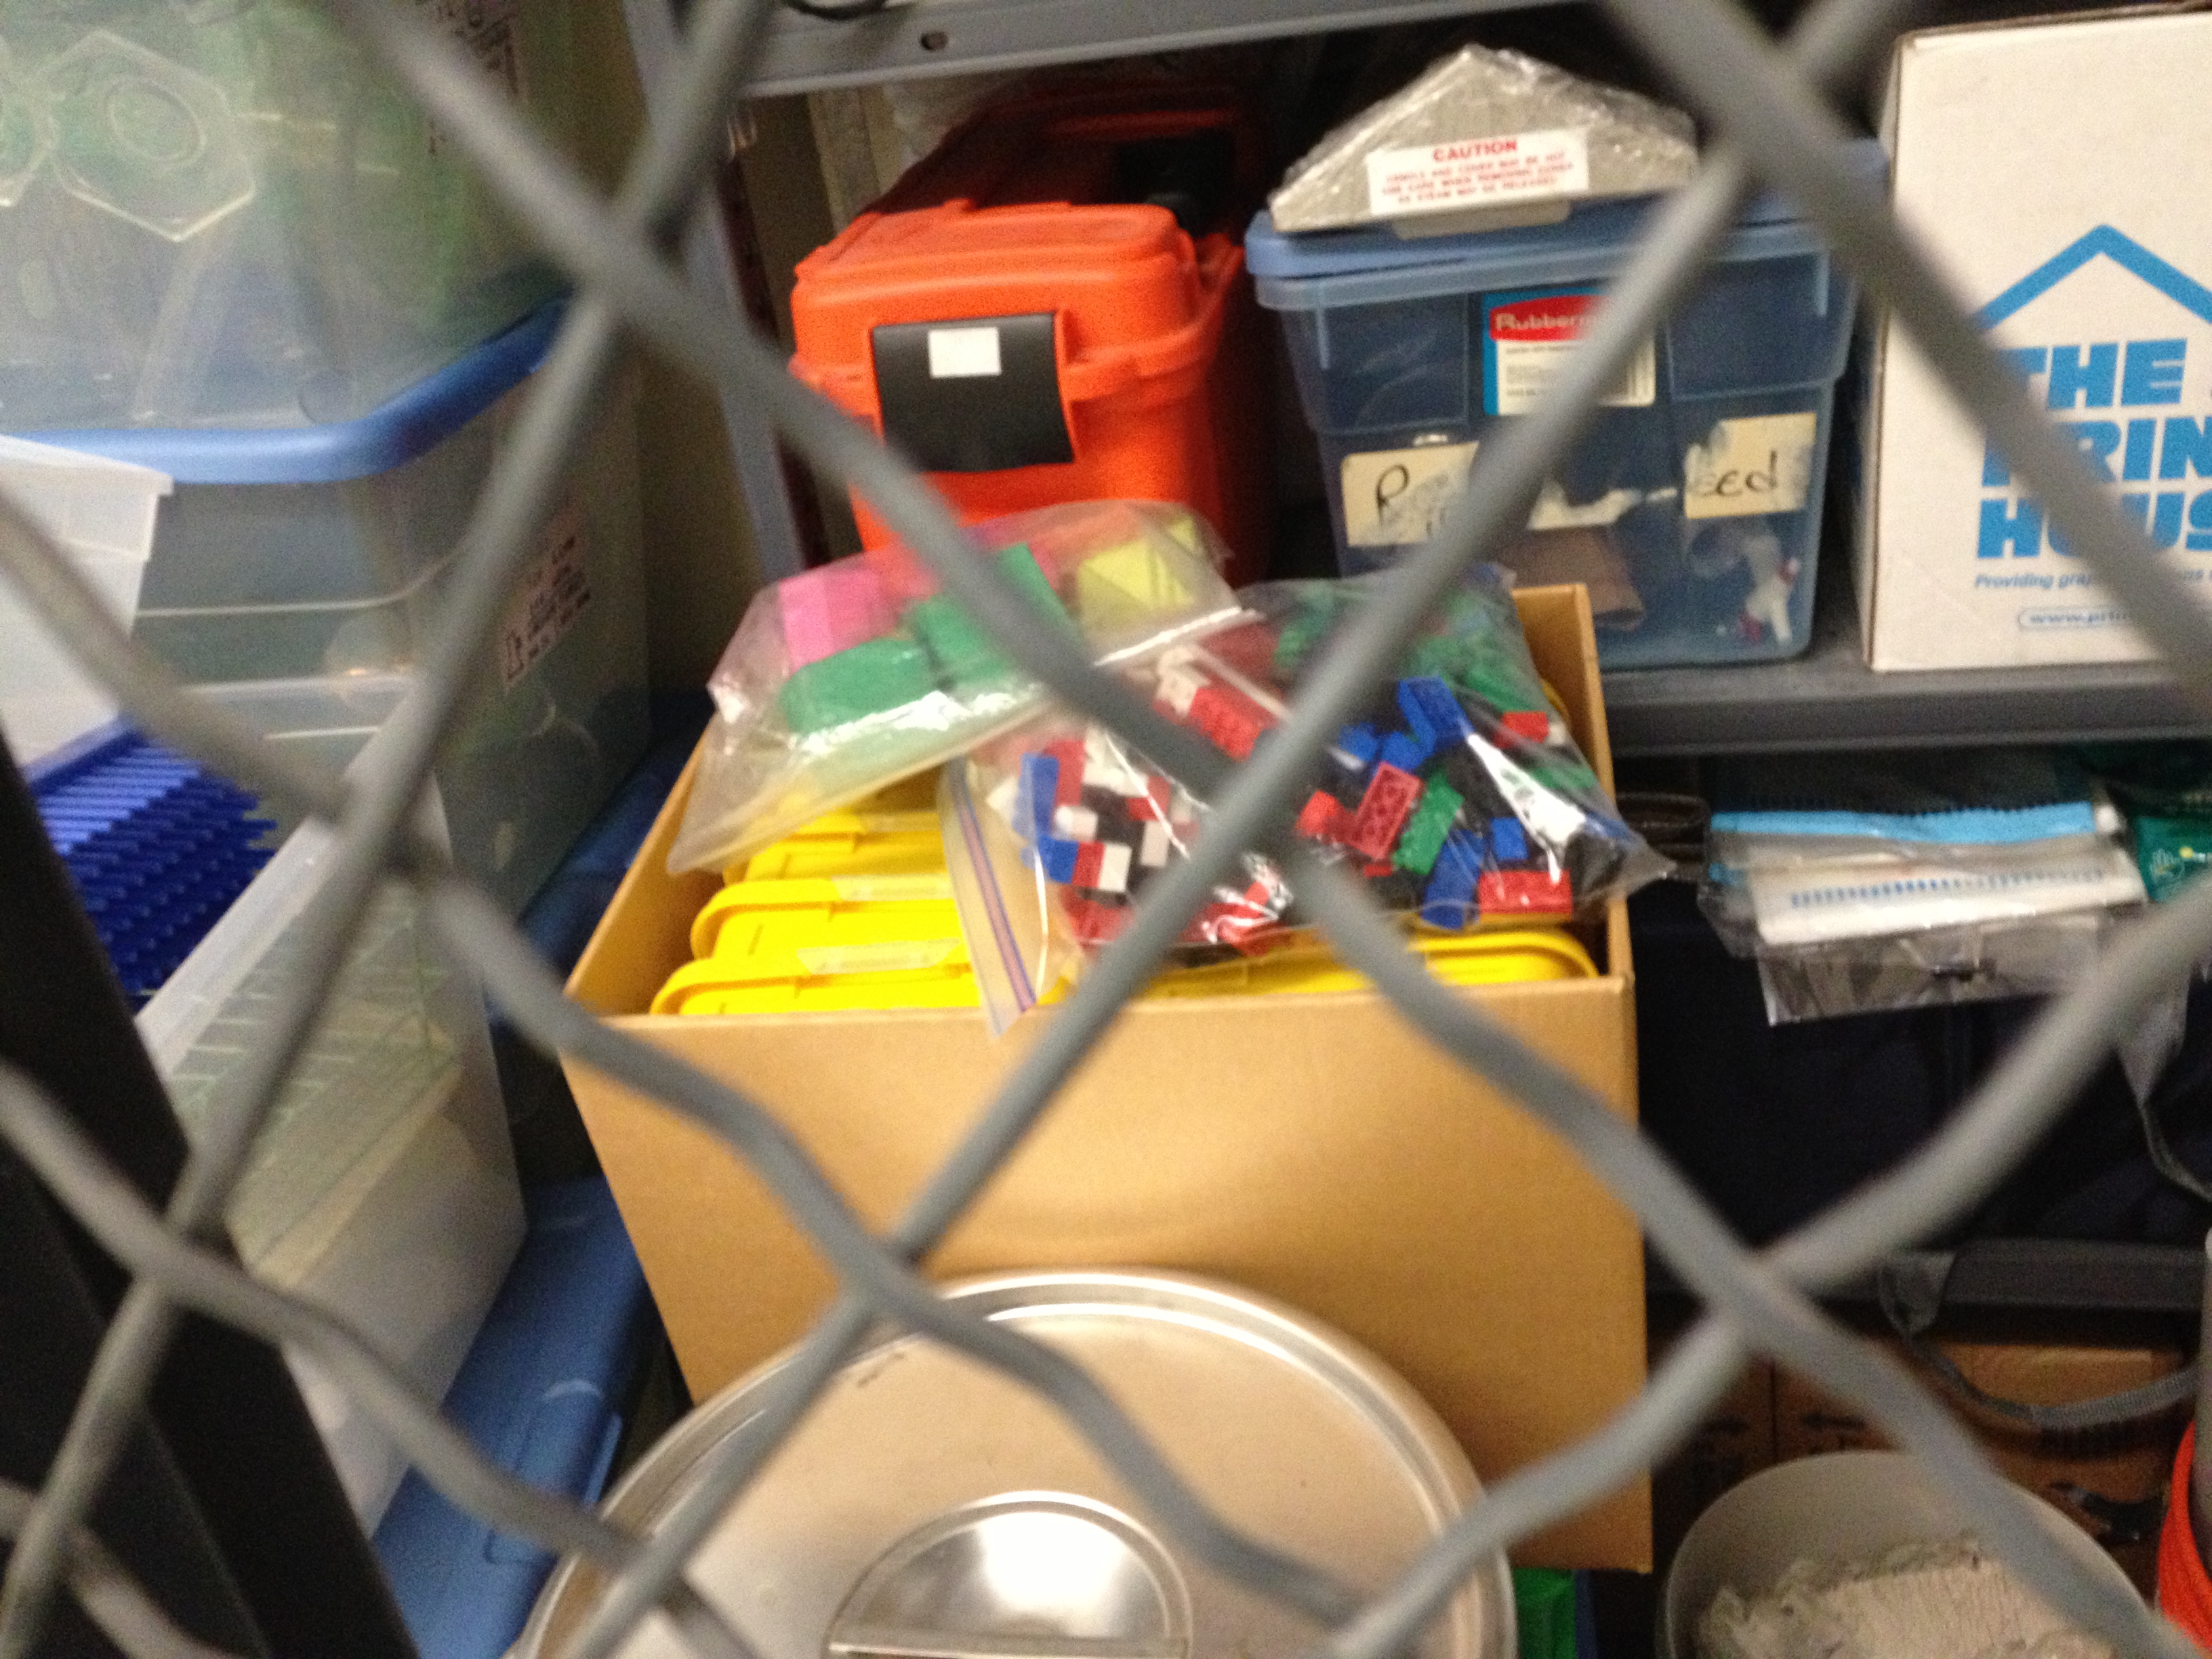
They brought me way back out into an internal part of the Museum that I’d never seen, past the animals exhibit. I passed by a whole bunch of caged animals and at some point saw this weird (one of many?) store room with random stuff stowed away:

IMG_2660

IMG_2661

IMG_2662

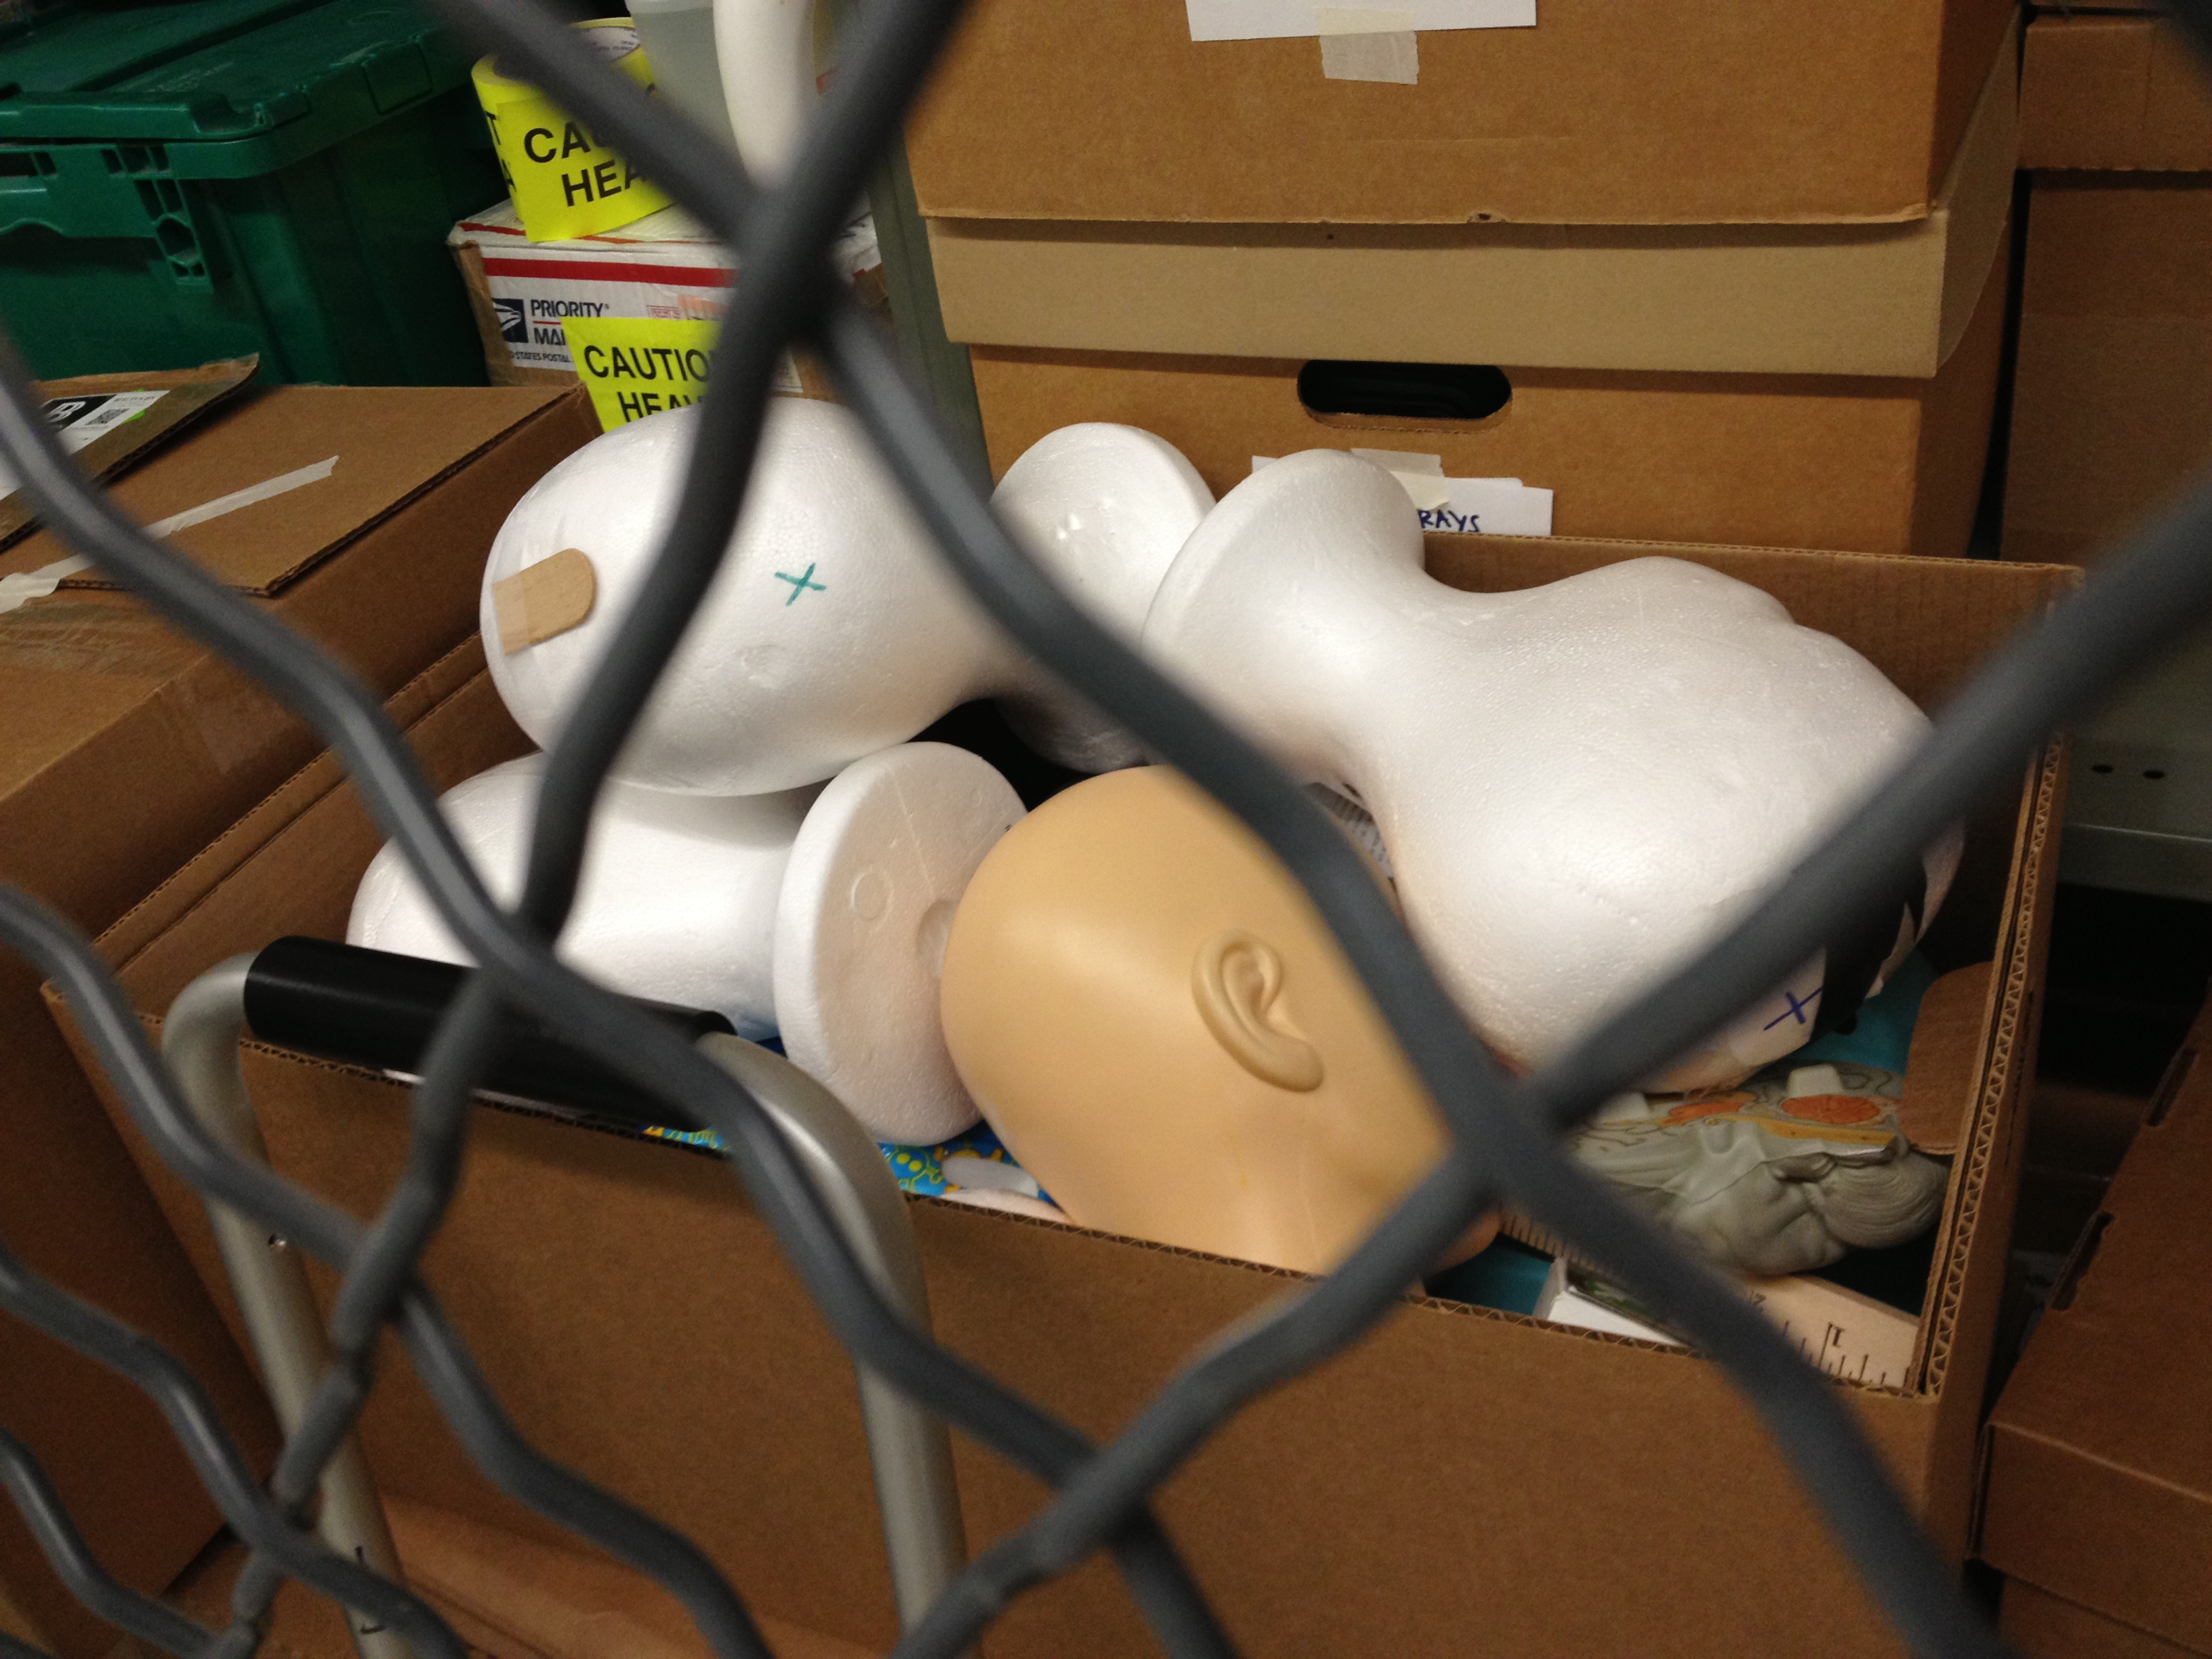
(What’d they need the heads for?)

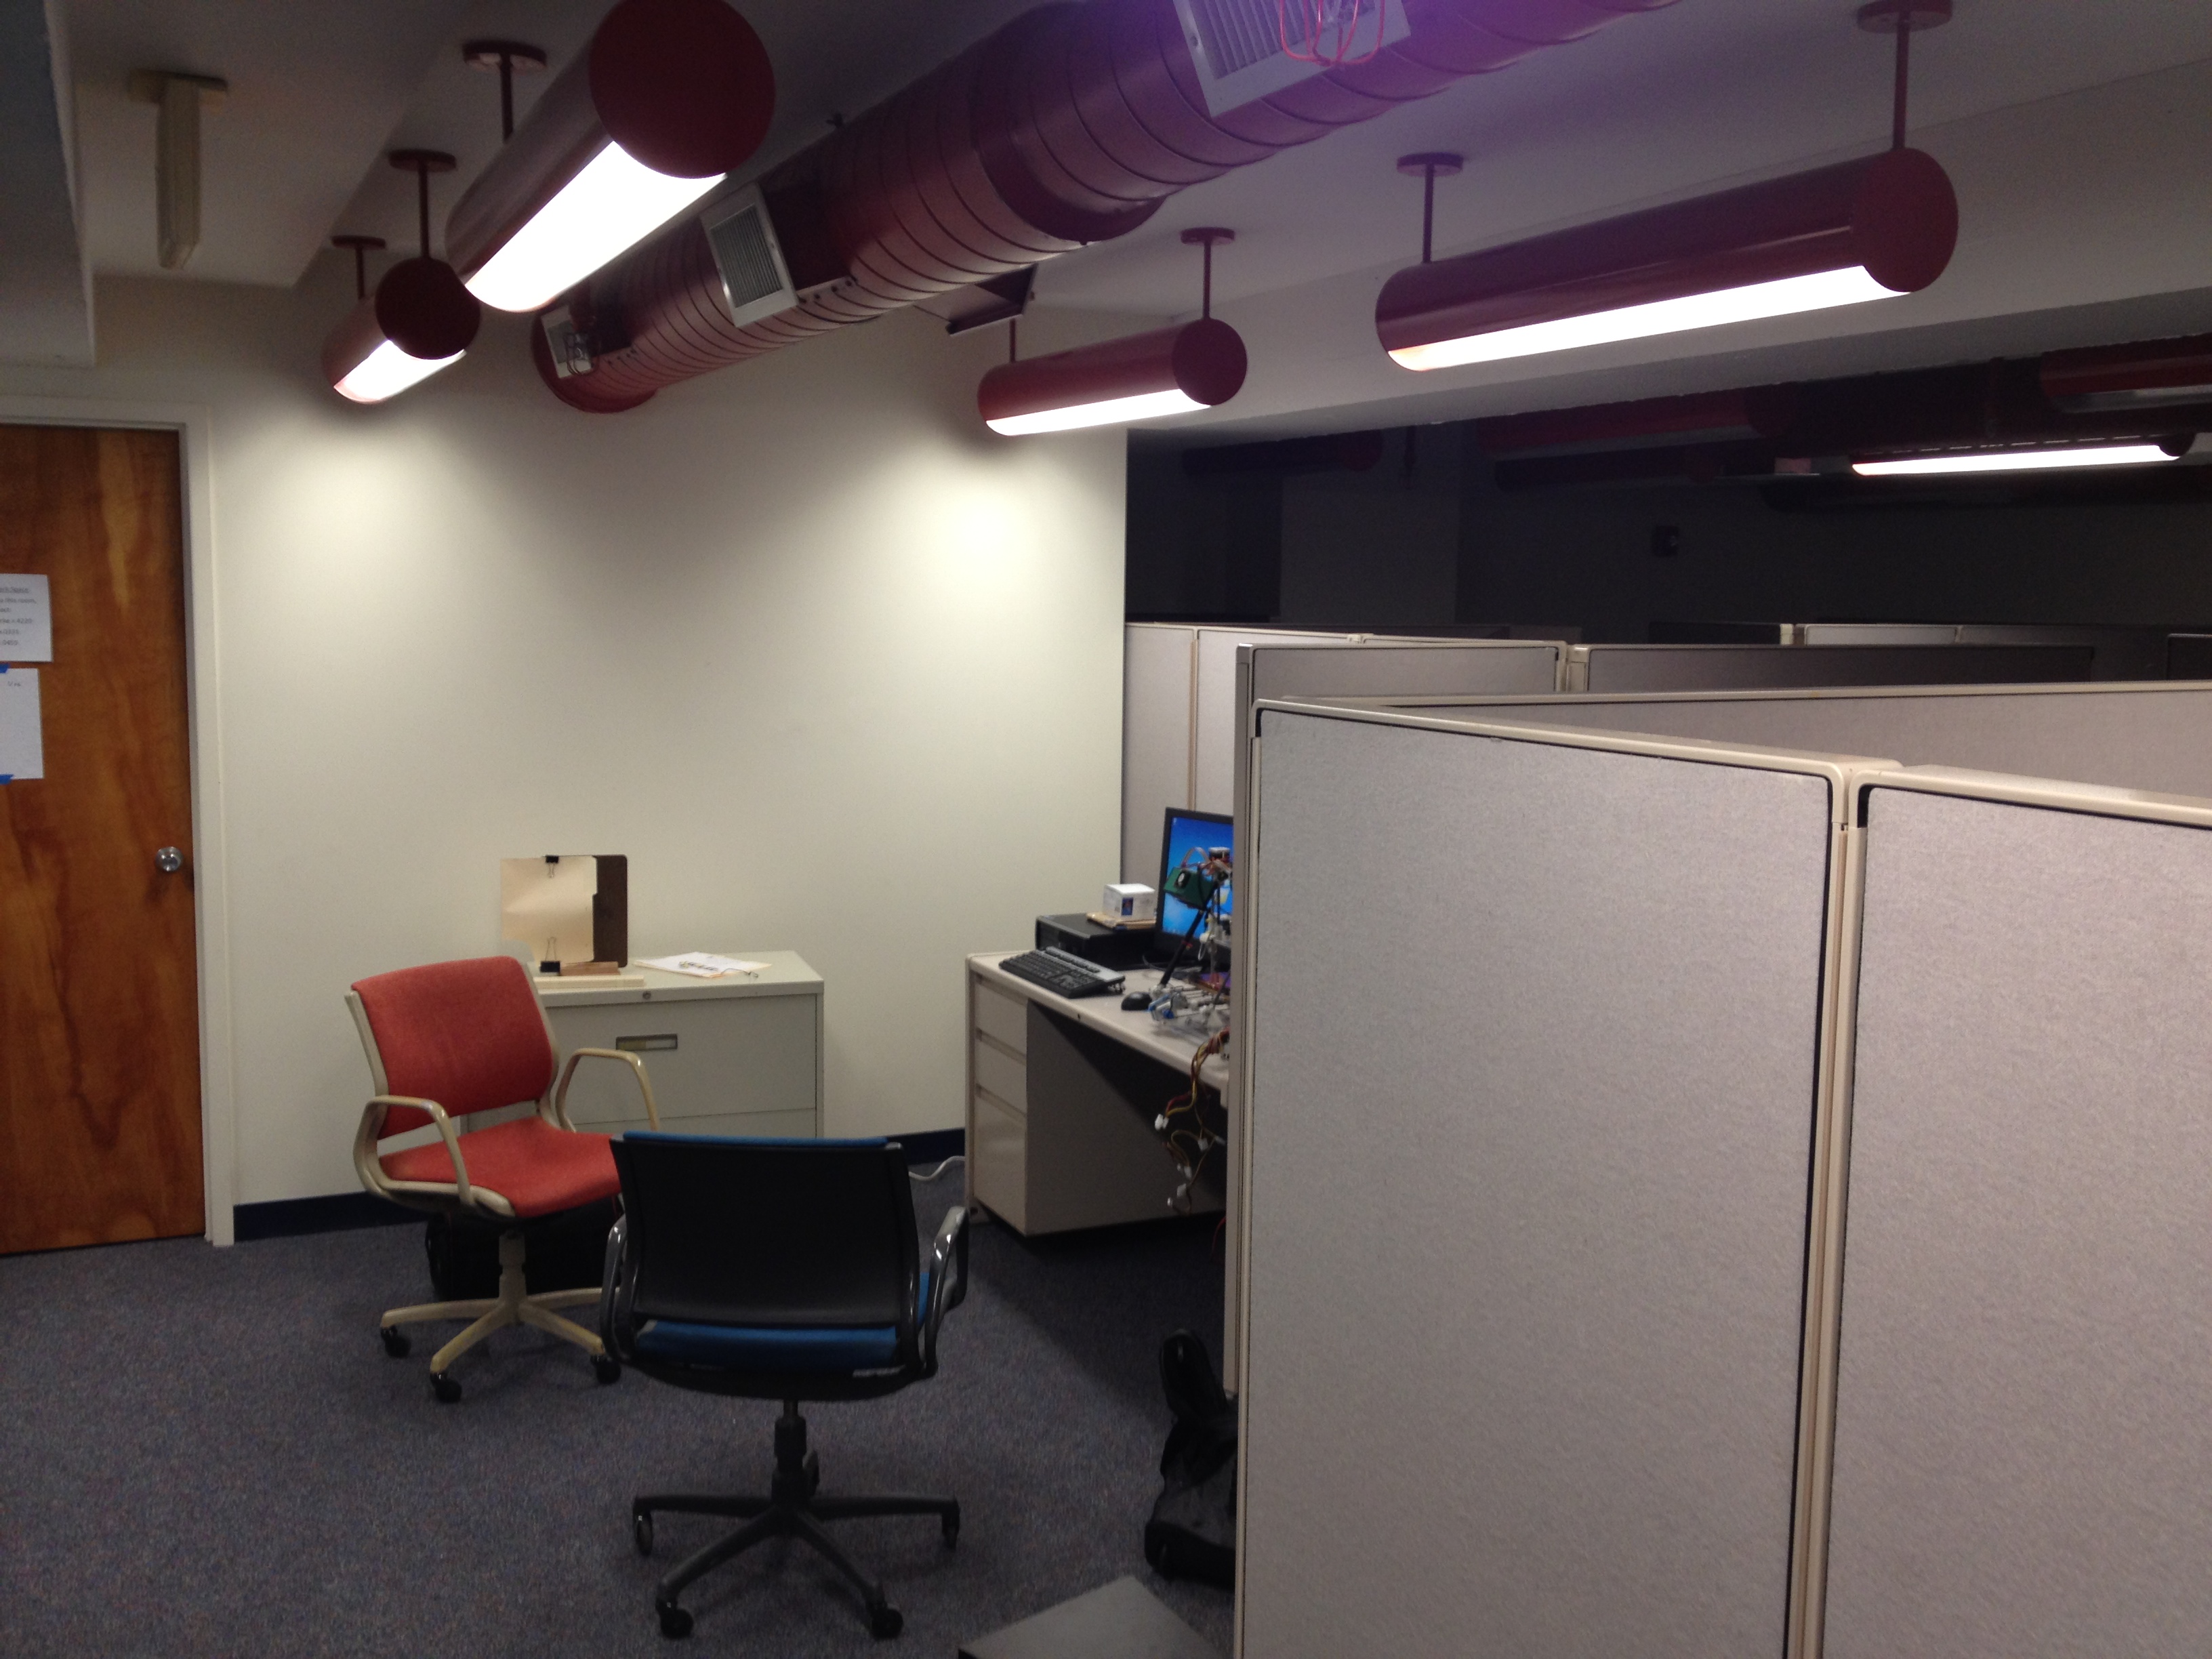
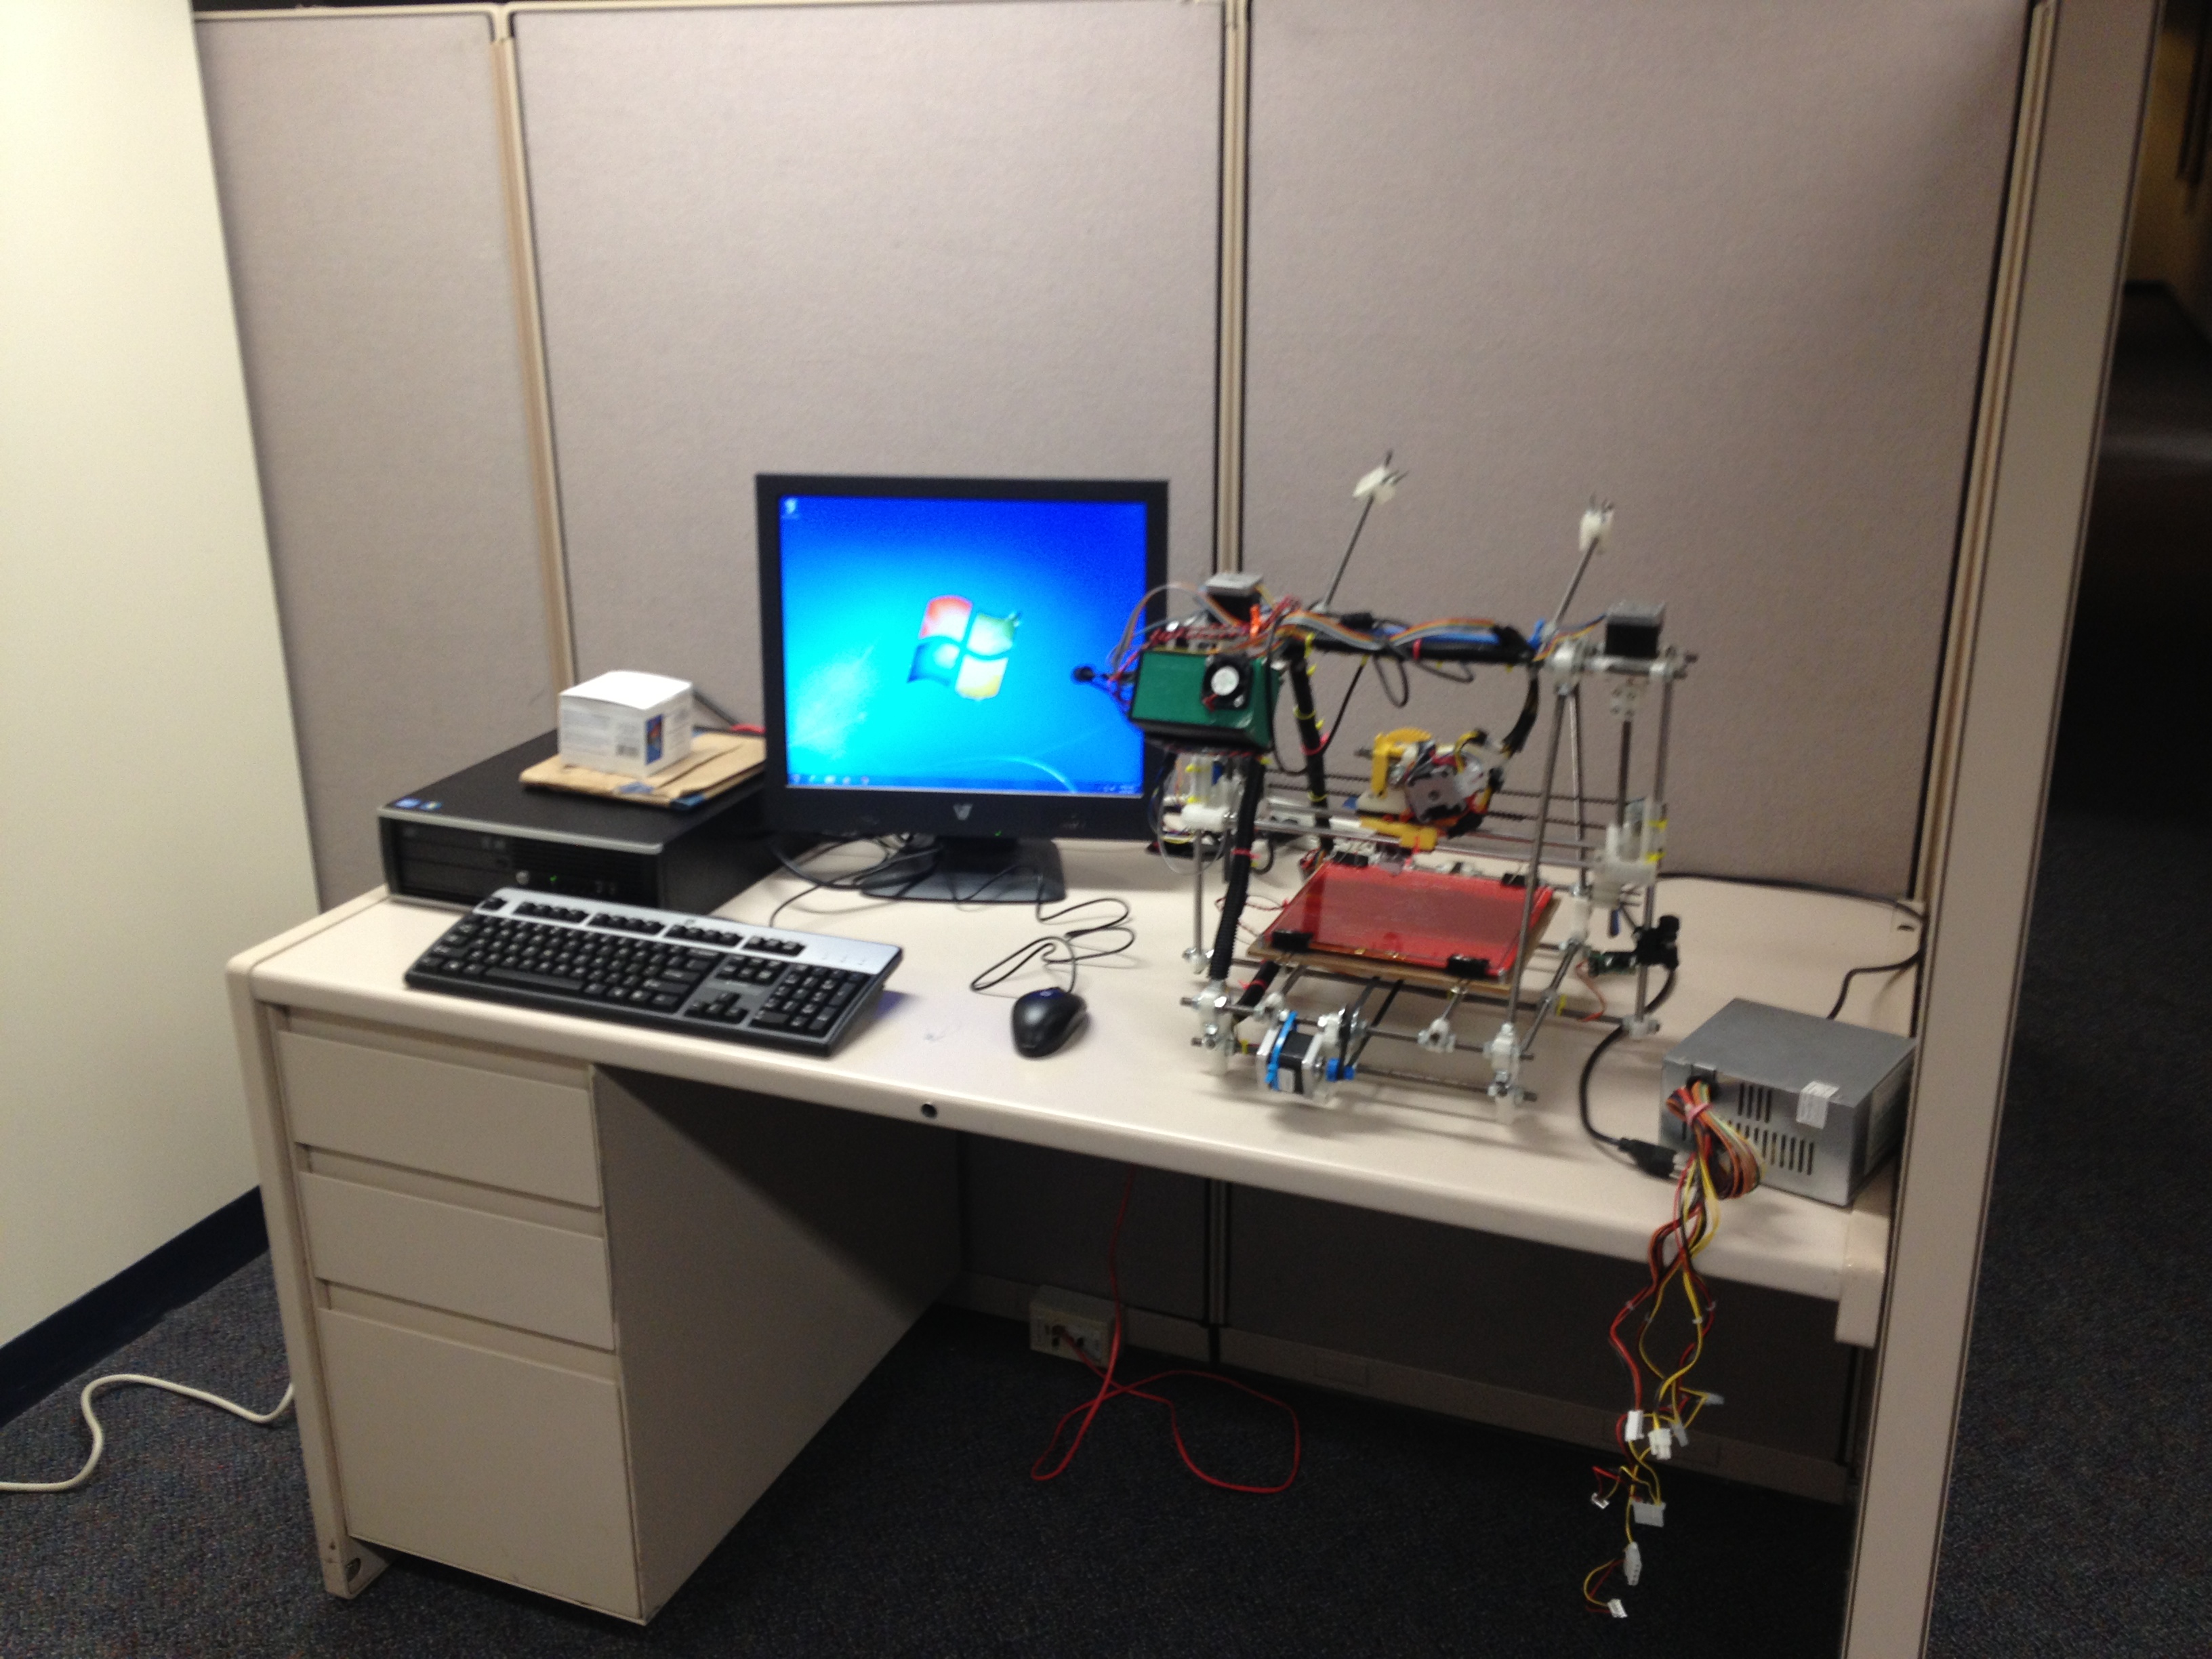
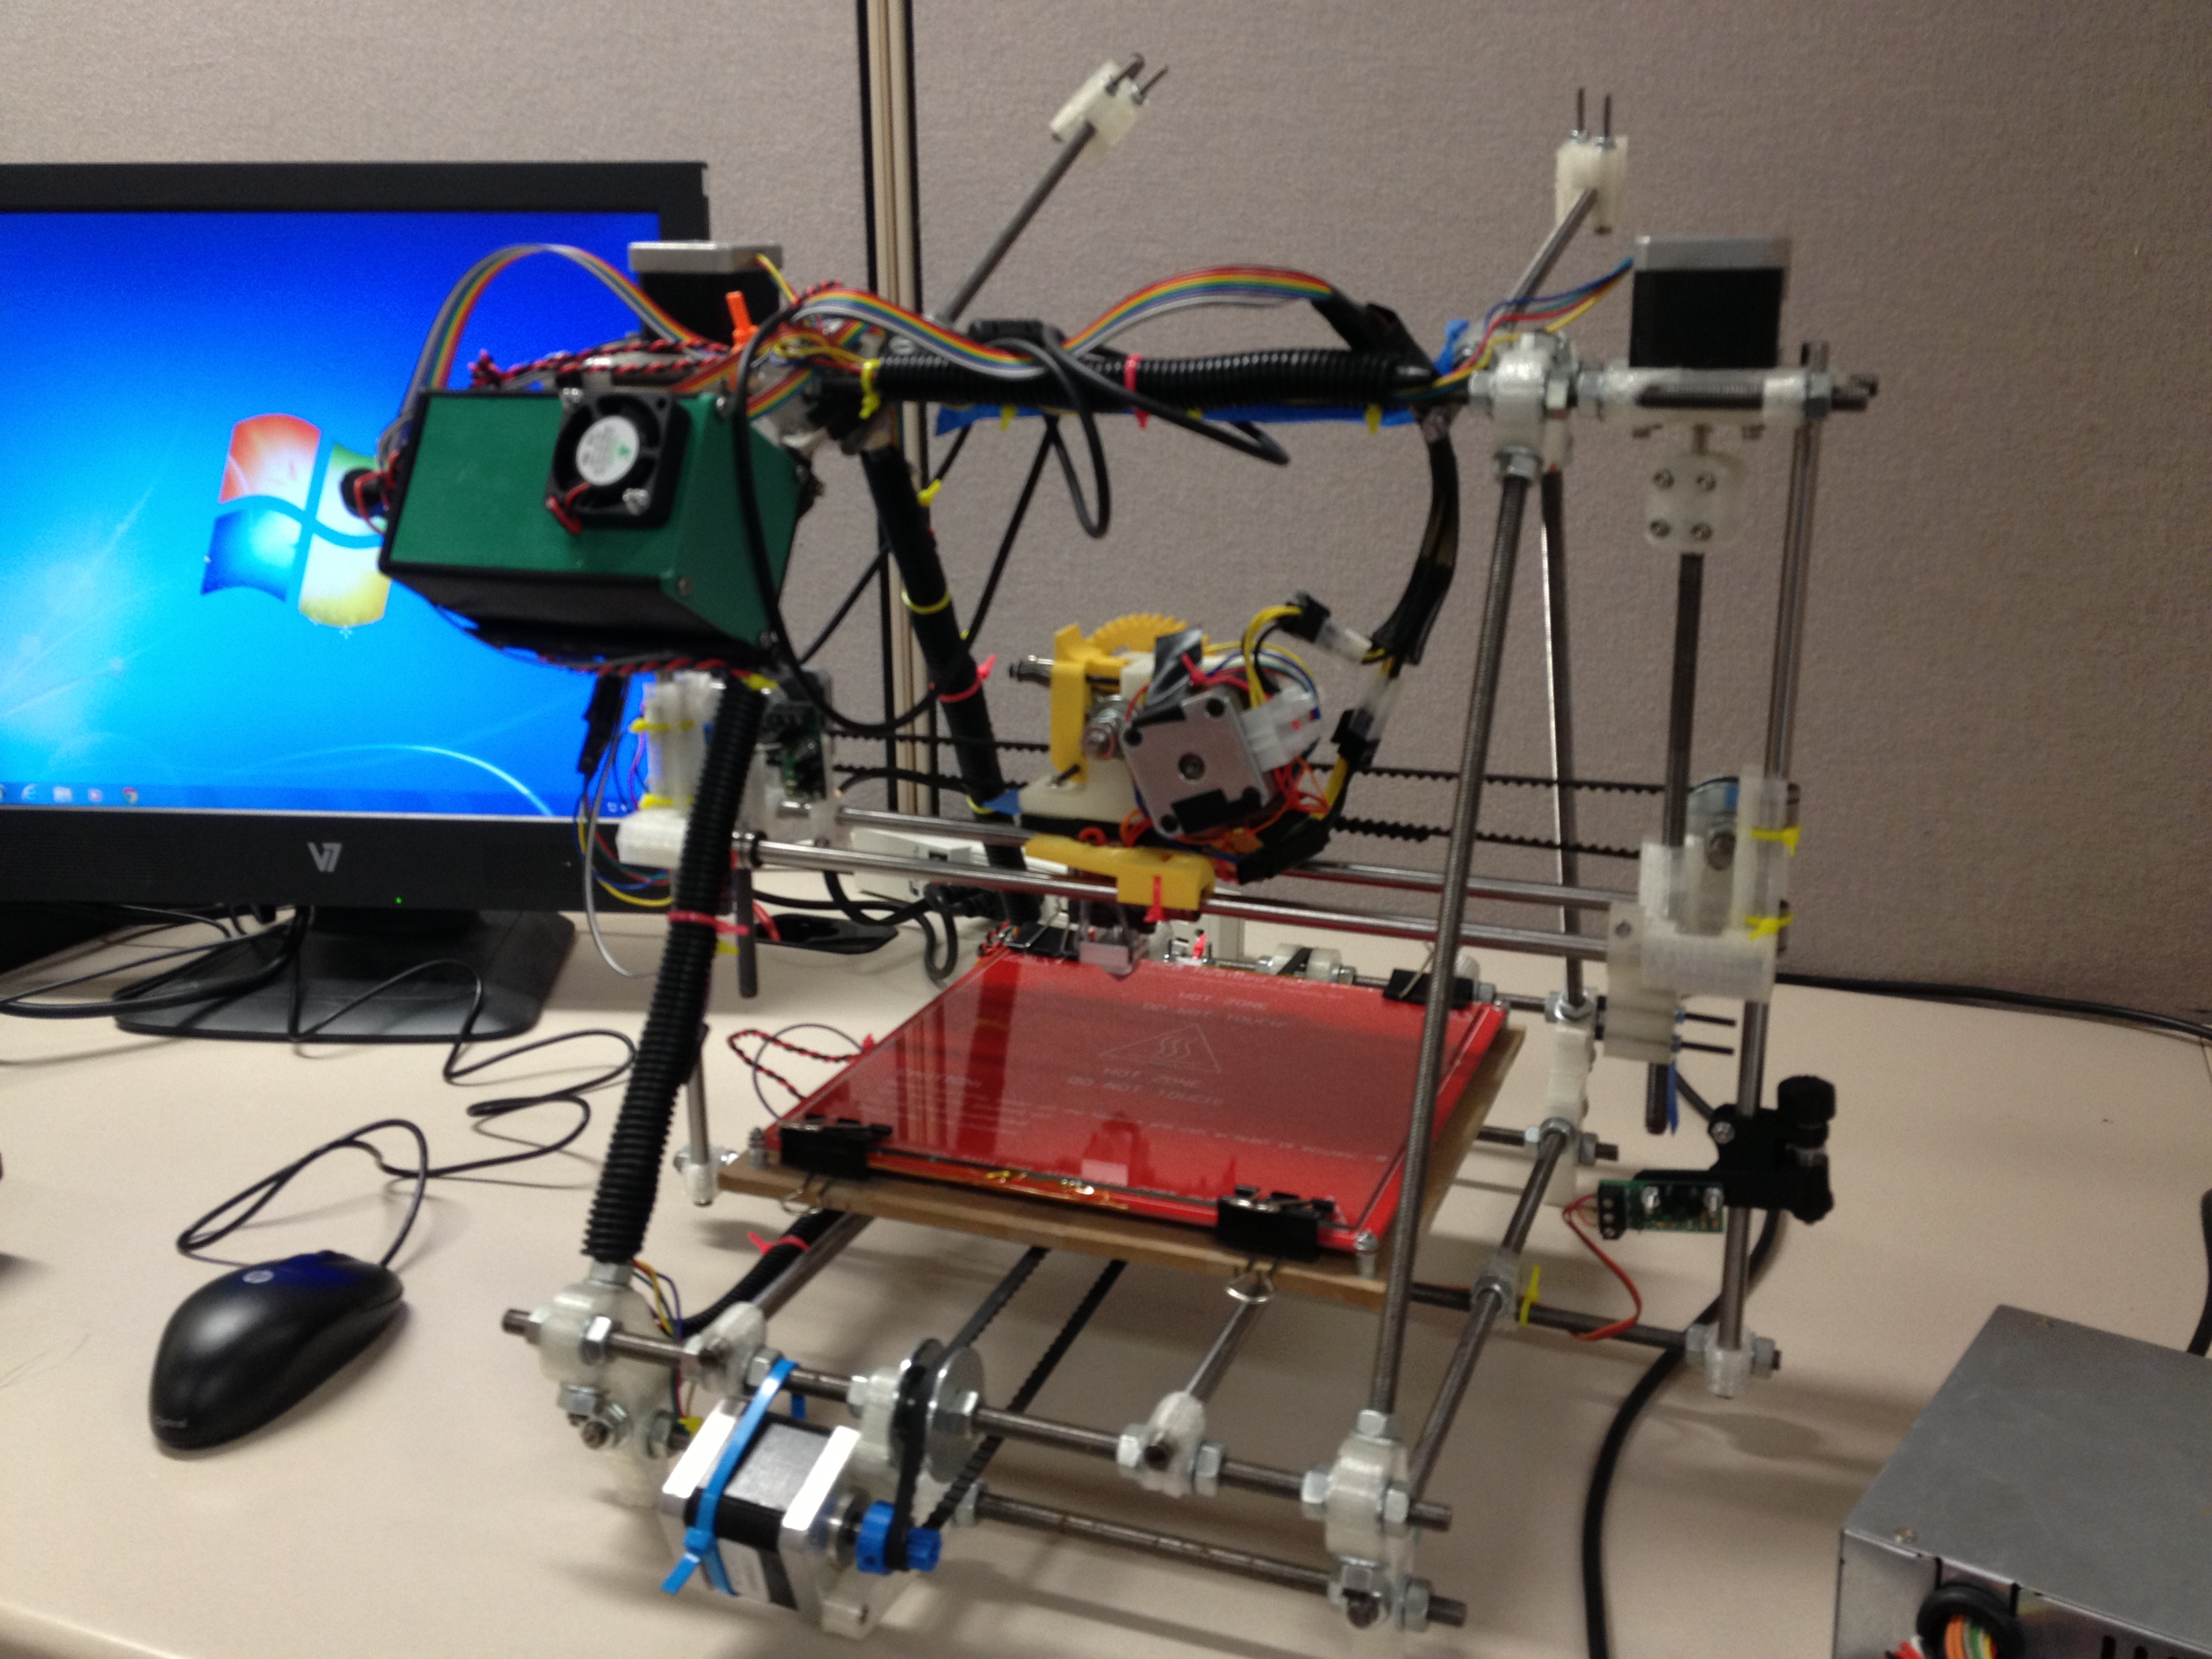
Way in the back there was some office space with just a bunch of cubicles. It was very quiet compared to the rest of the museum. That’s where we set up the RepRap so I could spend the day showing them how to print, what will break on it, how to fix it, etc.

IMG_2657

IMG_2658

IMG_2659

I spent the day helping people like Matthew Strumpf, Julia Sable, Keith Simmons, Ben Jones, Miriam Ledley (and some others whose names I can’t remember a year and half later) learn how to print with their new RepRap. It was great.

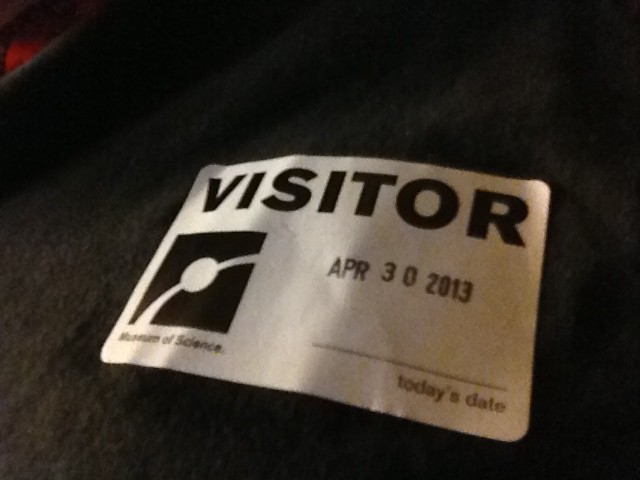
Here’s the visitors badge for the day I gave them the RepRap. I don’t know why that seemed so cool to me but it was:

IMG_2664

IMG_2666

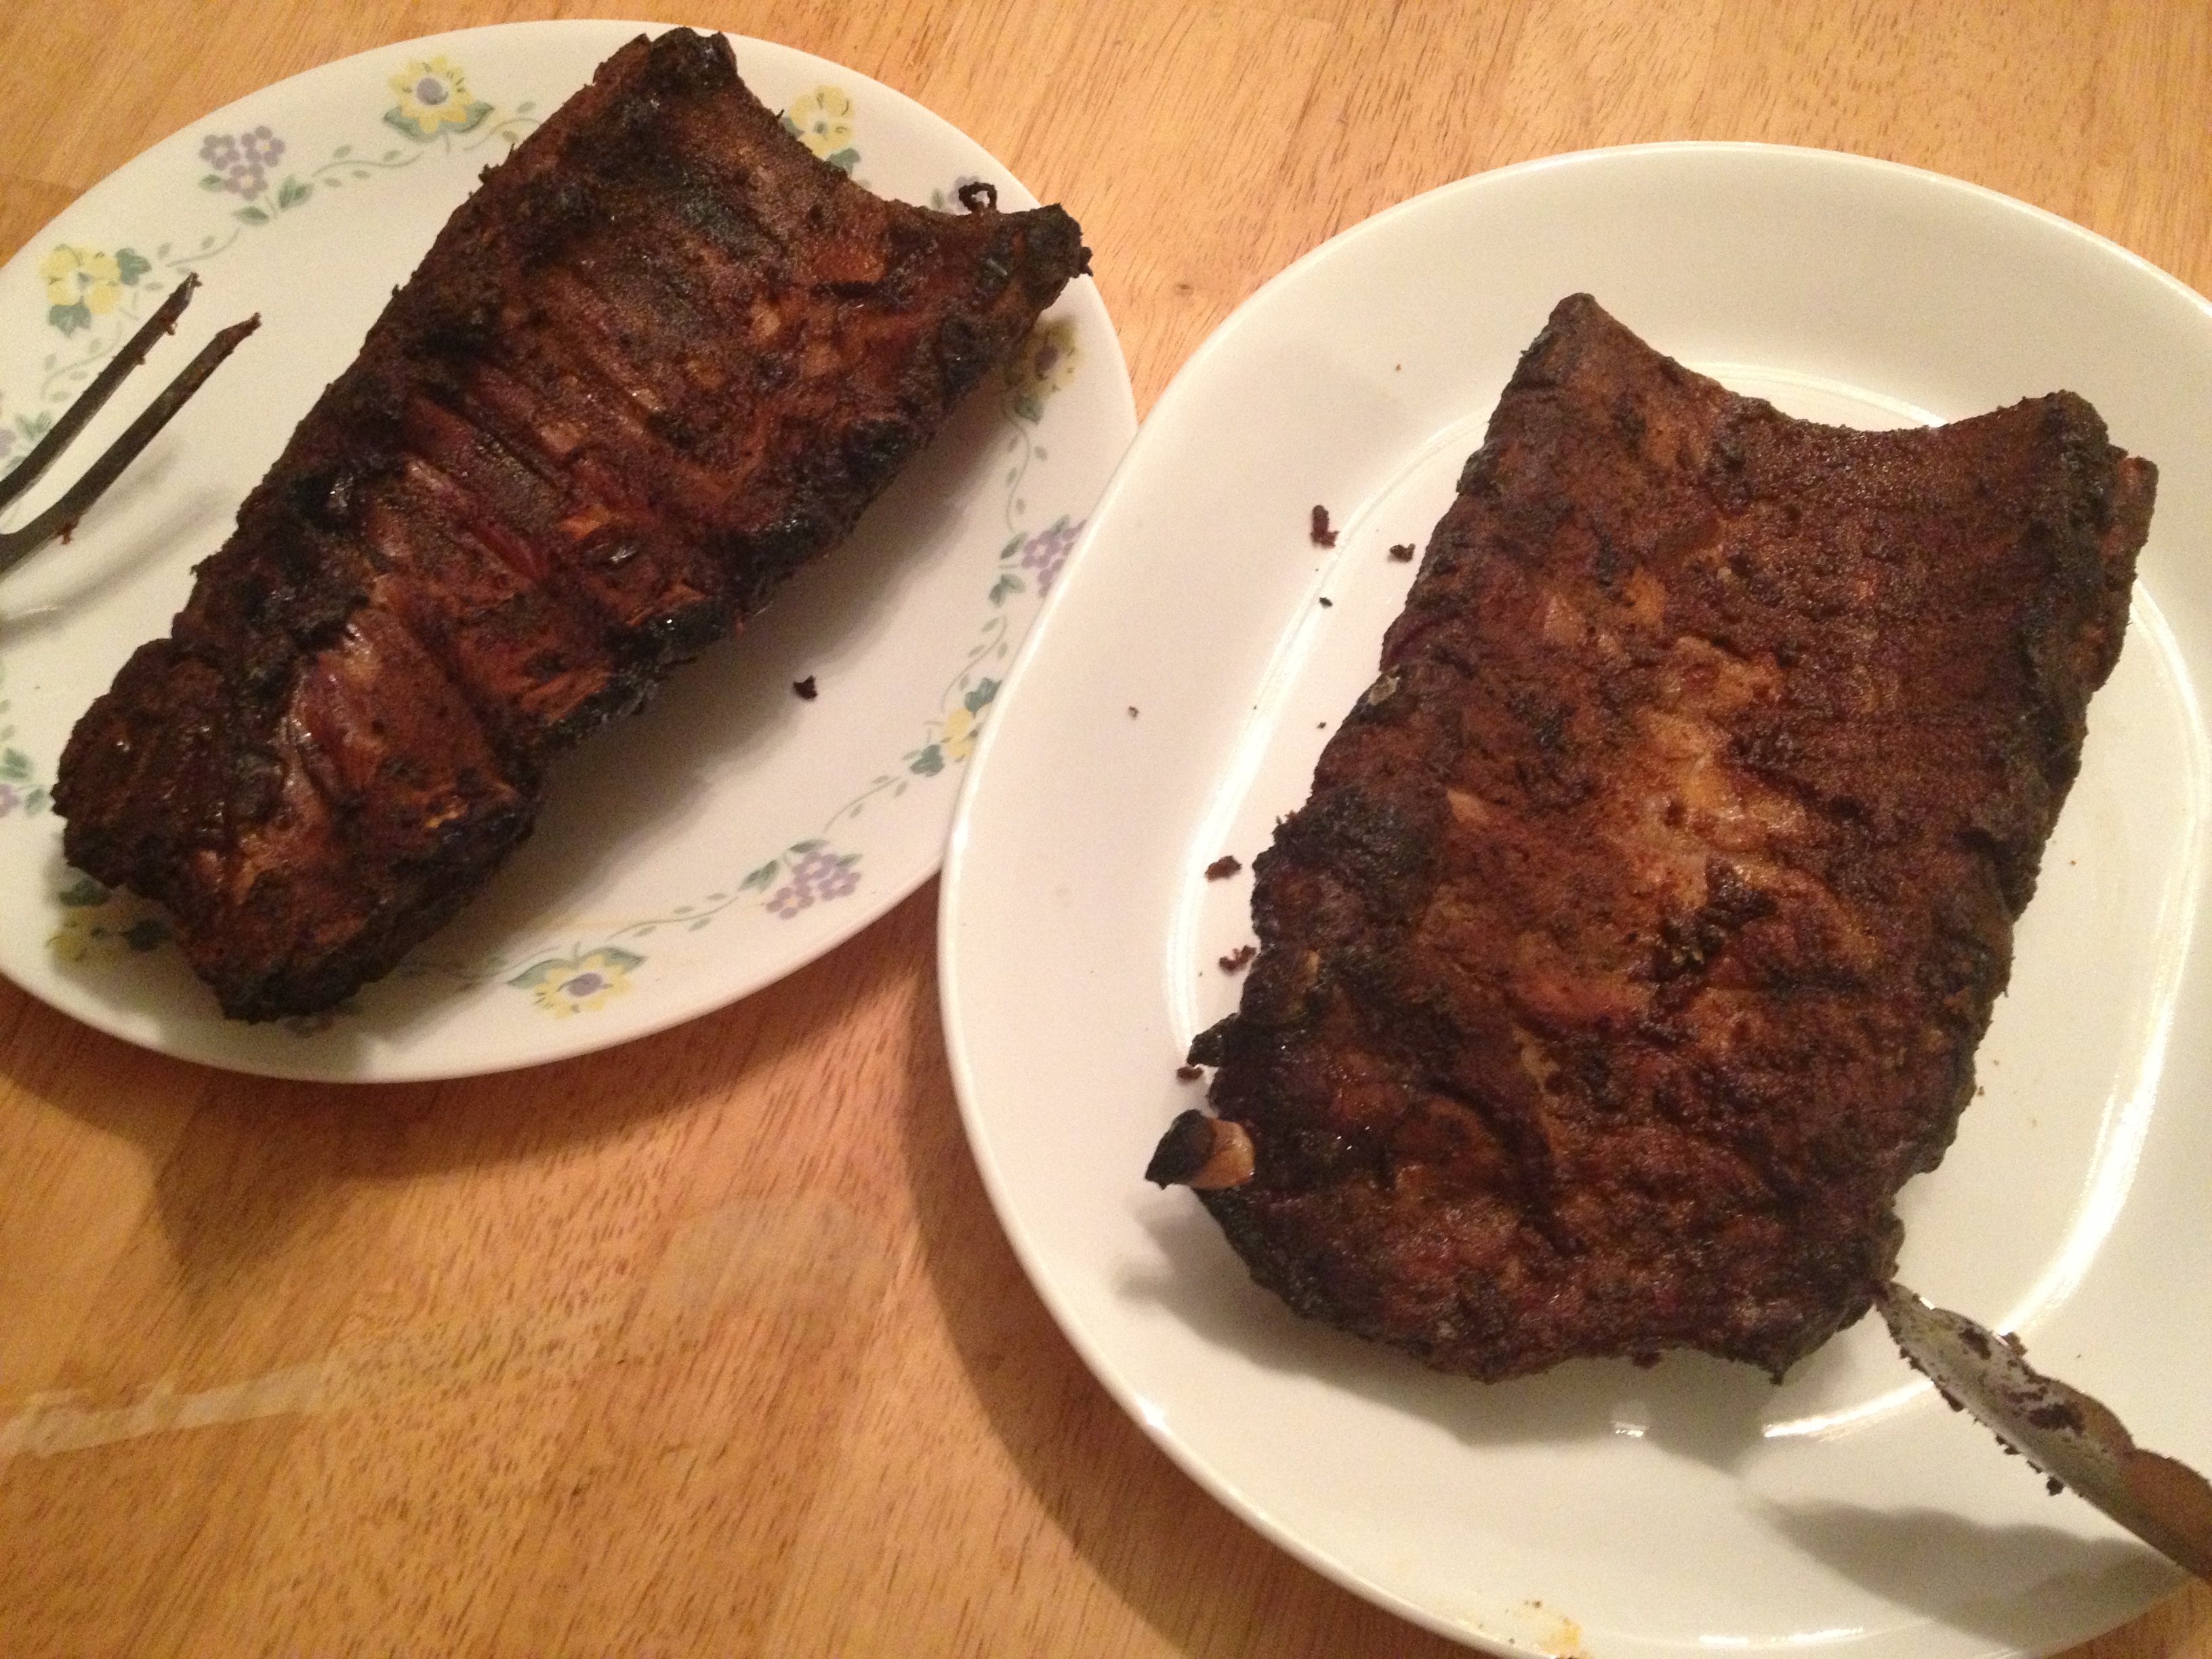
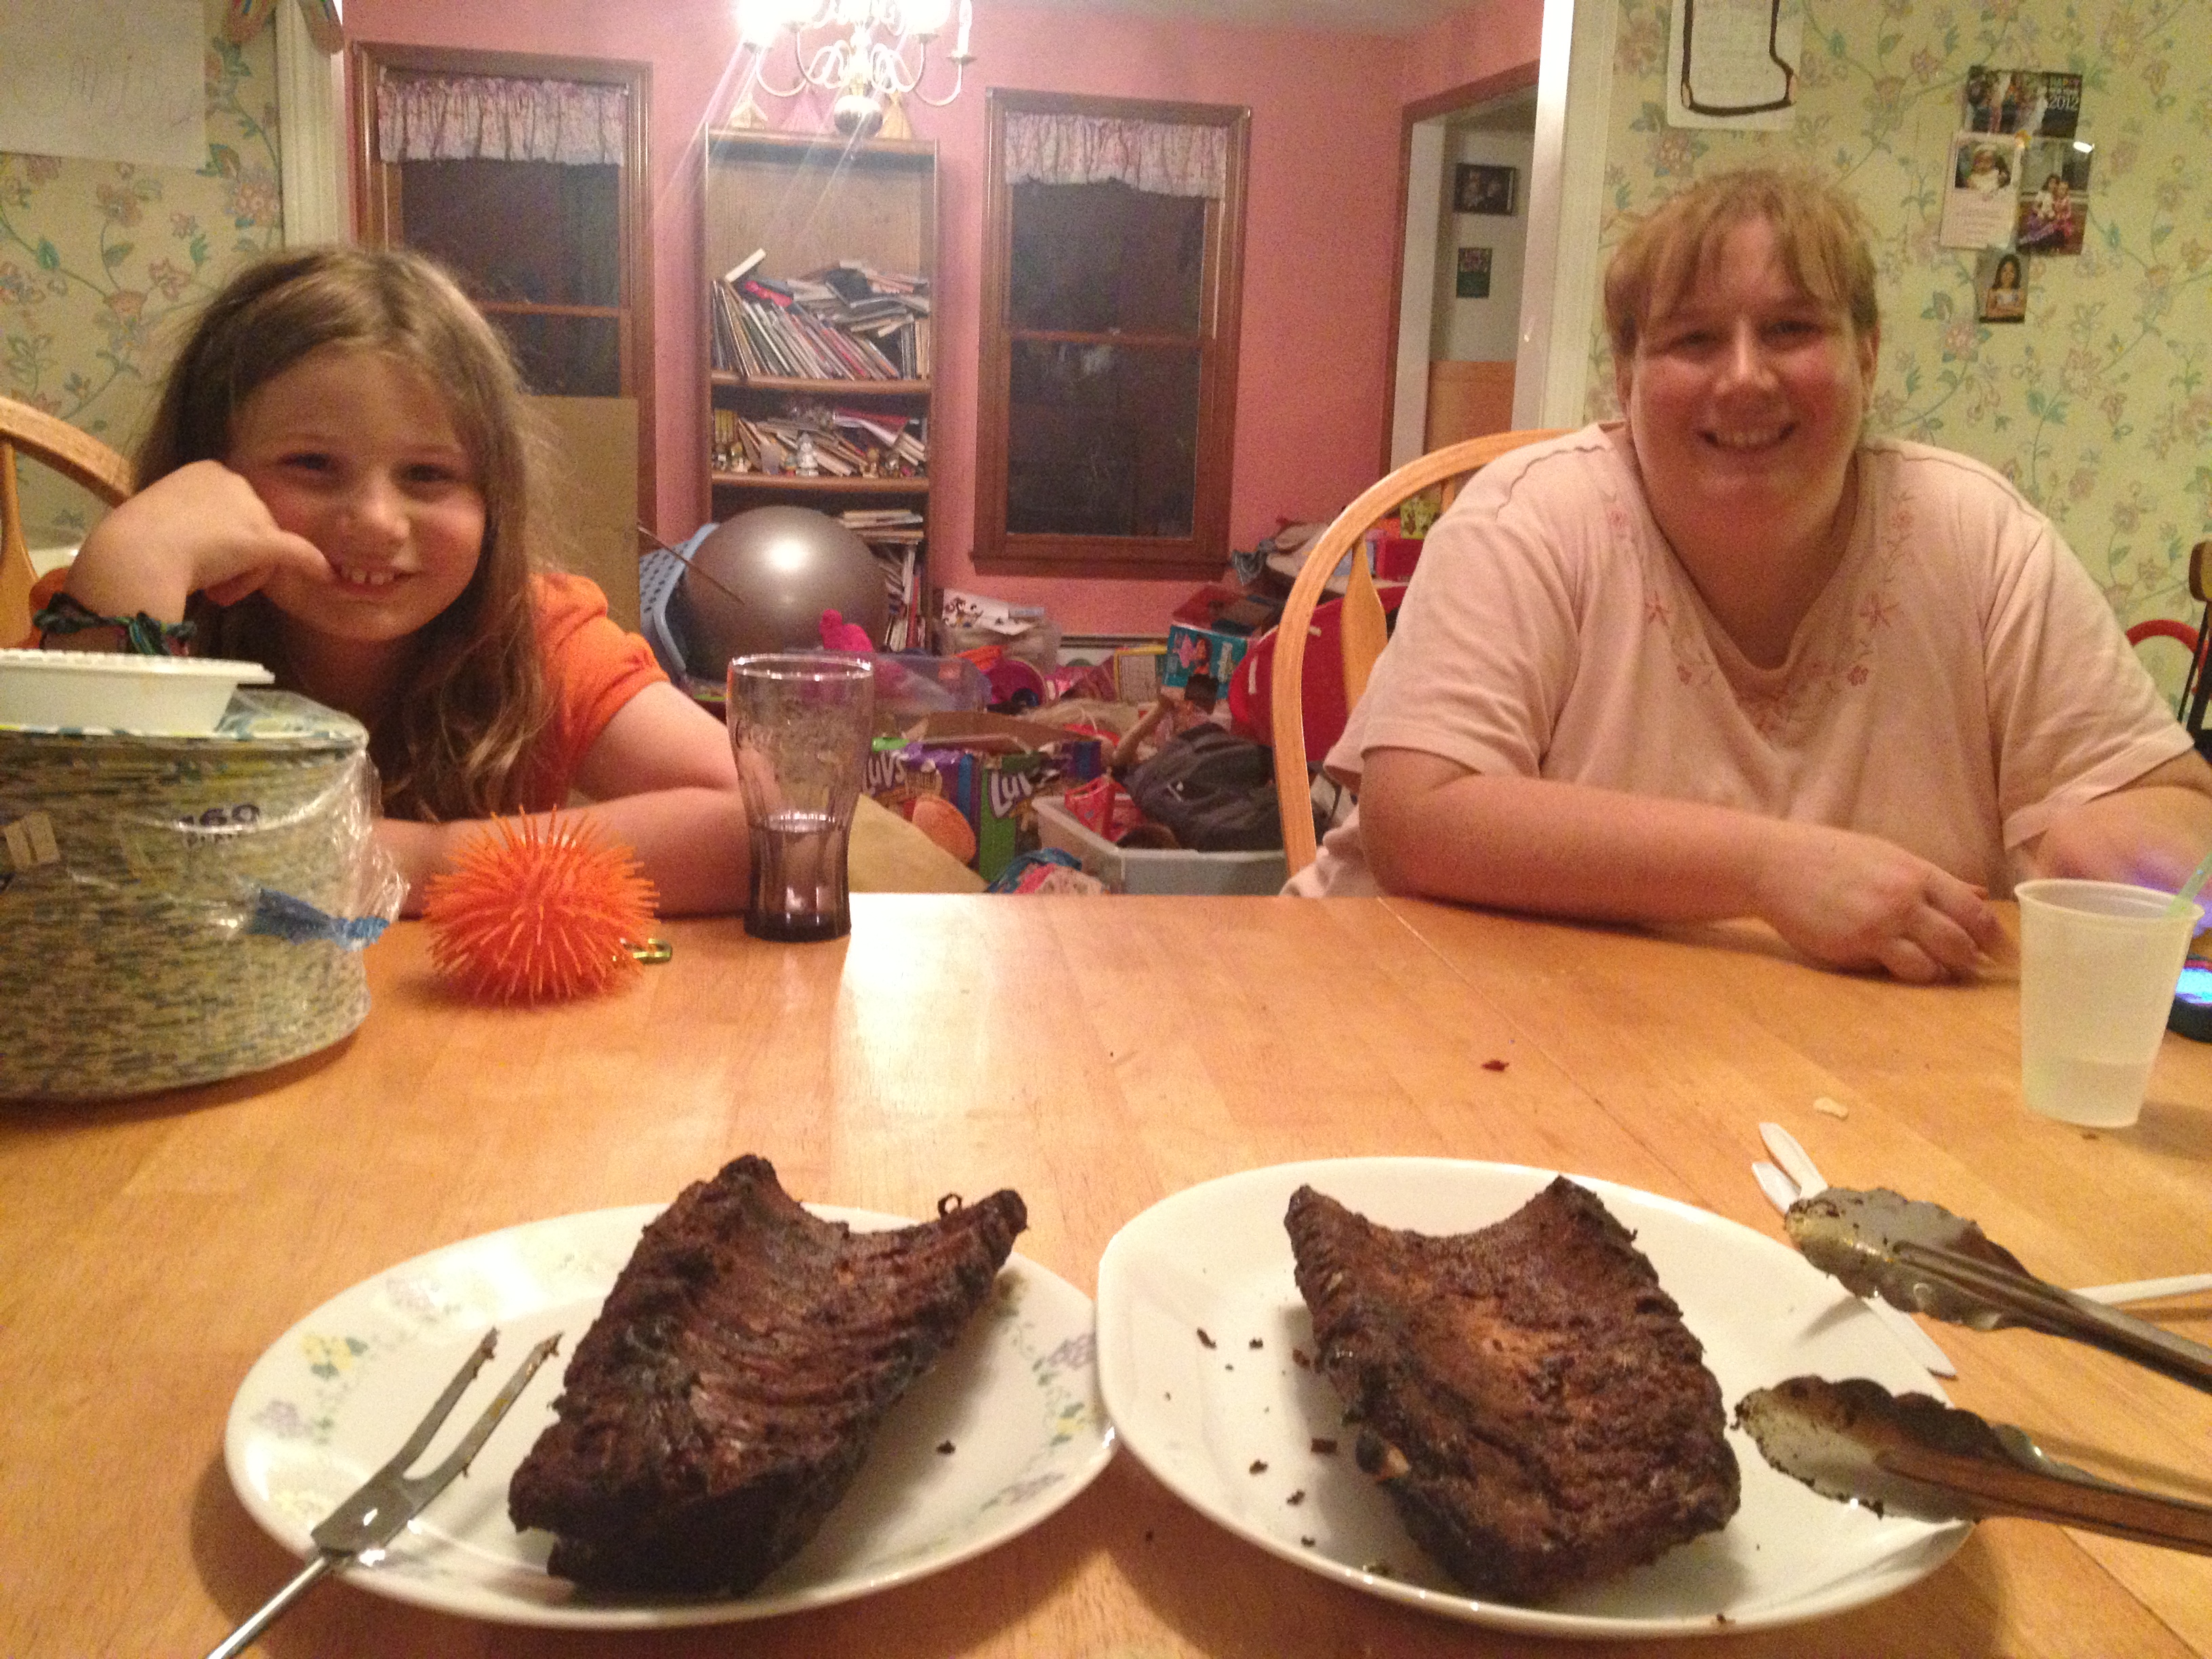
Driving home from the museum, I rewarded myself with what is now becoming a tradition when driving home from the Museum of Science.. Vegetarians look away.. This was my meal at Tudo Na Brasa in Woburn:

IMG_2663

Again, that was April 30th, 2013. Today is September 13th, 2014, over a year and a half later. Since it was in the past, for the purposes of story telling, I can skip forward a few months (even in front of other RepRap stuff I’ll blog about later) to show you what it looked like once they put it on display. They had it in that back room for some period of time to play around with it (maybe a few months? I don’t remember). Later I heard from friends that they’d been to the Museum and saw it on display. Laurie and I took the kids down on July 21st 2013, and we got to see it set up and printing. It was glorious.

Where are we going?

(Cara’s line at the end there was “To see Daddy’s RepRap!” 🙂 )
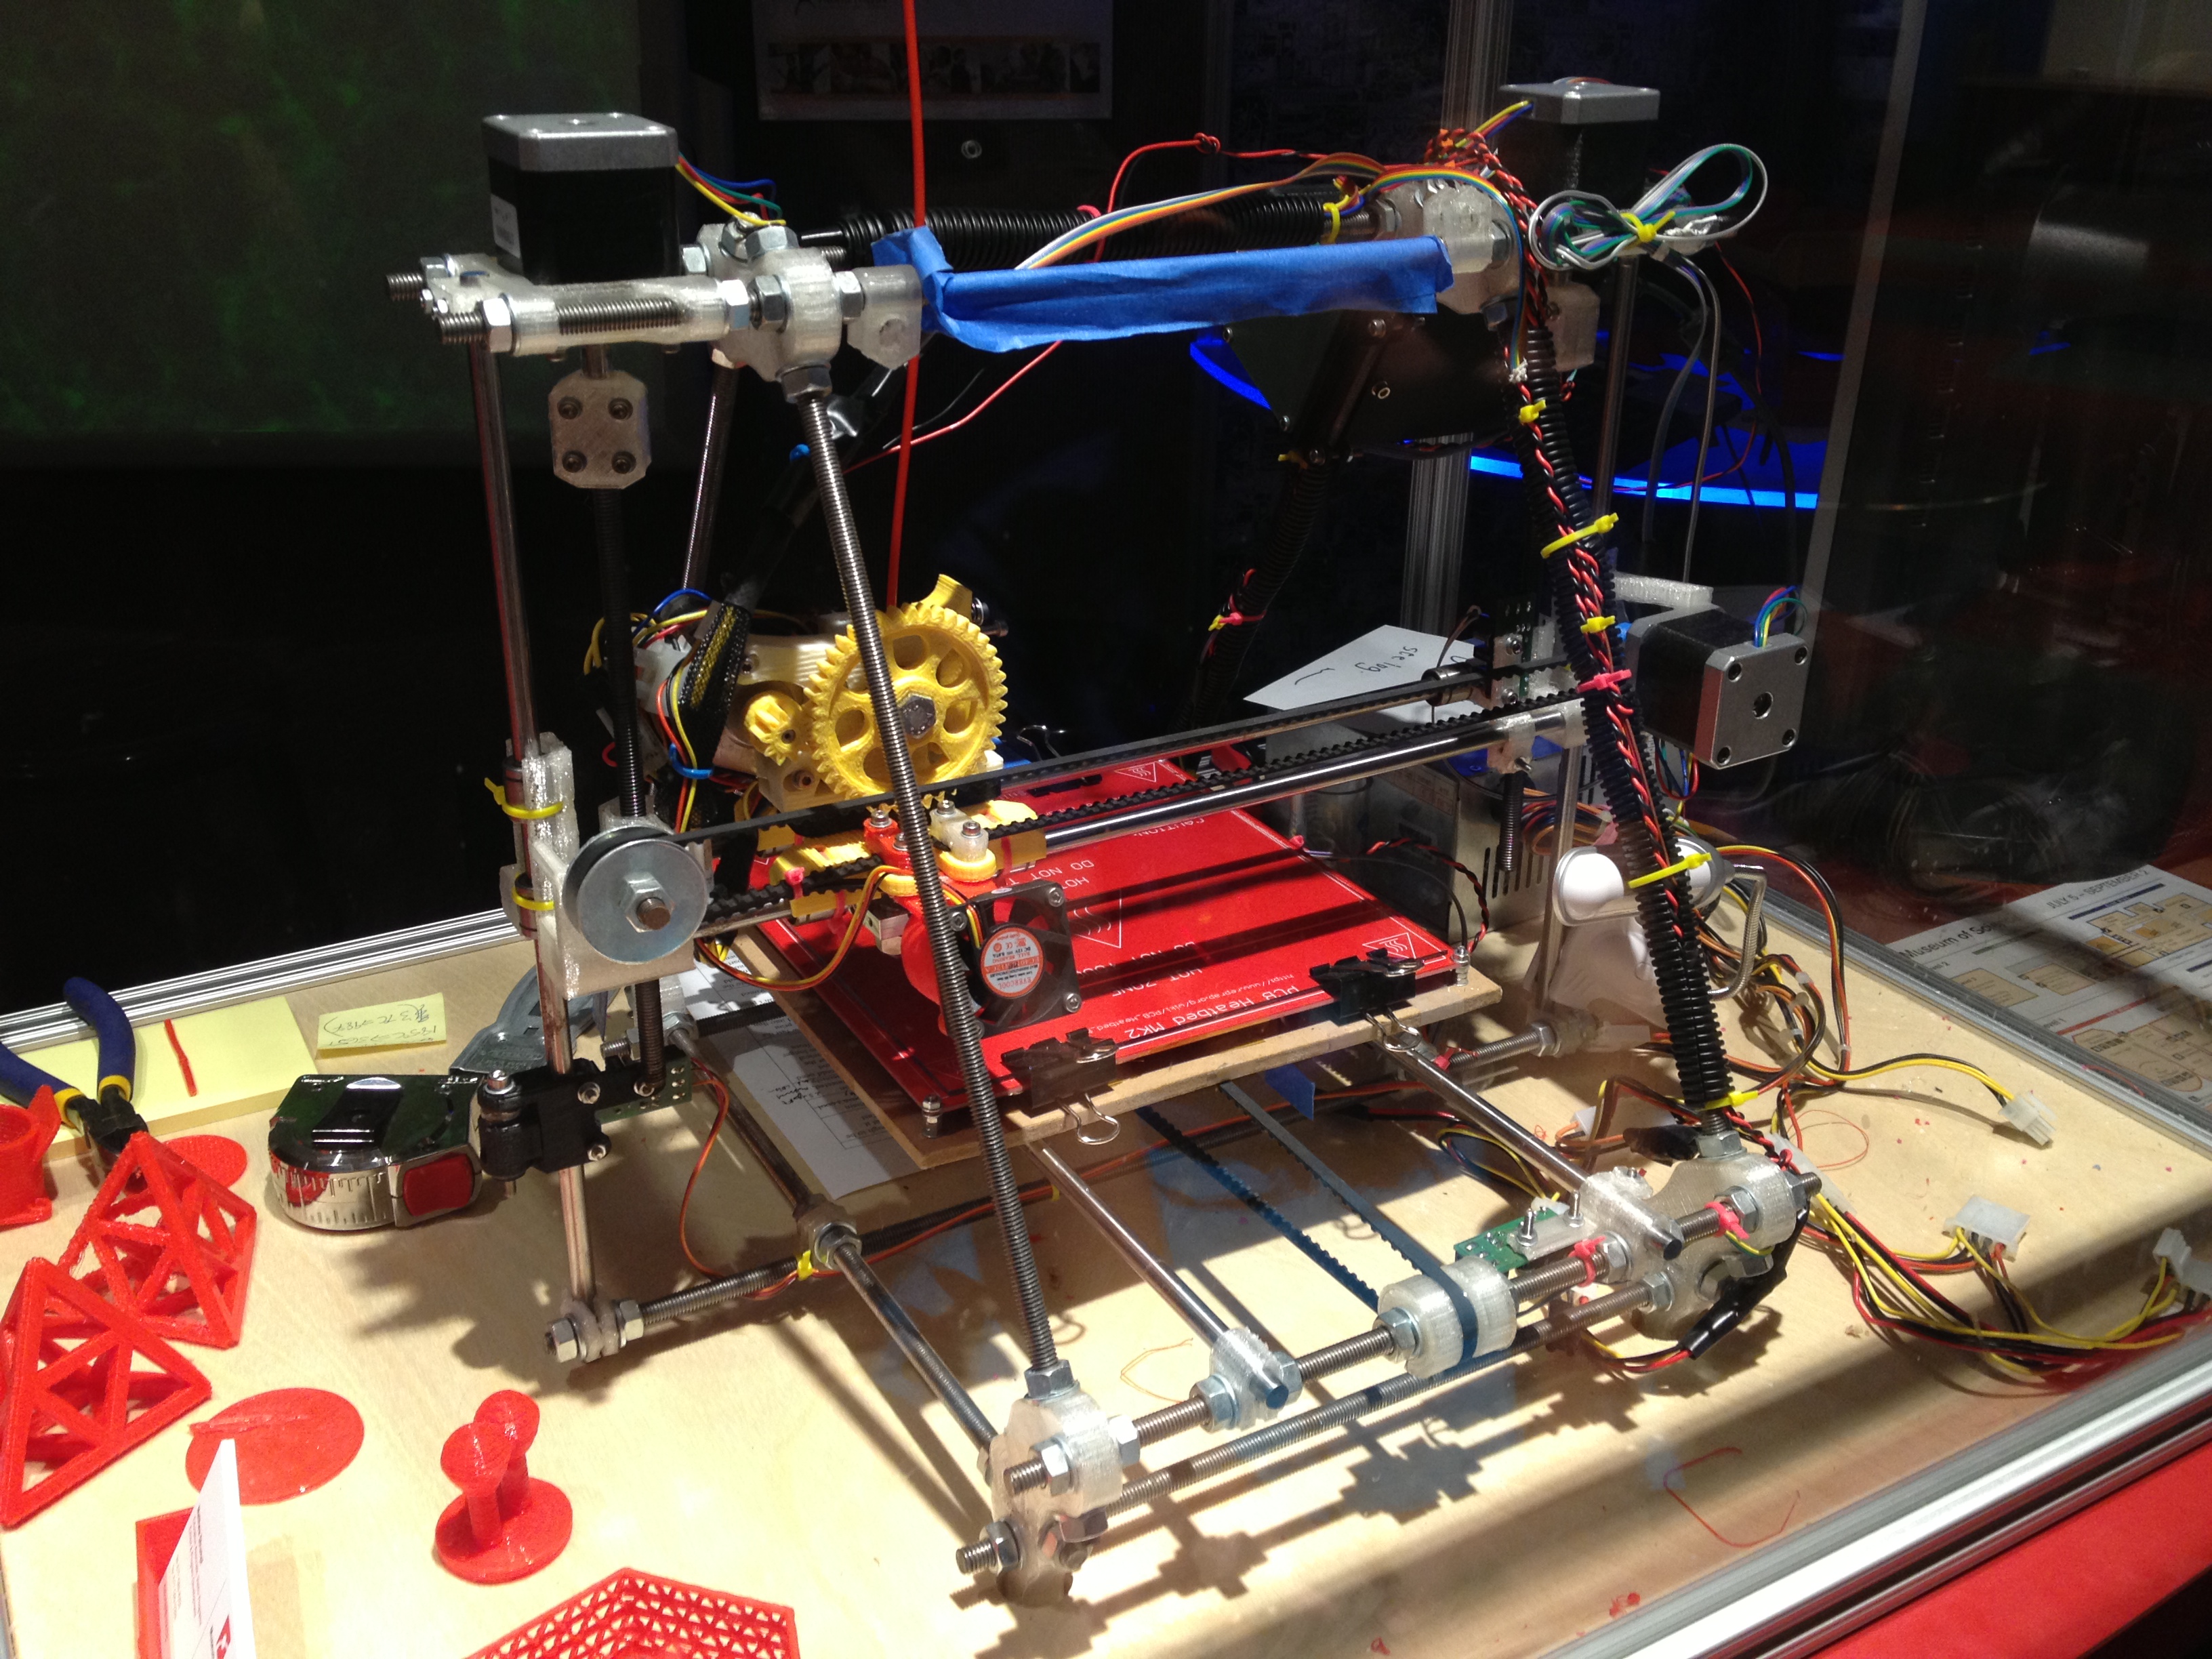
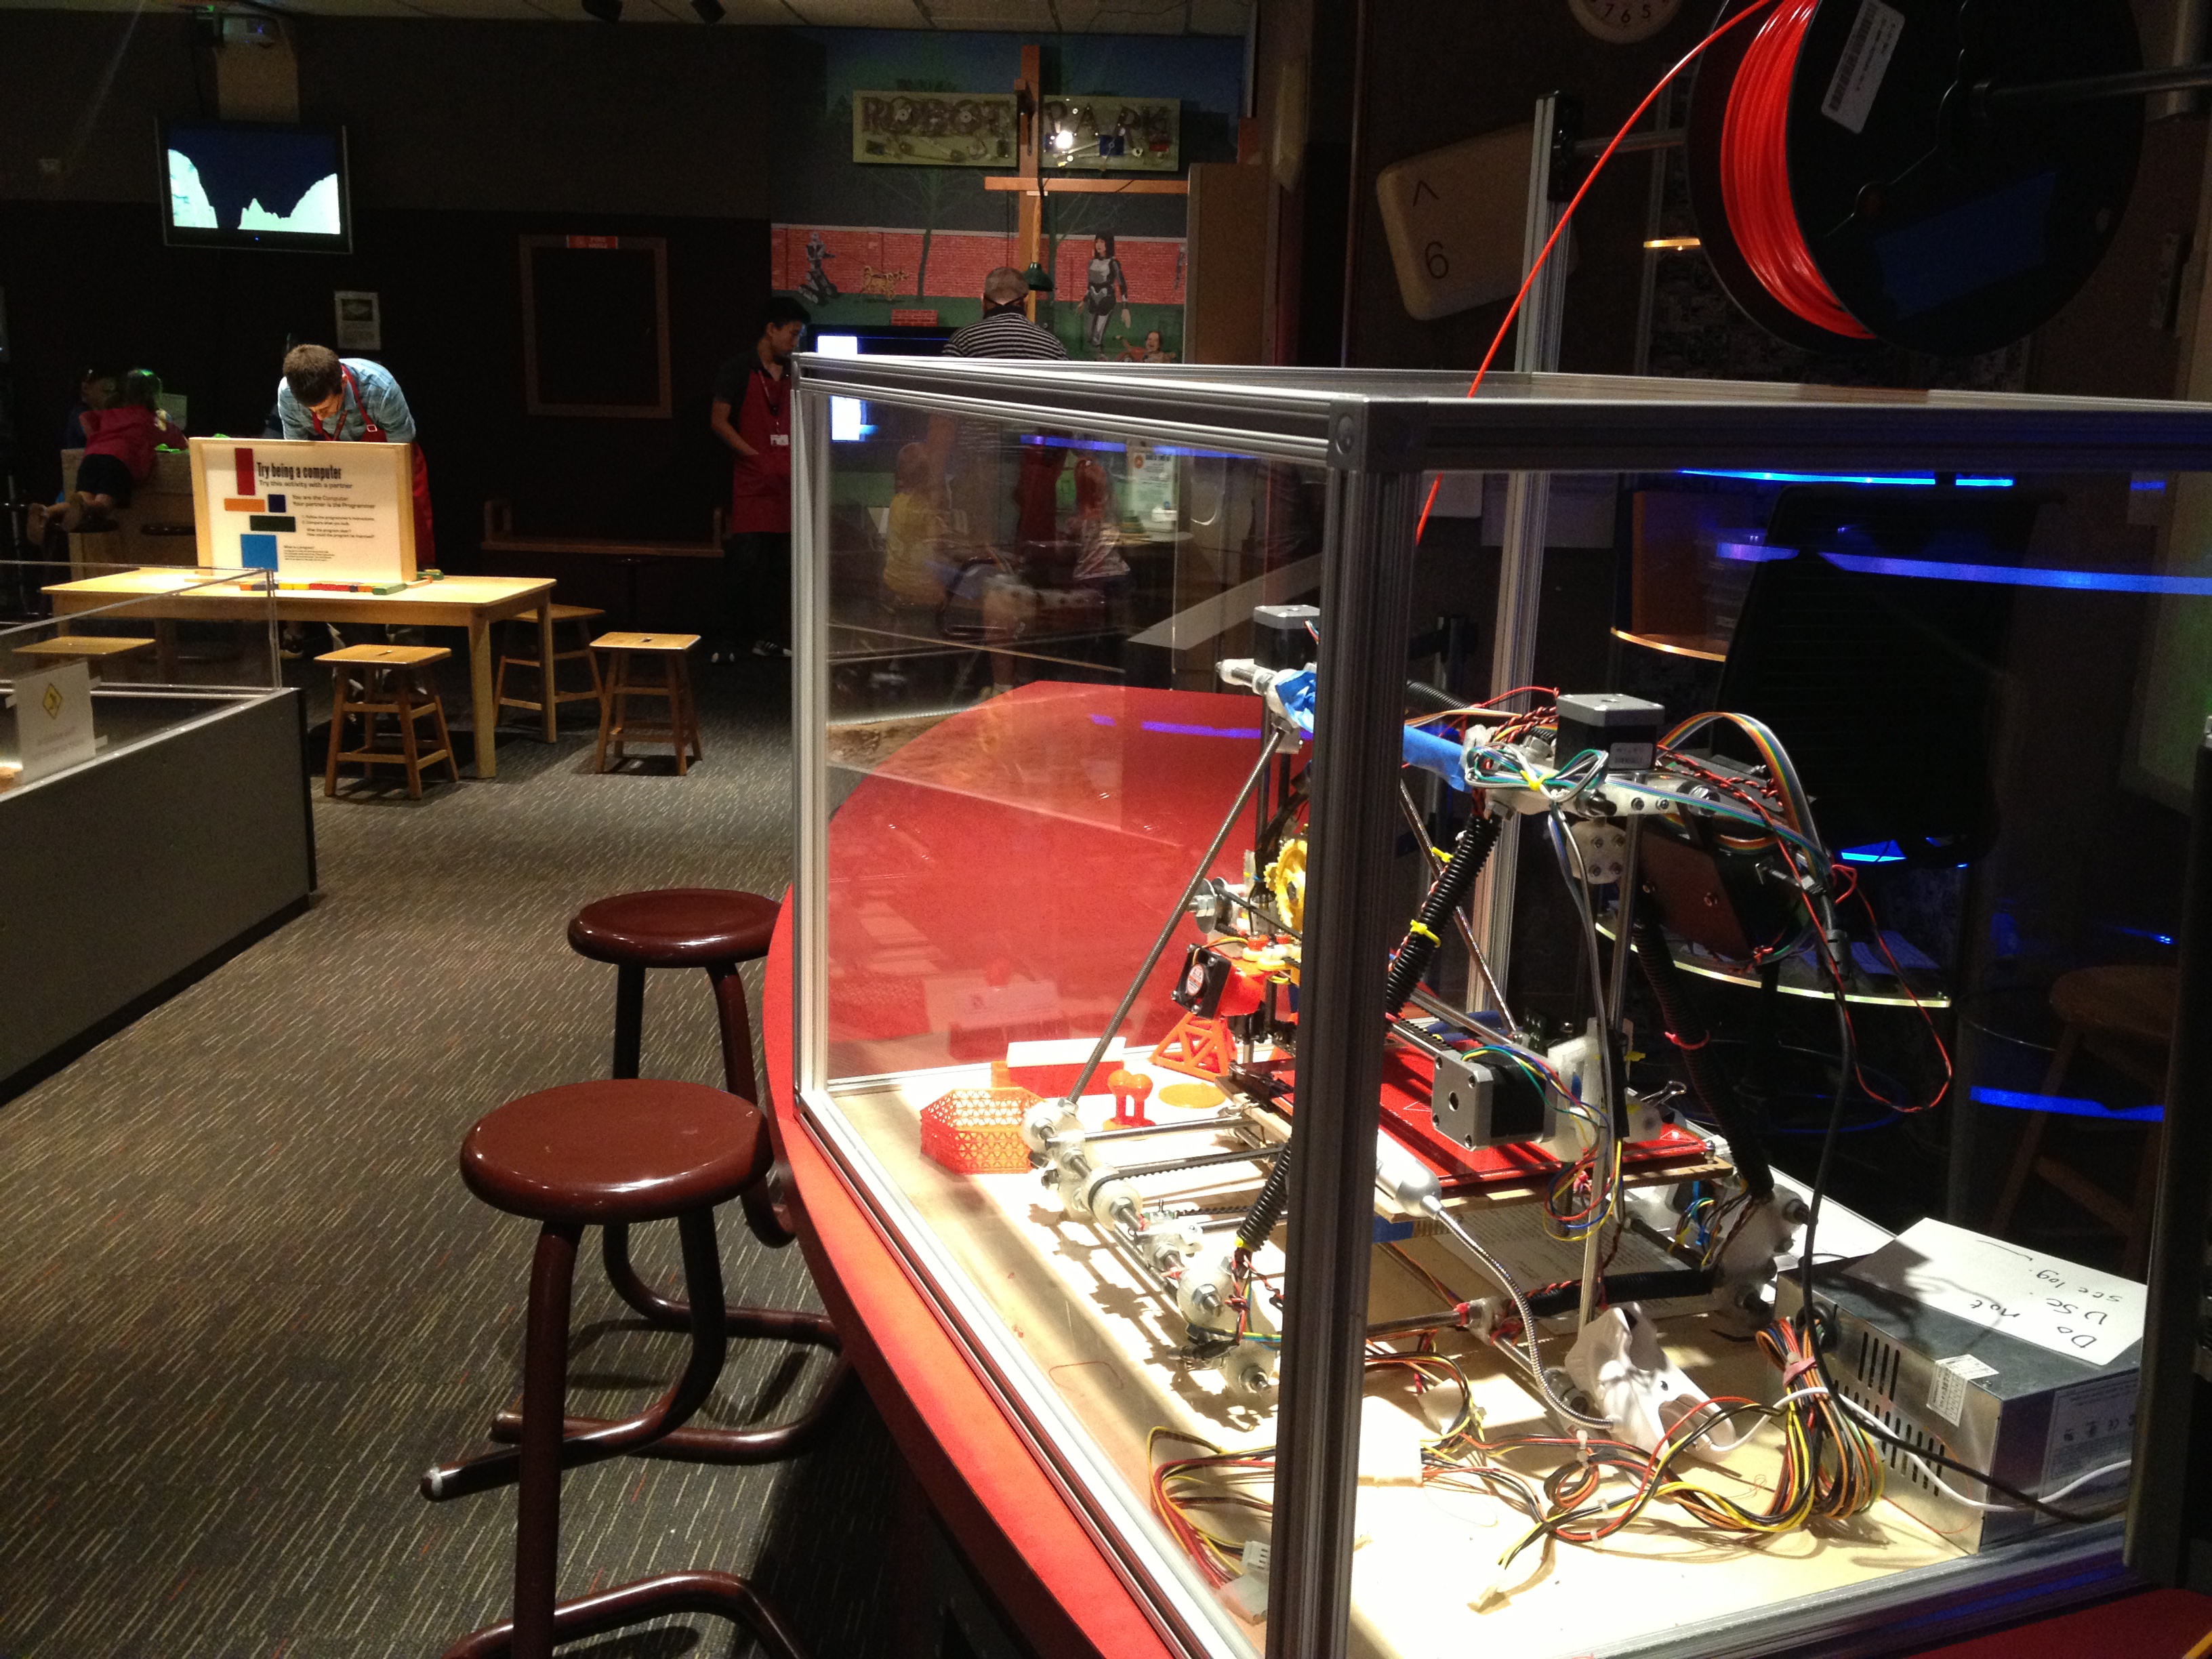
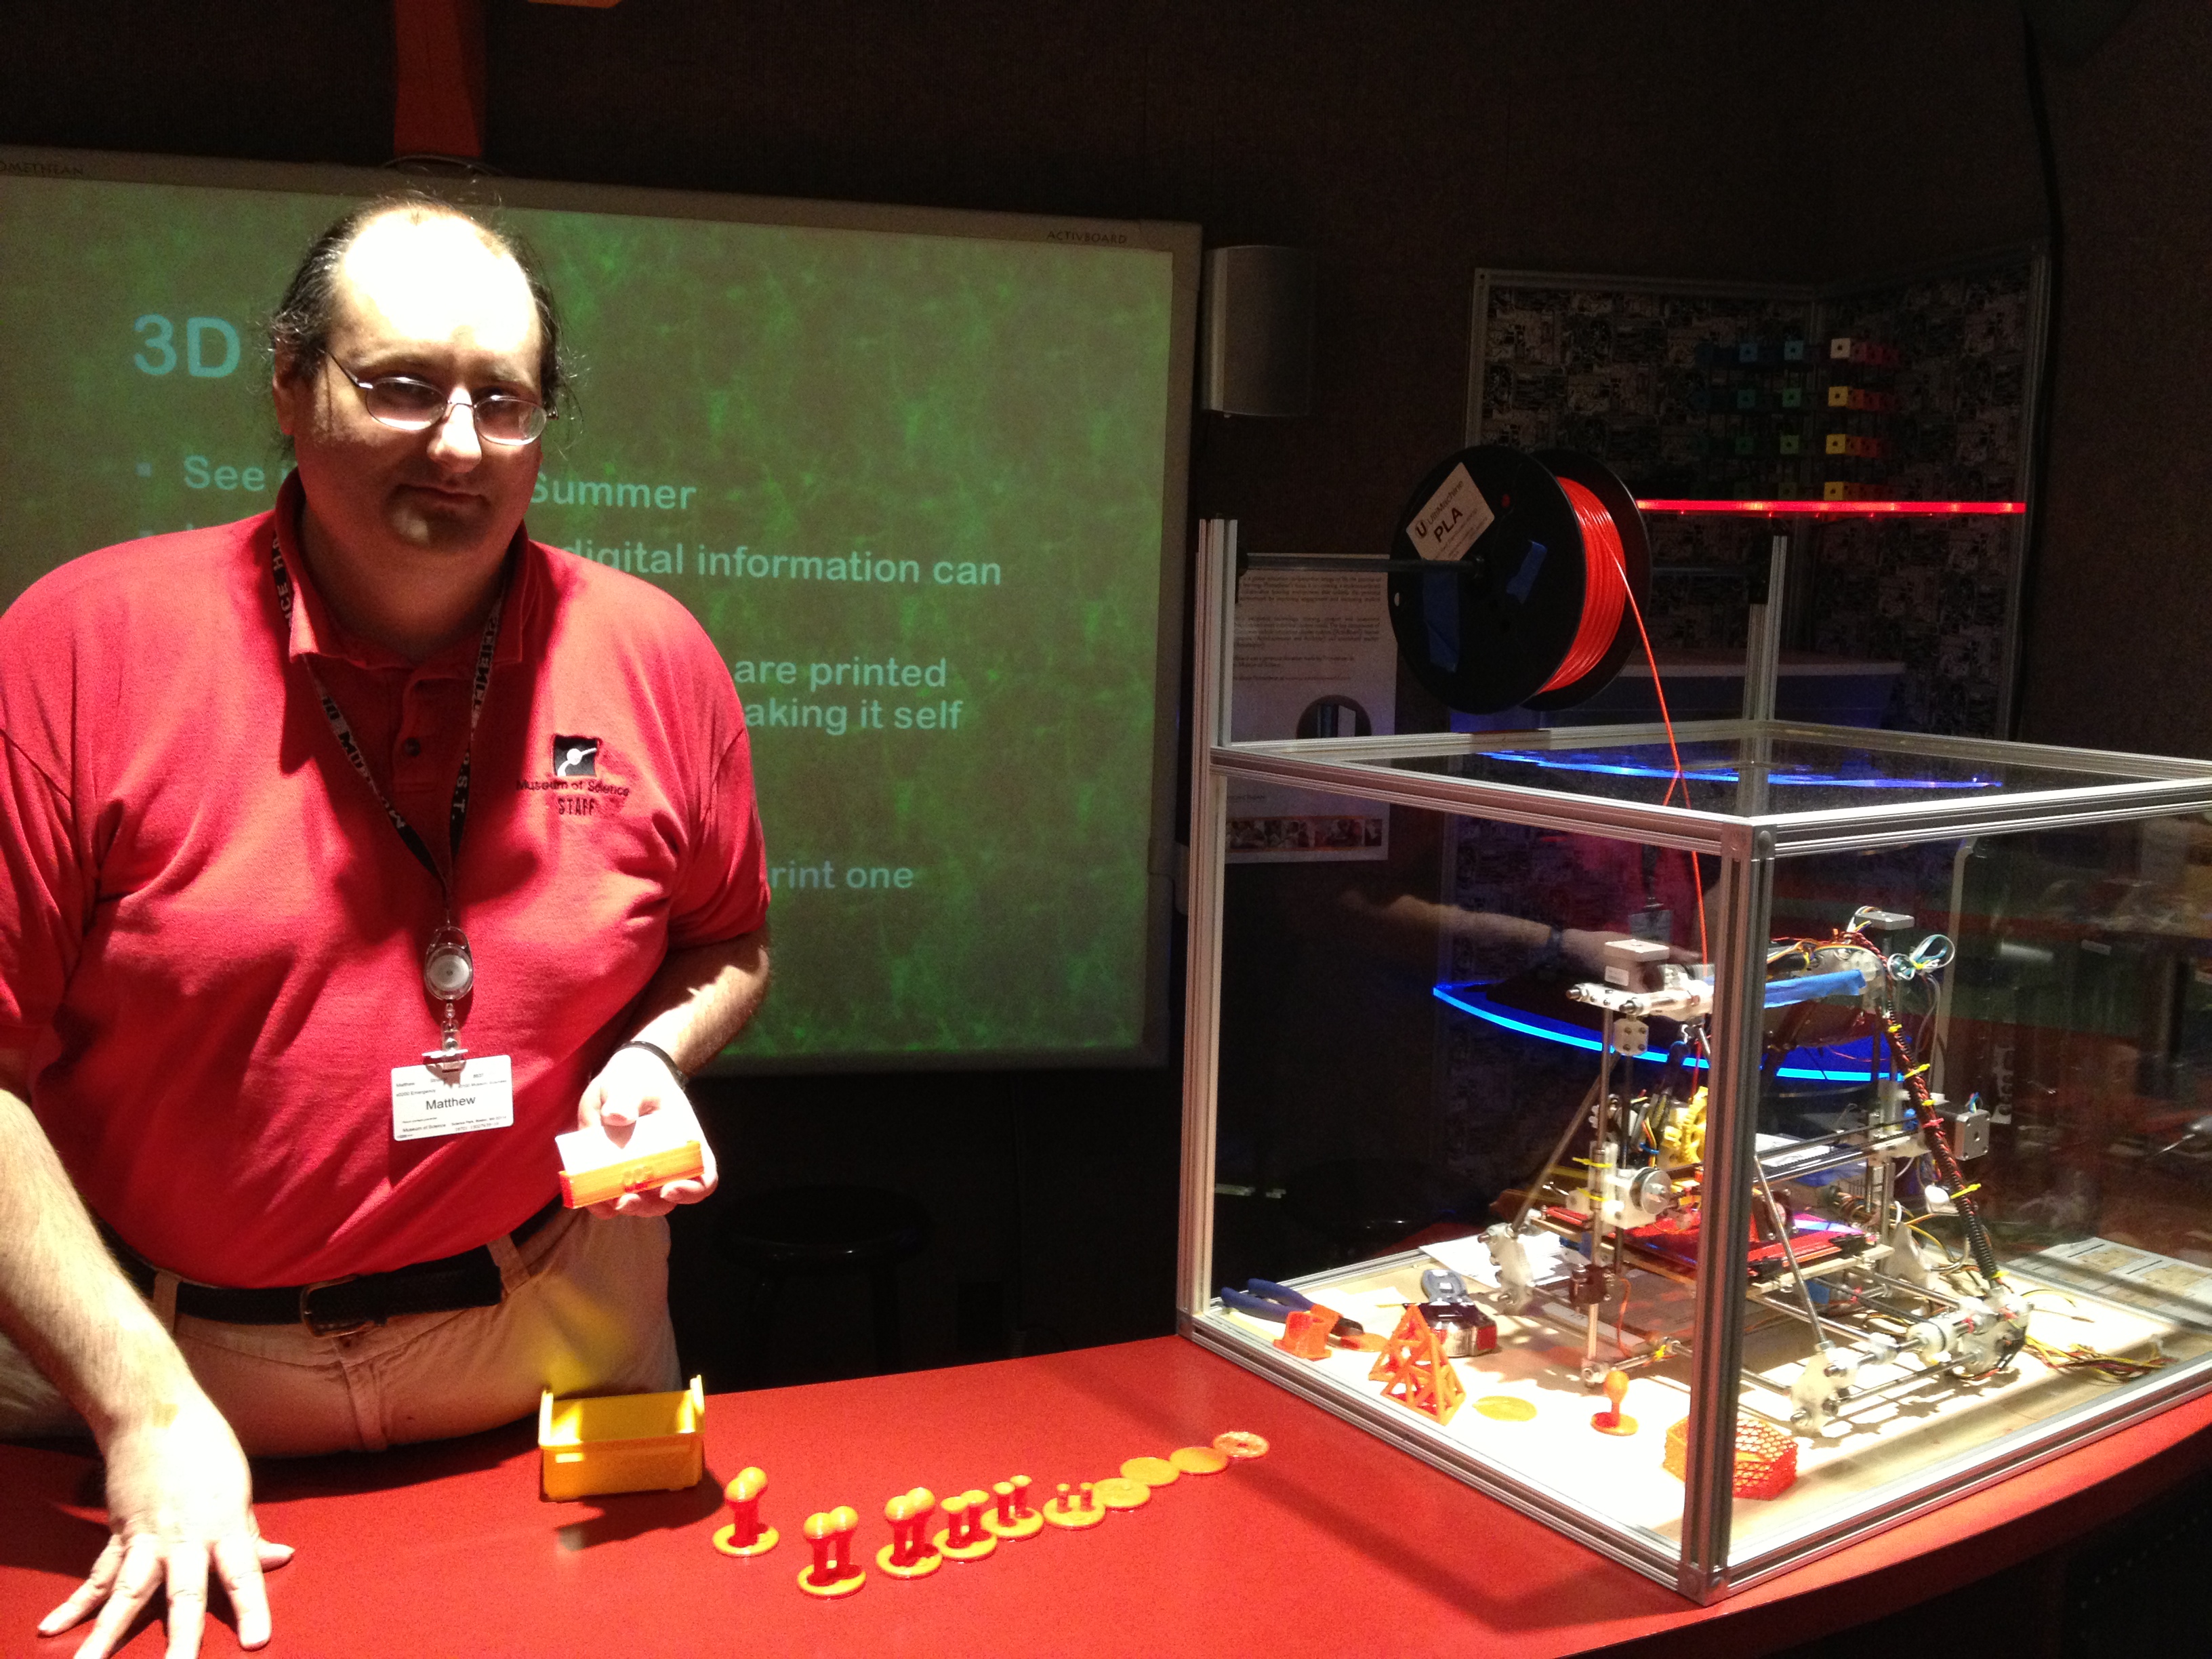
IMG_3713

Here it is!

IMG_3737

IMG_2460

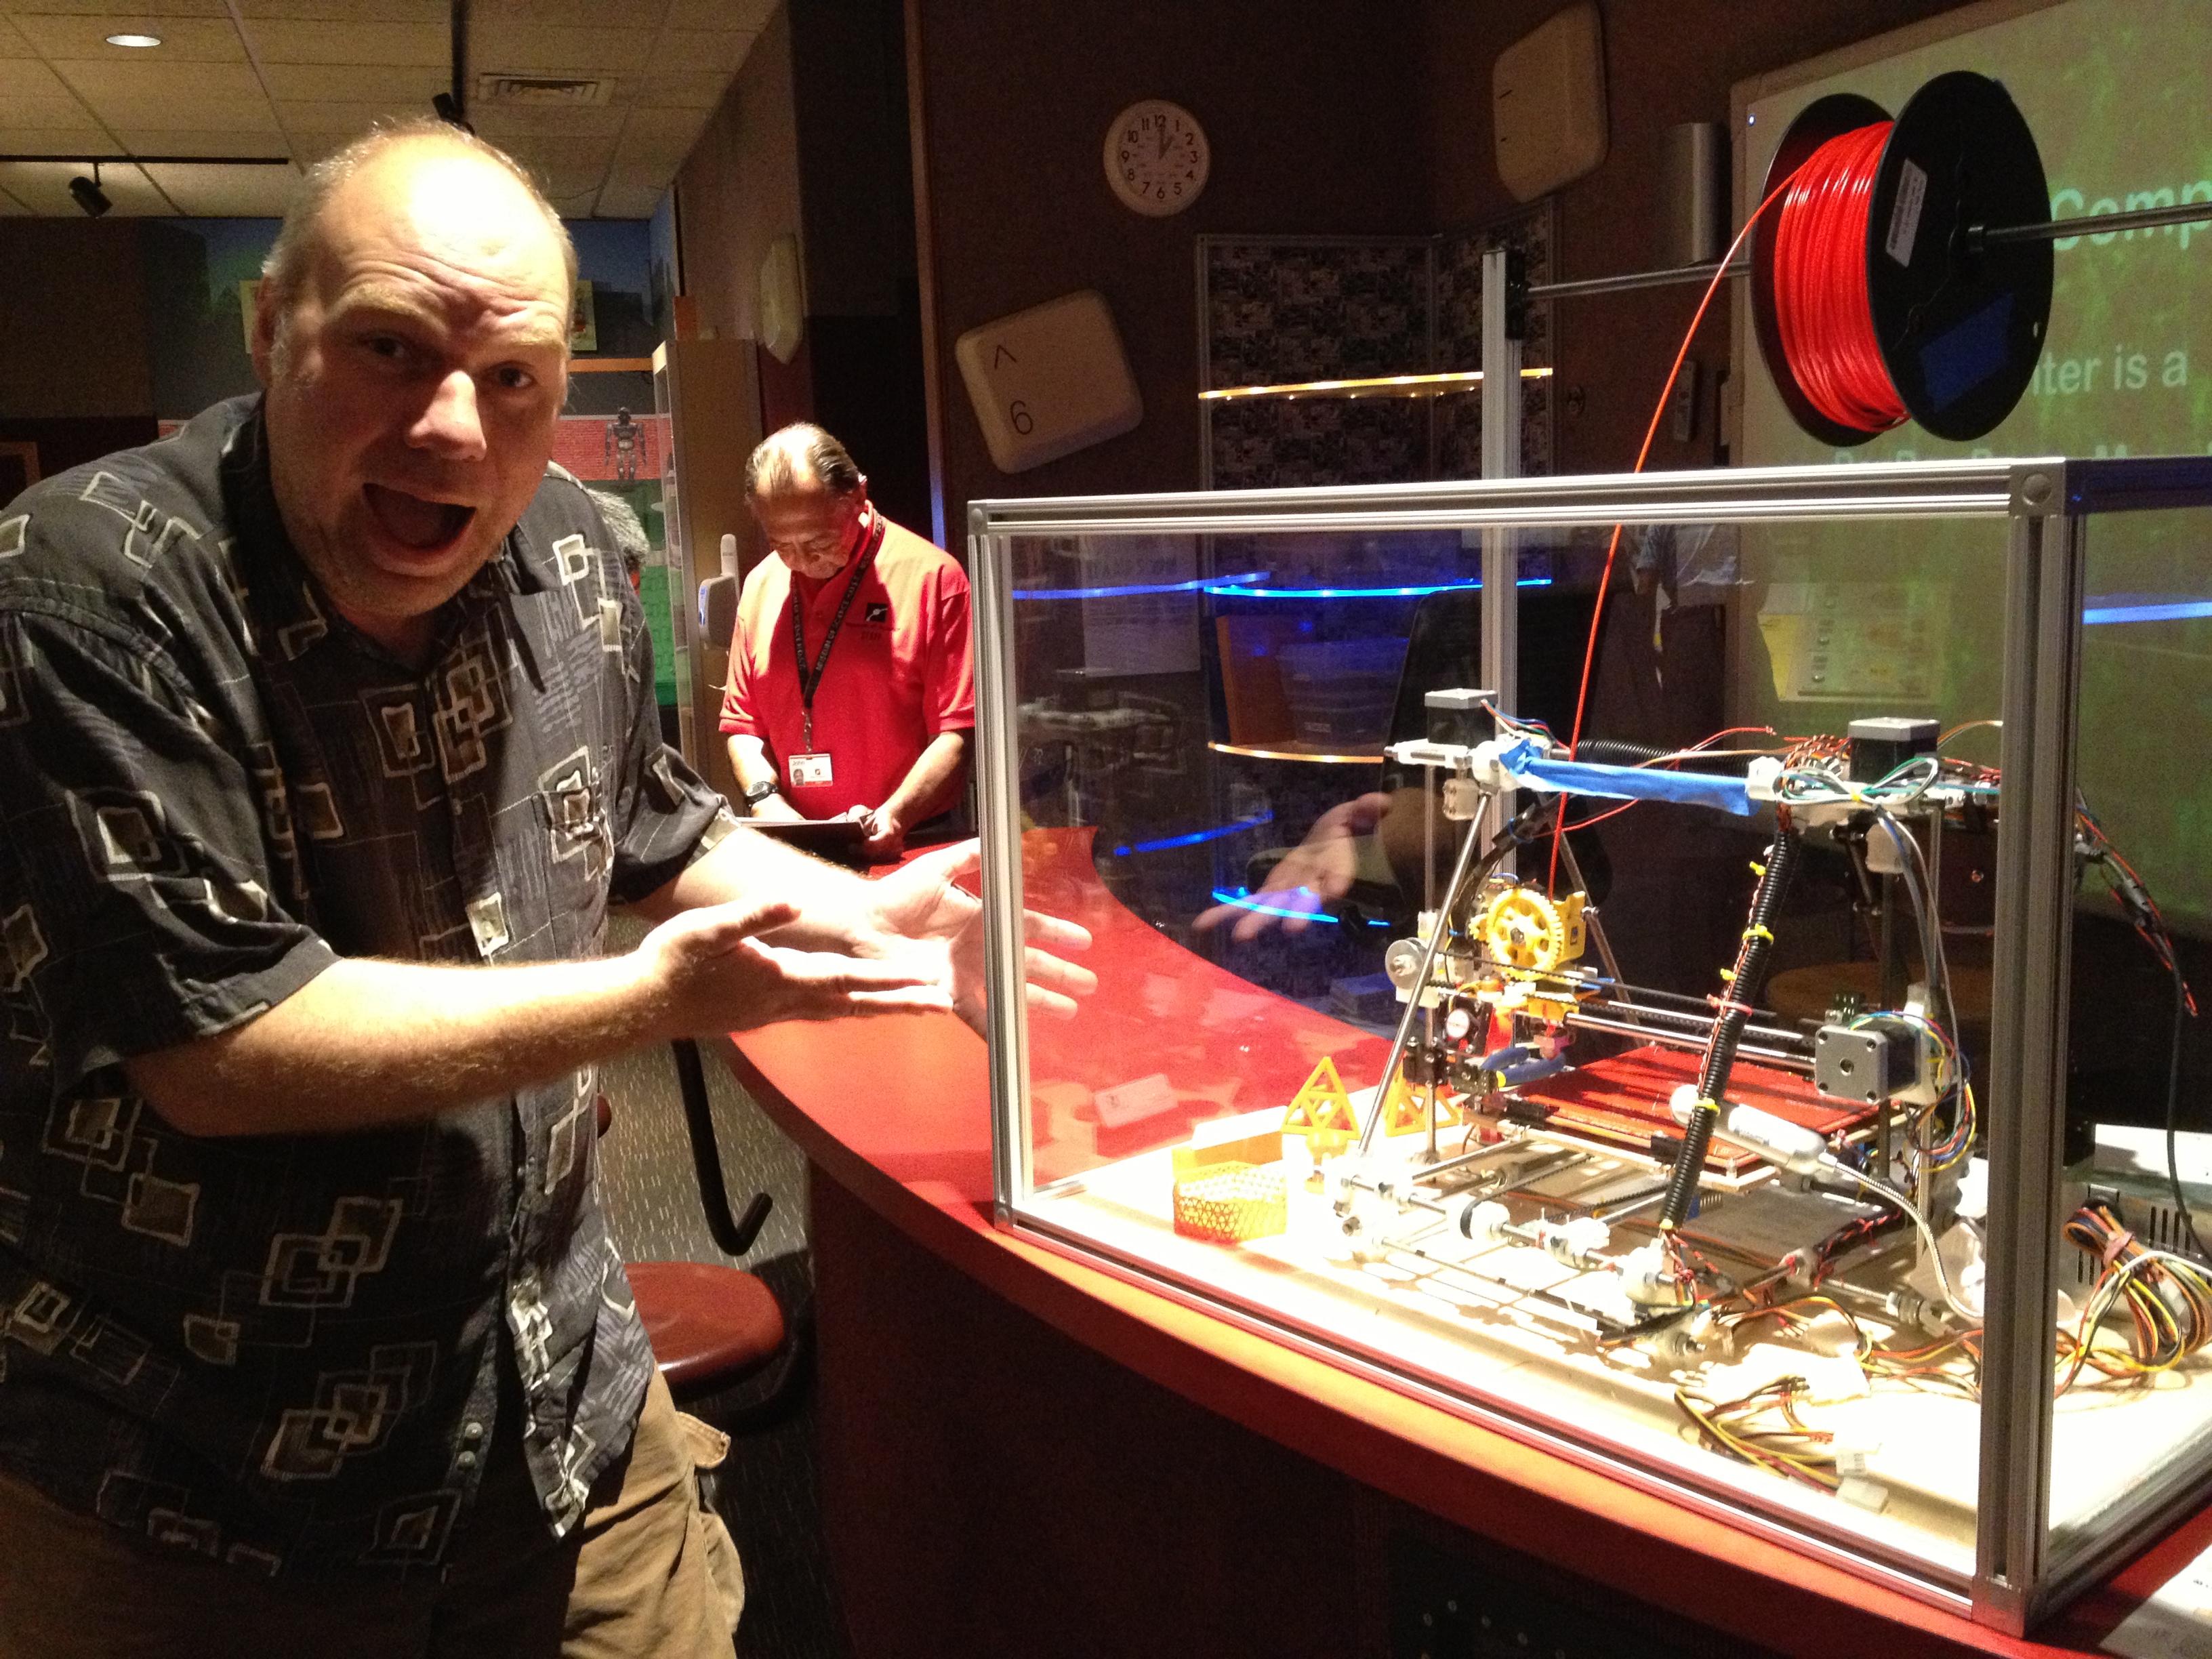
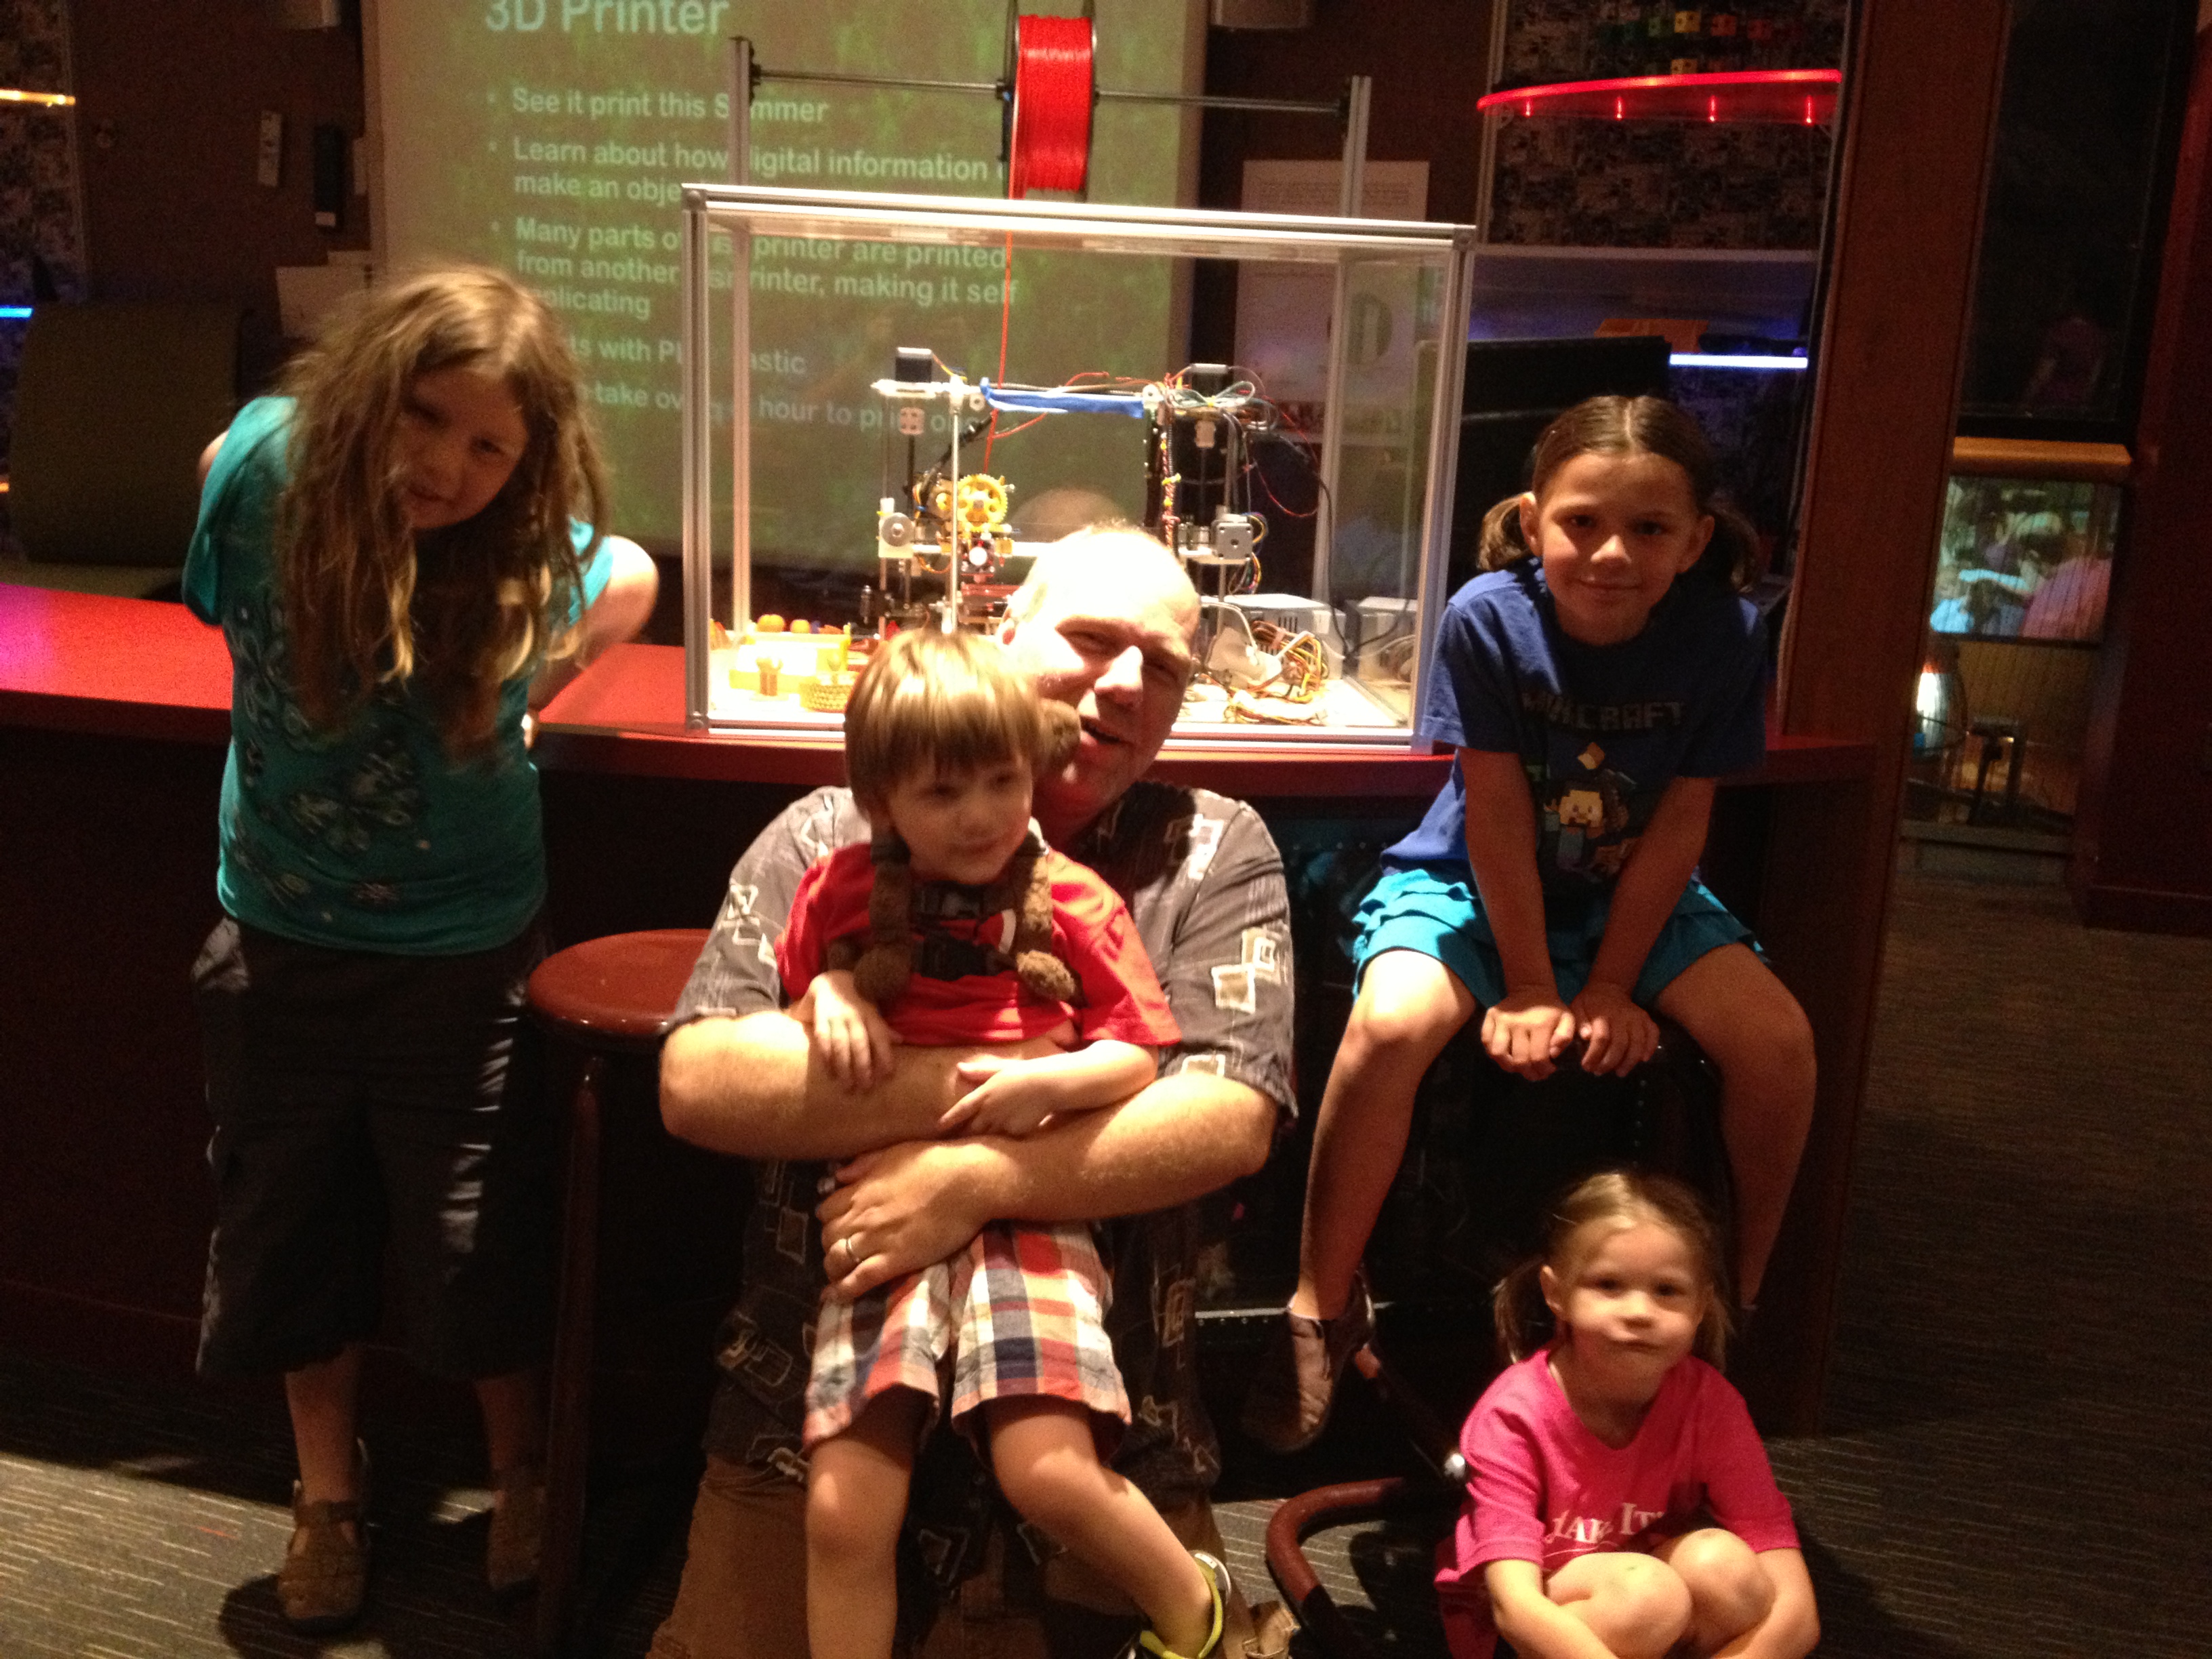
Here are some more pictures:

IMG_3722

IMG_3749

IMG_3741

While staring at it, the guy working there said something like “that’s a 3D printer!”. I said it looked great, and tried explaining that I made that printer. He nodded as if to say “ahh, yes people are doing that these days” or something, and I explained “I literally built that one right there, and gave it to Matthew Strumpf a few months ago”. He lit up with understanding, and said “oh wait, he’s in the back room. I’ll go get him”.

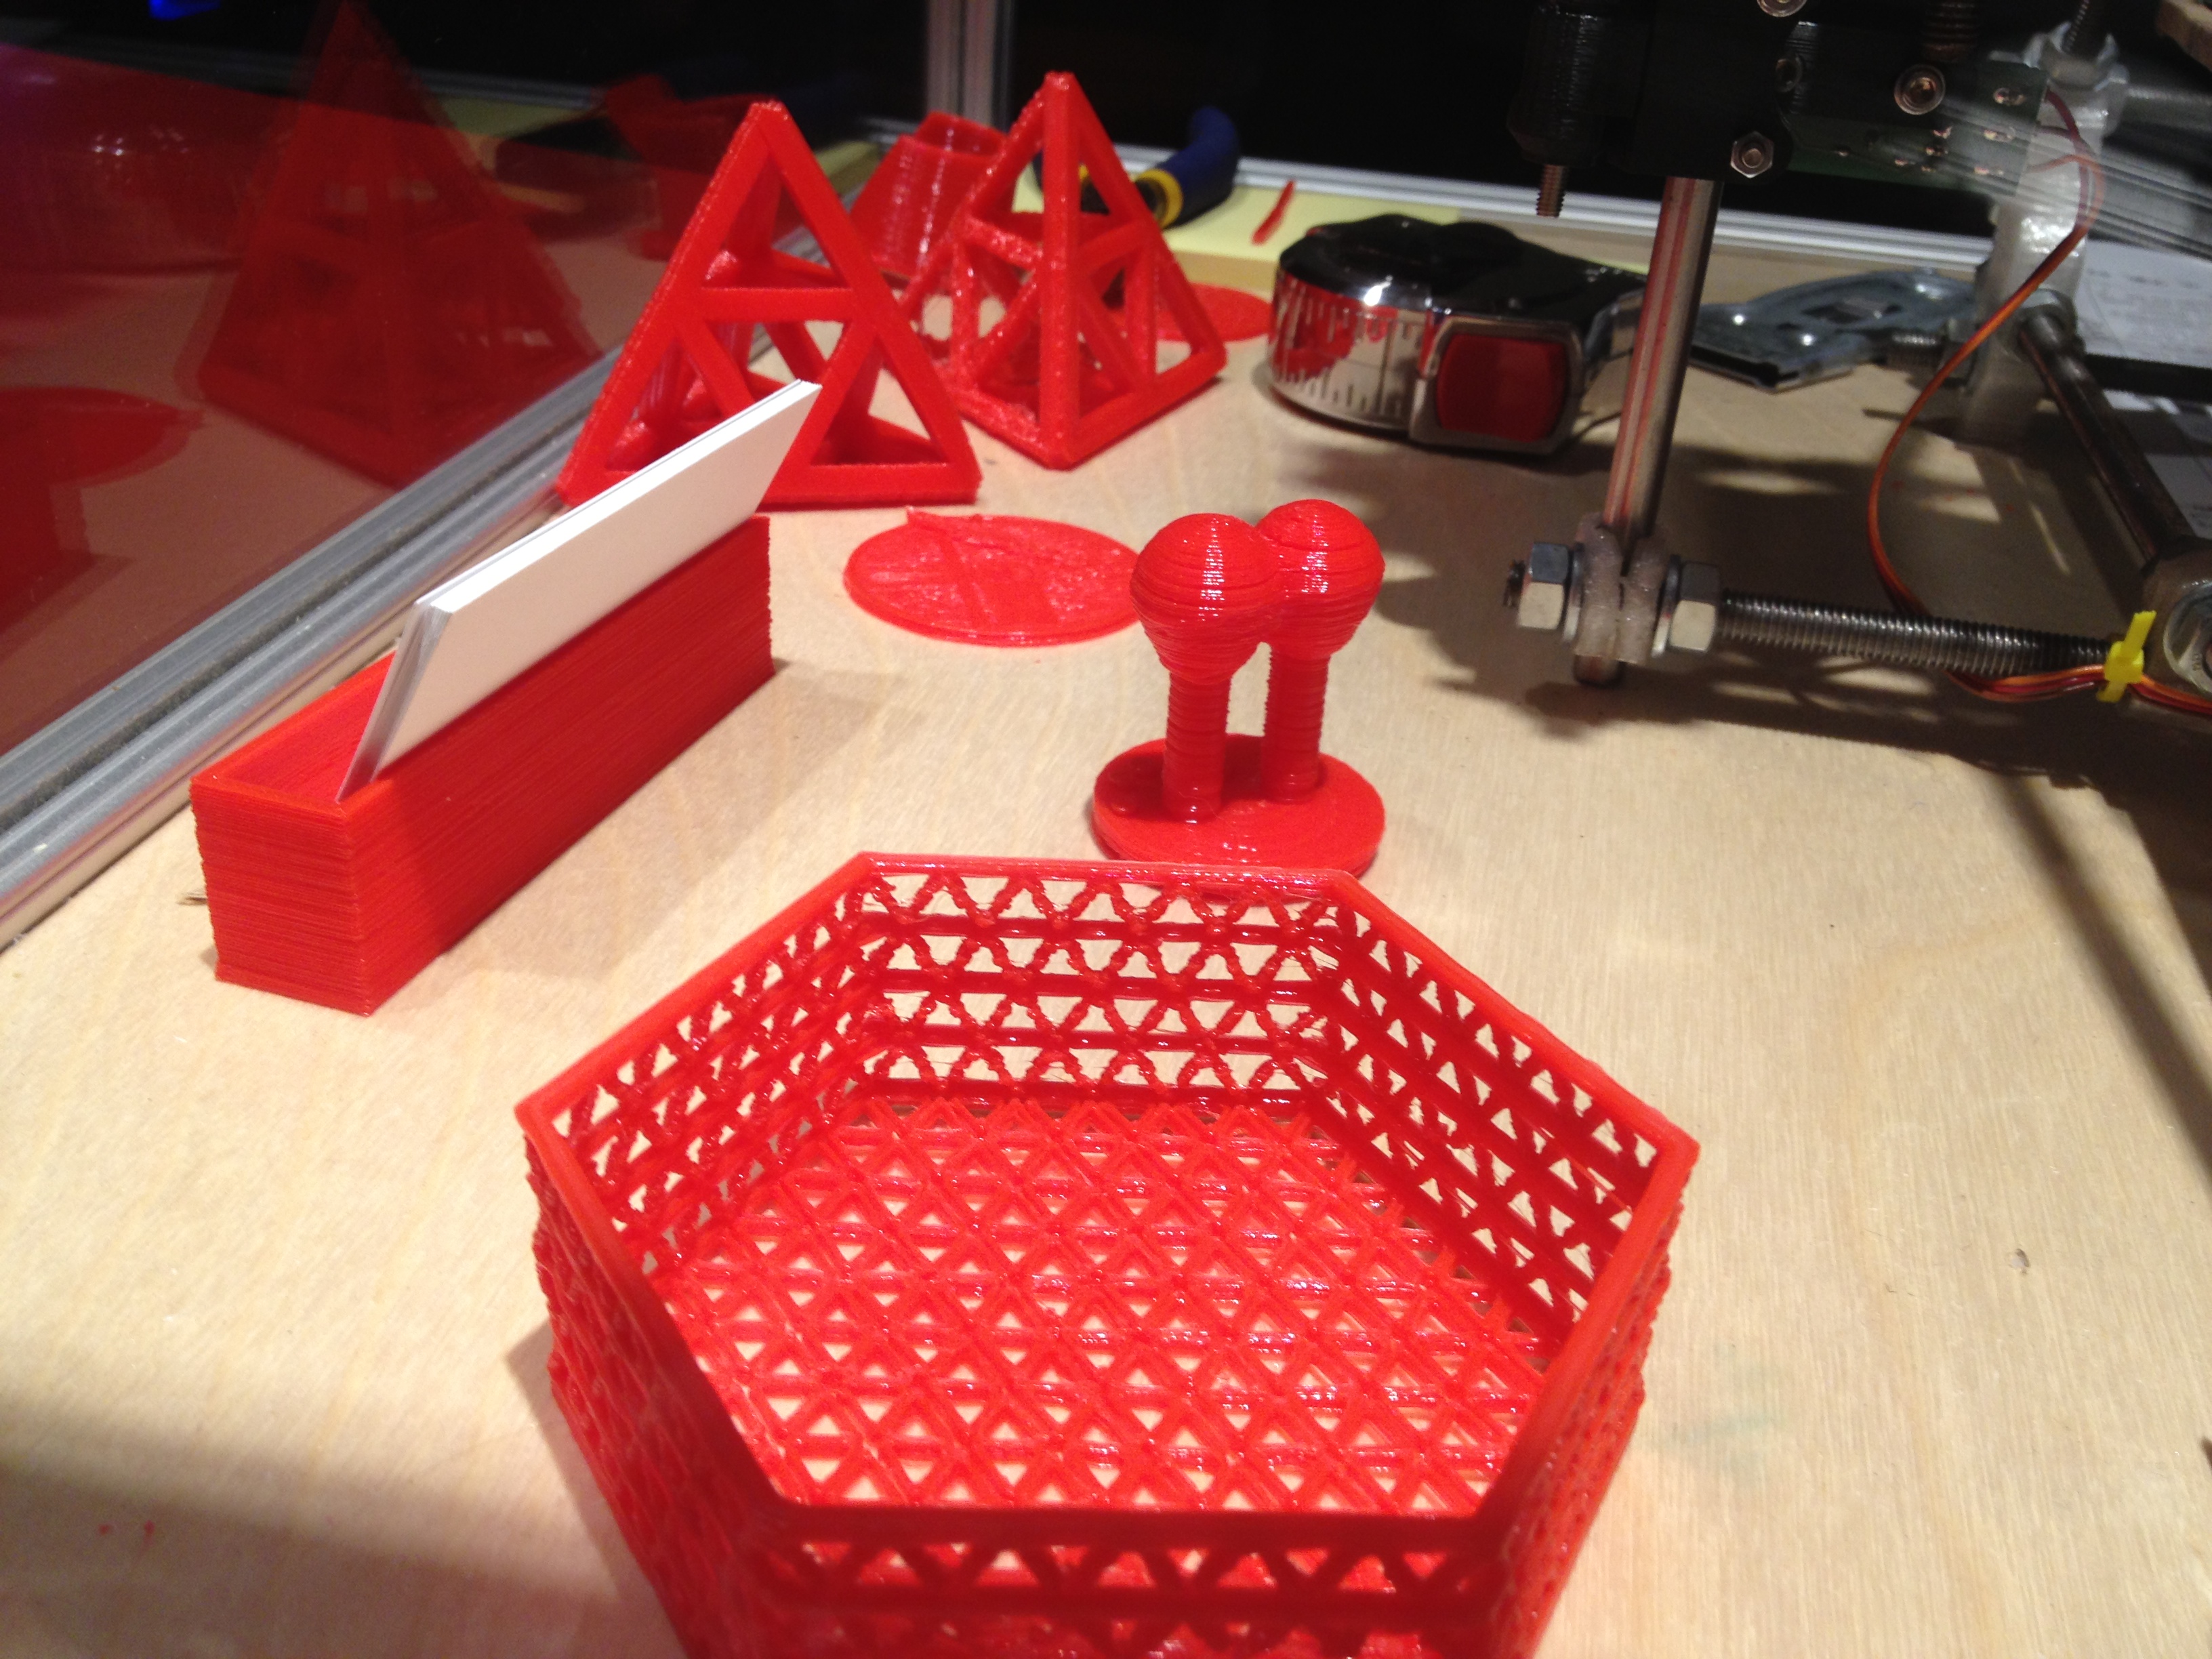
He came out and showed me the stuff they’d been printing with the printer.

IMG_3753

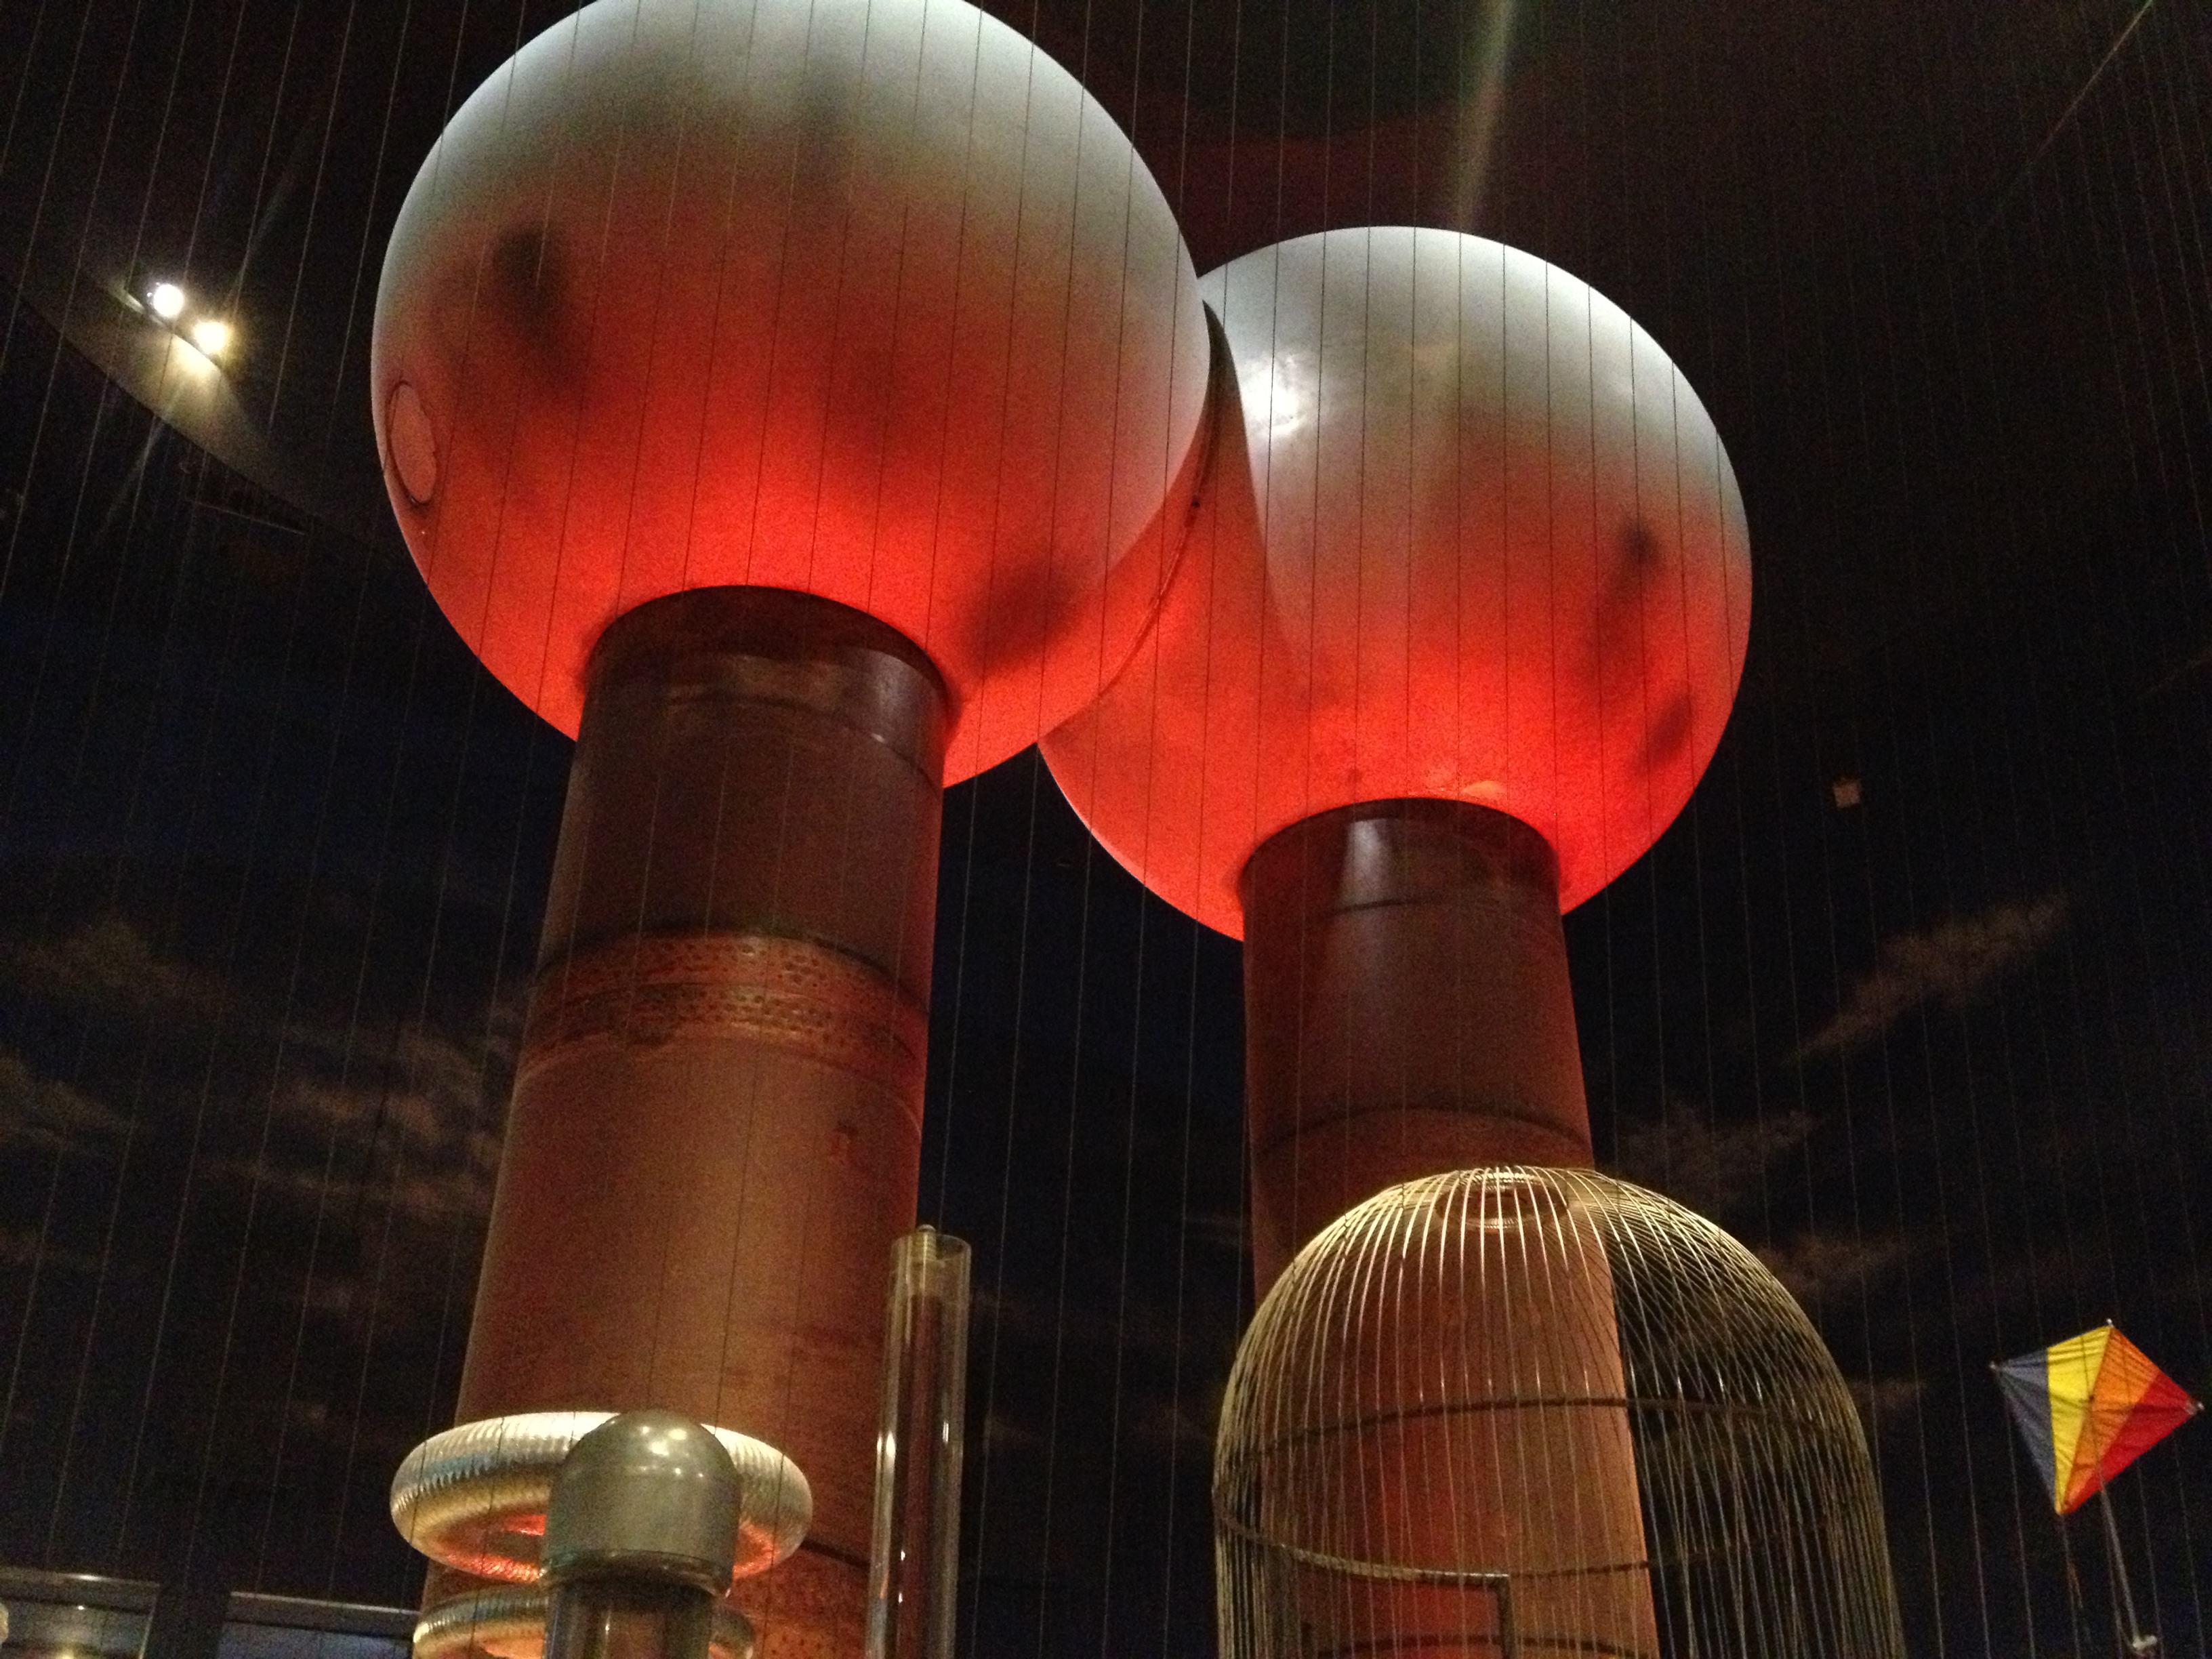
Their legendary two story tall Van de Graaff generator generator is right next to it:

IMG_3751

IMG_4079

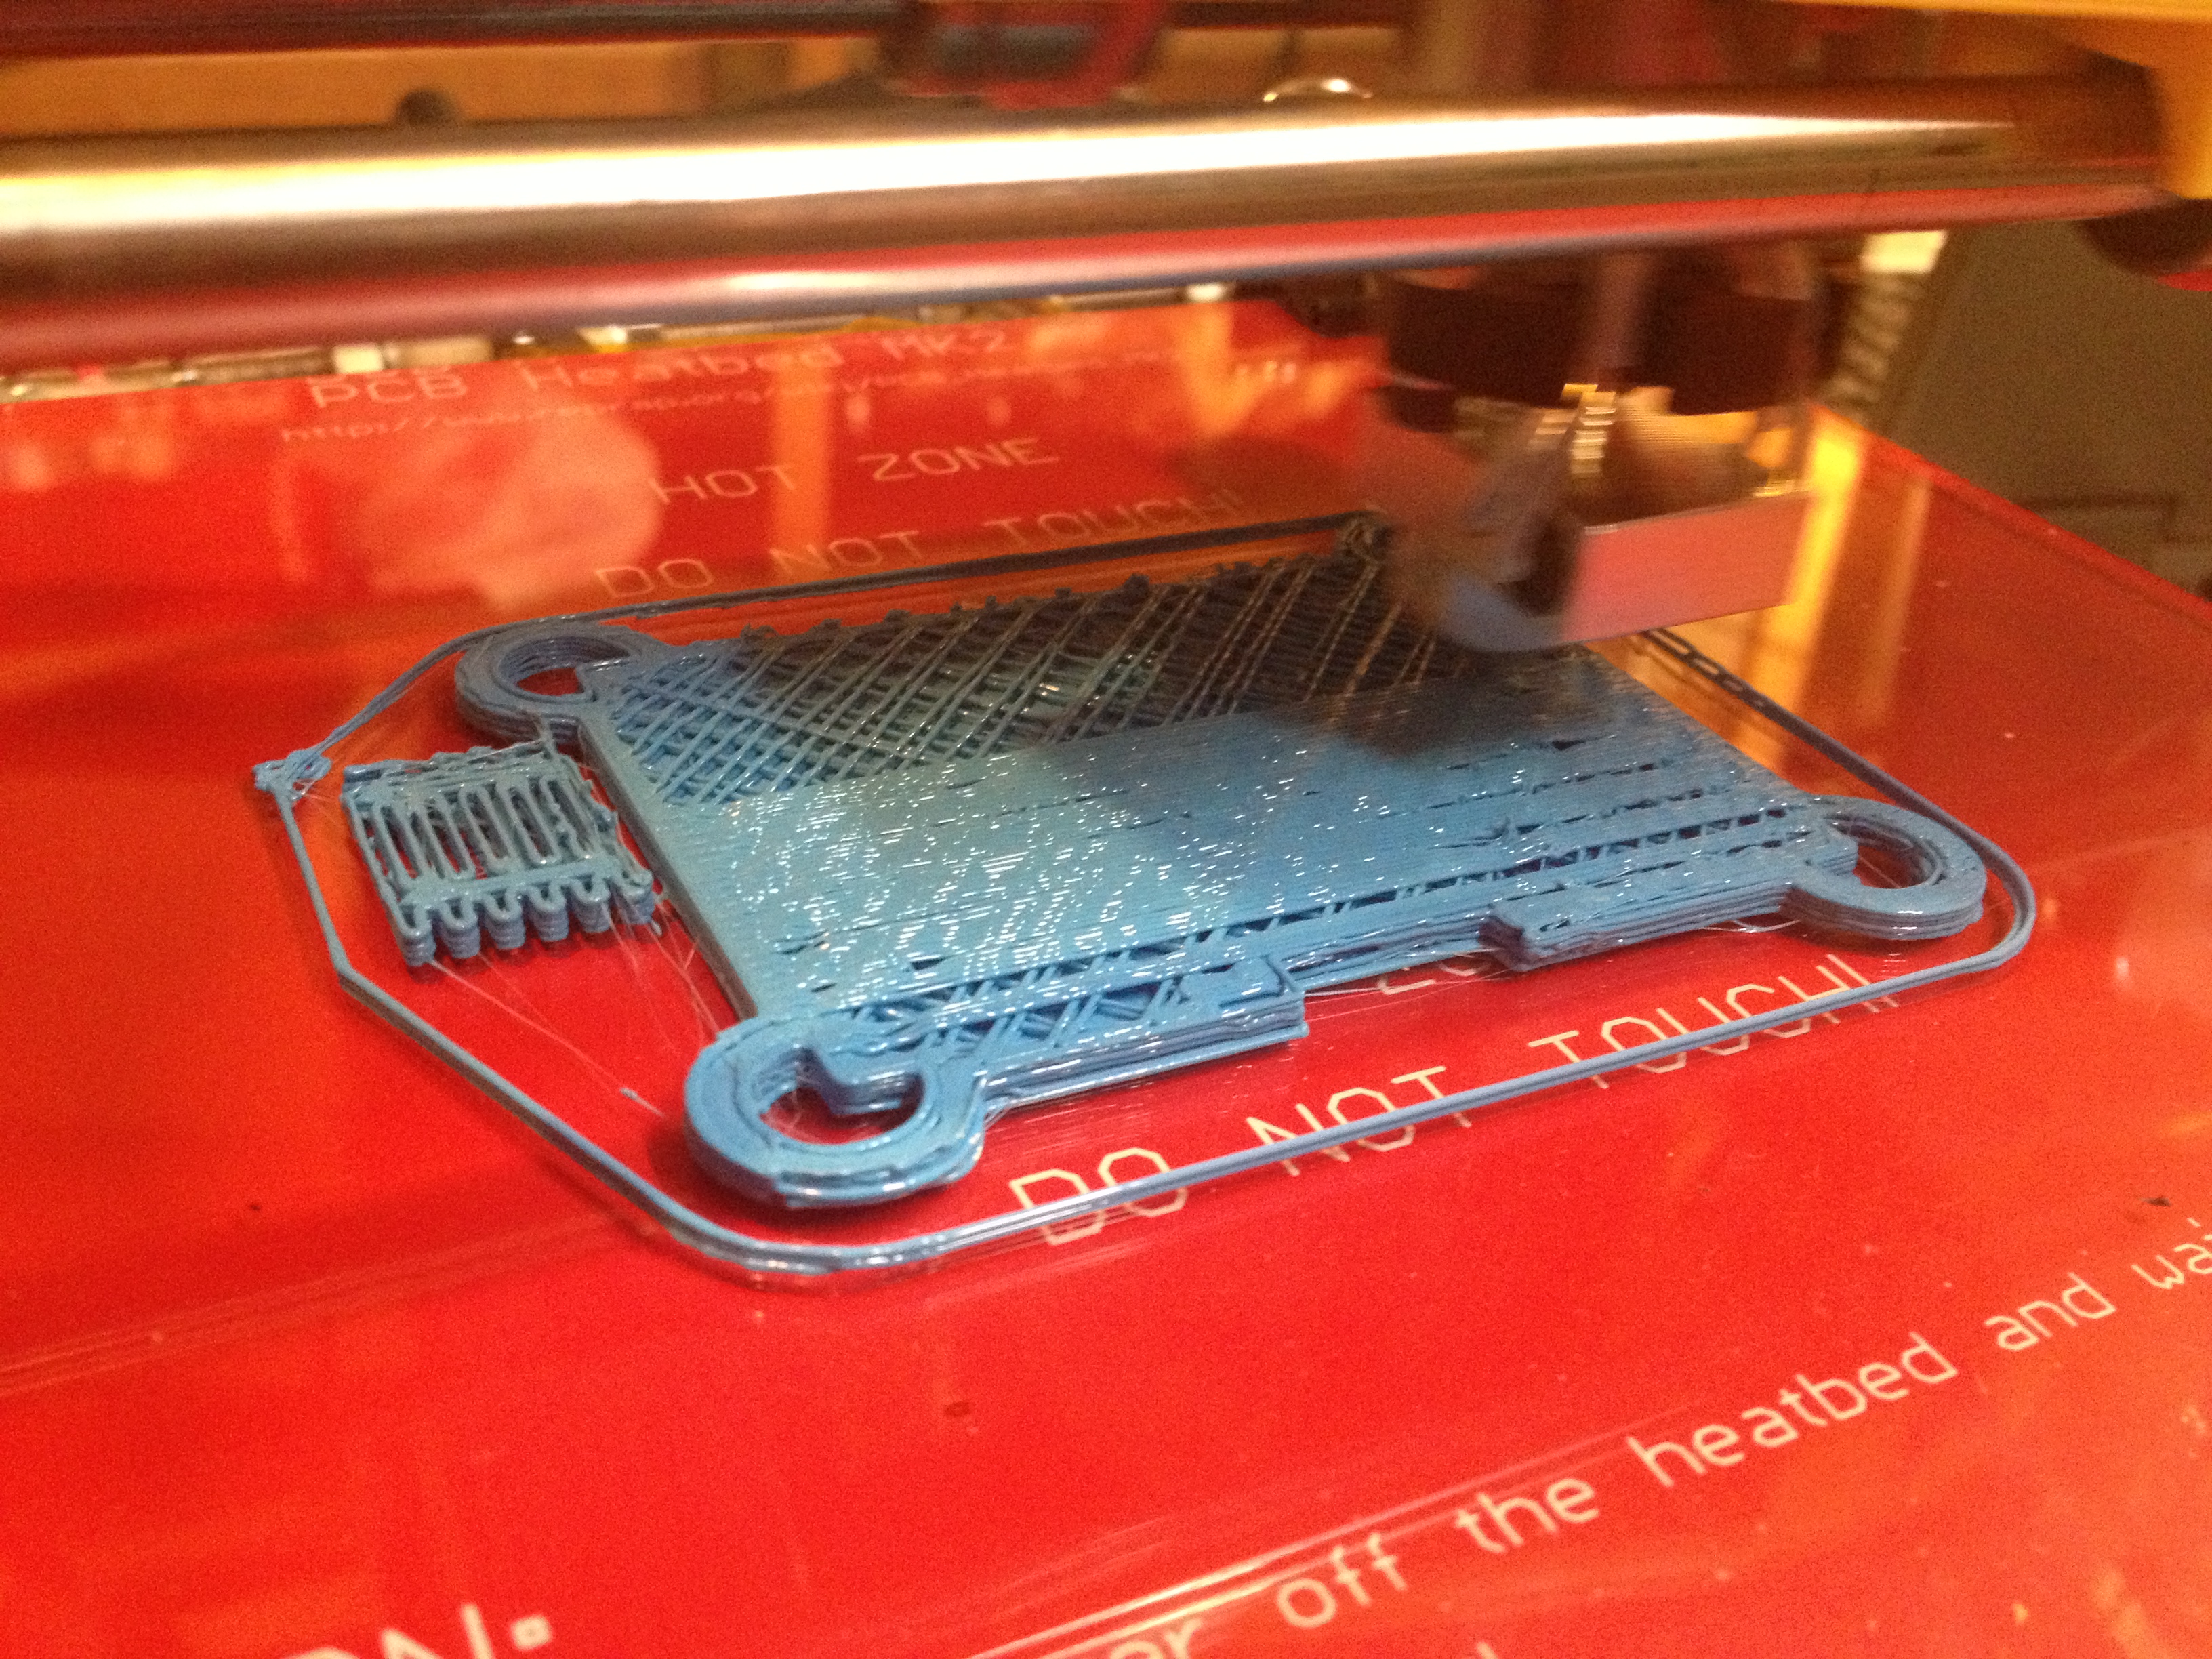
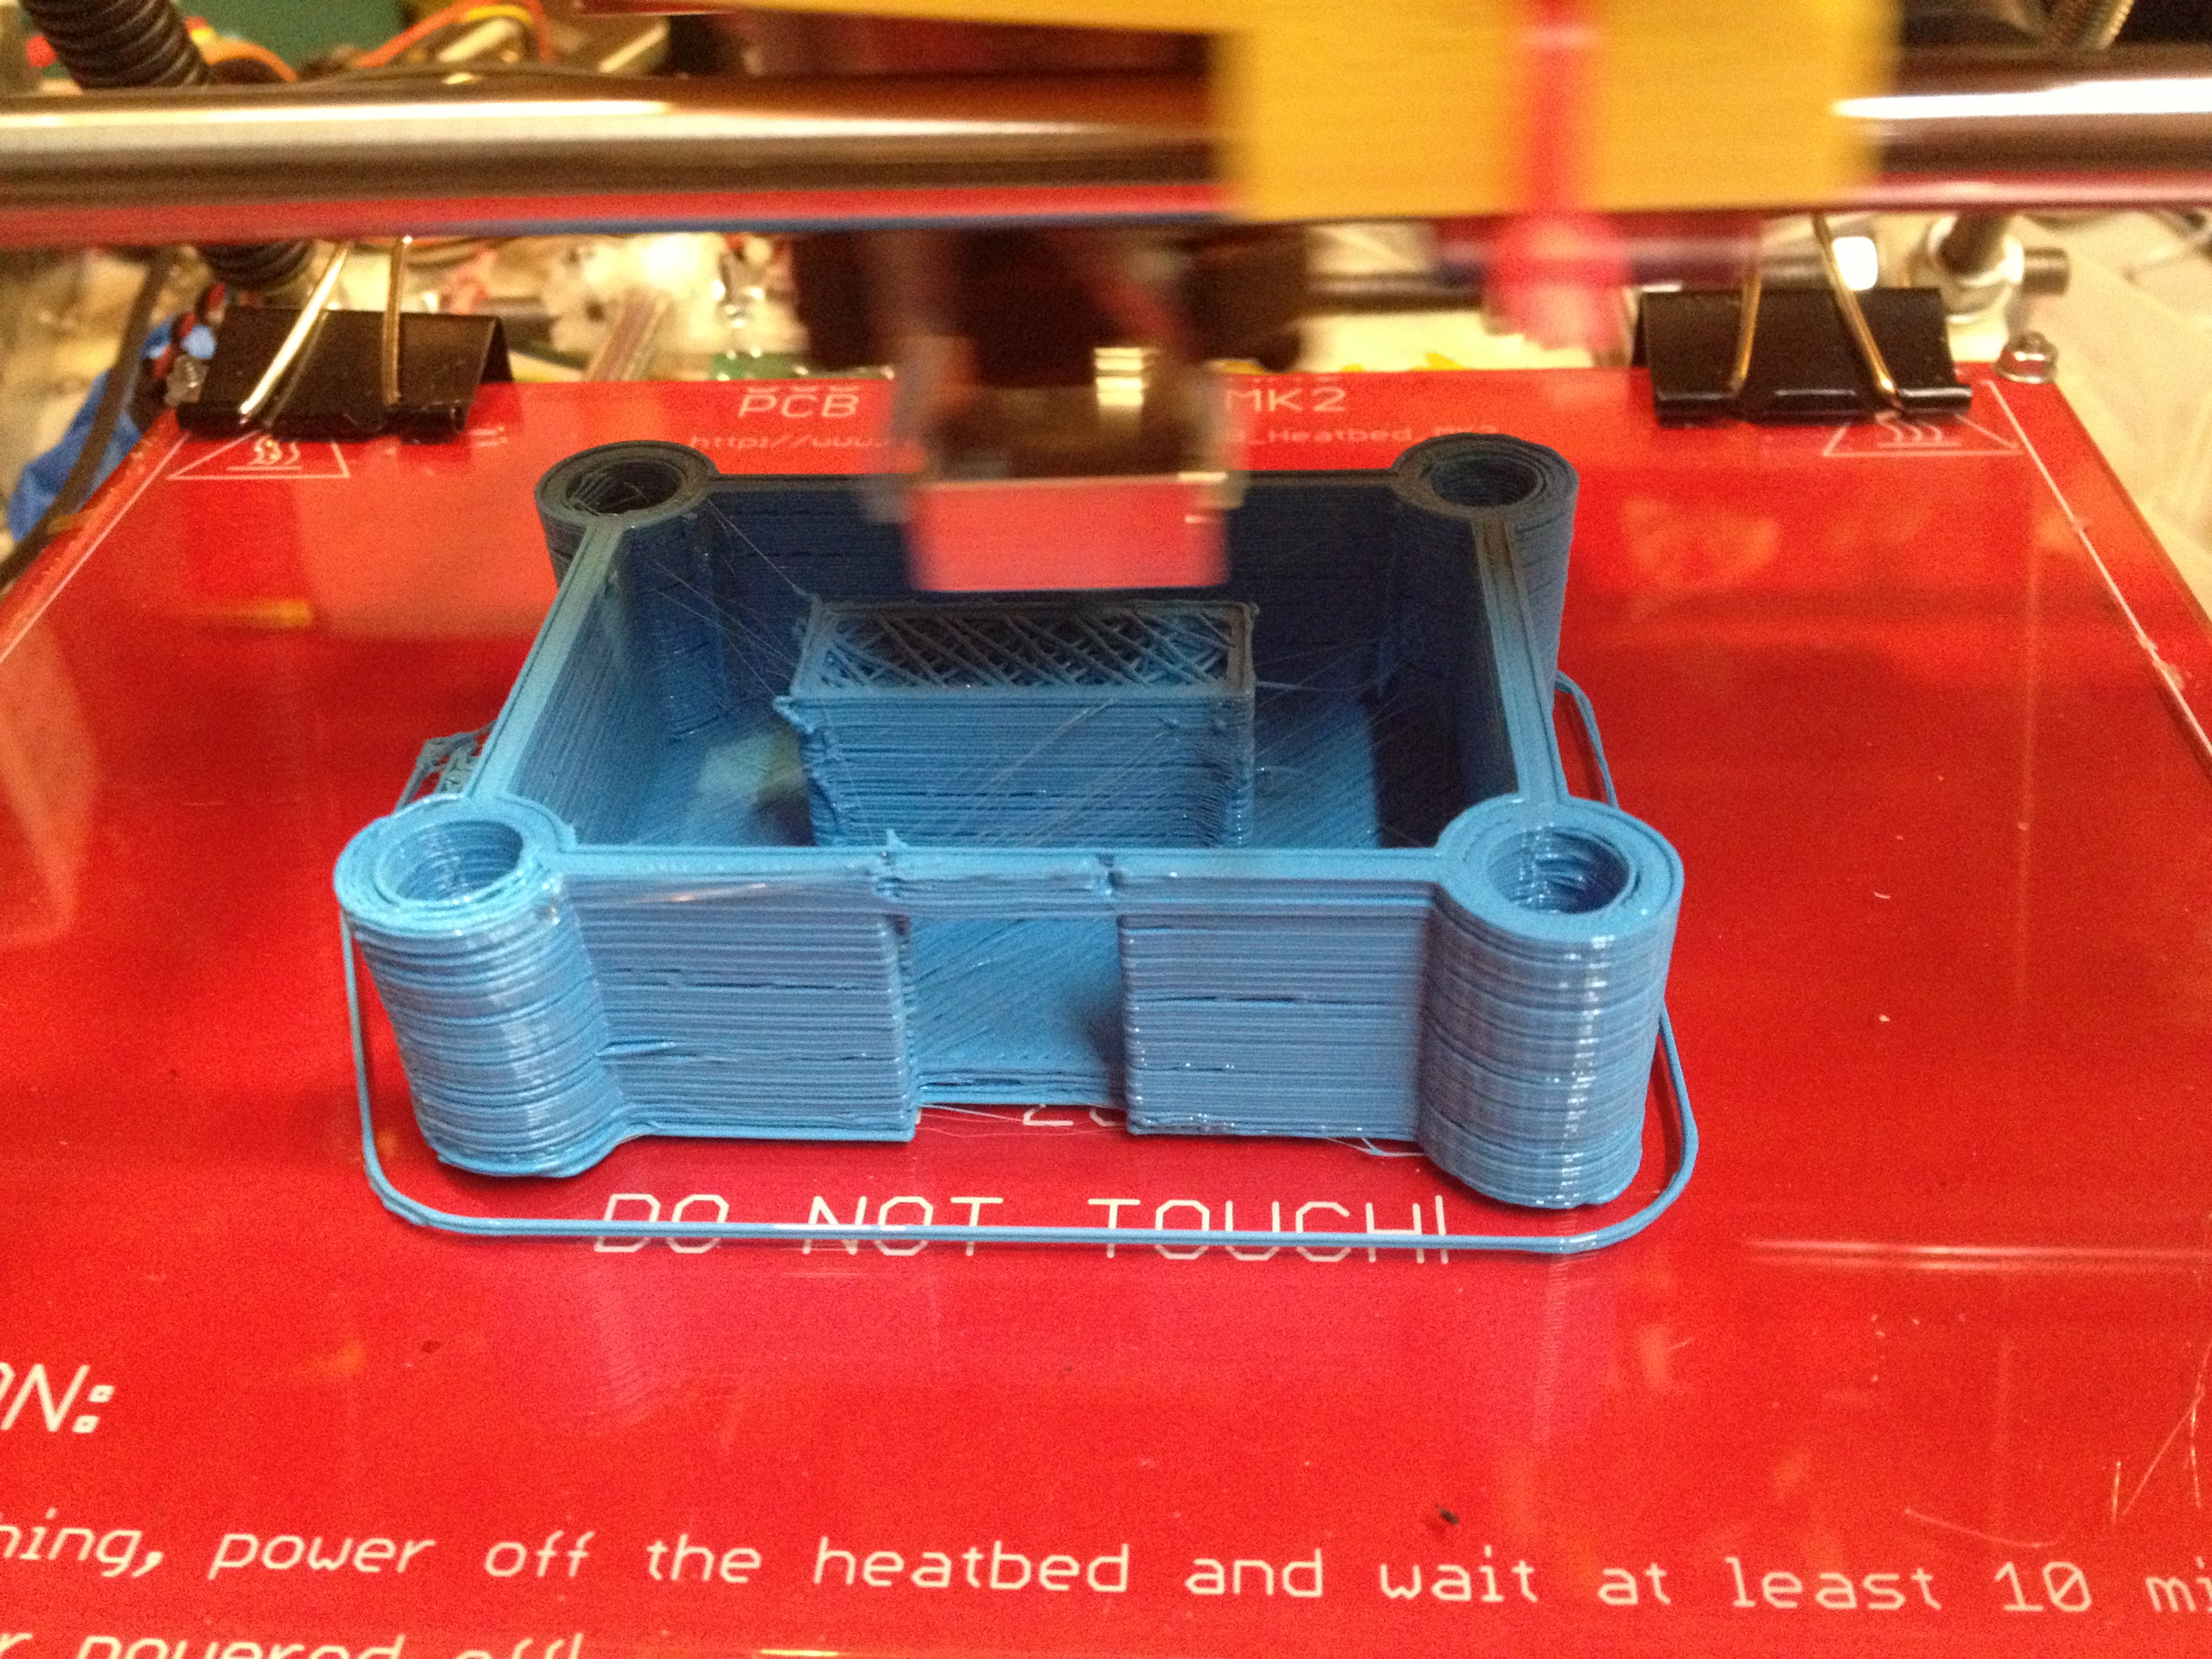
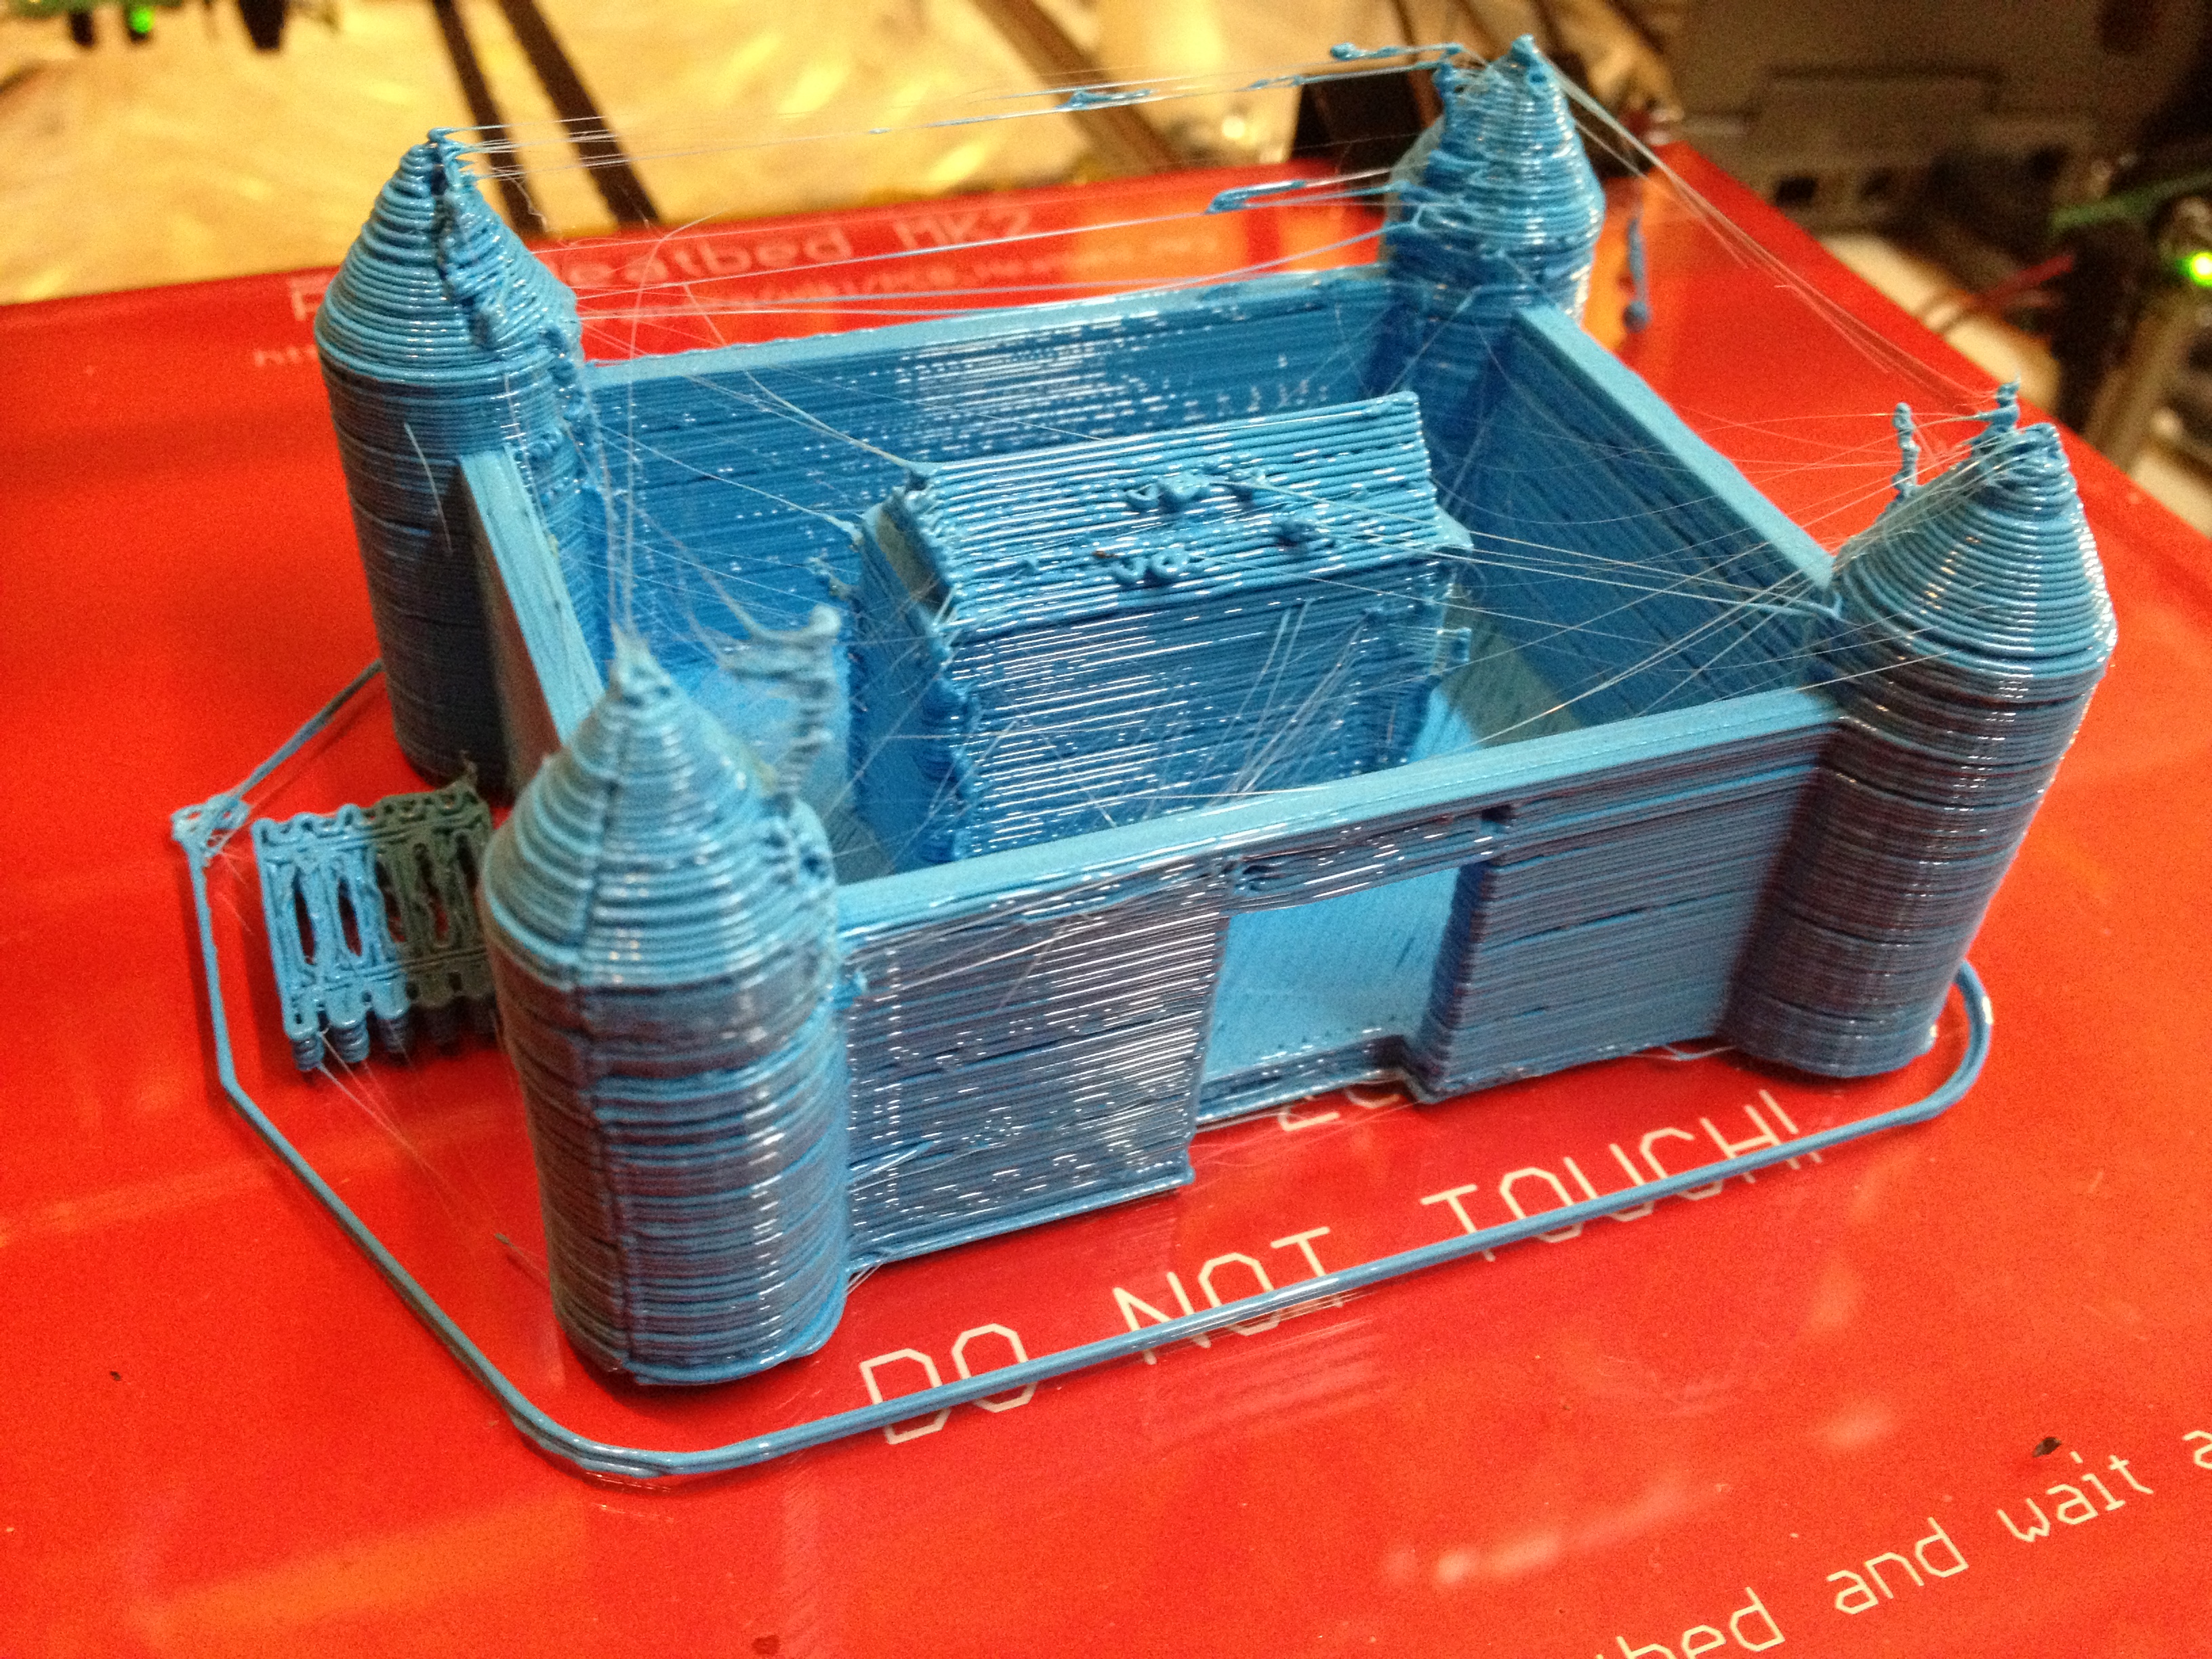
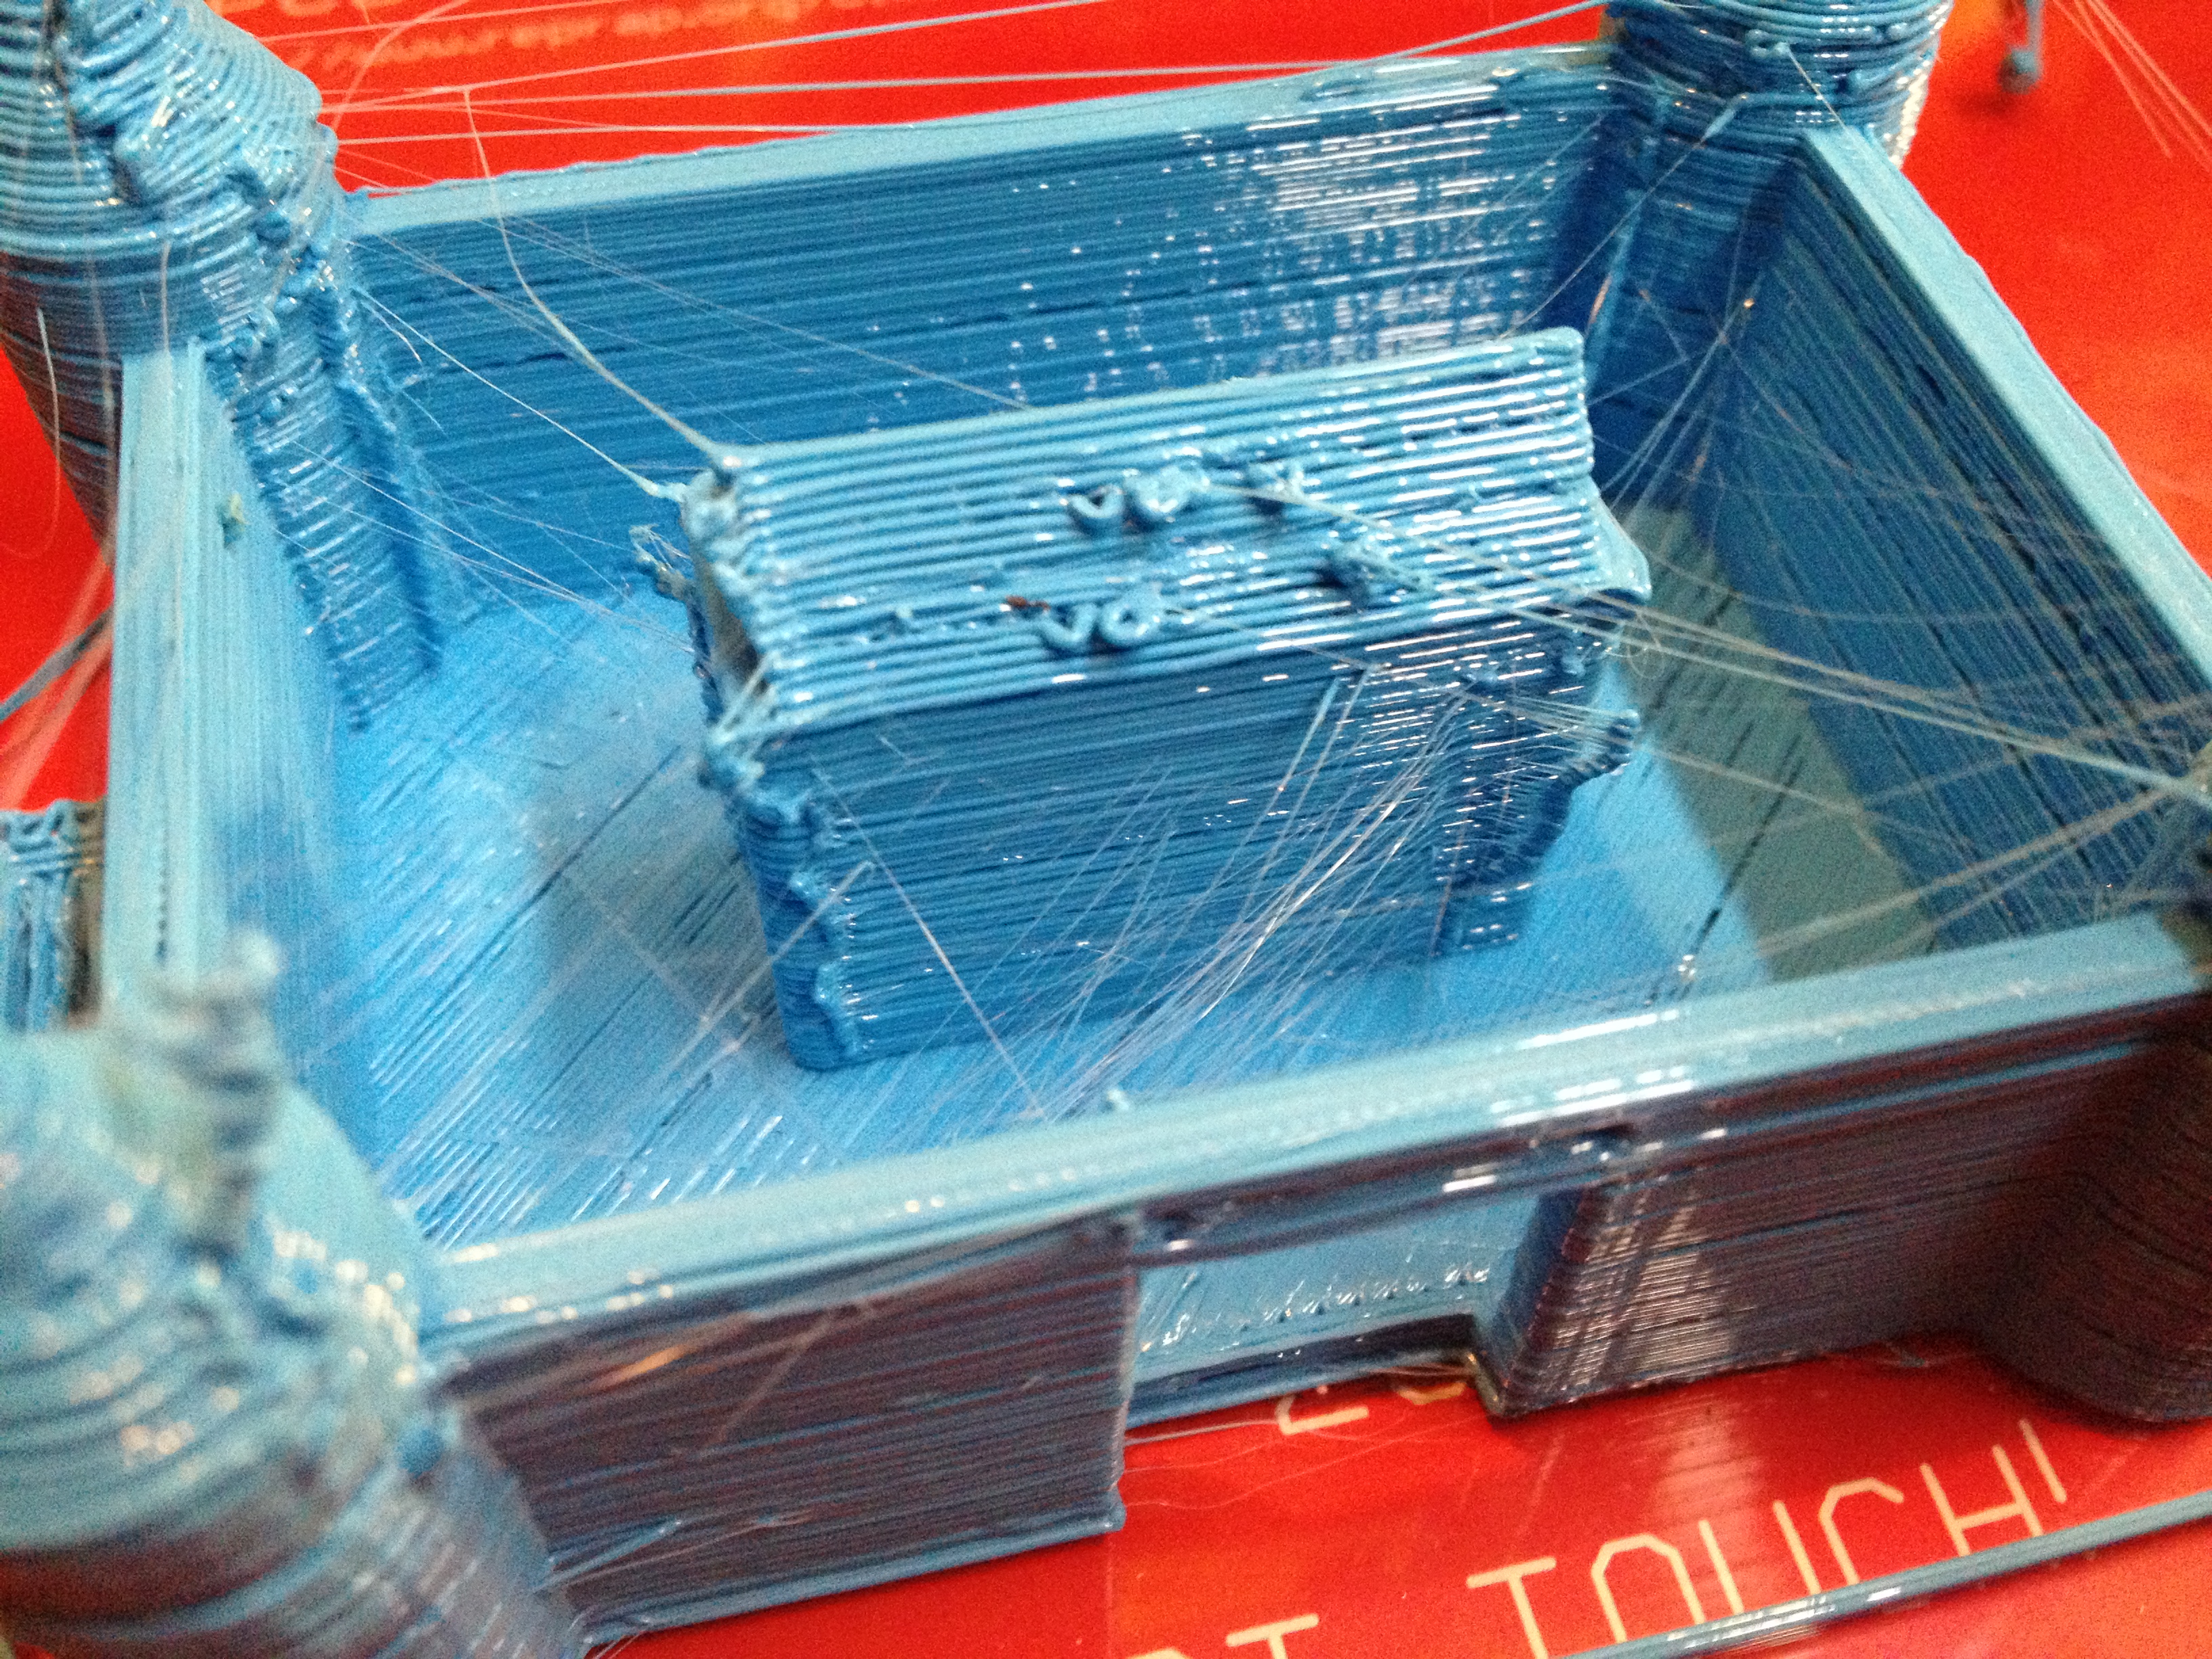
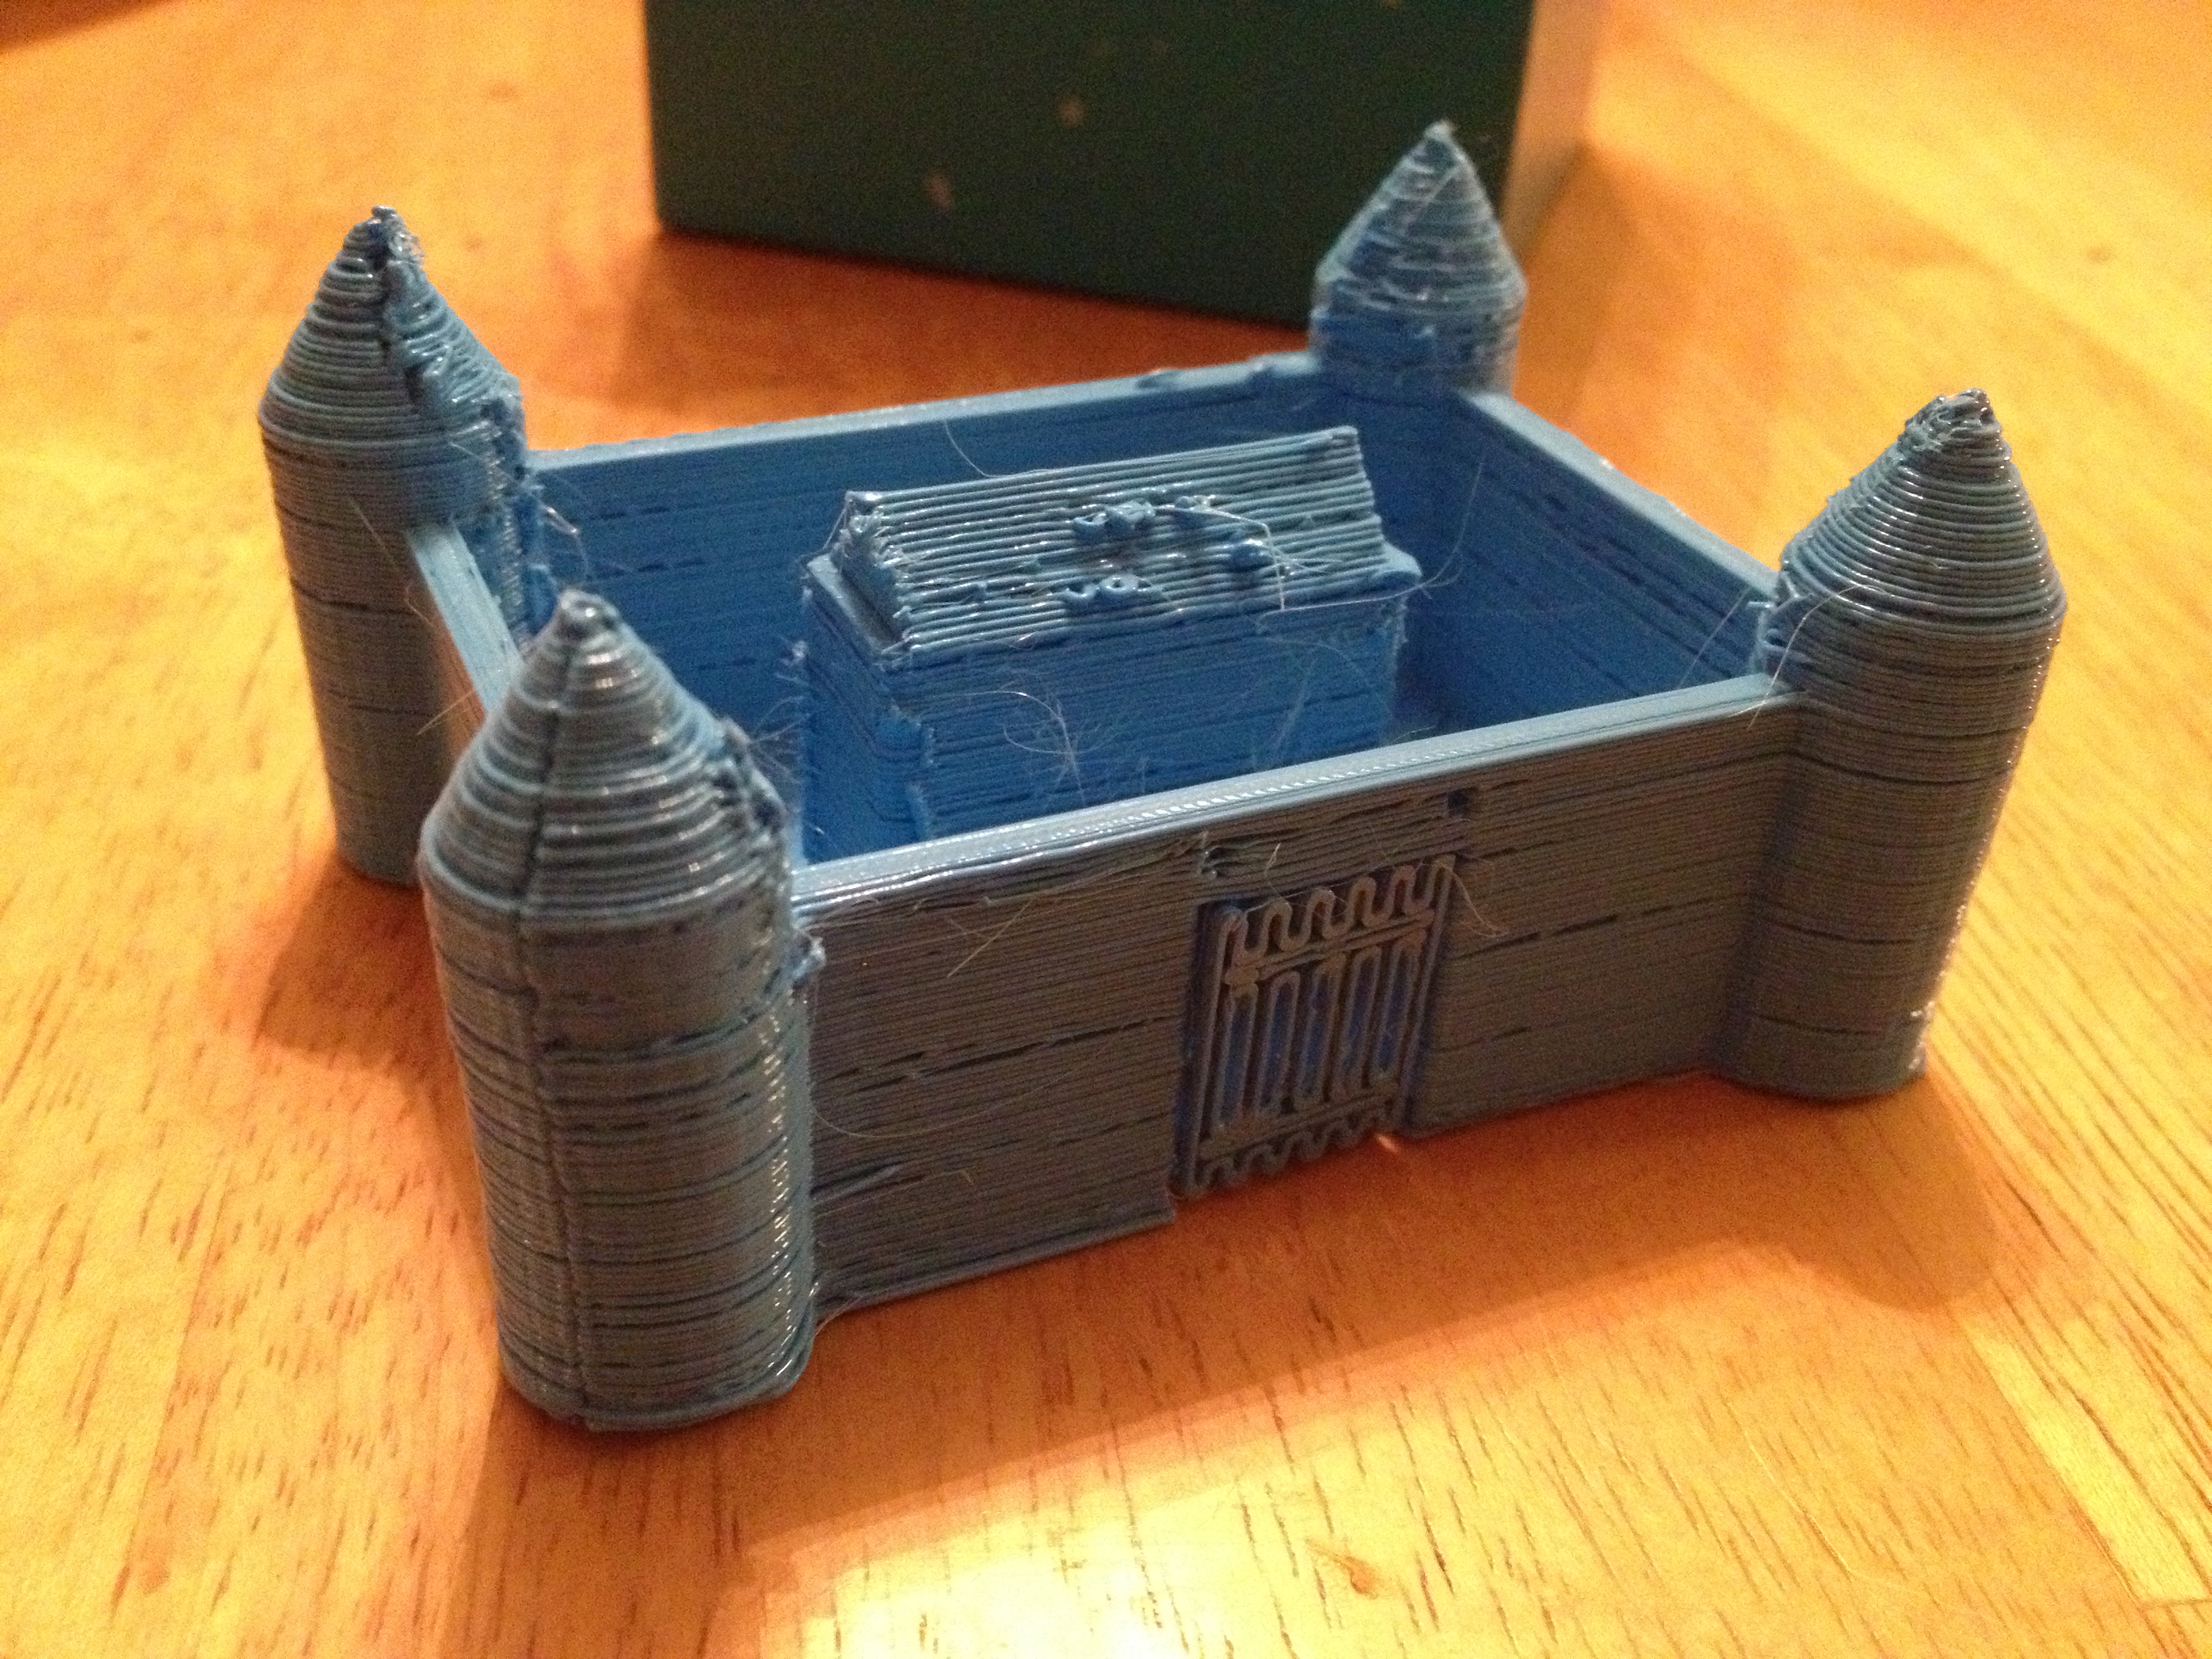
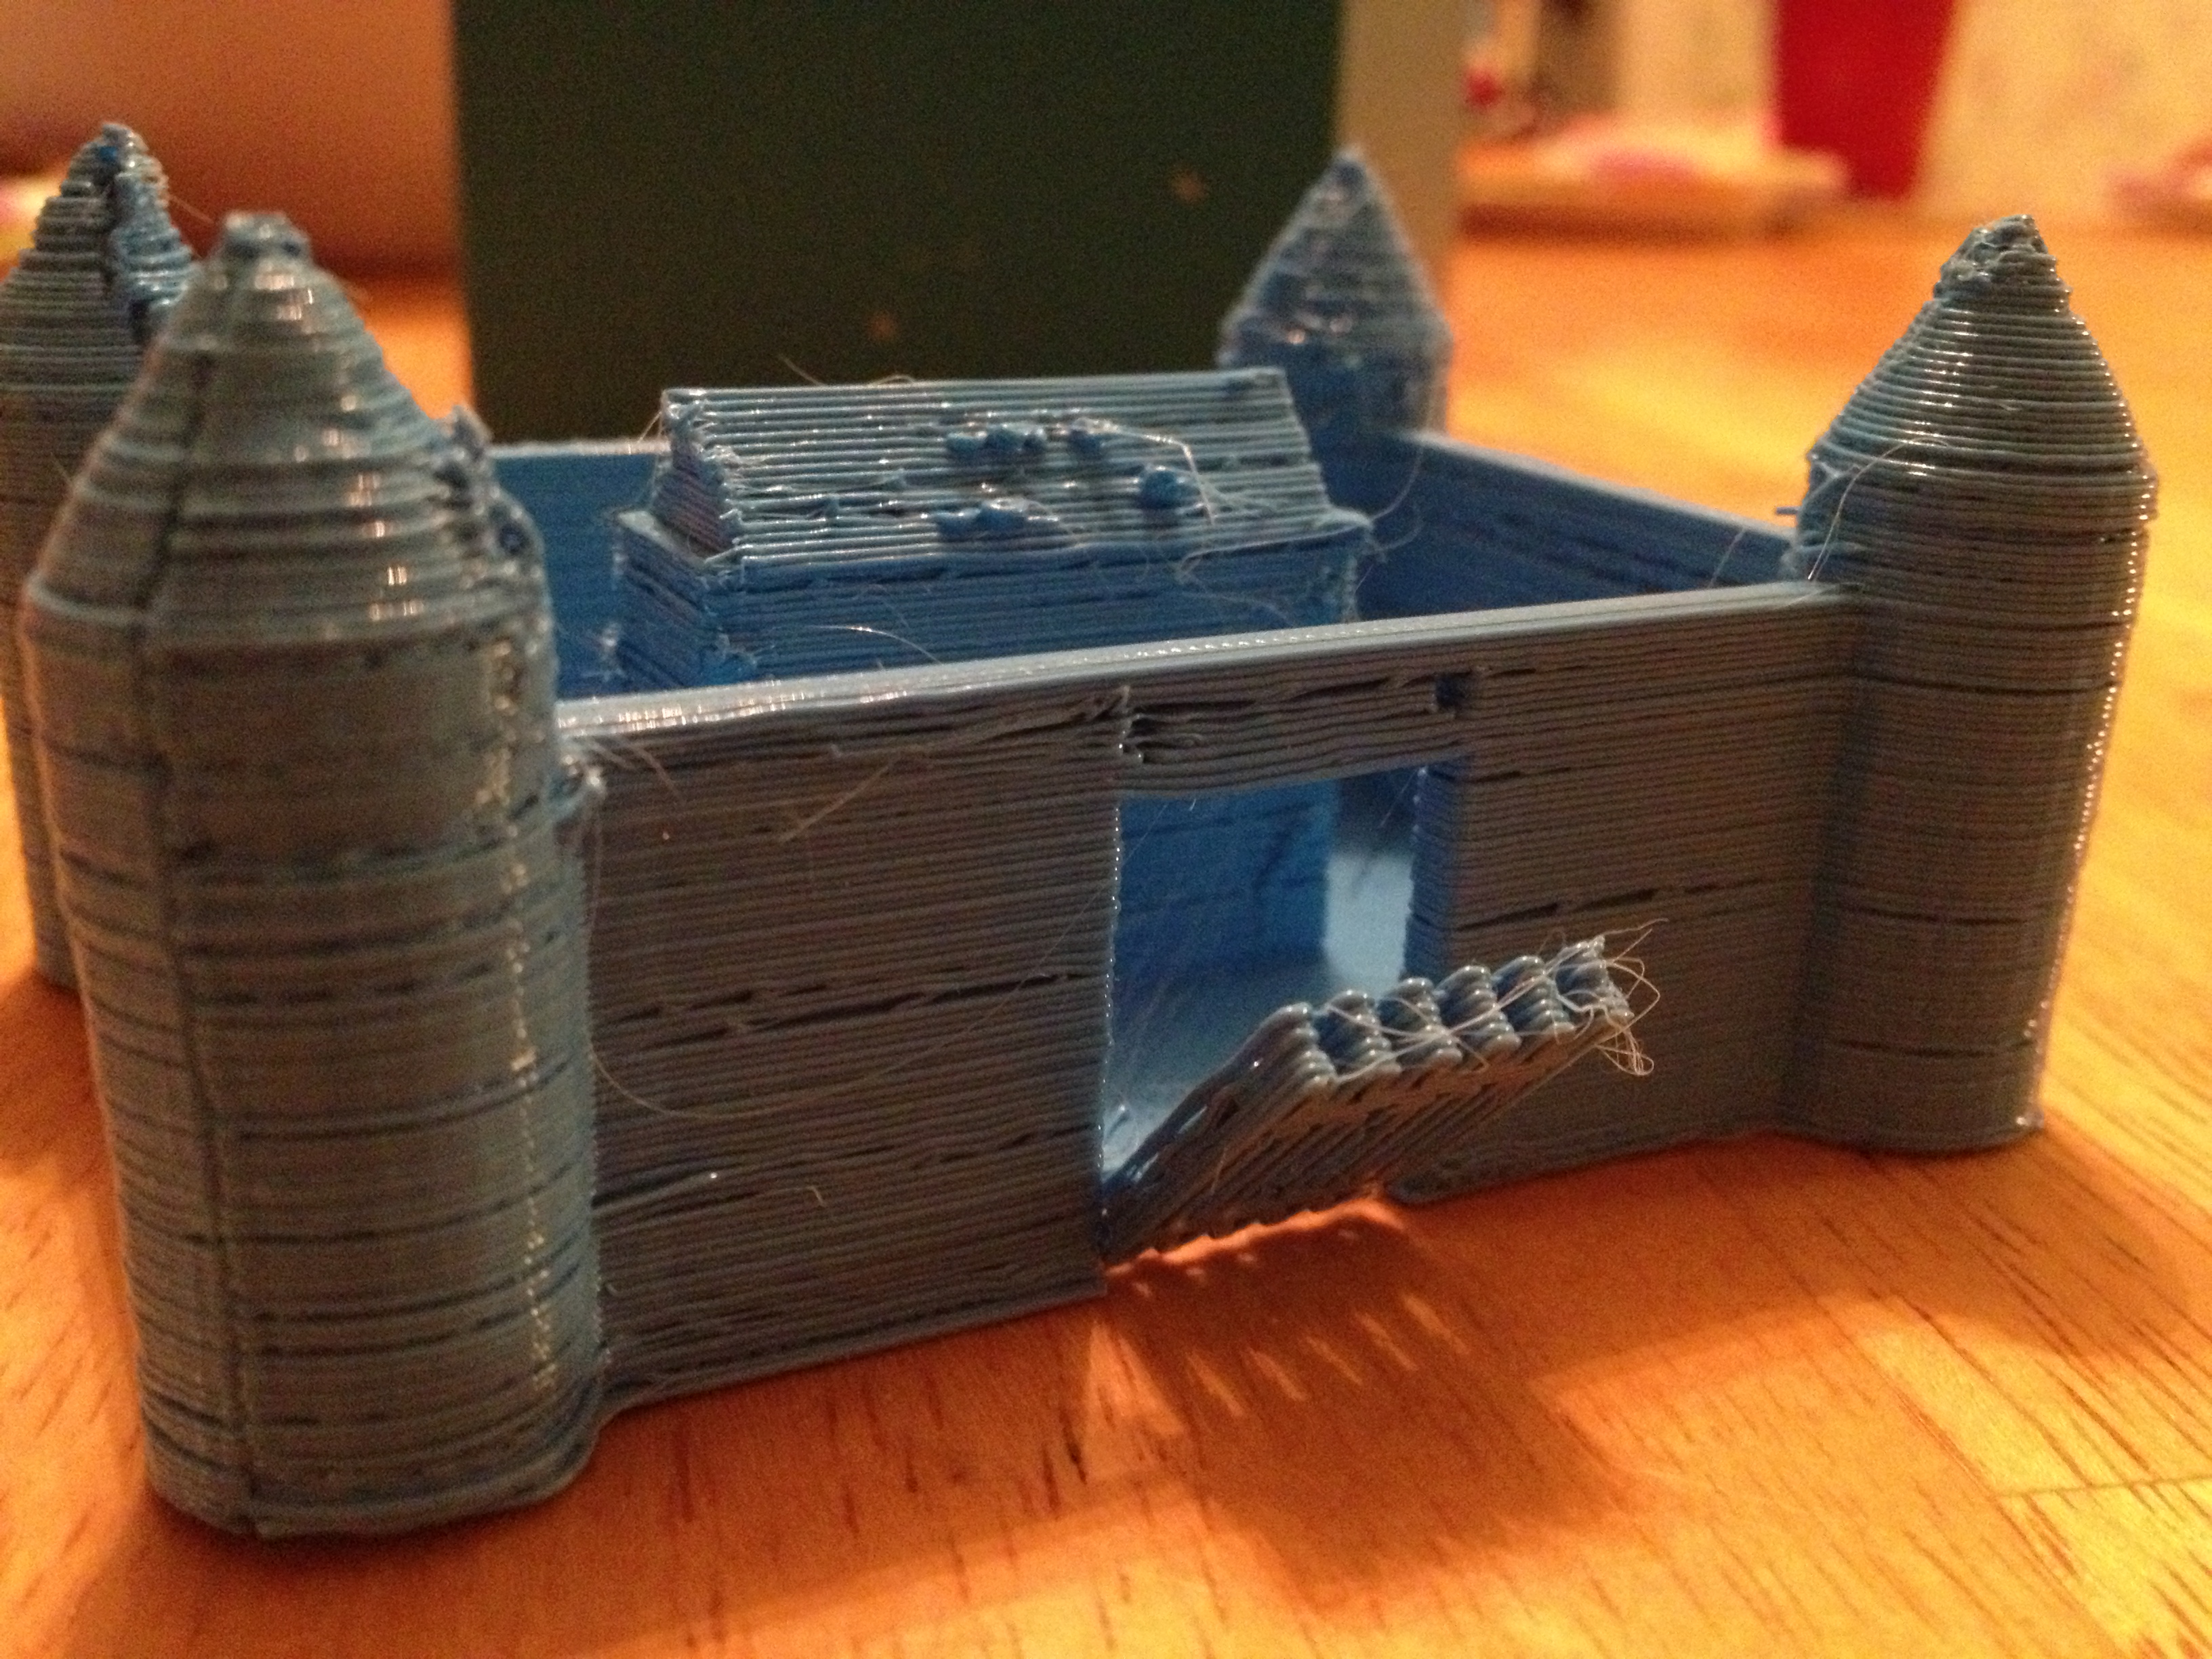
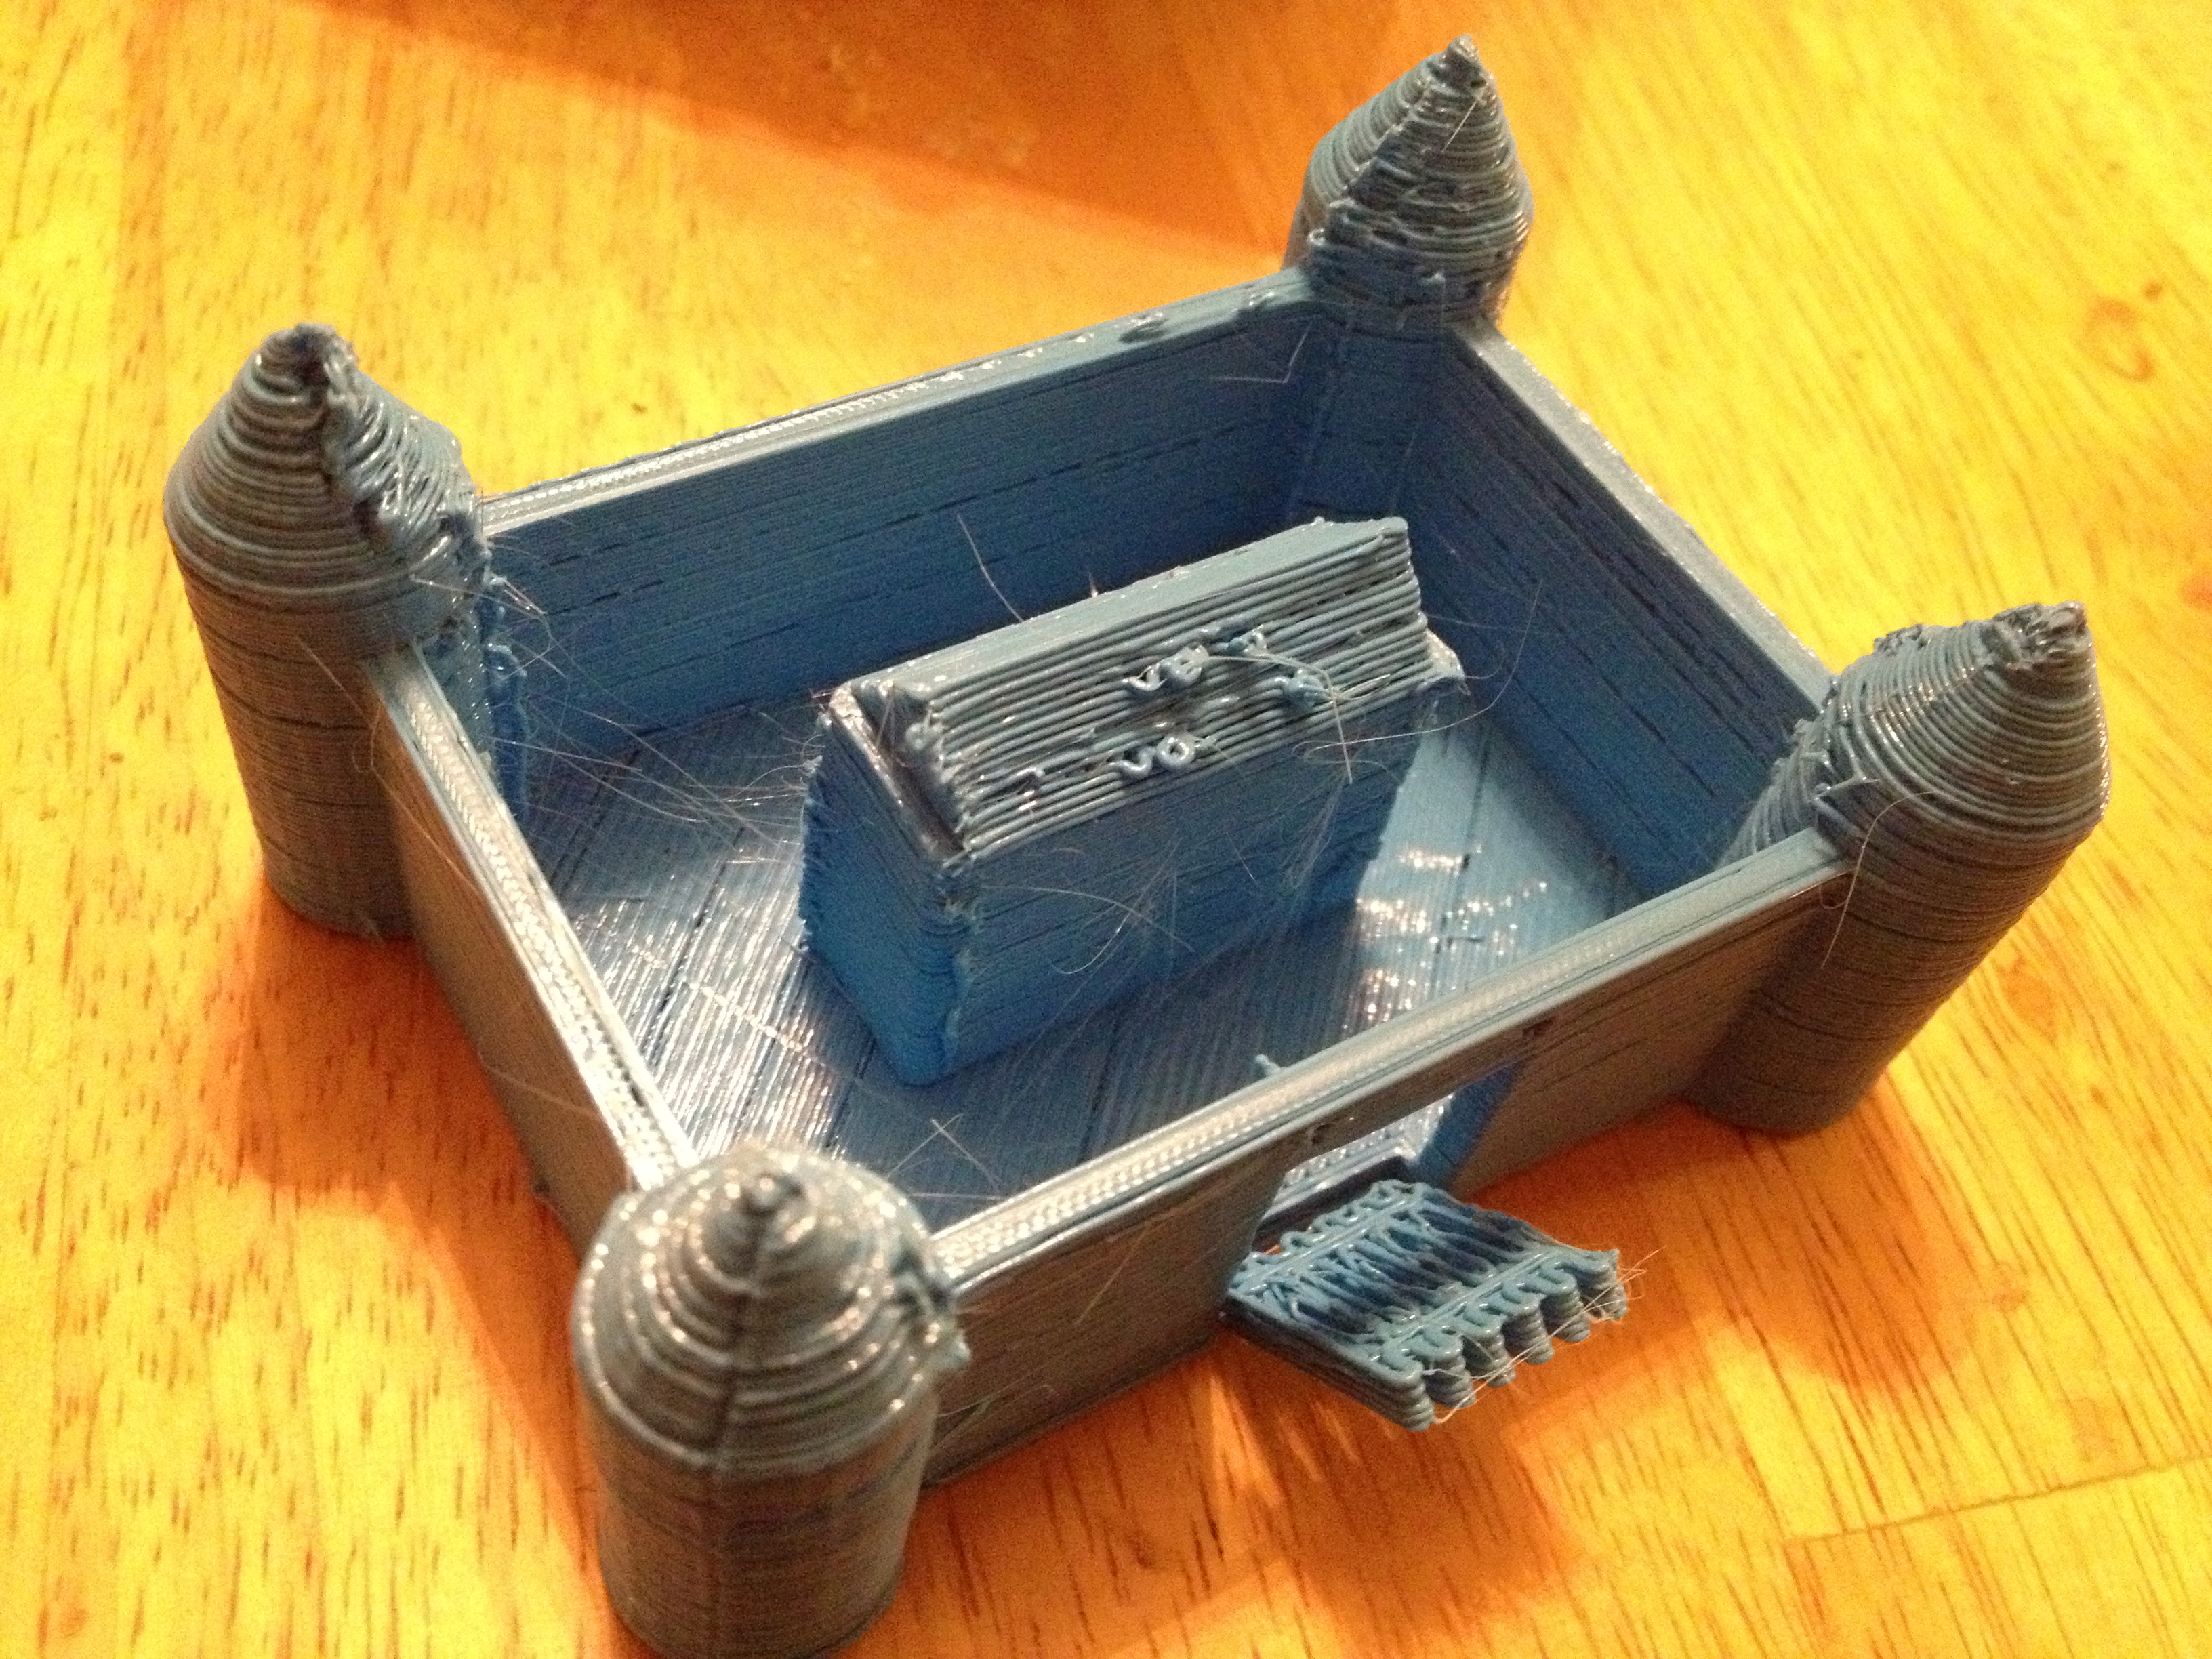
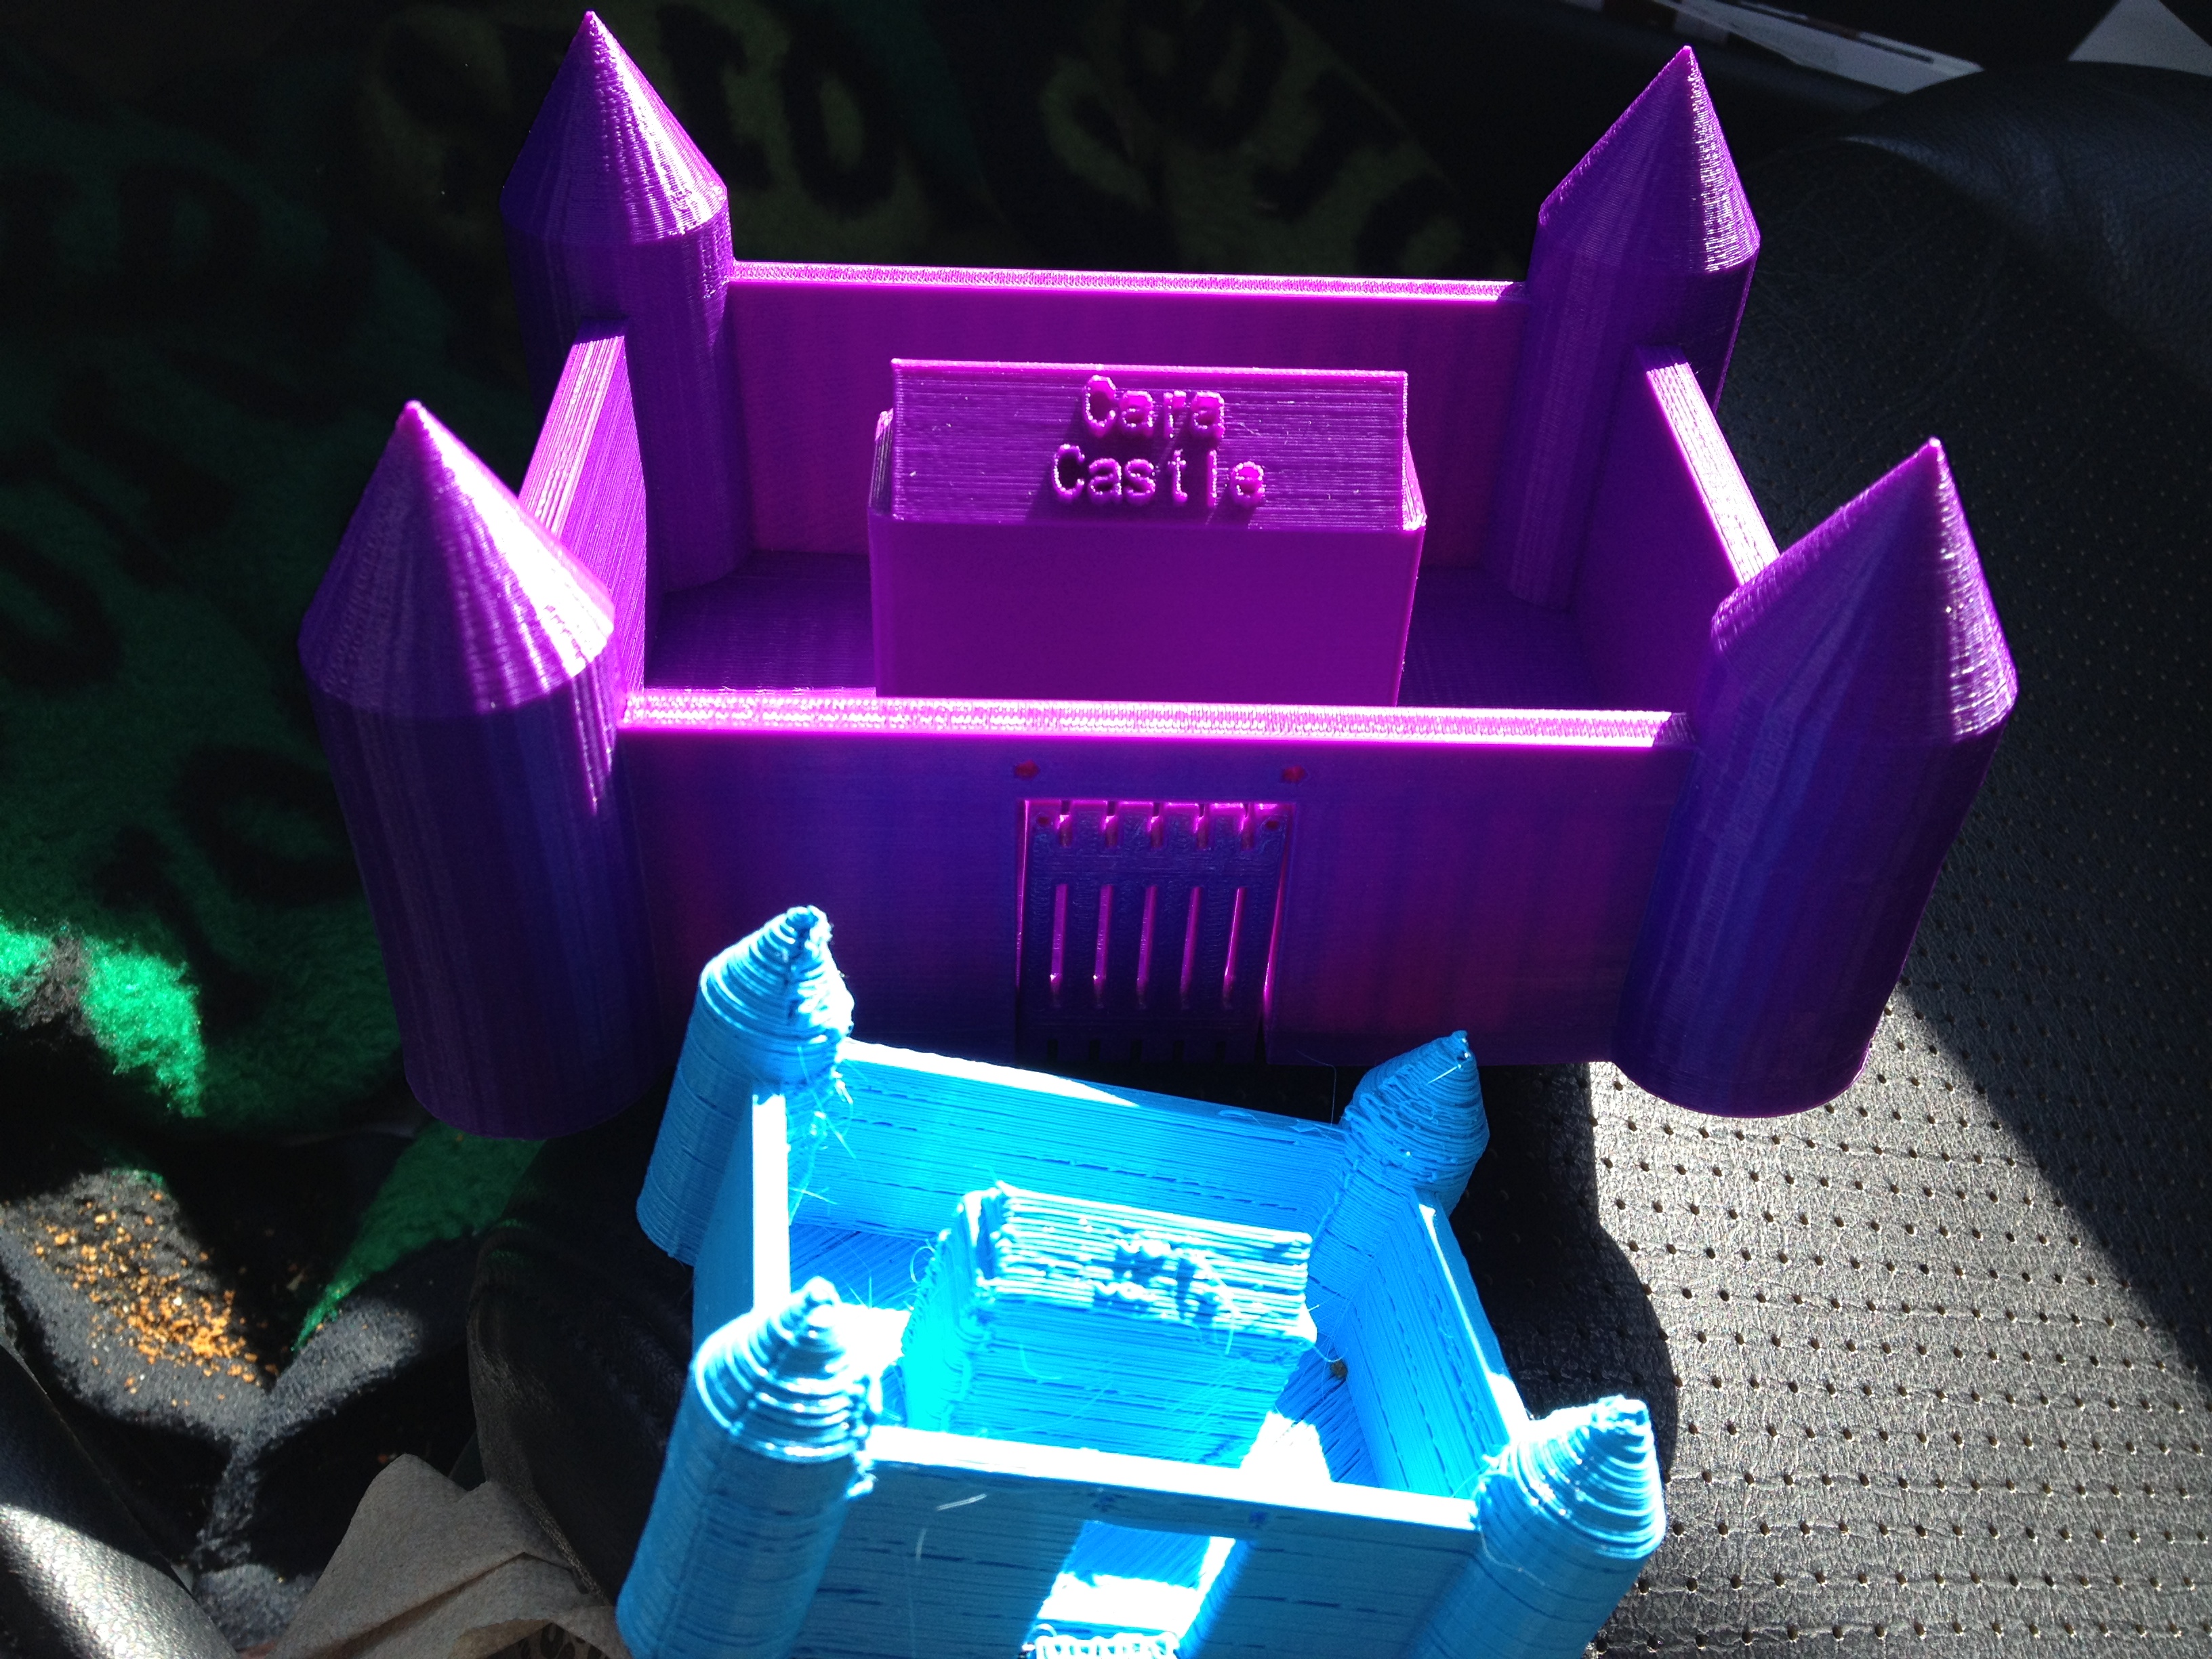
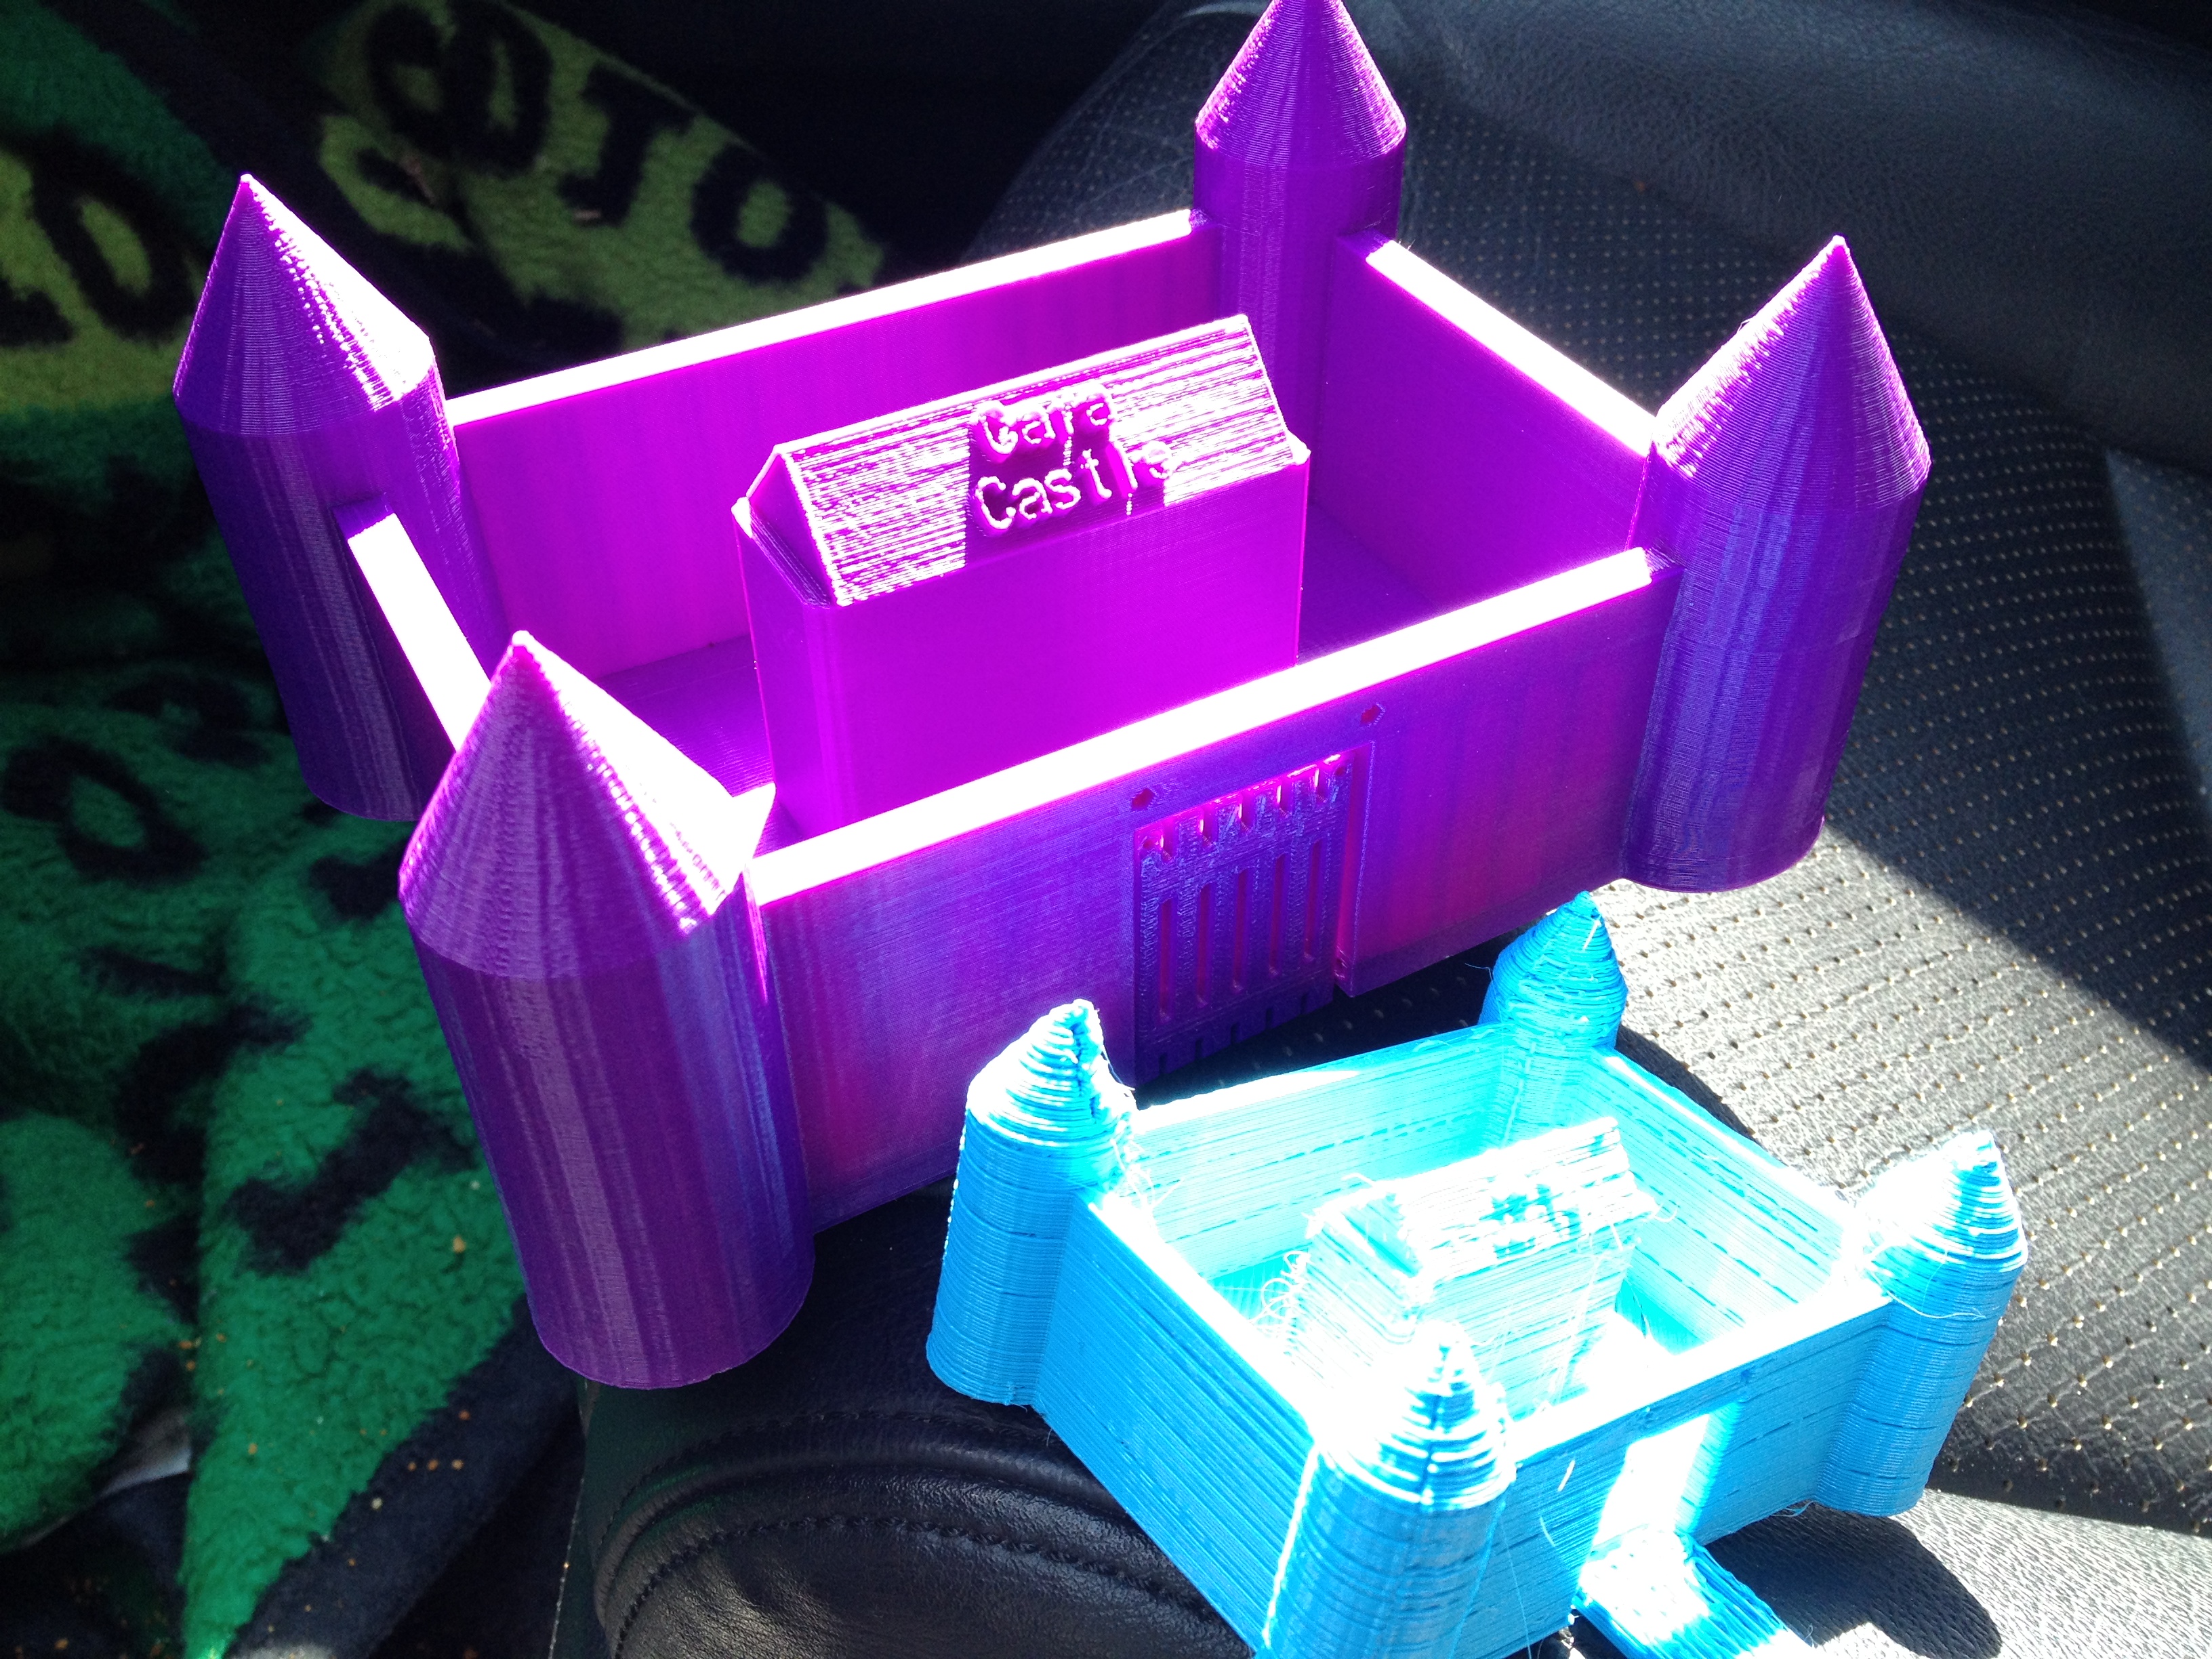
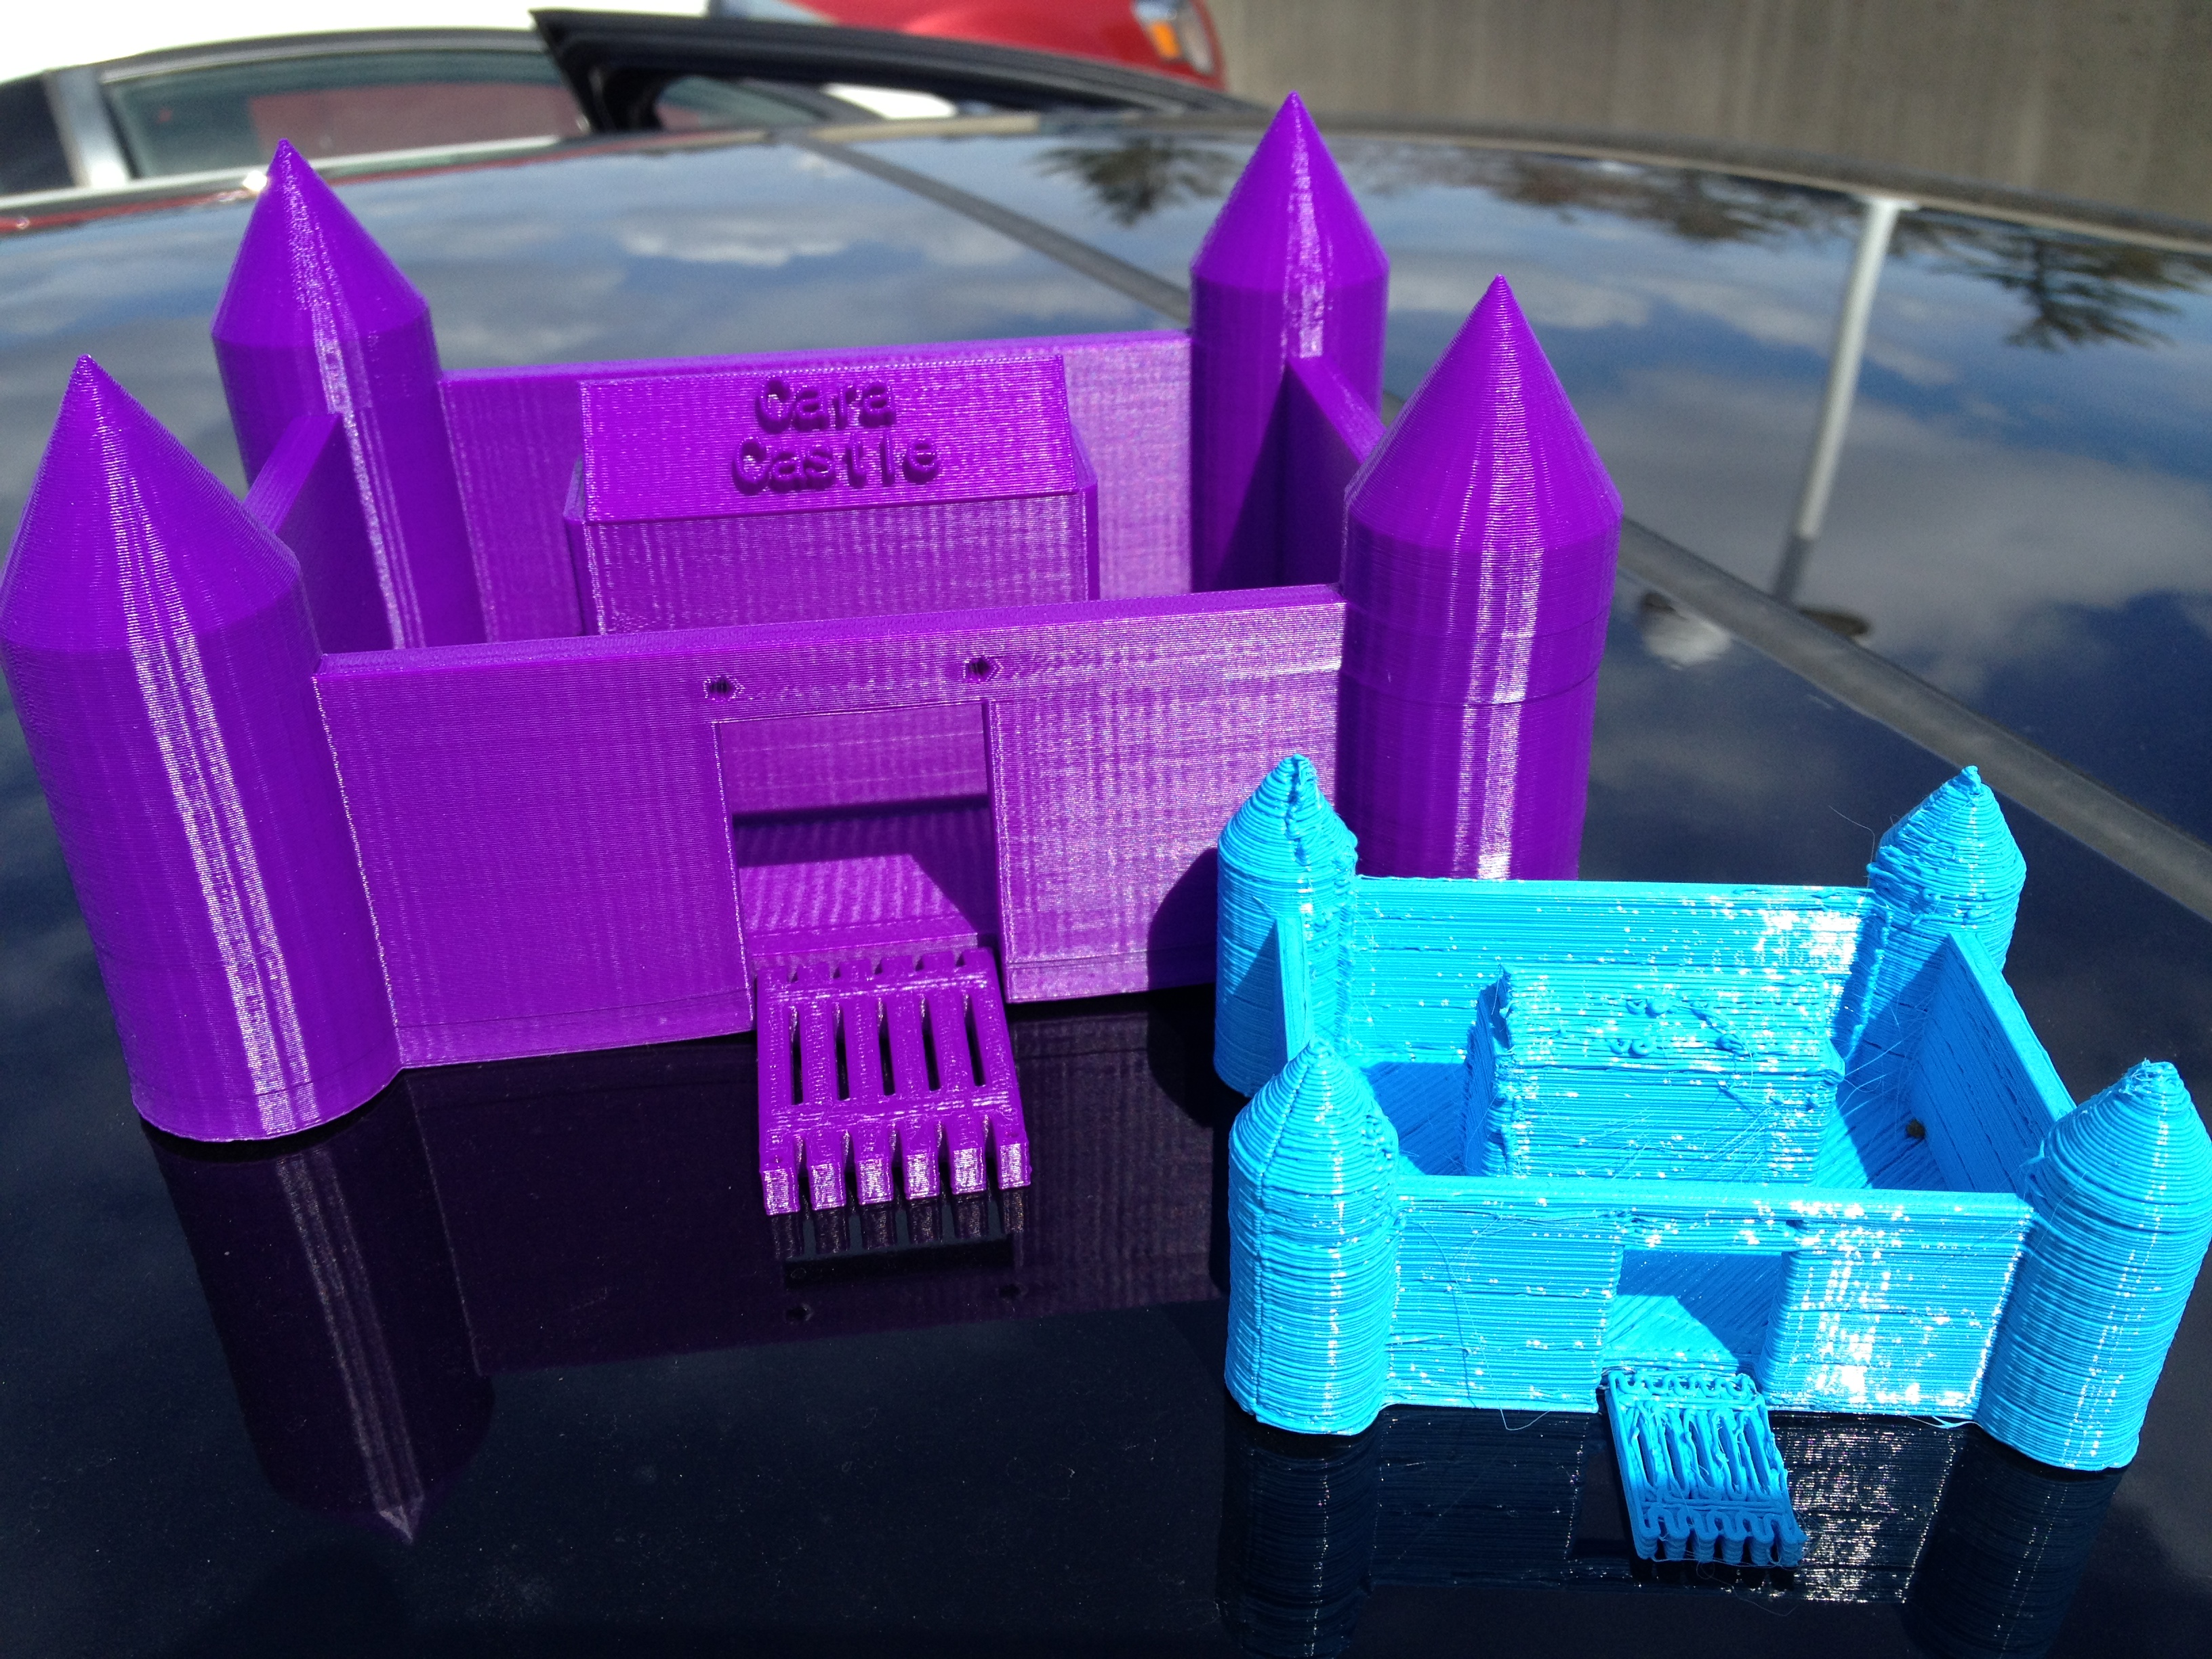
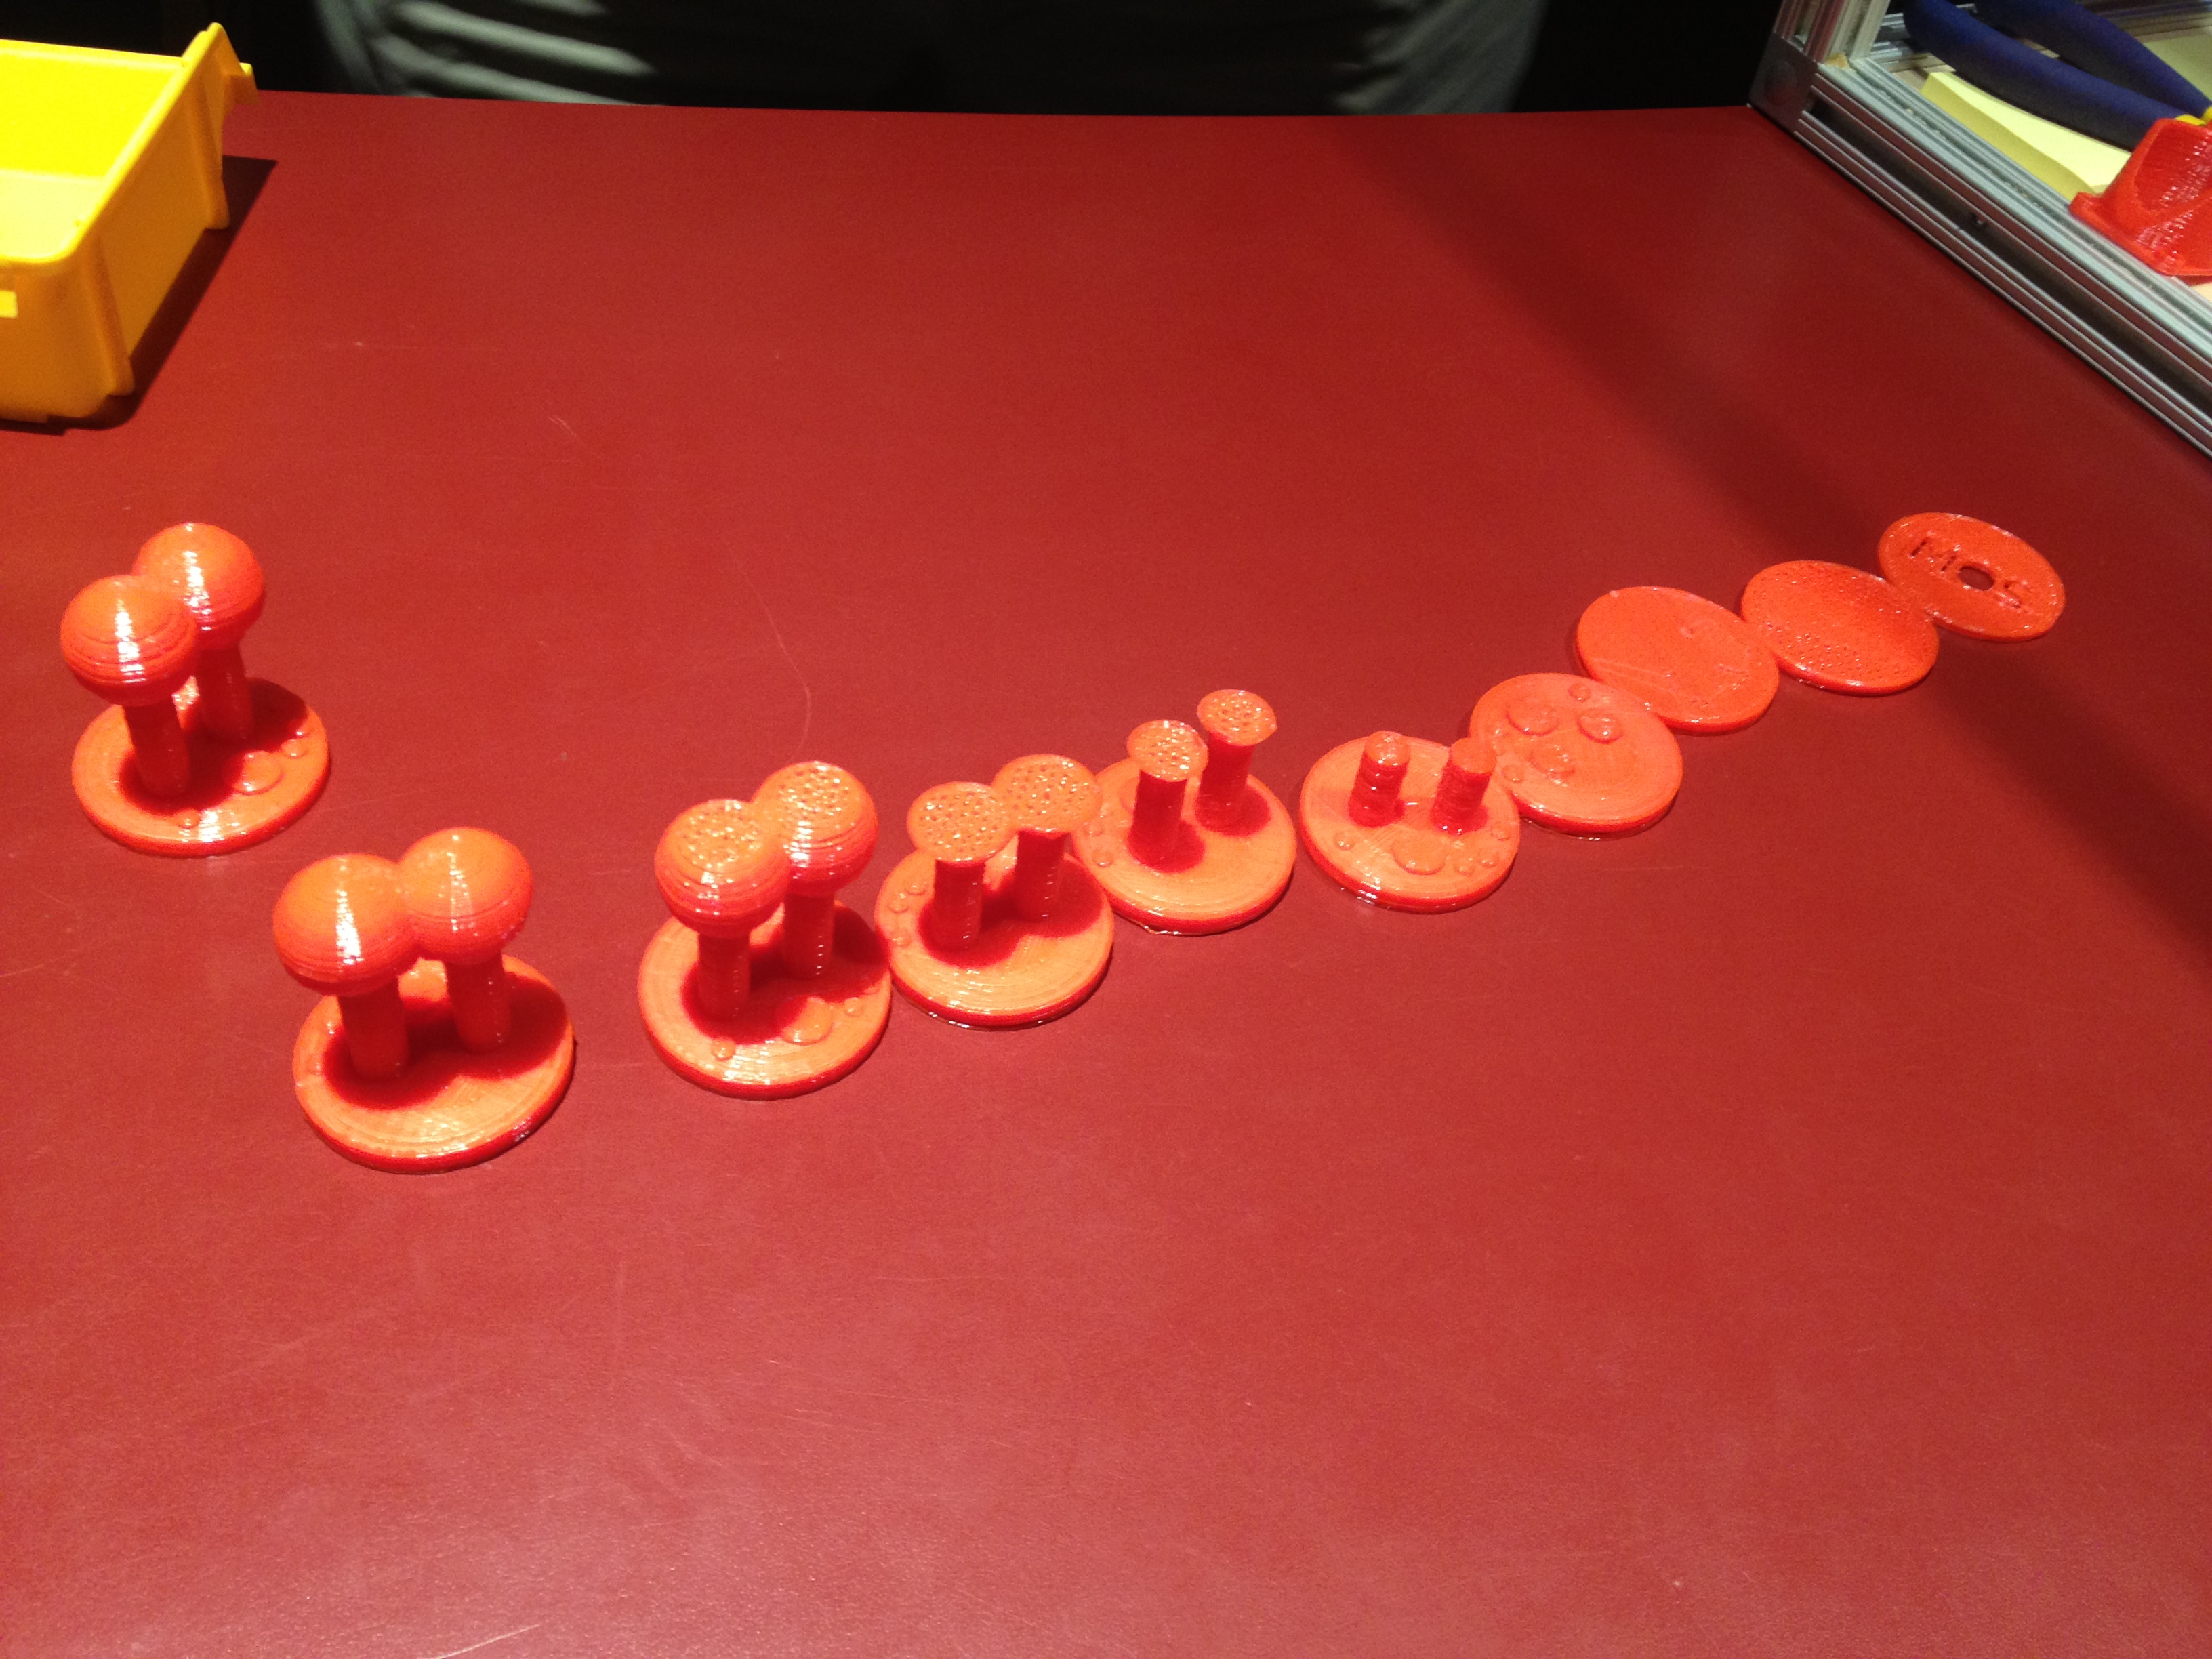
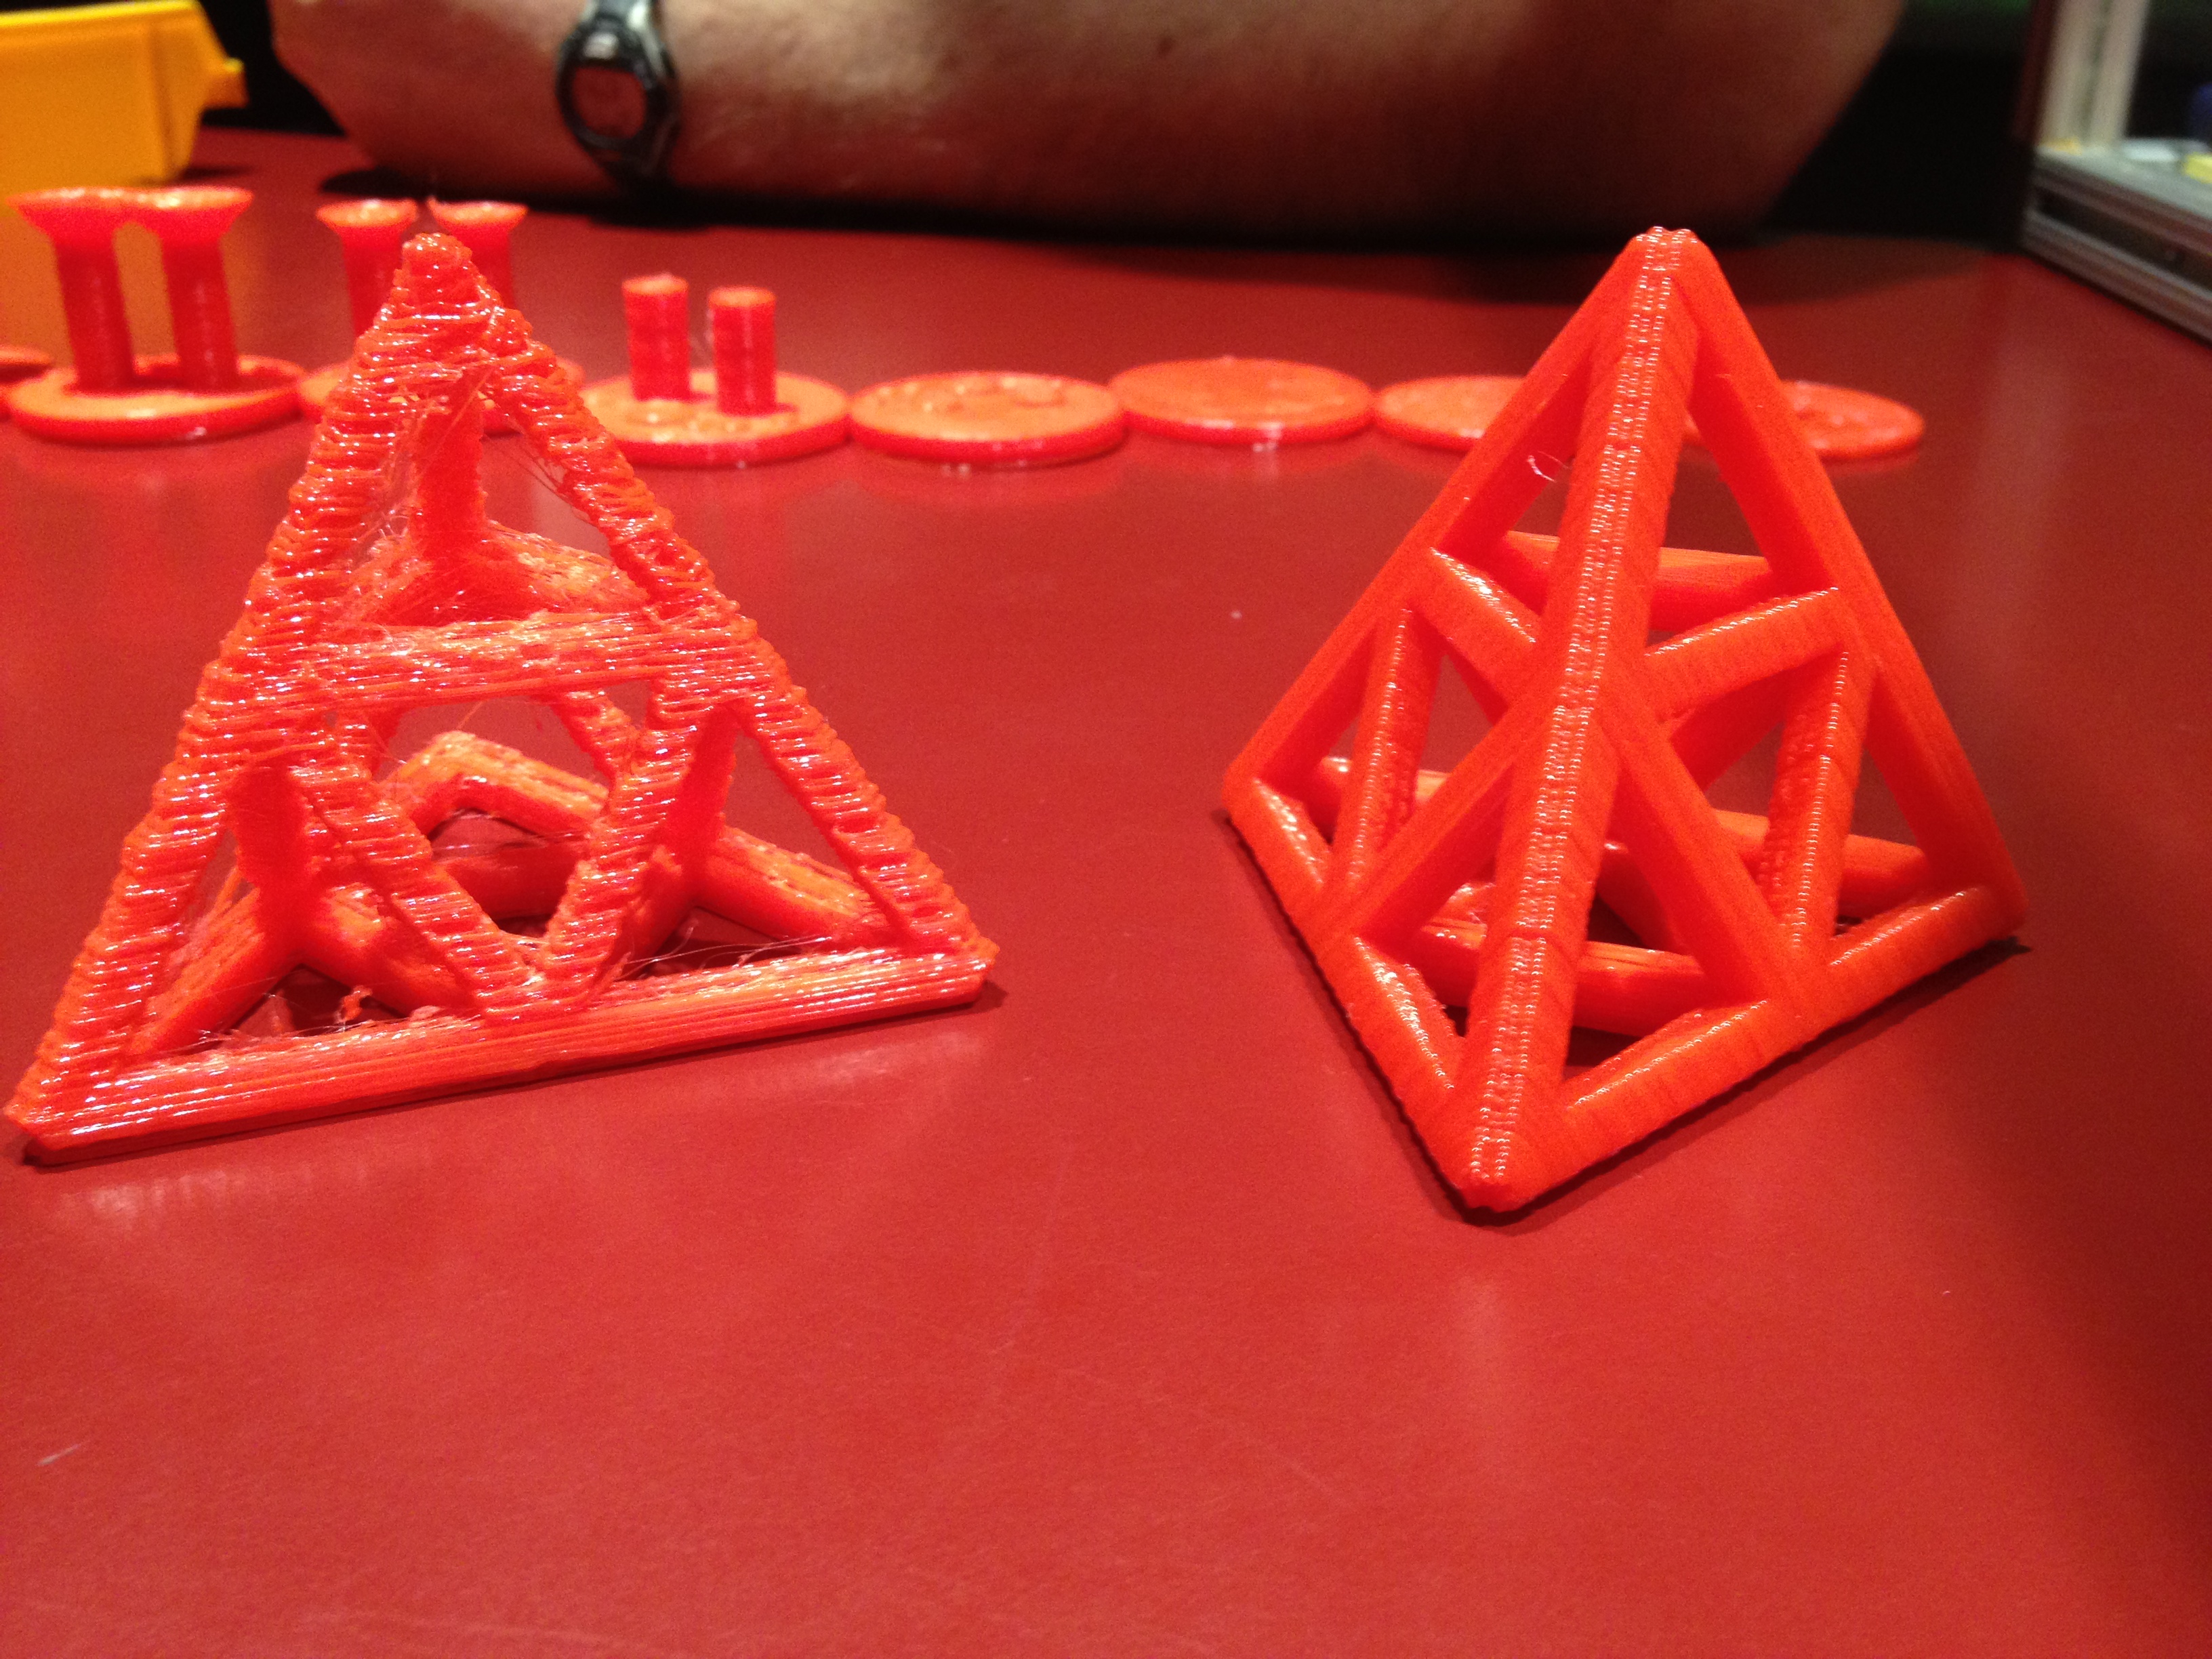
…so they used it as an example of showing what parts look like partially printed, by making this series of prints (interrupted at different layers):

IMG_3752

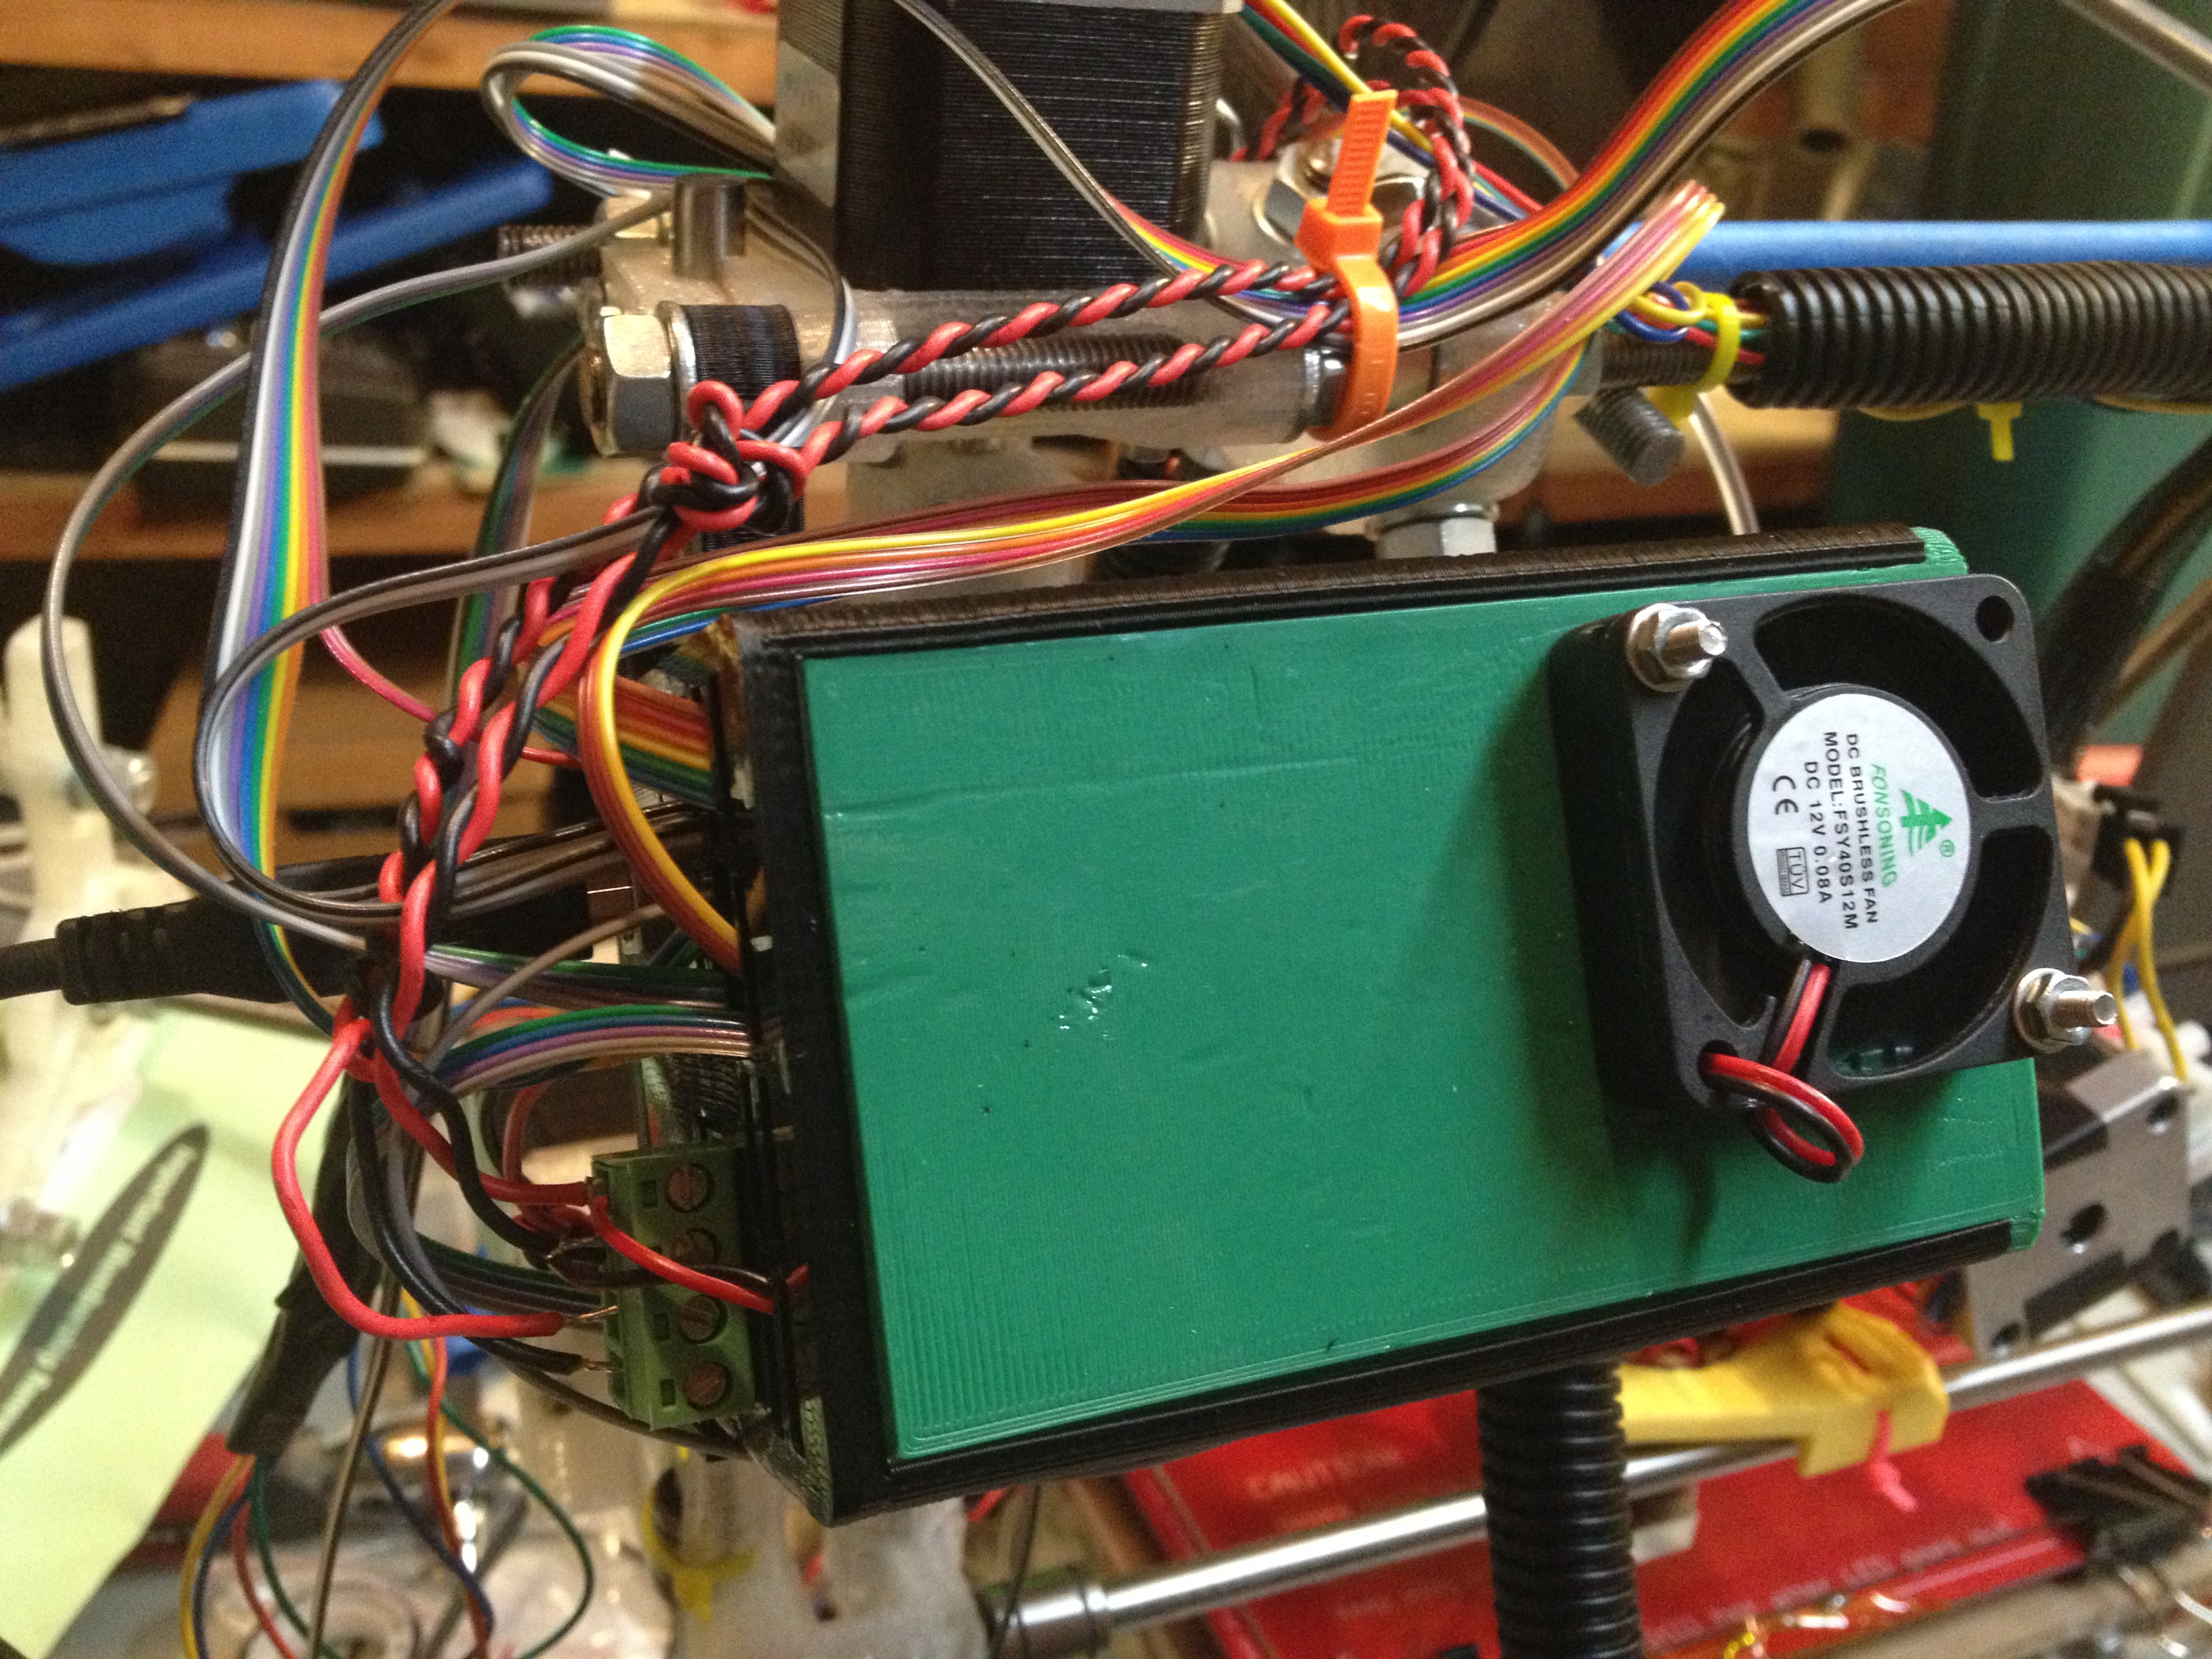
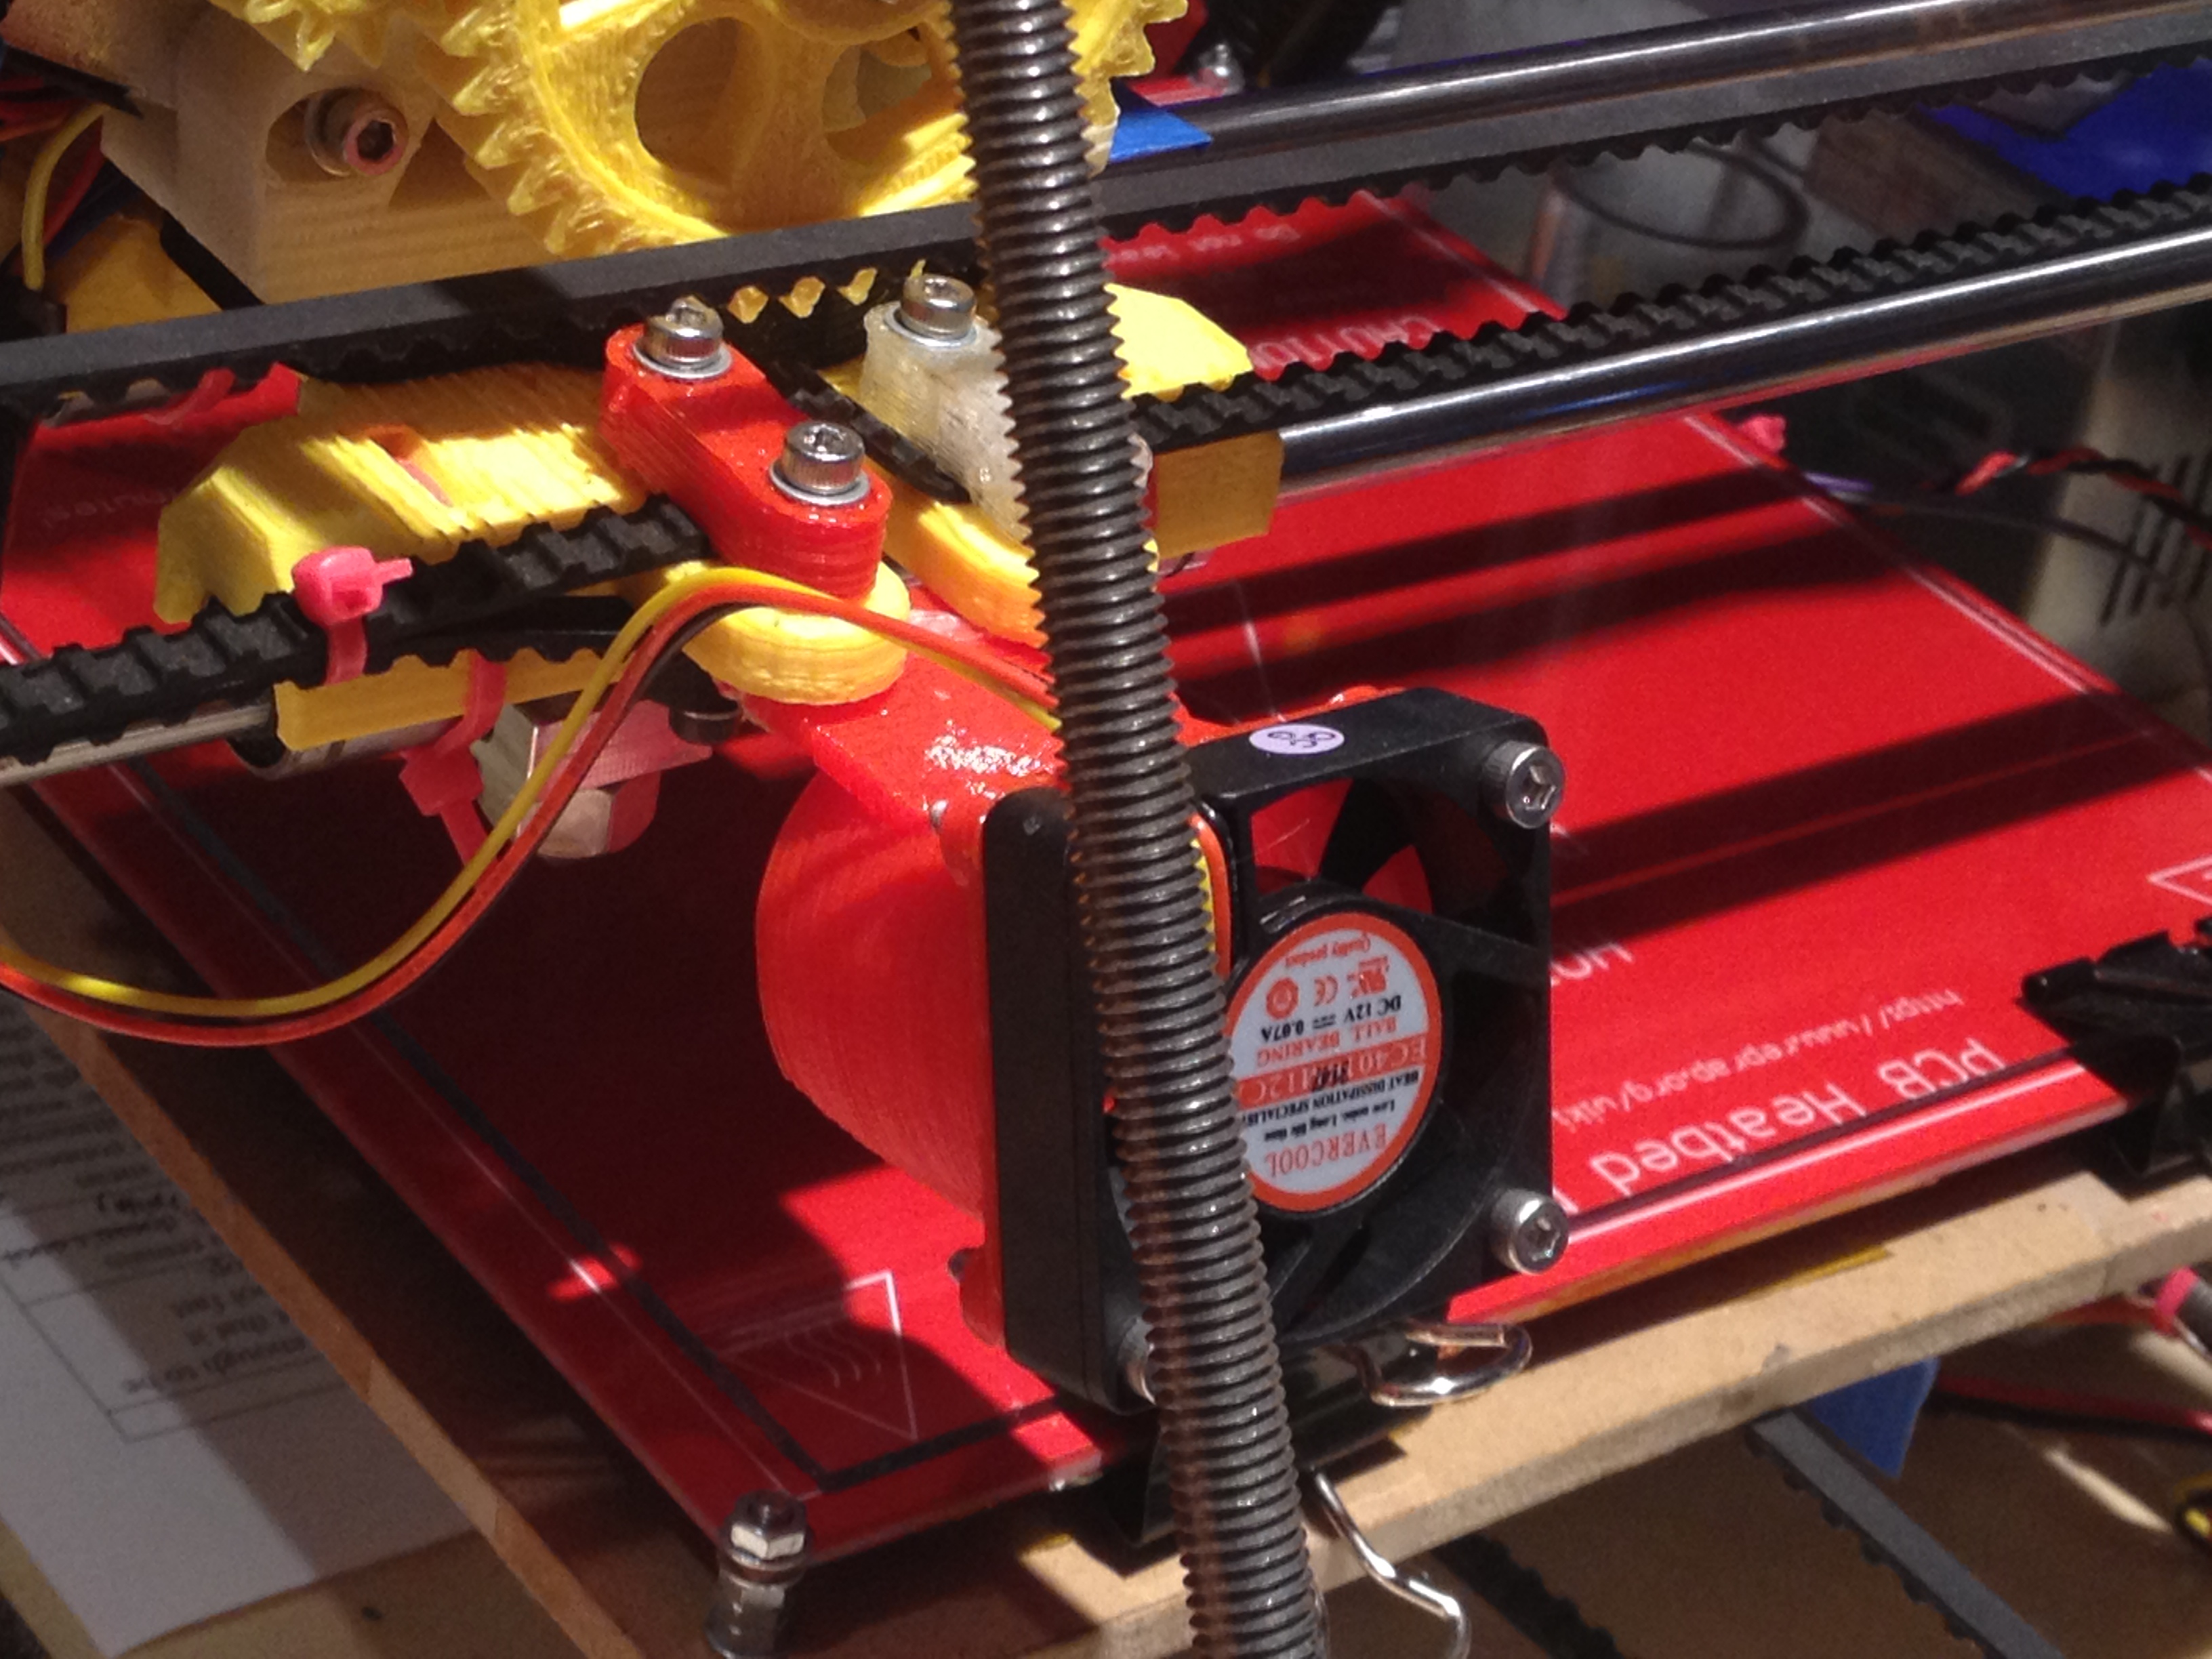
They also had added a fan:

IMG_3743

and had an example of an object (a pen holder) printed without a fan (left) and with a fan (right):

IMG_3754

IMG_3755

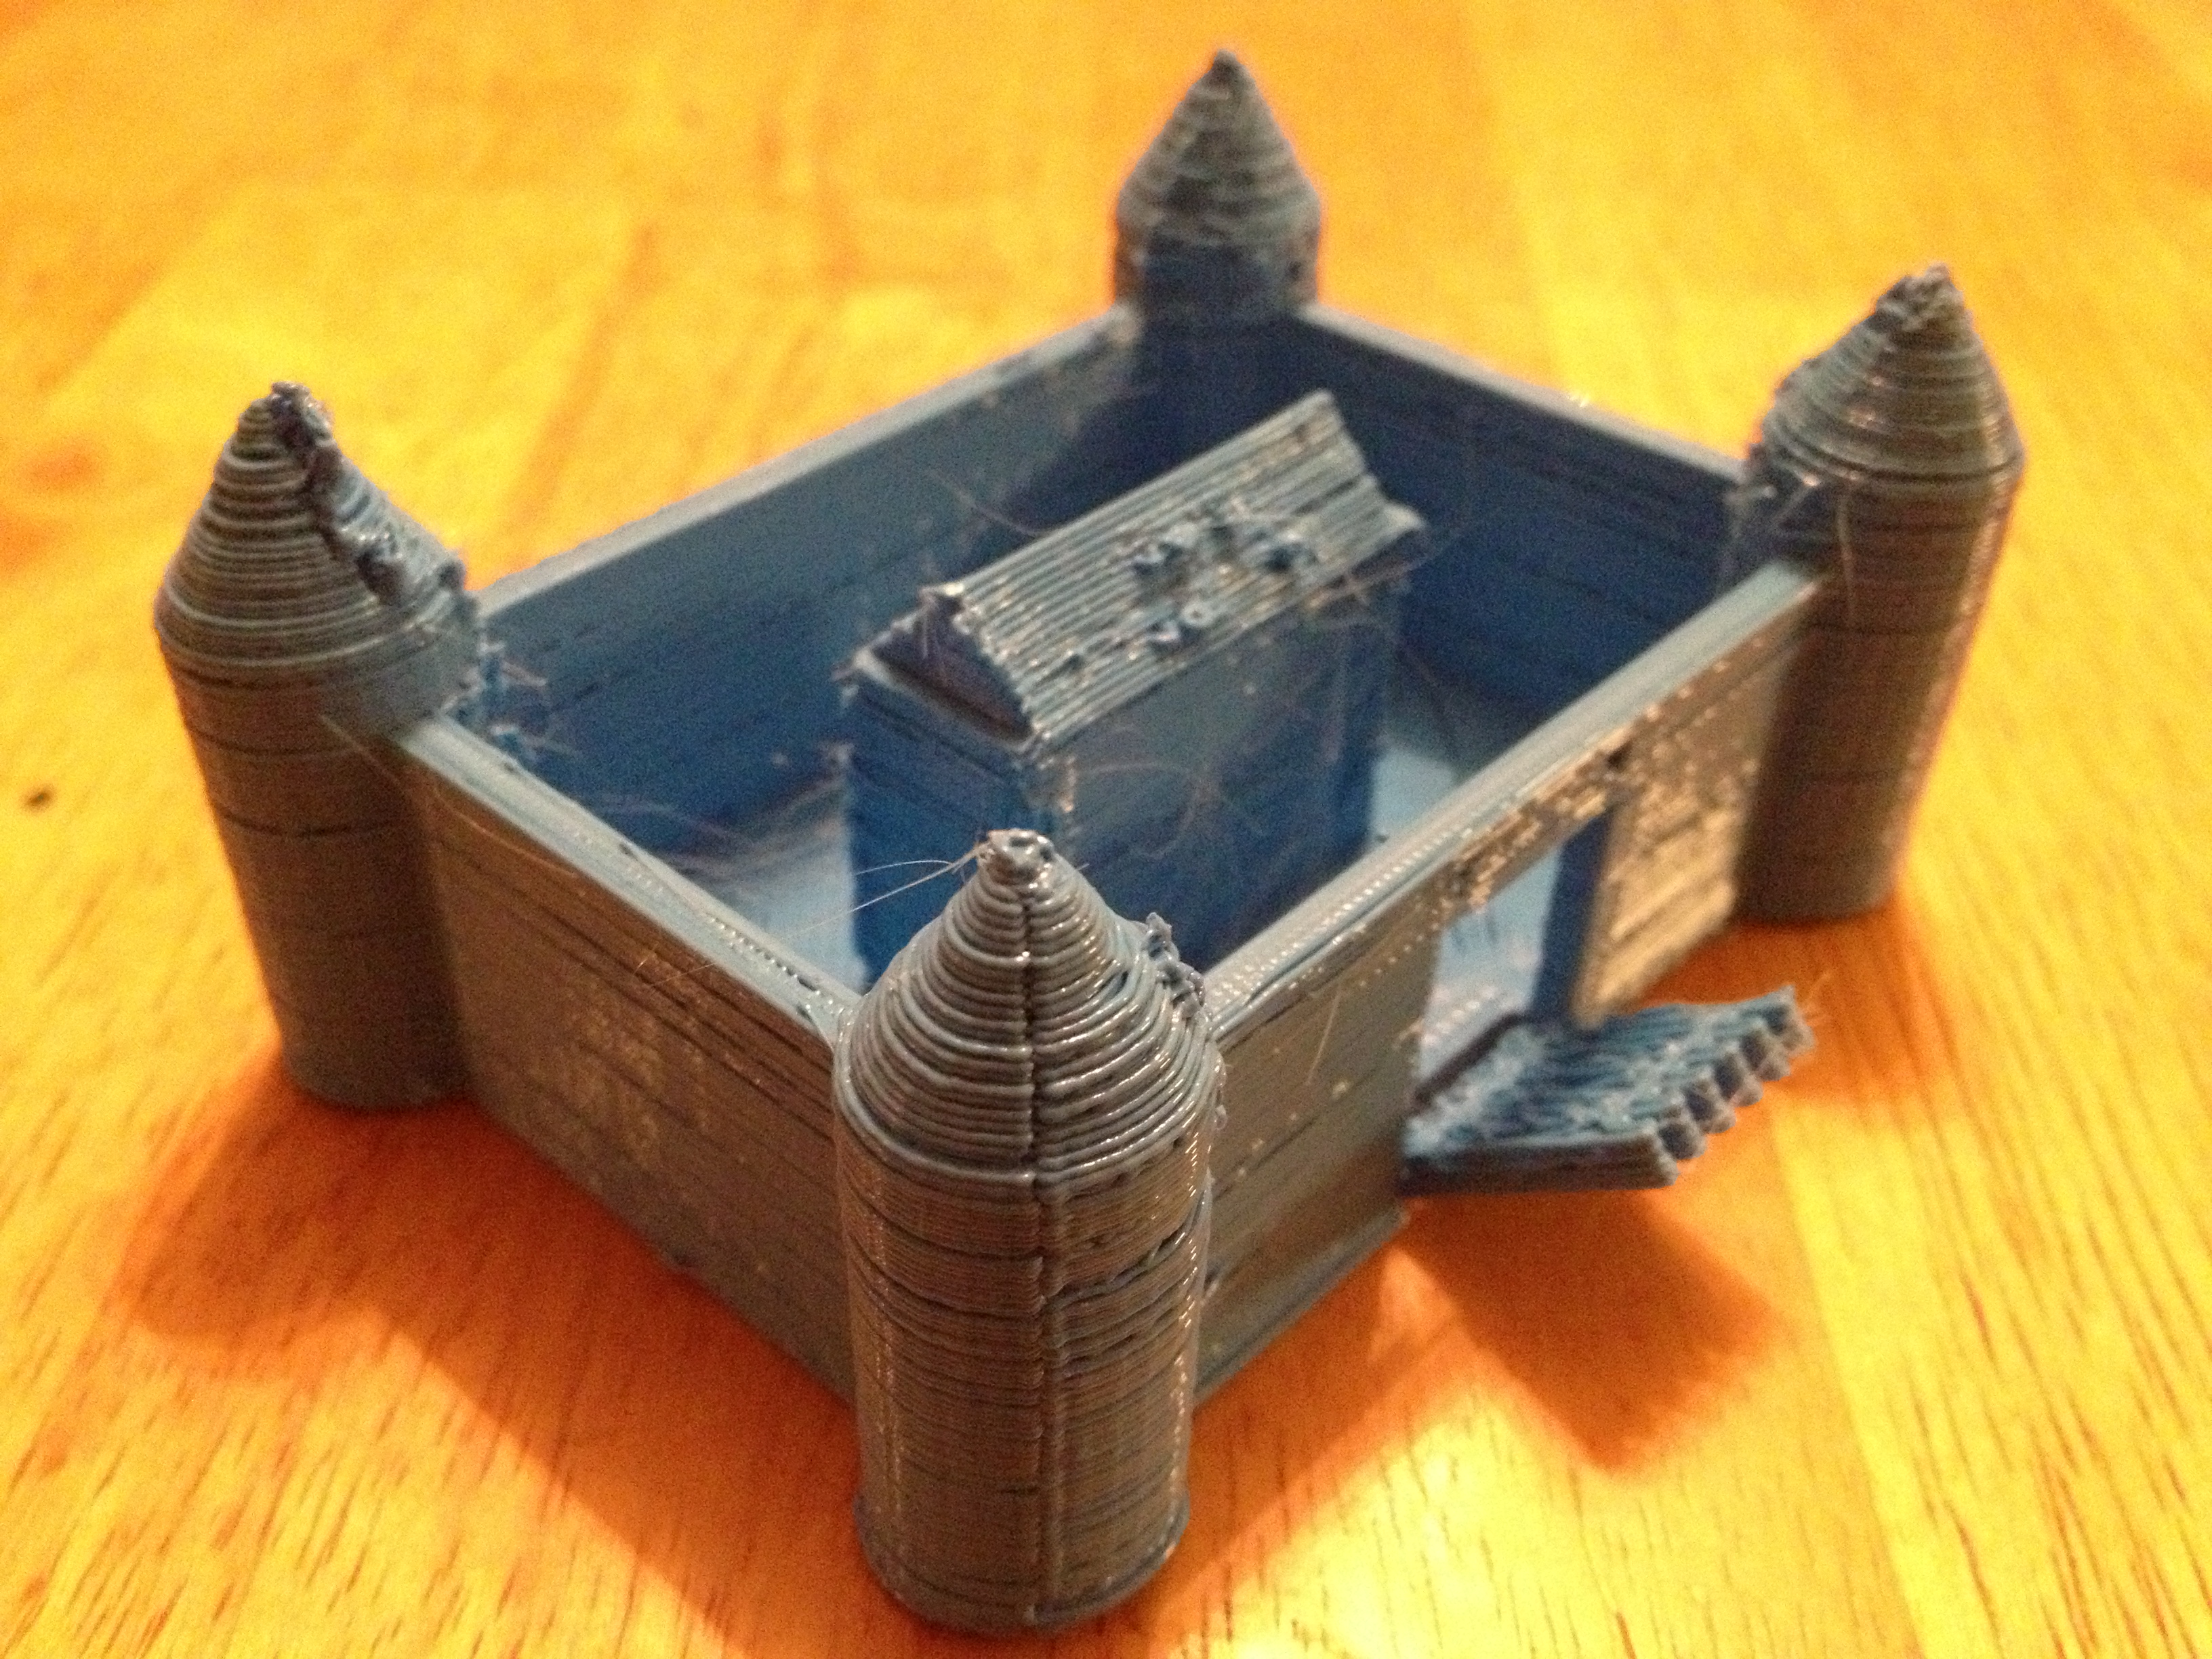
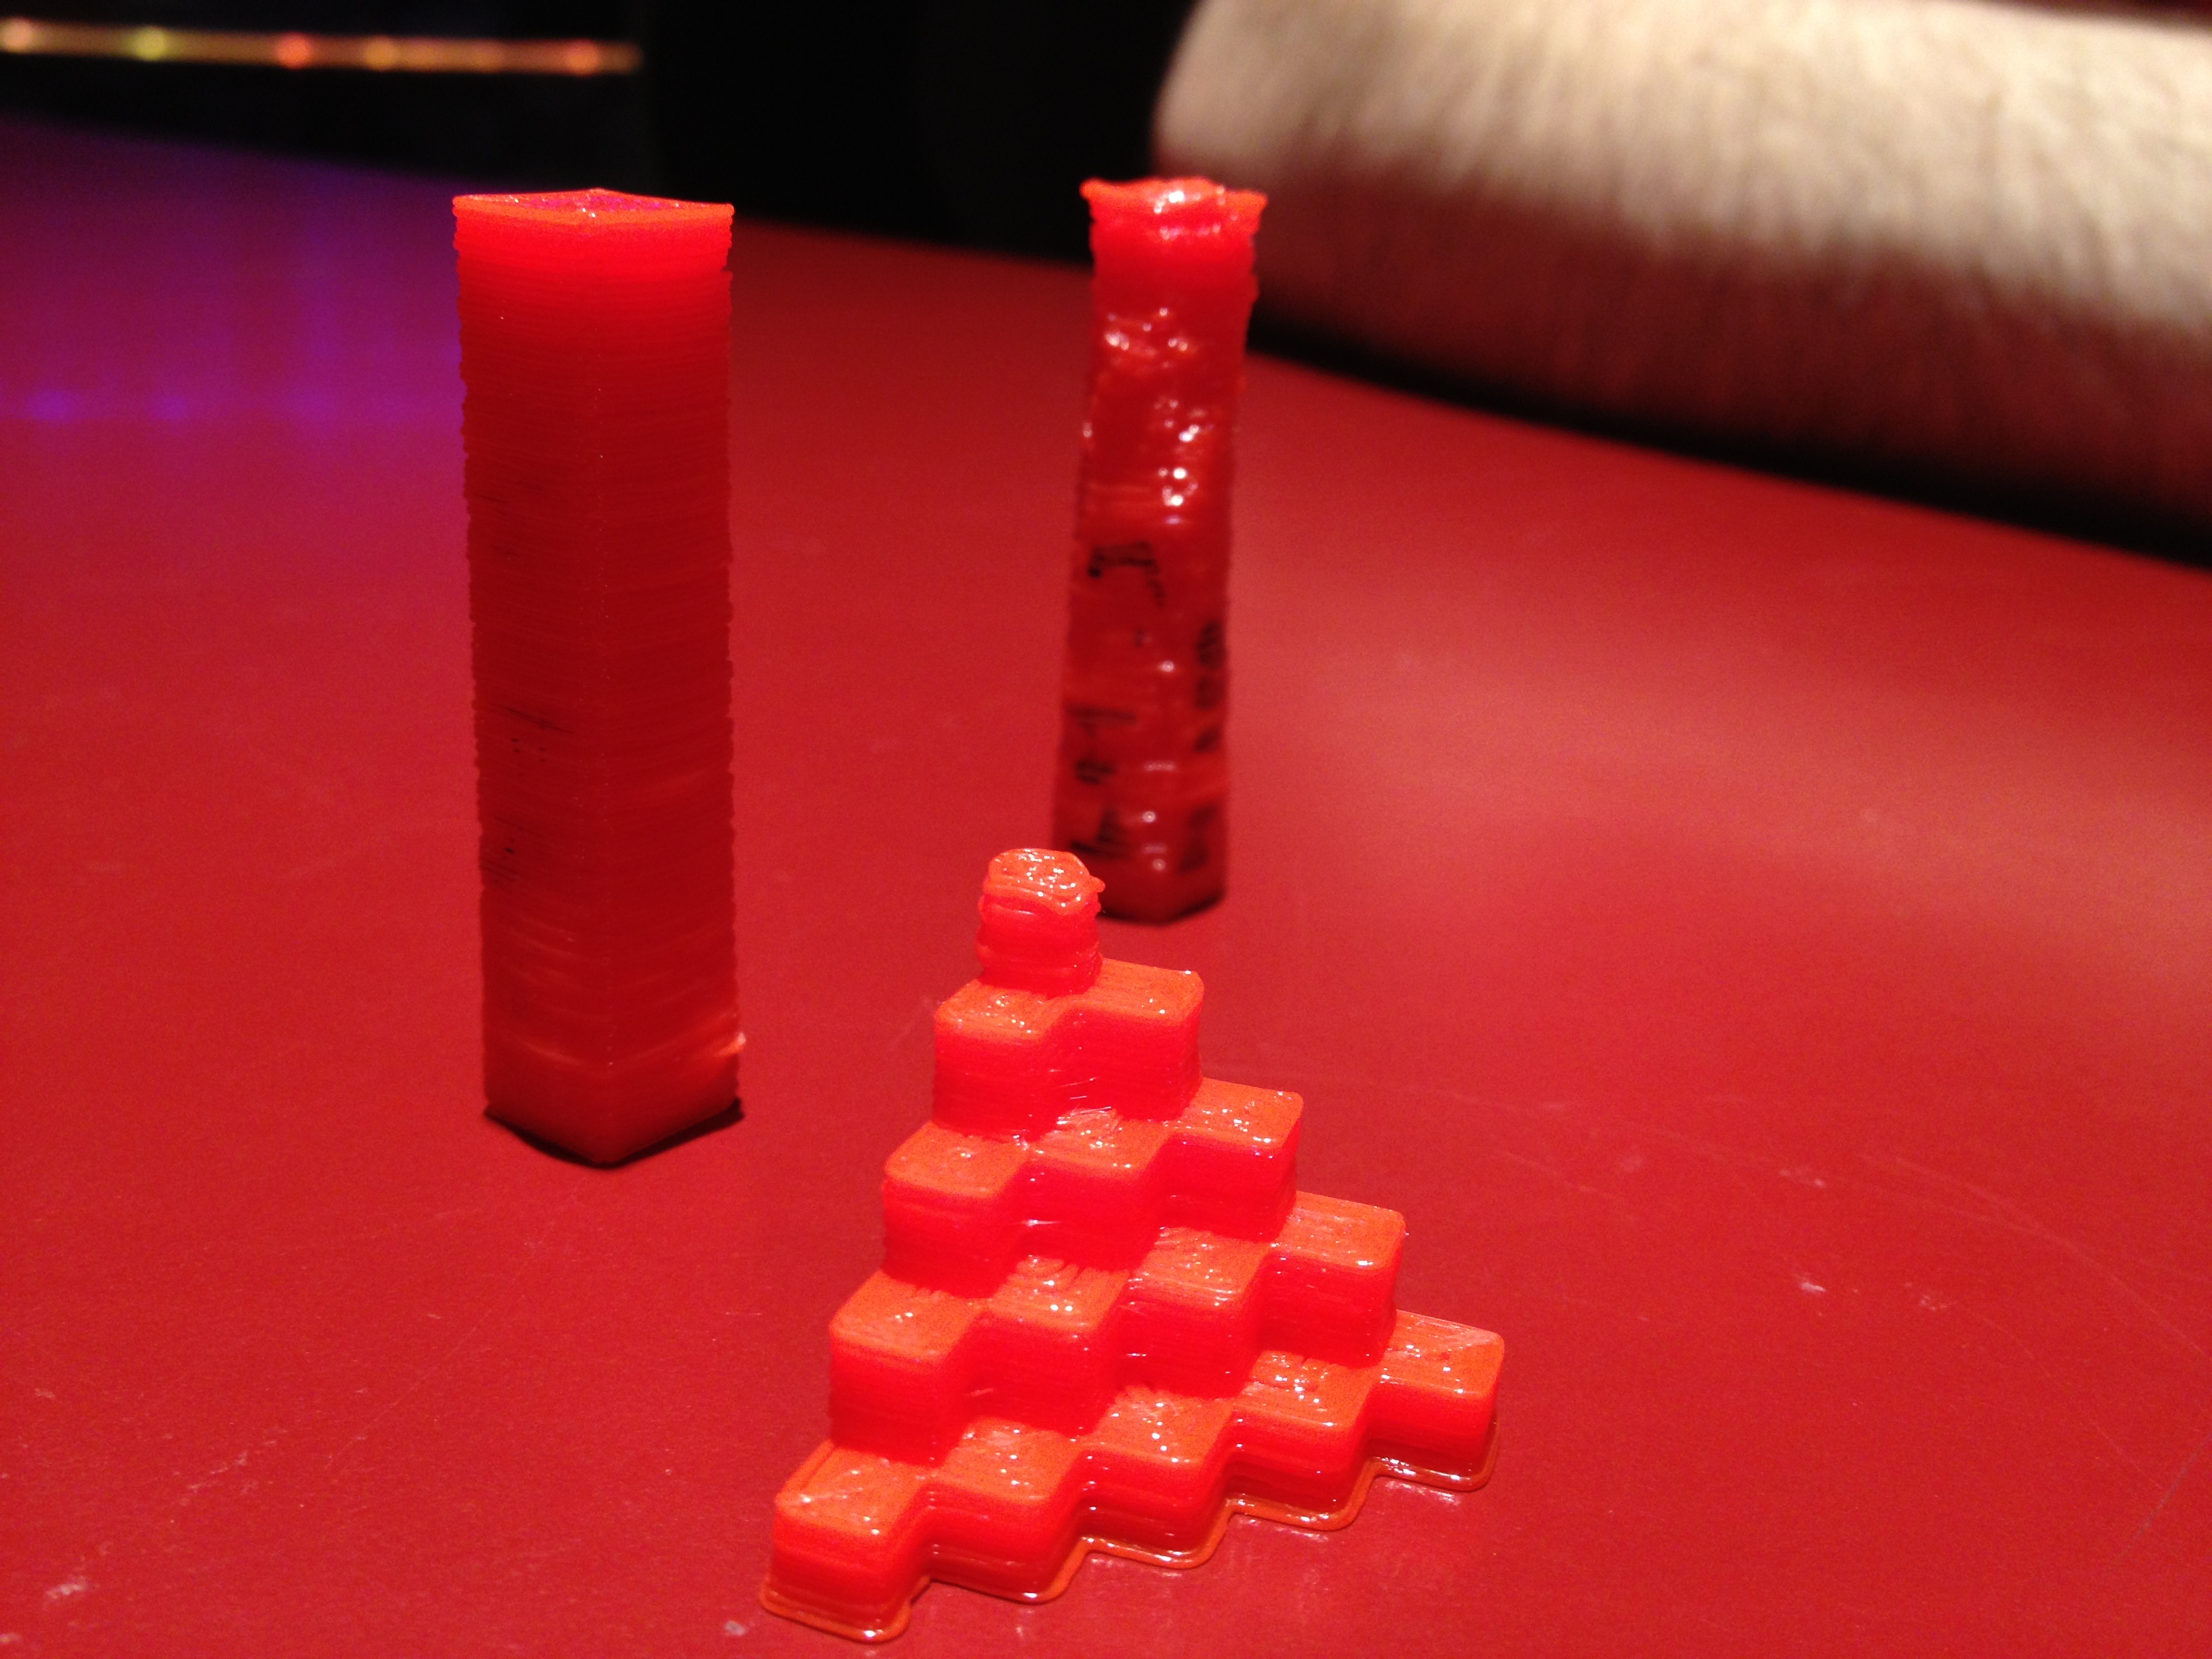
Another example is the tall tower in this pic:

IMG_3762

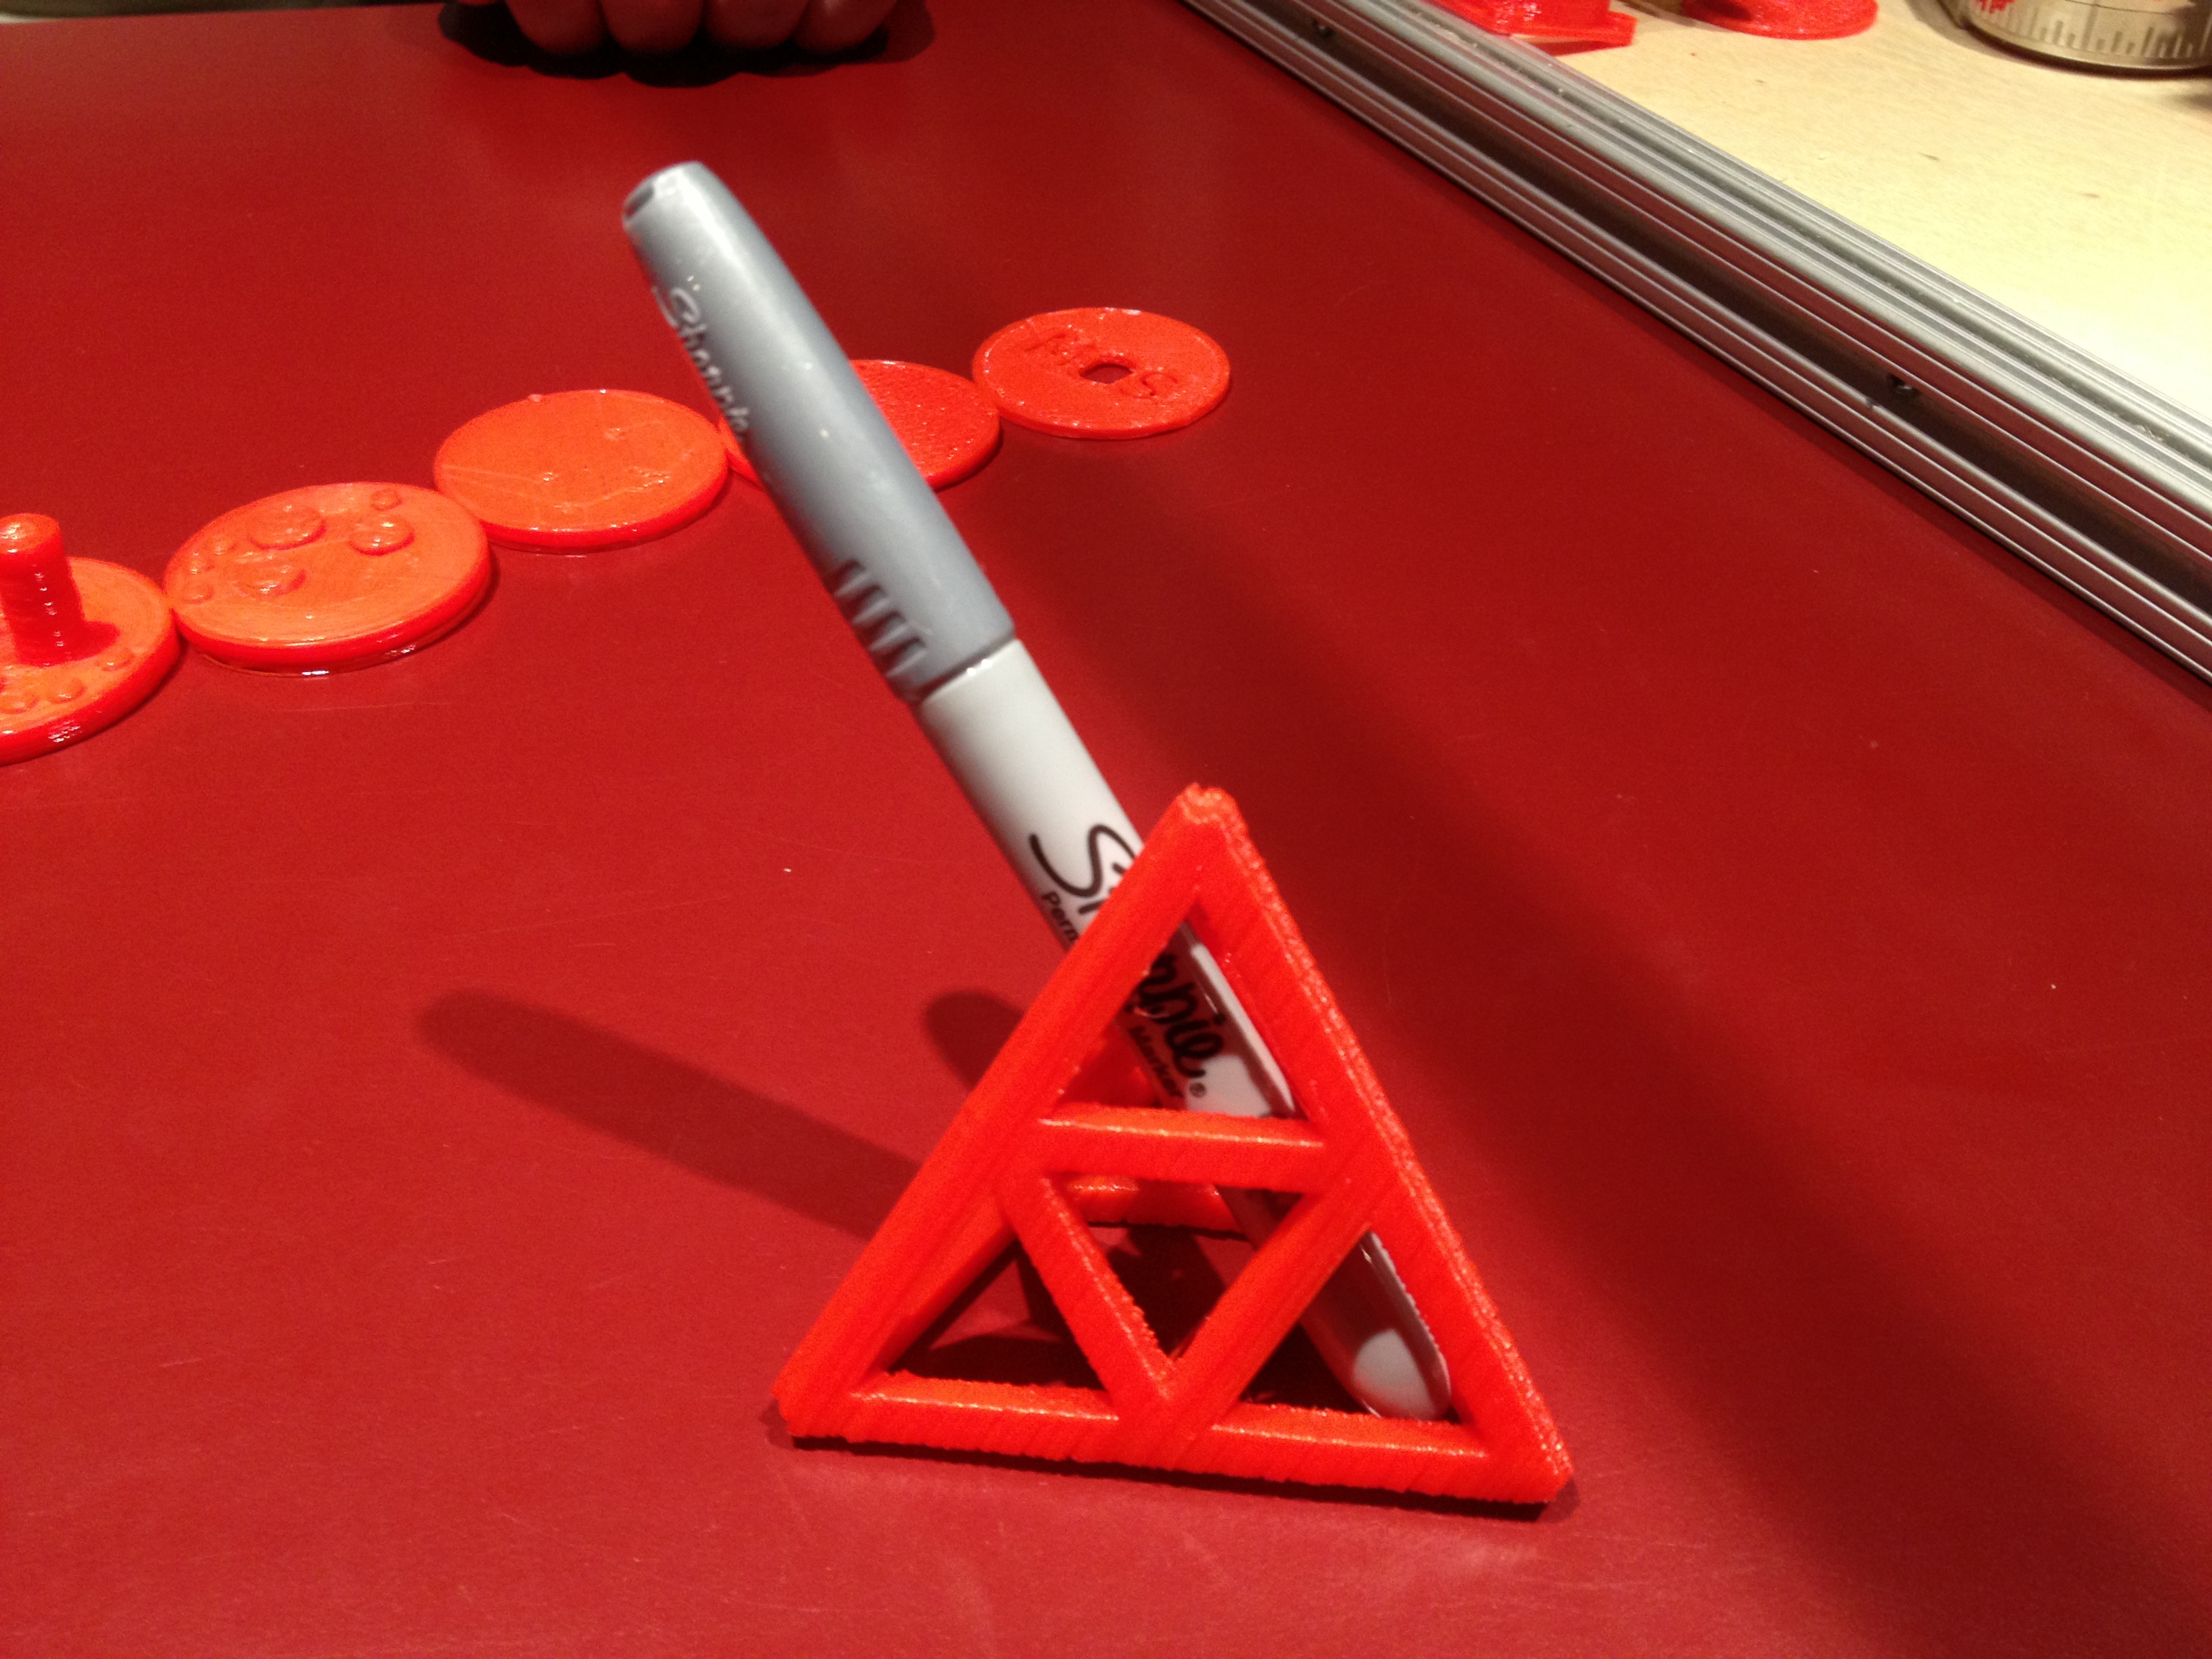
On August 2nd my cousin Kevin Martin and his family came up to Boston, and we did a trip to the Museum of Science, so I got to see it again. That day Miriam Ledley was working at the desk, and she showed us an activity that they do with the kids to show how the printer builds things up layer by layer. This was such an awesome idea:

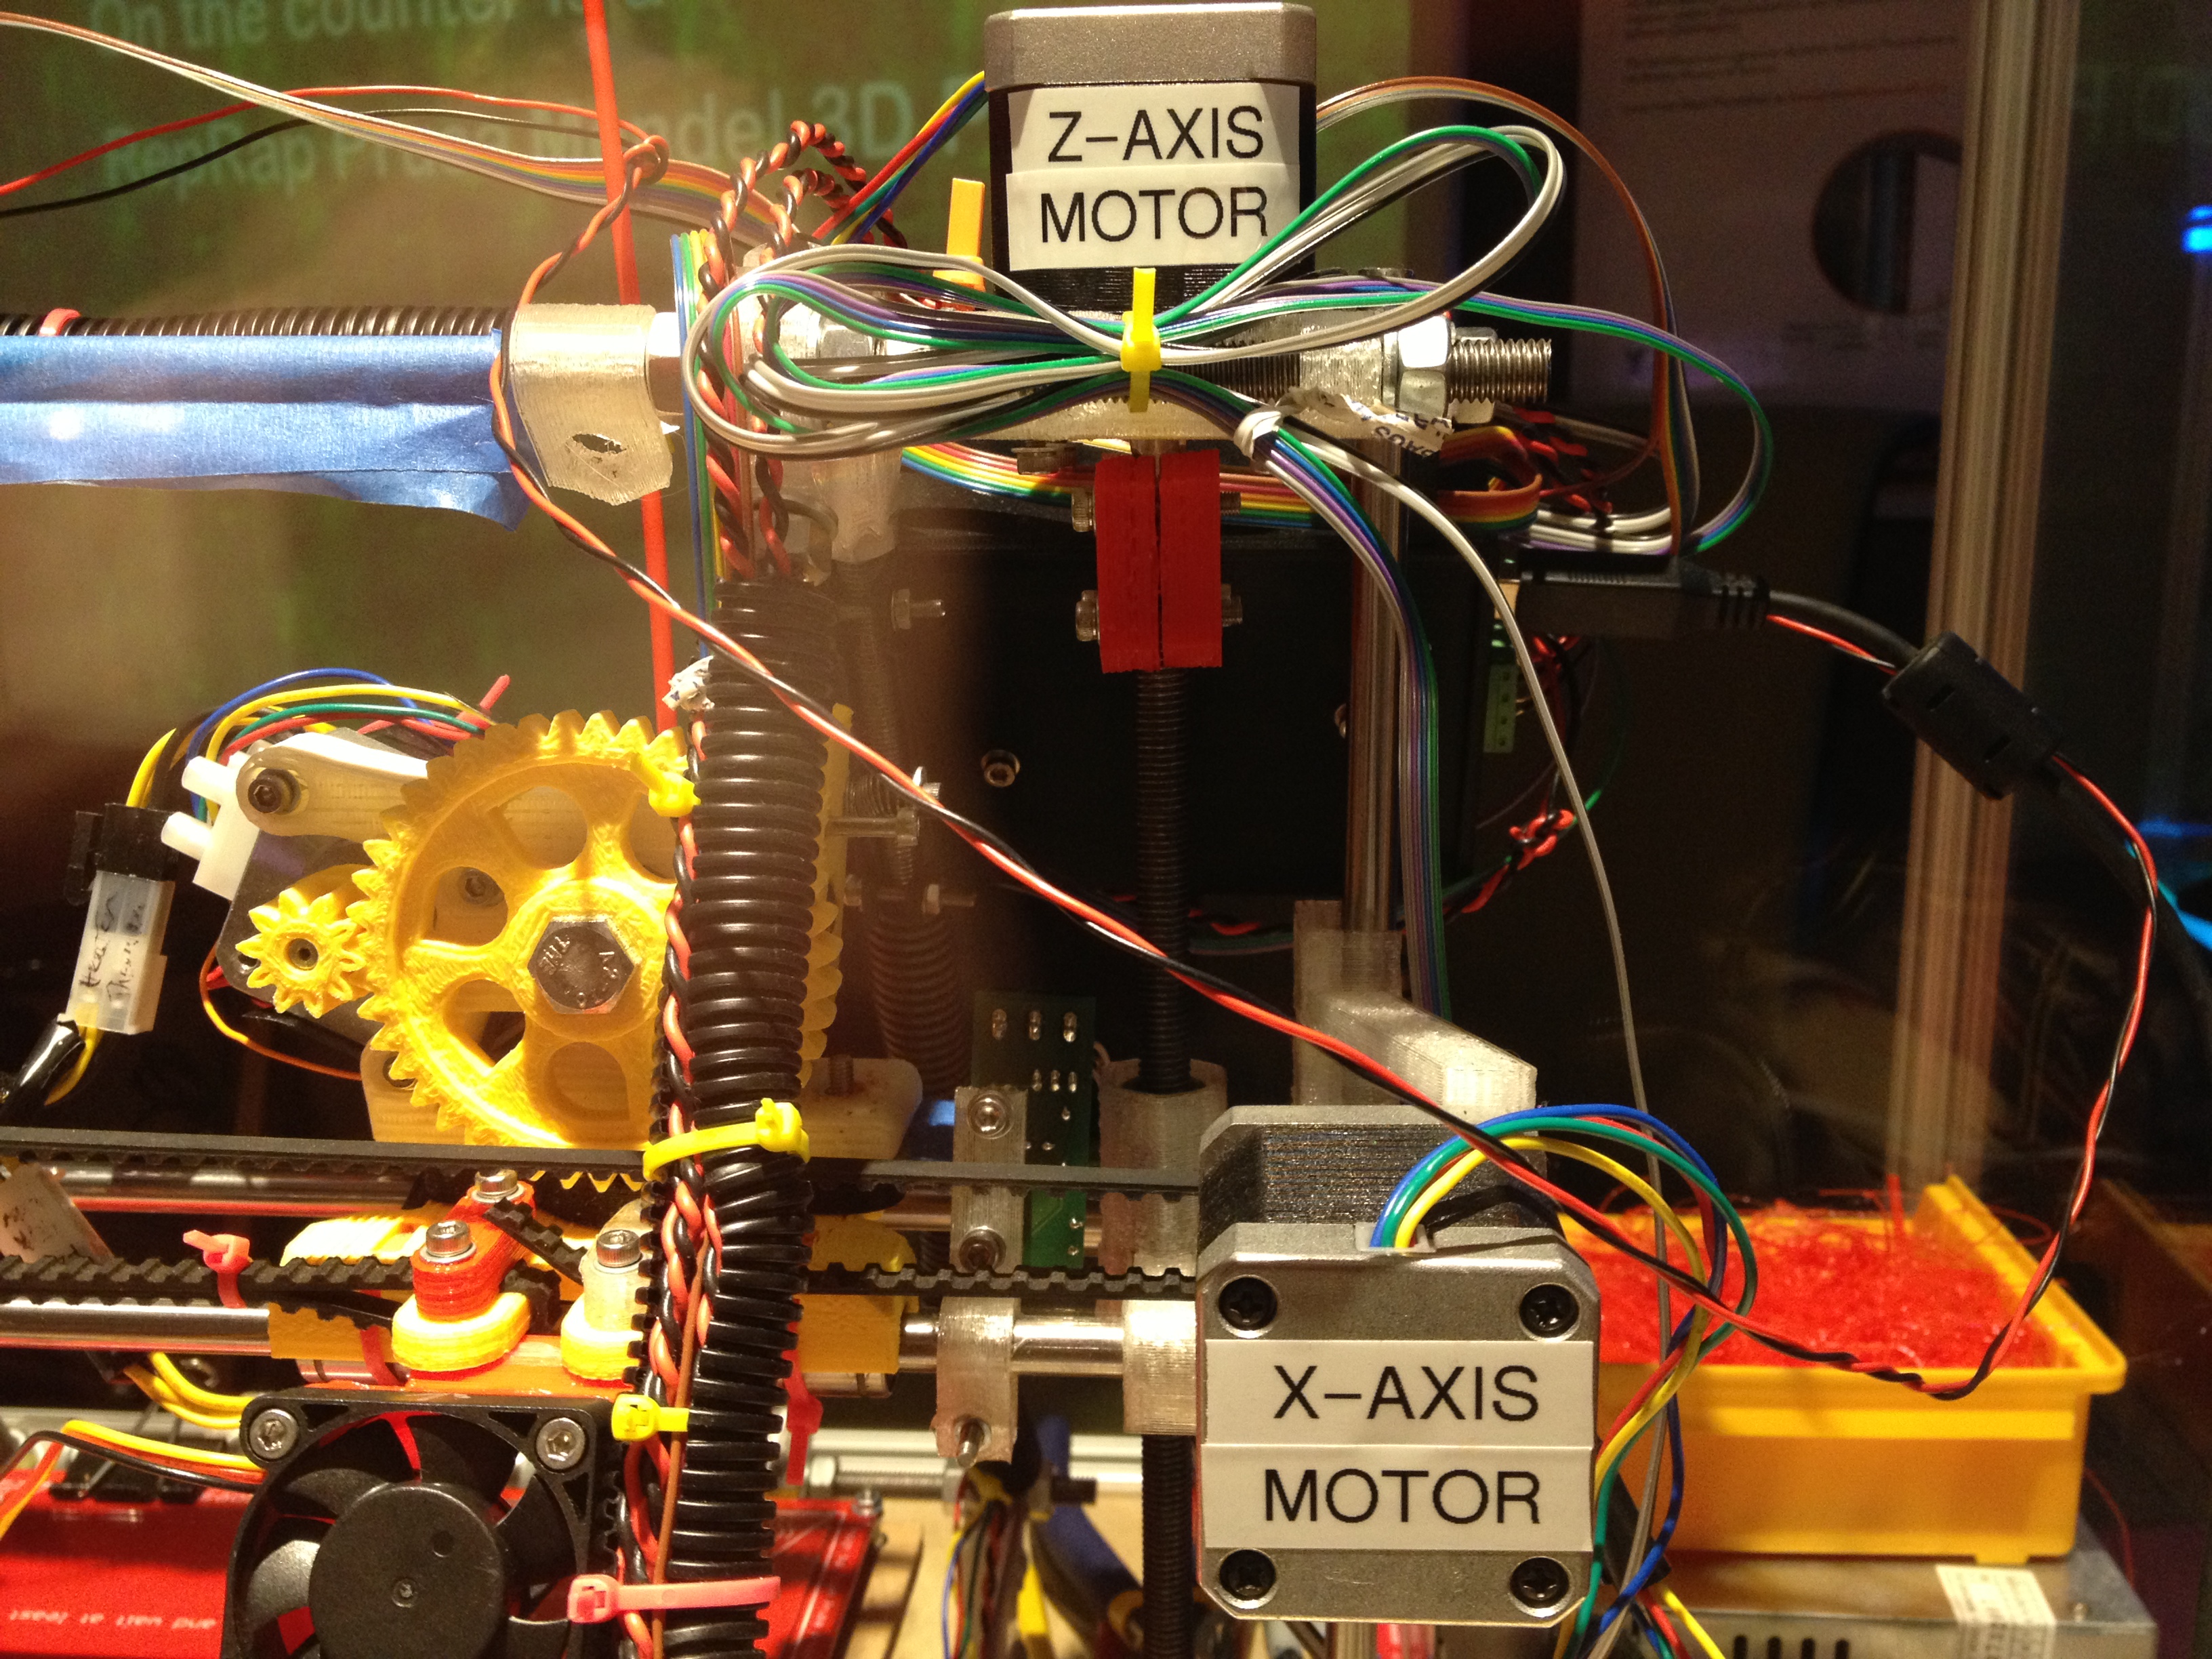
Now they had added labels to the motors, which was a nice touch for the exhibit:

IMG_4254

I have to admit, one of my guilty pleasures was sitting in the back of the room, watching other people look at the exhibit. One time in particular I remember this guy talking to his kids, describing how the printer worked. I grabbed a picture to remind myself what that felt like.

IMG_4820

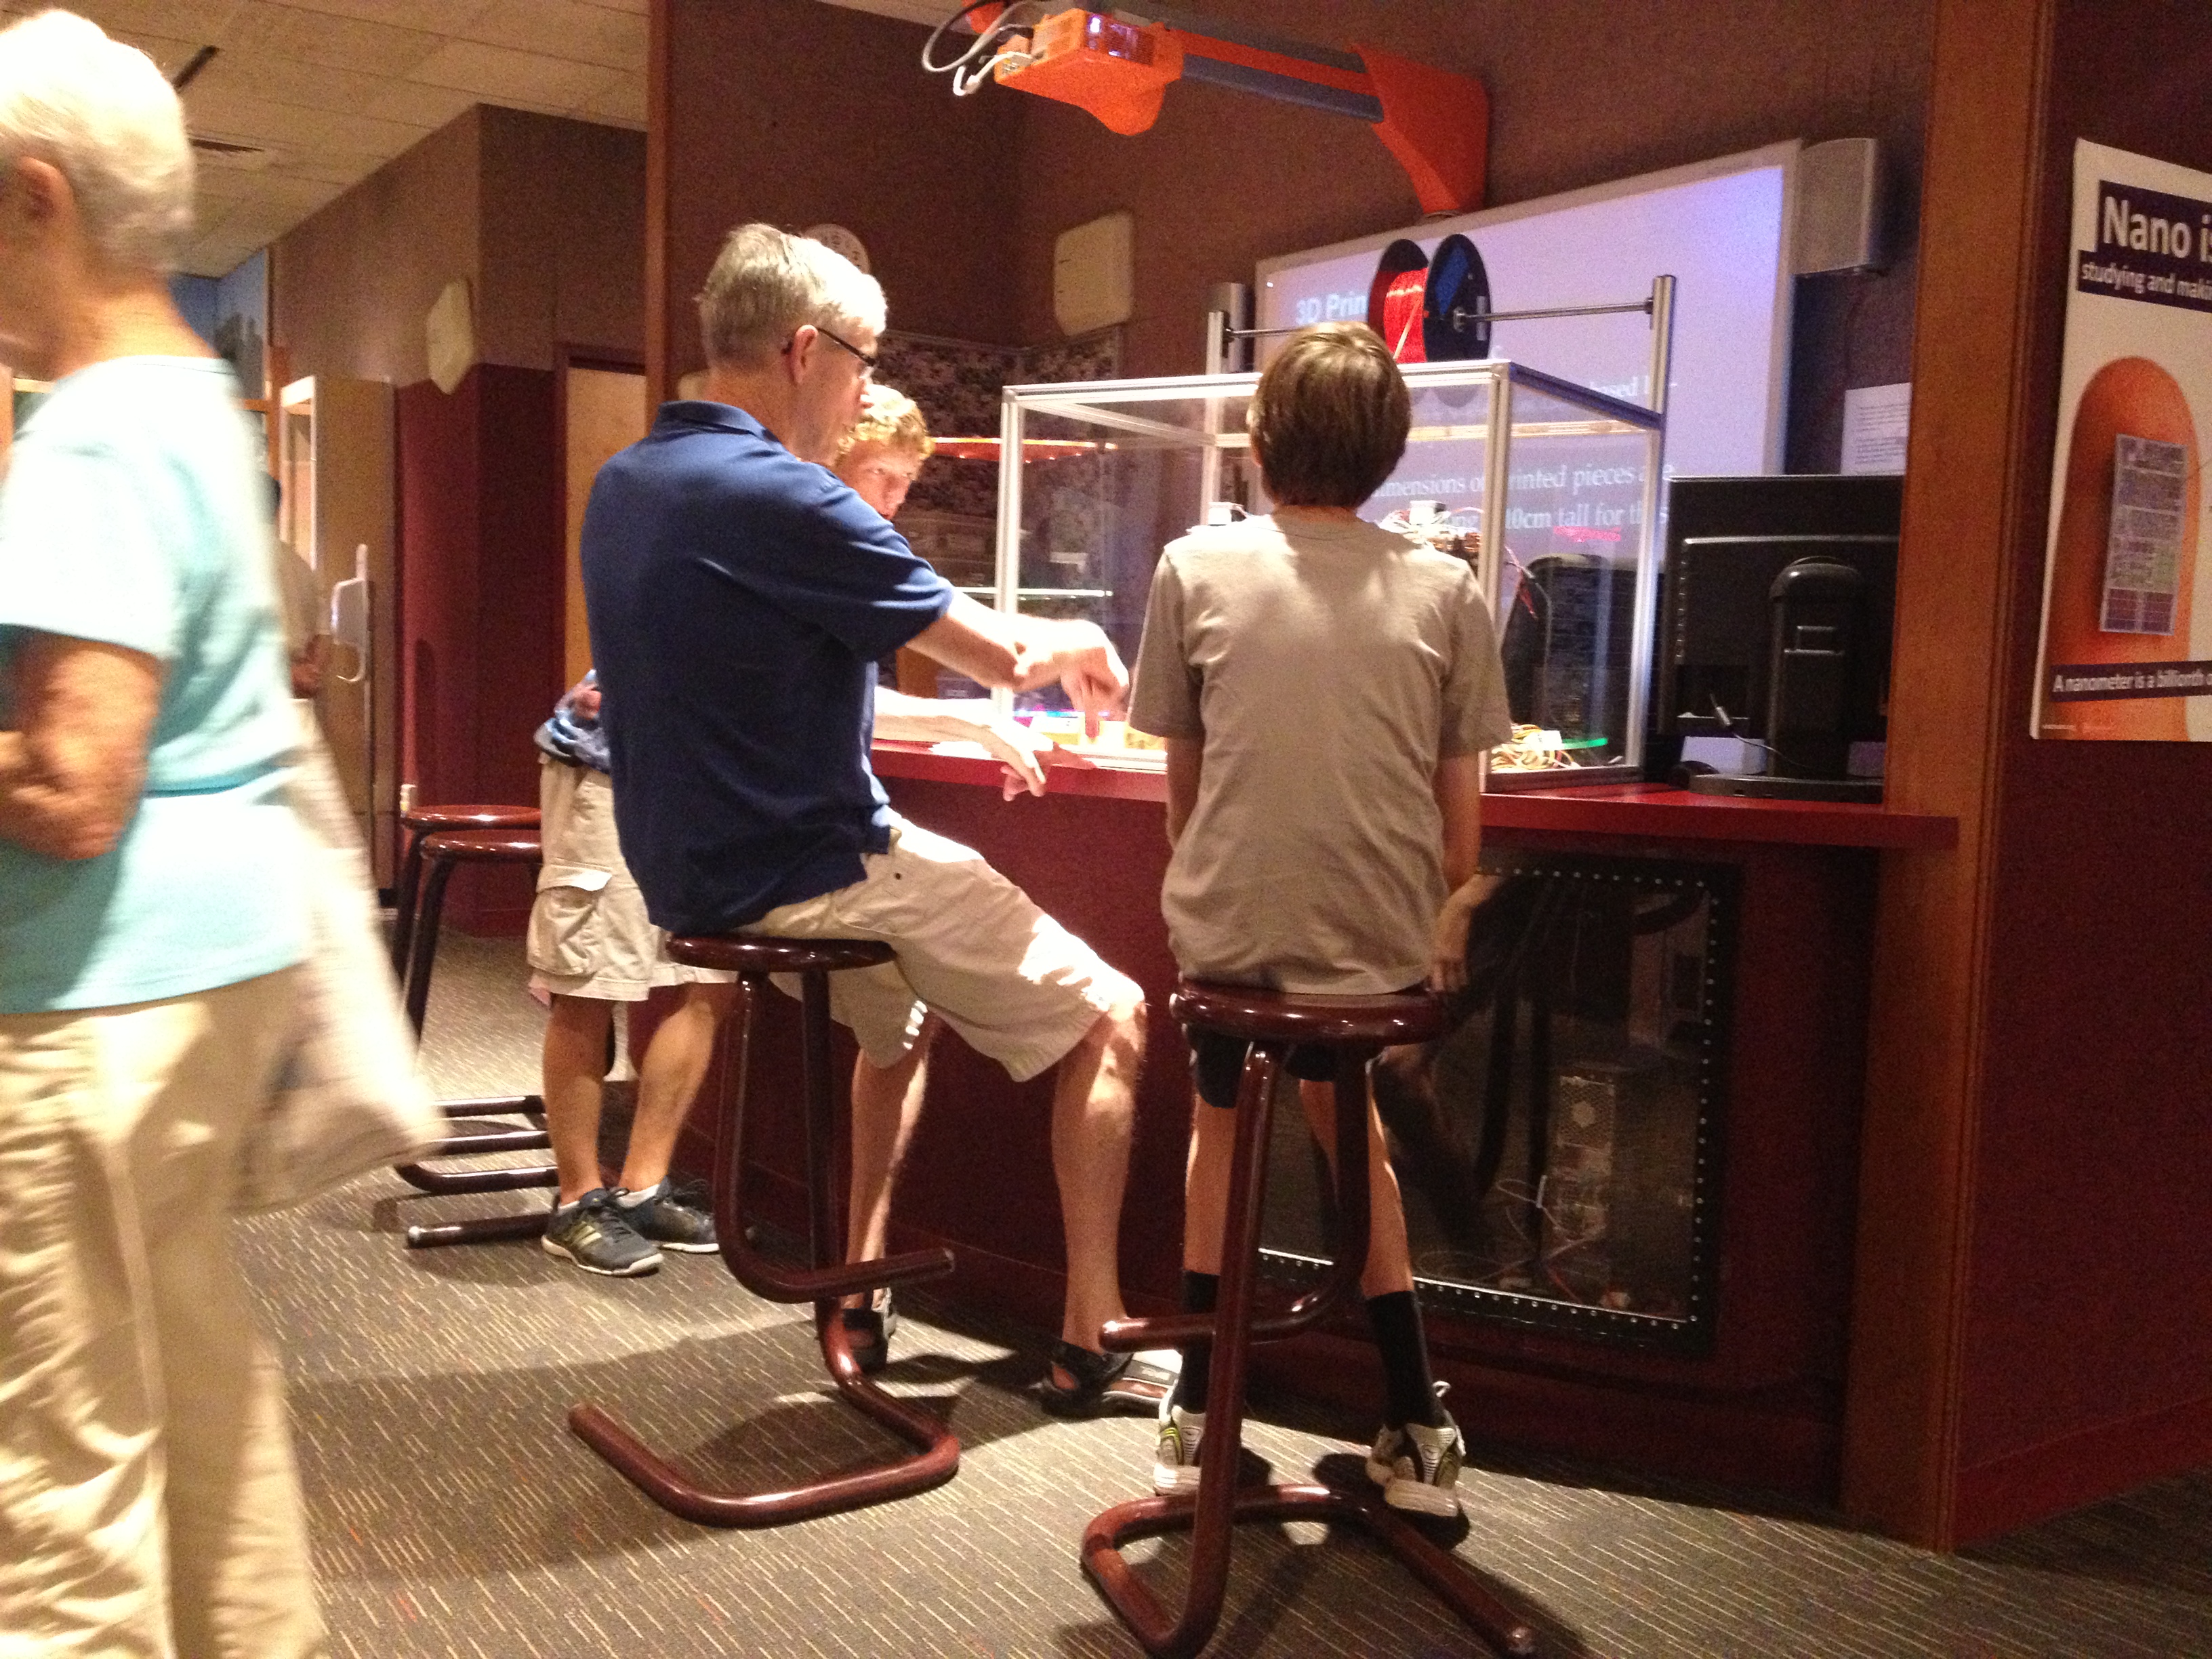
It was really cool. That was something that I made, there, for everyone to learn with. Something that had given me problems because of some belt slipping or some other problem, that I had to motivate myself to work on, actually got displayed and helped people learn!

About a week ago from the time of this writing, I learned that they have closed off the CCP section of the Museum – my thoughts go out to those that I know that worked there. I have no idea what the current status of the printer is, whether it’s still on display somewhere, or if it found its way into that cage with the heads on it. 🙂 Hopefully it’ll be on display again soon.

That’s what happens when you blog about something a year and four months later – things change. 🙂

With the exception of the skip ahead to see the printer on display, that catches us up to April 30th, 2013. Still over a year and four months behind, but we’ll catch up soon.

Reminder: One week from today I’m going to exhibit at Makerfaire NY 2014, for my third time. Buy your tickets now and come see me! If I can drag two RepRaps down in a car from the north end of Massachusetts to Queens, New York, you can drag yourself down there.. it’s a great time!

mf_newyork_seemethere_125x125 mf14ny_badge

Four, no, 44 months.. part 19 of ?

Saturday, August 30th, 2014

Here is more of what happened about a year and a half ago..

Cara’s Birthday

Cara’s birthday was upon us.. (This was March of 2013 so she was turning 6). I had just given Alicia the 3D-printed abacus that she’d wanted for her doll, so I had to print something for Cara..

I give you, Cara Castle. I designed it in OpenSCAD. First I tried printing it on the RepRap that I’d made for the Museum of Science. I printed it with new plastic that I’d never tried yet, which was more opaque than any of the plastic I’d printed with on my RepRap.

IMG_2184

IMG_2185

IMG_2192

IMG_2200

(That’s actually supposed to be text on the top, but I’d shrunken my initial design to print on my RepRap, so the text didn’t come out):

IMG_2201

IMG_2203

IMG_2204

IMG_2207

IMG_2208

I told her I was already printing a larger one for her at work too, on the Makerbot Replicator that we’d previously brought home (but was now back at work). With a much lower layer height and a smaller nozzle, it came out much, much better:

IMG_2219

IMG_2221

IMG_2231

IMG_2232

IMG_2234

IMG_2236

RepRap Class, Day 2

Cara and Alicia enjoyed their first RepRap Class with Daddy (me) two weeks earlier, so they wanted to do it again.

First they both played around with Google Sketchup. Here is Alicia’s first Sketchup shape ever:

aliciaFirstSketchupShape

…and here is Cara’s first Sketchup shape ever:

caraFirstSketchupShape

Then we moved onto OpenSCAD. We’d already played with OpenSCAD in our first RepRap class (both for Alicia’s abacus and for some other shapes), so they were eager to play with it more now. One simple thing they designed (but didn’t print) was this cool looking shape:

cutbox

Right around then it became clear to me what we needed to make. It was pure in its simplicity, but would cement their desire to print and use it. We made a simple bowl to hold M&Ms.

(When I was a little kid, my grandfather had some ceremic dish that he kept lying around the house, and one day when I opened it it was filled with M&Ms. Every time I went back to his house I opened it, looking for M&Ms, thinking it was almost magic. It took me years to figure out that he’d bought M&Ms and filled it with them. So I was happy to make a container for M&Ms, especially one that was so mathematically simple that the kids totally understood it and wanted to print it, even if it didn’t have a lid).

We designed this:

mnmbowl

They both enthusiastically declared that we needed to print that. We did.

IMG_2243

IMG_2245

IMG_2247

IMG_2253

Here it is filled with M&Ms that I got on Valentine’s day, and the girls enjoying using it.

IMG_2258

IMG_2257

IMG_2259

IMG_2267

IMG_2273

😀

RepRap Printing Memory Game

One more thing from that RepRap class.. Have you ever heard the game where a bunch of people are hanging around, and someone says “I’M going on a trip to Florida, and I’m packing my….. Atari 2600!” and then the next person has to say “I’M going on a trip to Florida, and I’m packing my Atari 2600 and my Bikini!”, with each next person reciting the entire list from memory and then adding another word starting with the next letter from the alphabet?

Well Alicia came up with a variant of that, that the three of us played while the RepRap was printing. I give you, the RepRap game.

If I had a RepRap, that actually prints, I’d make…

(and here’s an earlier video of my turn mid-game that I’d uploaded to youtube before we’d finished the game, but I figured Alicia’s video deserved to be first in this post):

Rods for Ribs!

At this point I’d convinced many people at work to build RepRaps of their own. Next up was Neil Mager. Everyone knew I had a chop saw and a grinder and that I was used to cutting steel rods for RepRaps, so Neil suggested another trade: I cut and grind his rods, and he’d smoke me a rack of ribs. 🙂

Here were his rods, wrapped up and ready for delivery:

IMG_2303

…and here was my reward, a few months later:

Mmmmm!

IMG_3829

IMG_3831

Nerf Dart Quadcopter Challenge at work

I don’t want to spend too much time on this one but I might as well throw it in just for the pictures..

Here’s a Facebook post that I made on March 29, 2013:

Ok this was really cool. About a month ago my boss pulls me and a bunch of others into his office and informs us that we’re going on a special project (not classified, but might as well be – can’t tell anyone, until today). Division 3 at work held a contest – groups could put together a proposal to be a team to compete in it. We were told to create a team and enter.

The competition involved flying quadcopters and shooting at them with USB Nerf dart shooters that can aim and have built-in video cameras. The toughest part of the competition involved one team flying their quadcopter off of a desk, through hoops, and back to the desk five times in a row, while the other team’s autonomous shooter fired missiles at the quadcopter trying to hit it.

Not only did our team have to write code with OpenCV to identify the quadcopter in air, aim for it, and shoot at it, but we had to deal with shooters that could barely reach 10 feet, so I tried 3D printing a whole bunch of missiles (despite almost 100 printed variants, we eventually went with darts made from straws and toy plastic bubble goop). I didn’t have time to perfect the 3D printed missiles, because I had to spend time on our other objective.

Our secret objective.

Our division leader wanted us to enter the contest so that in addition to participating in the actual competition, we could have another private objective: a cyber attack on the other team’s quadcopter.

We spent weeks practicing dozens of scenarios and what-if safety nets, like what if the other team switches quadcopters, or switches iPhones (these were Parrot AR.Drones controlled by iPhones), or wipes out the firmware on the copter.

First we locked the copters down so we could ensure we’d always have remote access to them. There was a “pairing” feature on the iPhone app that, if enabled, would lock just that phone to that copter. We determined how that worked. We found the pairing script on the copter and modified it such that if someone tried to pair it would appear to them that they had done so, but in fact the MAC addresses of OUR iPhone and laptops were all still allowed. We didn’t need to do this (if the other team didn’t pair we’d still be fine), but this was one of several safety nets we put in place.

Next we experimented with taking over a flying copter. Telnetting in and doing a reboot did cause it to drop out of the air (which we tested very close to the ground over pillows) but that wasn’t good enough for what we wanted. Eventually we perfected a script that made iptables calls to allow us and only us, and lock out everyone else (including the iPhone that had been flying the copter). The original iPhone then sees a message on-screen saying that it lost control, which we weren’t able to avoid (but that didn’t matter).

At this point we’d experimented with having our own iPhone connect, but the flight software seemed to always land the copter first, and we were worried that someone would reach over to the grounded copter and try to pick it up before we got off the ground again.

So then we looked into what we had to do to issue our own flight commands autonomously (via computer, with no human interaction).

In the end we had a script (that I was the lucky one to trigger) that locked out the original iPhone, raised the copter up a bit, caused it to sit in front of our shooter so we could shoot at it without problem, then it spun left fast for a few rotations, spun right, and then stayed hovering.. (previous versions landed at this point).

Then on our ATTACK iPhone (whose MAC address we specifically allowed in), our pilot started the flight app, landing the copter, quickly taking off after that, and he flew it around the room for a victory lap.

People were NOT happy. They got over it soon after the competition resumed and the round was repeated. (My group leader got up and announced to the room that we had just conducted a cyber attack on the competition).

Our division leader eventually (before the competition) went to the division leader for the competition and filled them in, but not the heads of the competition. Everything we did we had permission for, but they had pesky rules like don’t break the law (no murder) so we abided by them.

By the end of the day i shook hands with just about everyone that I remembered seeing be upset, and they all felt much better about it.

I haven’t been able to talk with anyone about this until today. It was fun. Now back to my other, far less stressful deadlines. 🙂

In that post I hadn’t included any pictures, since we ended up not using any of the plastic nerf missiles I’d designed. But I did want to post the picture somewhere, so here they are.. (These were printed on the Makerbot Replicator at work):

IMG_2307

IMG_2308

IMG_2309

IMG_2310

IMG_2311

IMG_2312

IMG_2313

IMG_2314

A Few More Pics..

Last few pictures.. First, I got a scale from Laurie for something (can’t remember what for – maybe for the quadcopter?) and I found this picture of it weighing Tony Buser’s head. It’s about 100 grams.

IMG_2333

And finally, as a preview for the next post, after cutting Neil’s rods, I decided to cut and grind rods for my second RepRap, since I’d soon be permantly giving the Museum of Science the RepRap I made for them. I decided to start my second RepRap before the handoff.

IMG_2546

IMG_2547

IMG_2548

IMG_2549

IMG_2544

Trying so hard to catch up (as always). That brings us up to April 27th, 2013. Today is August 30th, 2014. Must post faster.

Again, I’m going to exhibit at Makerfaire NY 2014 this September, for my third time. Buy your tickets now and come see me! If I can drag two RepRaps down in a car from the north end of Massachusetts to Queens, New York, you can drag yourself down there.. it’s a great time!

mf_newyork_seemethere_125x125 mf14ny_badge

The Abacus – Four, no, 44 months.. part 18 of ?

Sunday, August 3rd, 2014

The thing about my RepRap hobby (which might apply to all hobbies?) is I’ll sometimes go months without thinking about my RepRap at all, then I’ll use it for a month or two solid. As a result I’ll still be far behind on my blog, and the backlog starts to feel like work (which causes a feedback loop where the backlog discourages me from blogging, which causes more of a backlog, etc). So let’s try to get some of this covered and catch up a bit..

Last I blogged we were caught up to March of 2013 (whereas today is August of 2014). The Museum of Science’s RepRap was printing well. Let’s go from there.

At work I borrowed a Makerbot Replicator (#8640) for a work related project, and I was allowed to take it home (and use it for non-work related uses). On a Friday evening, I drove in to work with Cara to pick it up so I could take it home for the weekend.

IMG_2110

We’d been using it at work and had created our own el-cheapo heated chamber for it with some cardboard boxes and some pieces of paper. Here’s what it looked like from behind:

IMG_2115

I started printing any parts I thought I’d need out of ABS (since I didn’t want to clog my own nozzle by switching over from PLA to ABS if I didn’t have to). Here I printed a bunch of pulleys (there’s one failed one on the right):

IMG_2117

Meanwhile, on the RepRap I’d printed and assembled for the Museum of Science, I started printing a set of RepRap parts for Joe Werther (he heard I was giving them a RepRap and asked if his parts could be printed from THAT RepRap, which I thought was a cool idea.. plus it would get the Museum of Science off the hook for one of the two RepRaps that this RepRap needed to print, since all RepRaps should print at least two other RepRaps for other people).

Here are a bunch of belt clamps:

IMG_2122

IMG_2130

In the last post I posted a picture of a happy Cara that also showed the power cord cable that I’d tried using as an alternate filament spool:

IMG_2105

Once I had the clamps printed for a filament holder, I moved that yellow spool up onto it (until I could put a real spool on later).

IMG_2124

Three posts before that earlier picture of Cara with the spool, I’d shown the bad results of trying to transfer brittle PLA from one spool to another via unwinding.. It had multiple breaks in it:

IMG_8120

This was that same spool. So as I printed things, I’d have pieces of plastic falling out from time to time (with increasing frequency towards the end of the spool).

IMG_2123

IMG_2141

Occasionally I’d run out of a strand and have to pause a print long enough to switch to a long piece of filament. I really wanted to use as much of that plastic as I could. 🙂

Here’s a sadly truncated only-twenty-second-long video showing that:

I printed more parts. I’d seen a new adjustable Y-motor-mount that had a built in y-tensioner, and I wanted to try that.

I printed two out of PLA on the MoS RepRap, and then tried printing one out of ABS on the Makerbot, which I was going to use for a Mendel I was printing for use at work. Unfortunately the ABS one curled up because the homemade heated chamber isn’t that good.. ..but the PLA ones were fine.

IMG_2132

IMG_2133

IMG_2134

Here’s a picture of a PLA/ABS y-motor-mount sandwich:

IMG_2136

IMG_2137

..and here are two of them side-by-side:

IMG_2140

Here’s the next plate of parts I printed (I checked – it isn’t one of the standard 4 plates, I had arranged the parts I needed in OpenSCAD):

IMG_2144

At the same time, on the Makerbot I printed an X-end piece out of ABS for the RepRap I was making for work. This came out pretty well.

IMG_2145

IMG_2146

IMG_2147

3D Printing Class – March 10, 2013

My mother-in-law Barbara is always doing “sewing” class for my kids and their friends, and I wanted to be able to teach my kids about RepRap and 3D printing too (not just watching it print, but learning how to design parts of their own, learn OpenSCAD, and print things themselves). Alicia and Cara decided to join, and on March 10th 2013 we had our first 3D Printing class.

We did some standard stuff (cubes with spheres subtracted from them, a bunch of boxes of different colors combined with a large sphere (which we later printed as a multi-color print on the Makerbot, and in yellow it looked like an old disposable Kodak camera)), but the main thing we designed that day was Alicia’s Abacus.

For a long time Alicia had been asking for a 3D-printed abacus for her doll. We figured out what size we wanted it to be, found some nails about that size, measured them, and designed and printed this abacus.

IMG_2152

IMG_2151

IMG_2153

I just now uploaded it to thingiverse, one year and five months after we designed and printed it.

http://www.thingiverse.com/thing:416025

After that, it was more printing to get Joe Werther’s RepRap printed, more printing to get the RepRap I was printing for use at work printed, and cleaning up of the wiring of the Museum of Science’s RepRap so I could give it to them for good.

IMG_2162

Note I was now printing one piece at a time because I was estimating how long a stretch of filament I needed to print each part. In this next picture you can see two small coils of contiguous plastic on the keyboard that I’d rescued from the broken spool, that I used in later prints:

IMG_2163

Here are two boxes being filled with parts (Joe’s parts on the left, and the parts for use at work on the right):

IMG_2159

(Joe, if you’re reading this, consider this post a nudge to remind you to assemble your RepRap! 🙂 )

Once I was done printing parts for Joe and for use at work, I cleaned up the wiring on the Museum of Science’s RepRap. I mounted the RAMPS board in a Sliding lid RAMPS 1.4 box that I printed on the Makerbot (due to its height), and mounted that on this mounting board. (come to think of it I may have modified that mounting board to accommodate the extra nuts and washers on the top rods.. note to self: look that up and upload it).

IMG_2166

I put black hose around the zip-tied wiring on the rods:

IMG_2167

IMG_2168

IMG_2170

…and here’s the final cleaned-up version, pretty enough for final delivery to the Museum of Science (although that wouldn’t happen for another month and a half):

IMG_2165

Here are three other pictures that I want to throw in at this point. First was this piece of paper – notes from Alicia while I was redoing the wiring on the RepRap destined for the Museum of Science:

IMG_2172

The second picture was my grinder, which I believe I had just finally set up at this point for the first time:

IMG_2157

(I now use that grinder every time I cut any rods for any reason.. I can’t believe I got along without it before.. way better than filing down the edges to wear off the sharp parts)..

And the third picture was what Jimmy Astle gave me in exchange for using the above grinder (and my chop saw) to cut rods for him for his first RepRap. A 6-pack of home-brew beer:

IMG_2171

Ok that seems like a good breaking point to end this post.

By the way, I’m going to exhibit at Makerfaire NY 2014 this September, for my third time! (Although, tragically, this blog is so far behind that I haven’t even covered Makerfaire NY 2013 yet! I’ll do that soon.. I hope to be fully caught up before Makerfaire this year.. ha!). Buy your tickets now and come see me! If I can drag two RepRaps down in a car from the north end of Massachusetts to Queens, New York, you can drag yourself down there.. it’s a great time!

mf_newyork_seemethere_125x125 mf14ny_badge