LOTS of progress!!
This weekend Laurie and I were planning on opening our pool early in the season (since last season at least 1/2 of the season was wasted by rain and us having to replace the old pool liner). Saturday we peeled back the pool cover to see that the liner was ruined again – it floated away from the sides of the wall. We called the guys who installed it last year, and they came out to look at it Monday. The upside? This weekend I had lots of time to work on my RepRap!
But as usual, I’ve got a bunch of catchup pictures to go through, this time with a few details.
So first I needed to put together the z-leadscrew-base assemblies. I had two z-leadscrew-base pieces from Nick McCoy (mccoyn), and two z-leadscrew-base pieces from me begging at work (although I only needed two in all). I’d decided to use both of the mccoyn pieces, and started out with the two trapped nuts for the z-leadscrew-base-bar-clamp connection. Because this PLA z-leadscrew-base was similar in quality to the x-carriage pieces I’d made, I found that I had to use a soldering iron to fit the hex pieces in the nut trap holes. Here are a few pictures showing that:
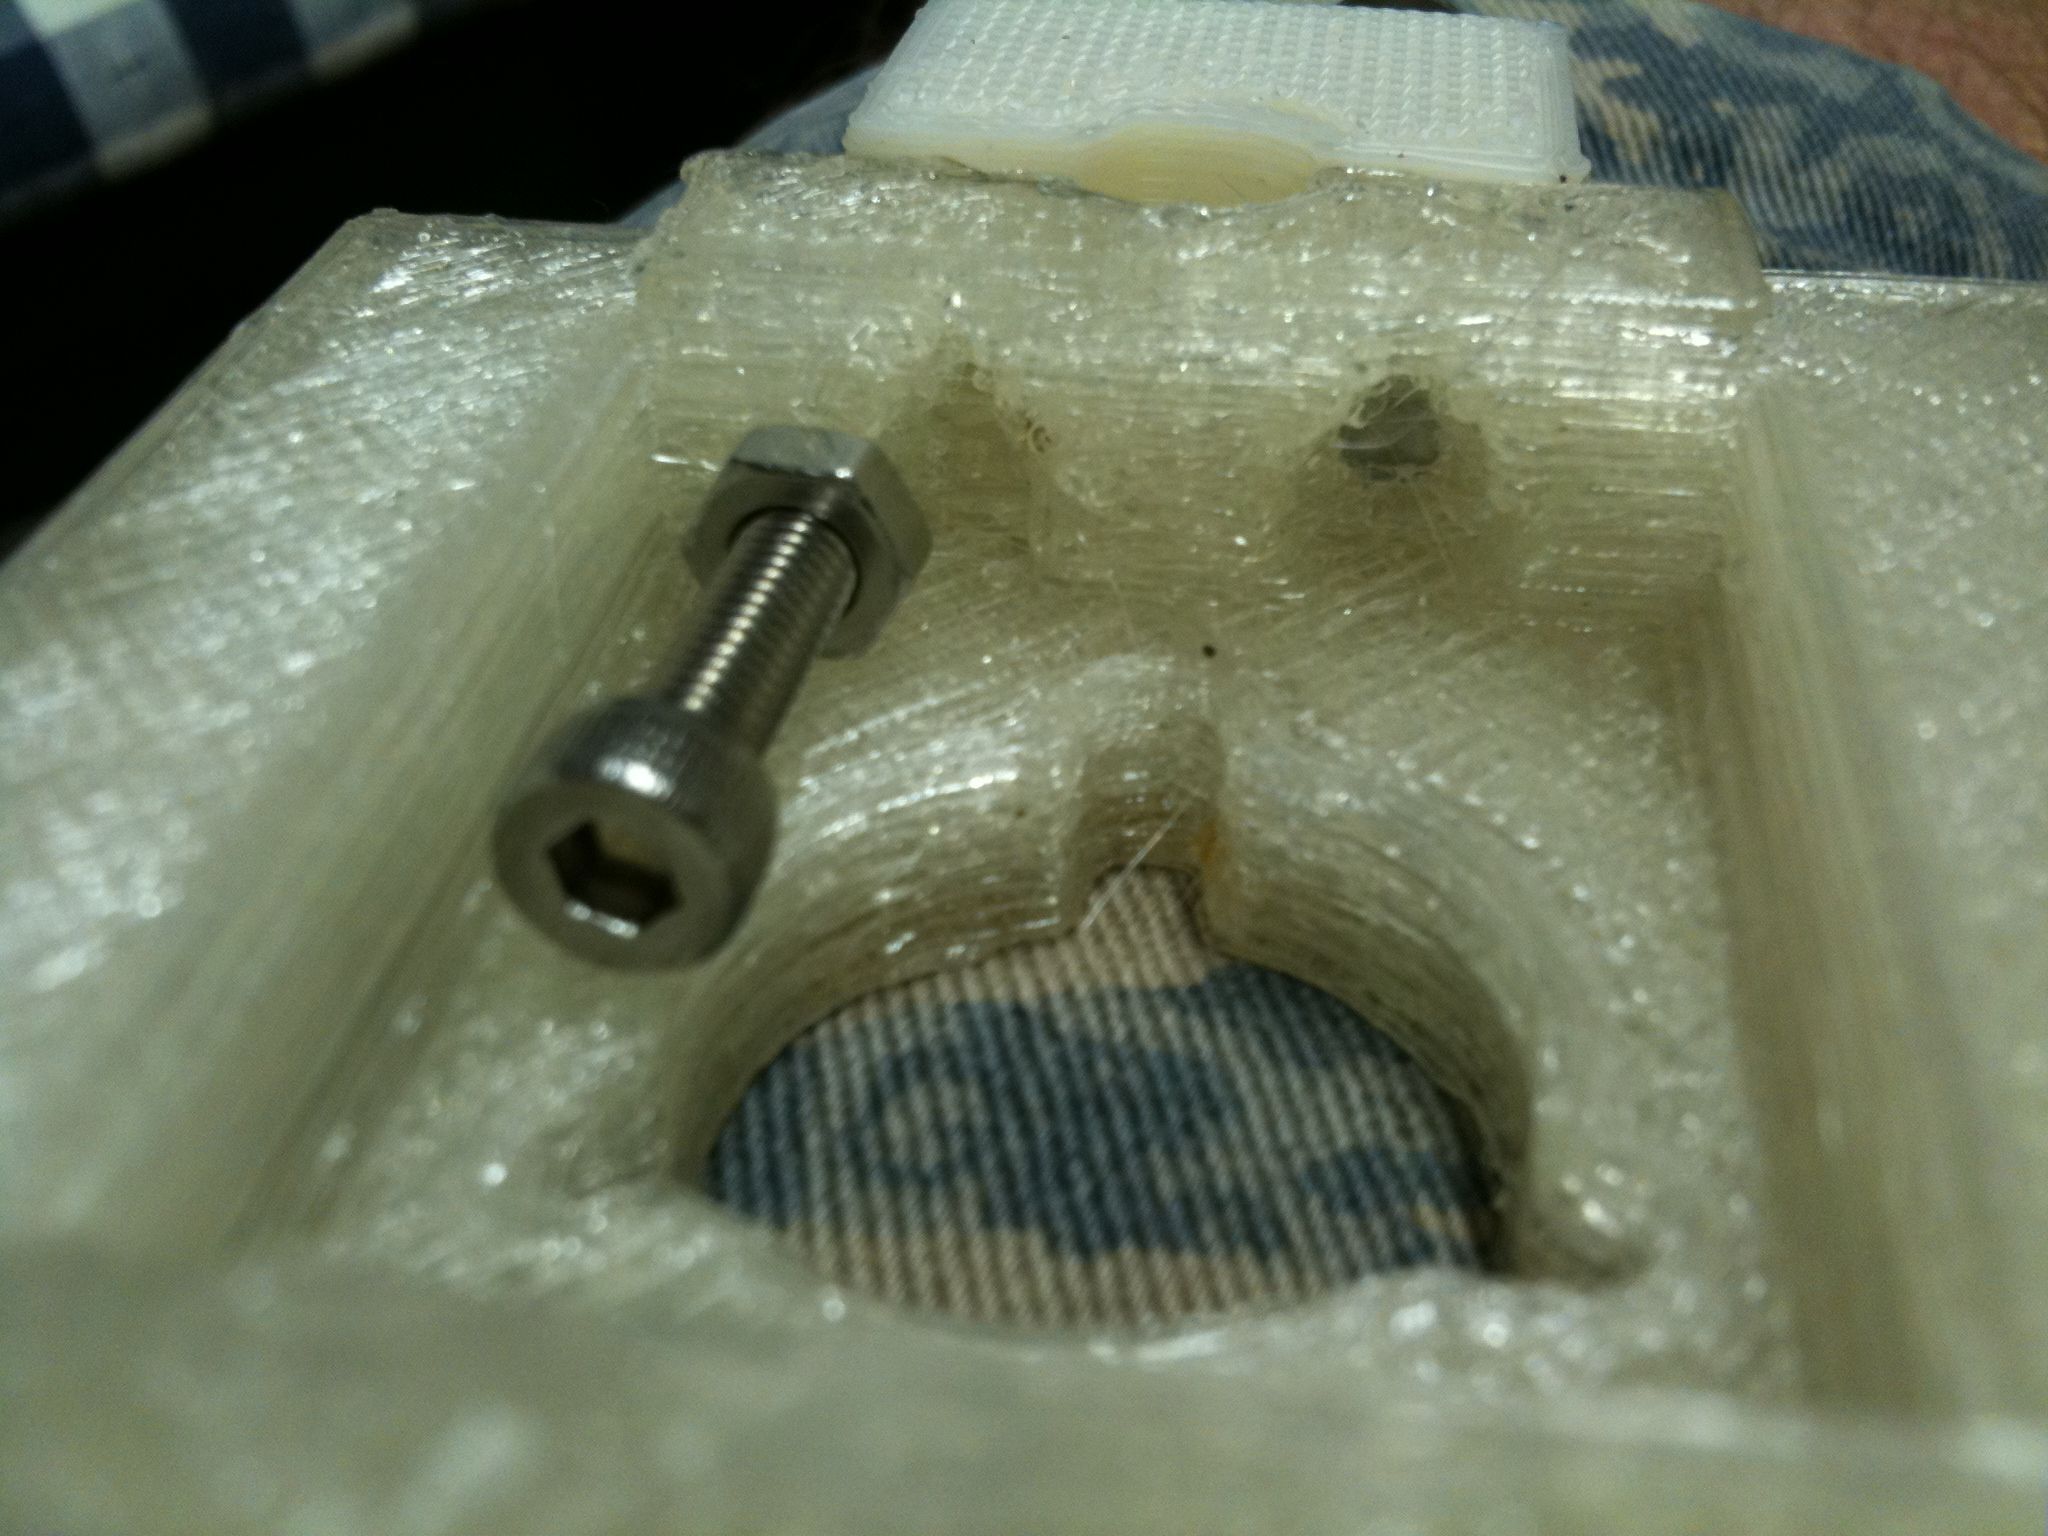
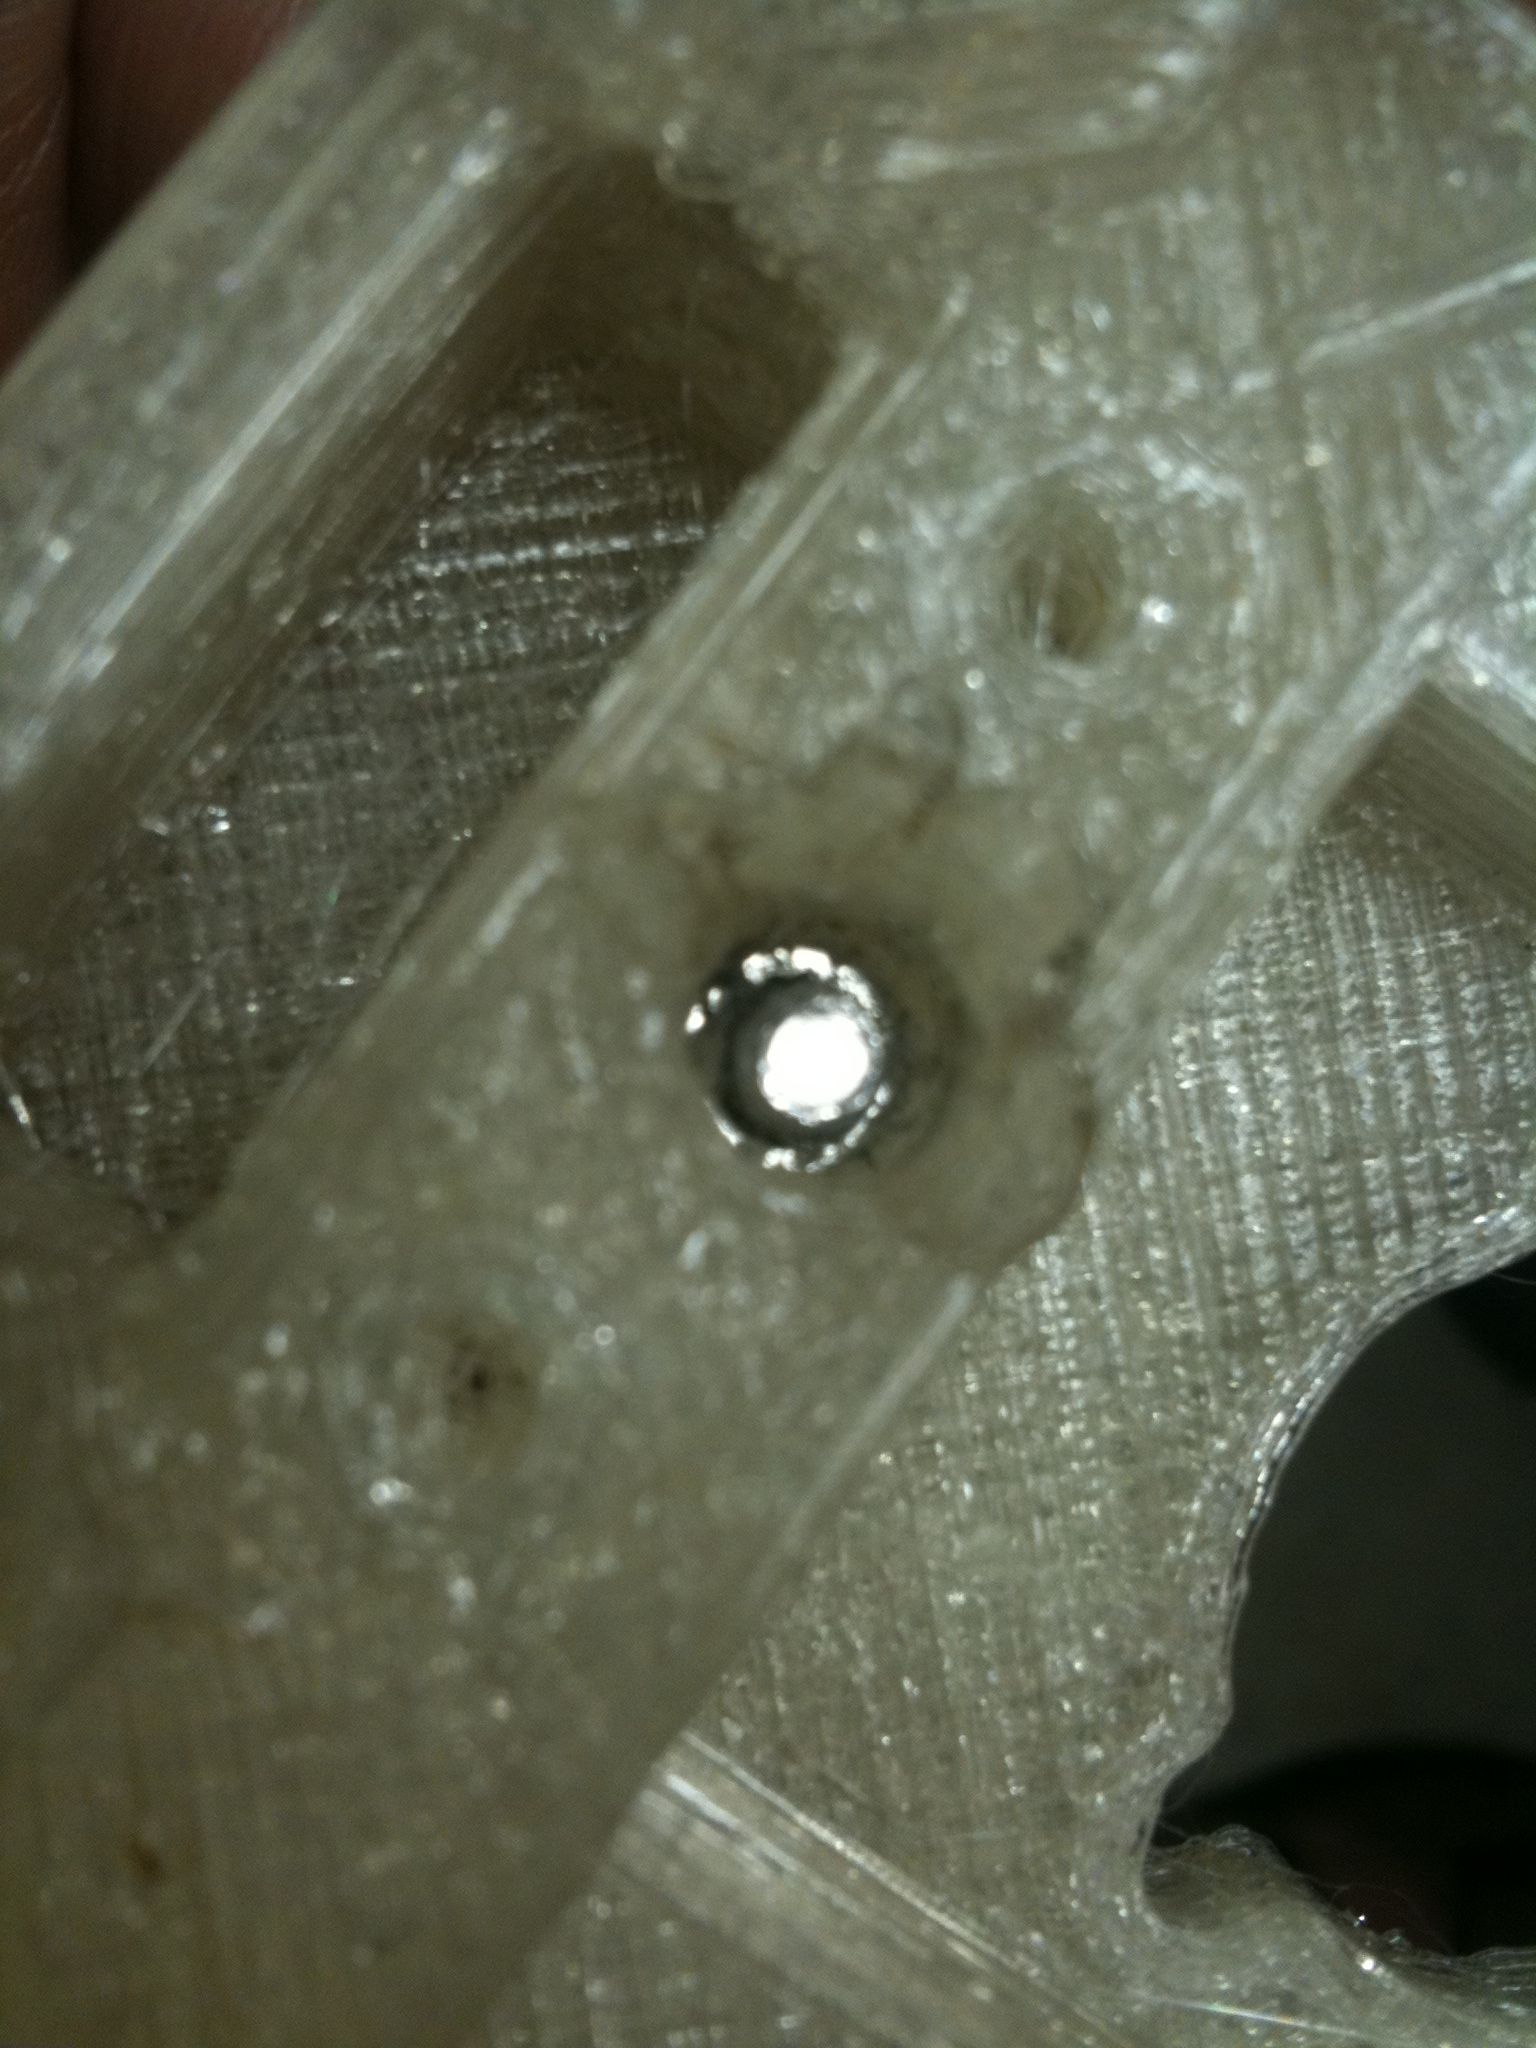
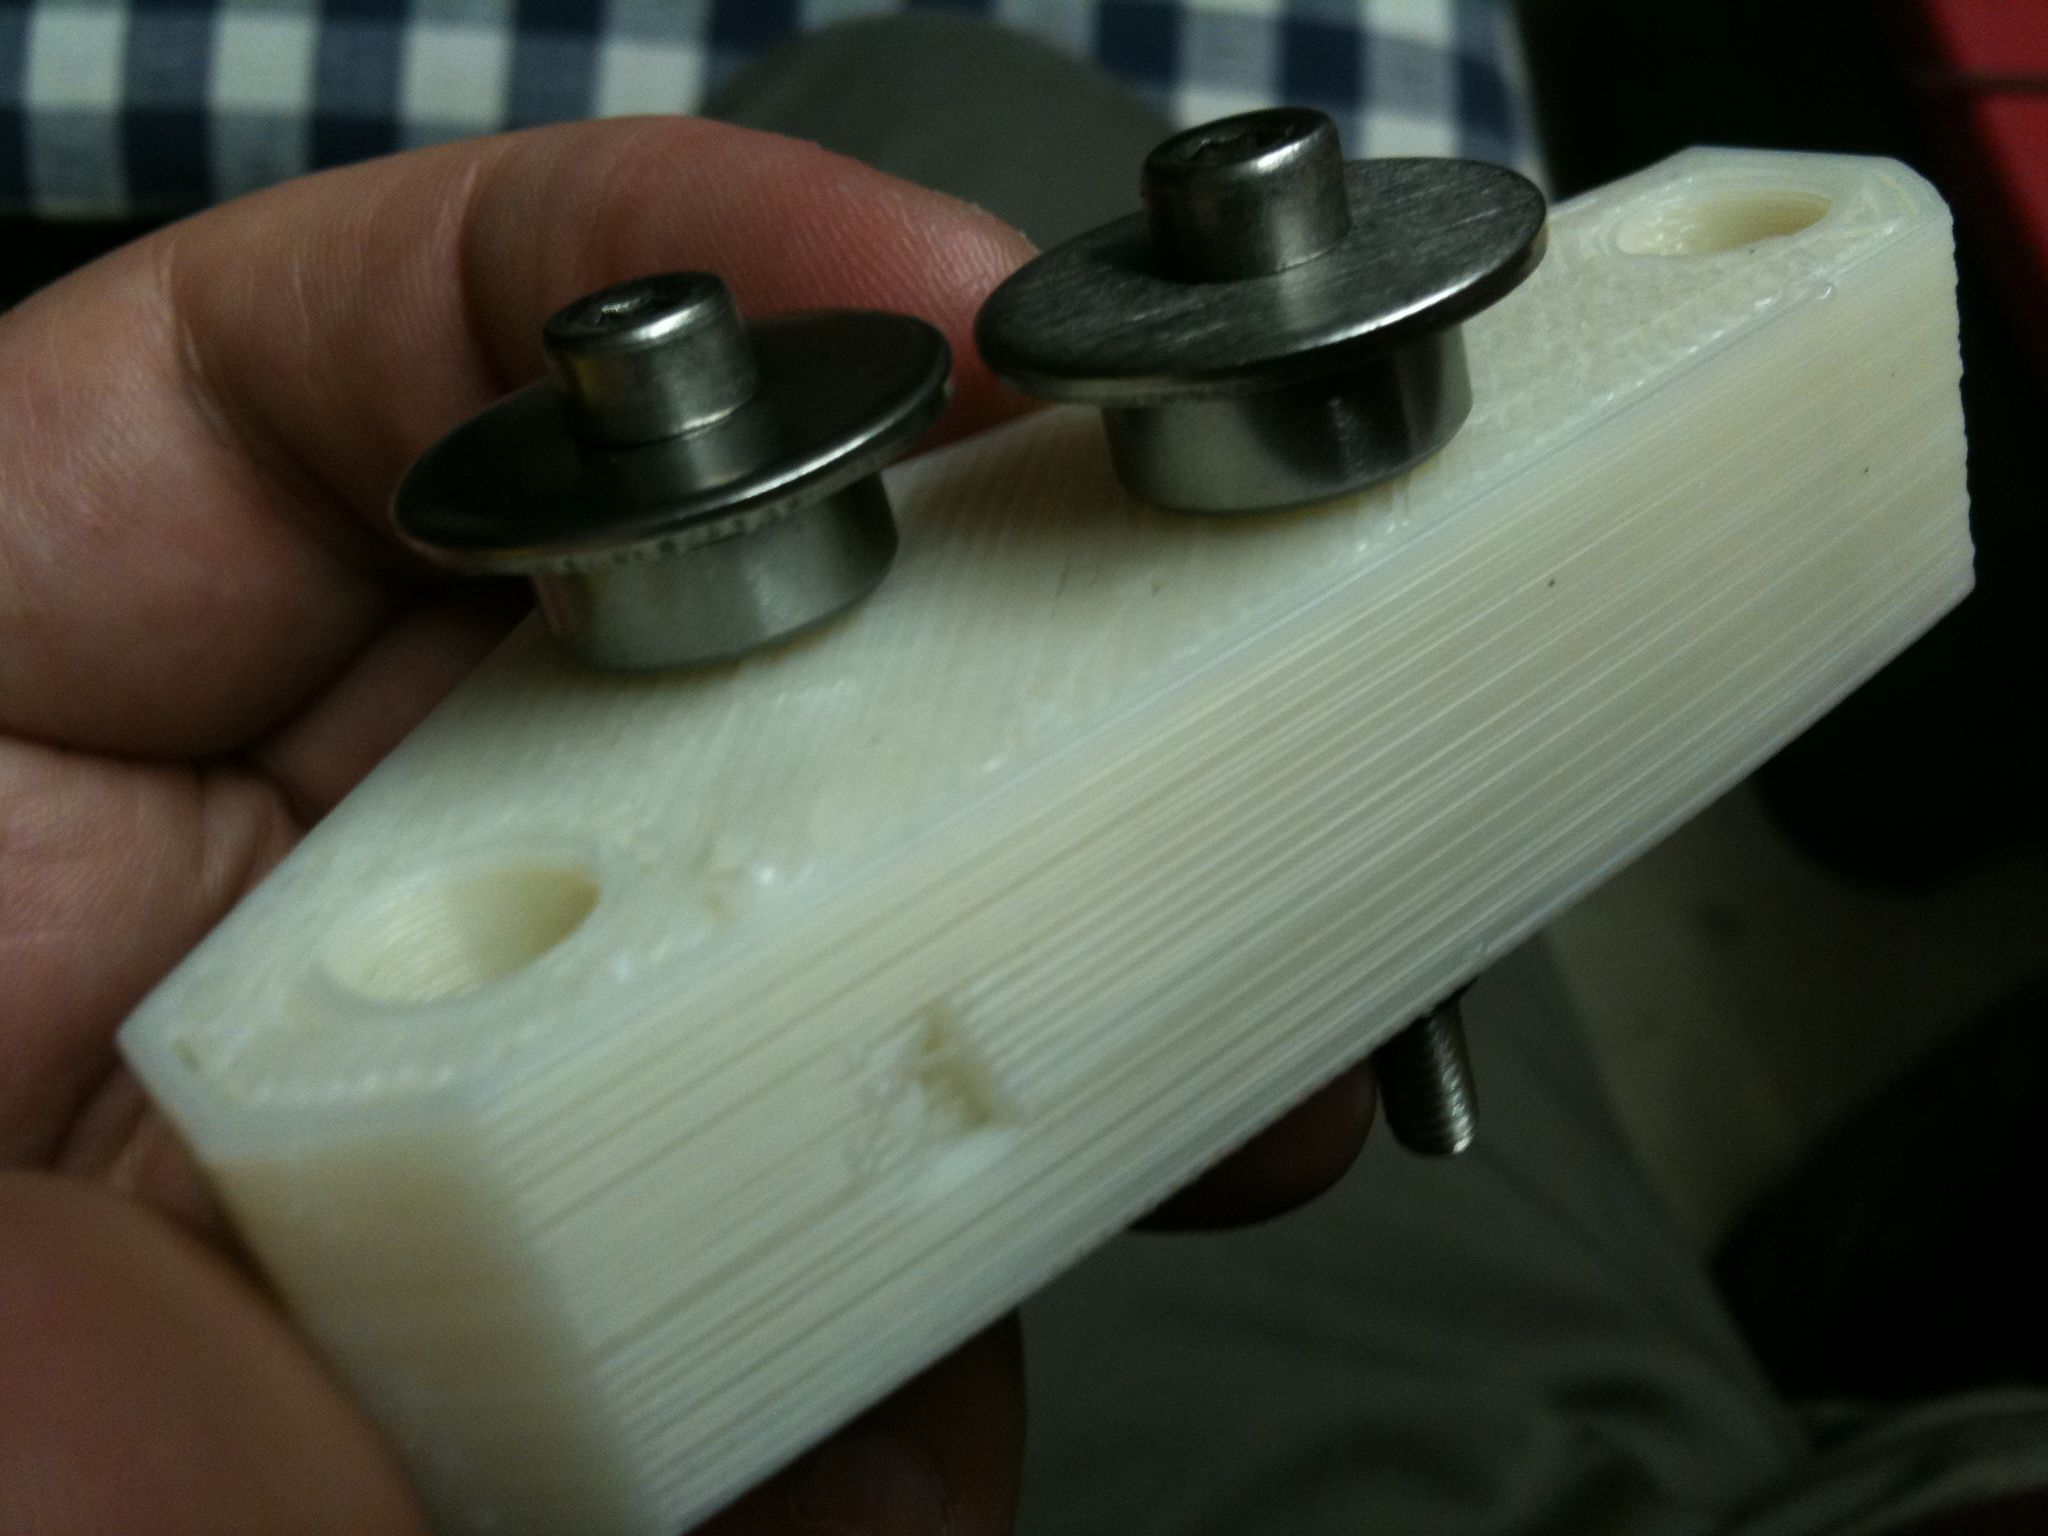
Success! Ok, so then the bad part. On one of those two, I’m supposed to sink a nut way down into a long hexagonal shaft, so that a long bolt can just barely engage the nut on the other side of the piece. Here is the nut resting on the top of that shaft (not pushed in at all):
So what the instructions say to do is to push it in as far as you can, then take a small M4 bolt, put an M4 washer on it, then screw it into the hole on the bottom side of the piece. The idea is you’ll catch the nut, then as you screw it tighter, the head of the bolt will push against the washer, and continued screwing will pull the nut down to the bottom of the hexagonal shaft. Then, you unscrew the bolt, and the nut is in place for the larger bolt to take its place (after going through another two pieces).
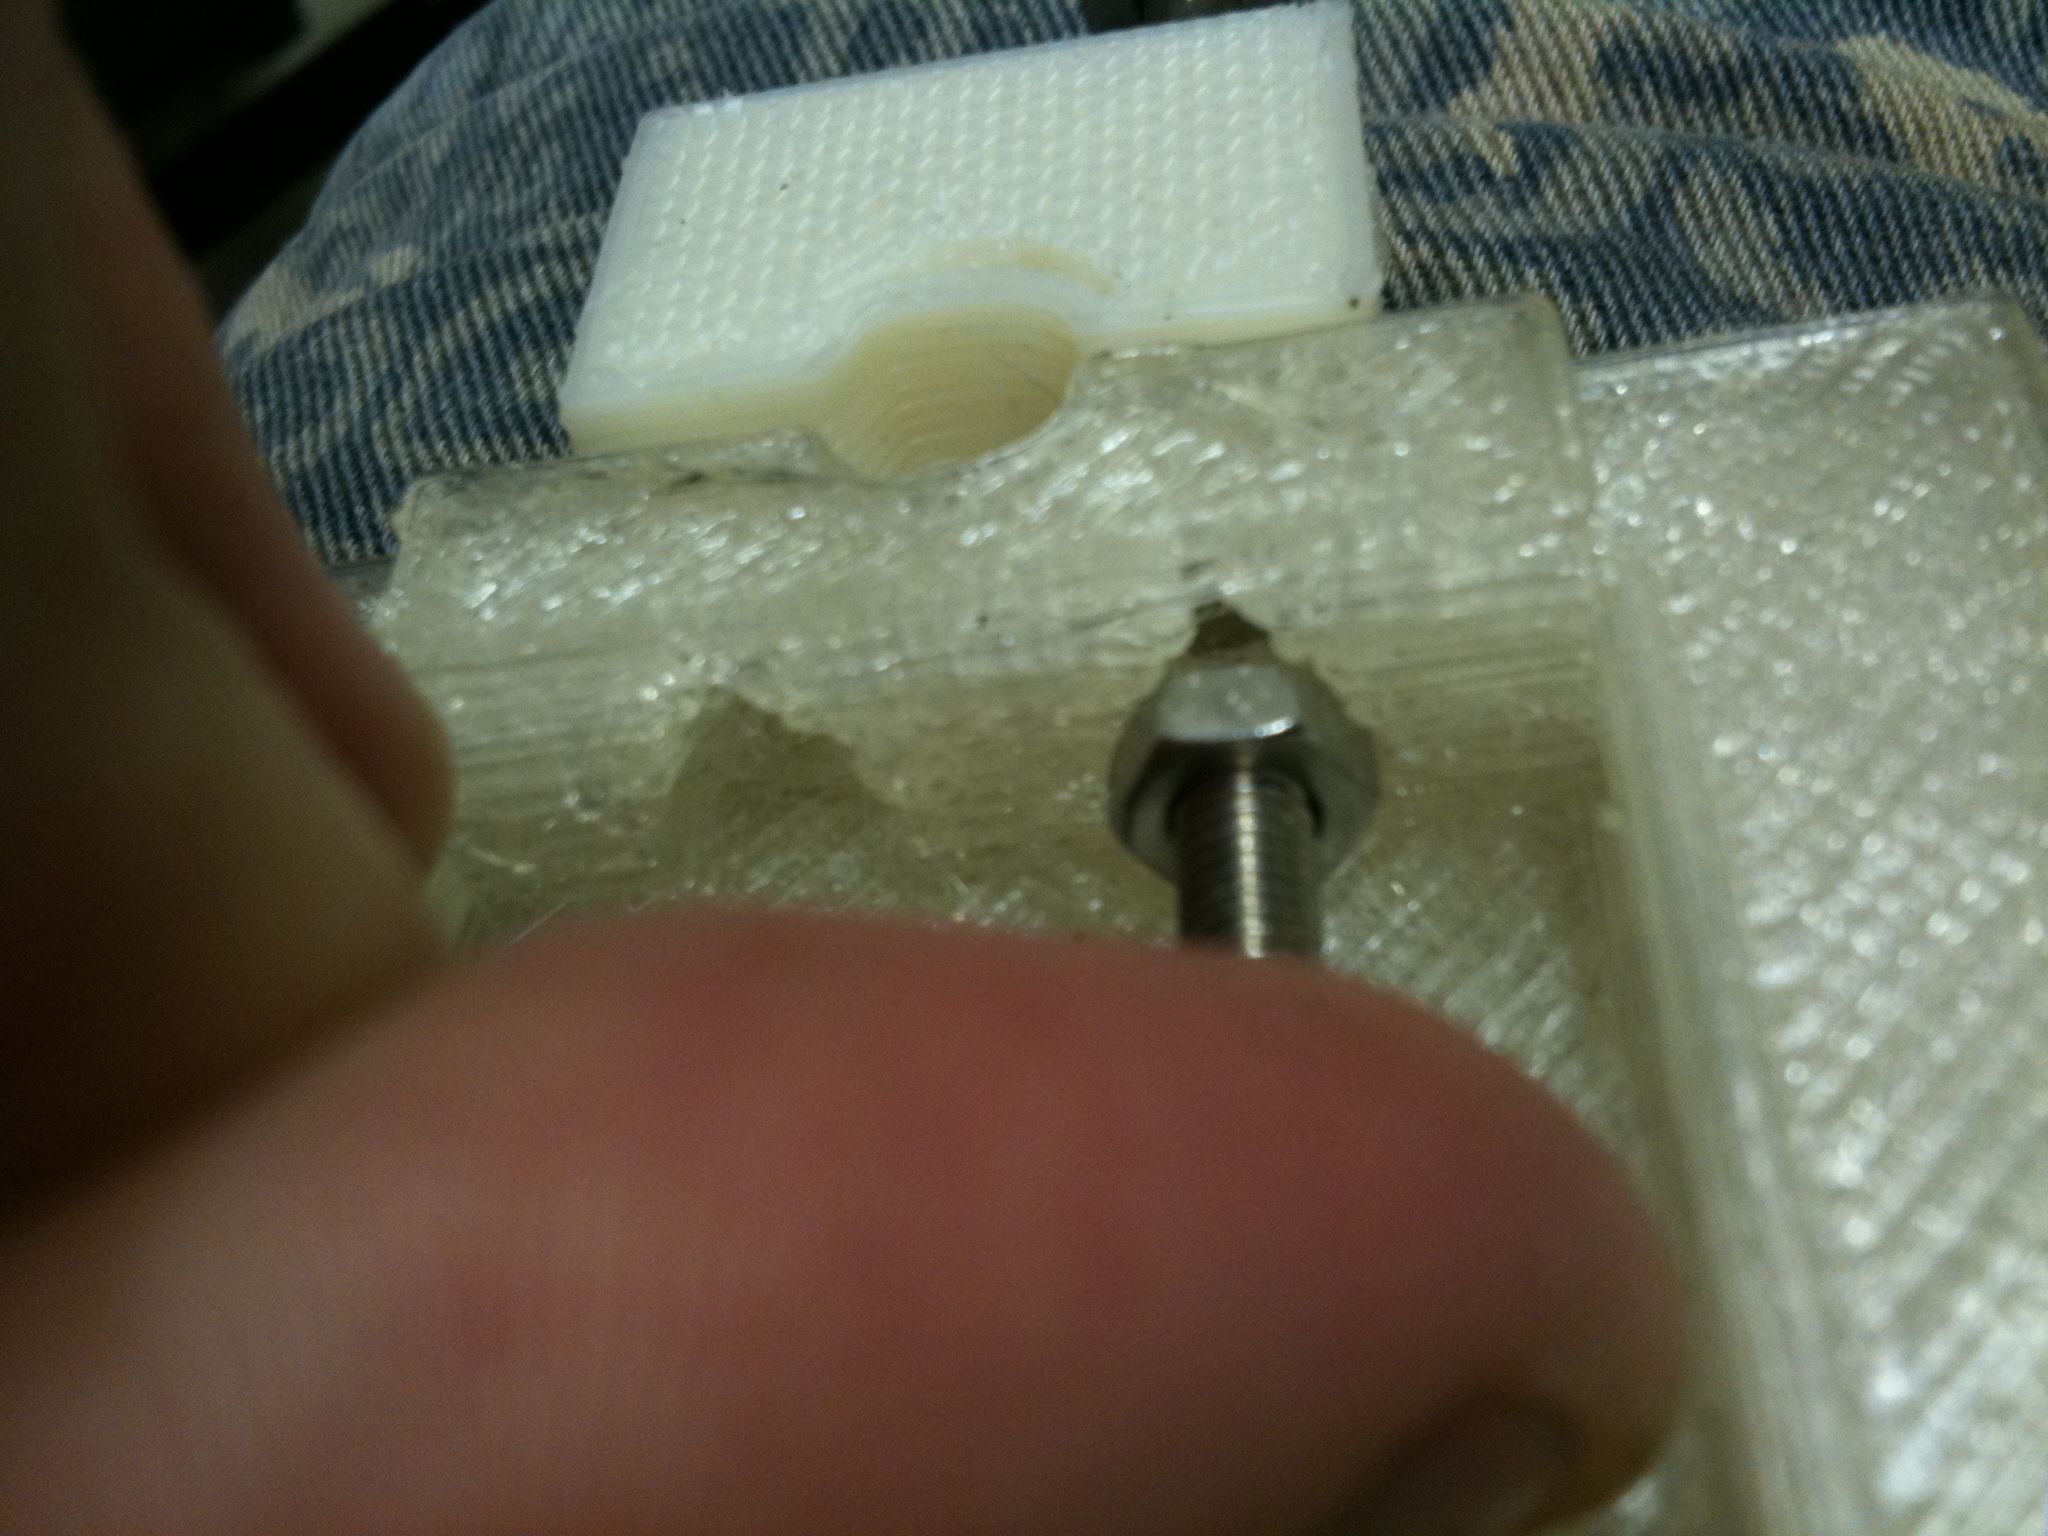
Yeah. So, that didn’t work out so well. The problem was that the hexagonal shaft wasn’t completely clean – it was still one of these pieces printed out of PLA that need work. So initially I couldn’t even get the piece to go down at all. Then I used a soldering iron to get it to go down as far as I could, turned the piece over, put in the small M4 nut, and pulled the nut down to the bottom.
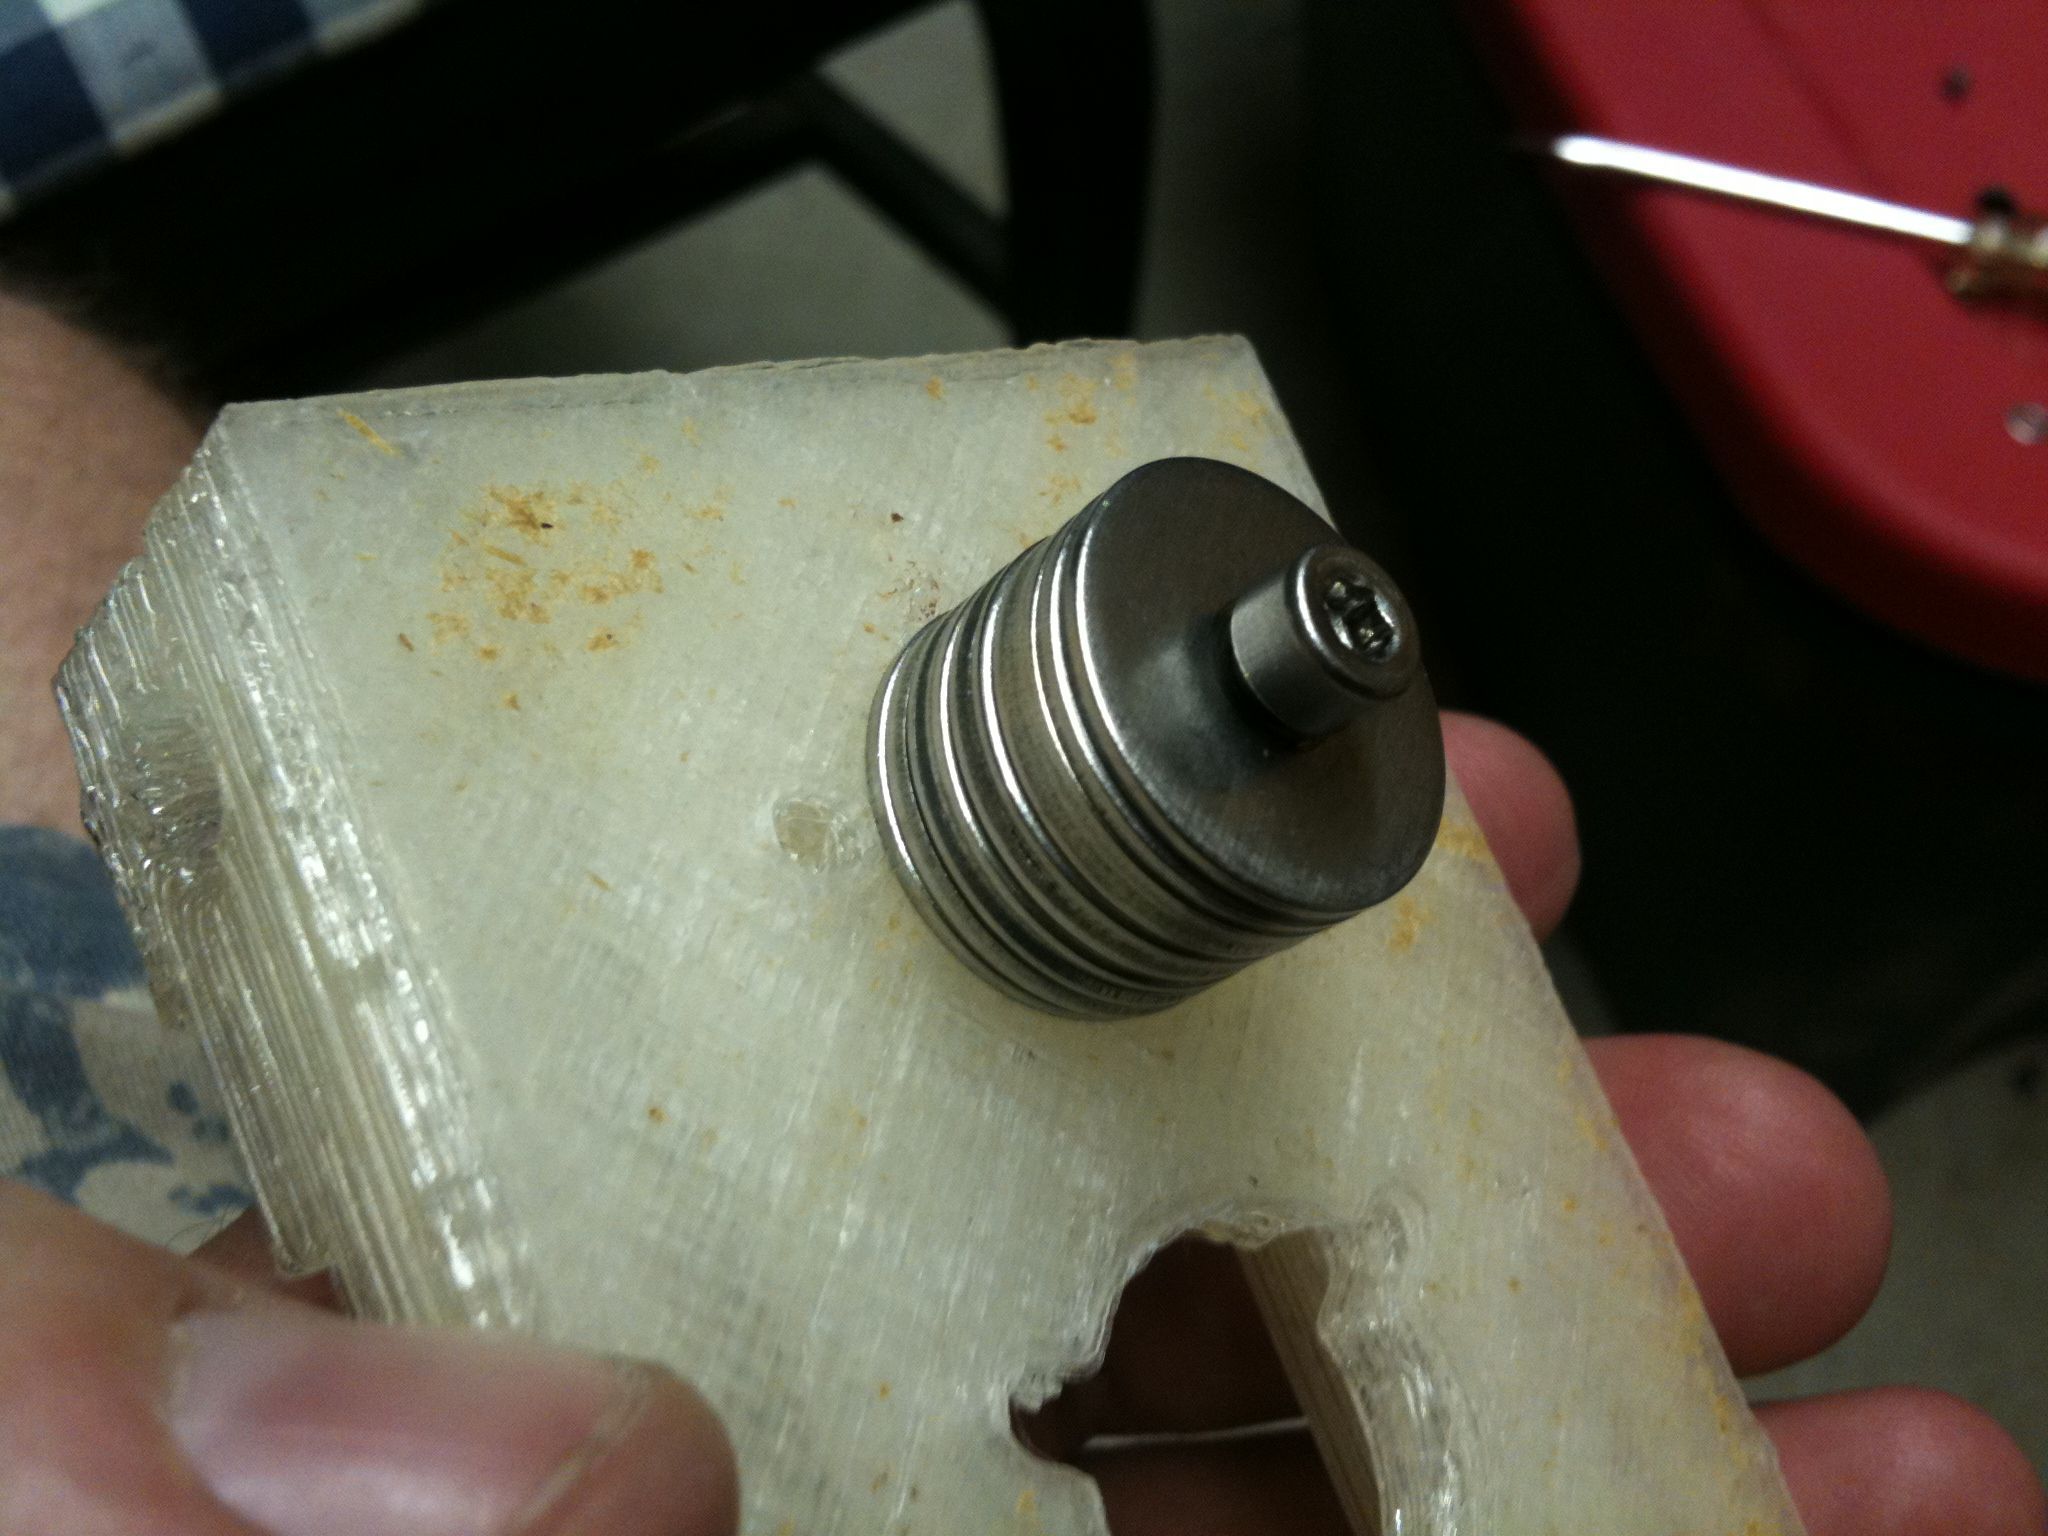
The problem is, at the last second I probably turned too much, and ended up stripping the hexagonal shape at the bottom of that shaft. That left me with this:
Tragically that’s now stuck. The bolt is stuck in the nut, and trying to turn it just causes the nut to turn where it is. Still, that wasn’t the end of the world, because that hole was unused on one of the z-leadscrew-base assemblies, so, so what, one of them will have an extra bolt sticking out of the top where there should have been nothing…..
..but then I went to the next PLA z-leadscrew-base piece, to try the same thing on that, but as careful as I was, I had the exact same thing happen there. Worse, instead of using the small bolt, I figured I’d try using a longer bolt, as it might reach the nut easier. That of course meant I needed something for the bolt head to push against, so I threw on a bunch of mudguard washers I had which were pretty thick. All of THOSE are now stuck on that piece, making that entire piece unusable:
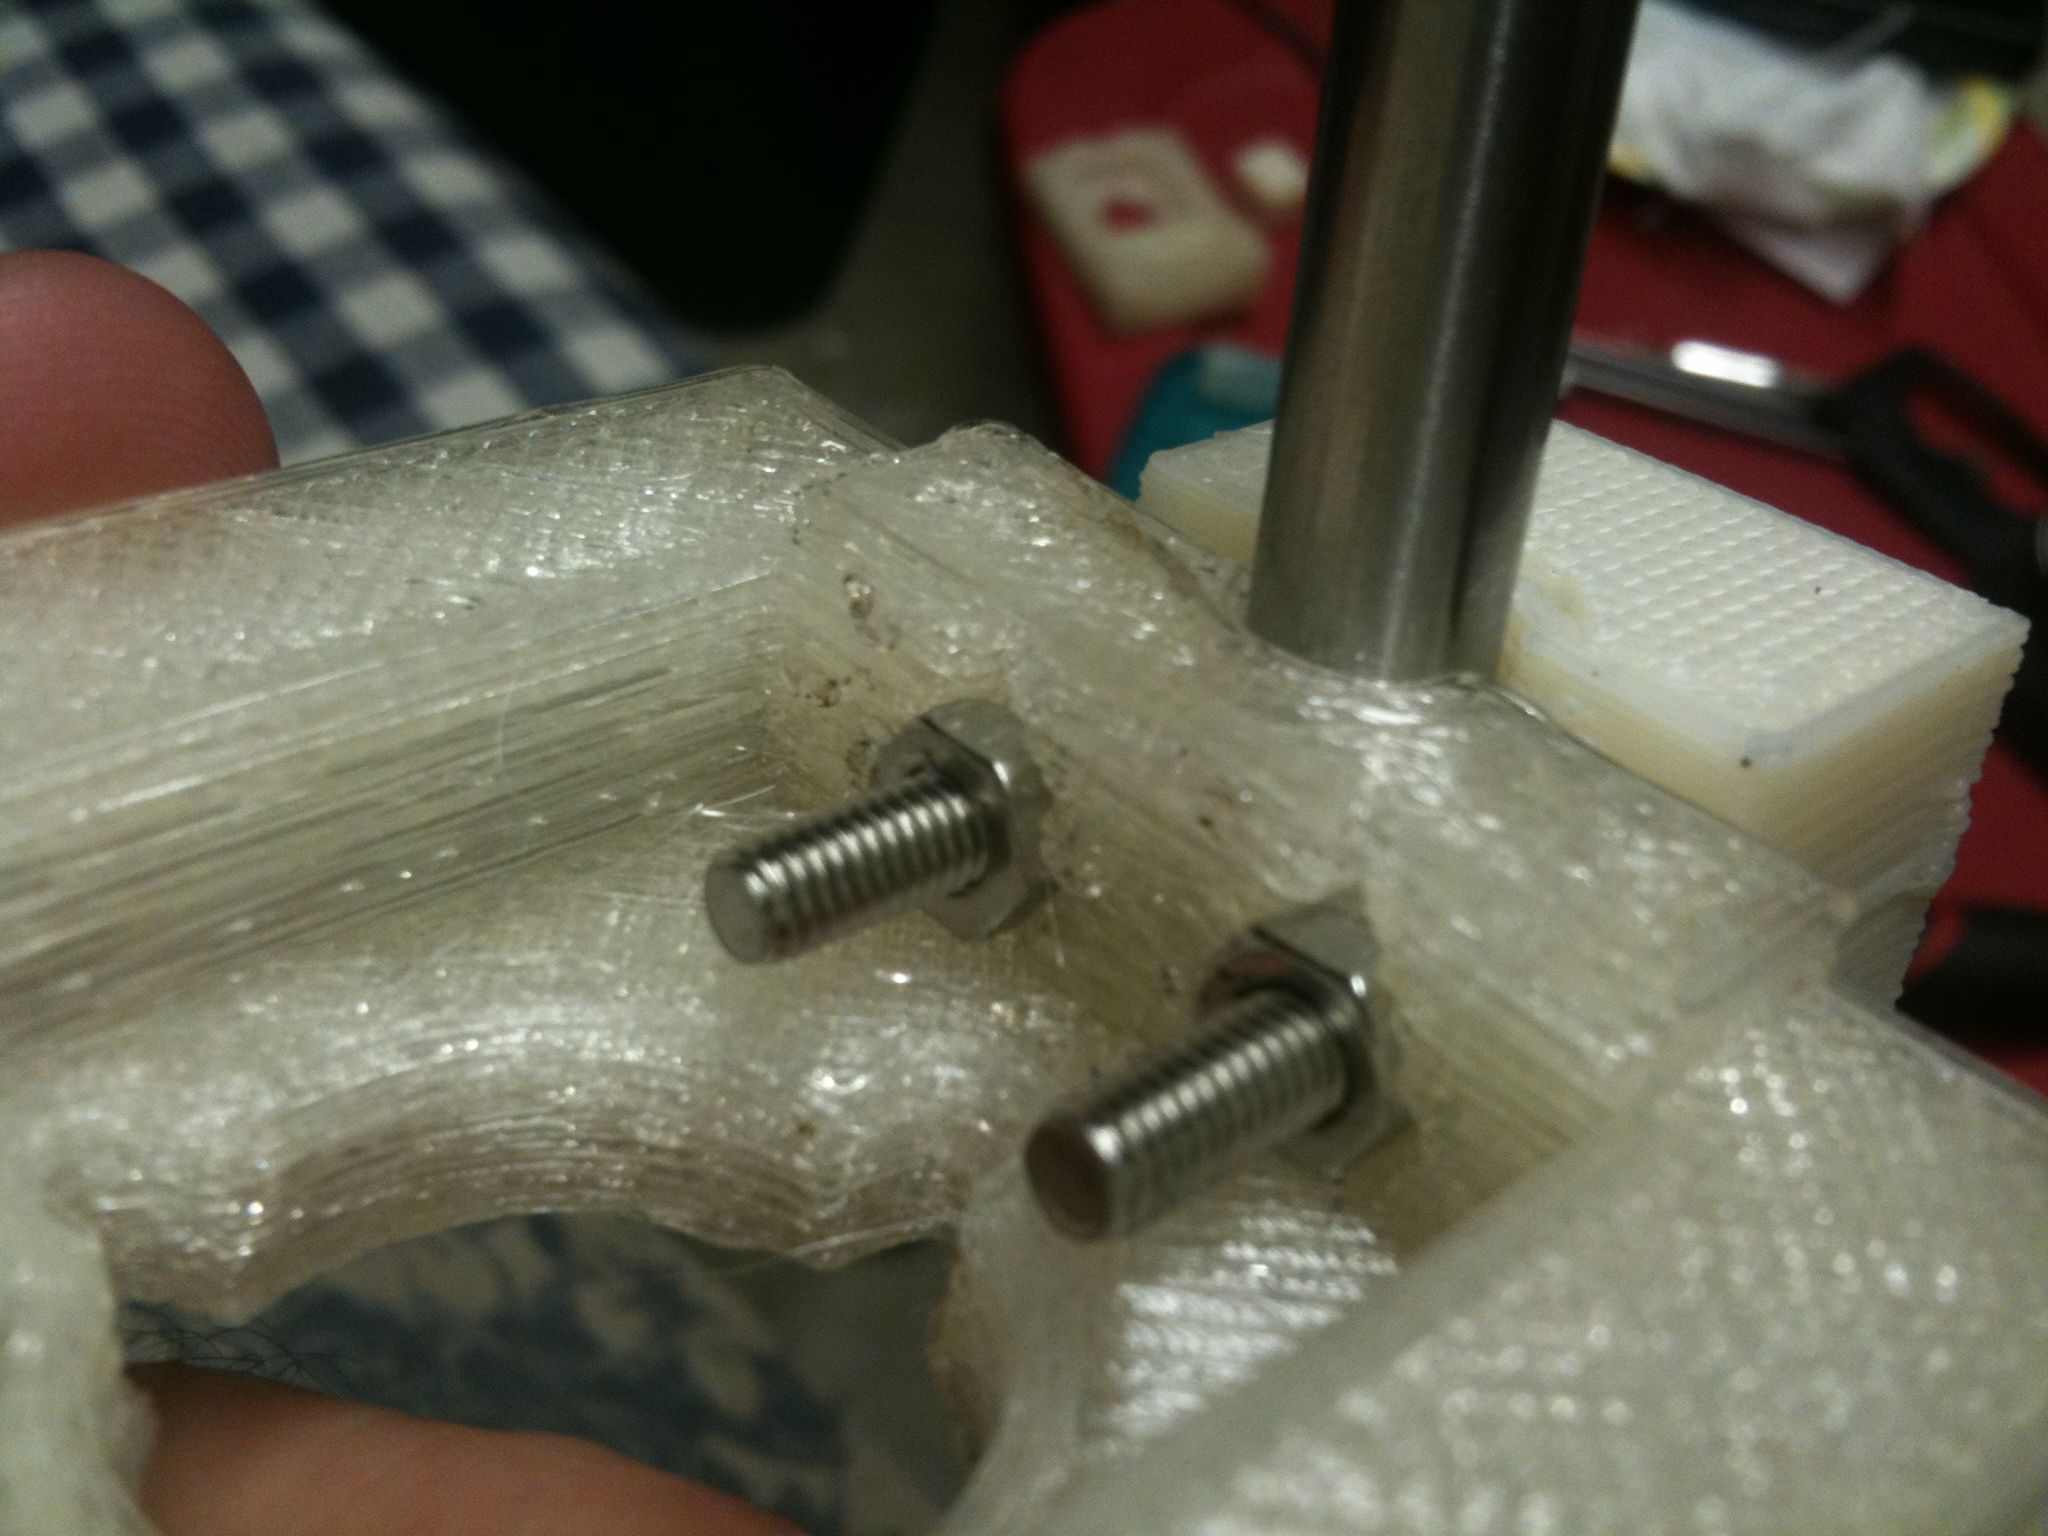
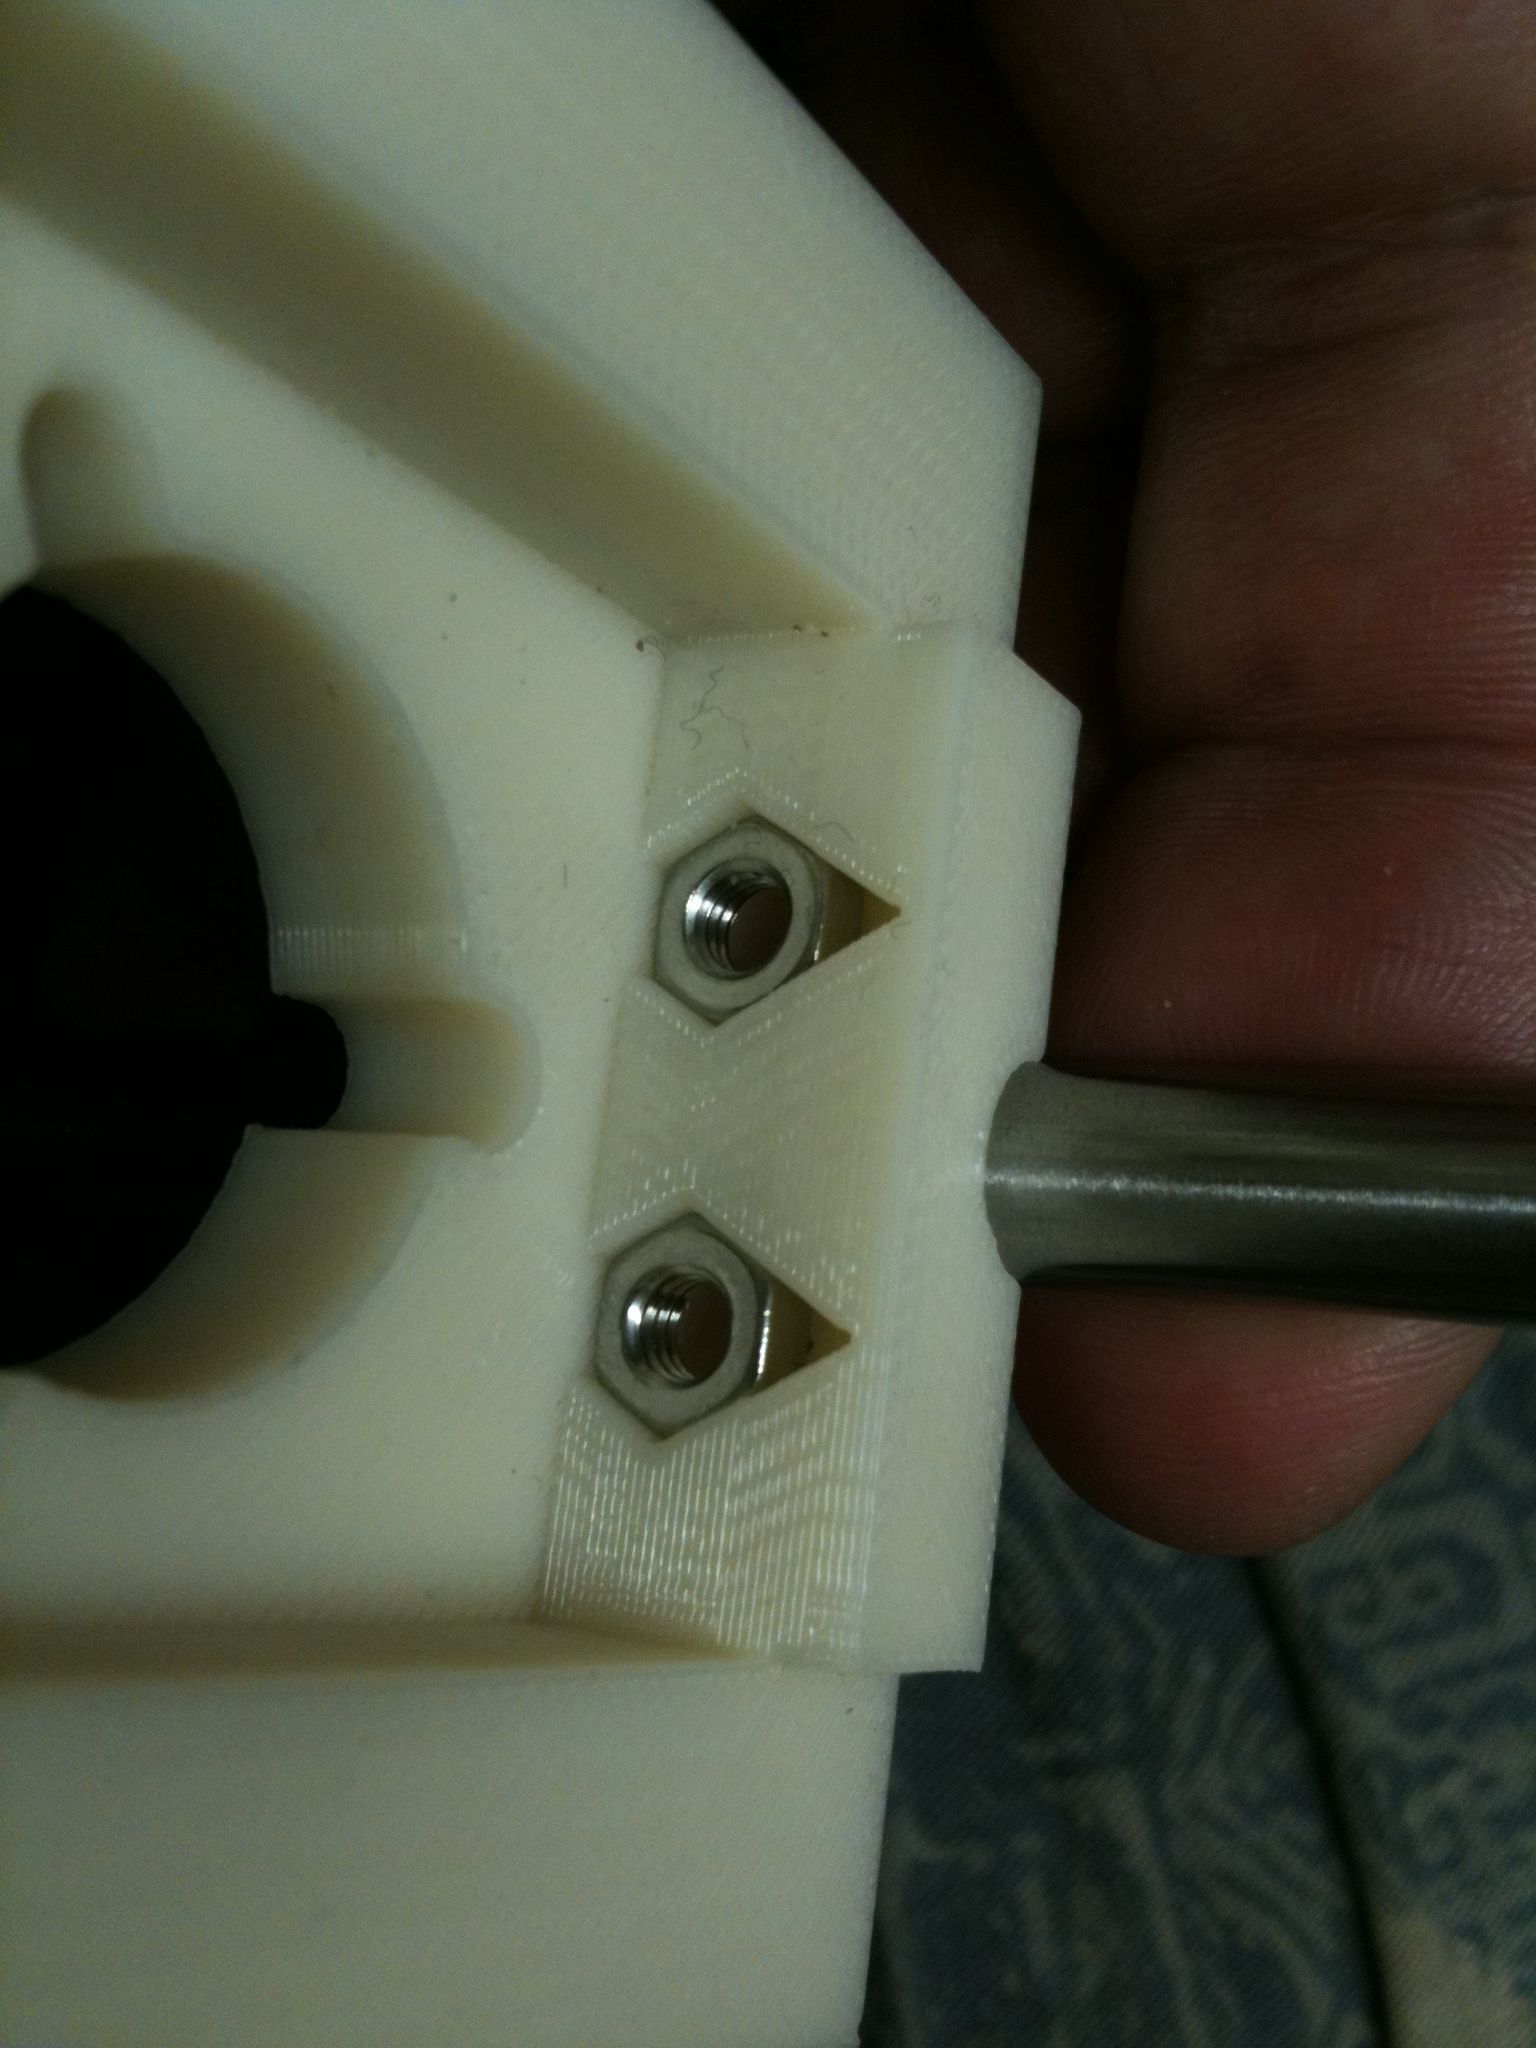
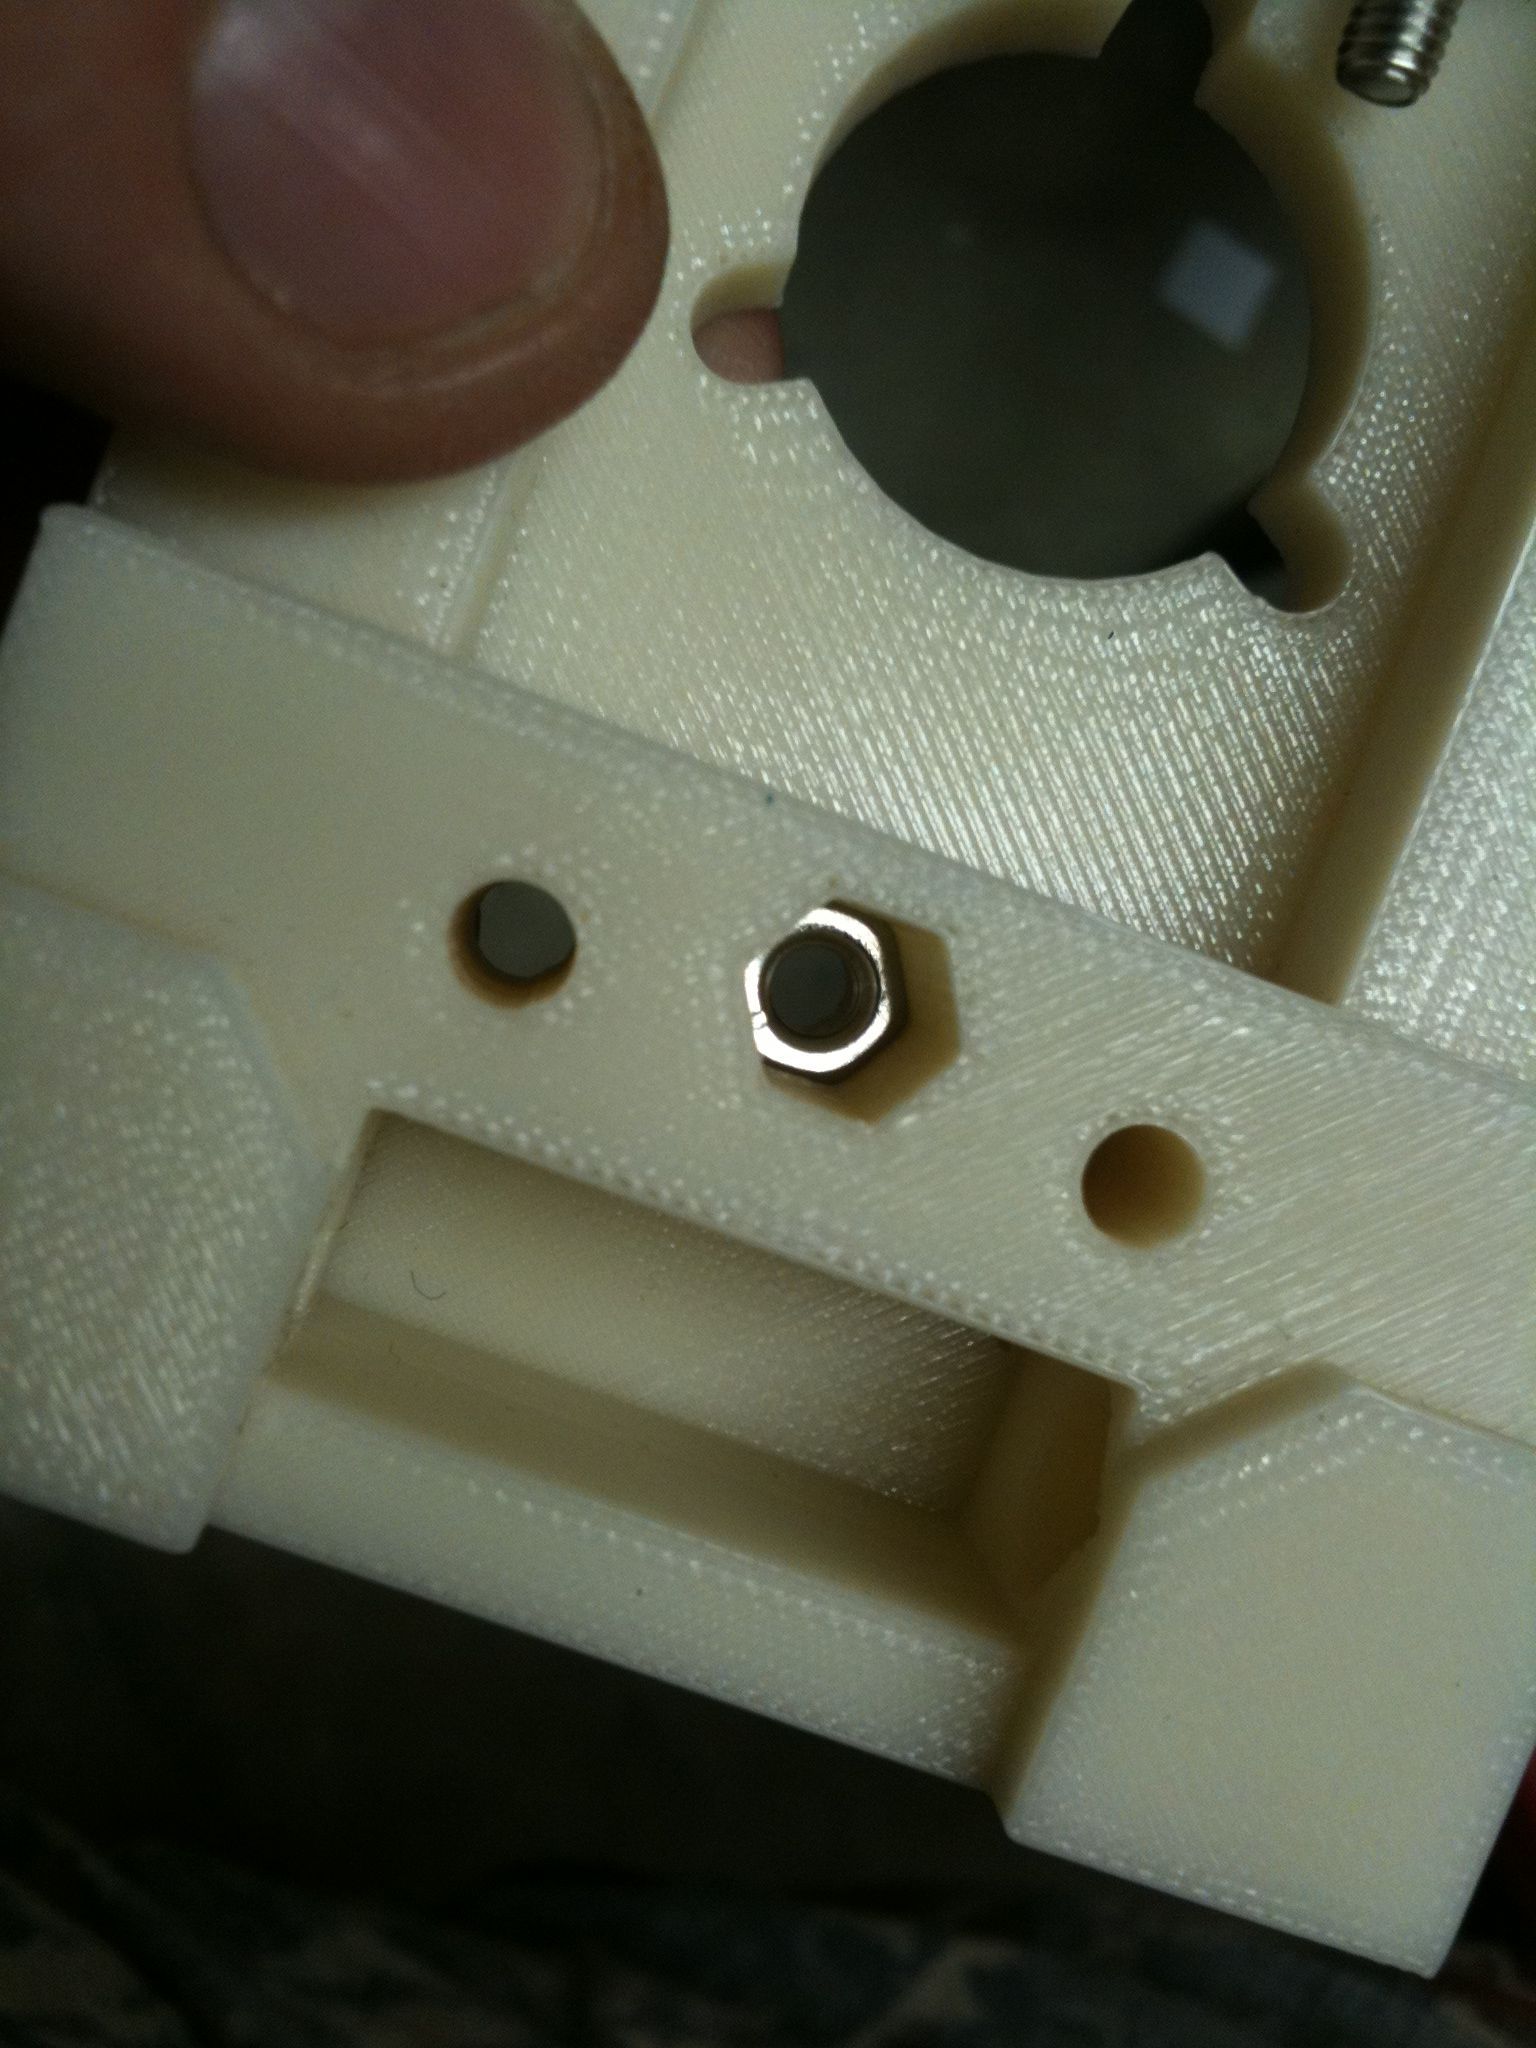
But luckily, I had those pieces from work! And they were made on that Stratasys printer, which used support material, so those holes were perfect! Look how perfectly these nuts fit into the nut traps in the piece printed with support material:
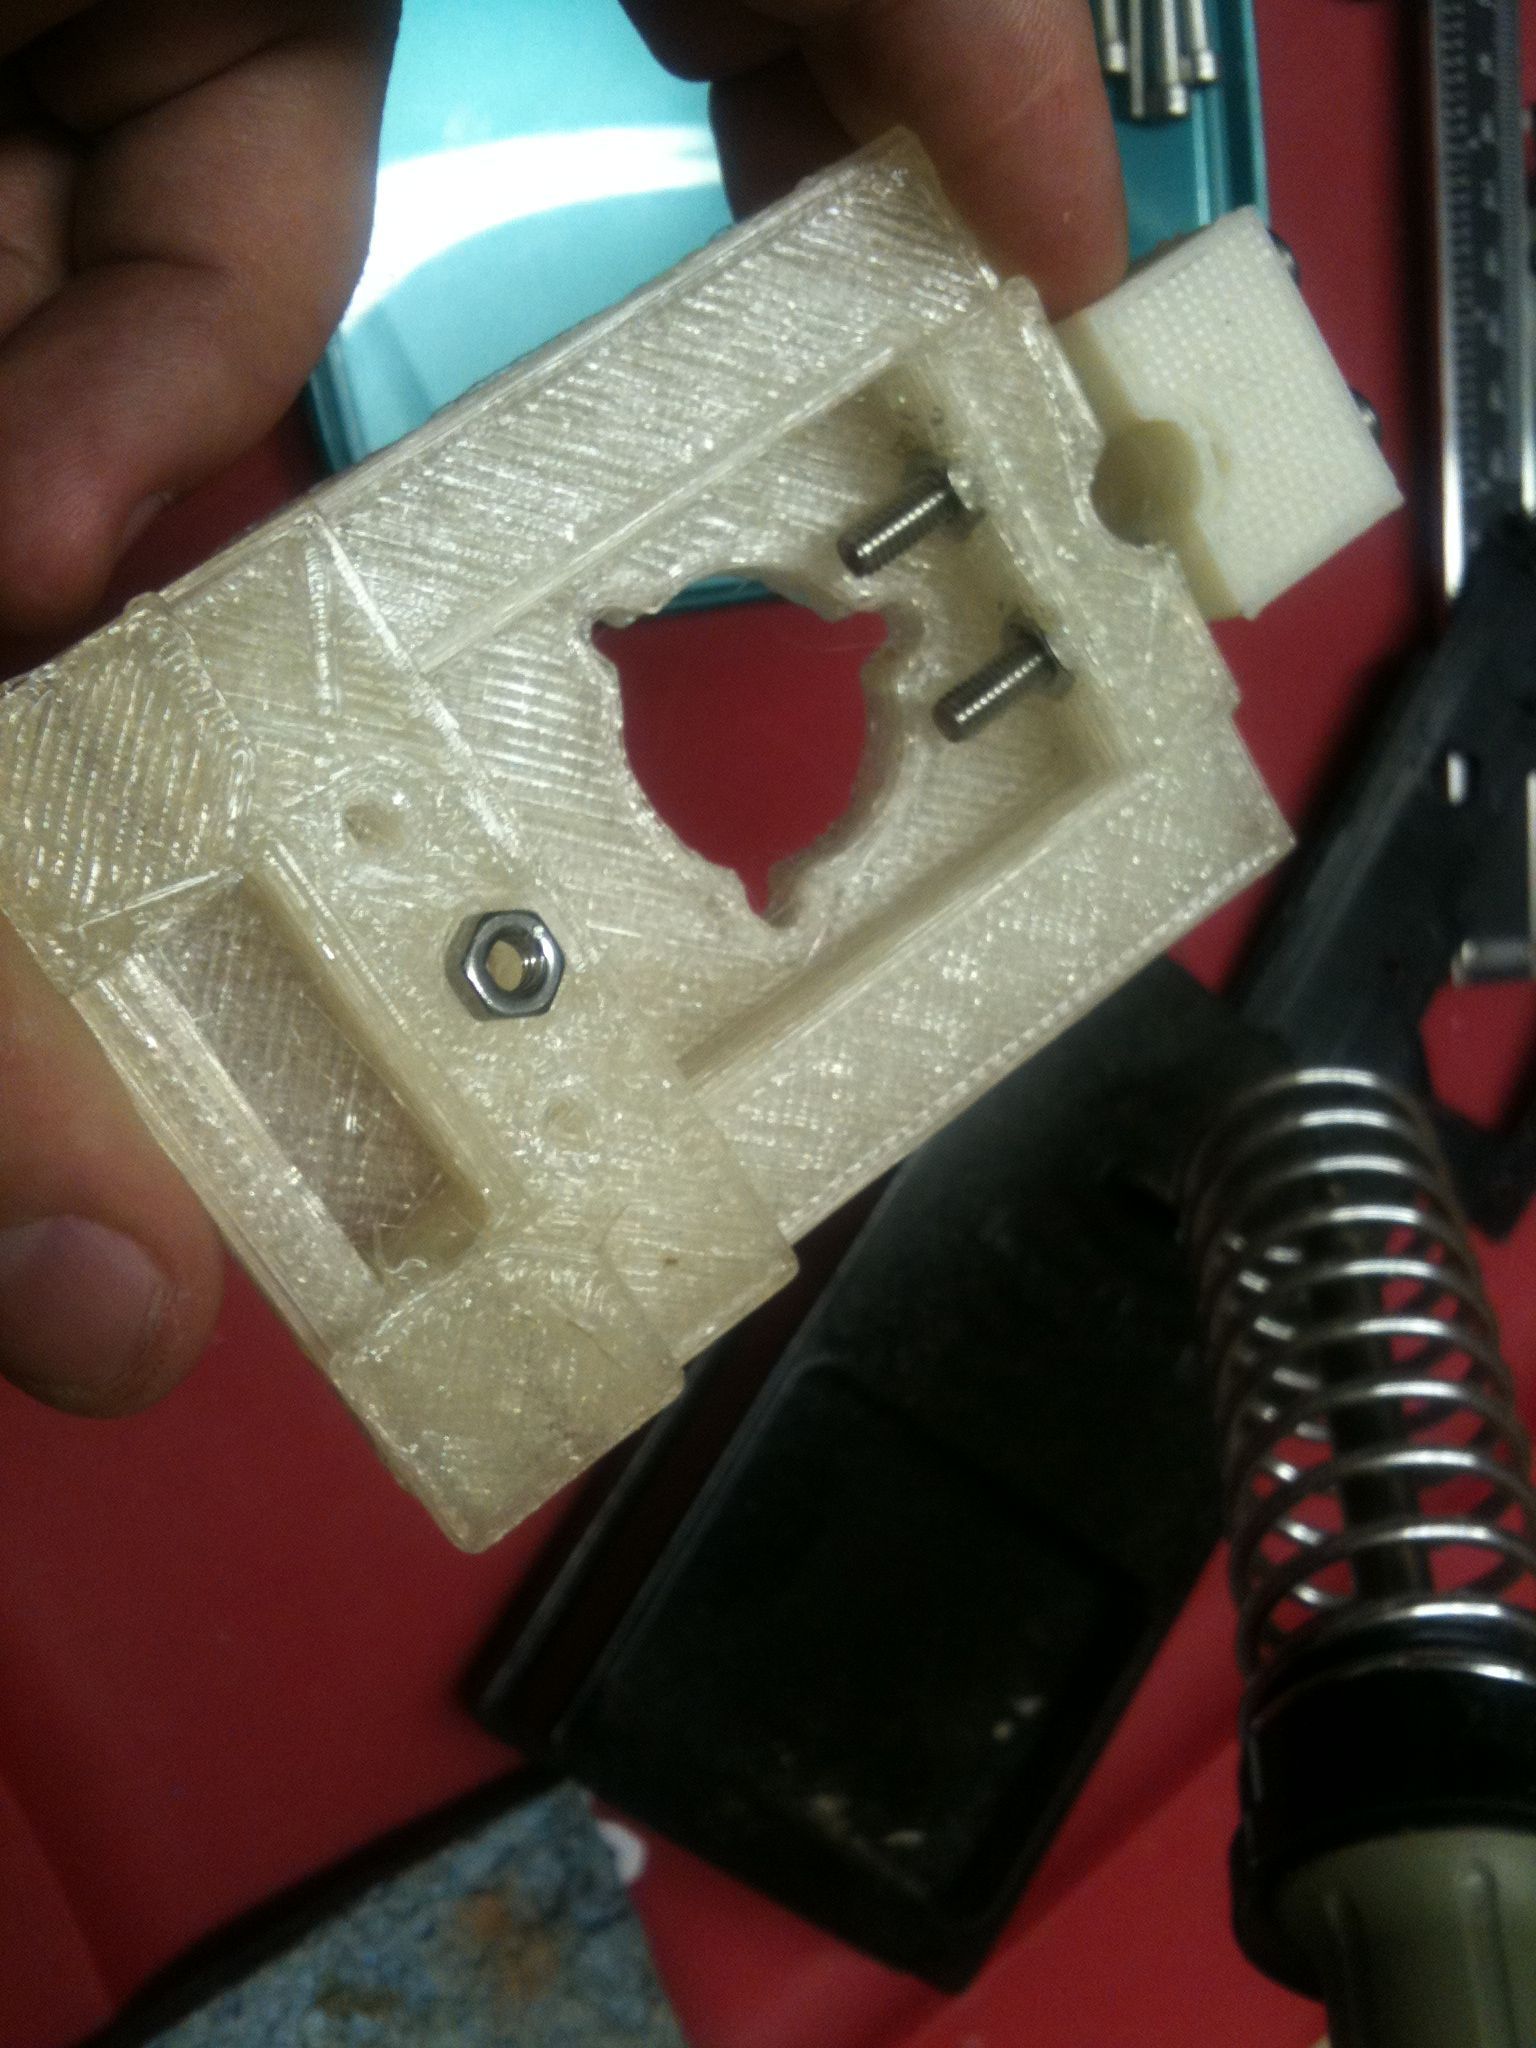
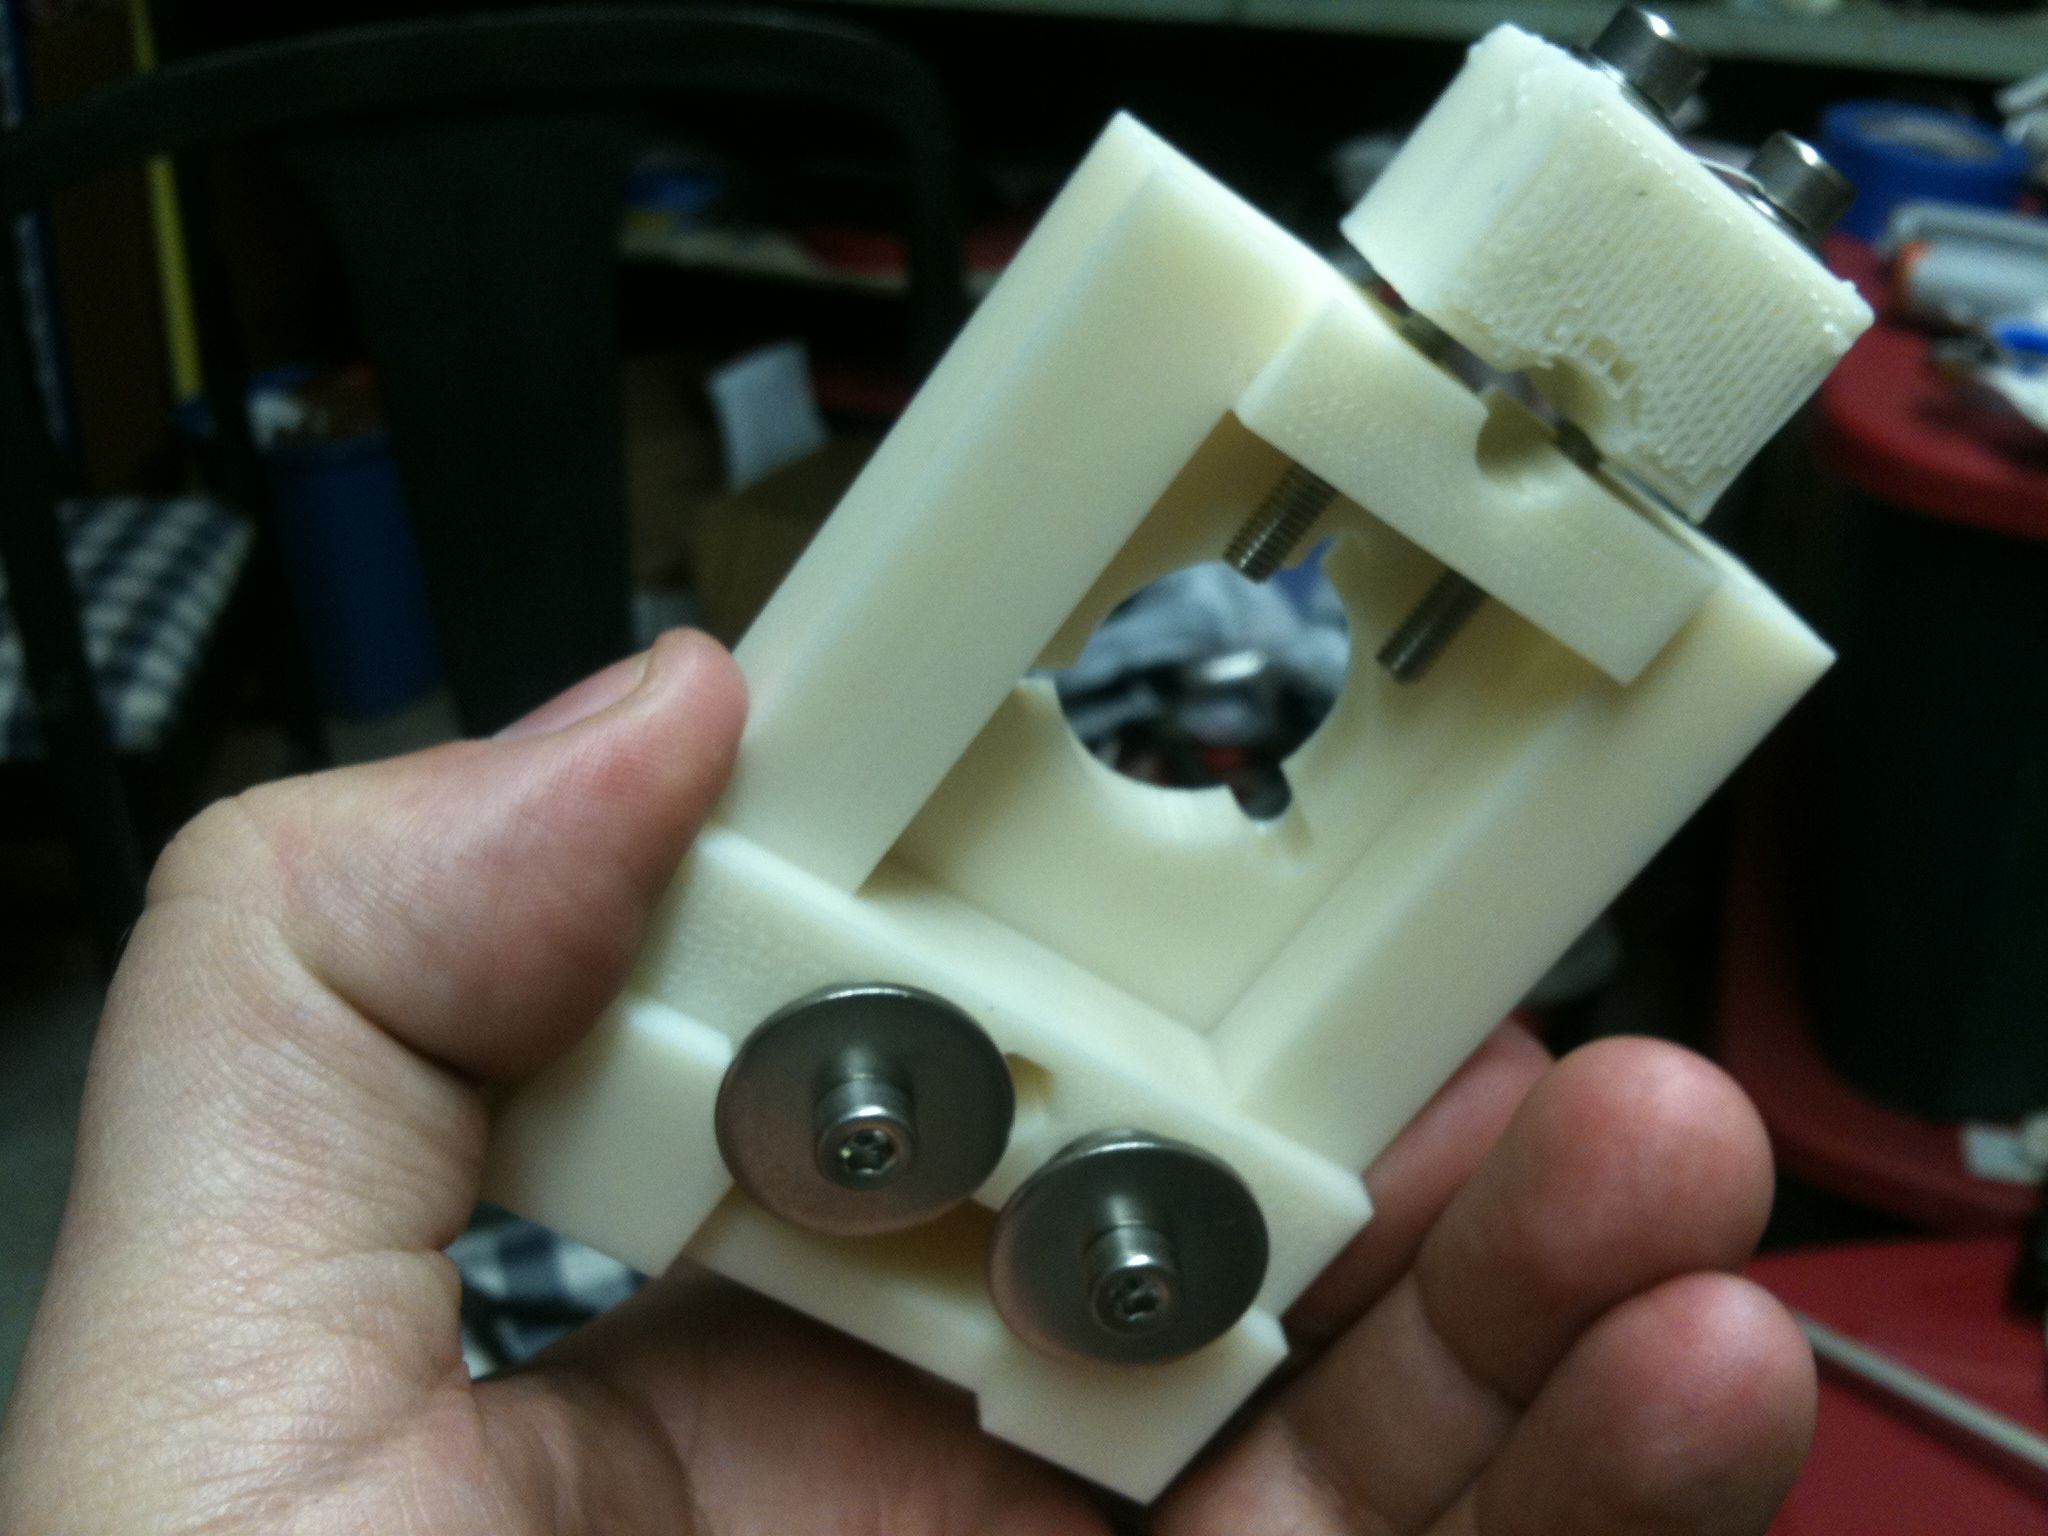
So here’s the z-leadscrew-base assembly that needed the long bolt coming out of the back. I still think this looks like a Star Destroyer:
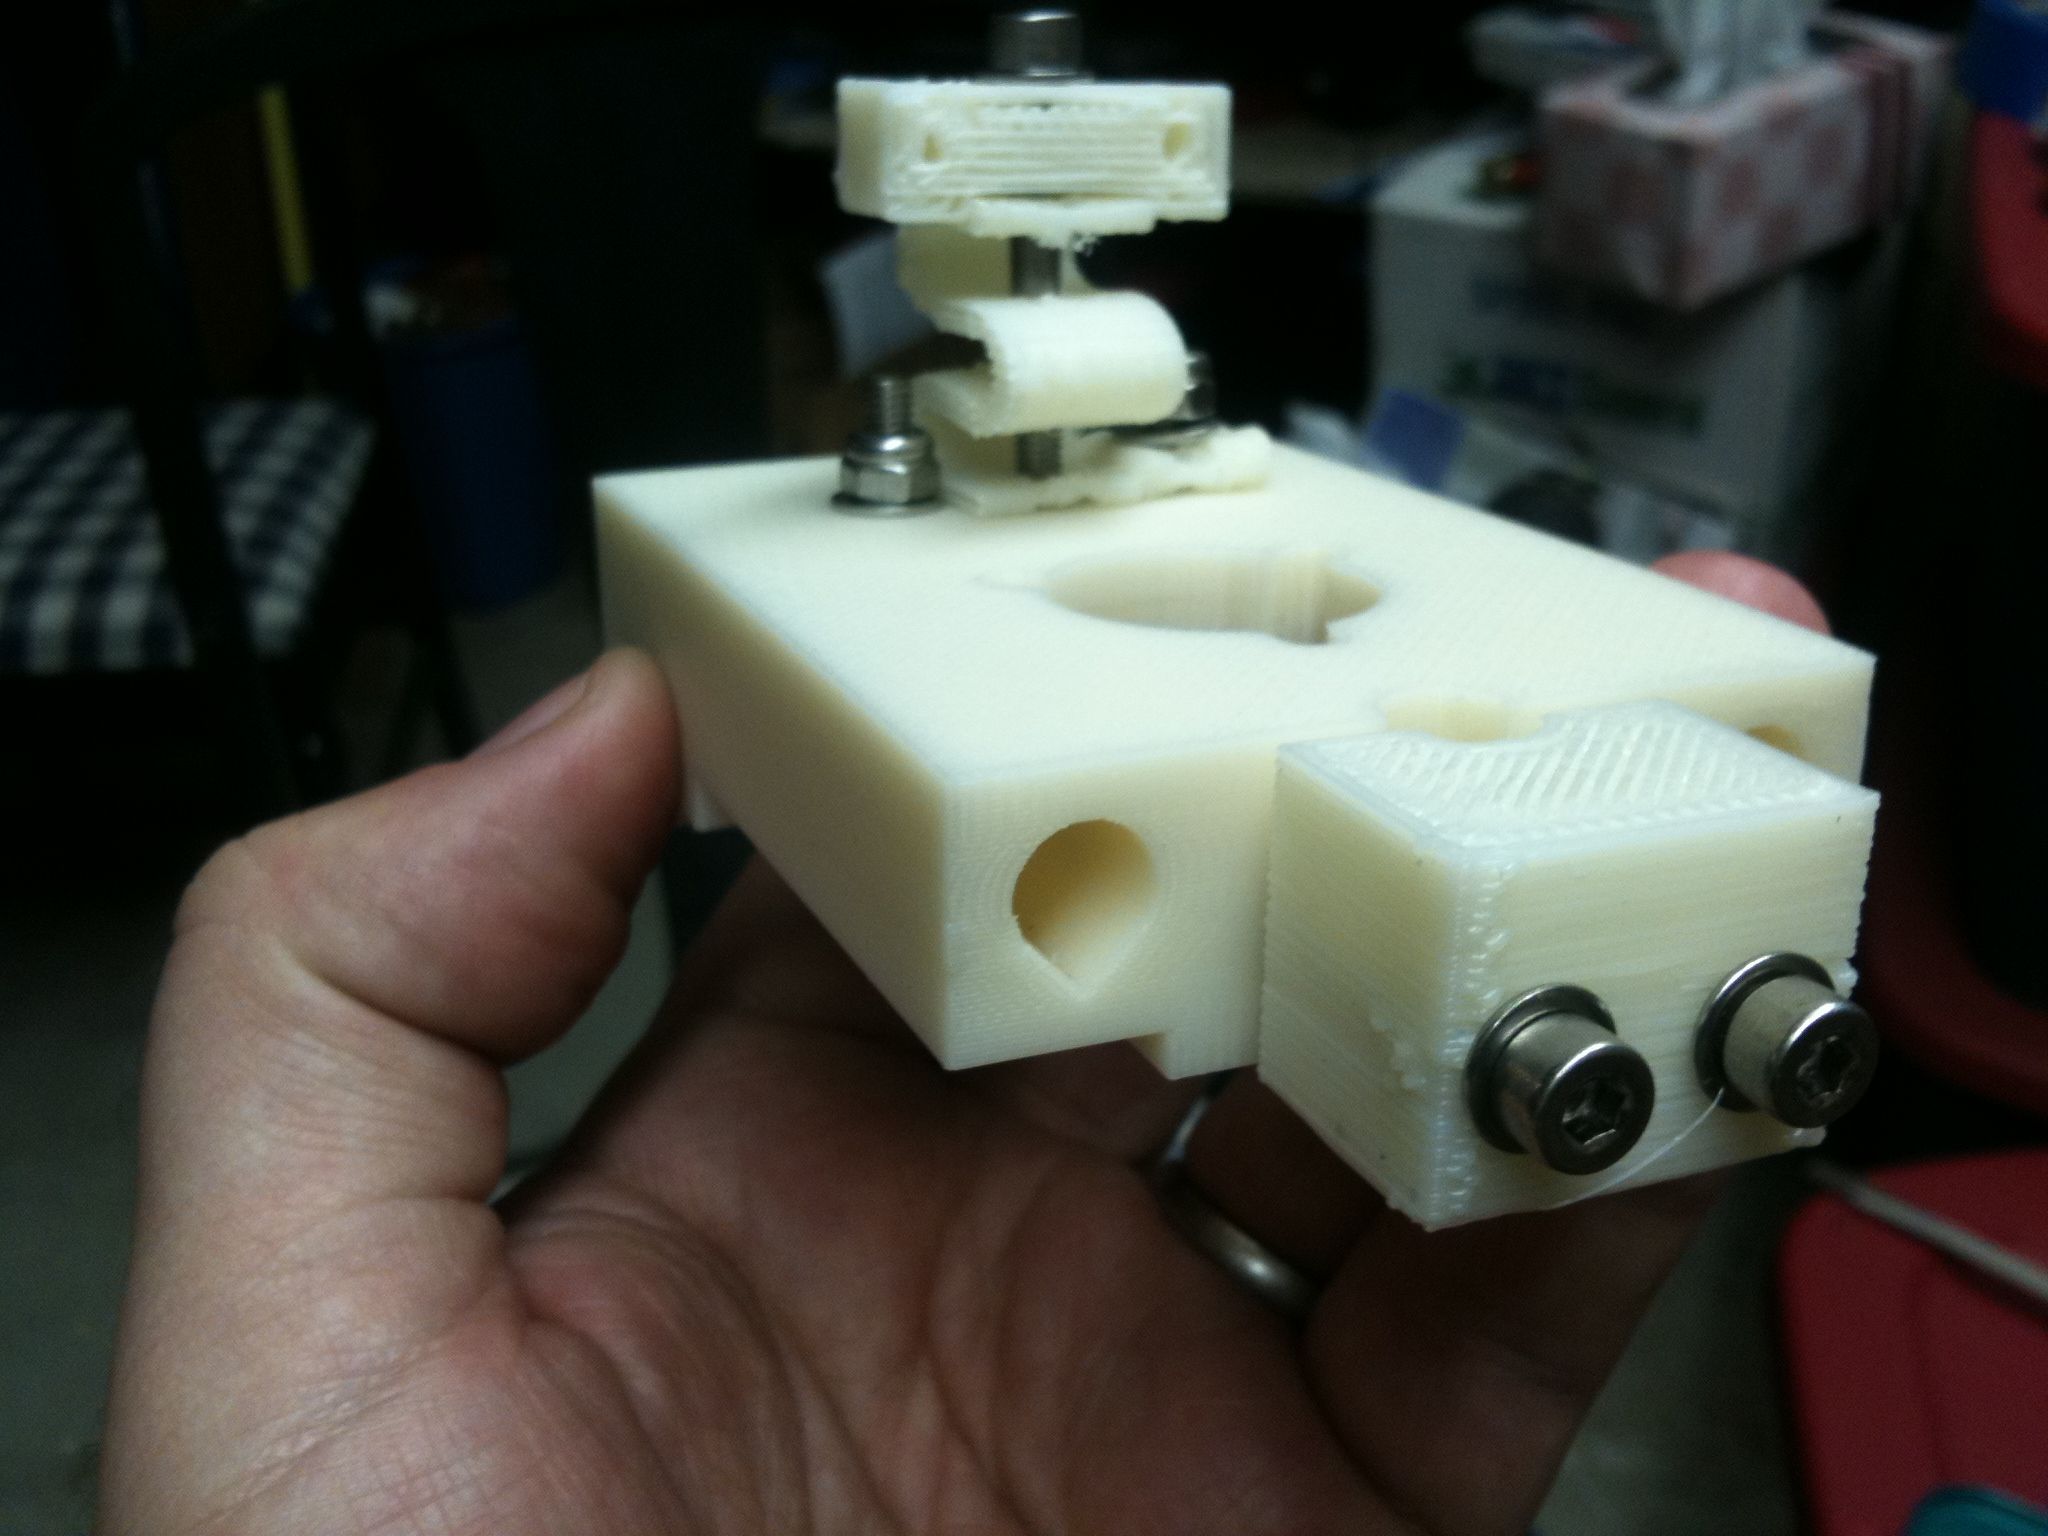
Here’s the bottom of that piece:
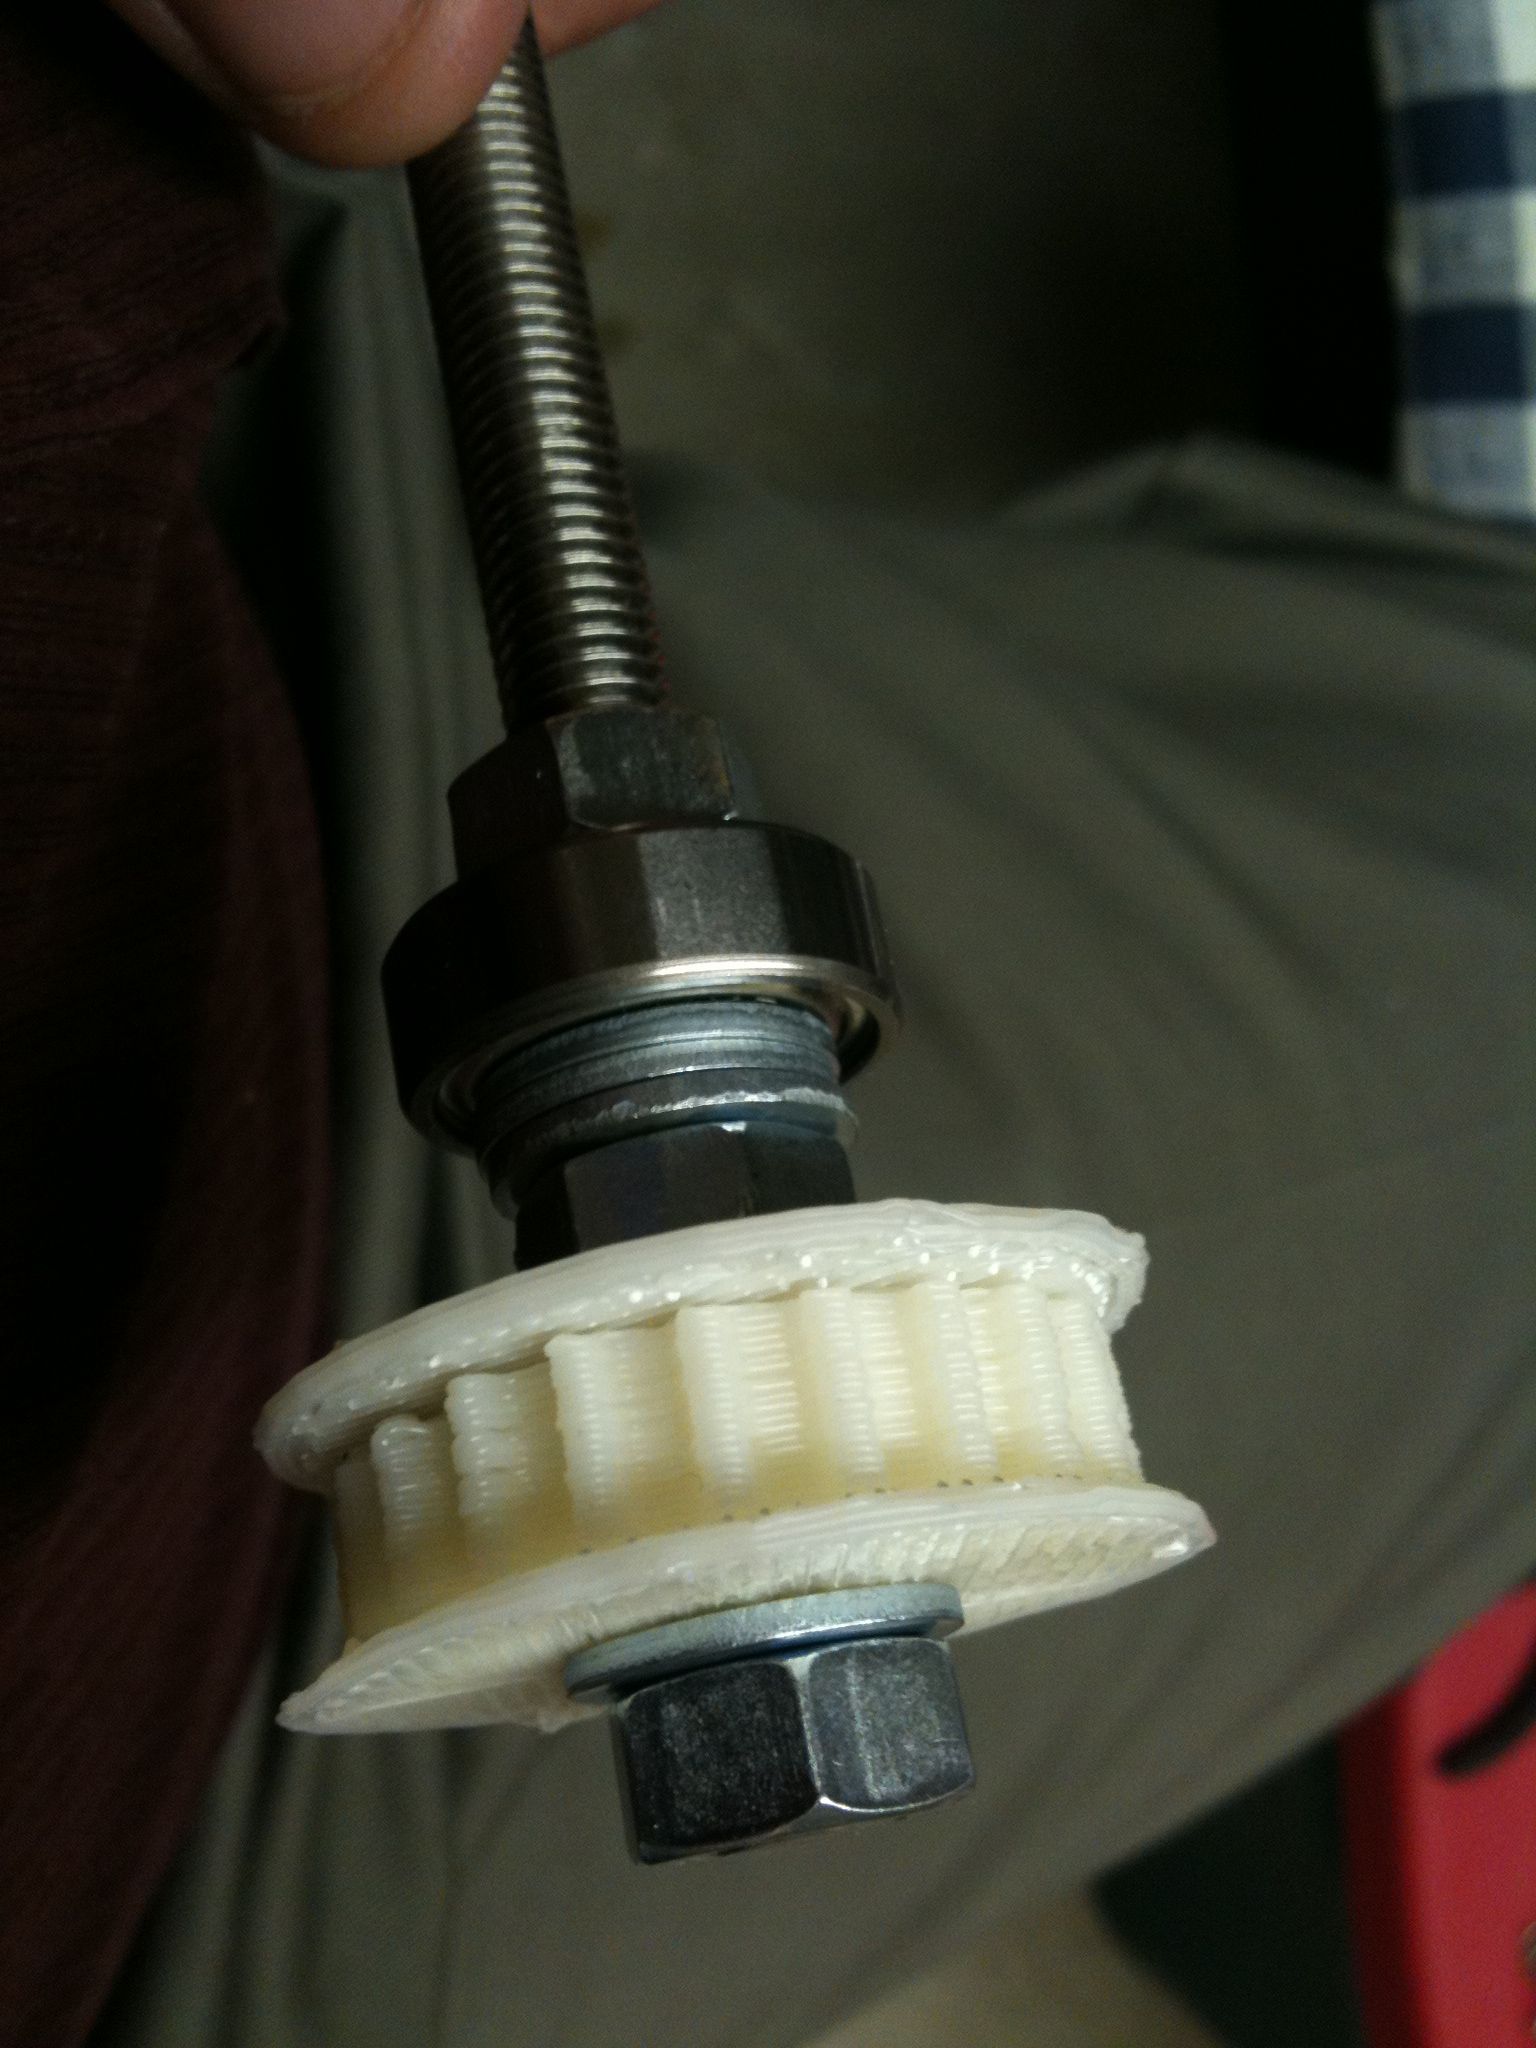
Ok, moving on. Here is the assembled z-leadscrew that will eventually be mounted in the z-leadscrew-base. The z-belt will move along that geared pulley and turn the threaded rod, moving the X axis assembly up or down.
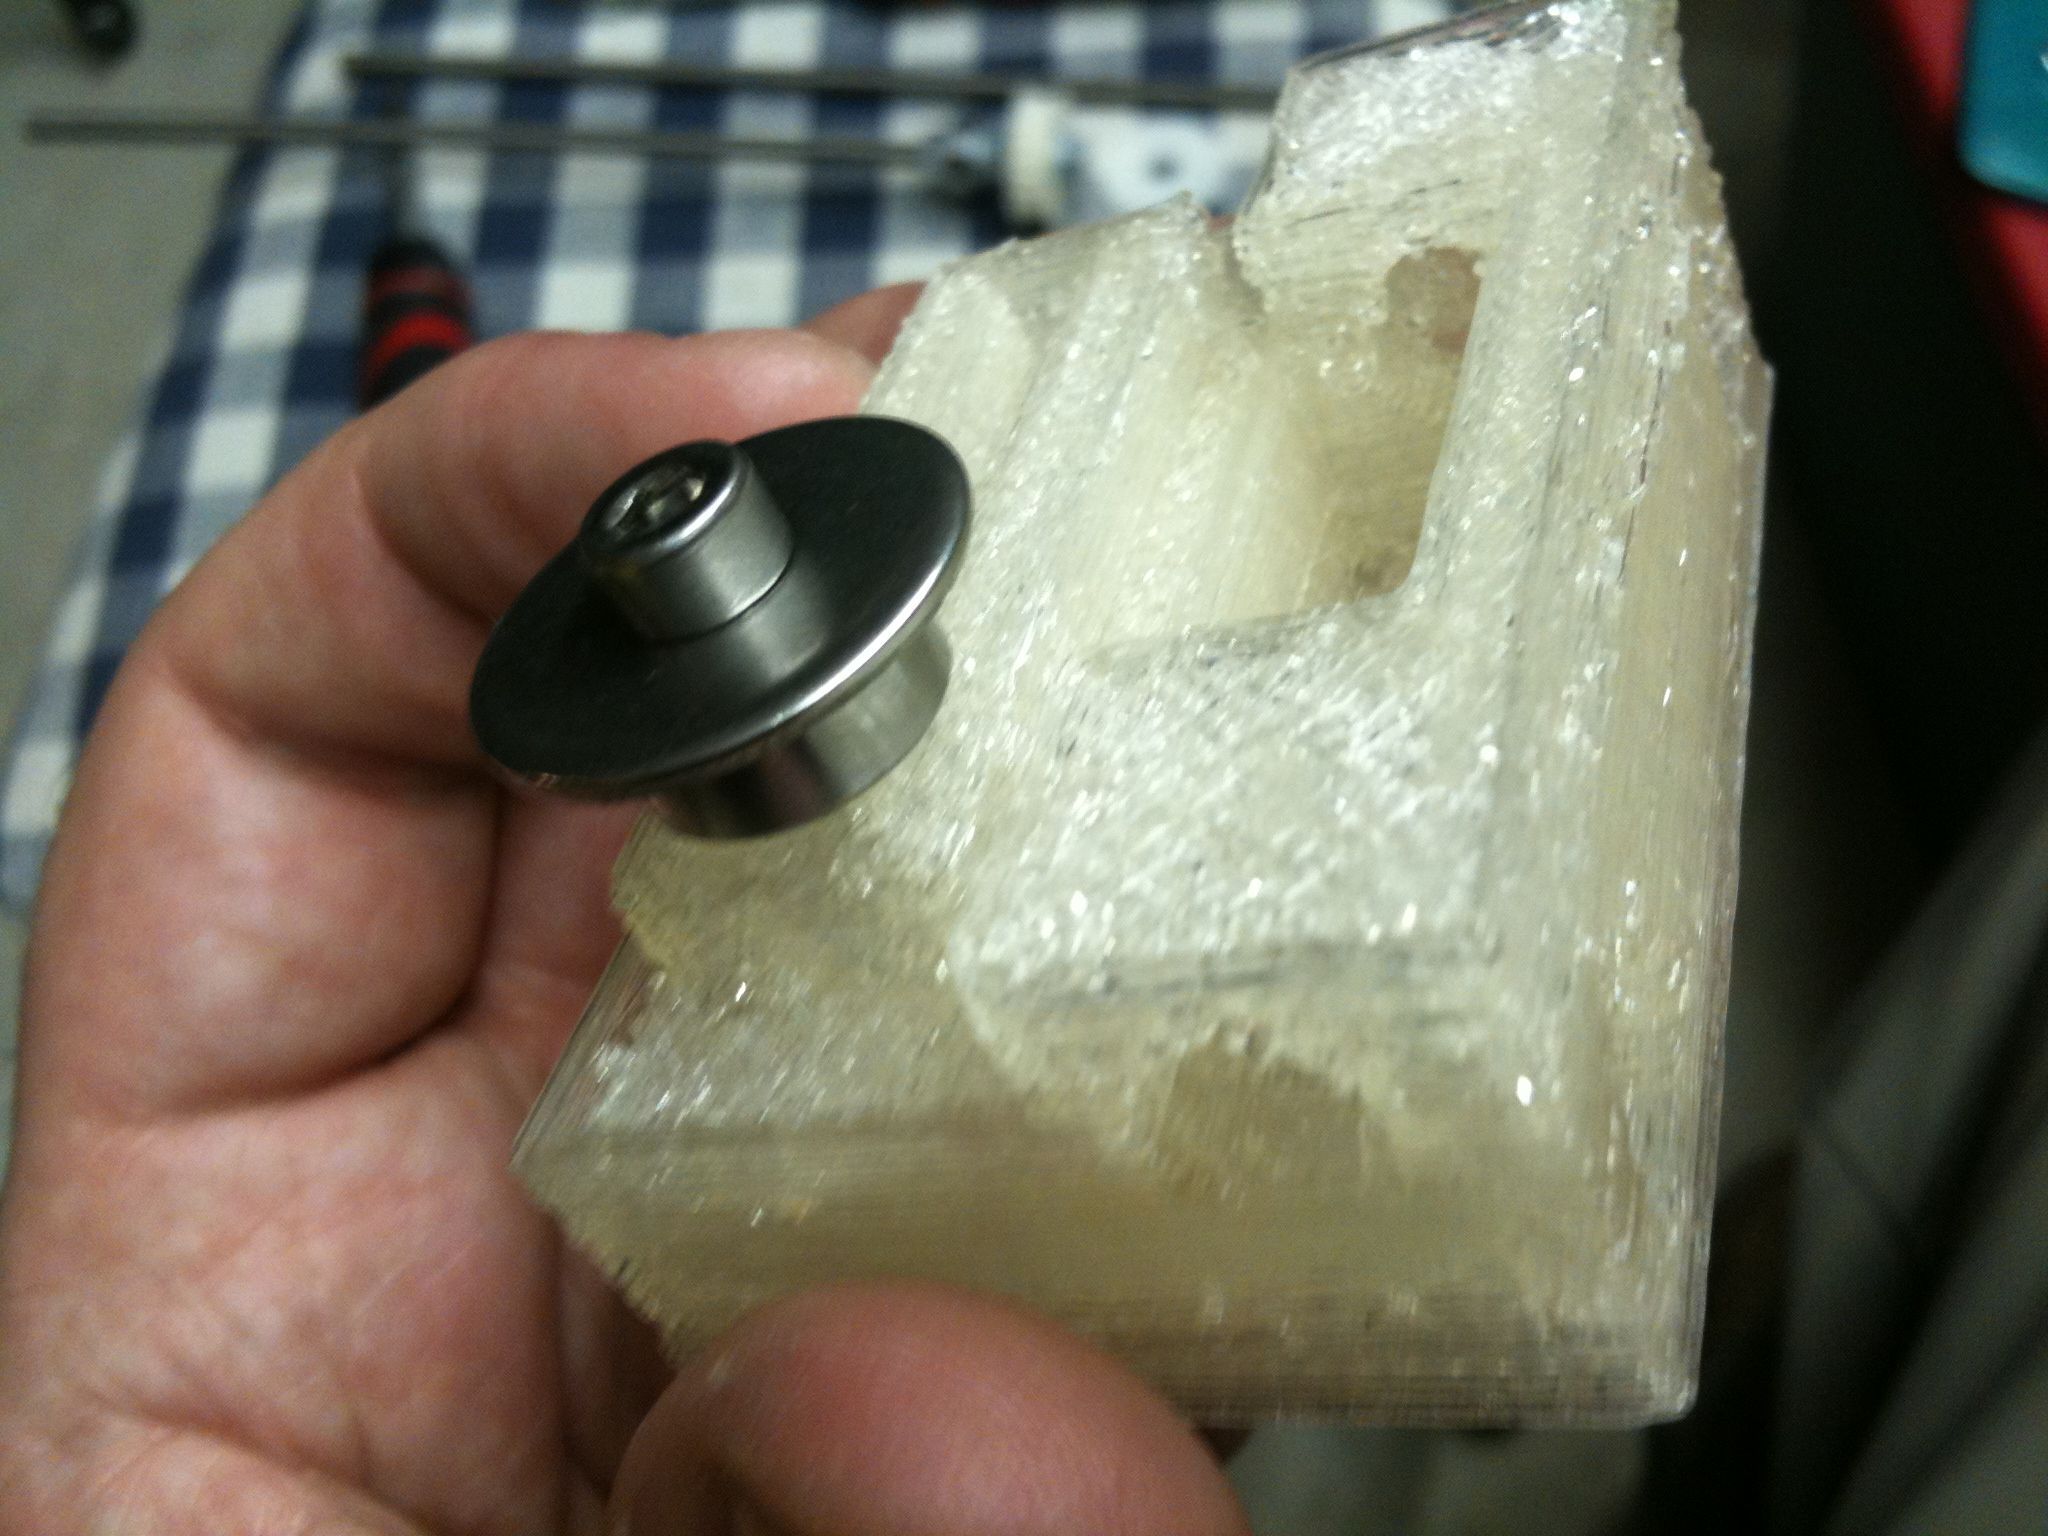
Then there’s the z-tensioner assembly, which has a bearing that you can slide up and town to add or remove tension to the z-belt:
The Y Idler Bracket assembly sits on the front bottom of the Mendel:
So then I finally got around to splitting the belts. The other day Casainho had posted on his blog about splitting the belts for his Mendel, and how he’d been apprehensive about it and eventually found that after all of that worry, it was easy. I too had been hesitating to cut the belts, putting that part off for a while. Well I have to agree, that was easy!
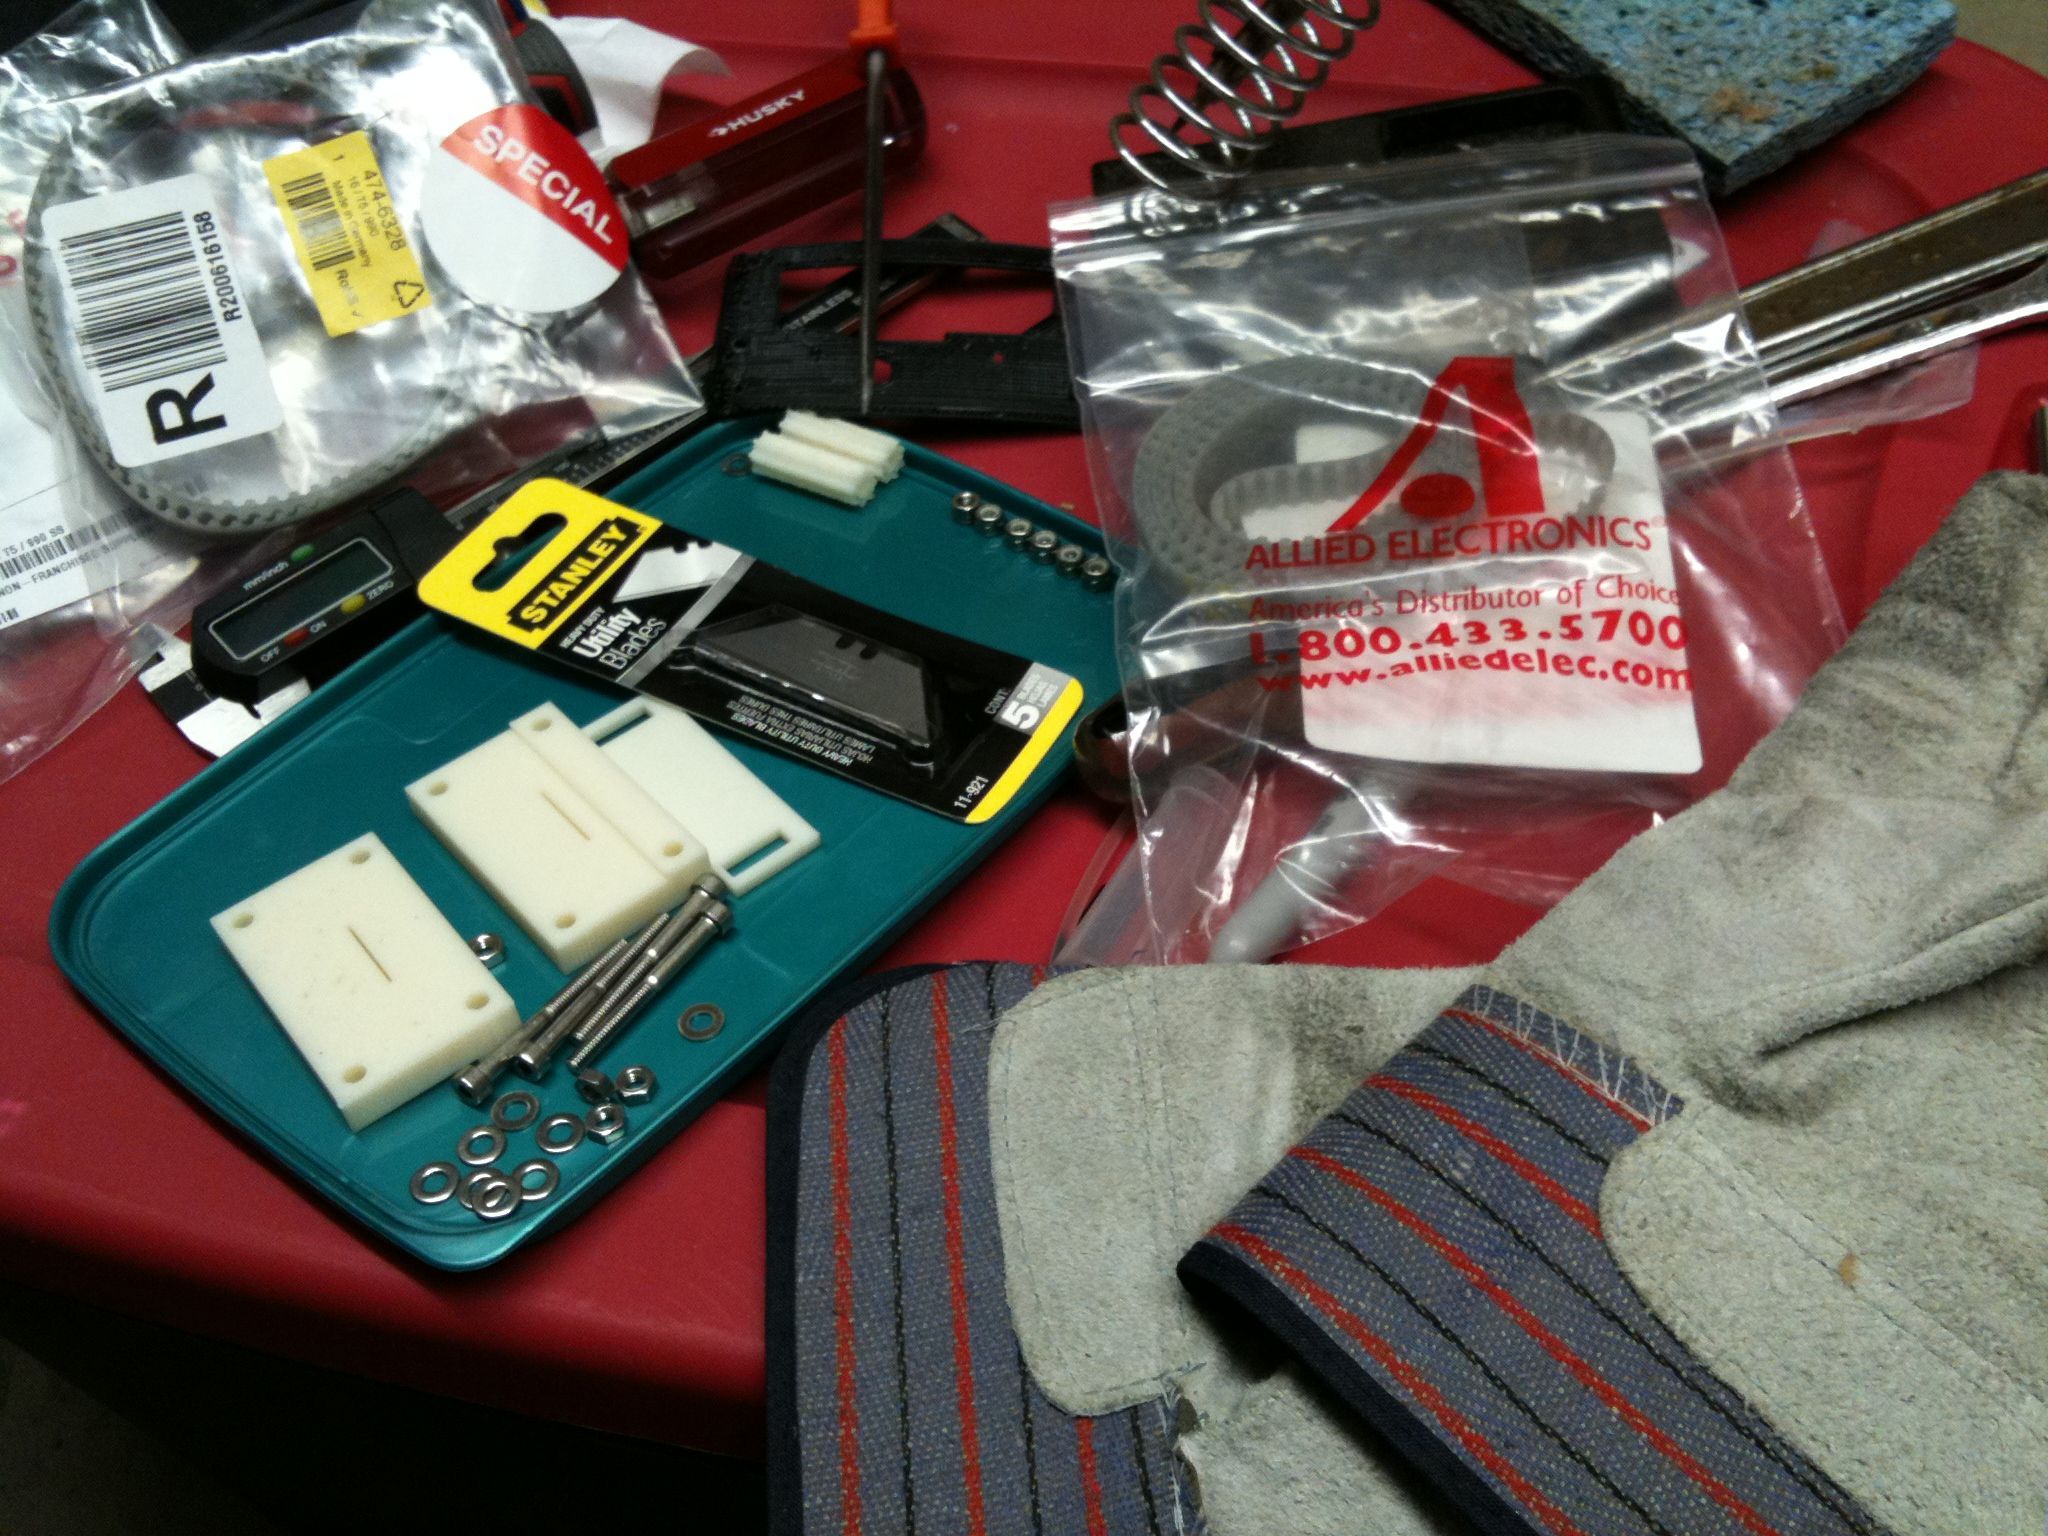
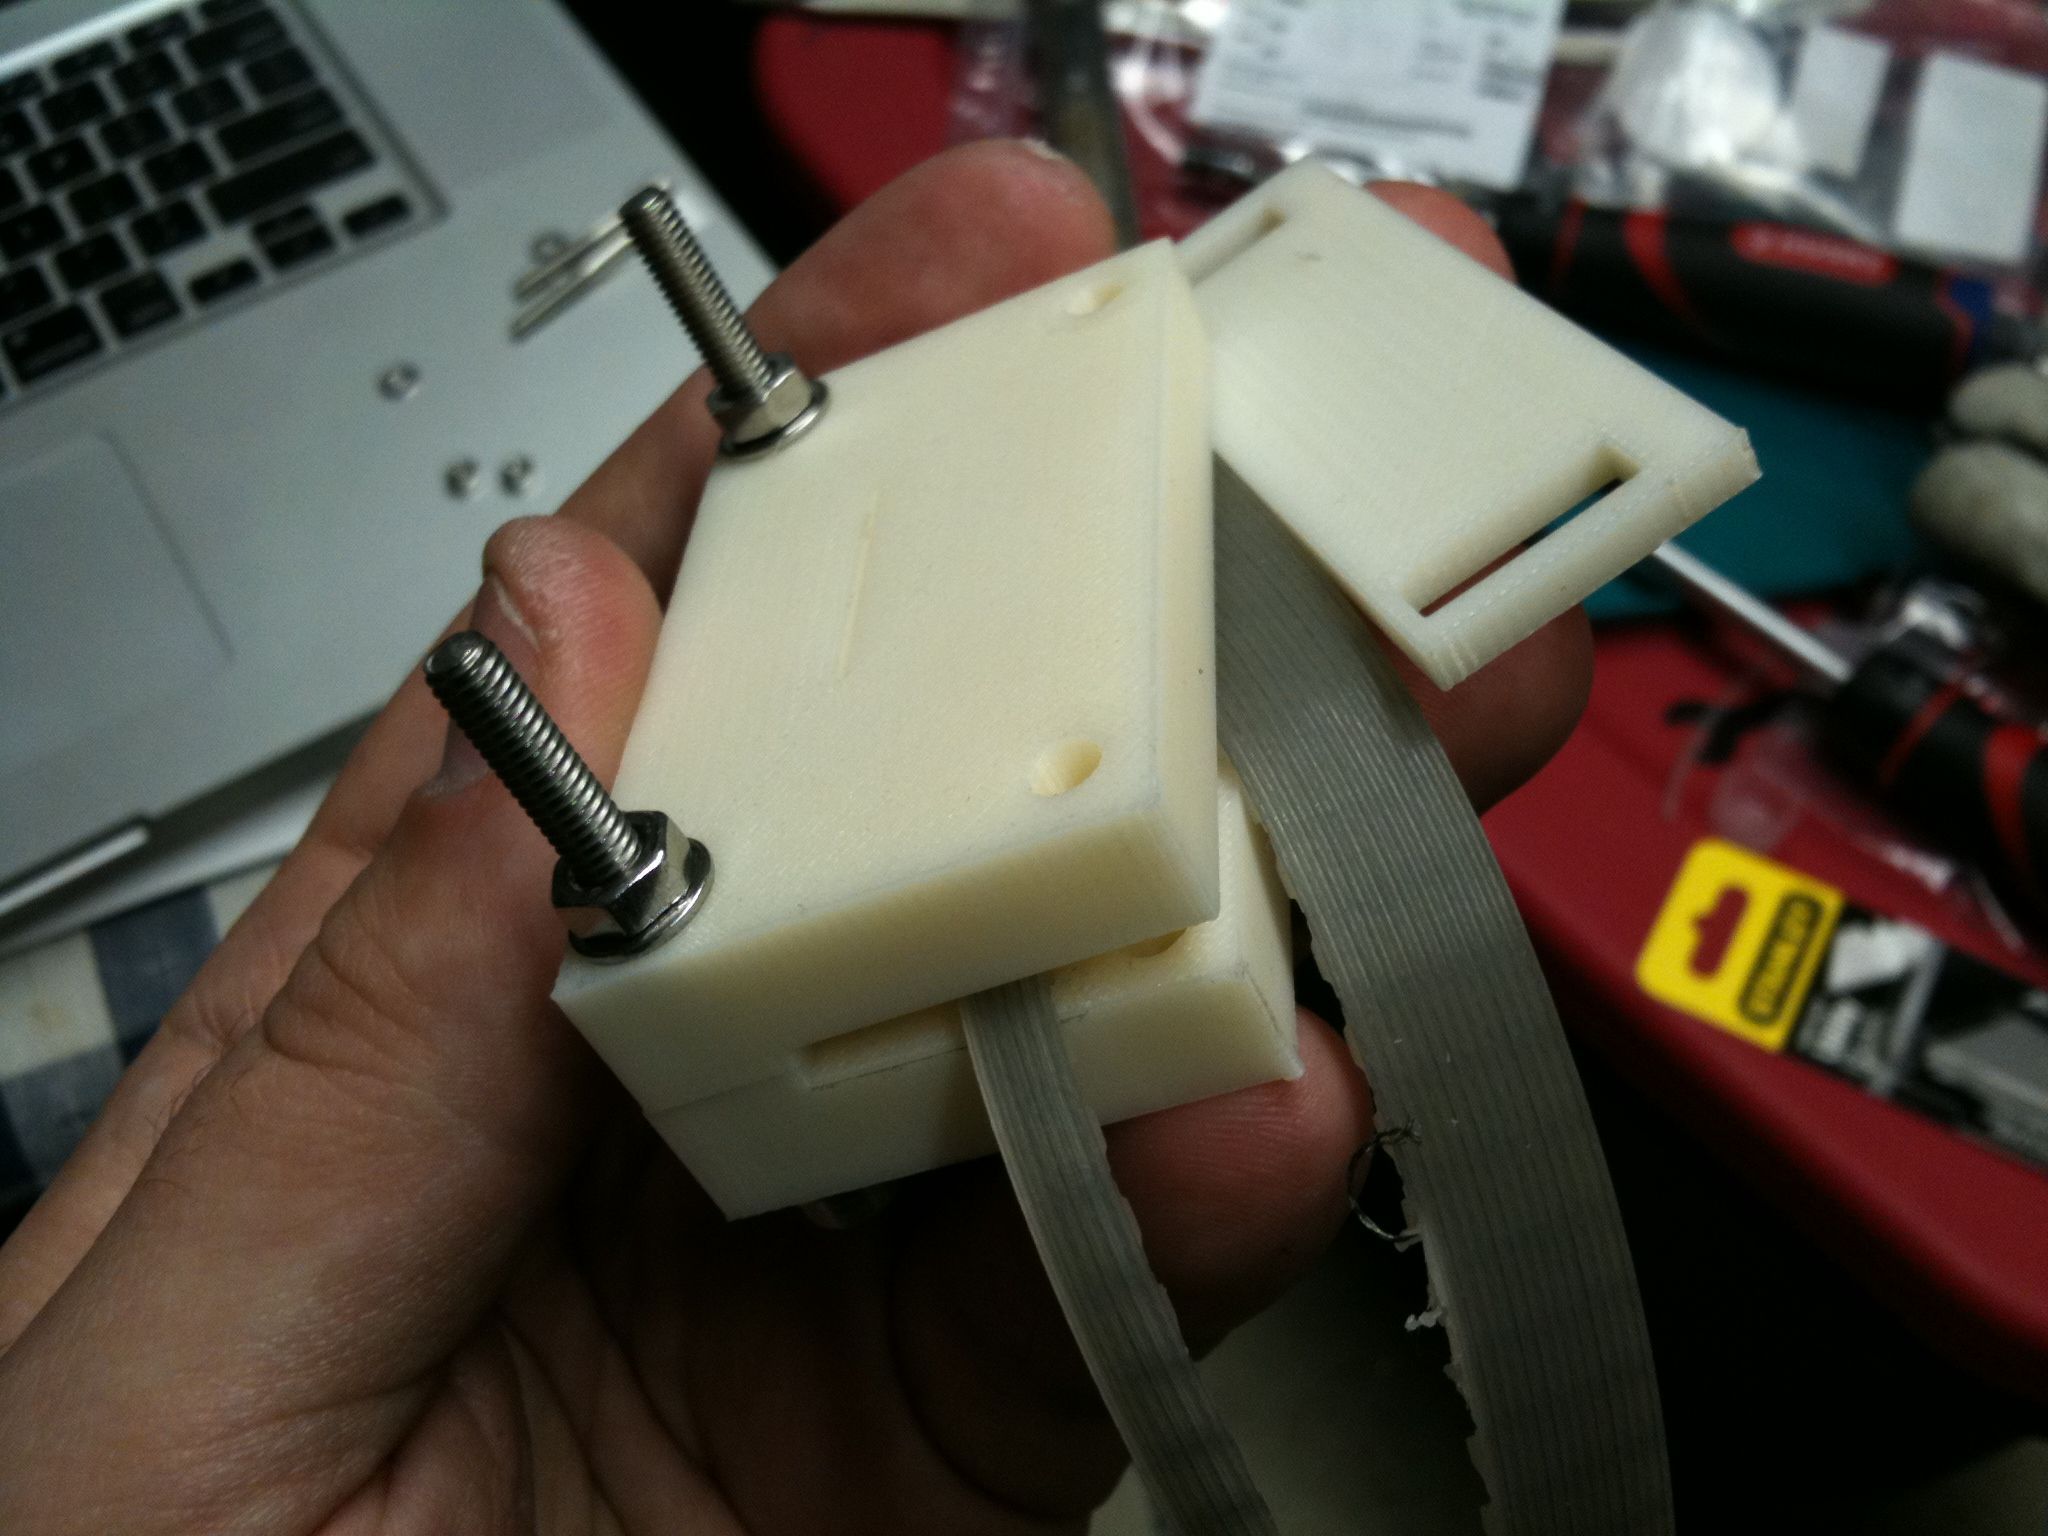
Here was everything set up, ready to go:
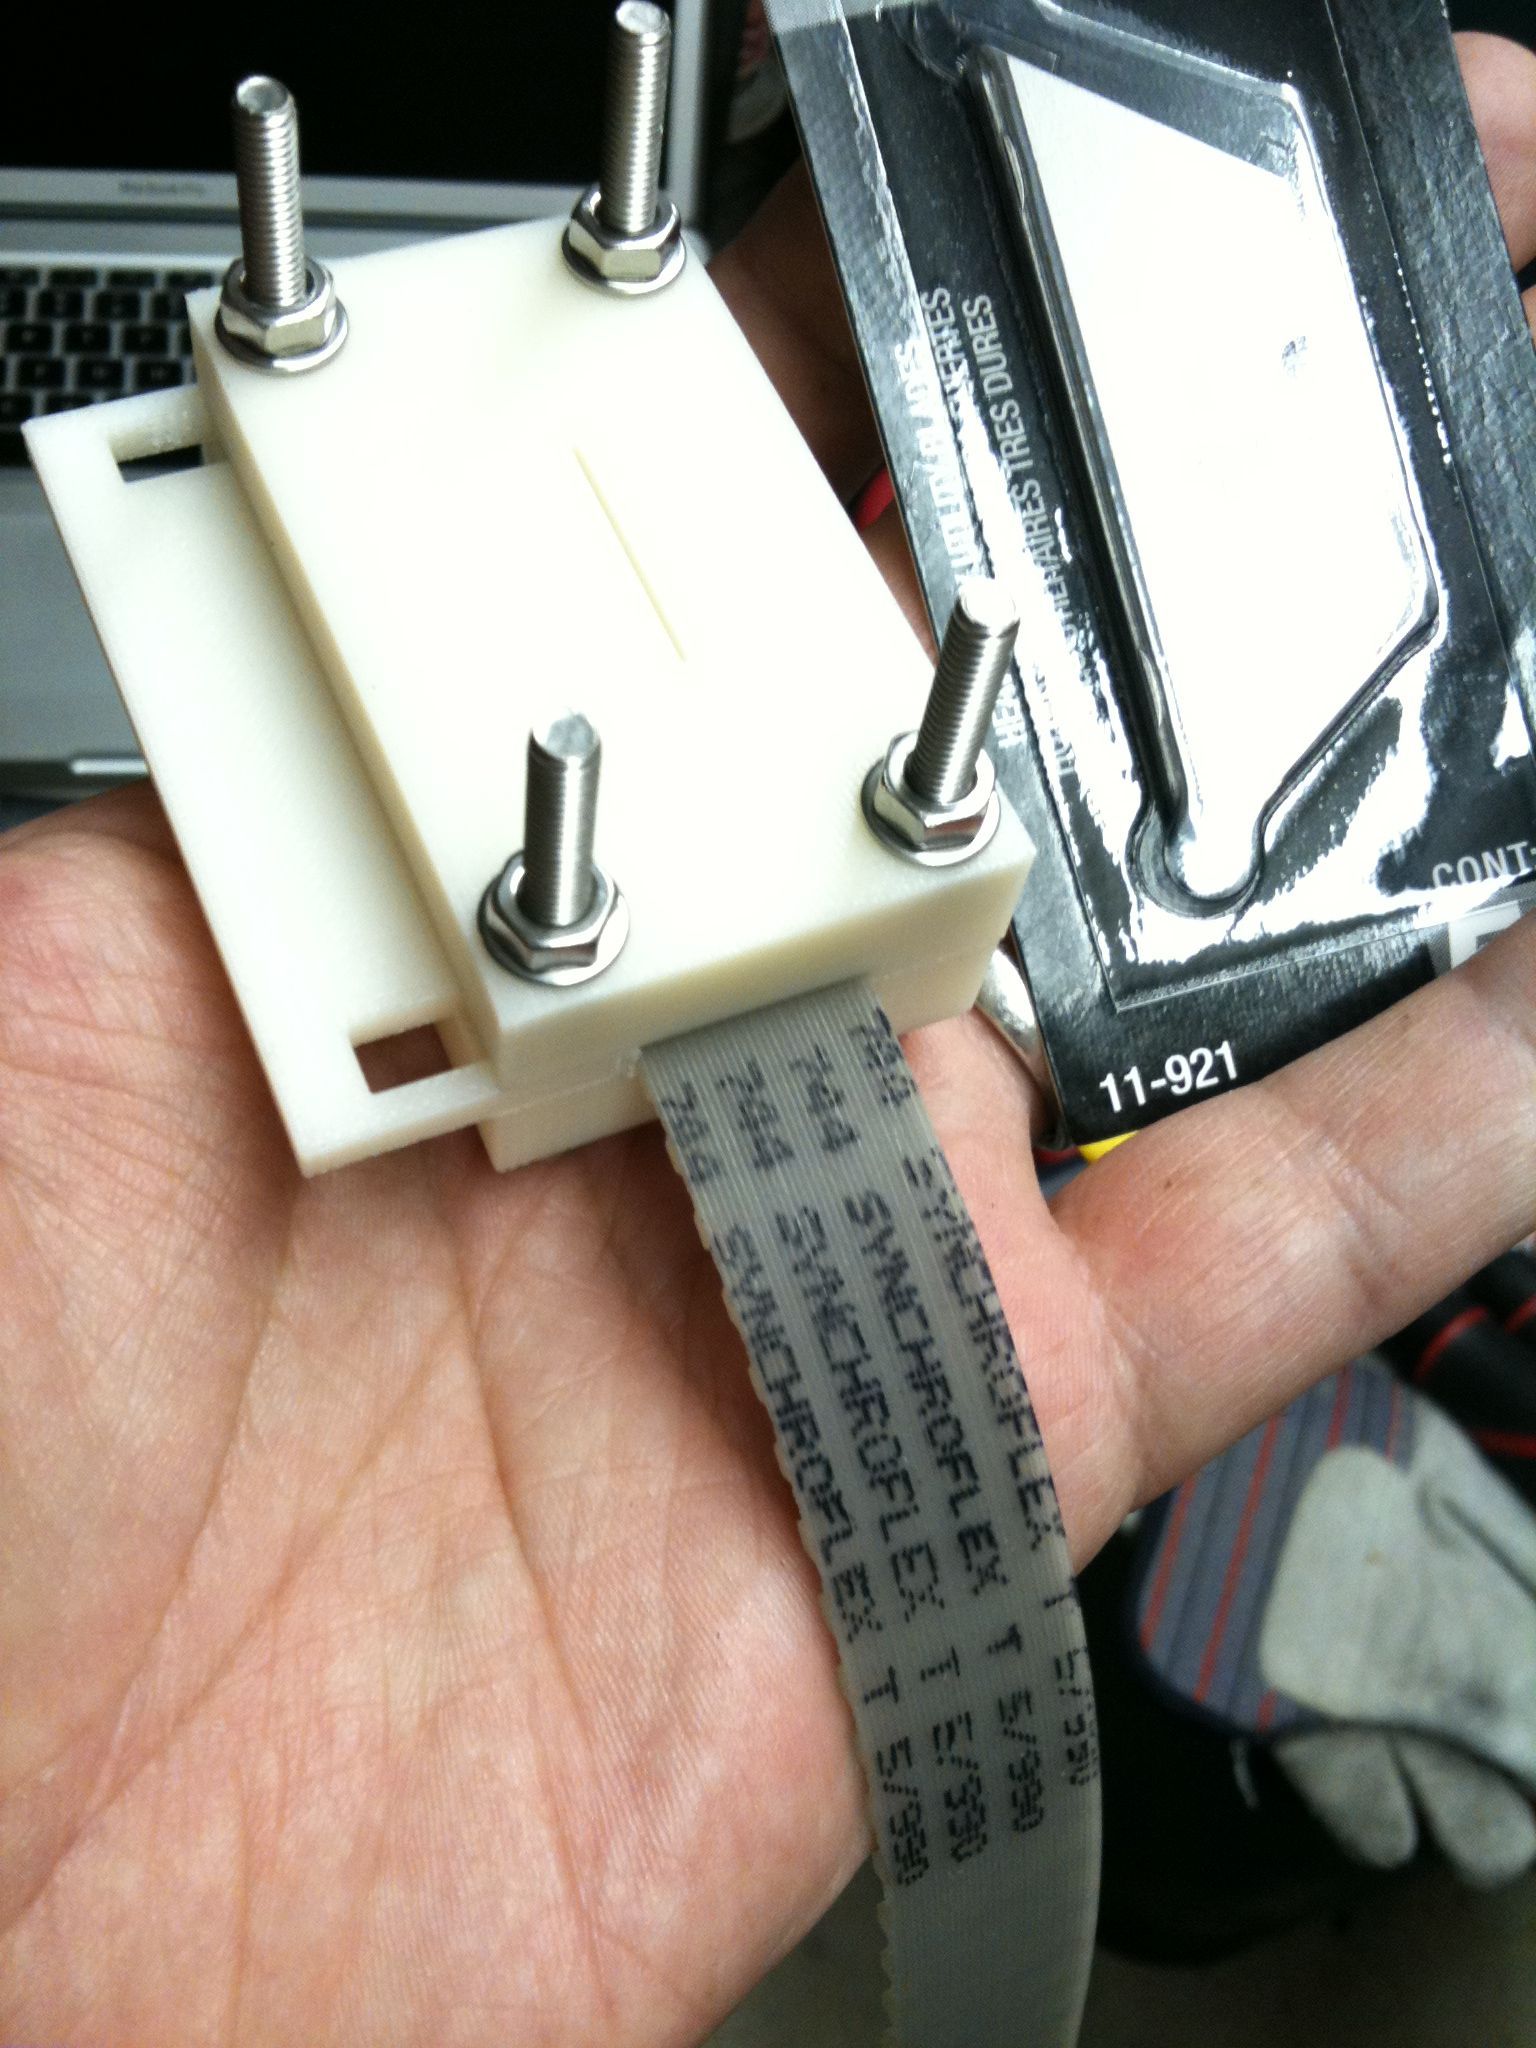
Then I built the belt splitting jig around the belt:
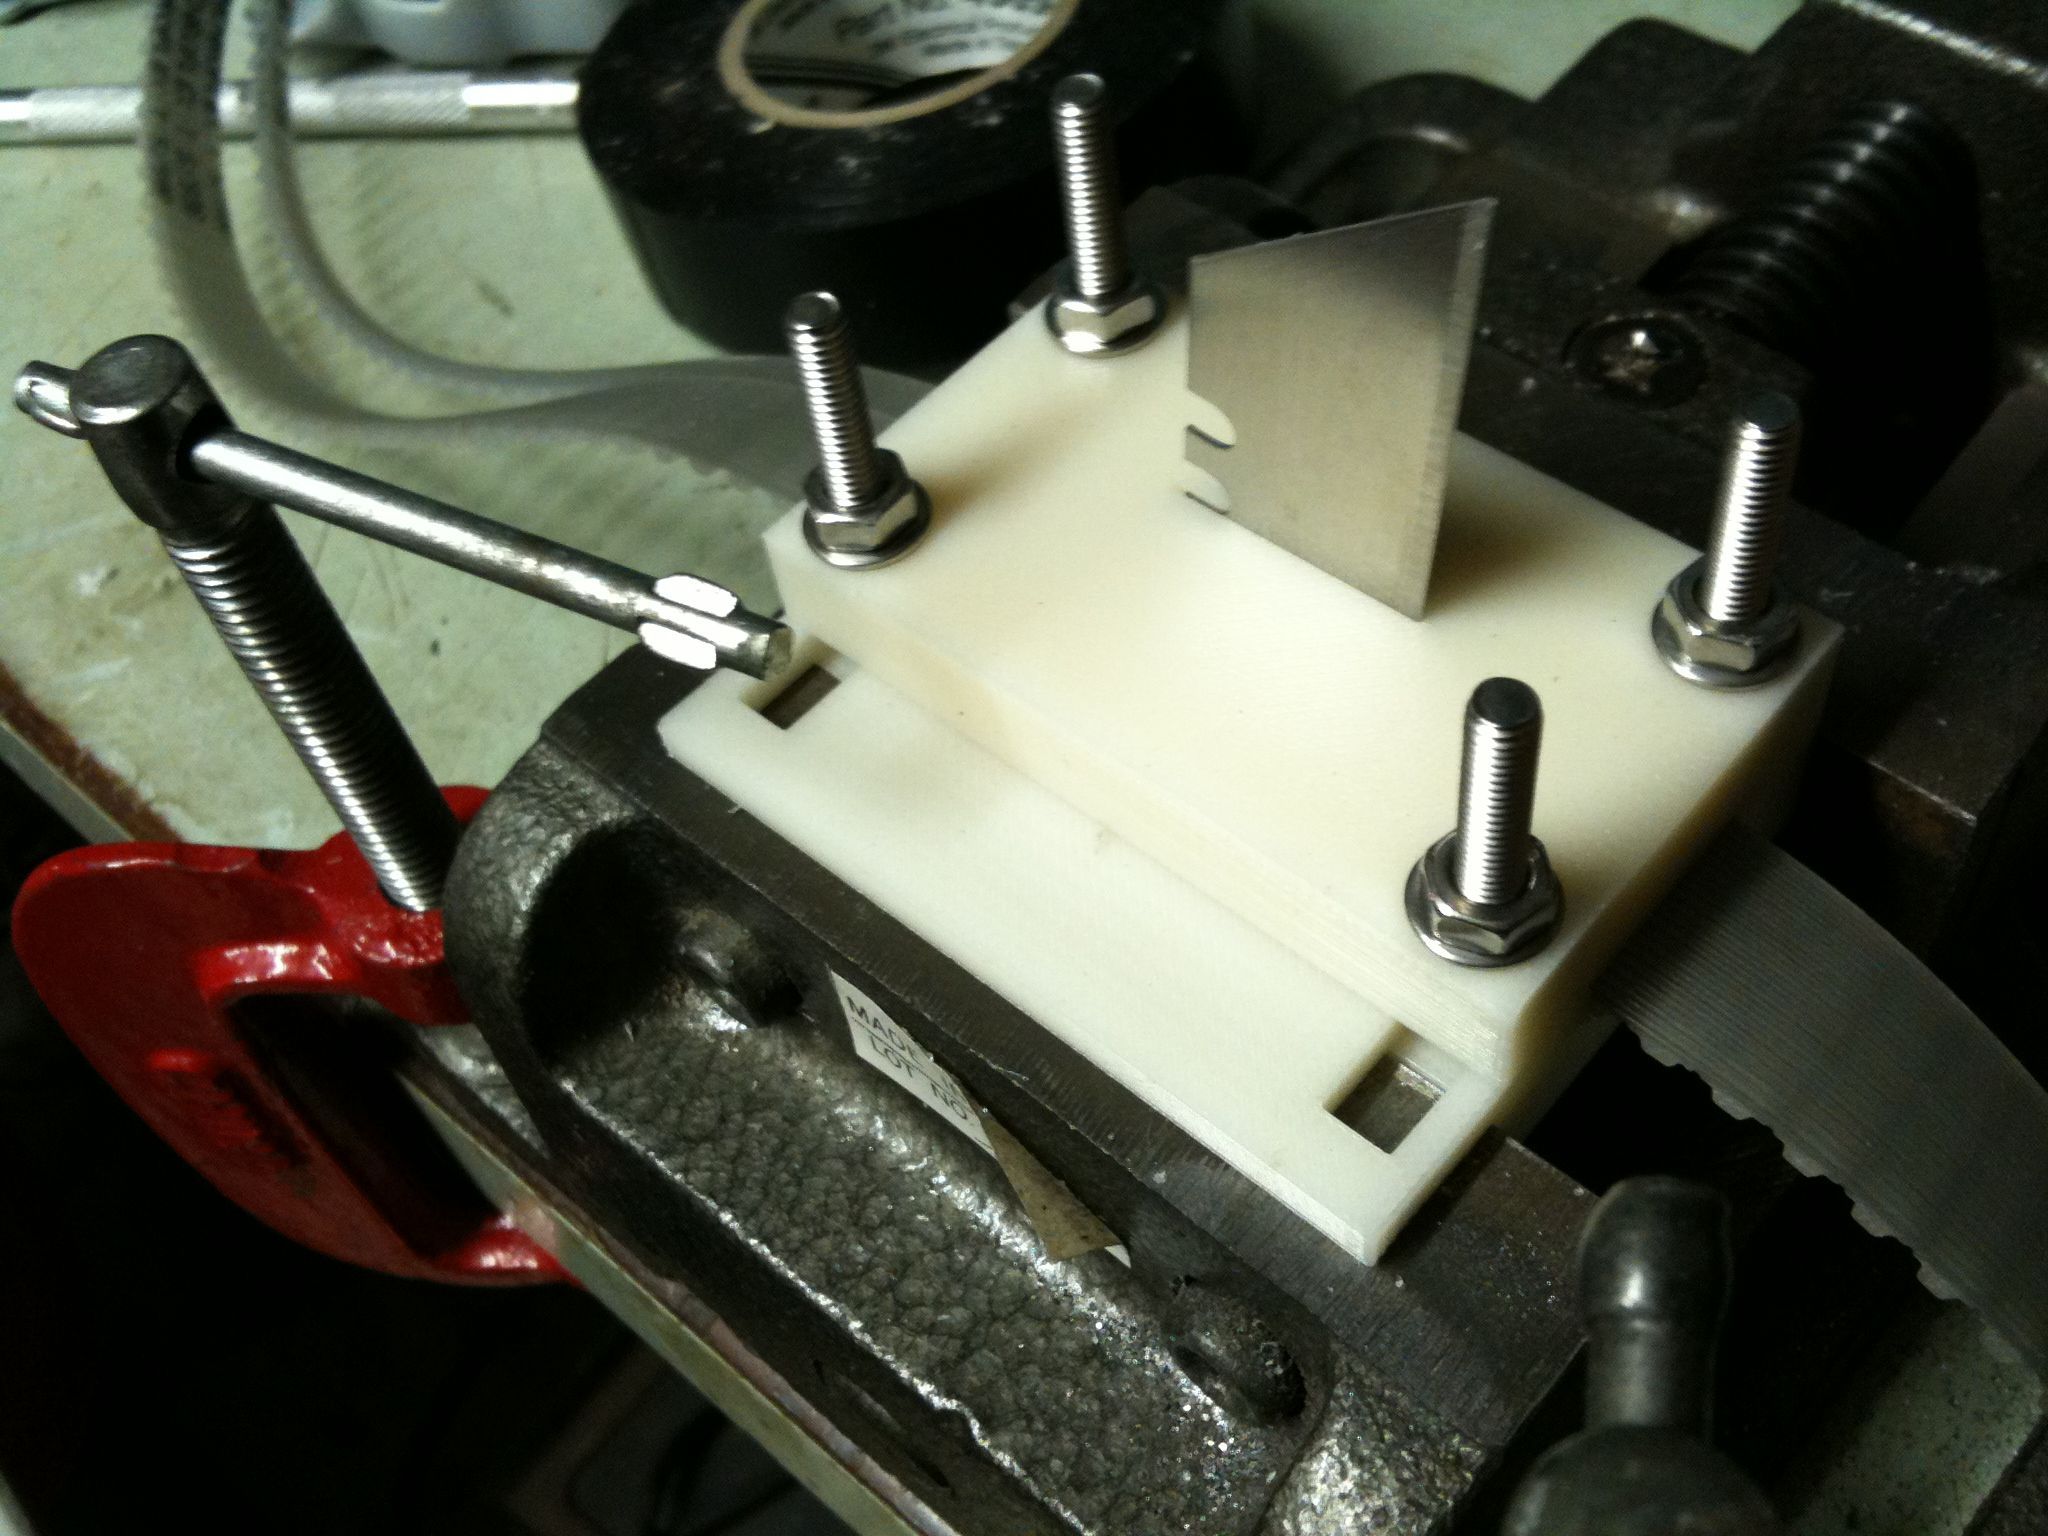
I placed the whole jig into a vise, and while wearing gloves pushed the blade into the slit, cutting into the belt. I grabbed the end, and pulled the belt into the blade.
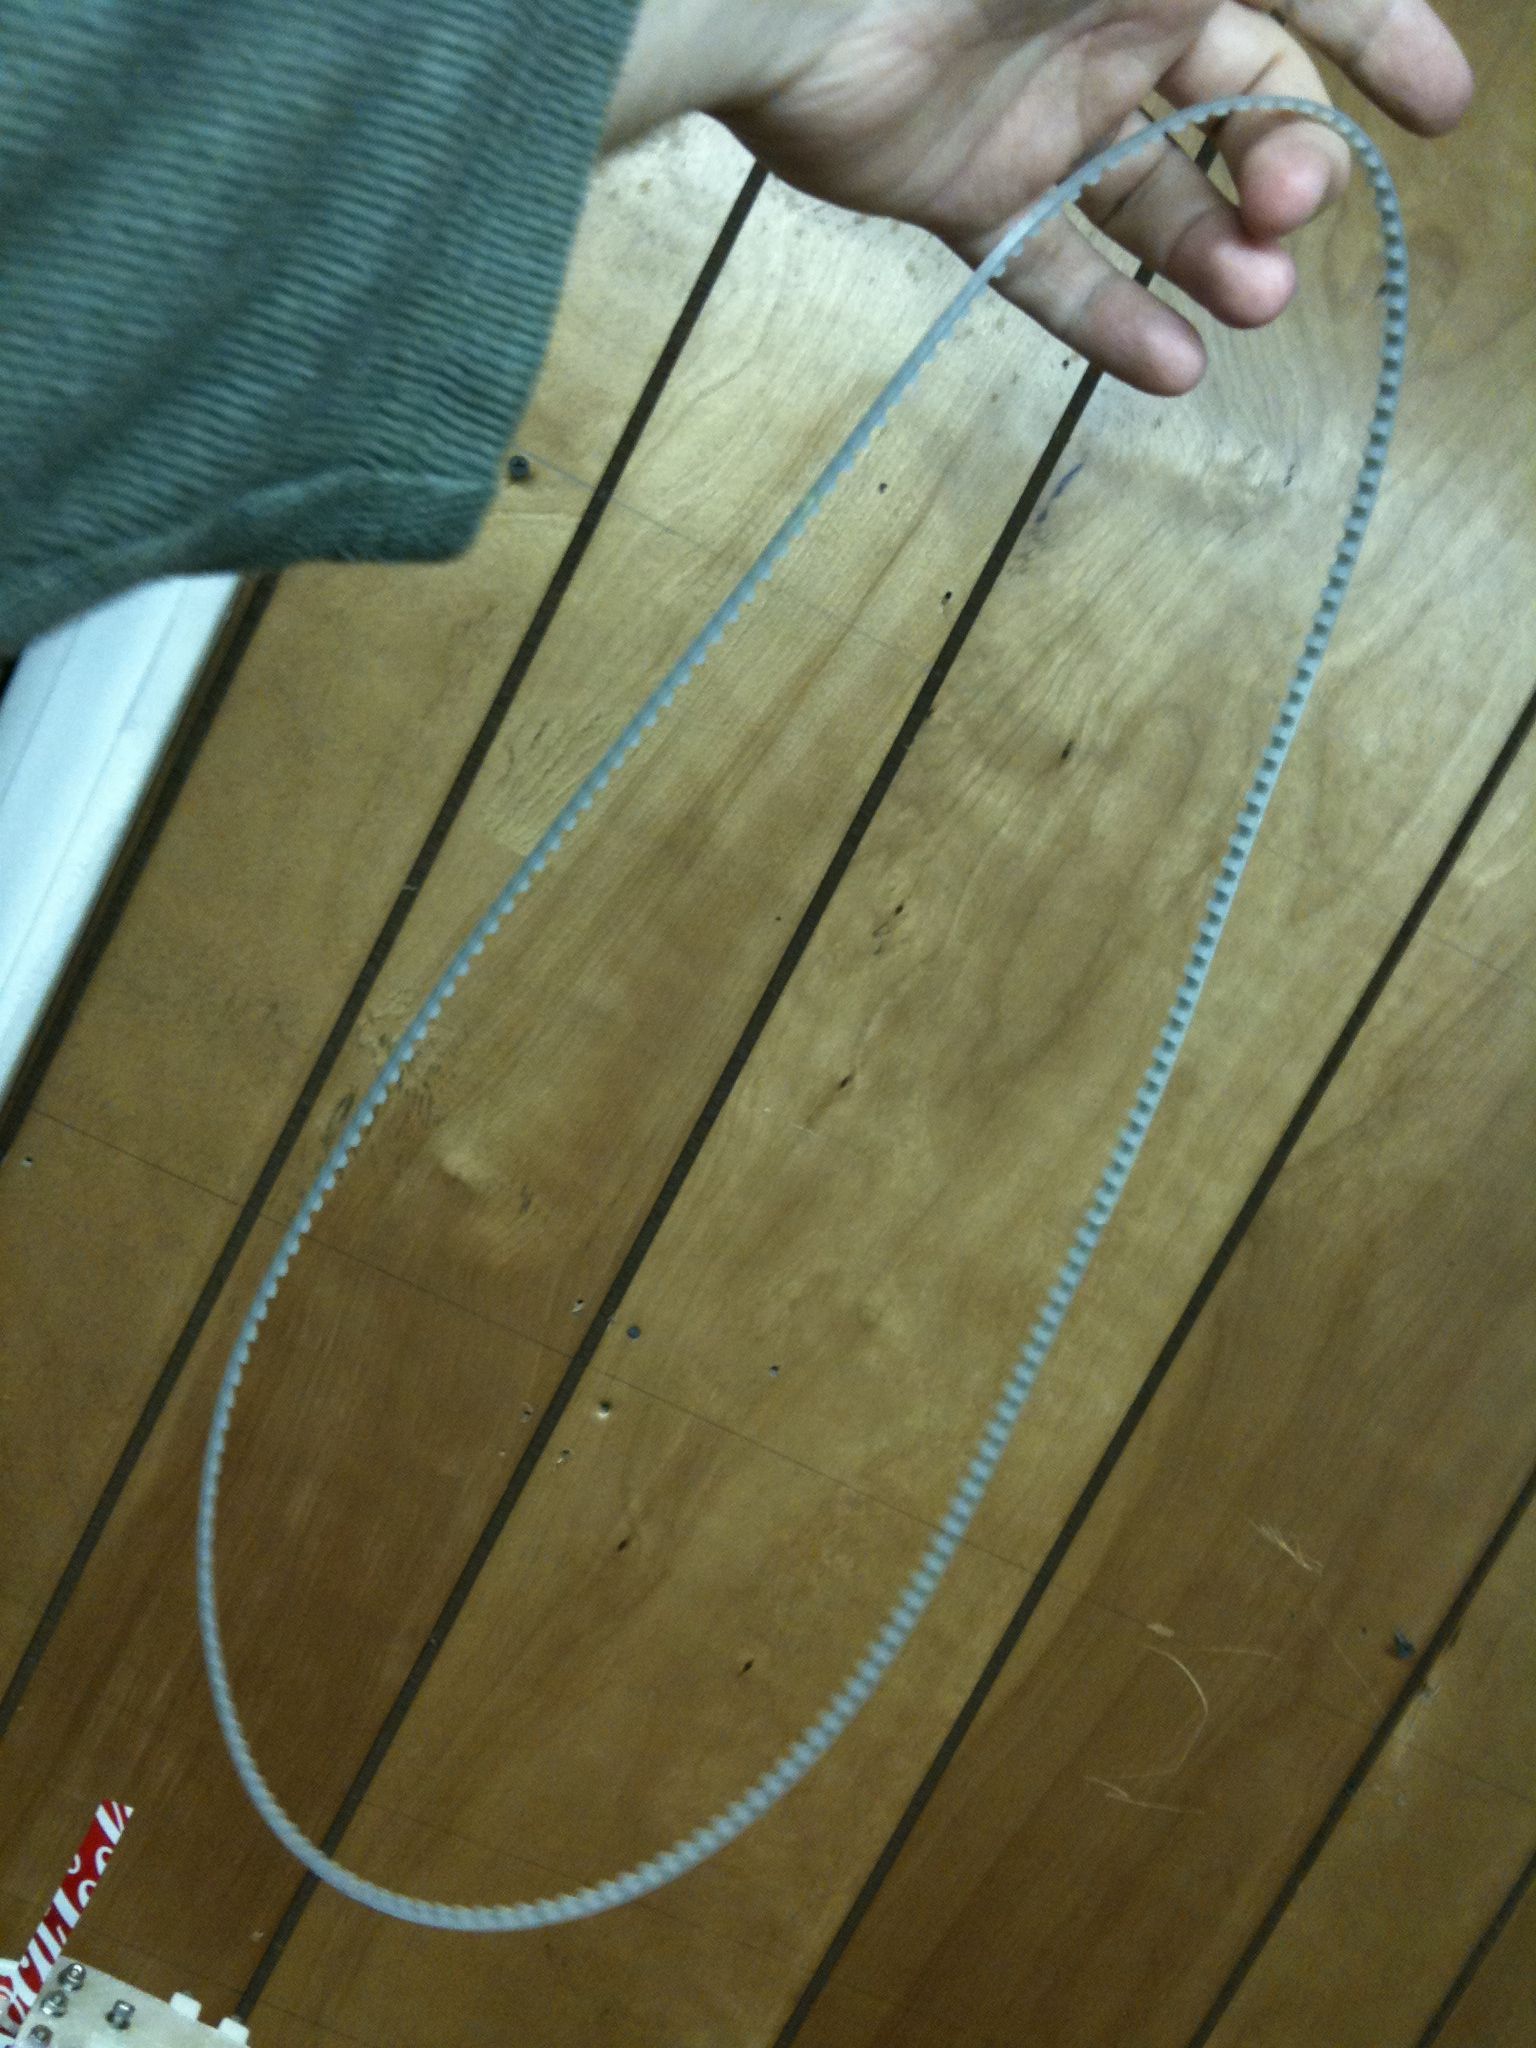
After taking it off of the vise, I opened it up, and there ya go – a 5mm continuous belt (and more belt for later as spares!)
I broke this post up into two parts, because I have pictures that I took on my wife’s camera after this point, since my iPhone is 100% absolutely full with 5119 photos and movies. I’ll post those pictures later in another post.
(hint: it now actually looks like a Mendel!)
Buy Dedicated Proxy
I found a great…
Buy Proxies
I found a great…
Buy Proxy Online
I found a great…
Buy Us Proxy Ip Address
I found a great…
Buy Proxies For Scraping
I found a great…
Private Proxies Usa
I found a great…
Blazingseollc Coupon
I found a great…
Norman Mota
I found a great…
Dante Provino
I found a great…
Shanell Theisen
I found a great…
Julian Pavlica
I found a great…
Amos Petula
I found a great…
Jamar Tashman
I found a great…
Arturo Zhu
I found a great…
Private Proxies
I found a great…
Private Proxy Bay
I found a great…
Buy Elite Proxies
I found a great…
Tameka Linville
I found a great…
Edelmira Wyse
I found a great…
Vanita Babich
I found a great…
Yasmin Gastelun
I found a great…
Jerrell Shan
I found a great…
Anonymous Proxies
I found a great…
Buy Anonymous Proxies
I found a great…
Anonymous Proxy
I found a great…
Dylan Freese
I found a great…
Maria Badruddin
I found a great…
Cheap Dedicated Proxies
I found a great…
Toni Dulemba
I found a great…
Lane Warters
I found a great…
Kenda Claw
page-description
Carlo Ailes
page-description
Gudrun Fontneau
I found a great…
… [Trackback]
[…] There you will find 99603 more Infos: keegan.org/reprapblog/archives/809 […]
Floy Helmkamp
I found a great…
Conception Tisdal
I found a great…
Harmony Bunger
I found a great…
Erin Dority
I found a great…
Rosalina Leyendecker
I found a great…
Maybelle Kudrna
I found a great…
Austin Gederman
I found a great…
Private Browser Vpn Proxy
I found a great…
Leighann Baniaga
I found a great…
Georgeann Um
I found a great…