Since the last blog post I’ve finished cutting all of the smooth and threaded rod, and I’m on to assembling more of my Mendel.
One thing I learned was that the diamond cutting wheel wasn’t the right thing to use to cut steel rod. They sell fibreglass reinforced cutting wheels which cut through much quicker.. I did go through three of them, but it was worth it.
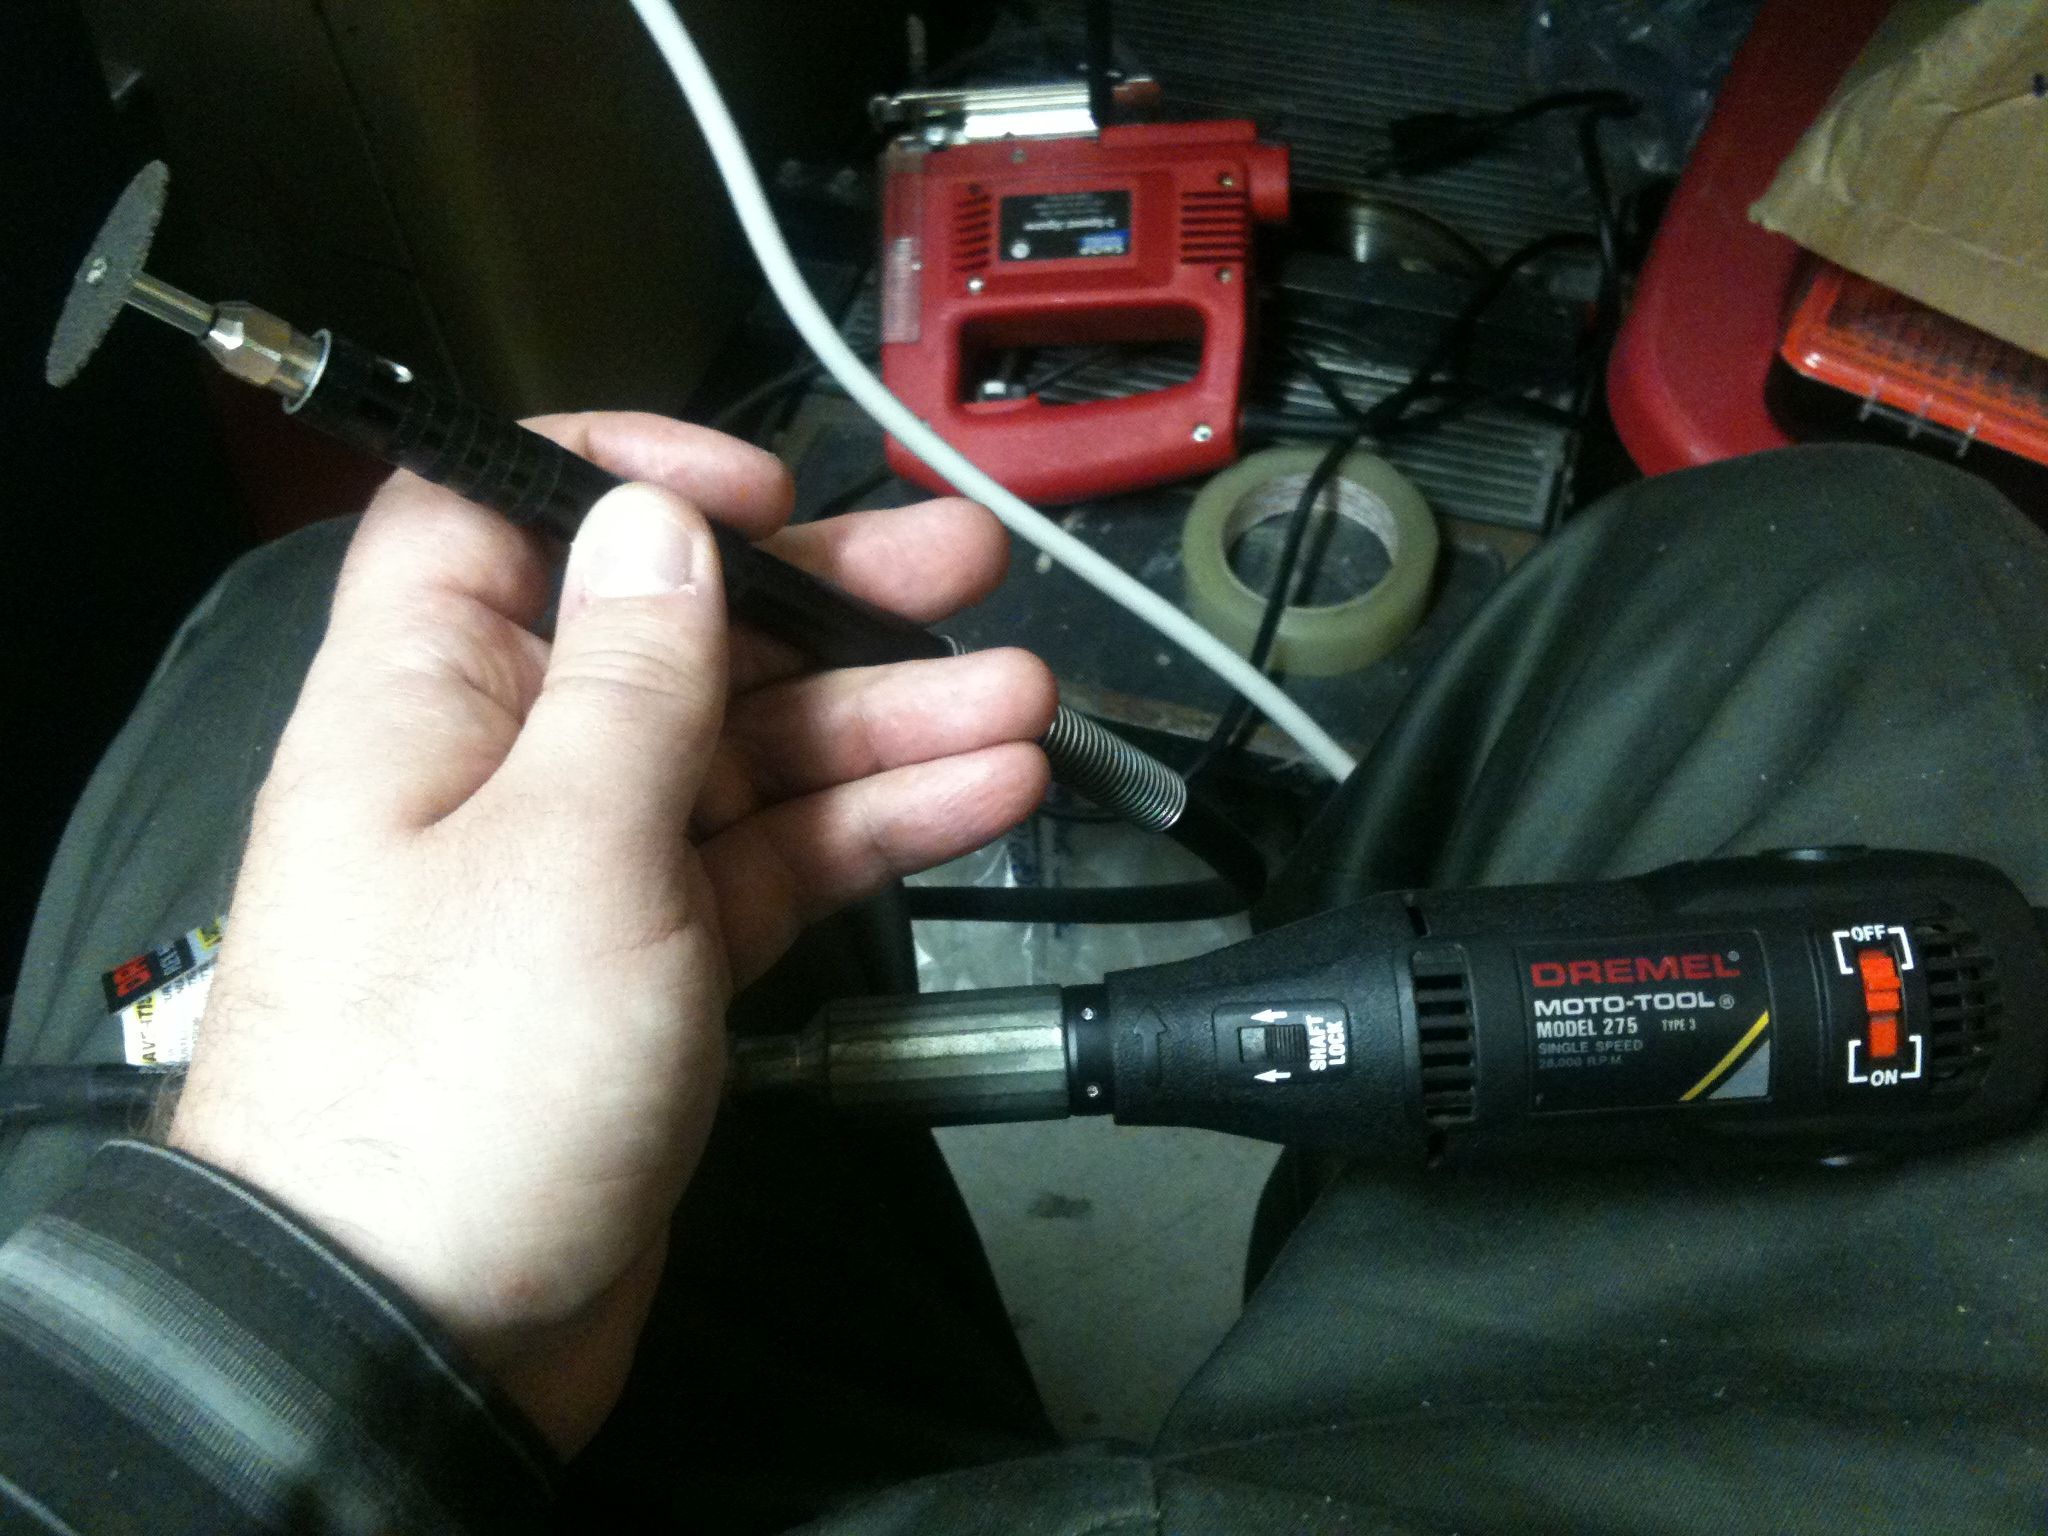
I also learned that my lithium ion rechargeable Dremel wasn’t the way to go. My friend Tom Royer offered to lend me his corded Dremel, which I took him up on:

Then another friend at work offered to lend me the Dremel Flex-Shaft extension, which lets you cut straighter through the rod because the body of the drill doesn’t hit the bar you’re cutting. Here are the two combined, with a fibreglass reinforced cutting wheel, then a closeup of the wheel:

(I’ve since ordered a Flex-Shaft extension to have one of my own. I haven’t bought a corded Dremel yet)
Here’s a picture of how I protect my face from a stream of sparks and small bits of metal, looking like I’m straight out of a serial killer horror movie:

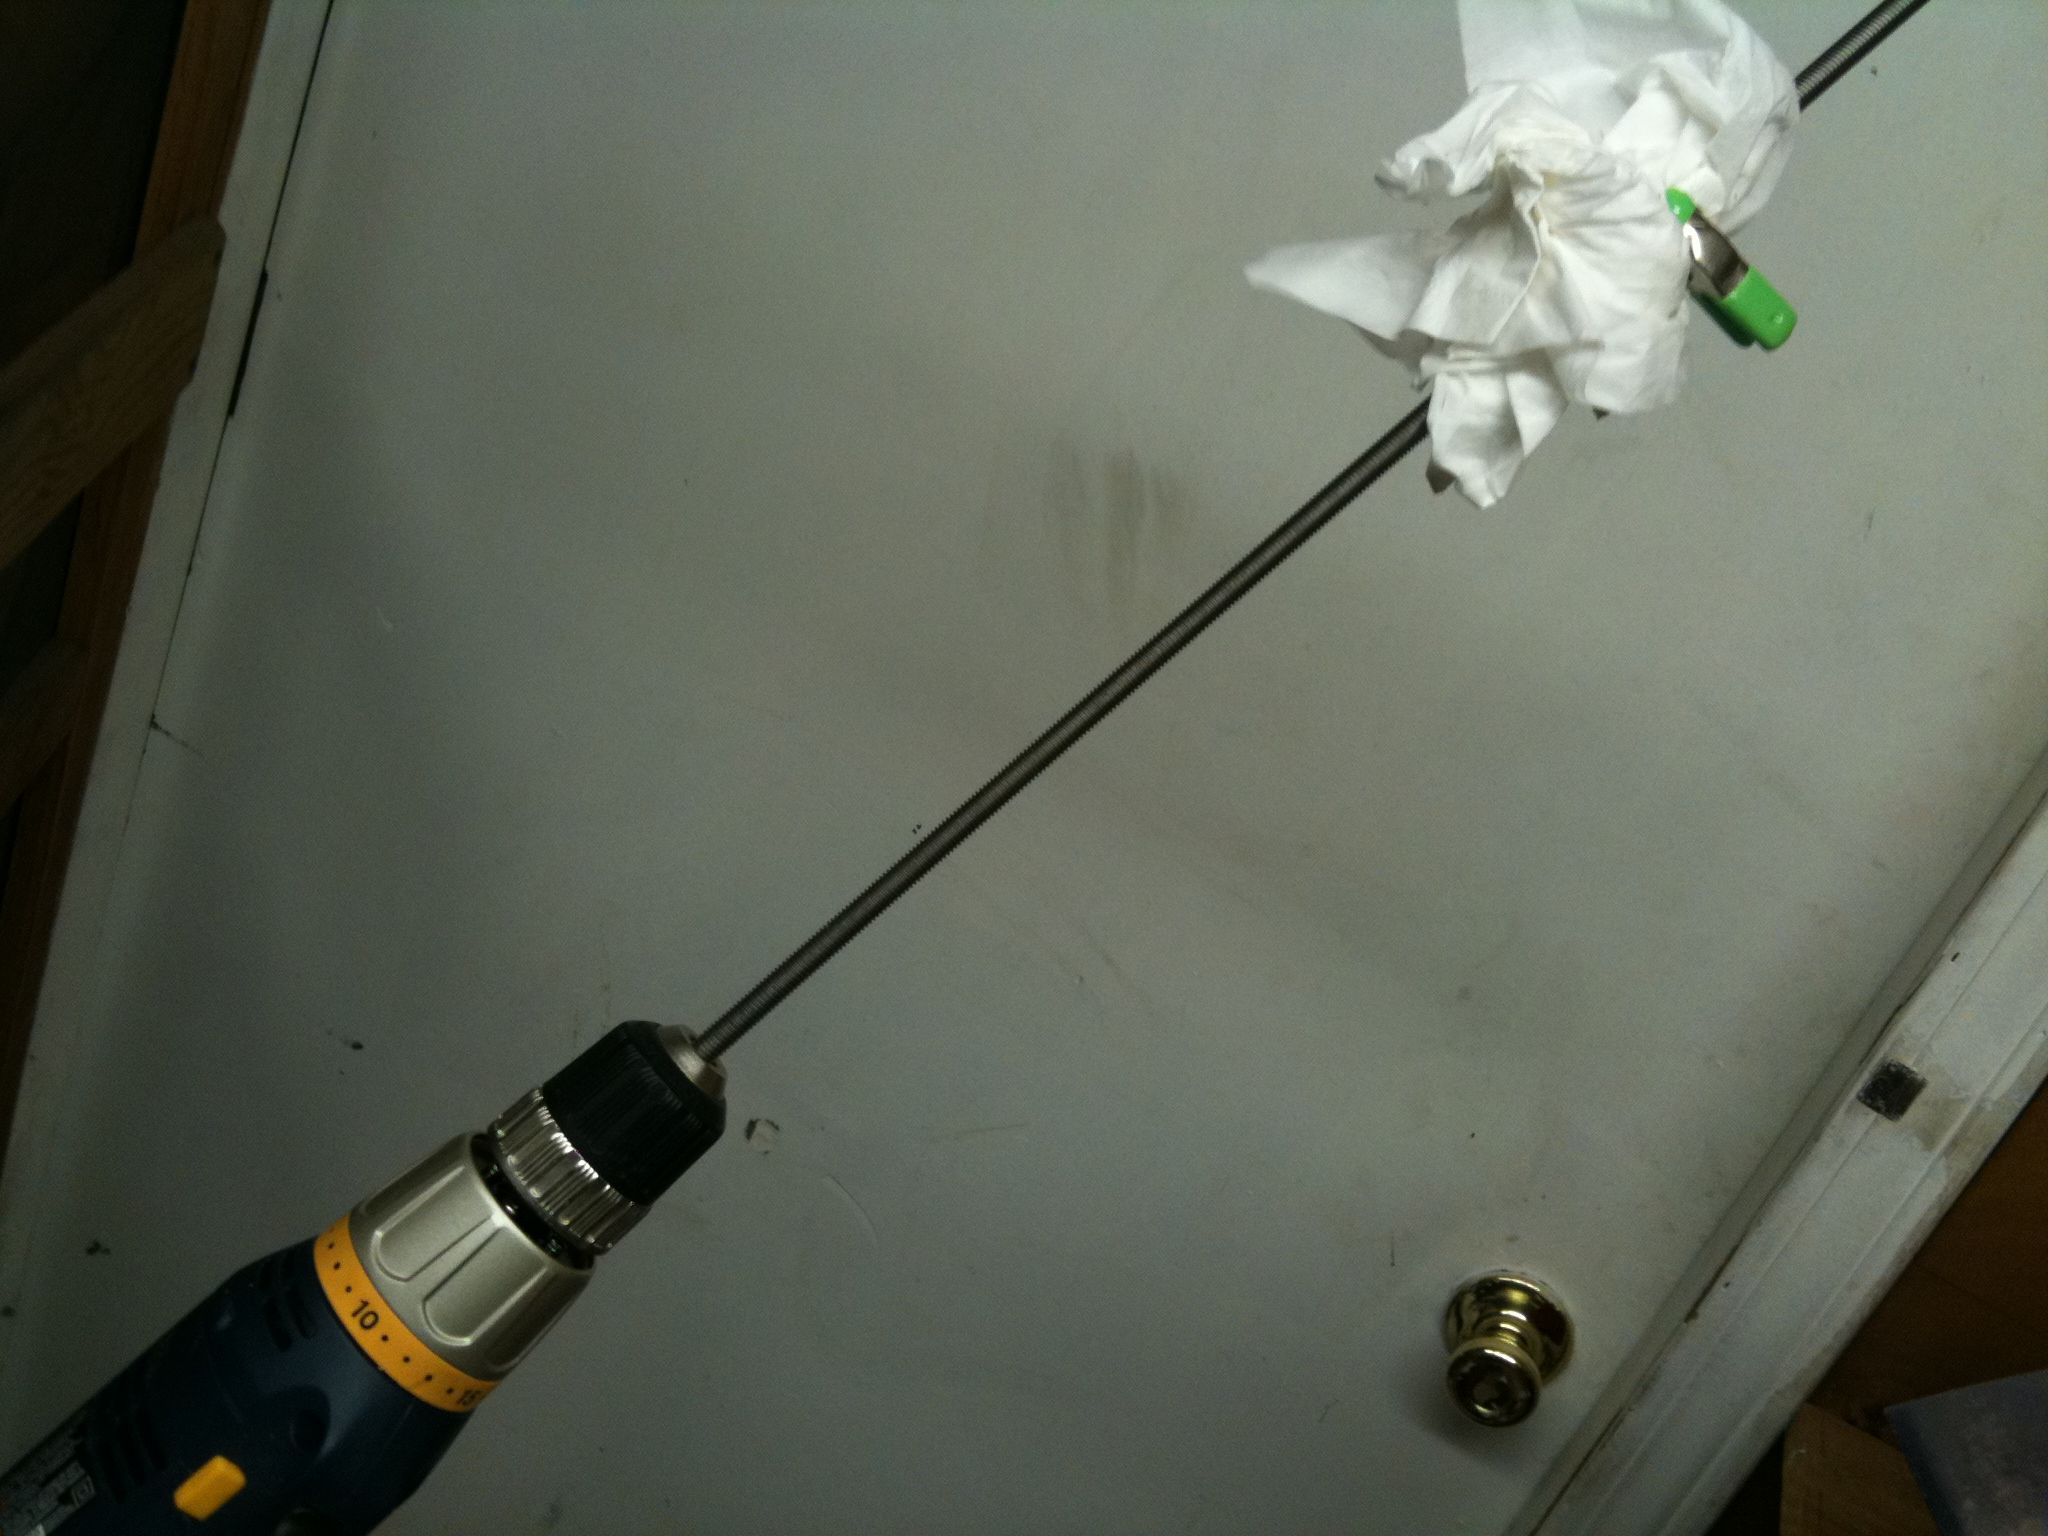
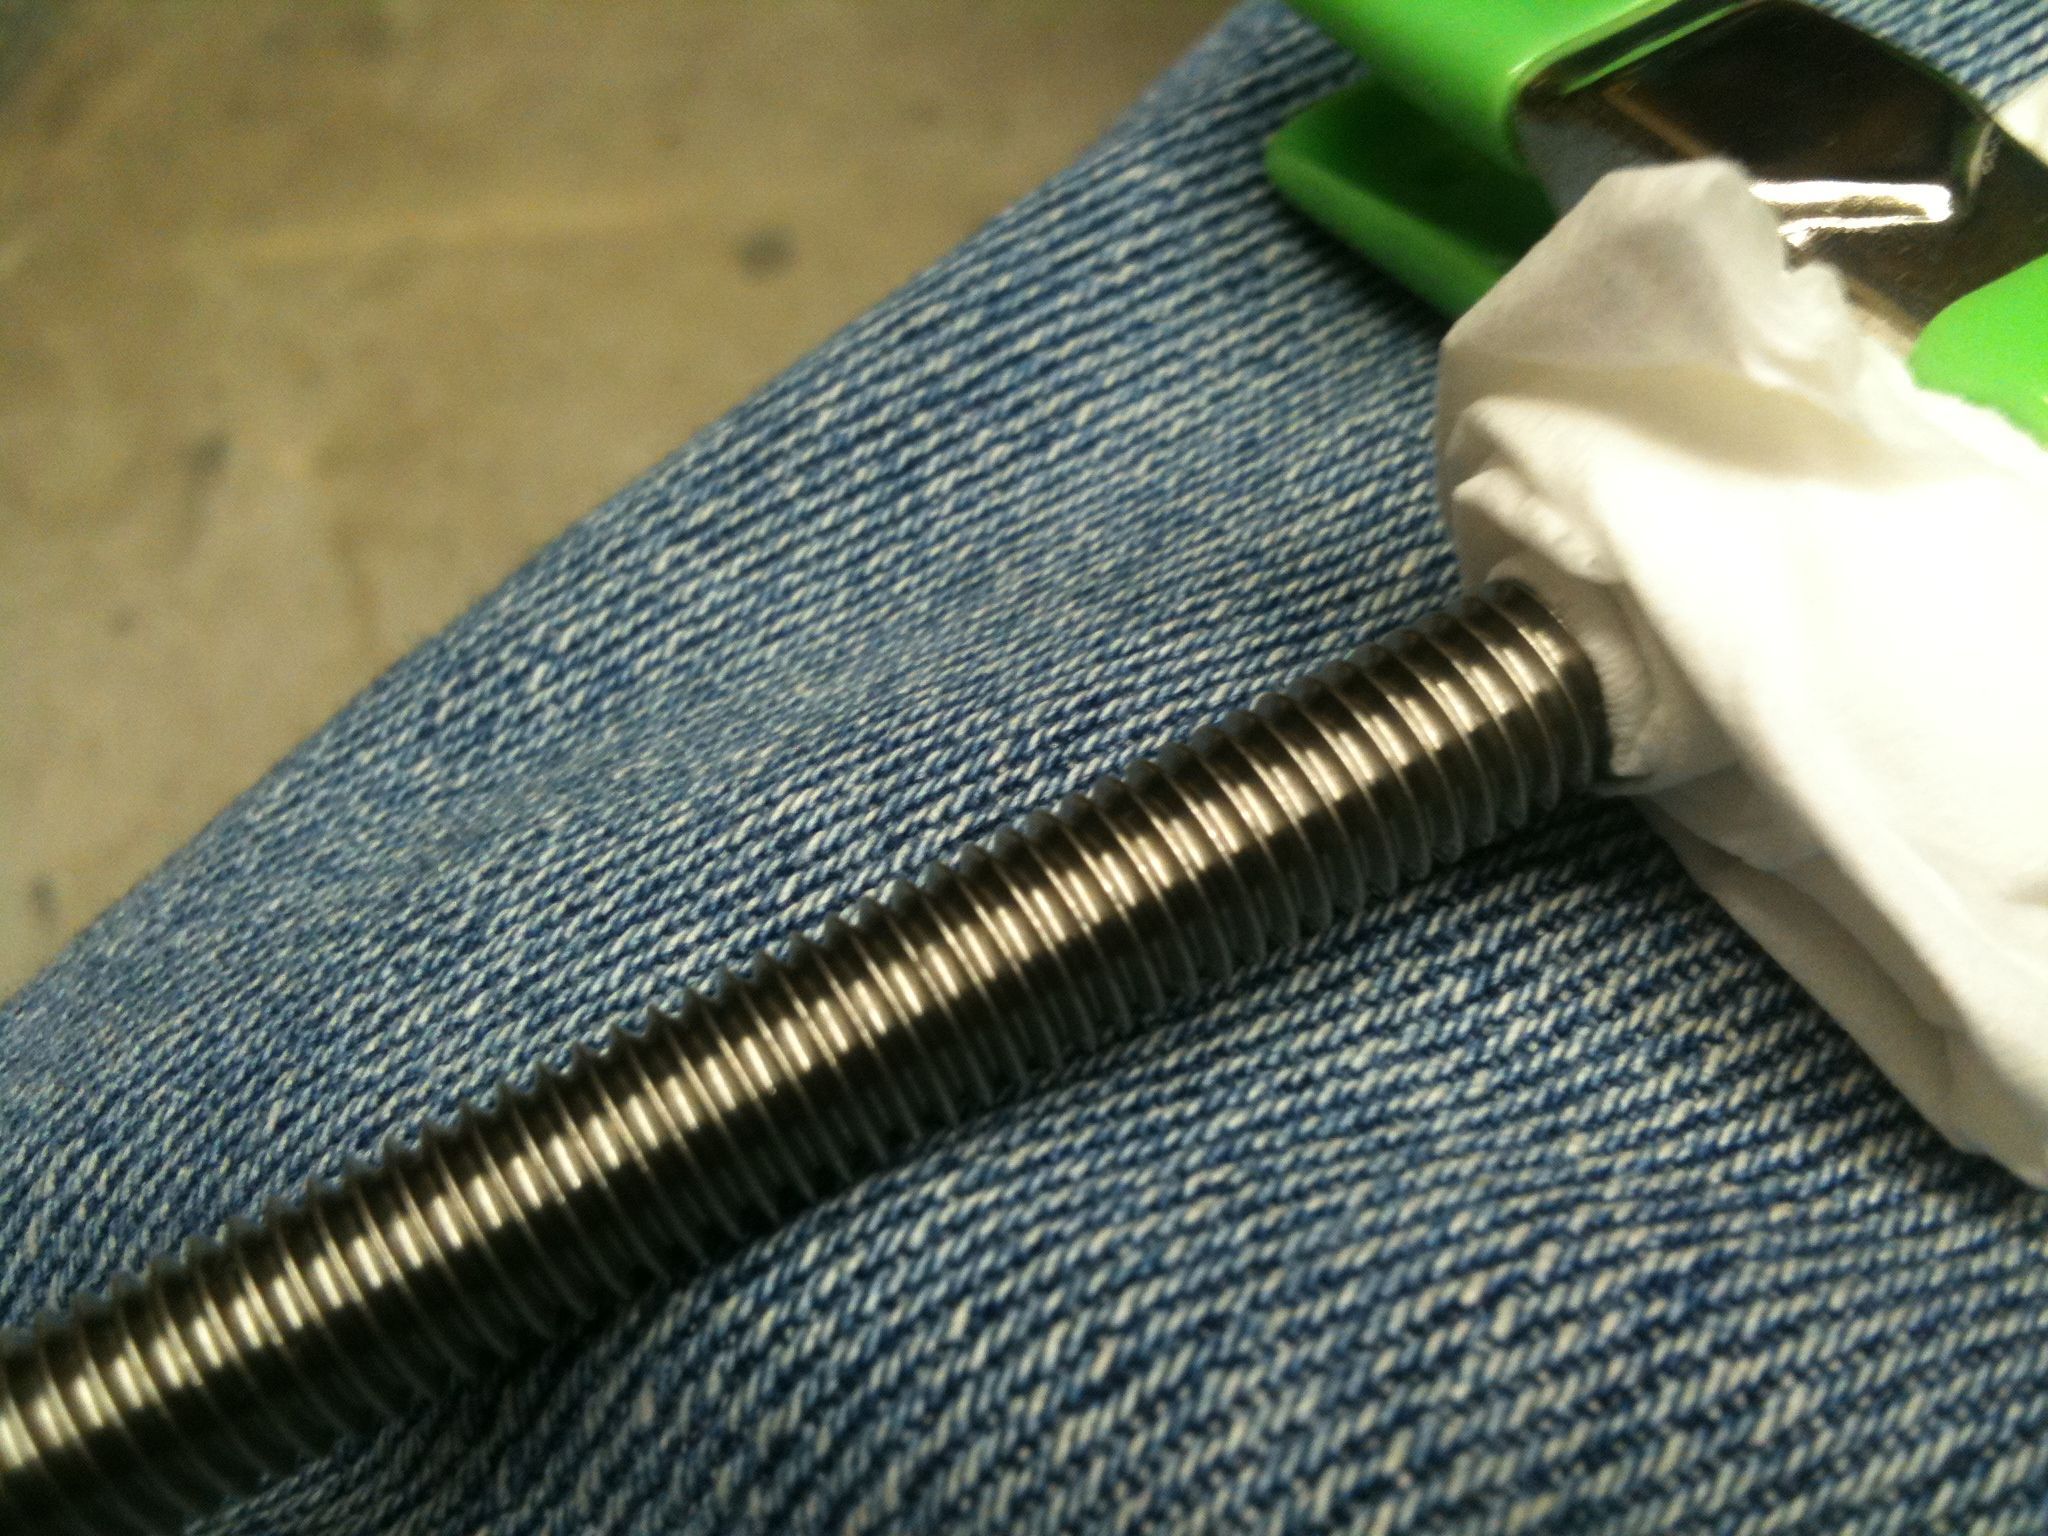
But before I can cut, I need to clean the dirty protective grease they coat these with before shipping. For the smooth rods that was easy enough, but for the threaded rods it wasn’t trivial. I put the rod in the chuck of a drill, wrapped some tissues around the other end of the rod, and started running the drill at some medium speed which would cause the tissues to ever so slowly lower on the rod while cleaning.
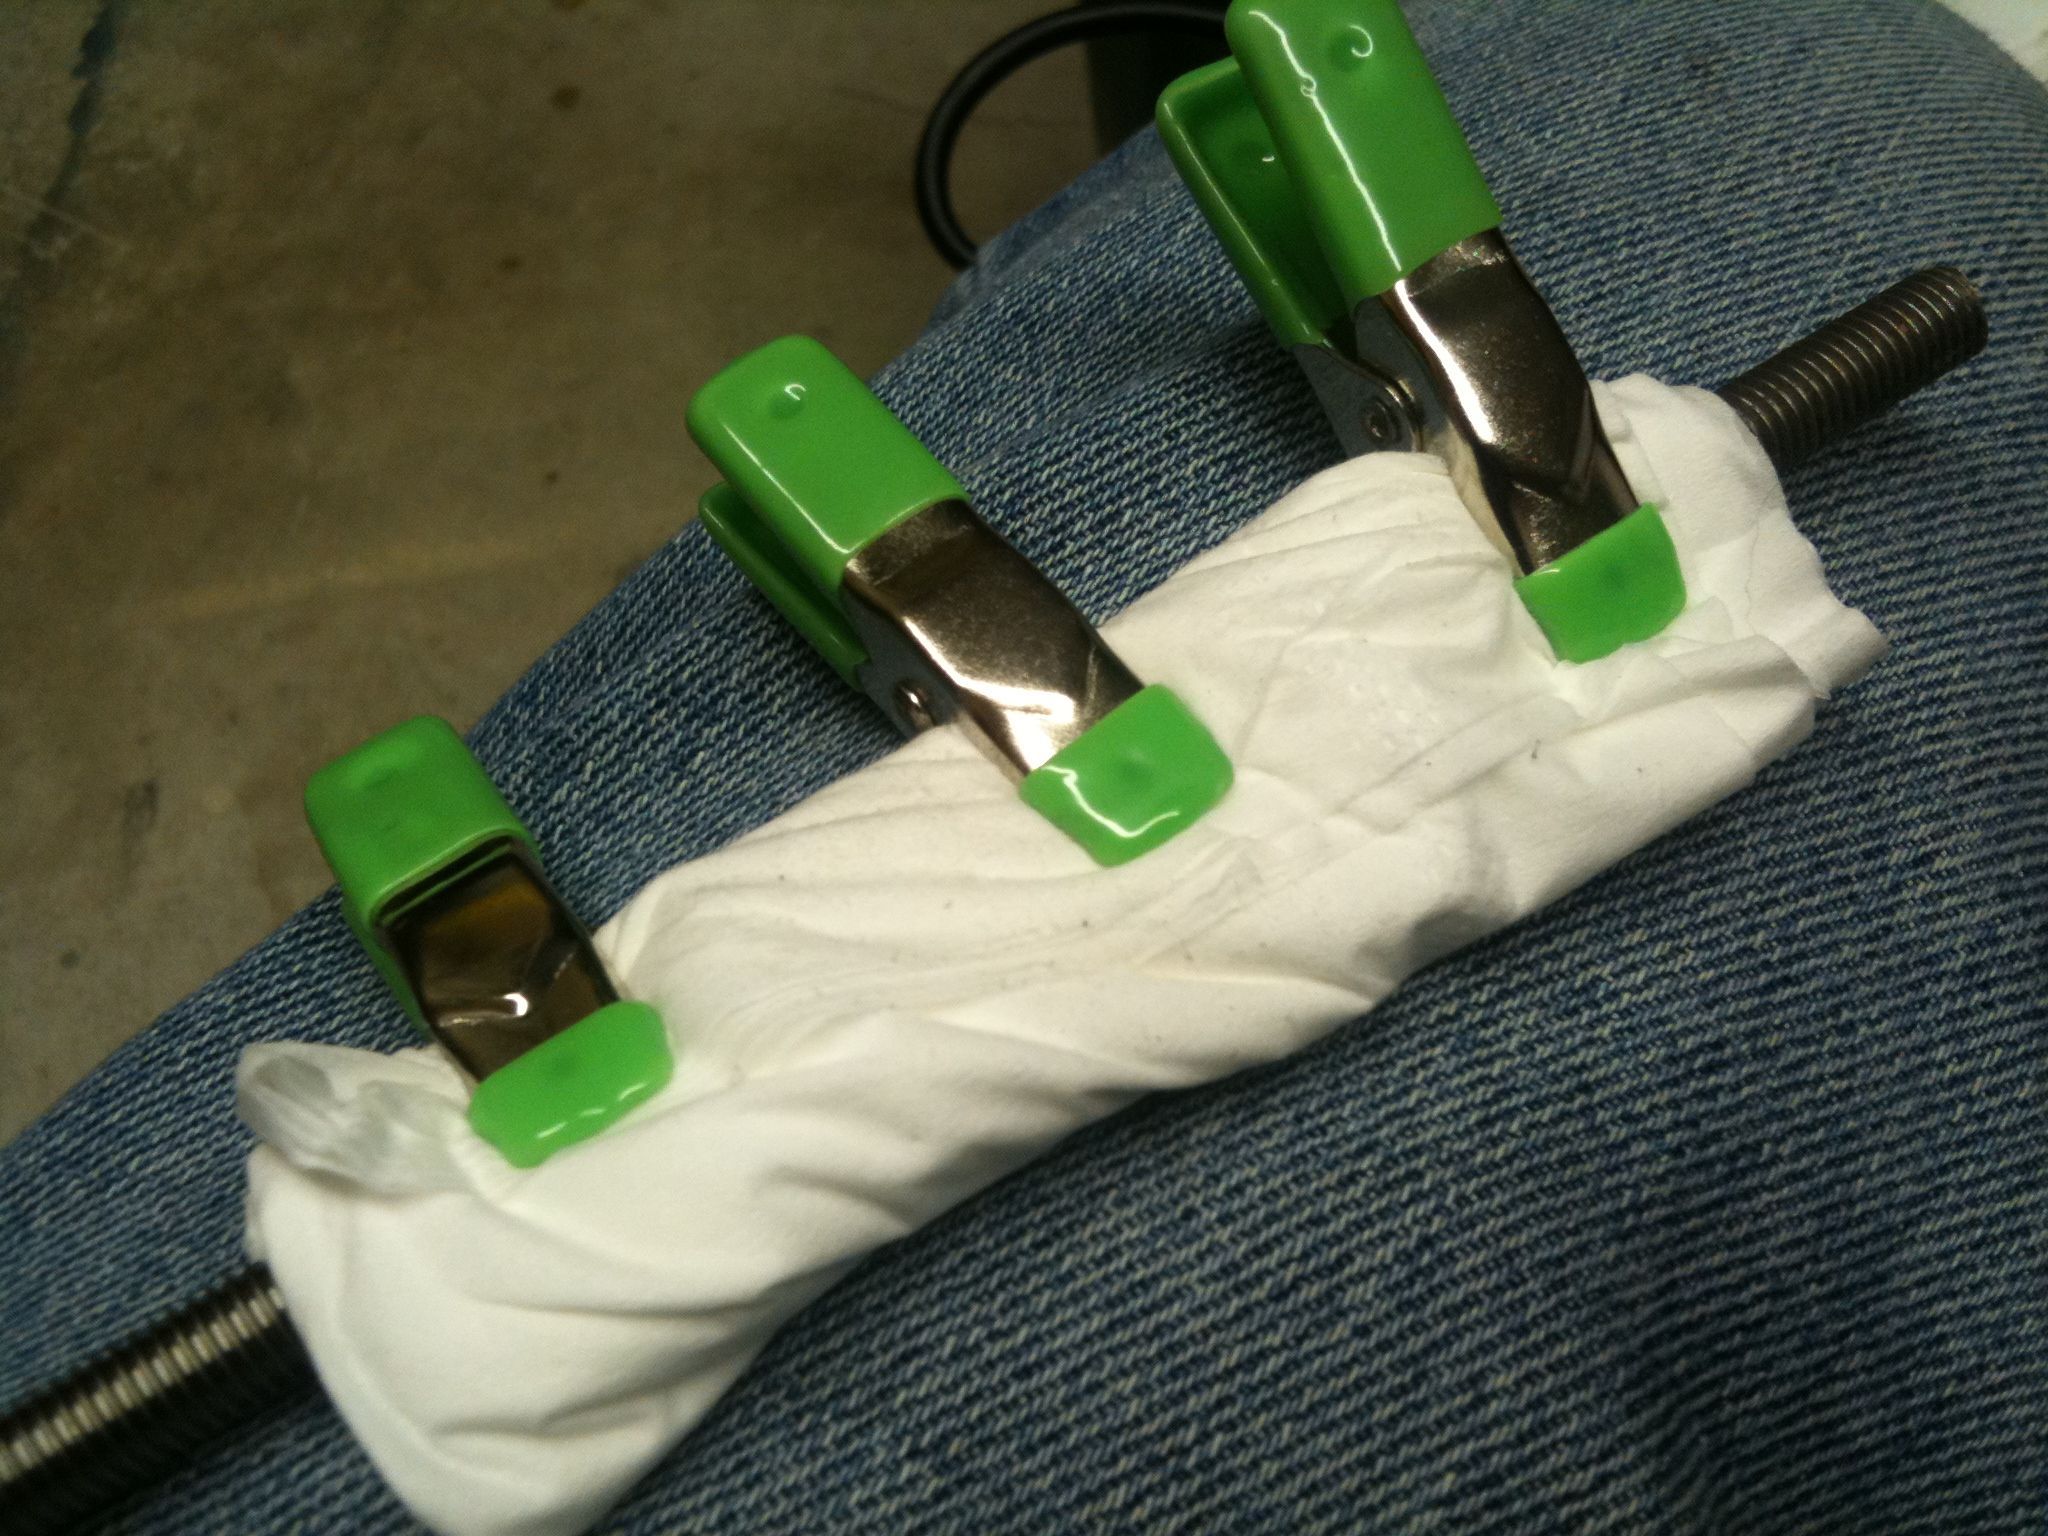
Later I realized it was easier if I had three clamps on the tissues, and that I could run the drill faster that way and still actually clean it.
Here’s what the rod looked like before:
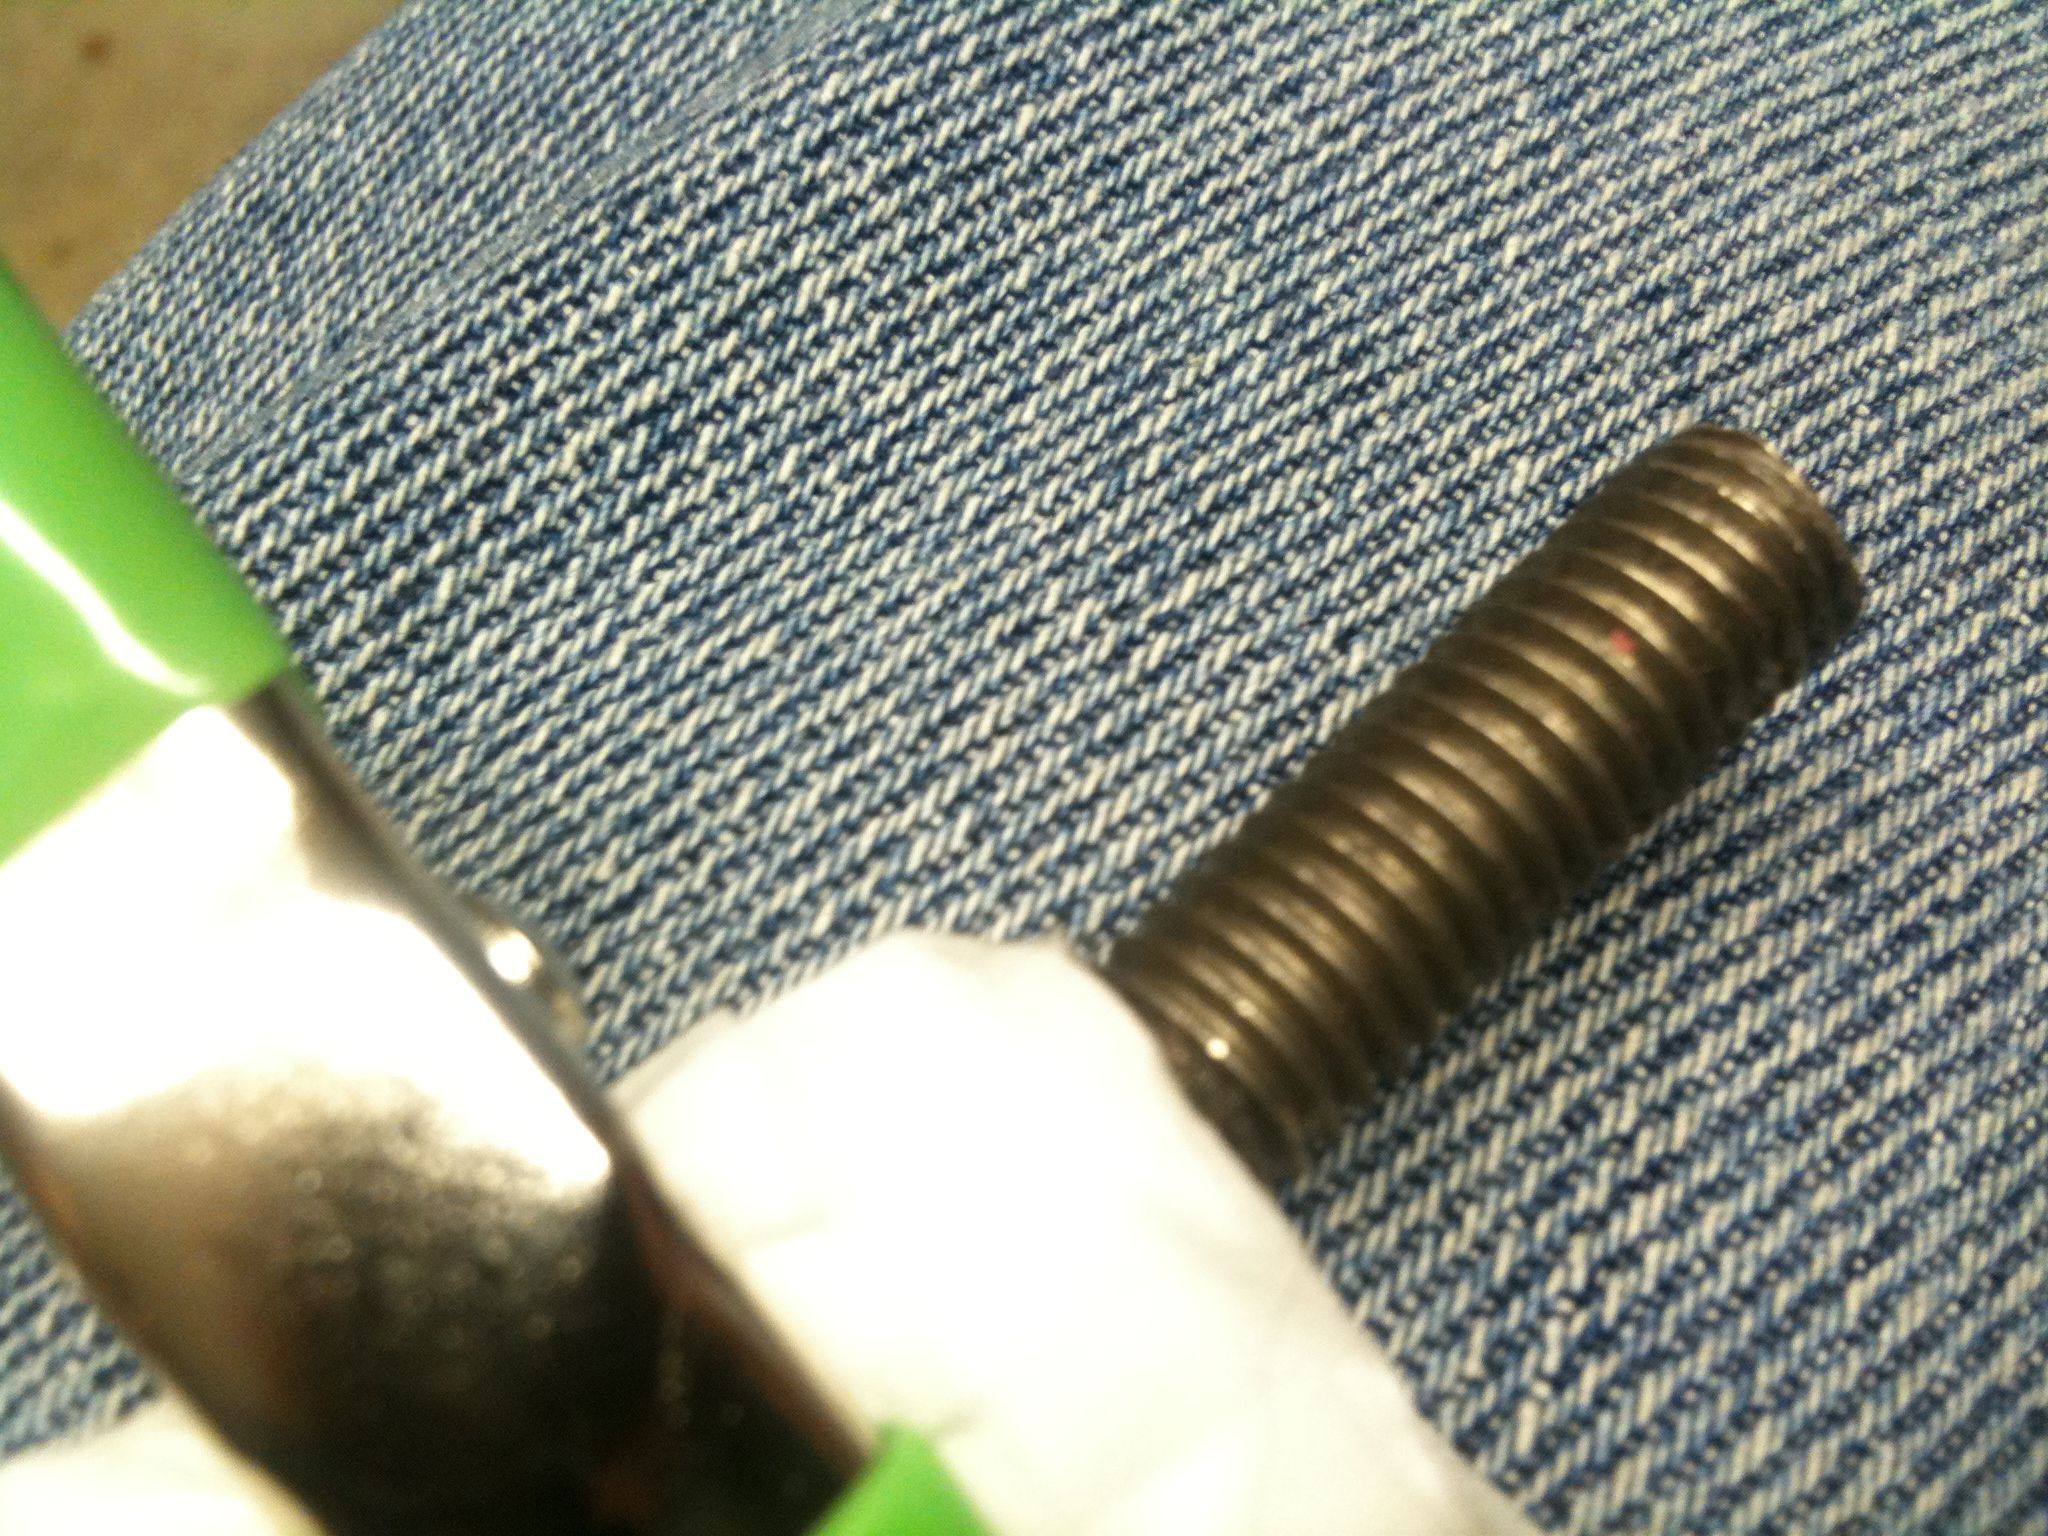
..and here’s after cleaning:
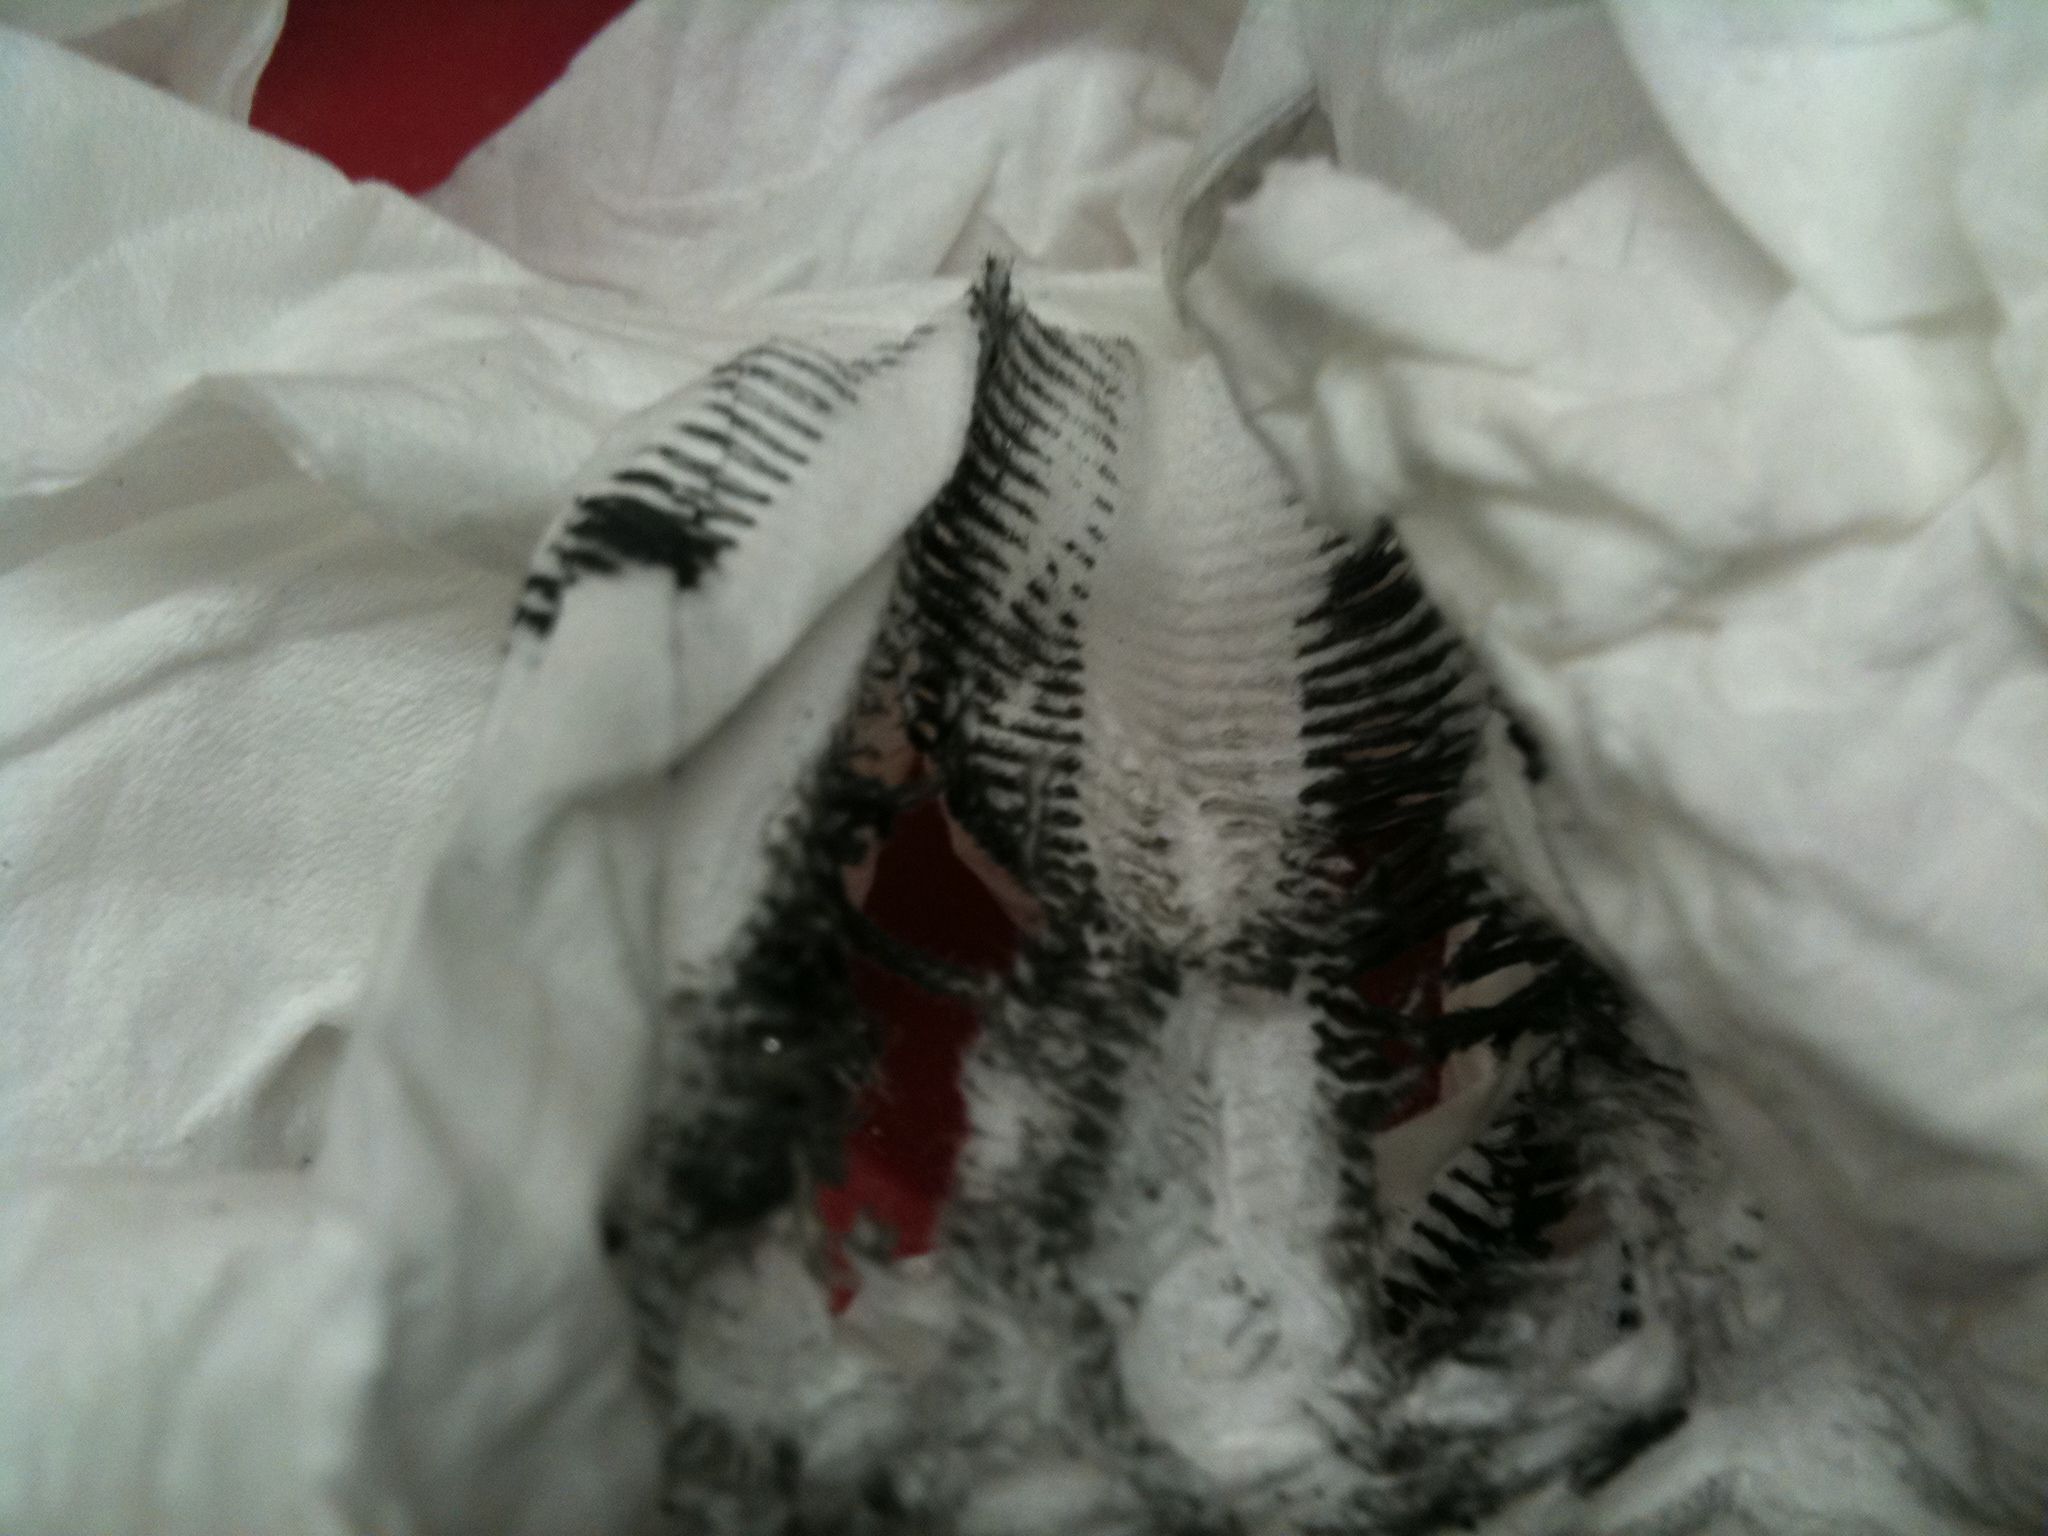
The inside of the tissue shows exactly what gunk I just cleaned off:
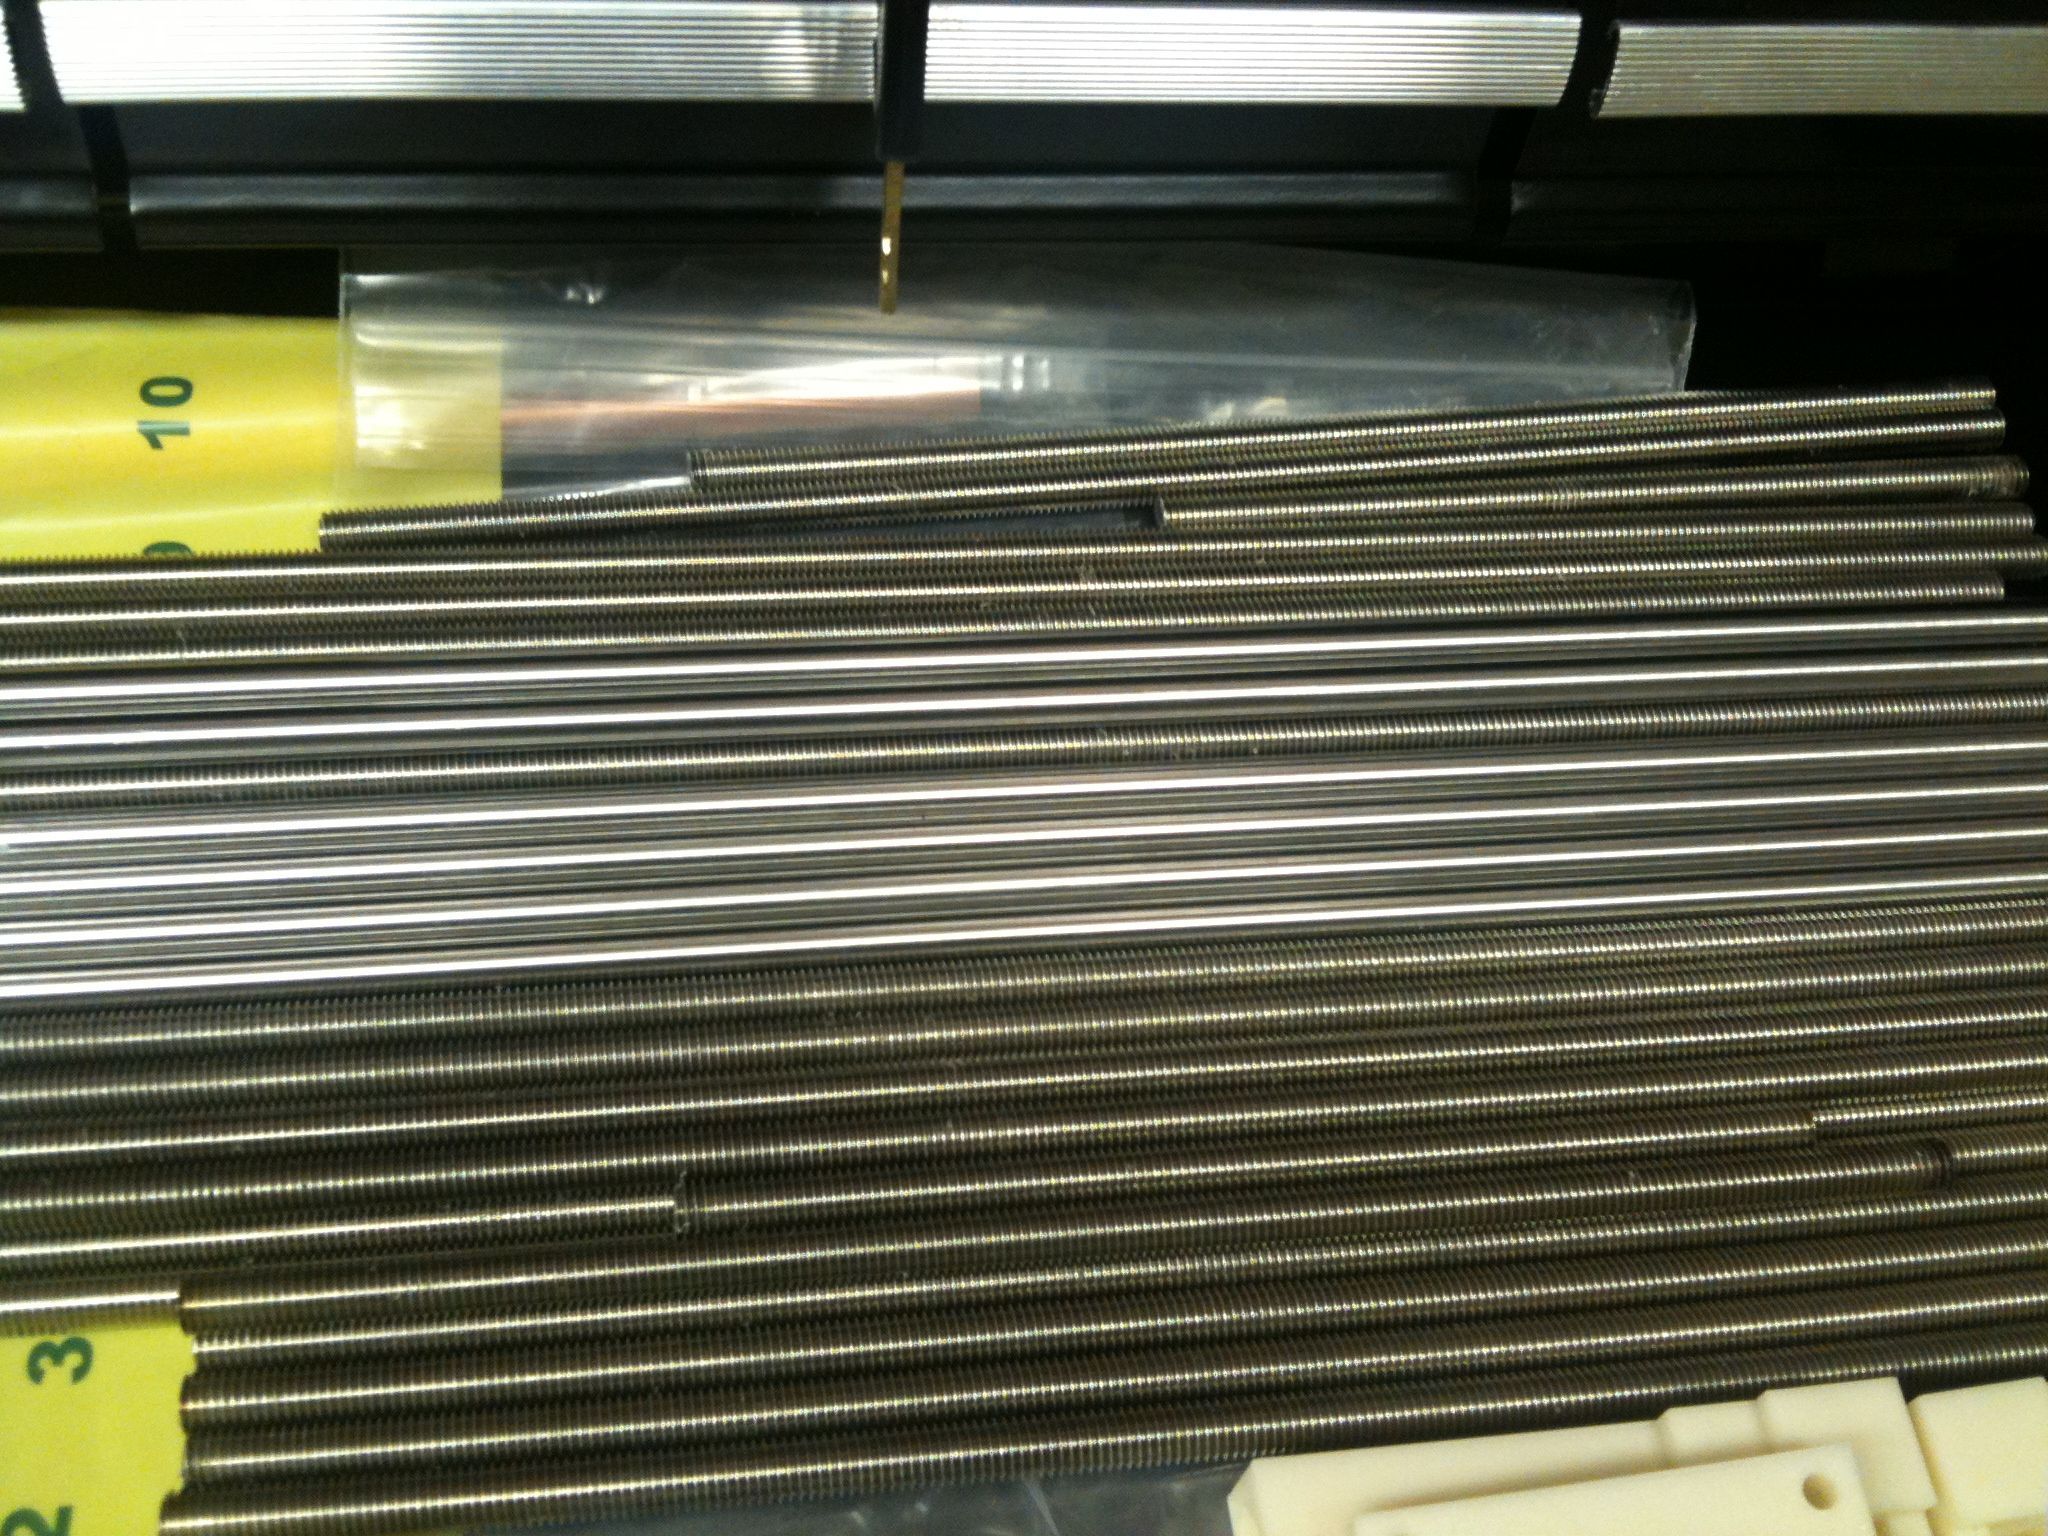
Here are all the completed rods (at least I think this picture was of all of them – they’re all done now):
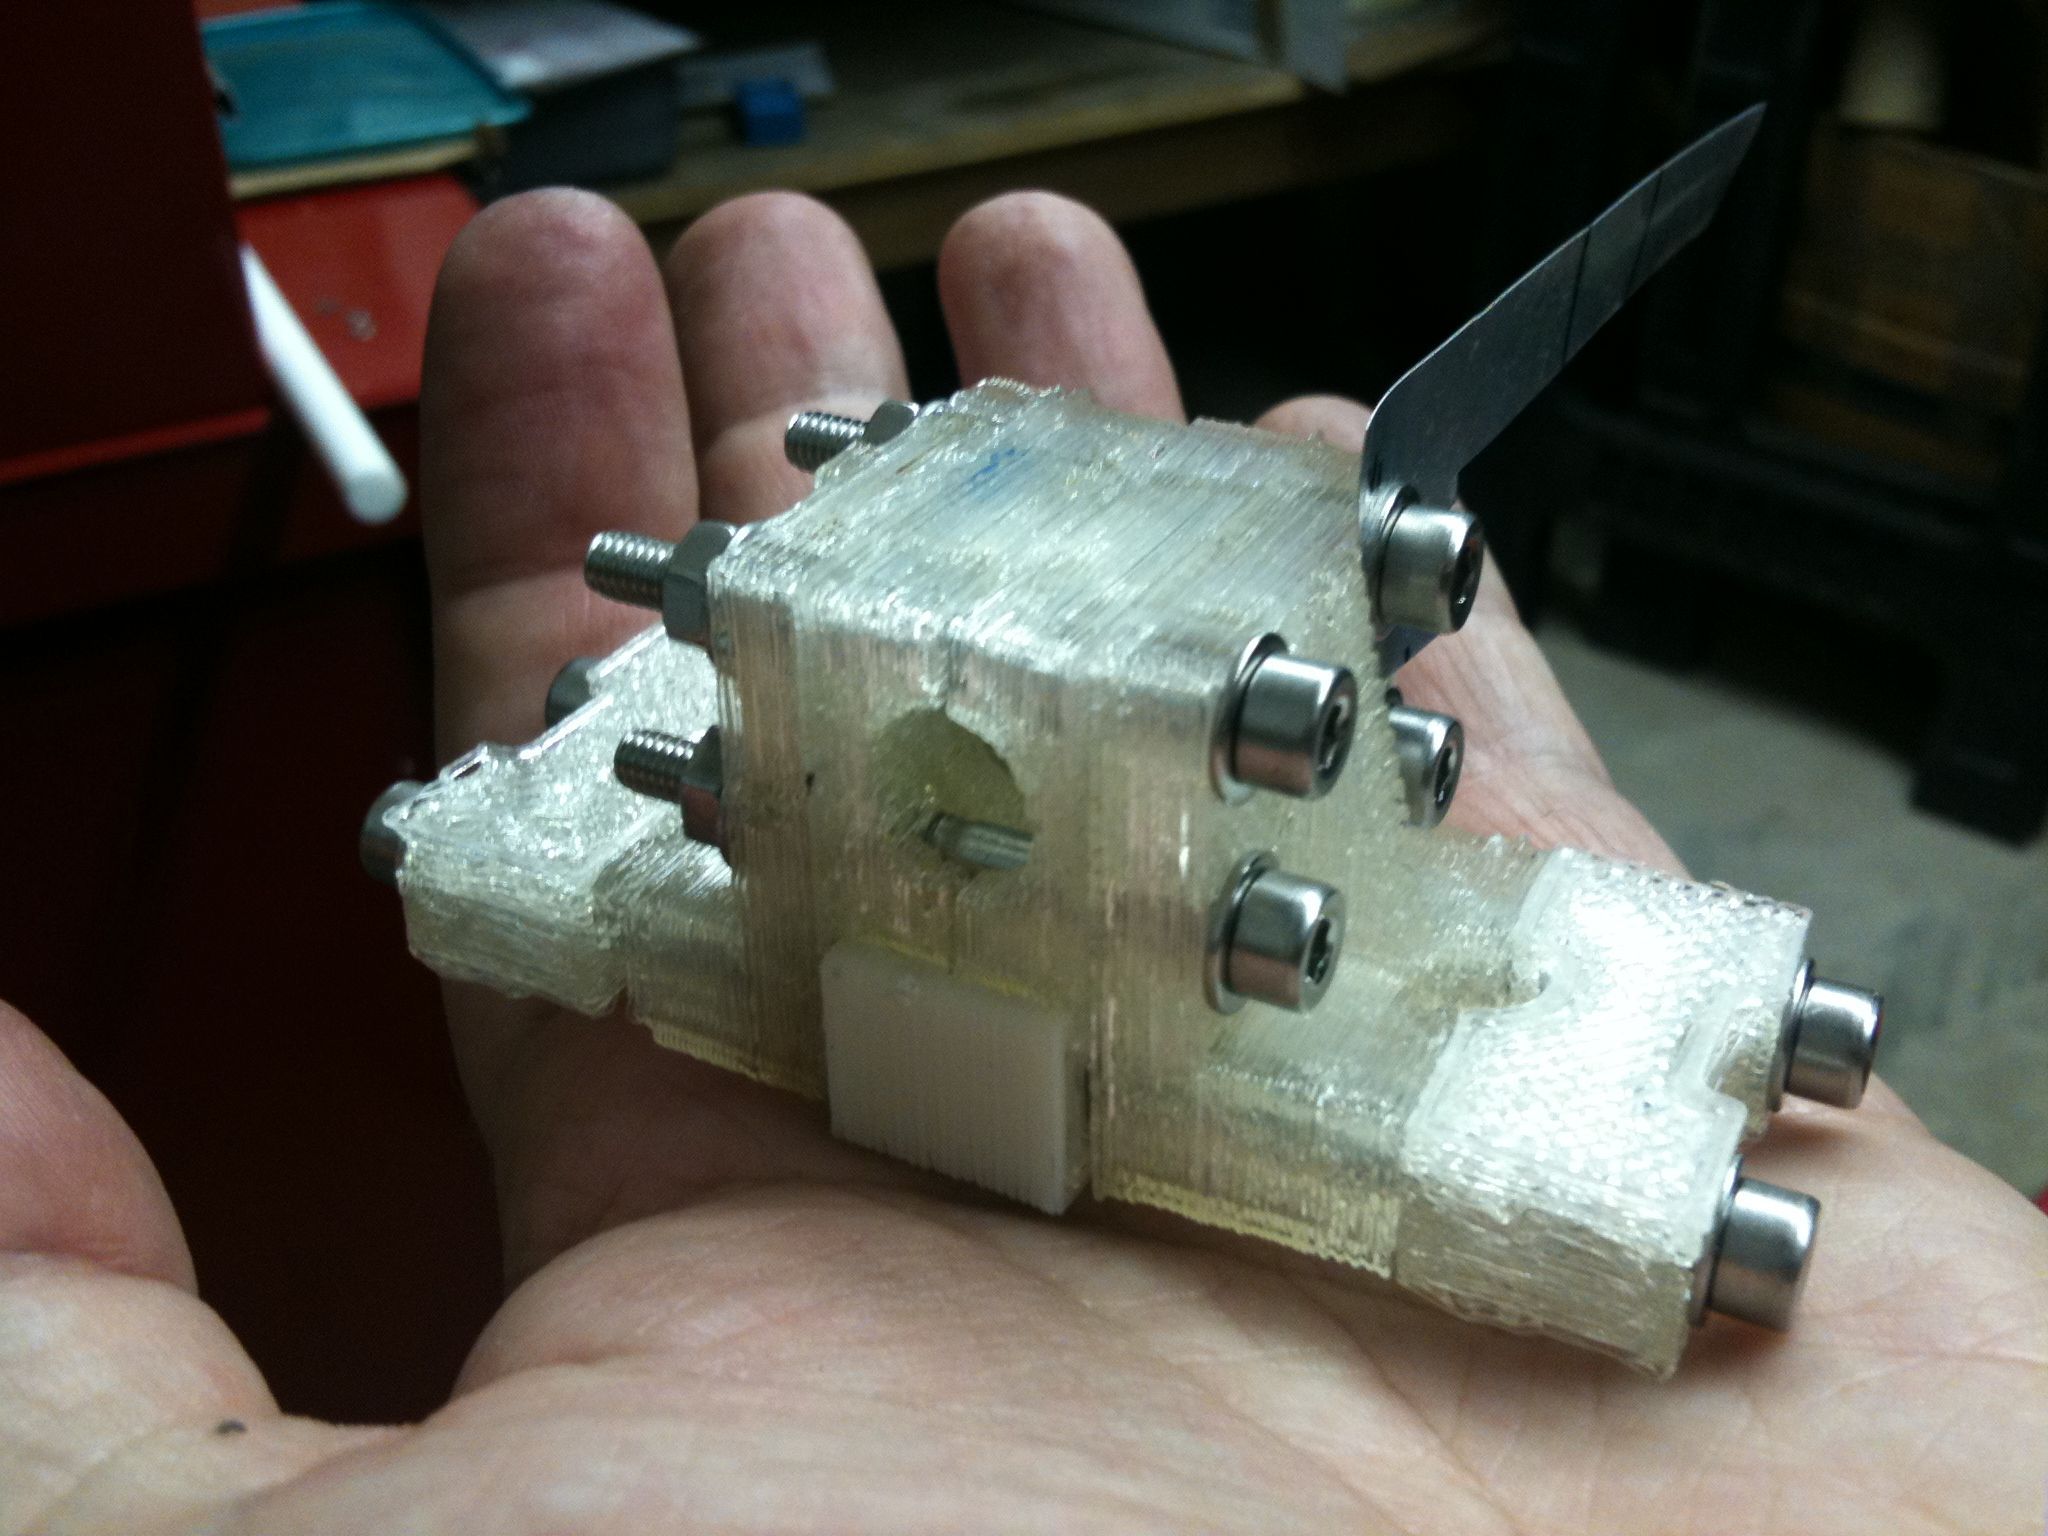
Once I had the rods all cut to size, I was actually a bit overwhelmed about the amount of things I have left to do, and more specifically the choices I had as to what to work on next. It didn’t take long before I went back to assembling the X axis. First, I adjusted the spacer bolts on the X carriage and mounted the extruder piece, skipping the attachment of the stepper motor, PTFE insulator, and heater barrel for now. (I need to design some equivalent of a retainer to hold the heater barrel into the PTFE (and hold that into the extruder piece) similar to how the MakerBot’s extruder does it, because I can’t afford to glue a PTFE insulator into one of my only extruder RP pieces until I have a working printer). I also mounted the opto endflag, made out of a Coke can. That will be used in conjunction with an optical sensor to home the device.
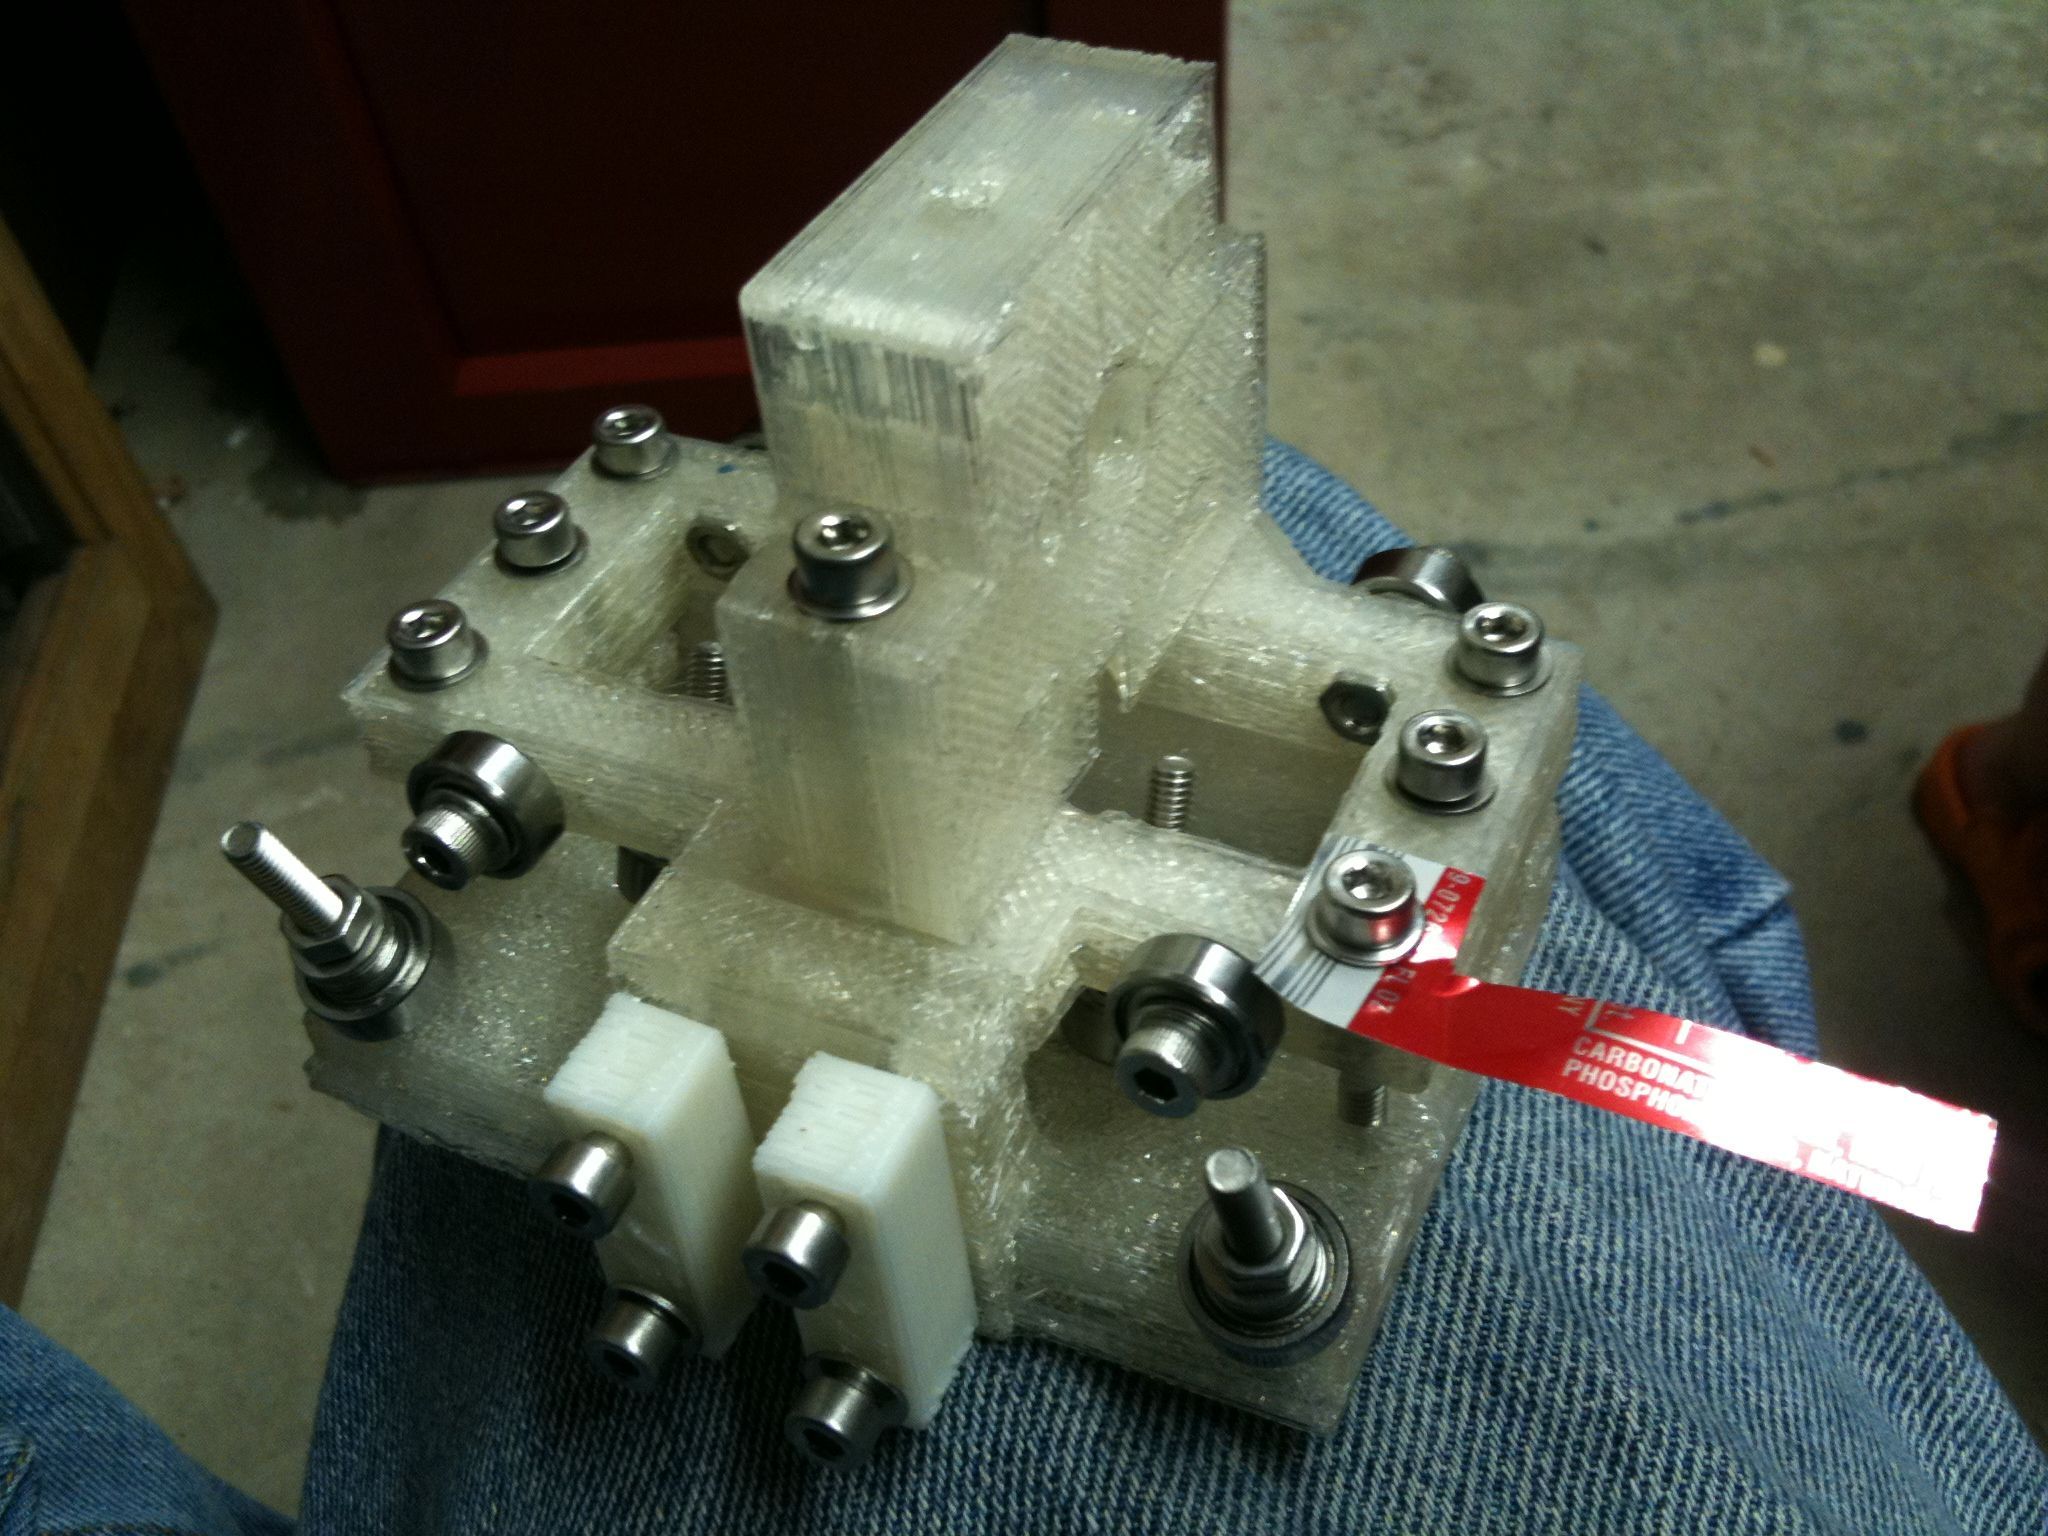
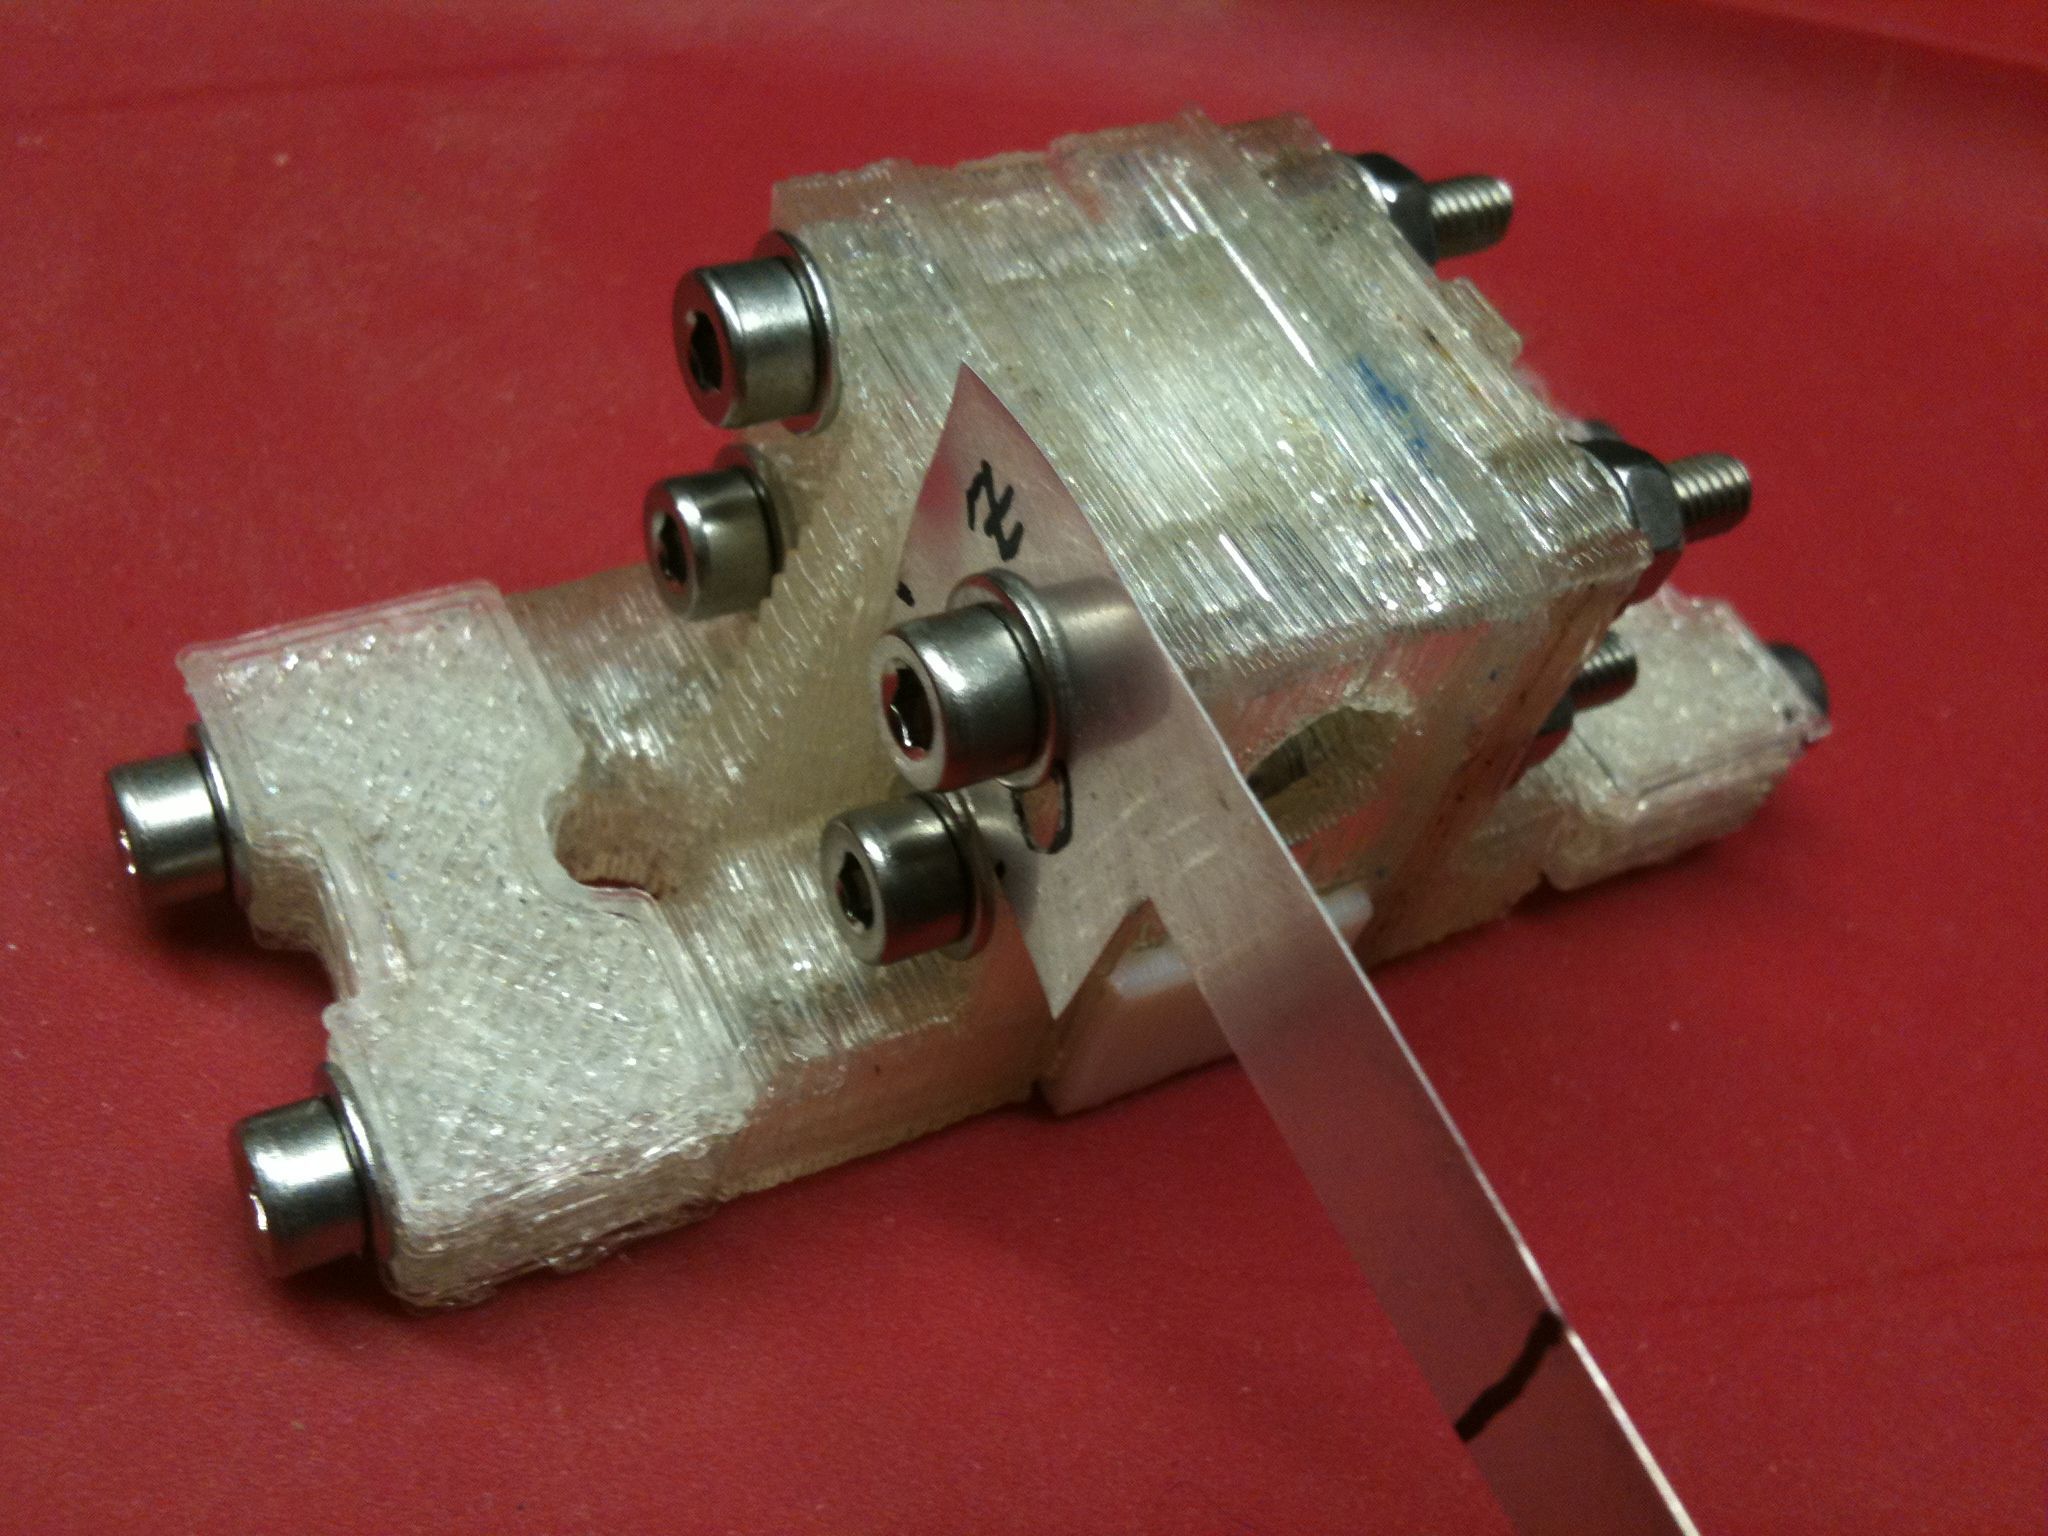
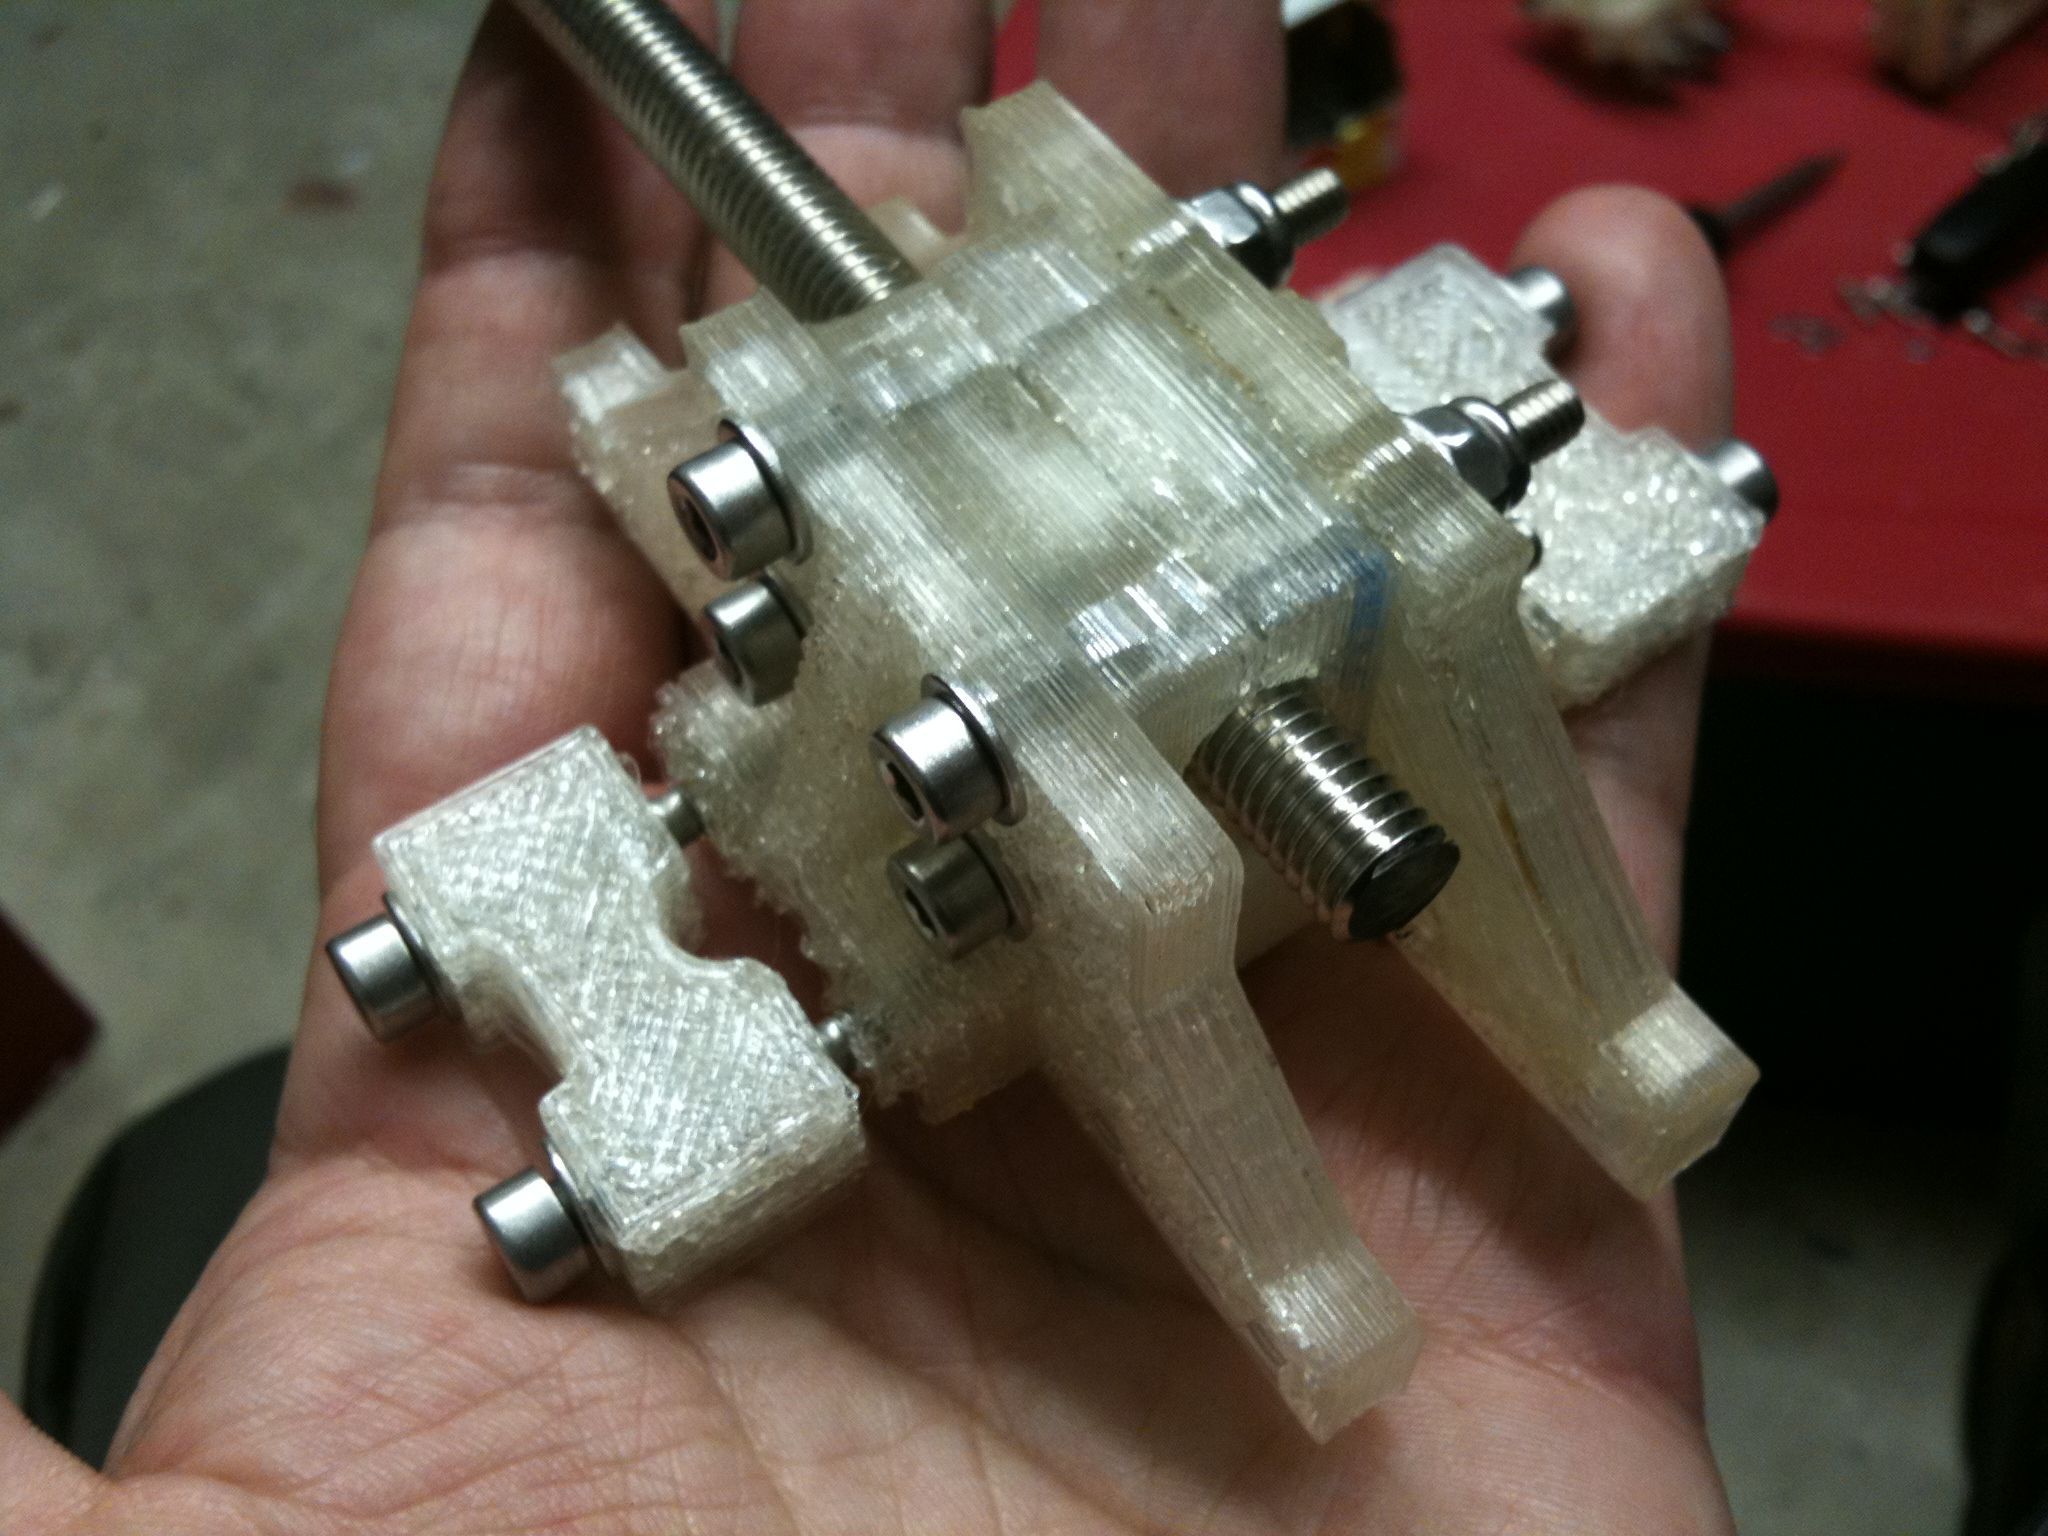
Then I assembled the “Vert bearing 180” assembly:
Here’s a truncated video (I ran out of space on my phone again) showing a few of the pieces:
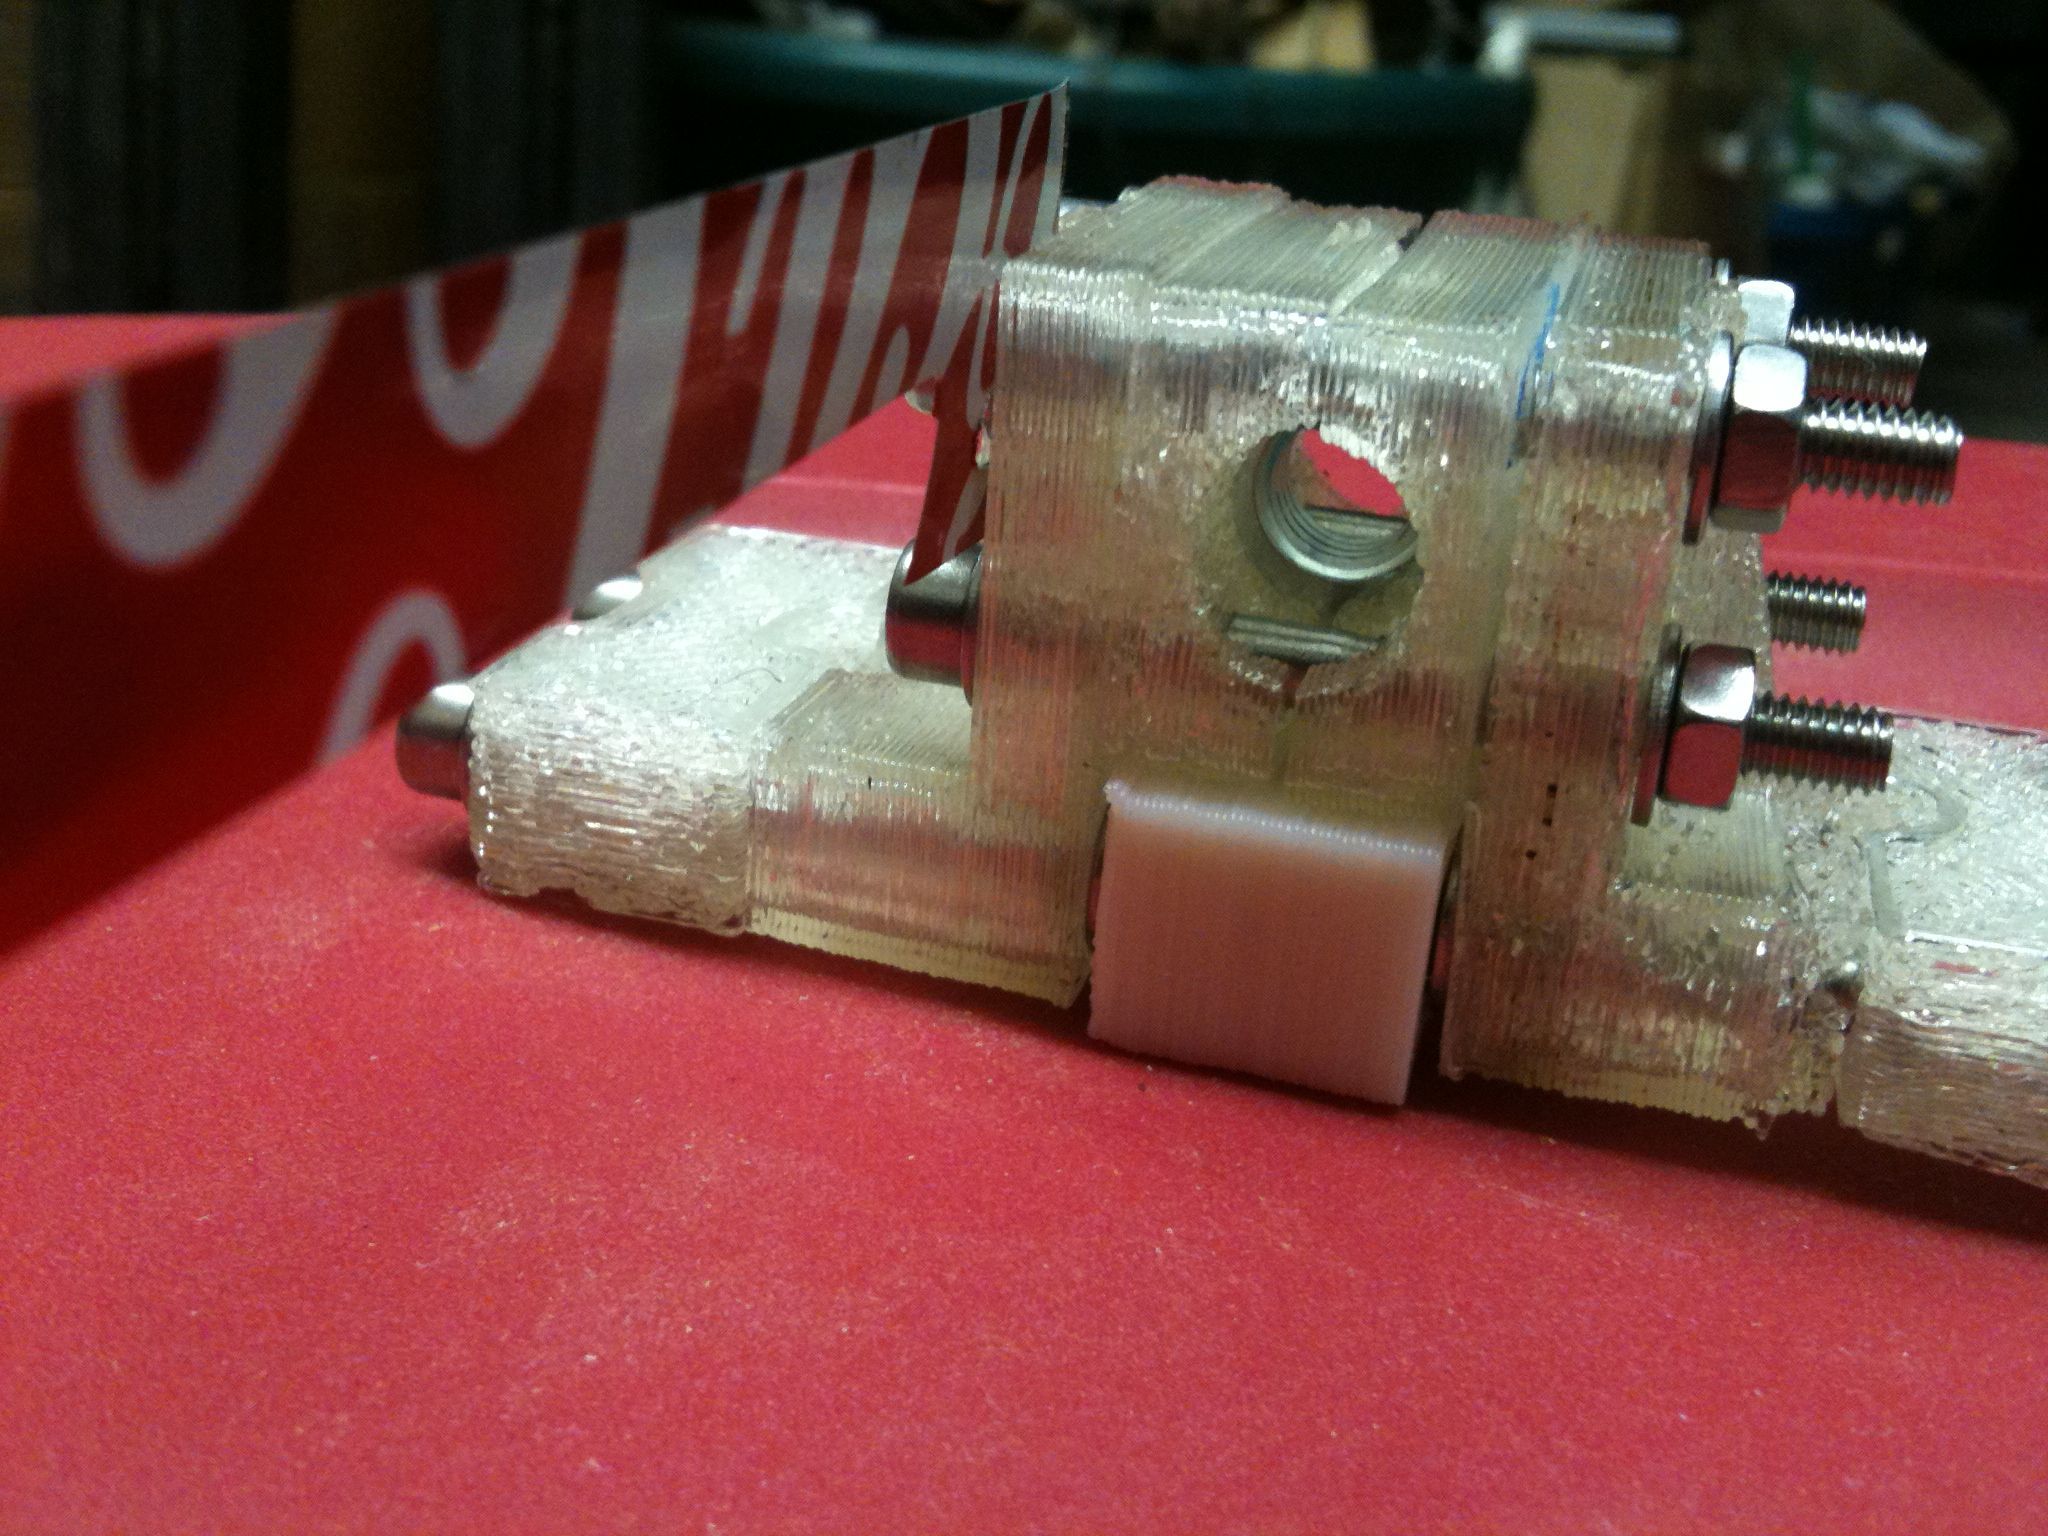
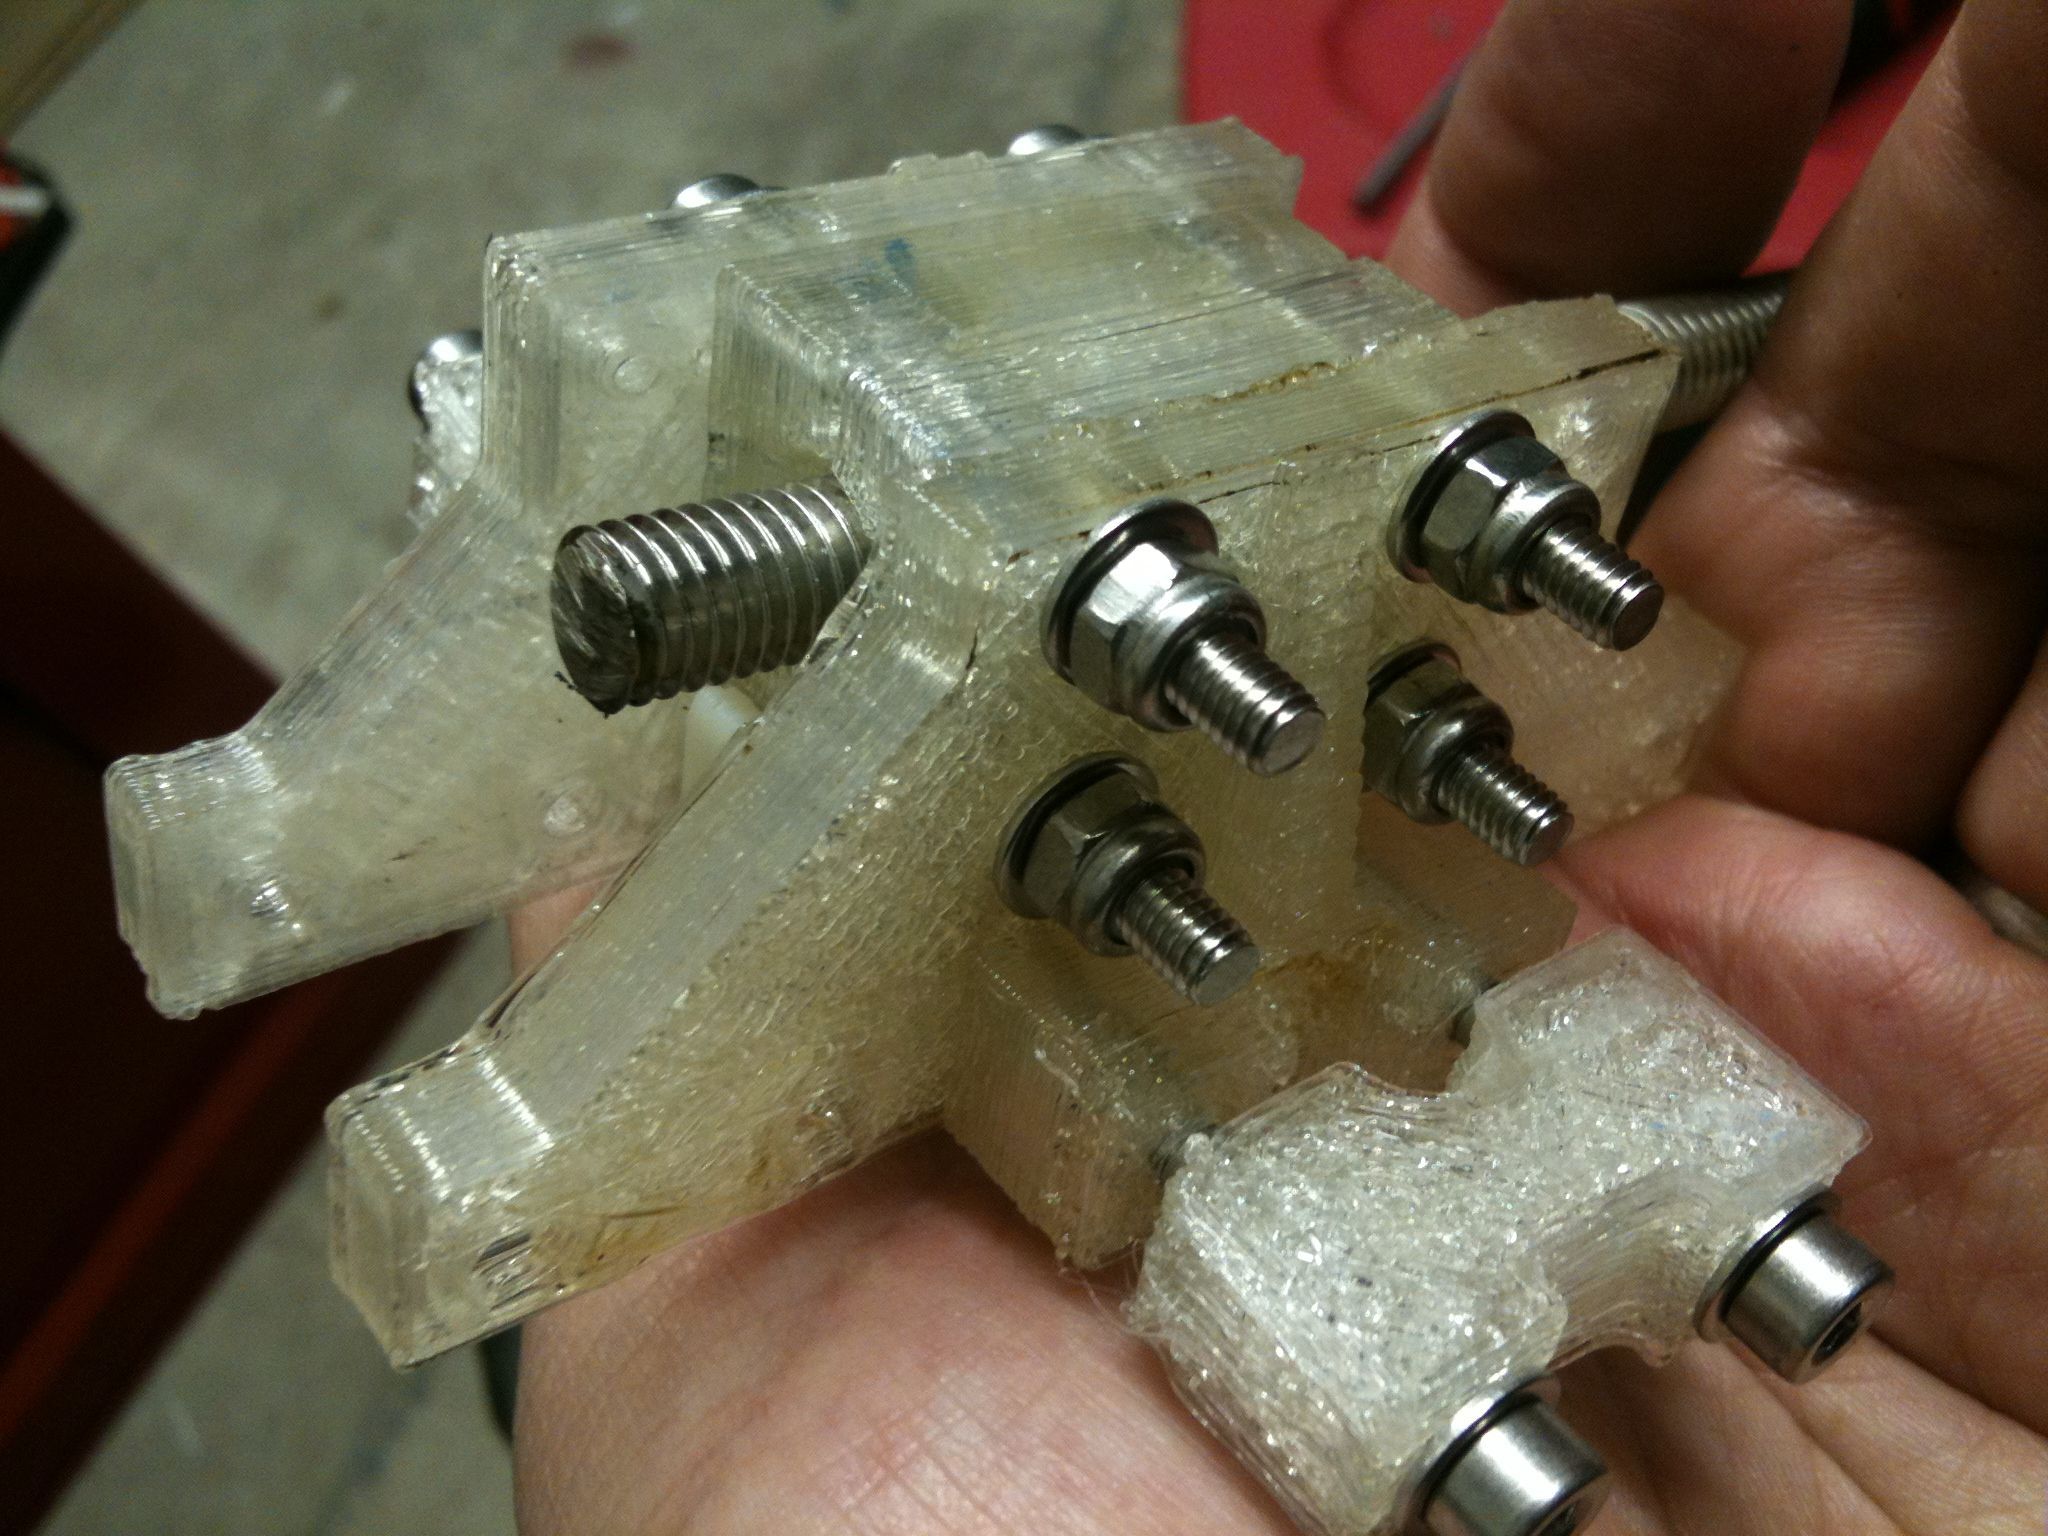
Then I started the Vert Bearing 360 assembly. Here’s are two pictures of it mid-way, with a piece of scrap threaded rod in the middle to illustrate the trapped M8 nut in the center of the assembly:
I’ve actually completed that now, but I’m too tired to upload the photo now – I’ll include that in my next post.
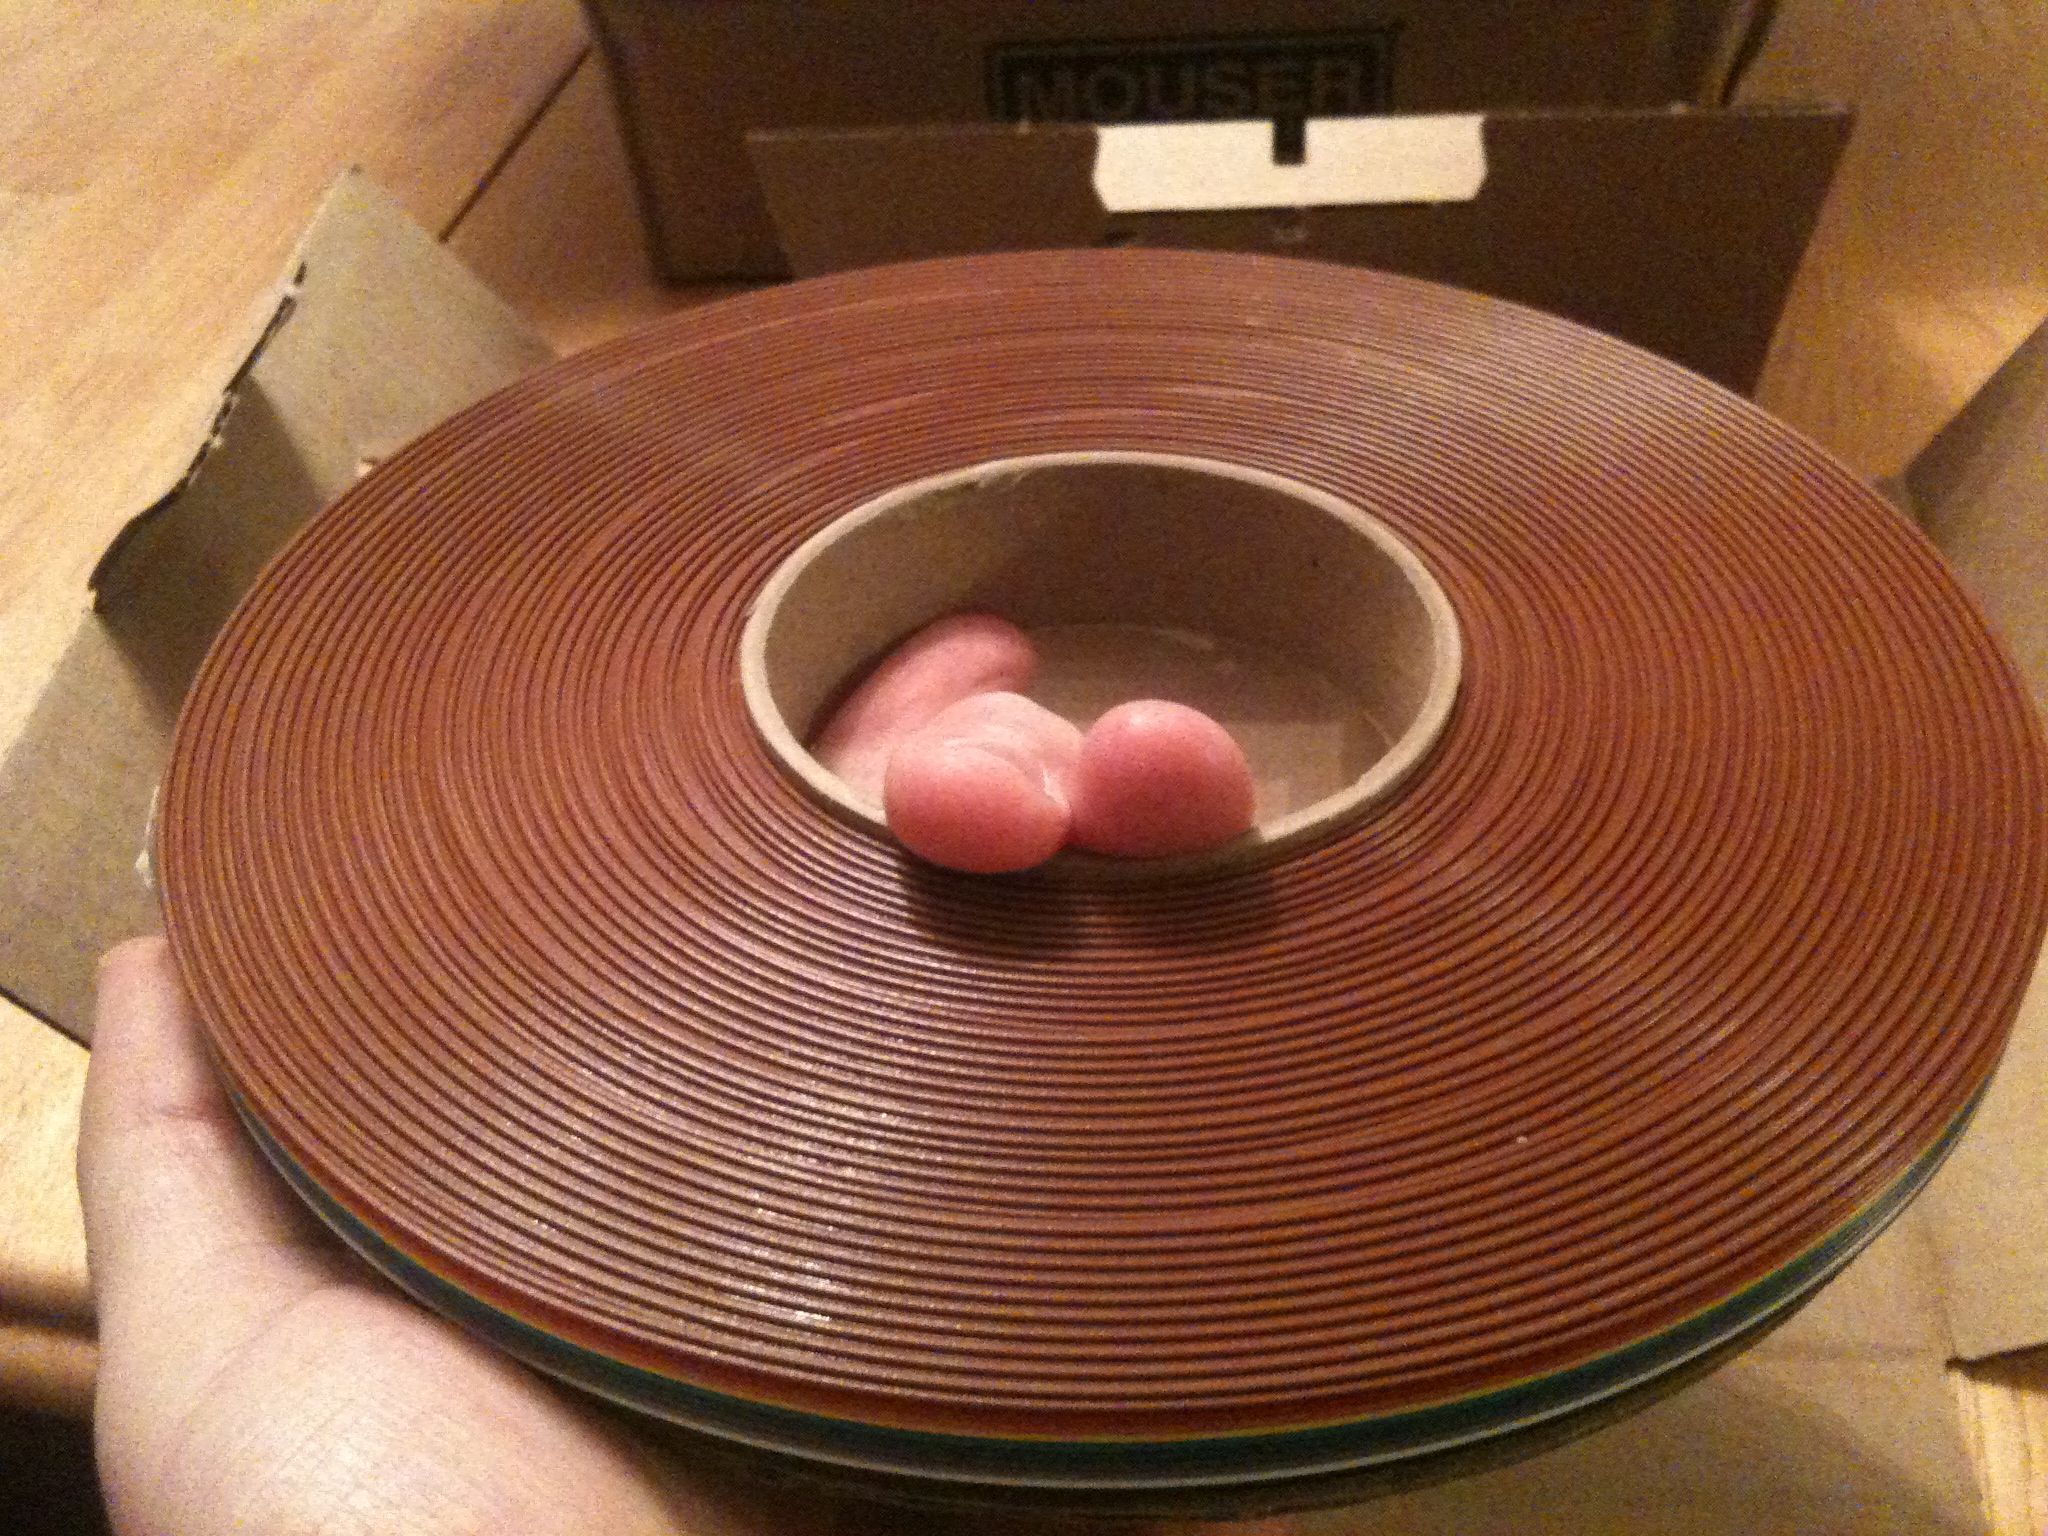
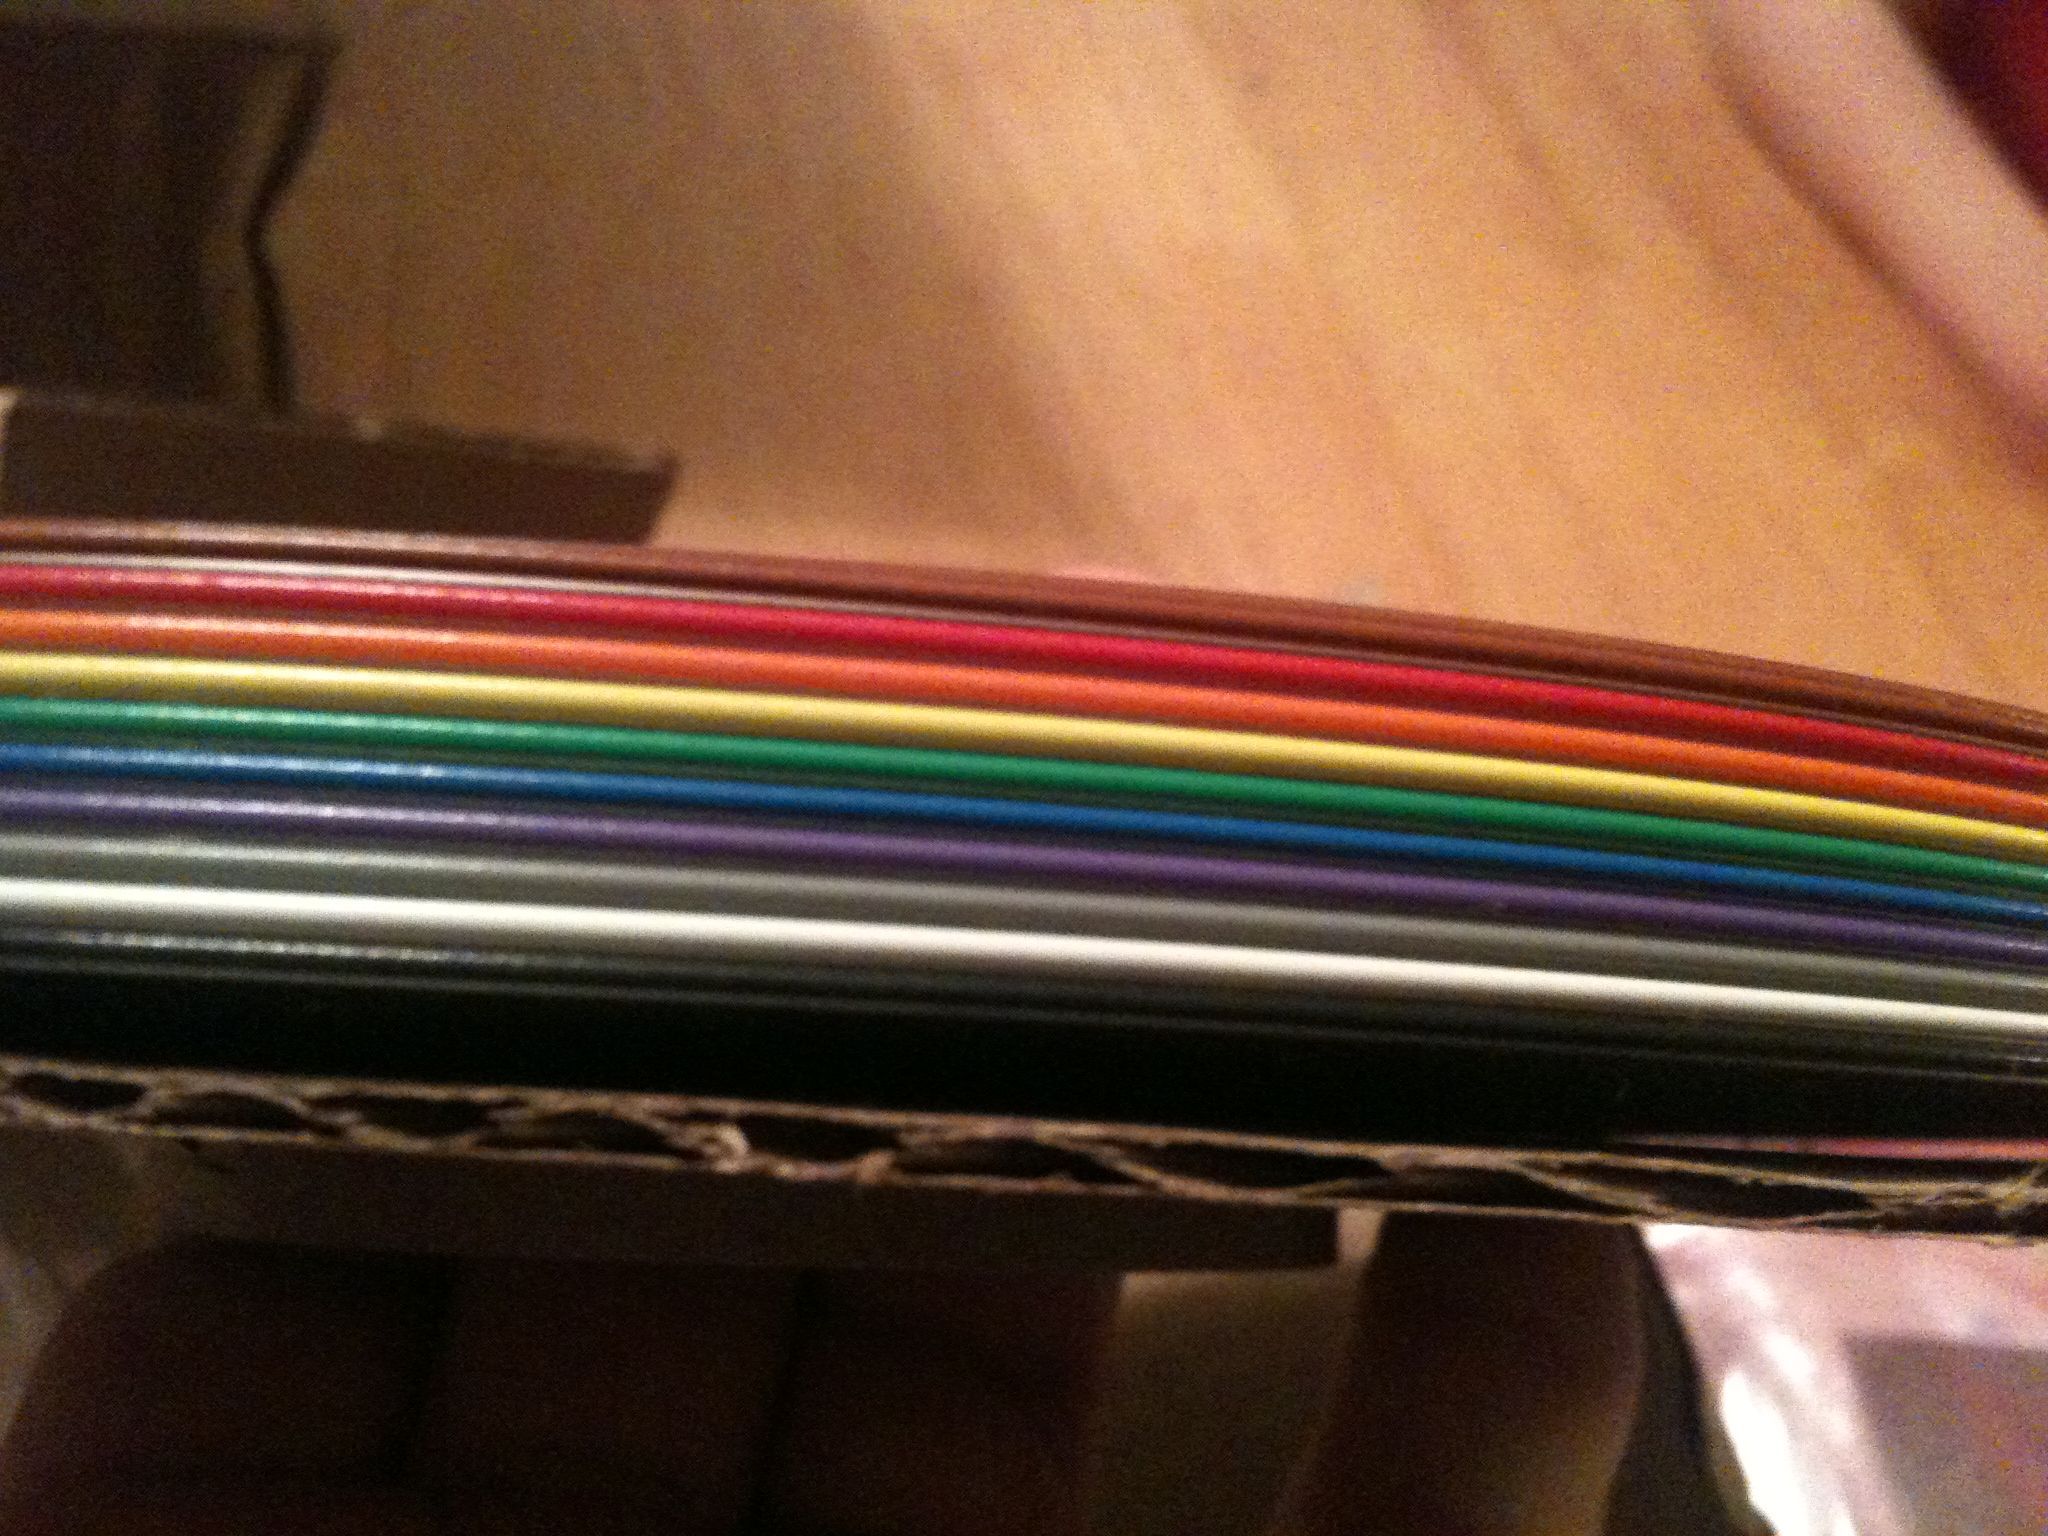
And again since I’m tired, here are just a bunch of remaining pictures that I wanted to include.. The ribbon cable I ordered for wiring arrived:
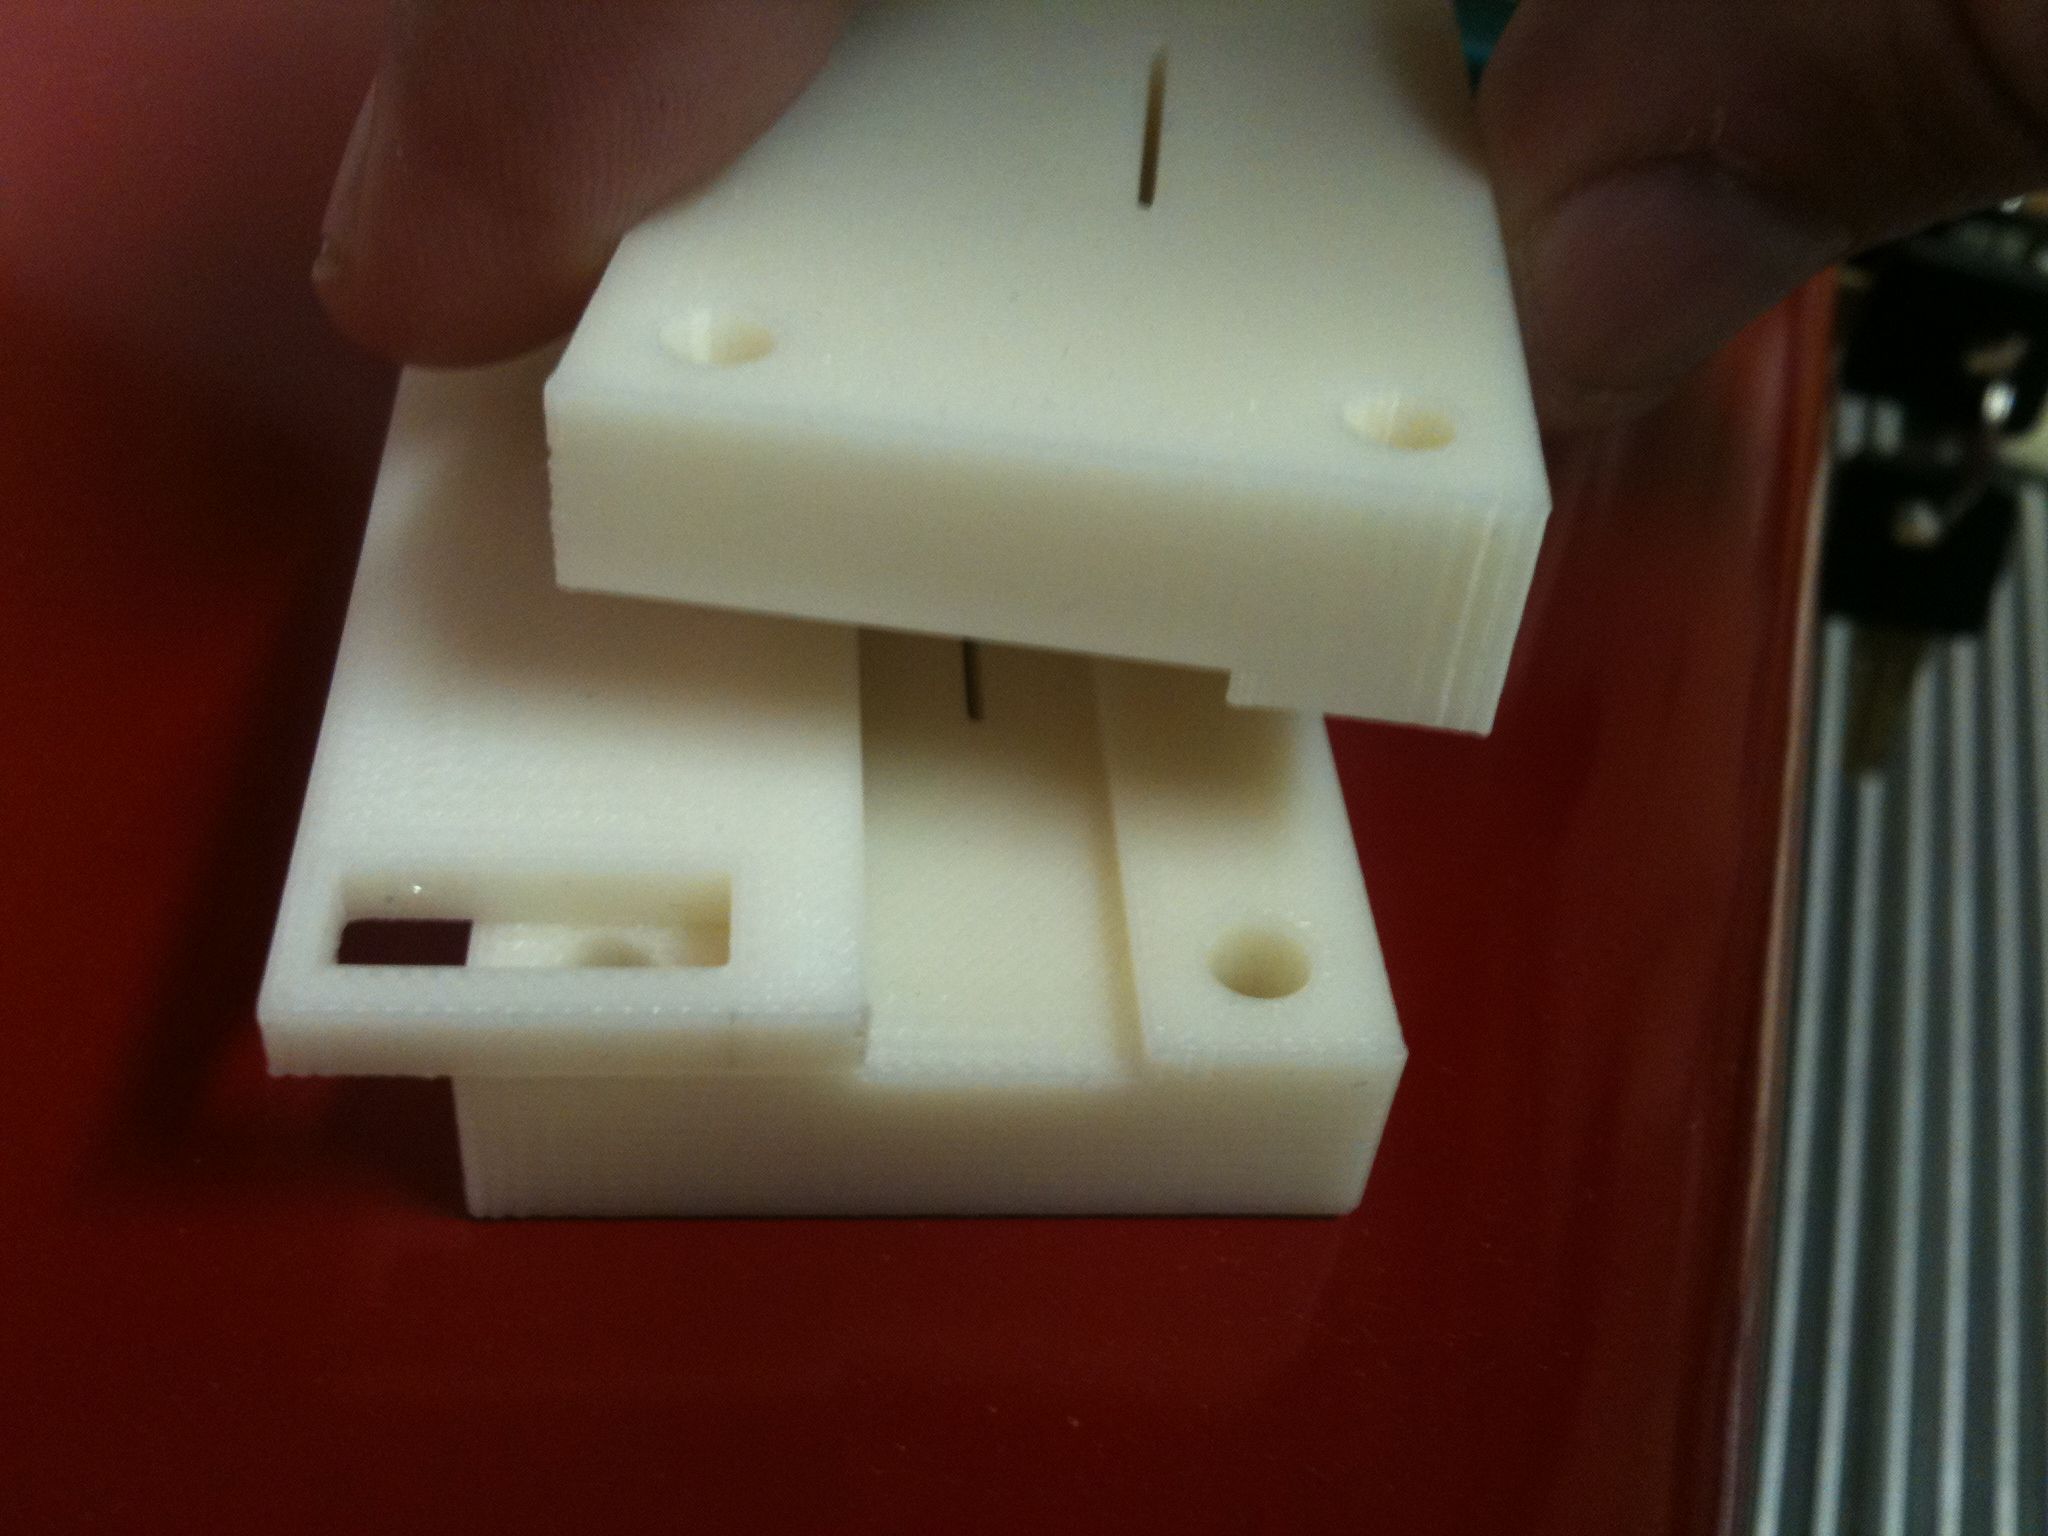
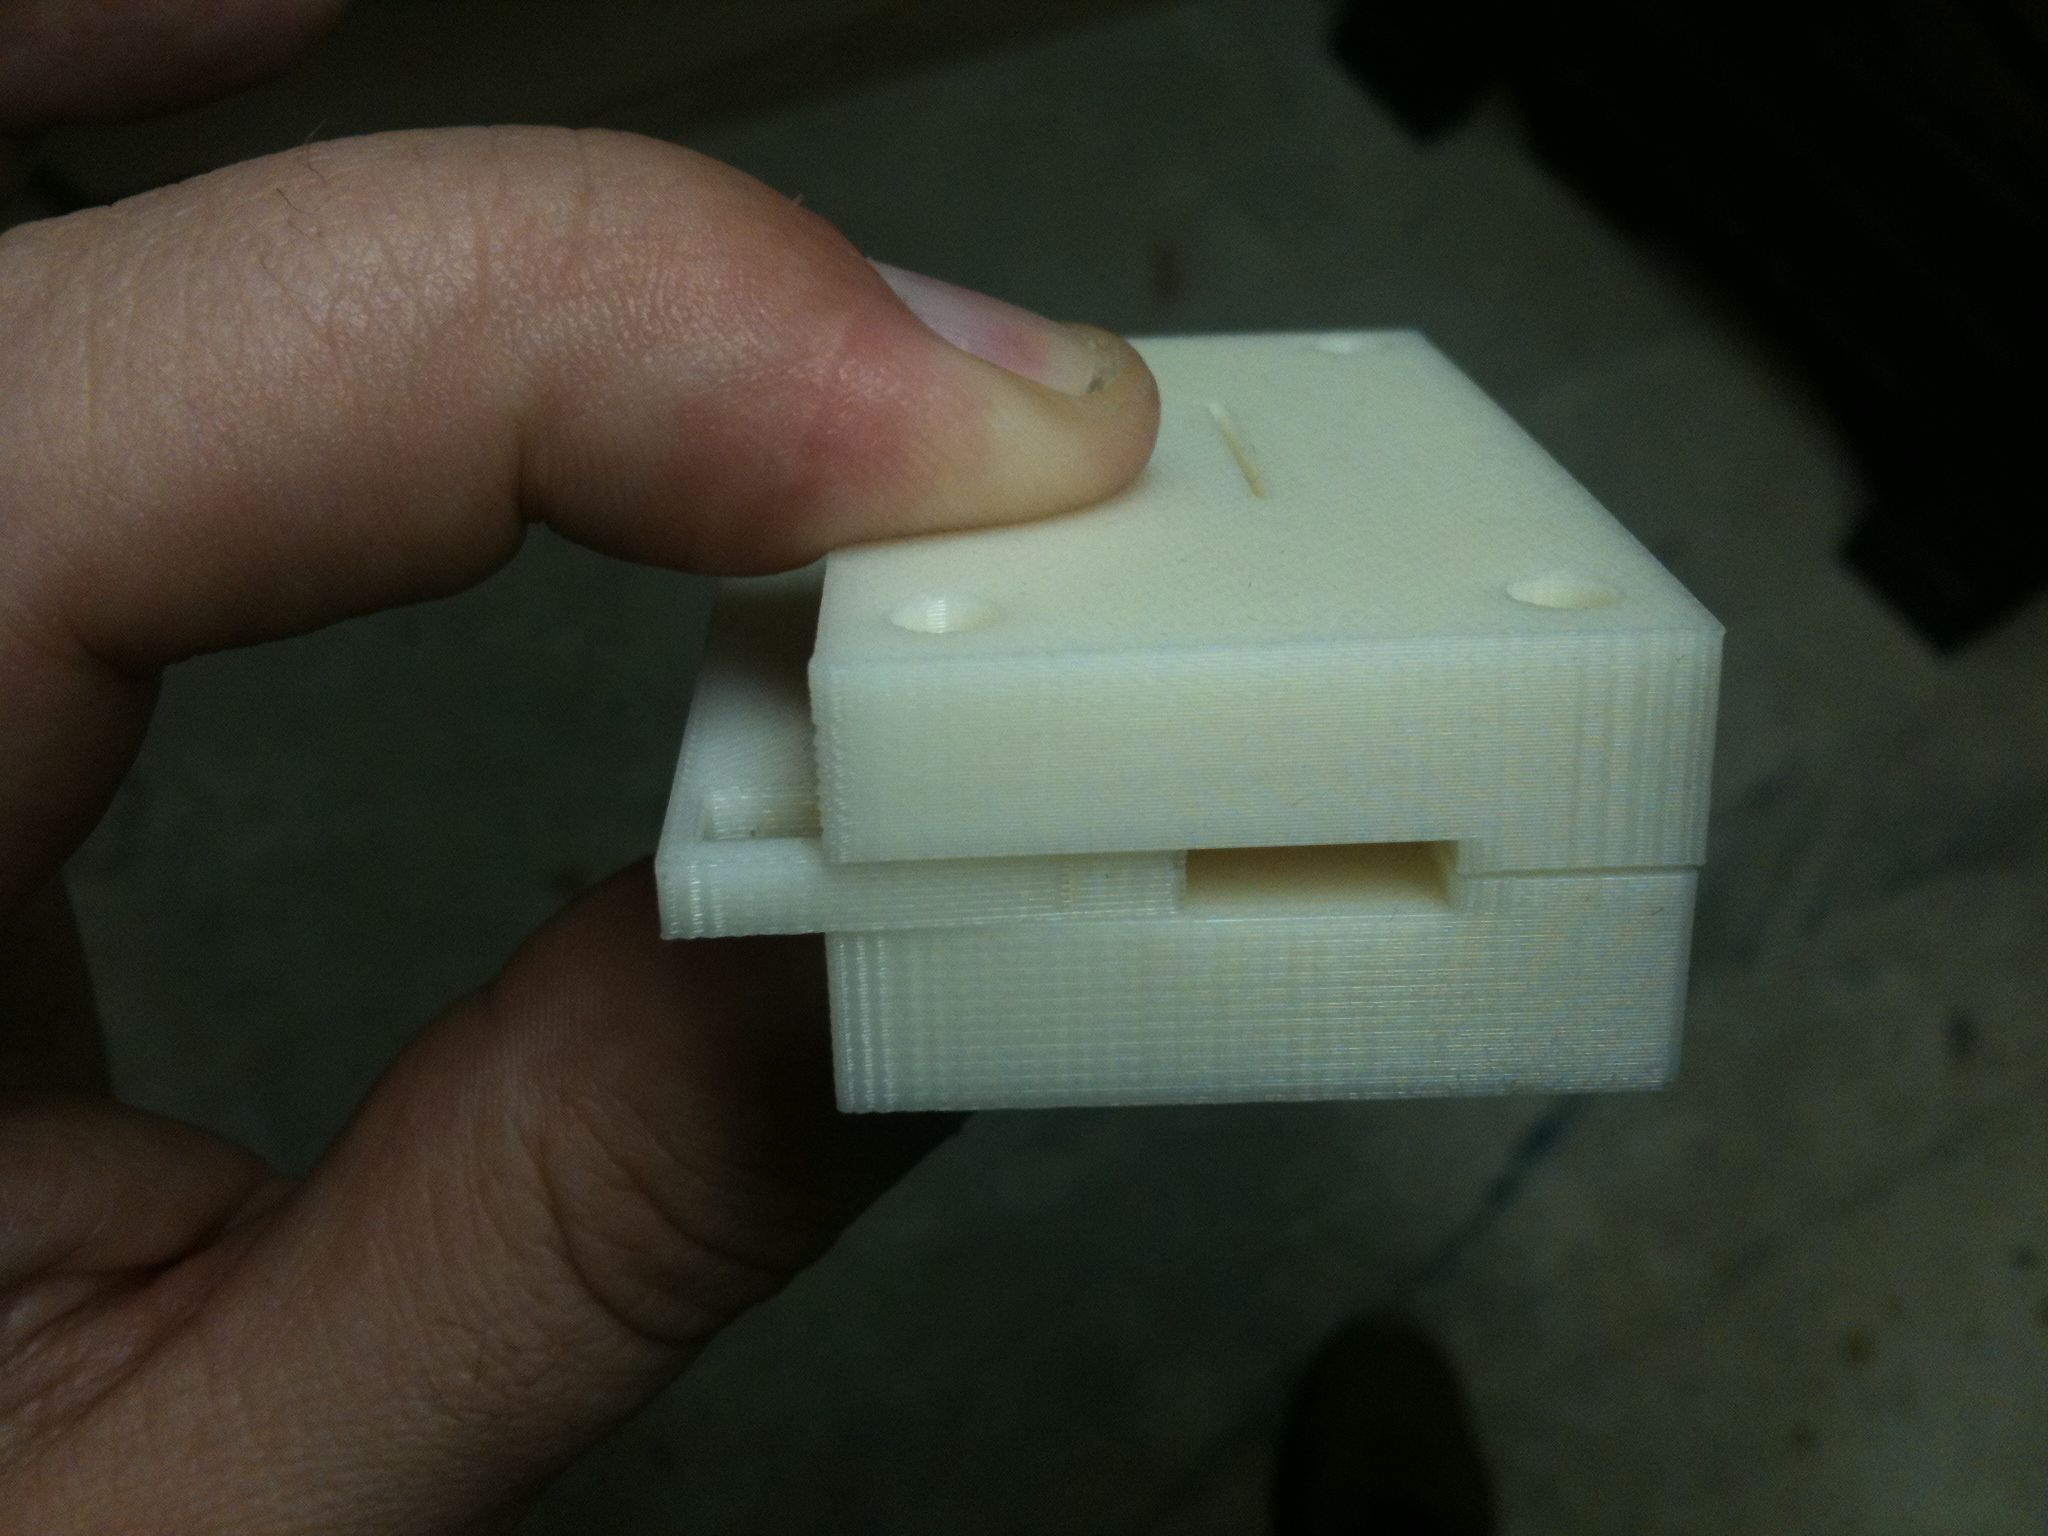
..and I now have all three pieces of the belt splitter jig (here’s how they fit together):
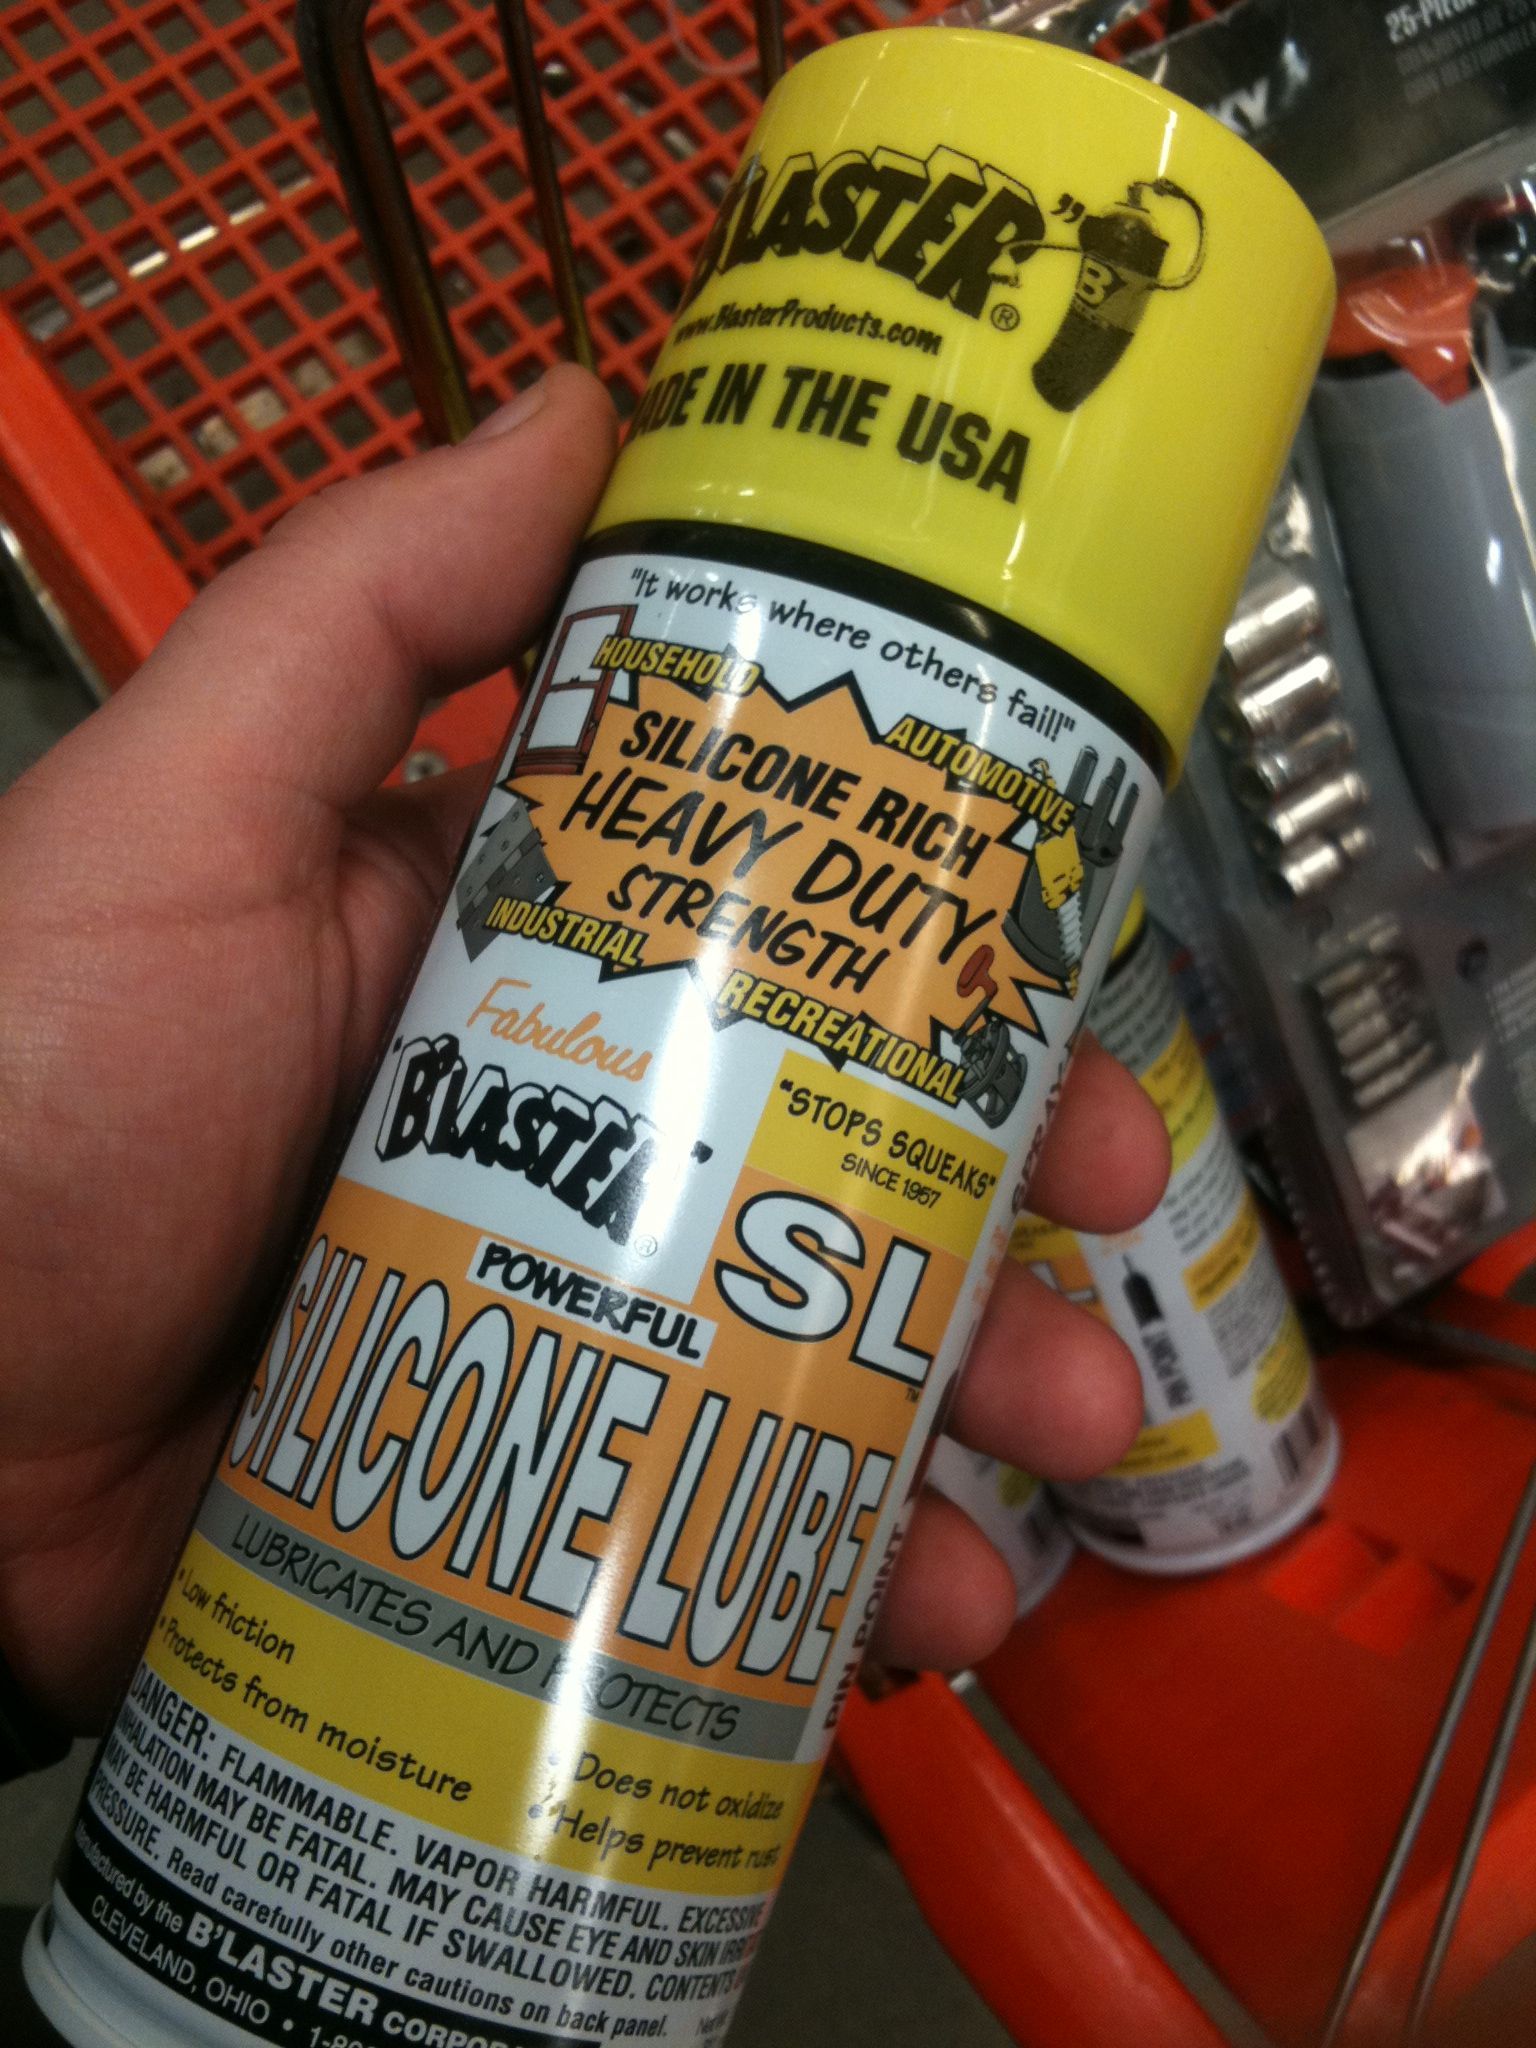
I finally purchased some silicone grease for the rods (that won’t hurt the plastic, while other types of grease can):
..and last but not least, here’s Cara examining the Idler Bracket assembly:
Cara turns 3 on Sunday! Happy Birthday Cara!
Ok, Jeff sleep now.
Too cute! Cara is clearly in charge of the operation here…coming along nicely!
Hi!
Could I ask you to resize your image in your blog?
They does not look like on planet aggregator, like on
http://planet.arcol.hu
And they consume unnecessary huge bandwith without any
good reason.
The best is resize your images, and make a link also, so if somebody wnat to see in real size, he/she only needs to click on it.
Best regards,
Laszlo
Yeah something changed on the iPhone WordPress app that uploads the images – they used to be thumbnails pointing to real images, now they’re not. I’d have hoped there’s be a feature in WordPress to correct this too automatically, but I don’t see anything.
I’ll look into it, but probably not before I finish my RepRap! 🙂
jkeegan: Until then I take you off from http://planet.arcol.hu, because it makes really unreadable.
(no worry, not many people (I think only me;-) reads blogs through this aggregator)
Best regards,
Laszlo
Franklyn Darnell
I found a great…
Mark Venske
I found a great…
Jeanett Pacubas
I found a great…
Riley Charleston
I found a great…
Melva Loehner
I found a great…
Joella Jester
I found a great…
Highproxies
I found a great…
Buy Proxies
I found a great…
Cheap Proxies
I found a great…
Buy Usa Proxy
I found a great…
Cheap Private Proxies Cheap
I found a great…
Twitter Proxy
I found a great…
Buy Proxy
I found a great…
Cheapest Proxies
I found a great…
Use Proxies
I found a great…
Robbie Lachowicz
I found a great…
Tad Lumantas
I found a great…
Truman Pellant
I found a great…
Deadra Farrell
I found a great…
Shaquita Dowse
I found a great…
Arlinda Arsham
I found a great…
Proxy Price
I found a great…
Buy A Proxy Server
I found a great…
Twitter Proxies
I found a great…
Seo Proxies
I found a great…
Cheap Private Proxies
I found a great…
Proxy Reseller
I found a great…
Best Shared Proxy
I found a great…
Peg Pomroy
I found a great…
Alishia Mernin
I found a great…
Erwin Haugaard
I found a great…
Arnita Mcdermett
I found a great…
Ned Louthan
I found a great…