The thing about my RepRap hobby (which might apply to all hobbies?) is I’ll sometimes go months without thinking about my RepRap at all, then I’ll use it for a month or two solid. As a result I’ll still be far behind on my blog, and the backlog starts to feel like work (which causes a feedback loop where the backlog discourages me from blogging, which causes more of a backlog, etc). So let’s try to get some of this covered and catch up a bit..
Last I blogged we were caught up to March of 2013 (whereas today is August of 2014). The Museum of Science’s RepRap was printing well. Let’s go from there.
At work I borrowed a Makerbot Replicator (#8640) for a work related project, and I was allowed to take it home (and use it for non-work related uses). On a Friday evening, I drove in to work with Cara to pick it up so I could take it home for the weekend.
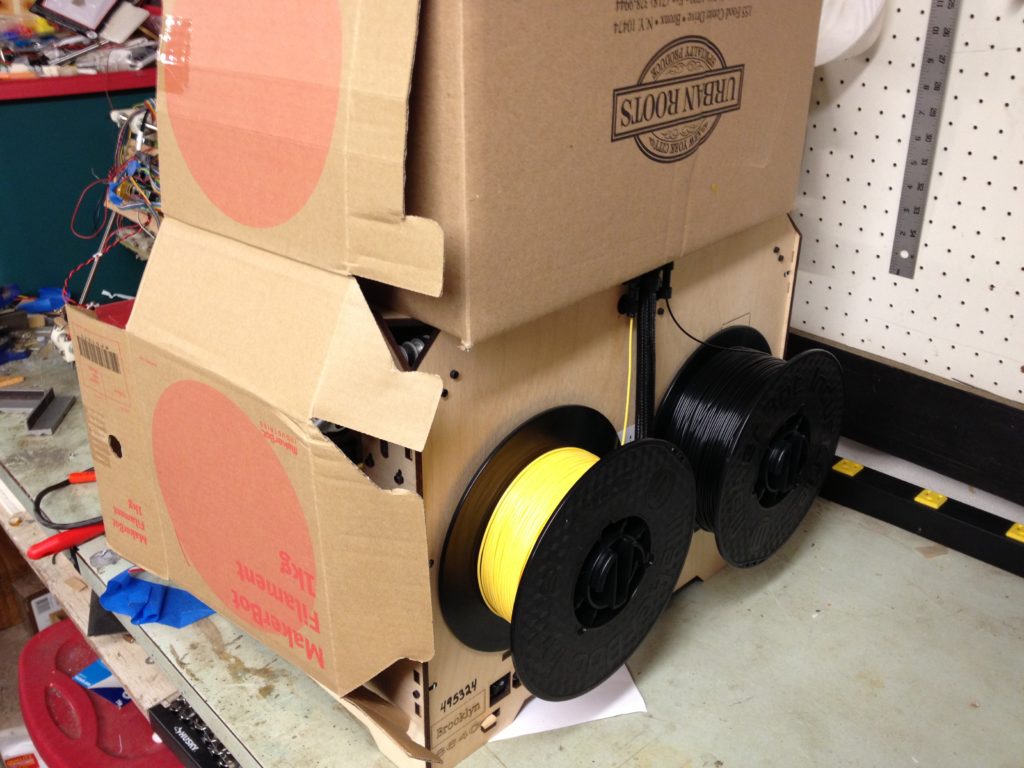
We’d been using it at work and had created our own el-cheapo heated chamber for it with some cardboard boxes and some pieces of paper. Here’s what it looked like from behind:
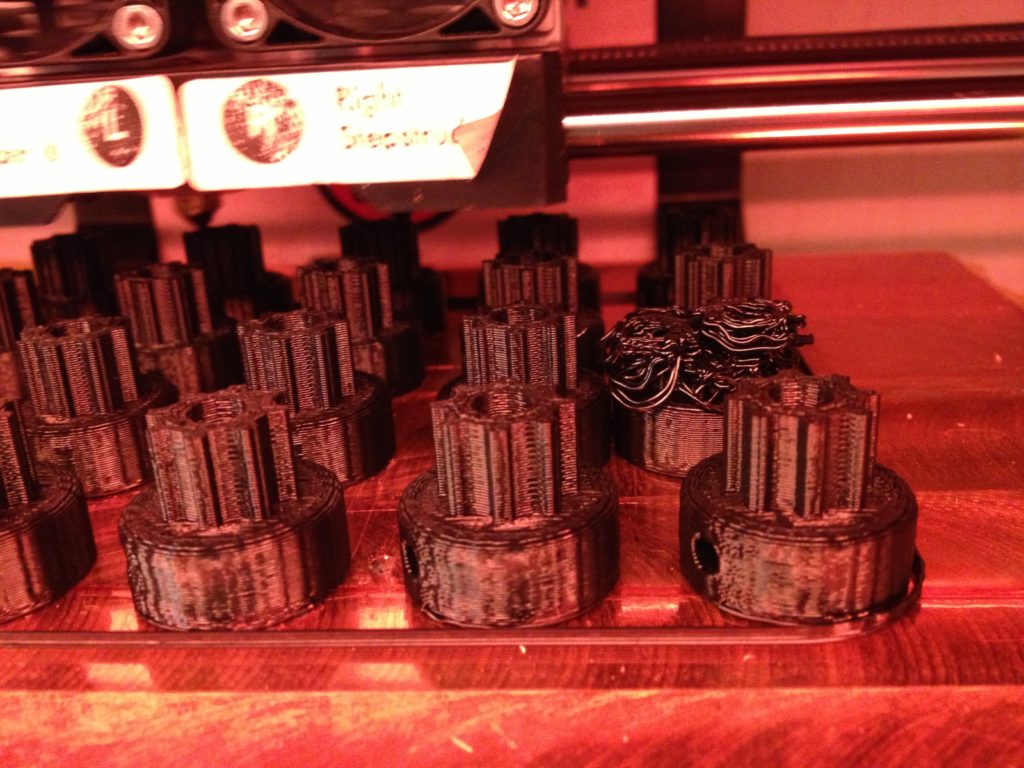
I started printing any parts I thought I’d need out of ABS (since I didn’t want to clog my own nozzle by switching over from PLA to ABS if I didn’t have to). Here I printed a bunch of pulleys (there’s one failed one on the right):
Meanwhile, on the RepRap I’d printed and assembled for the Museum of Science, I started printing a set of RepRap parts for Joe Werther (he heard I was giving them a RepRap and asked if his parts could be printed from THAT RepRap, which I thought was a cool idea.. plus it would get the Museum of Science off the hook for one of the two RepRaps that this RepRap needed to print, since all RepRaps should print at least two other RepRaps for other people).
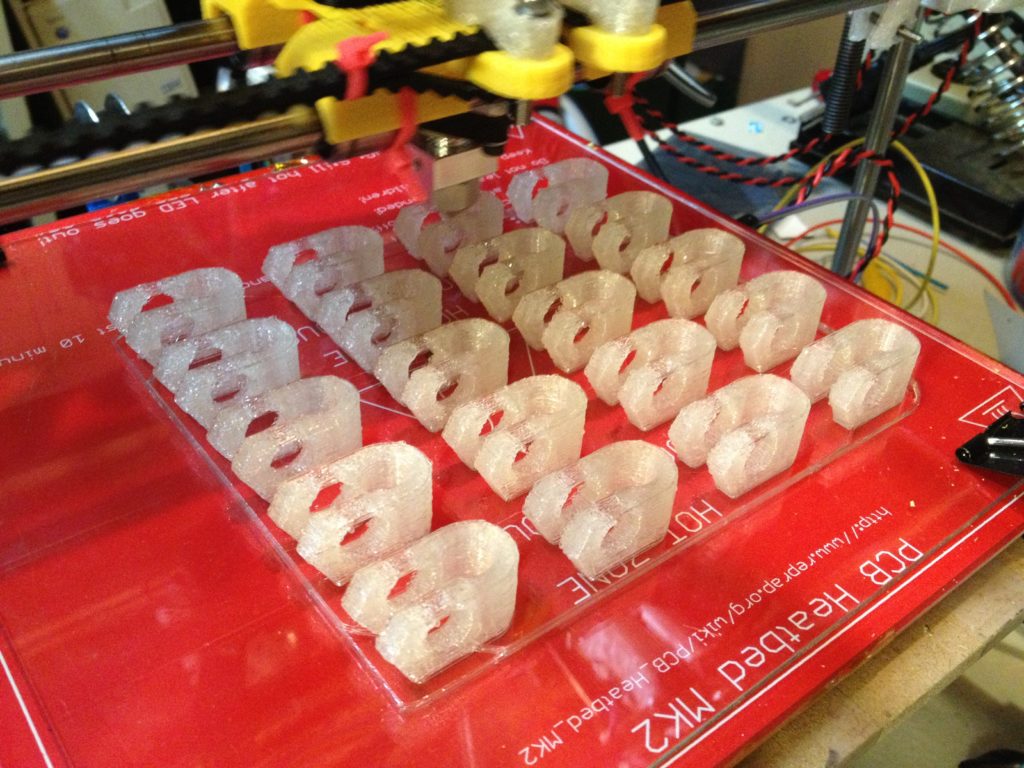
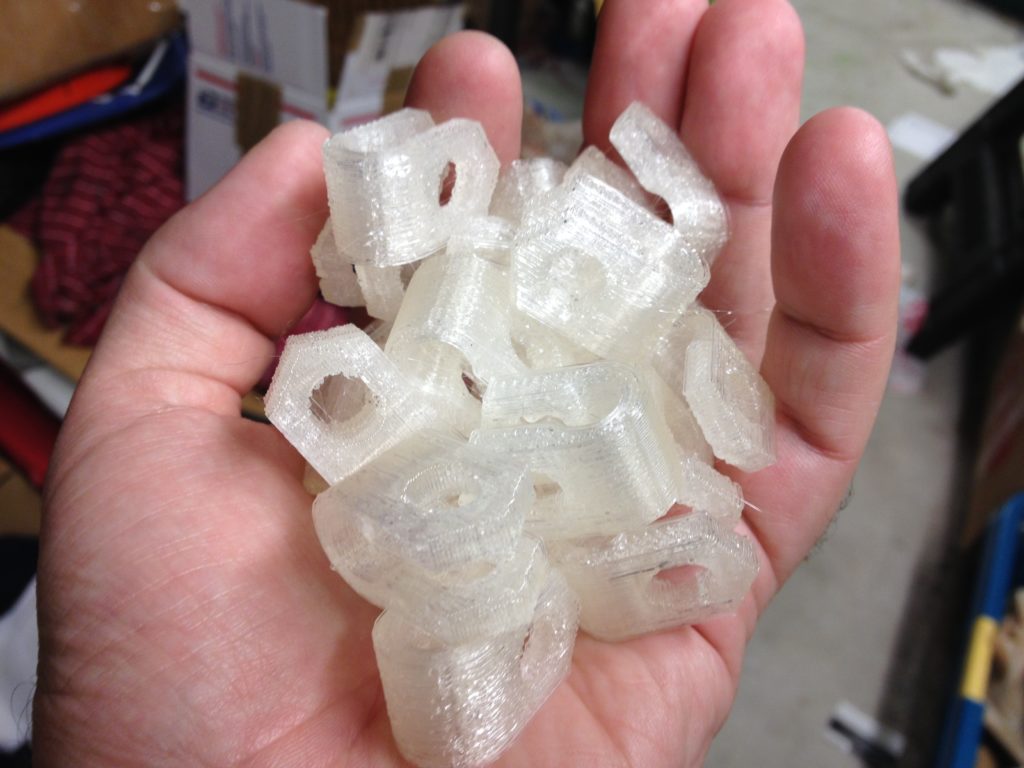
Here are a bunch of belt clamps:
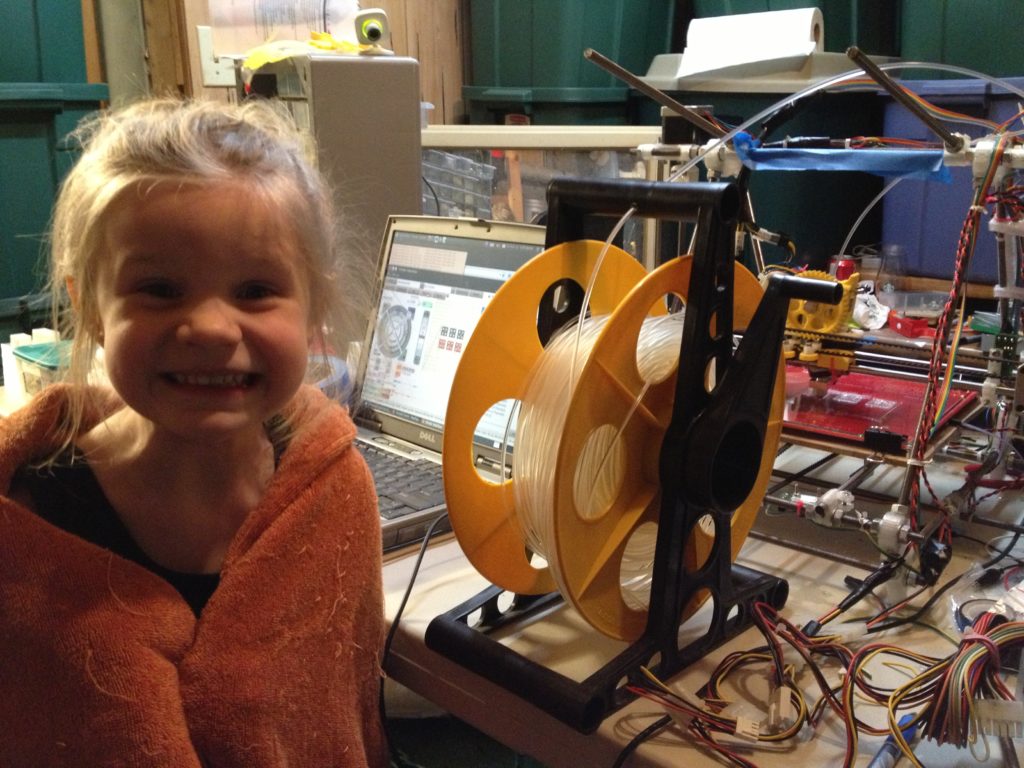
In the last post I posted a picture of a happy Cara that also showed the power cord cable that I’d tried using as an alternate filament spool:
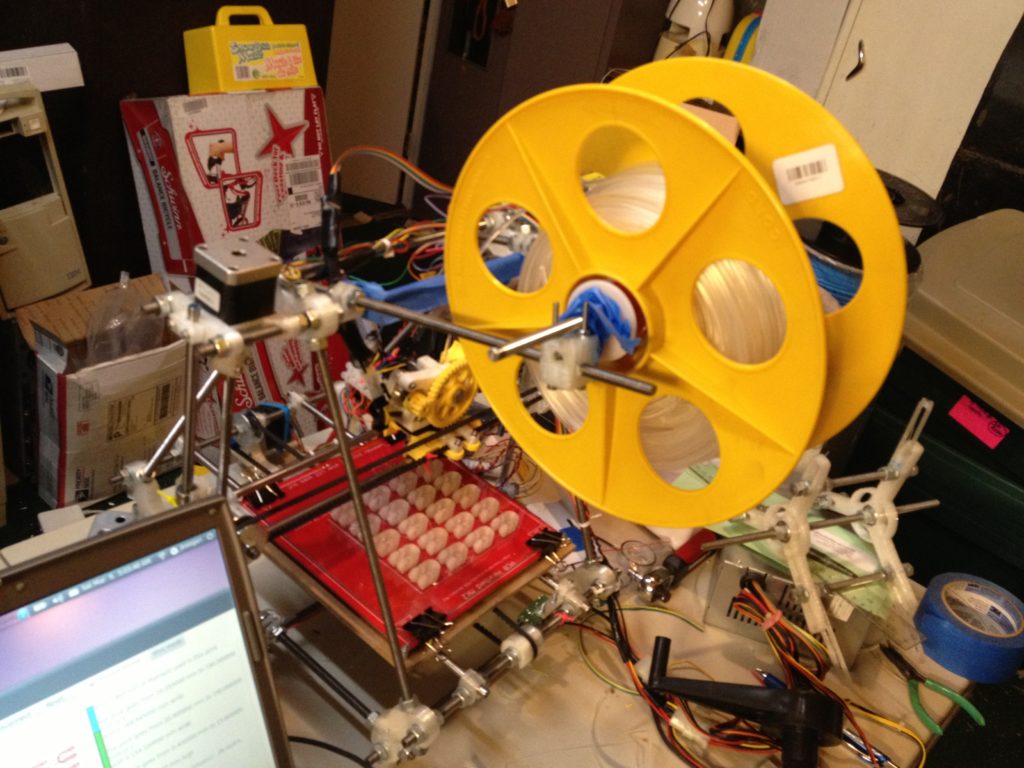
Once I had the clamps printed for a filament holder, I moved that yellow spool up onto it (until I could put a real spool on later).
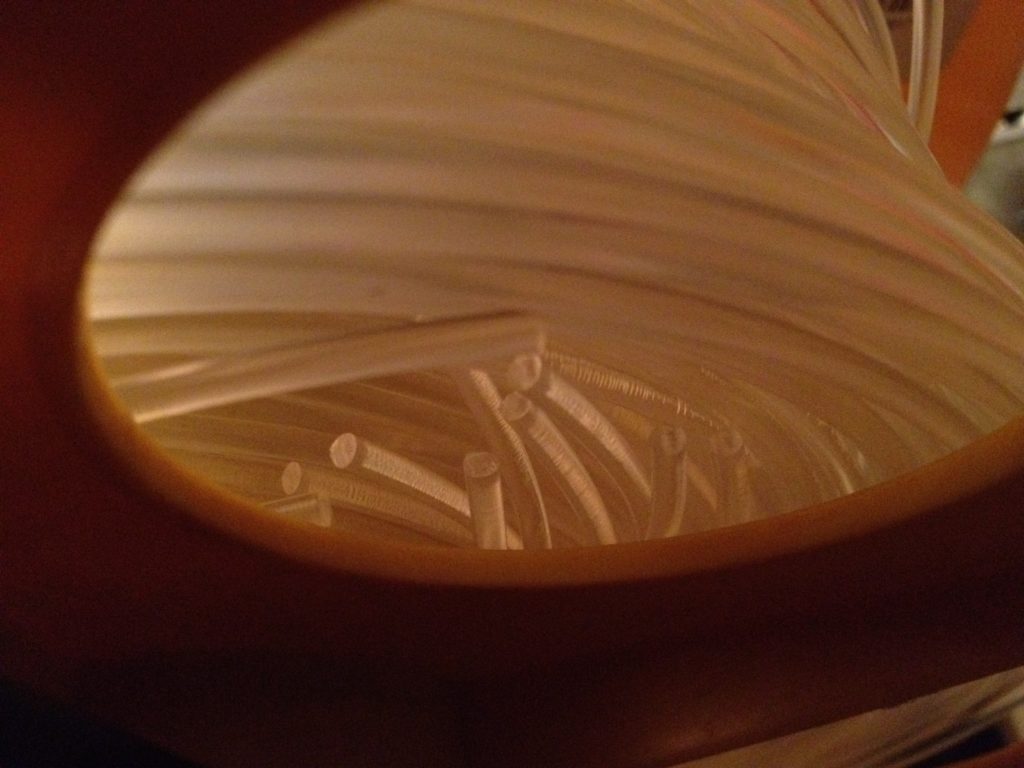
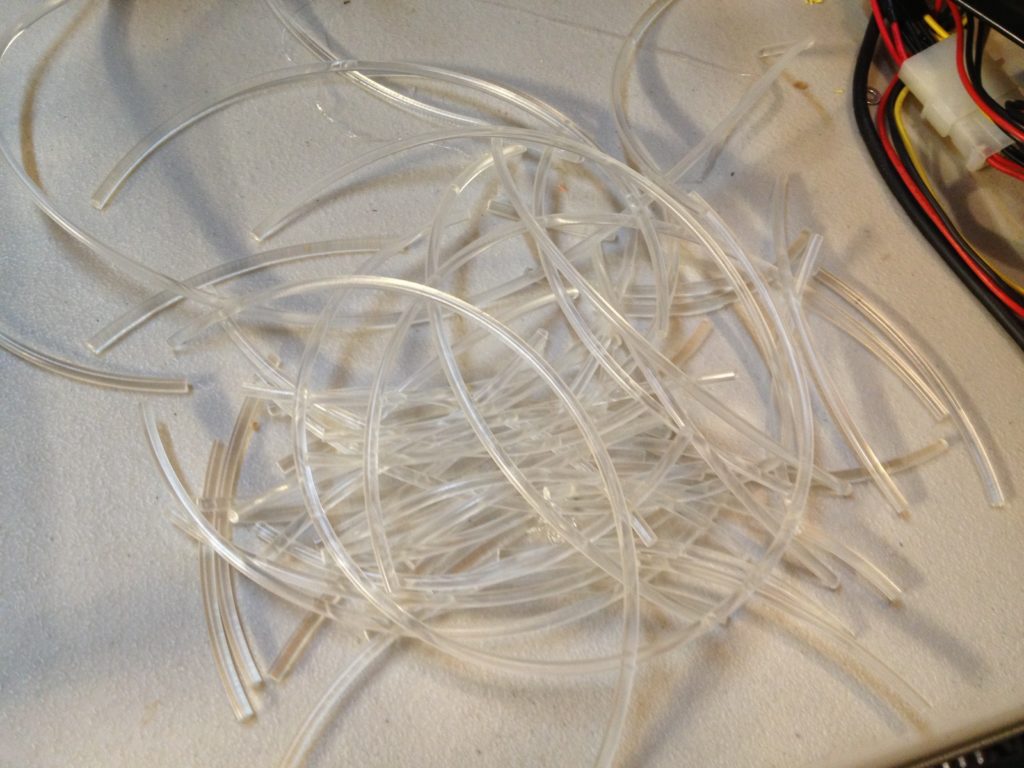
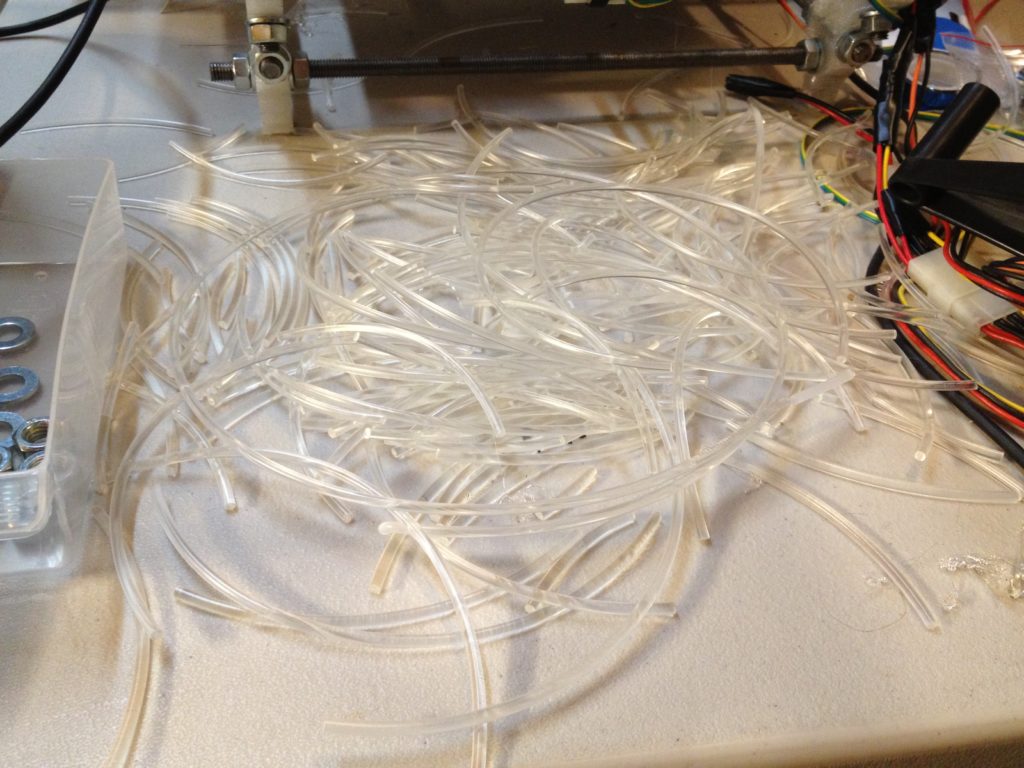
Three posts before that earlier picture of Cara with the spool, I’d shown the bad results of trying to transfer brittle PLA from one spool to another via unwinding.. It had multiple breaks in it:
This was that same spool. So as I printed things, I’d have pieces of plastic falling out from time to time (with increasing frequency towards the end of the spool).
Occasionally I’d run out of a strand and have to pause a print long enough to switch to a long piece of filament. I really wanted to use as much of that plastic as I could. 🙂
Here’s a sadly truncated only-twenty-second-long video showing that:
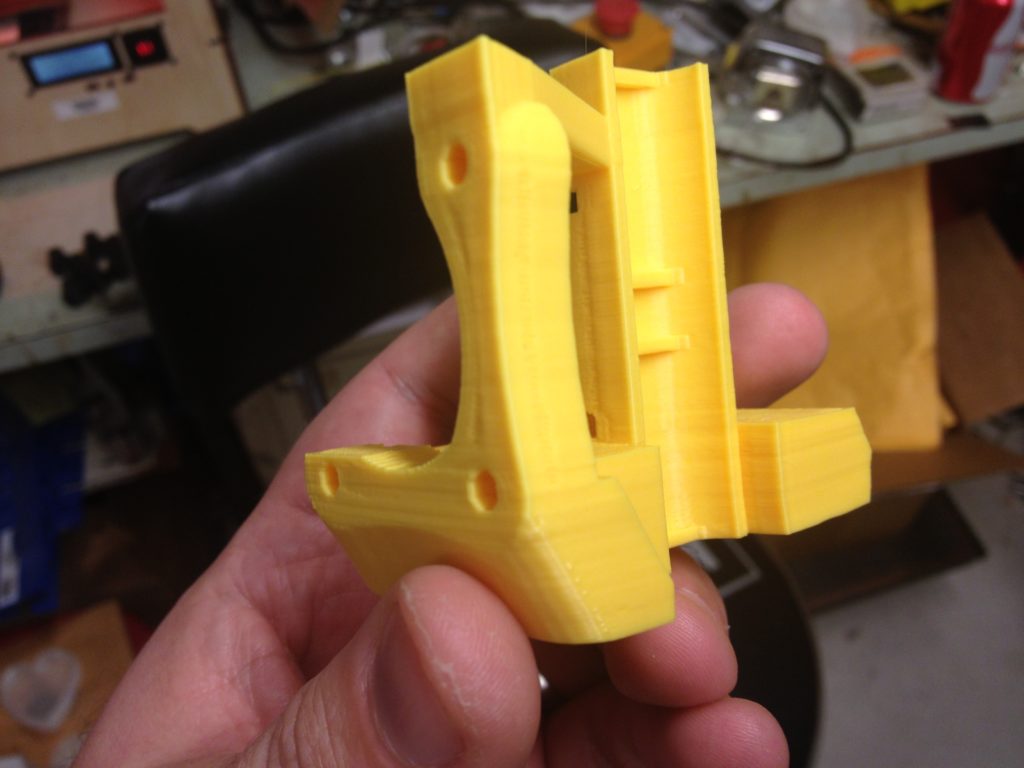
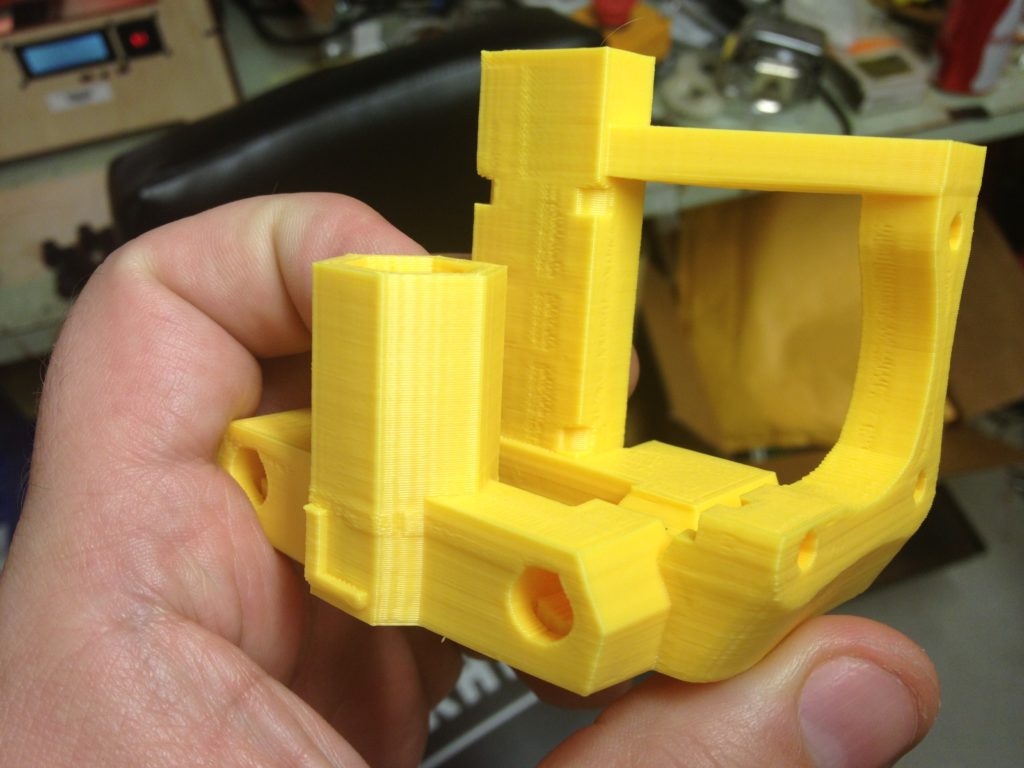
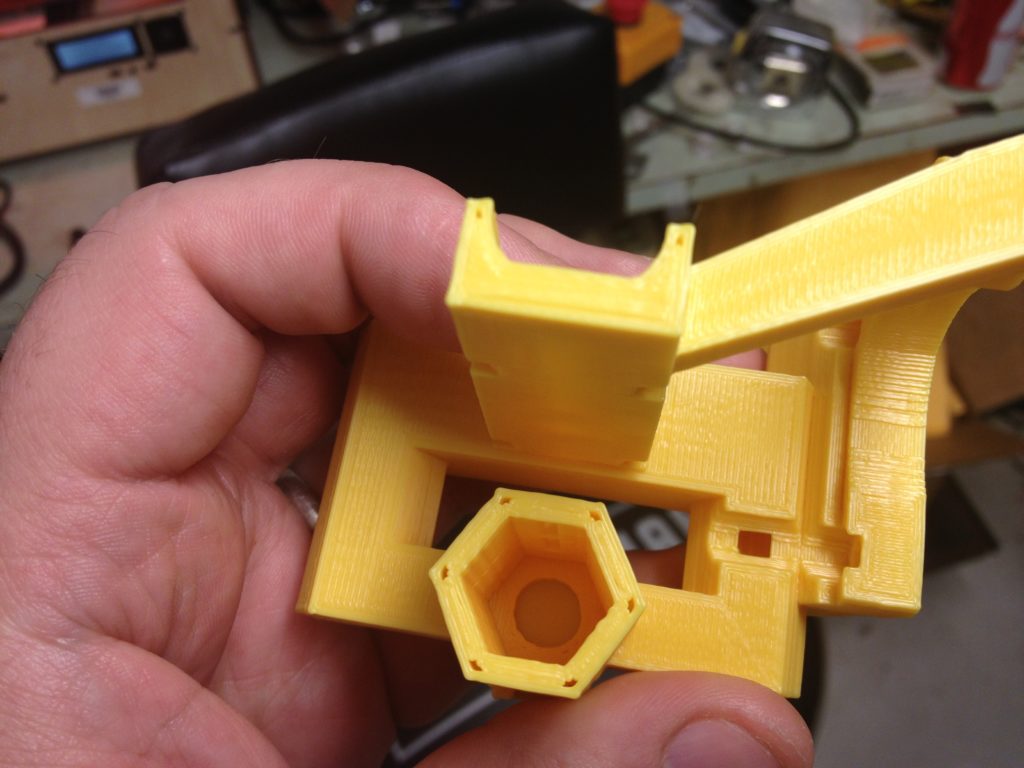
I printed more parts. I’d seen a new adjustable Y-motor-mount that had a built in y-tensioner, and I wanted to try that.
I printed two out of PLA on the MoS RepRap, and then tried printing one out of ABS on the Makerbot, which I was going to use for a Mendel I was printing for use at work. Unfortunately the ABS one curled up because the homemade heated chamber isn’t that good.. ..but the PLA ones were fine.
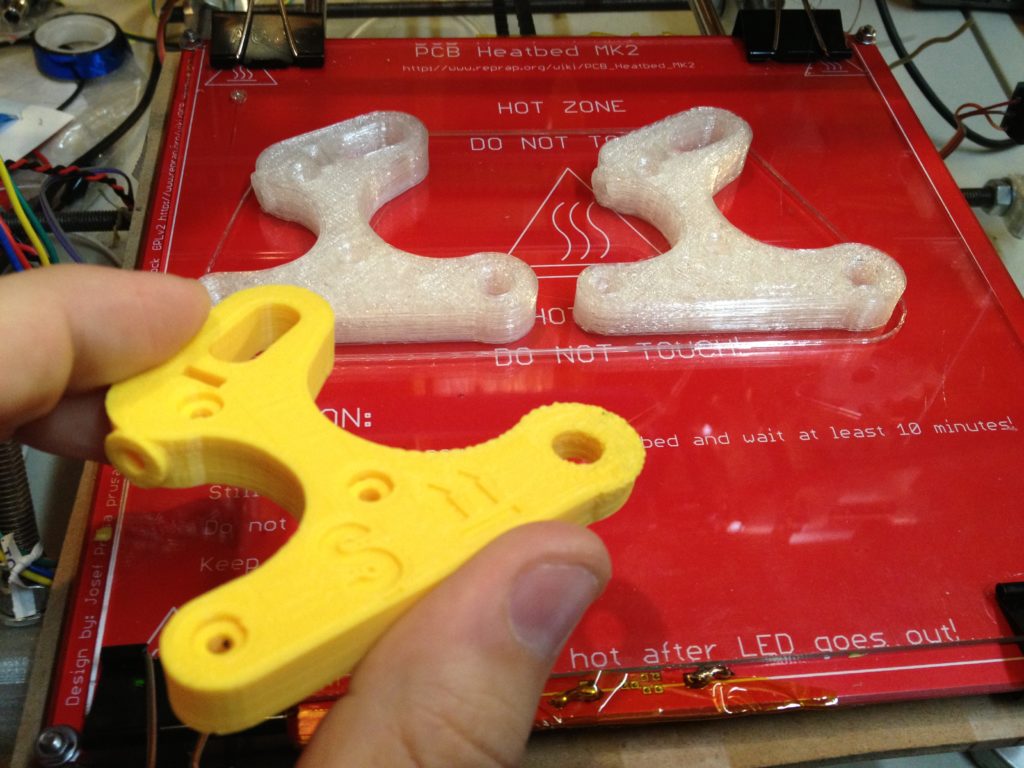
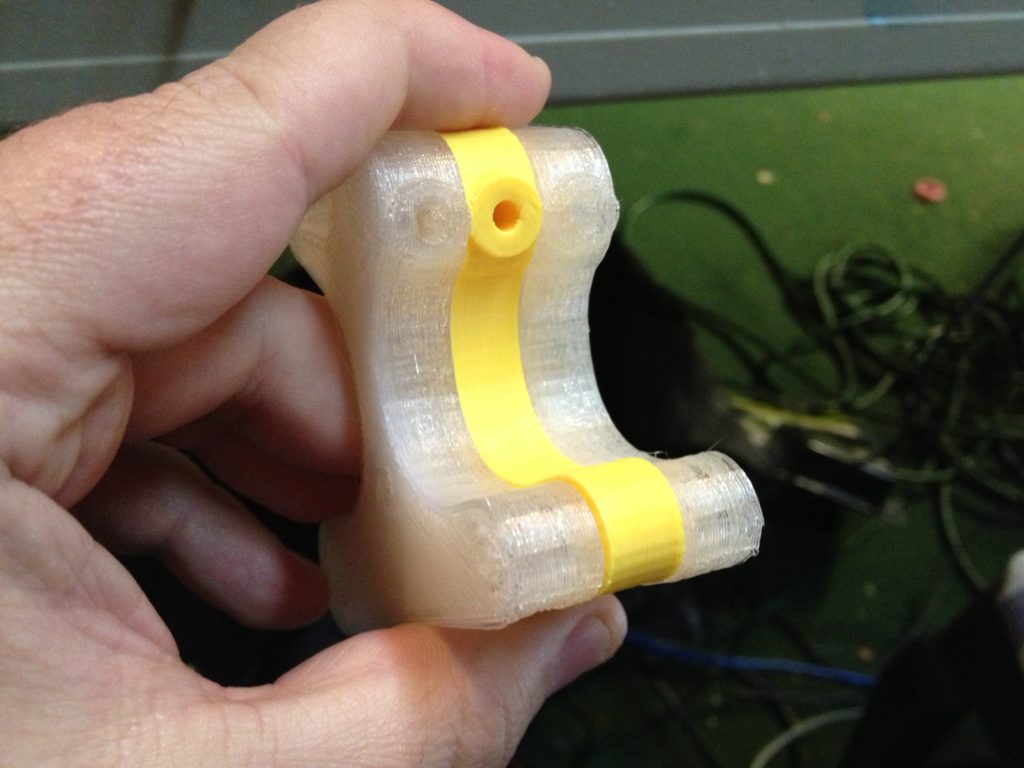
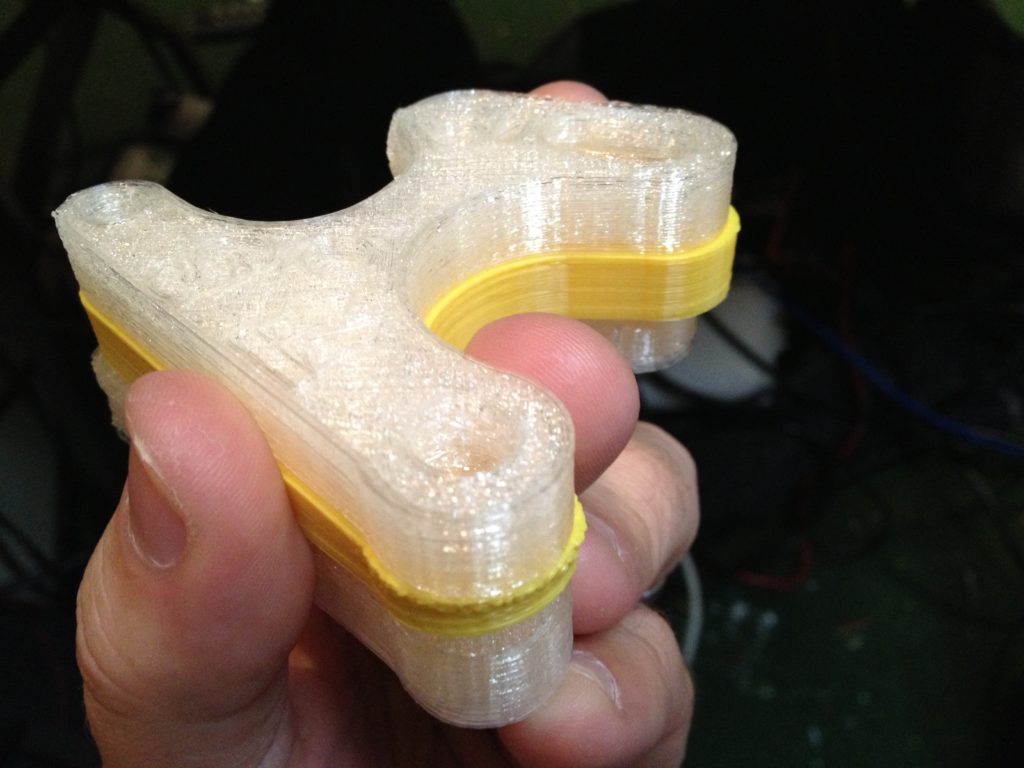
Here’s a picture of a PLA/ABS y-motor-mount sandwich:
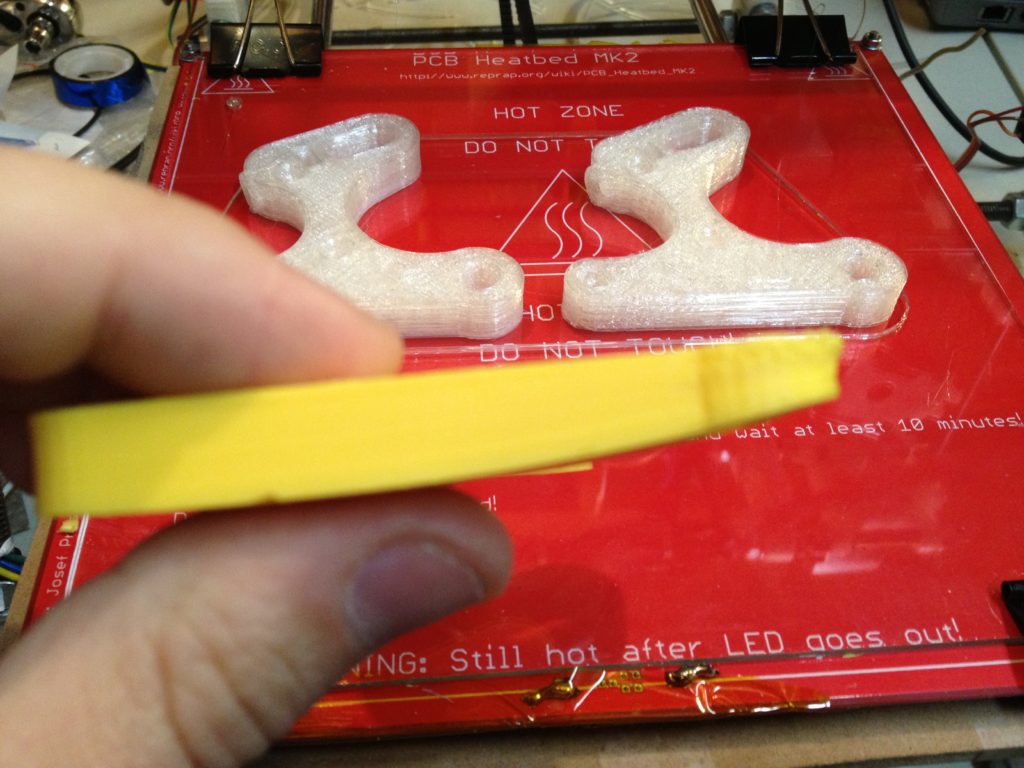
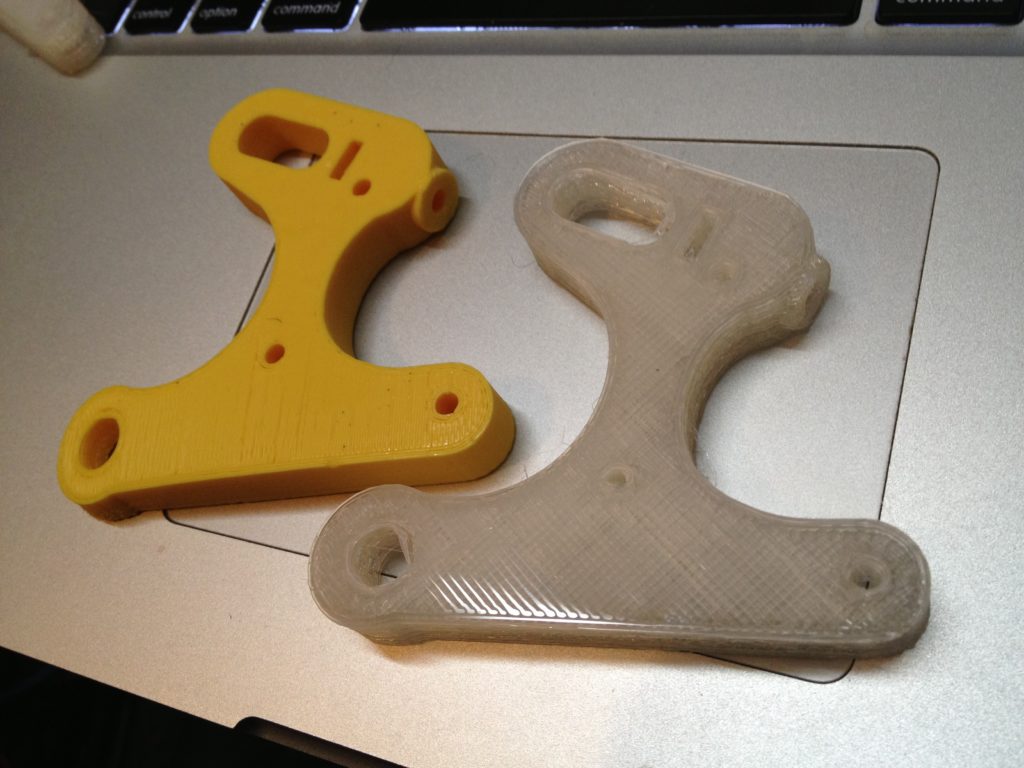
..and here are two of them side-by-side:
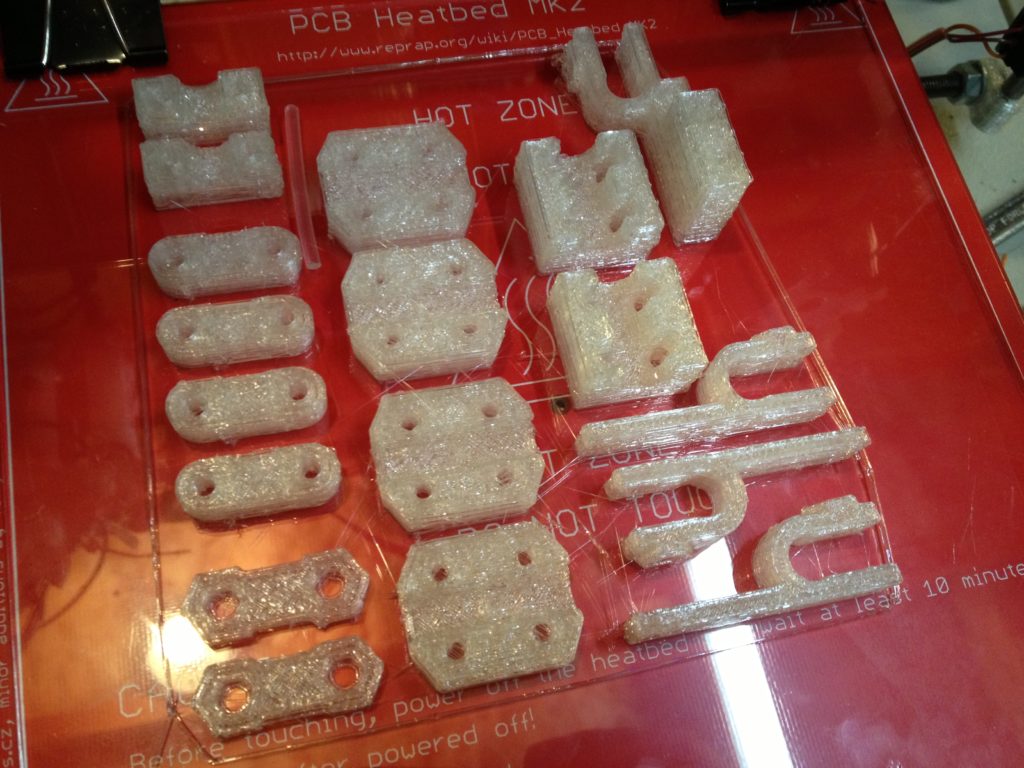
Here’s the next plate of parts I printed (I checked – it isn’t one of the standard 4 plates, I had arranged the parts I needed in OpenSCAD):
At the same time, on the Makerbot I printed an X-end piece out of ABS for the RepRap I was making for work. This came out pretty well.
3D Printing Class – March 10, 2013
My mother-in-law Barbara is always doing “sewing” class for my kids and their friends, and I wanted to be able to teach my kids about RepRap and 3D printing too (not just watching it print, but learning how to design parts of their own, learn OpenSCAD, and print things themselves). Alicia and Cara decided to join, and on March 10th 2013 we had our first 3D Printing class.
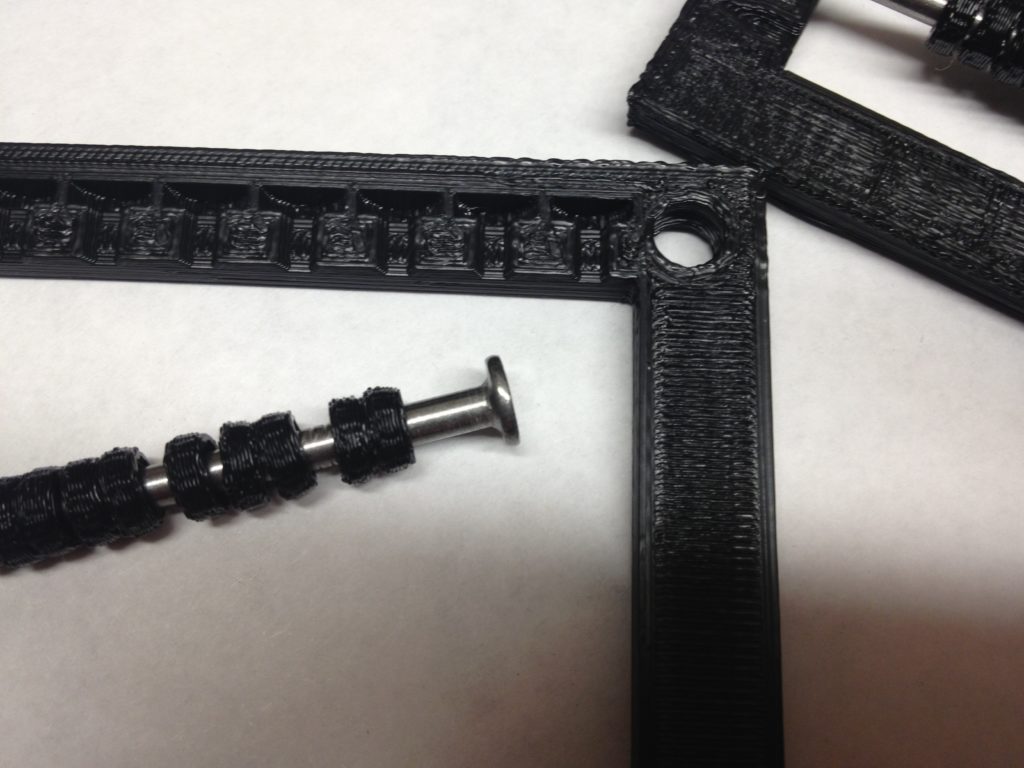
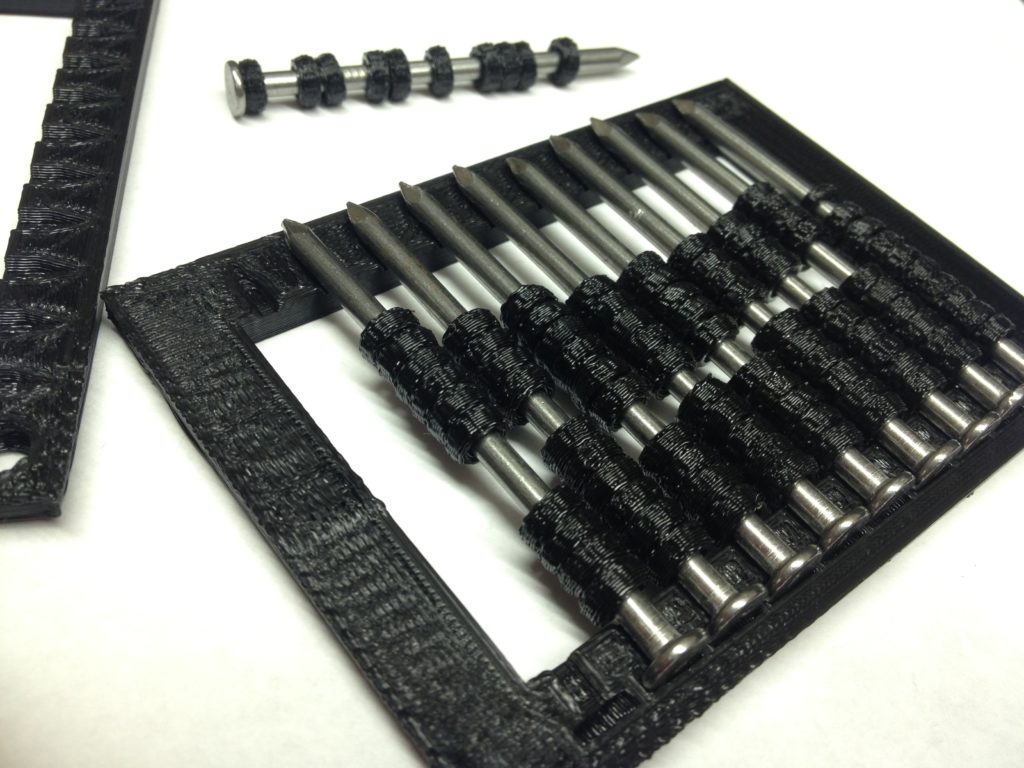
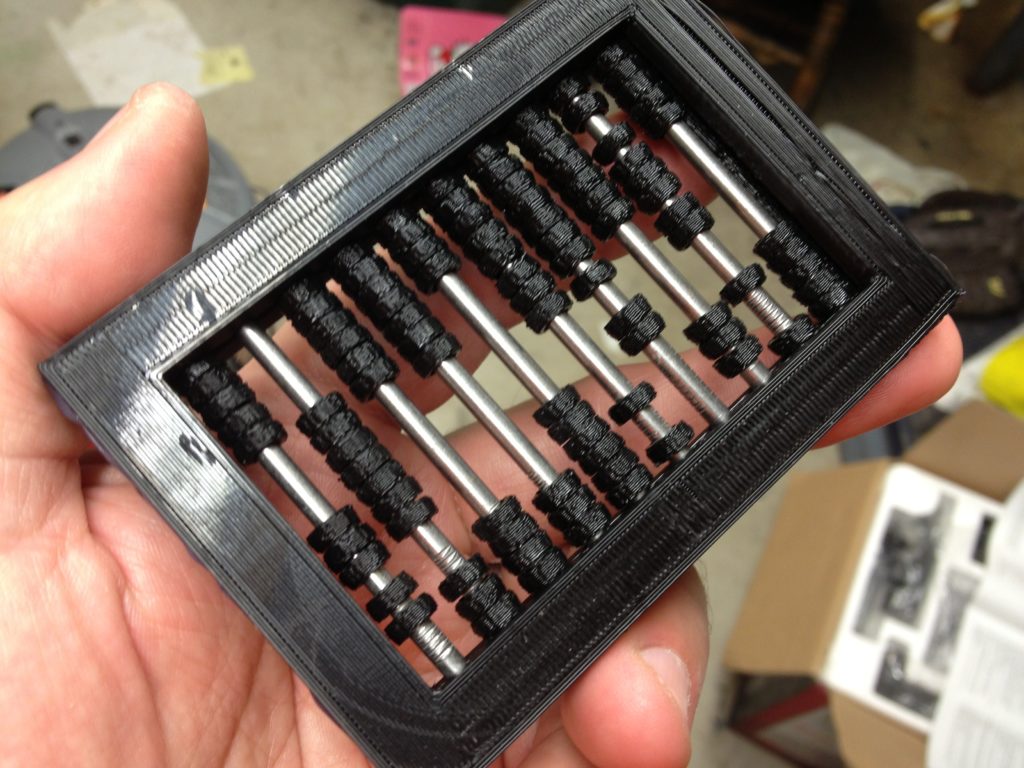
We did some standard stuff (cubes with spheres subtracted from them, a bunch of boxes of different colors combined with a large sphere (which we later printed as a multi-color print on the Makerbot, and in yellow it looked like an old disposable Kodak camera)), but the main thing we designed that day was Alicia’s Abacus.
For a long time Alicia had been asking for a 3D-printed abacus for her doll. We figured out what size we wanted it to be, found some nails about that size, measured them, and designed and printed this abacus.
I just now uploaded it to thingiverse, one year and five months after we designed and printed it.
http://www.thingiverse.com/thing:416025
After that, it was more printing to get Joe Werther’s RepRap printed, more printing to get the RepRap I was printing for use at work printed, and cleaning up of the wiring of the Museum of Science’s RepRap so I could give it to them for good.
Note I was now printing one piece at a time because I was estimating how long a stretch of filament I needed to print each part. In this next picture you can see two small coils of contiguous plastic on the keyboard that I’d rescued from the broken spool, that I used in later prints:
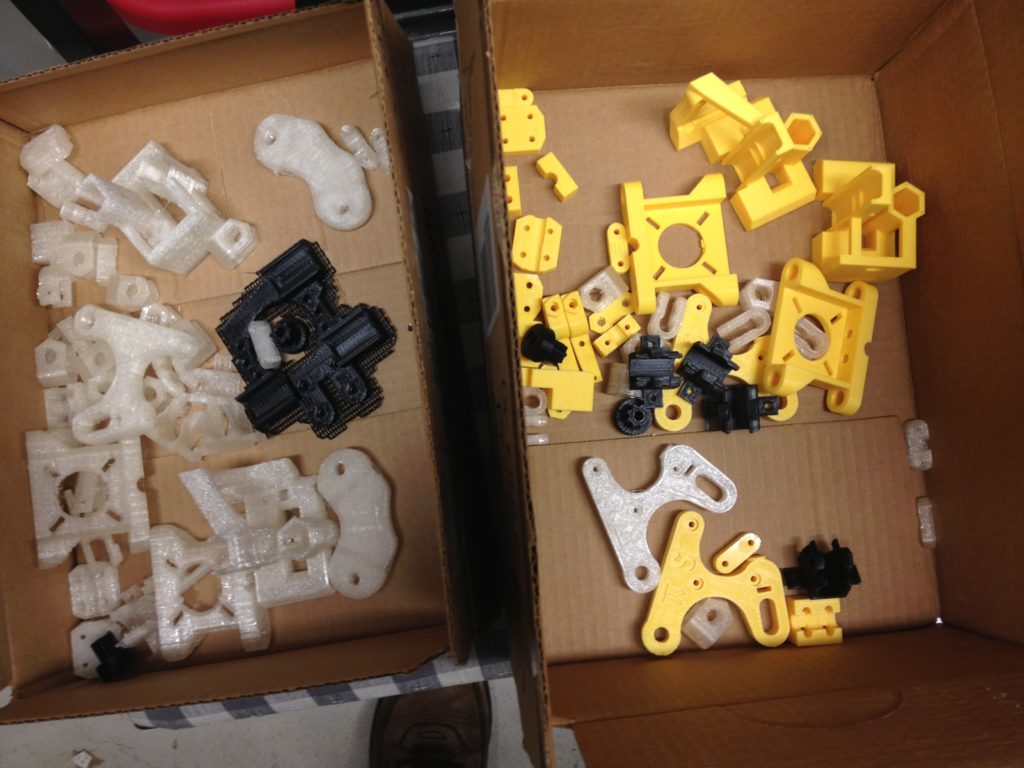
Here are two boxes being filled with parts (Joe’s parts on the left, and the parts for use at work on the right):
(Joe, if you’re reading this, consider this post a nudge to remind you to assemble your RepRap! 🙂 )
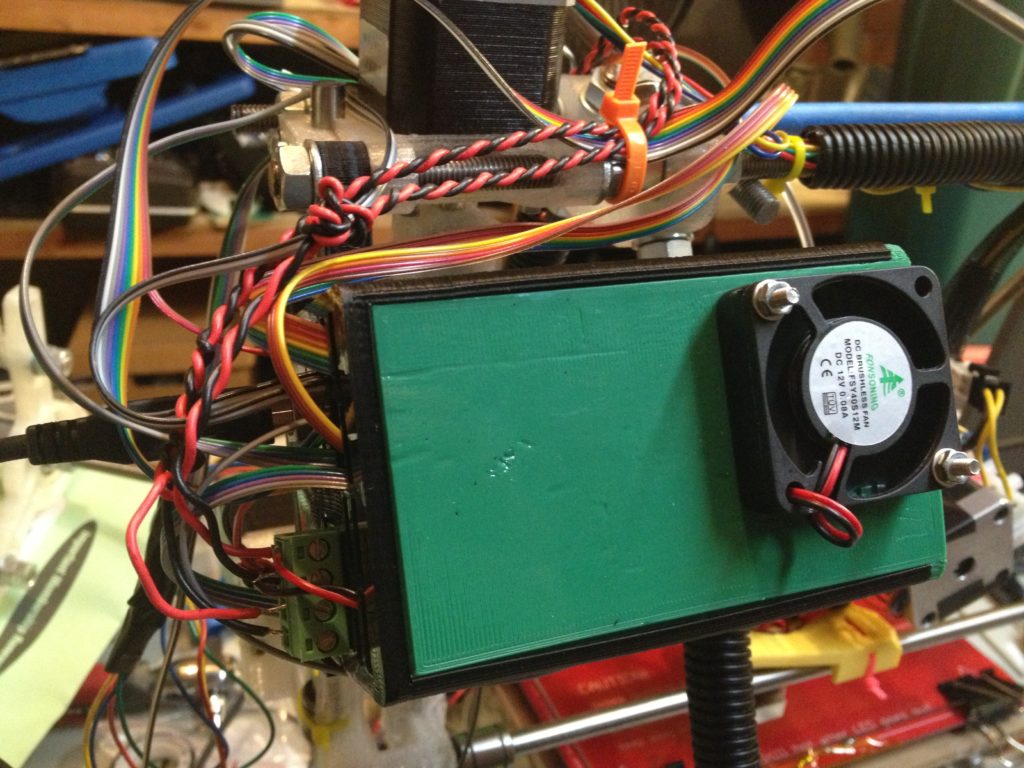
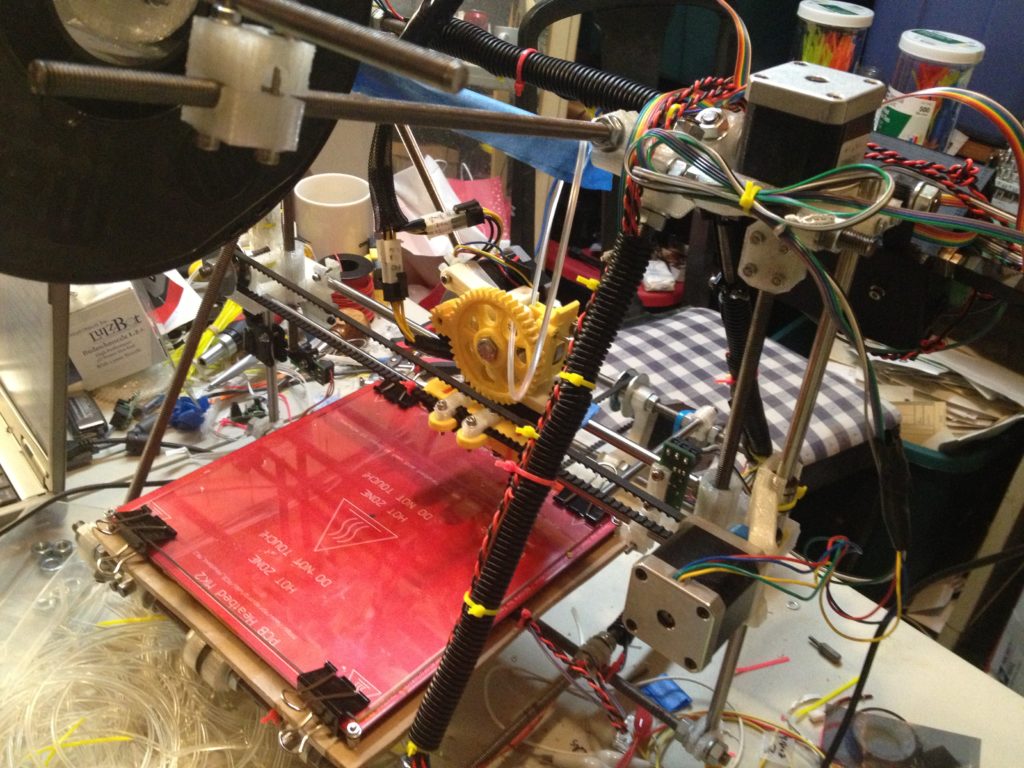
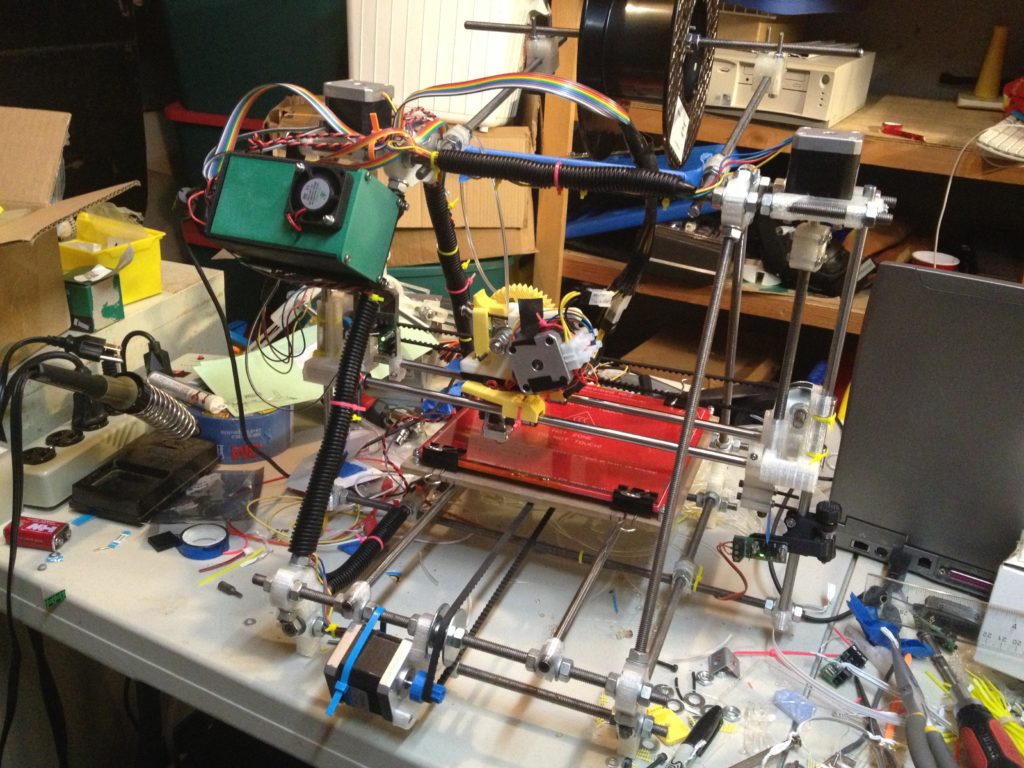
Once I was done printing parts for Joe and for use at work, I cleaned up the wiring on the Museum of Science’s RepRap. I mounted the RAMPS board in a Sliding lid RAMPS 1.4 box that I printed on the Makerbot (due to its height), and mounted that on this mounting board. (come to think of it I may have modified that mounting board to accommodate the extra nuts and washers on the top rods.. note to self: look that up and upload it).
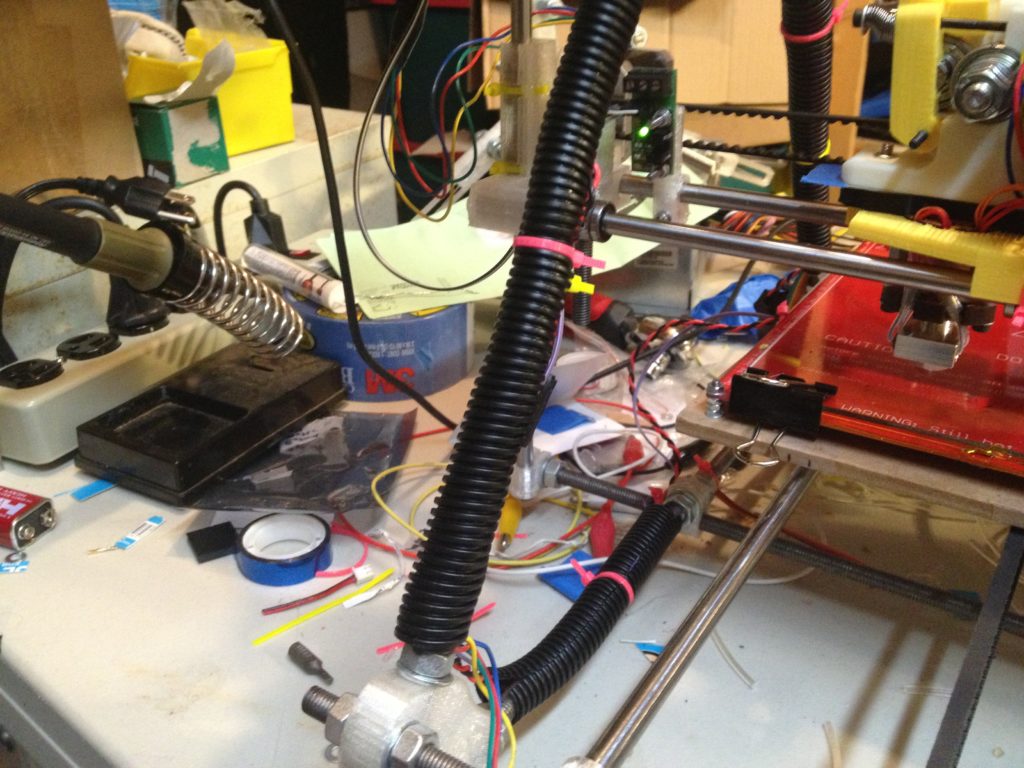
I put black hose around the zip-tied wiring on the rods:
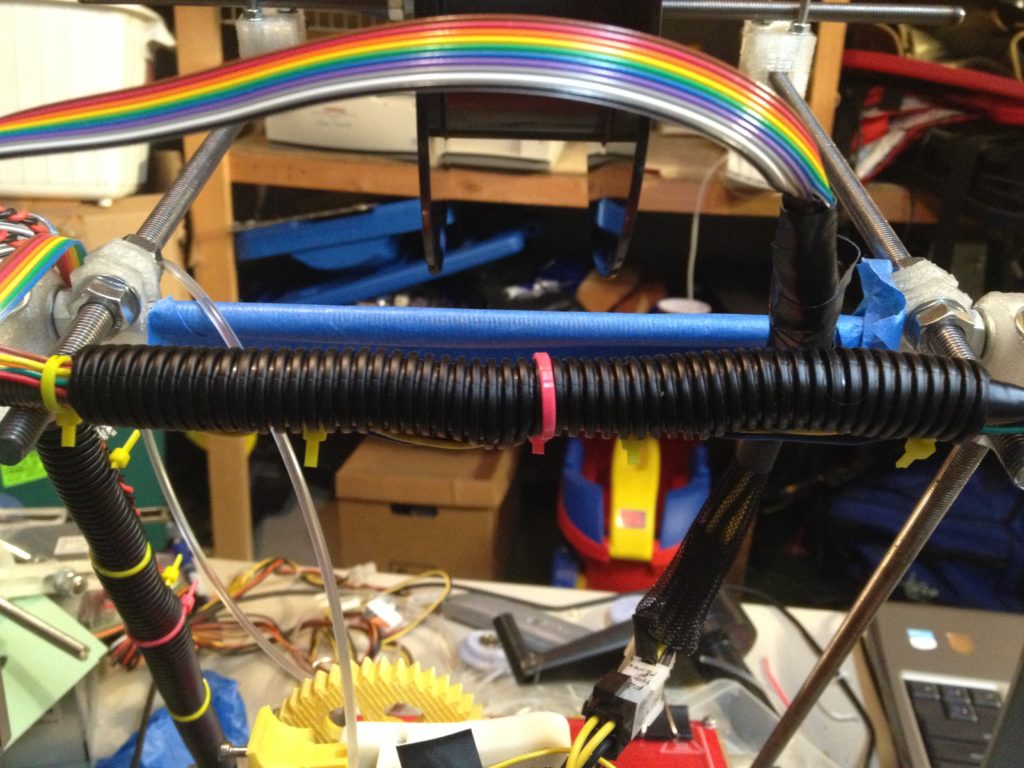
…and here’s the final cleaned-up version, pretty enough for final delivery to the Museum of Science (although that wouldn’t happen for another month and a half):
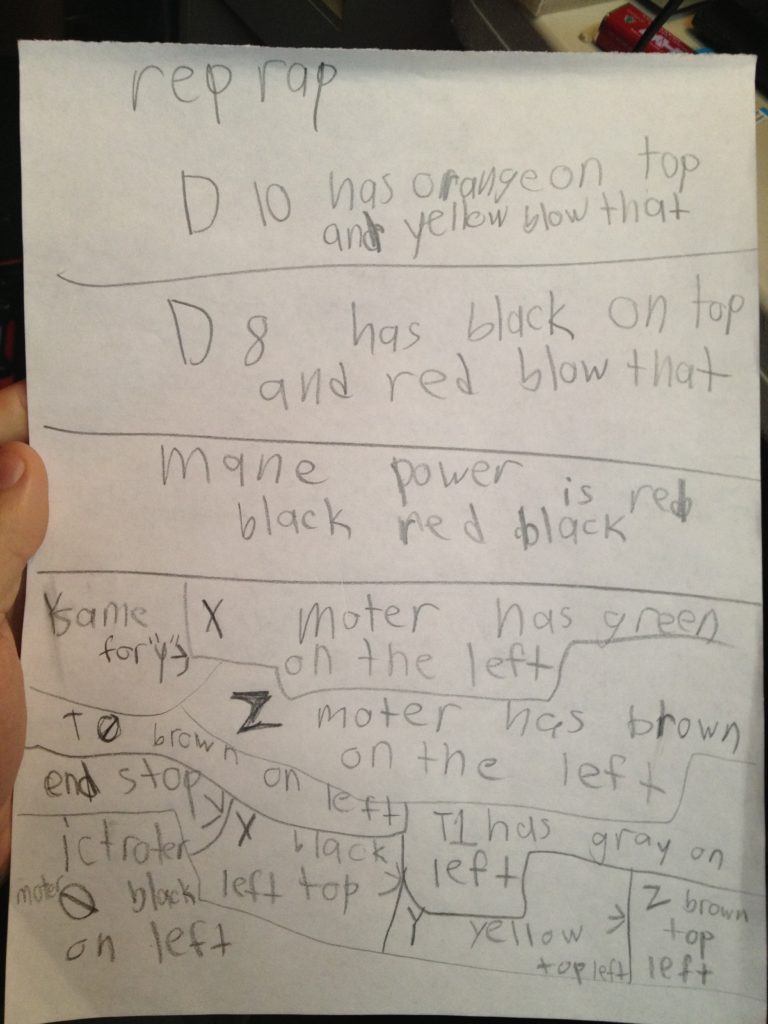
Here are three other pictures that I want to throw in at this point. First was this piece of paper – notes from Alicia while I was redoing the wiring on the RepRap destined for the Museum of Science:
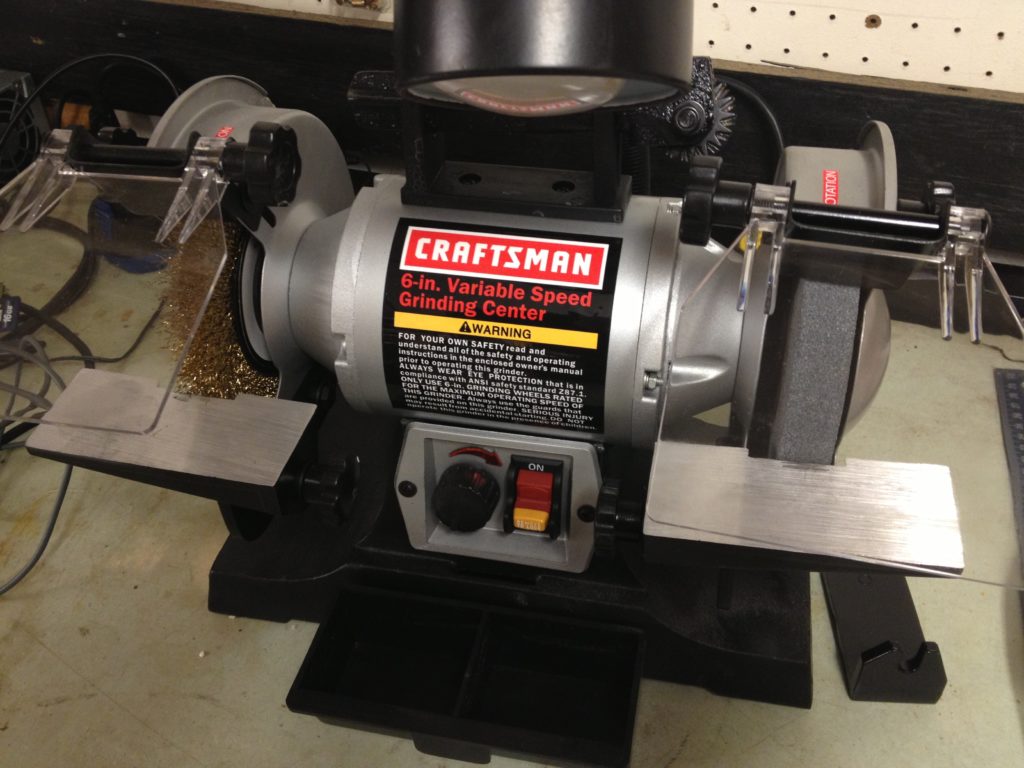
The second picture was my grinder, which I believe I had just finally set up at this point for the first time:
(I now use that grinder every time I cut any rods for any reason.. I can’t believe I got along without it before.. way better than filing down the edges to wear off the sharp parts)..
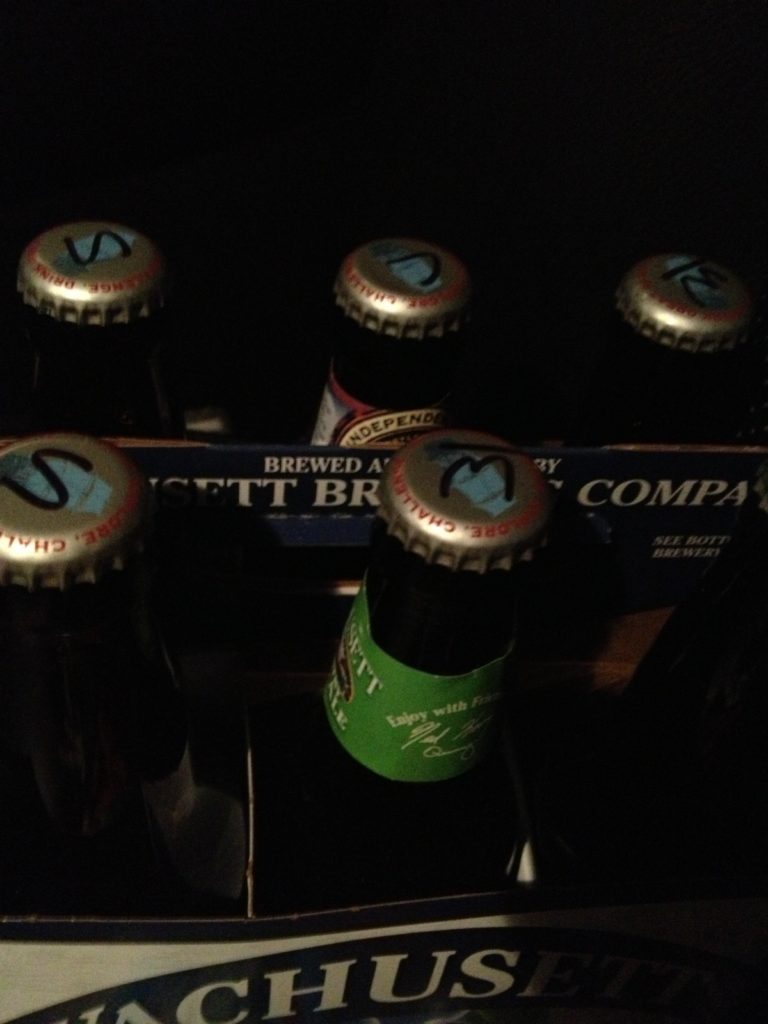
And the third picture was what Jimmy Astle gave me in exchange for using the above grinder (and my chop saw) to cut rods for him for his first RepRap. A 6-pack of home-brew beer:
Ok that seems like a good breaking point to end this post.
By the way, I’m going to exhibit at Makerfaire NY 2014 this September, for my third time! (Although, tragically, this blog is so far behind that I haven’t even covered Makerfaire NY 2013 yet! I’ll do that soon.. I hope to be fully caught up before Makerfaire this year.. ha!). Buy your tickets now and come see me! If I can drag two RepRaps down in a car from the north end of Massachusetts to Queens, New York, you can drag yourself down there.. it’s a great time!


hit it rich slots https://411slotmachine.com/
texas tea slots for fun https://www-slotmachines.com/
goldfish slots https://slotmachinegameinfo.com/
dissertation writer https://buydissertationhelp.com/
free dissertation help https://dissertationwriting-service.com/
from dissertation to book https://help-with-dissertations.com/
online dissertation help uk https://mydissertationwritinghelp.com/
custom dissertation writing uk https://dissertations-writing.org/
what is a dissertation defense like https://helpon-doctoral-dissertations.net/
site
The Abacus – Four, no, 44 months.. part 18 of ? « Just Another RepRap