Time for another blog post. At first I was been unable to post anything for about a month as I waited for my webhosting company to migrate my domain to some new servers. Then I’d finally got the blogging software caught up-to-date etc. But then this very post stretched across many months due to laziness.
As you all remember and are probably sick of reading about, I’m about a year behind on my blog. My last post led up to the events of my booth at Makerfaire NY 2012, which I had already covered out-of-sequence way before that, and after posting that I exhibited again at Makerfaire NY 2013 (real time). I’ve decided I’m not going out of sequence again – you can read about Makerfaire 2013 when I catch up to it.
But for now, we’re still at October of 2012 (even though as I’m writing this, today is actually November 15th, 2013 February 2nd, 2014 February 9th, 2014).
I got back from Makerfaire NY 2012 and unpacked.

After that, I did nothing RepRap related for about two months. Next up was finishing the Museum of Science’s RepRap. As I’m sure you remember, earlier in the year I built the beginnings of a RepRap (no extruder or endstops yet) for the Museum of Science in Boston. I brought it into the museum where they used it as a non-functioning prop for a 3-week exhibit.
Then took it home to finish it (where it sat untouched for half a year). It was now time to finish it.
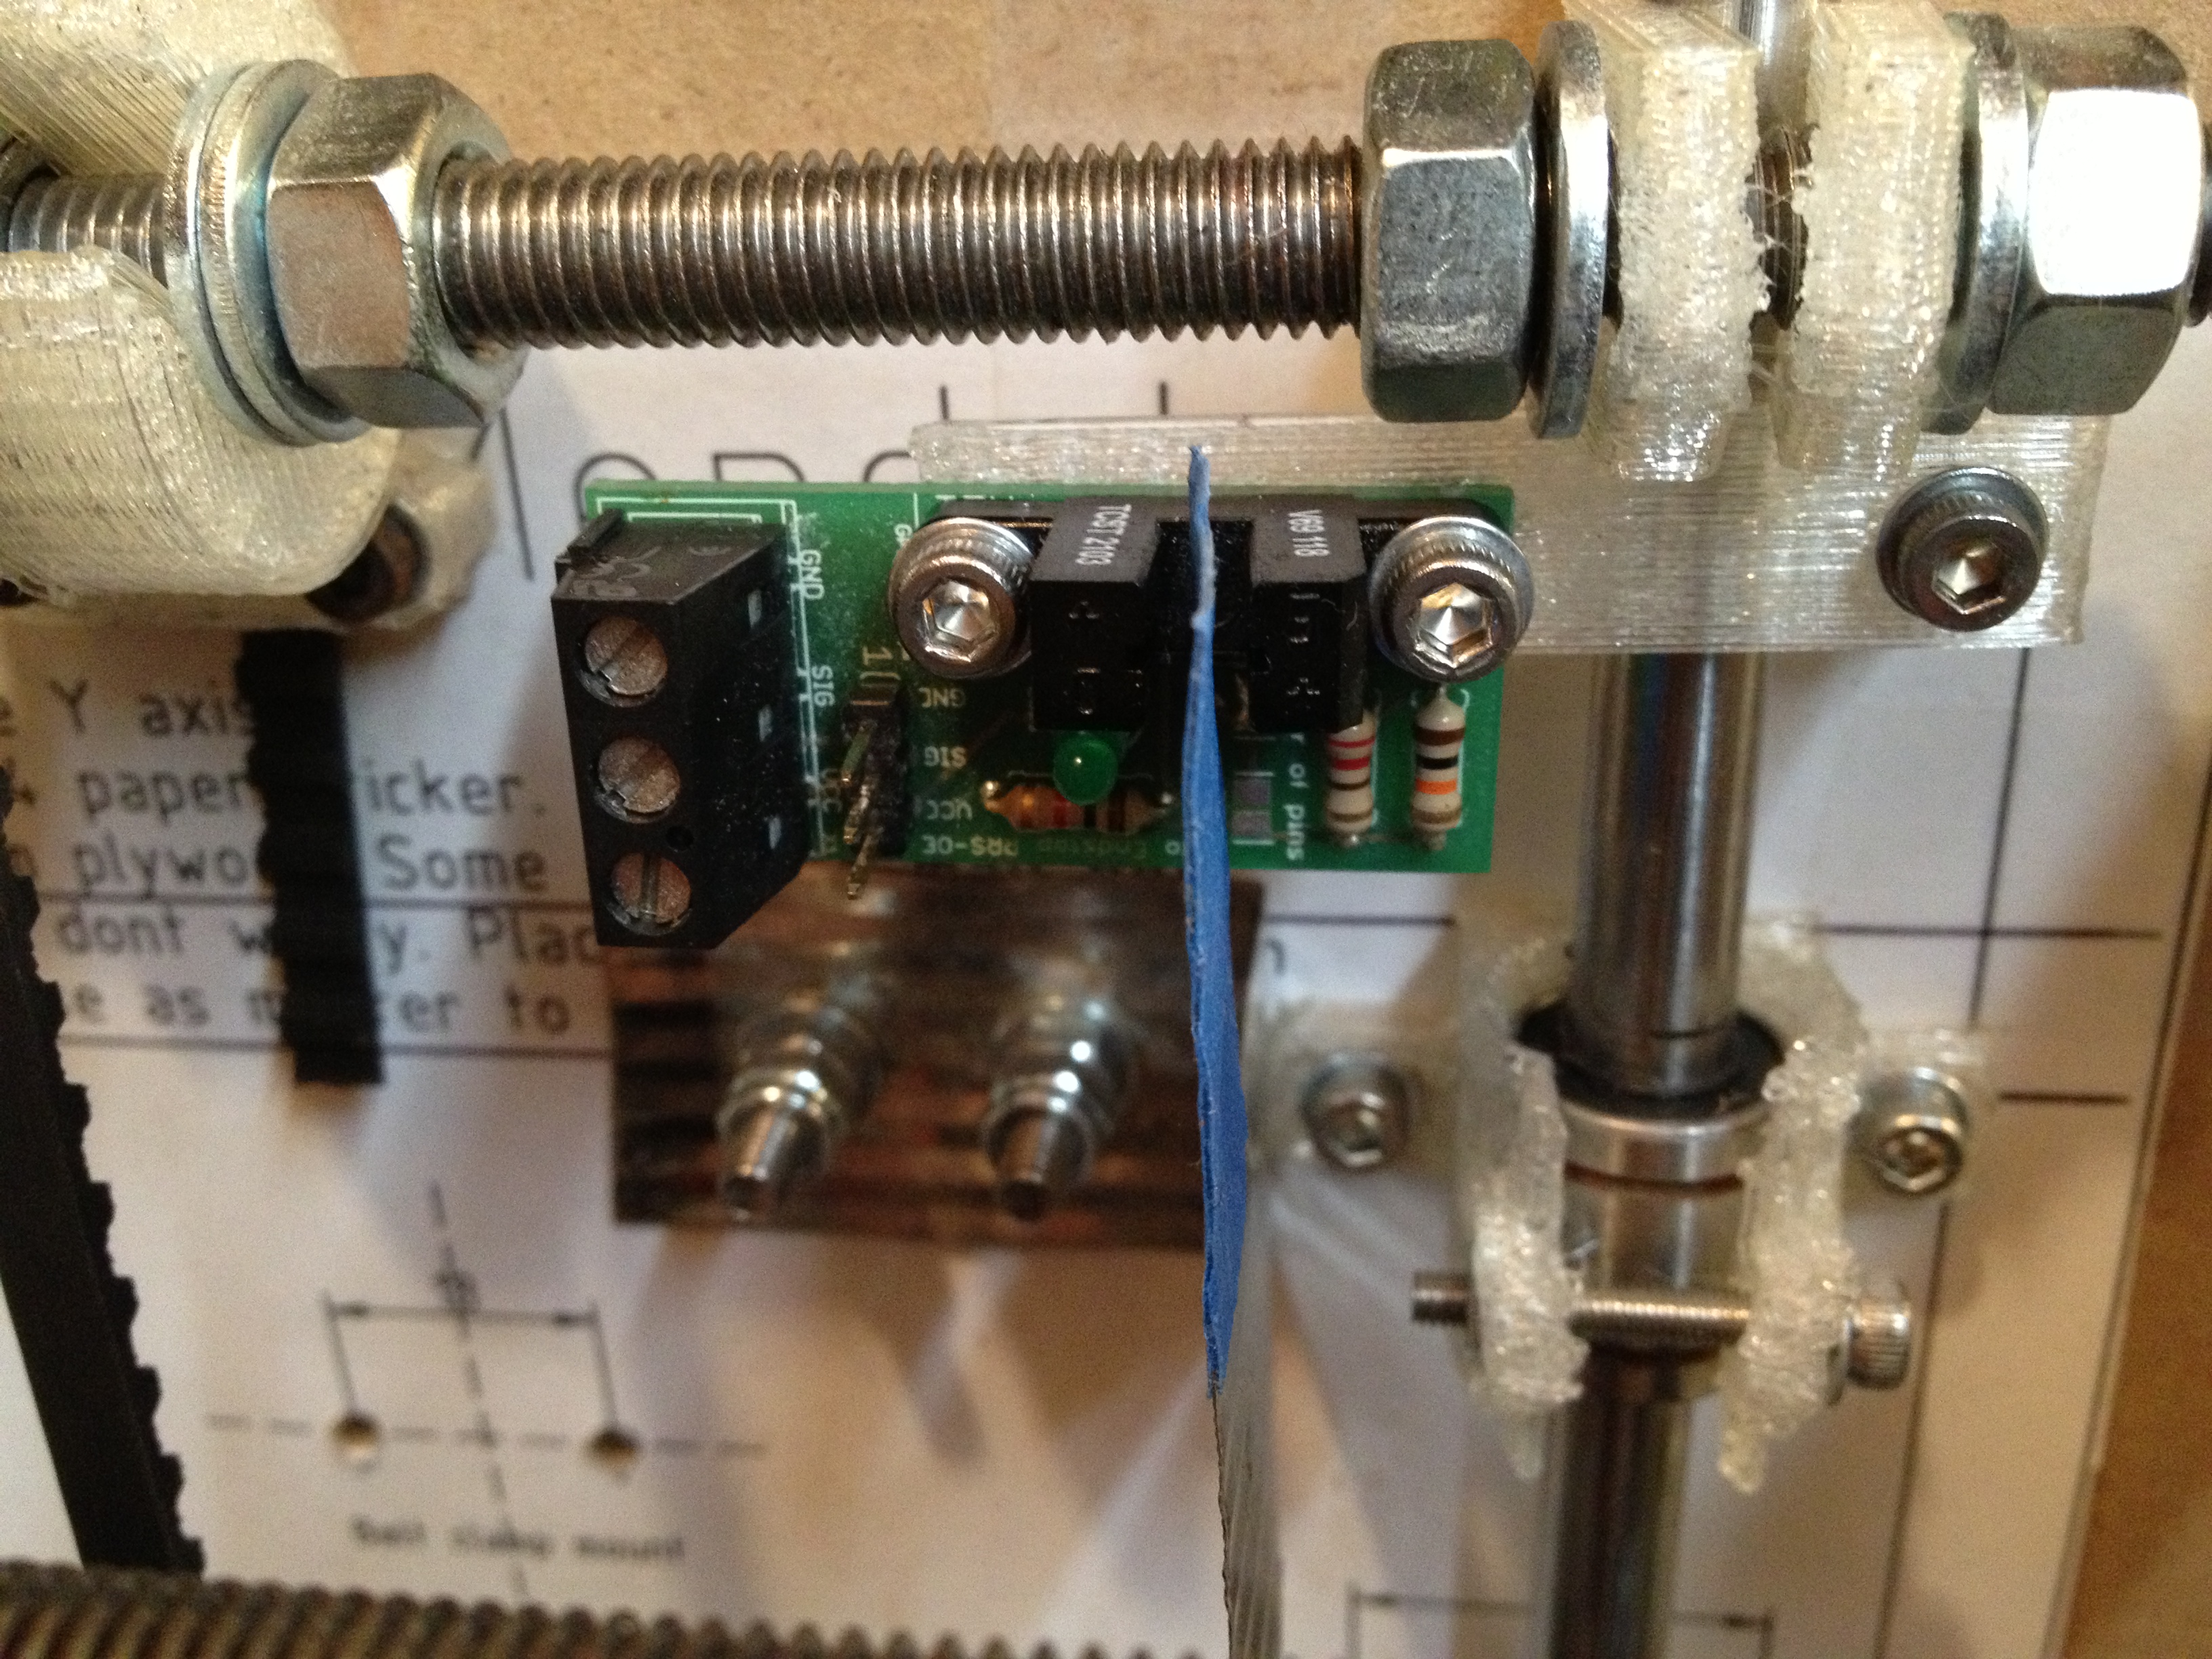
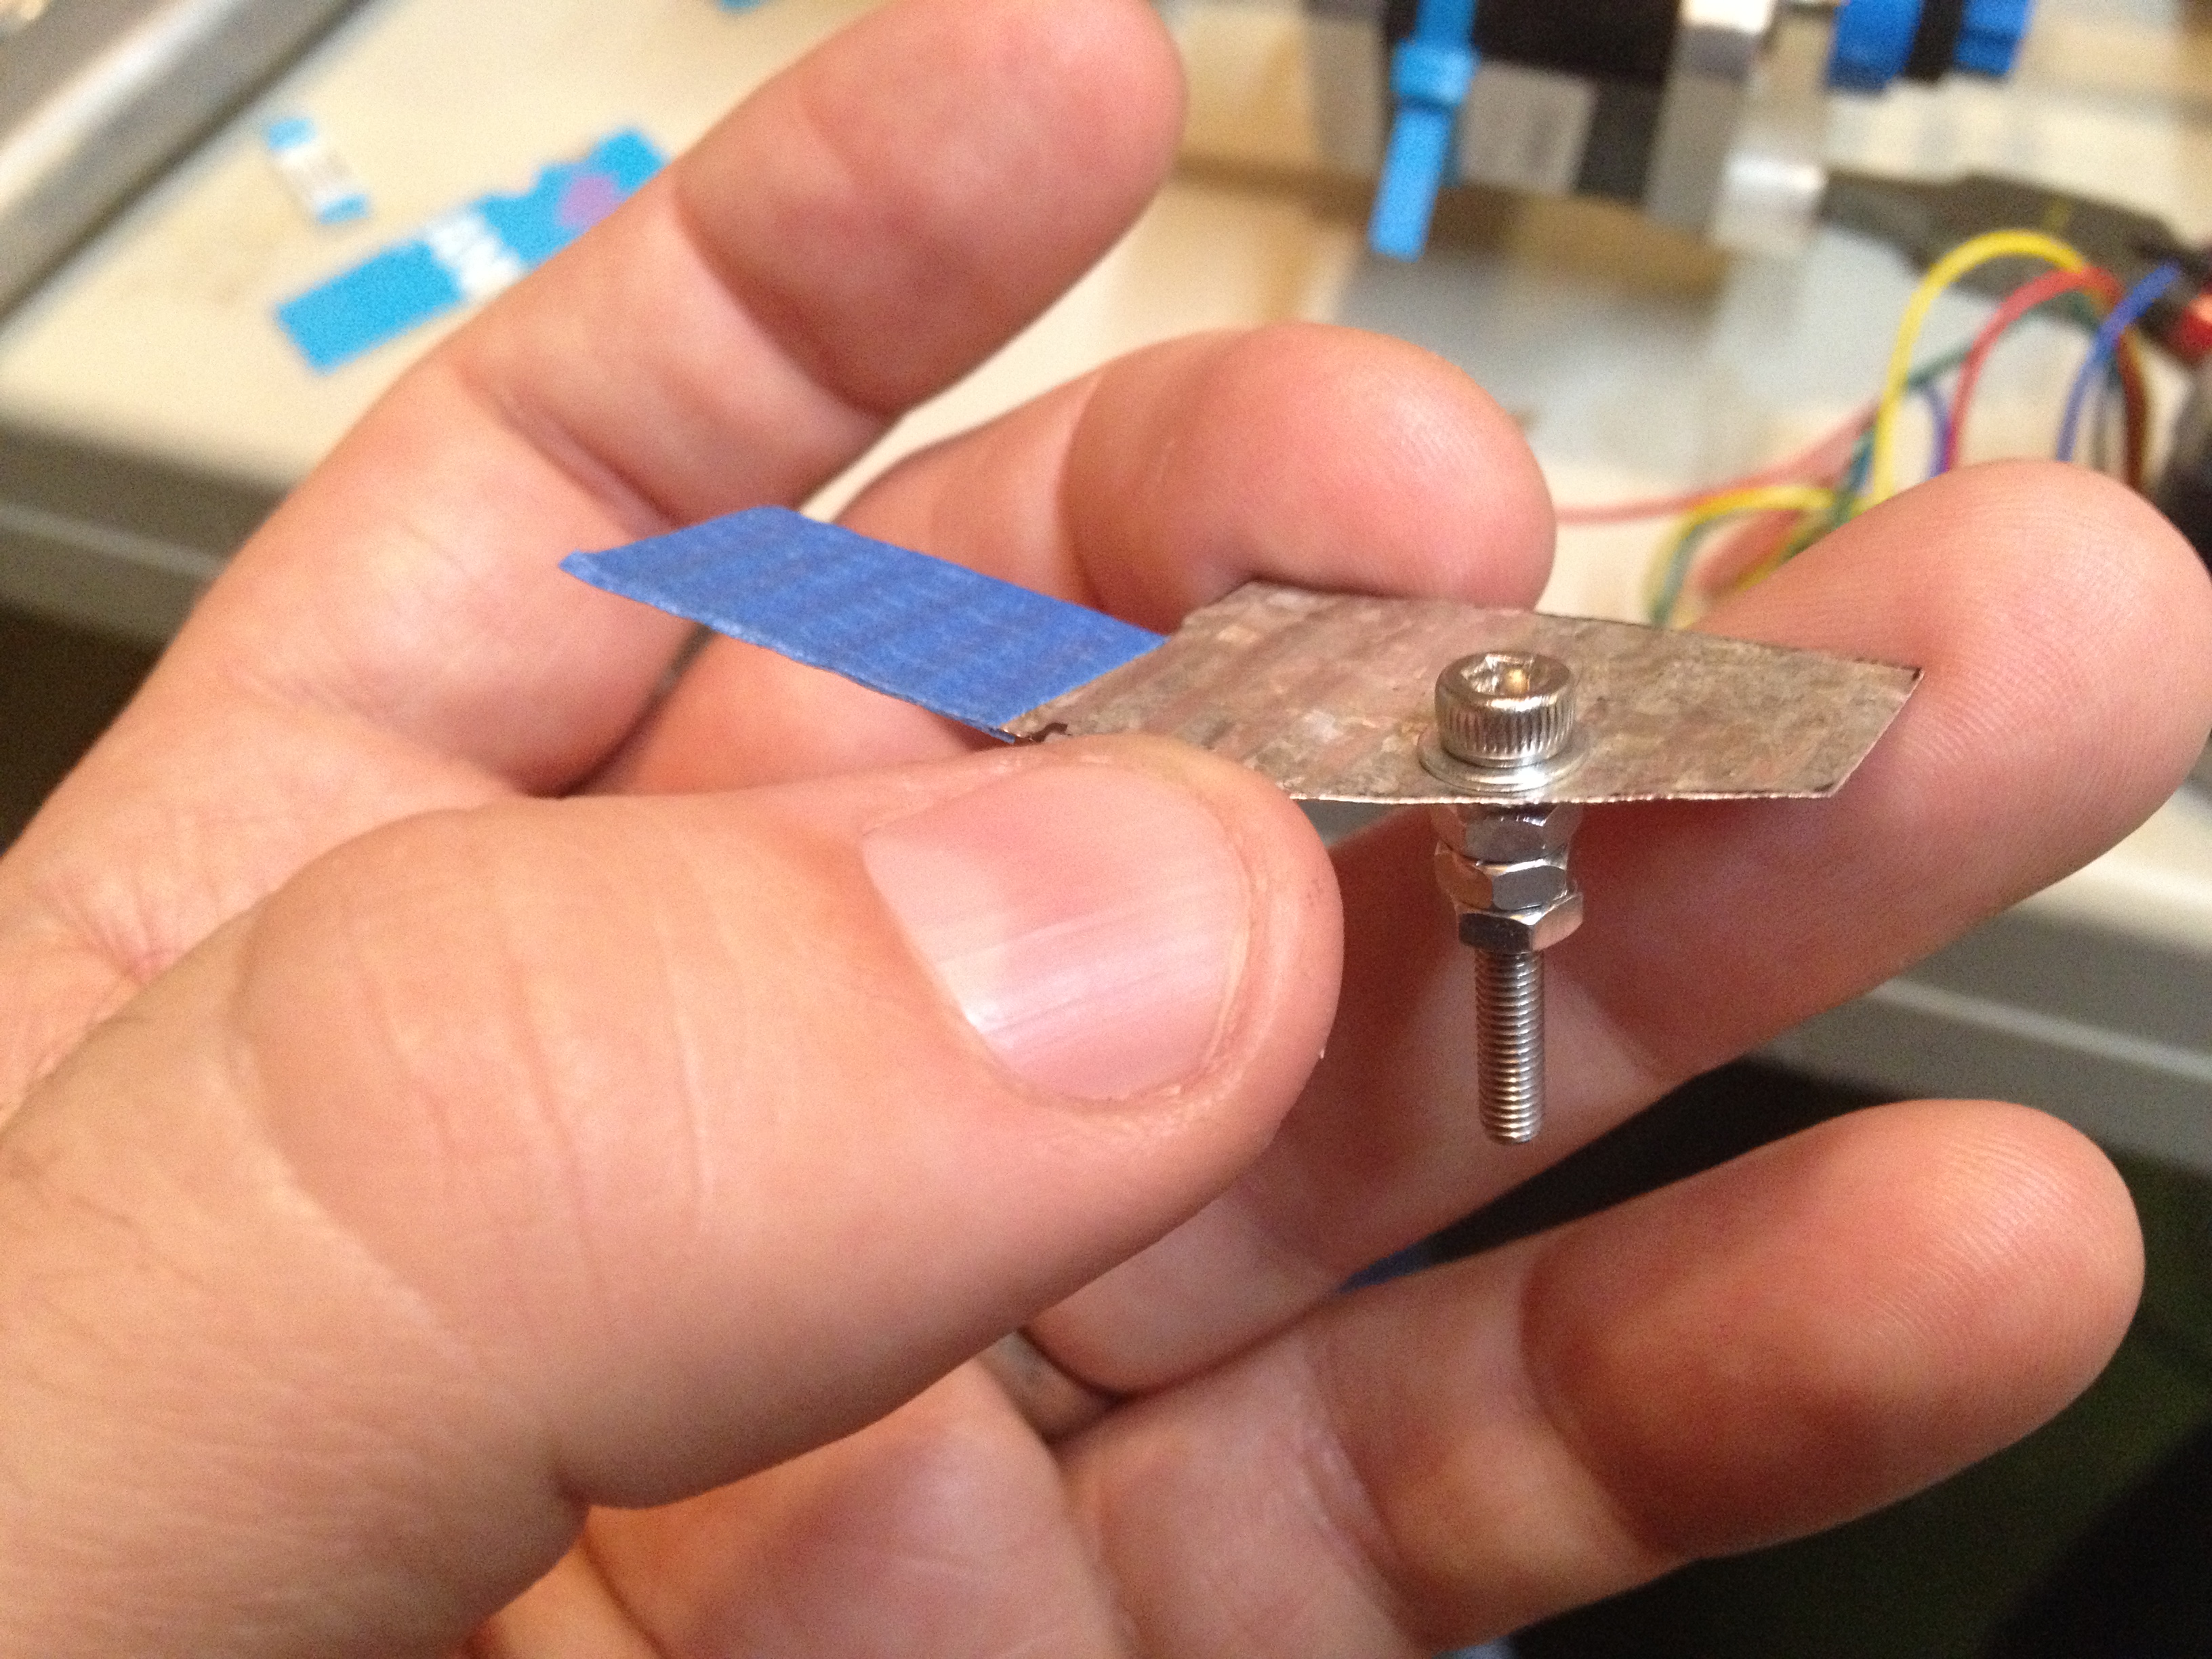
First I needed to figure out where to mount the opto-endstop flags. I cut a piece of thin cardboard to use as a template for how I wanted to mount it, then once it was good I cut the same shape out of a flattened tin can.

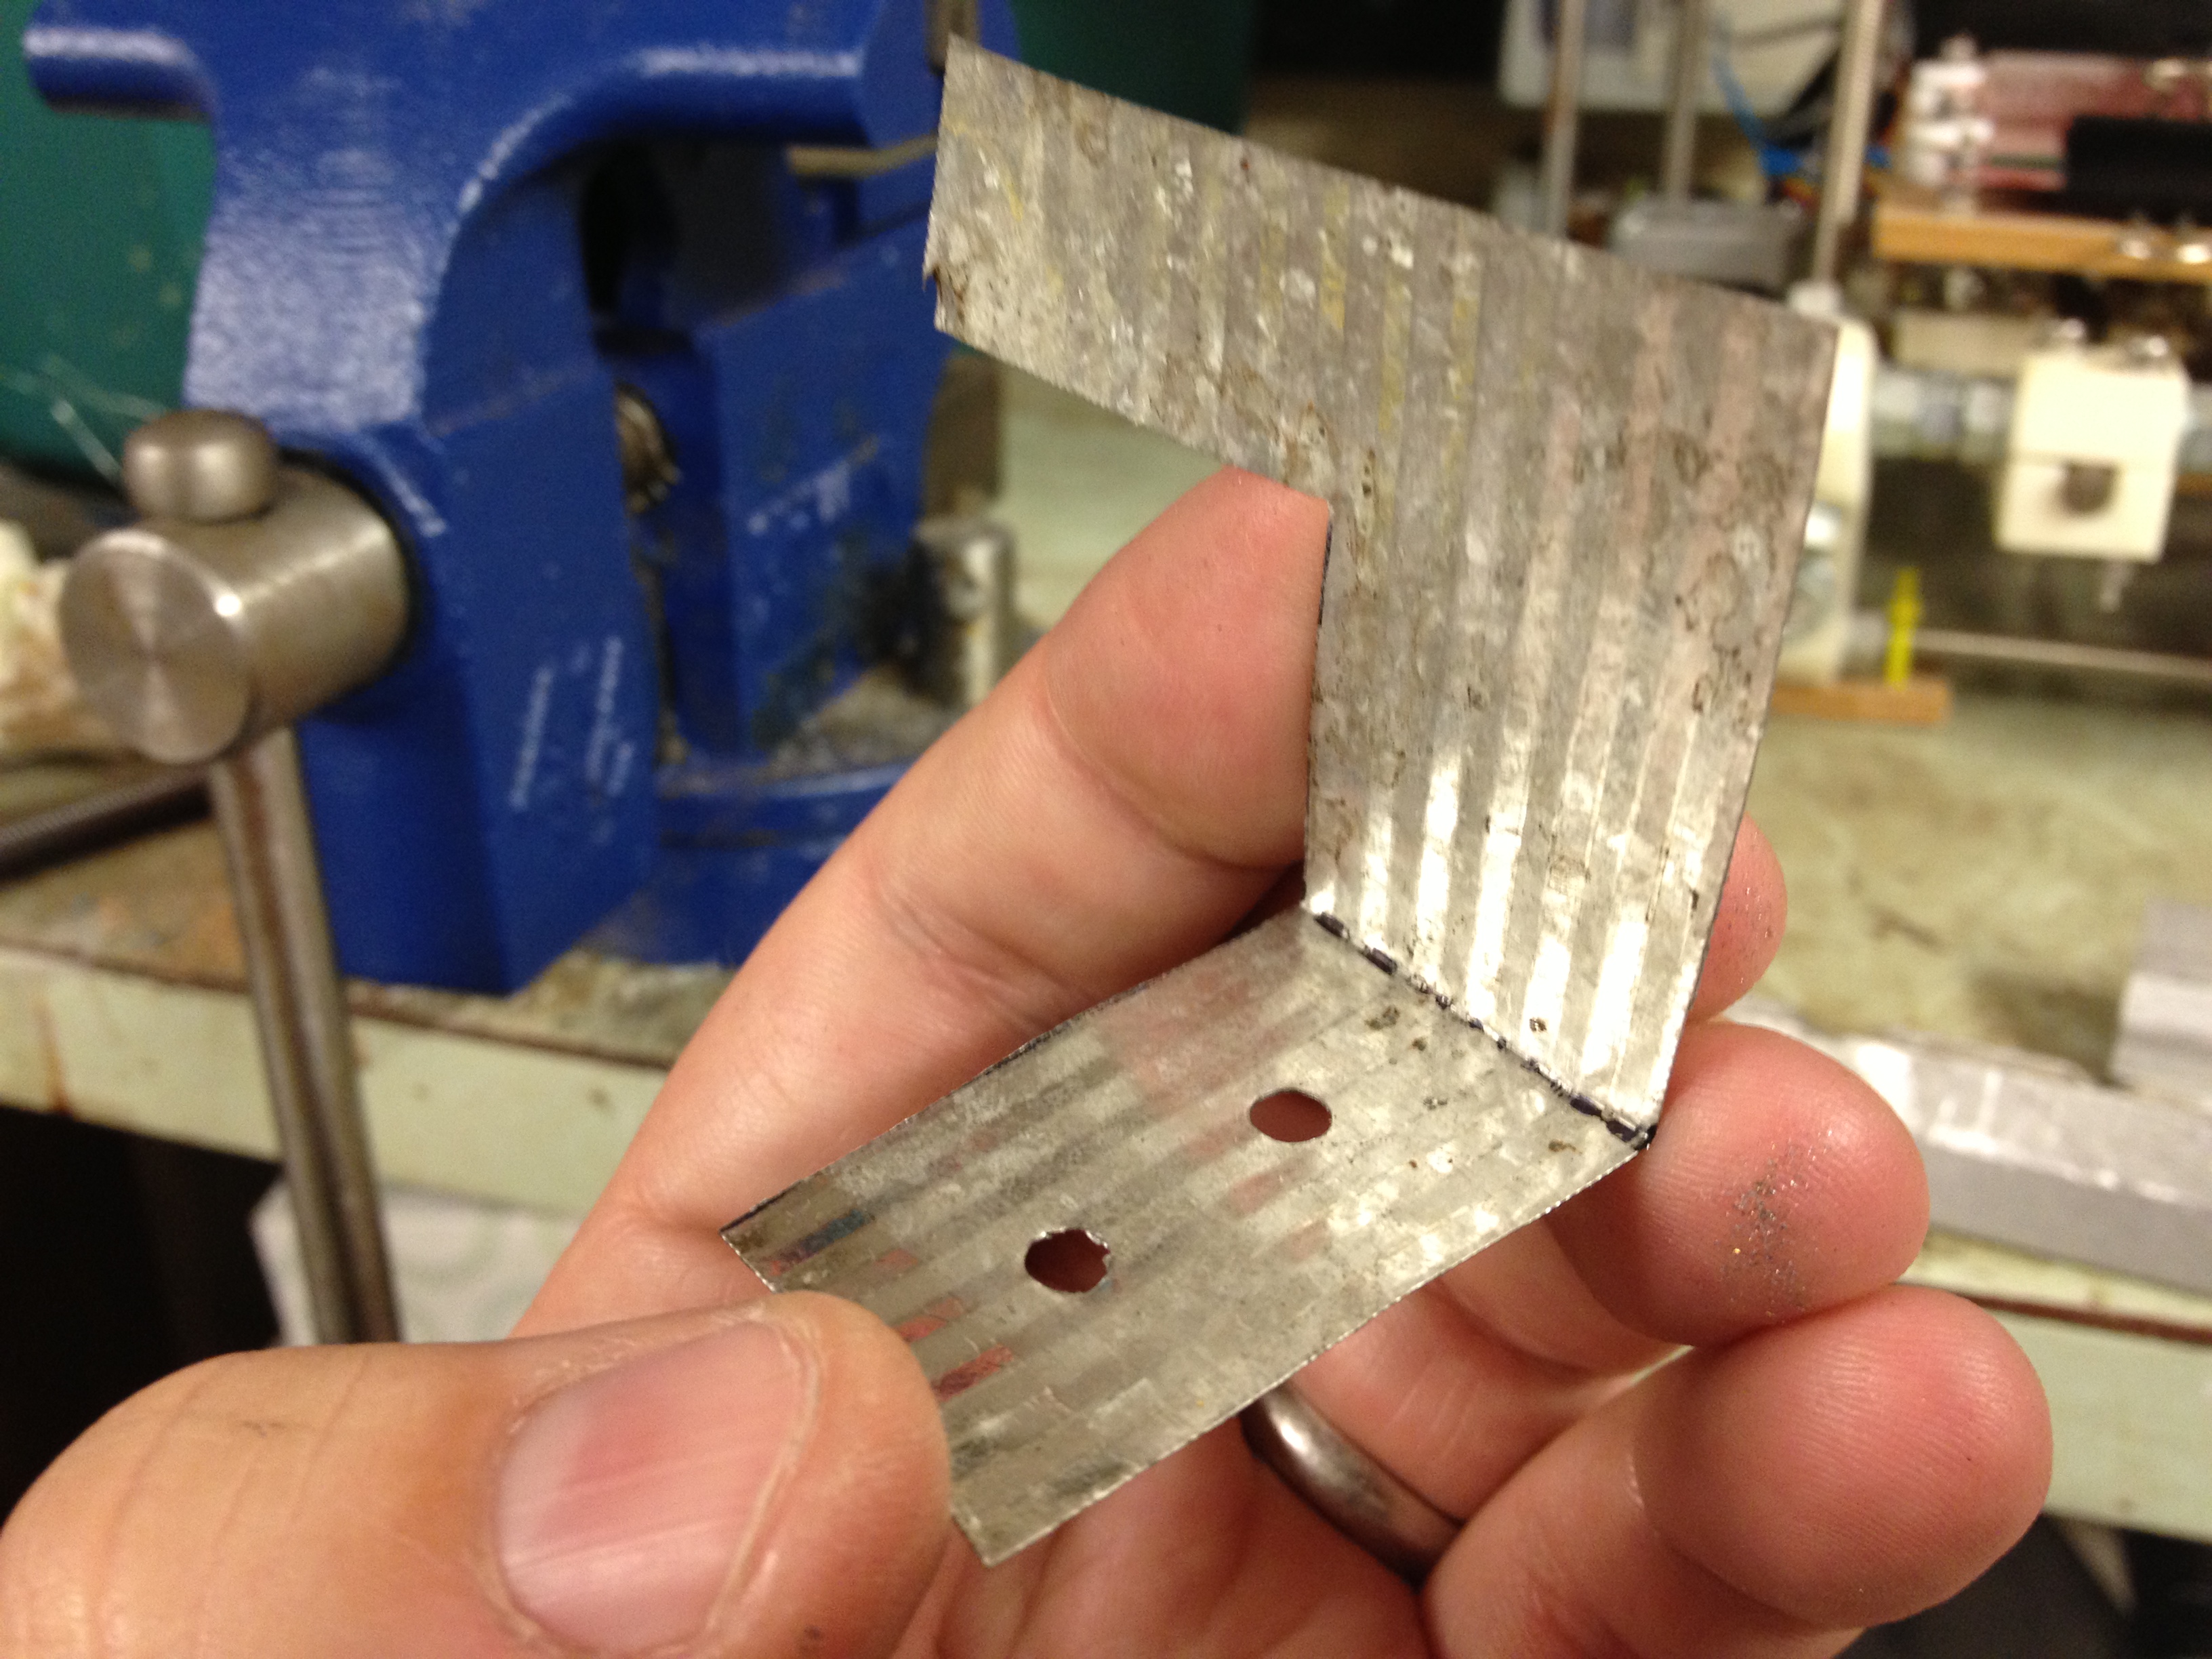
I wrapped the opto-flag part in blue tape so it didn’t reflect, and mounted it beneath the bed.
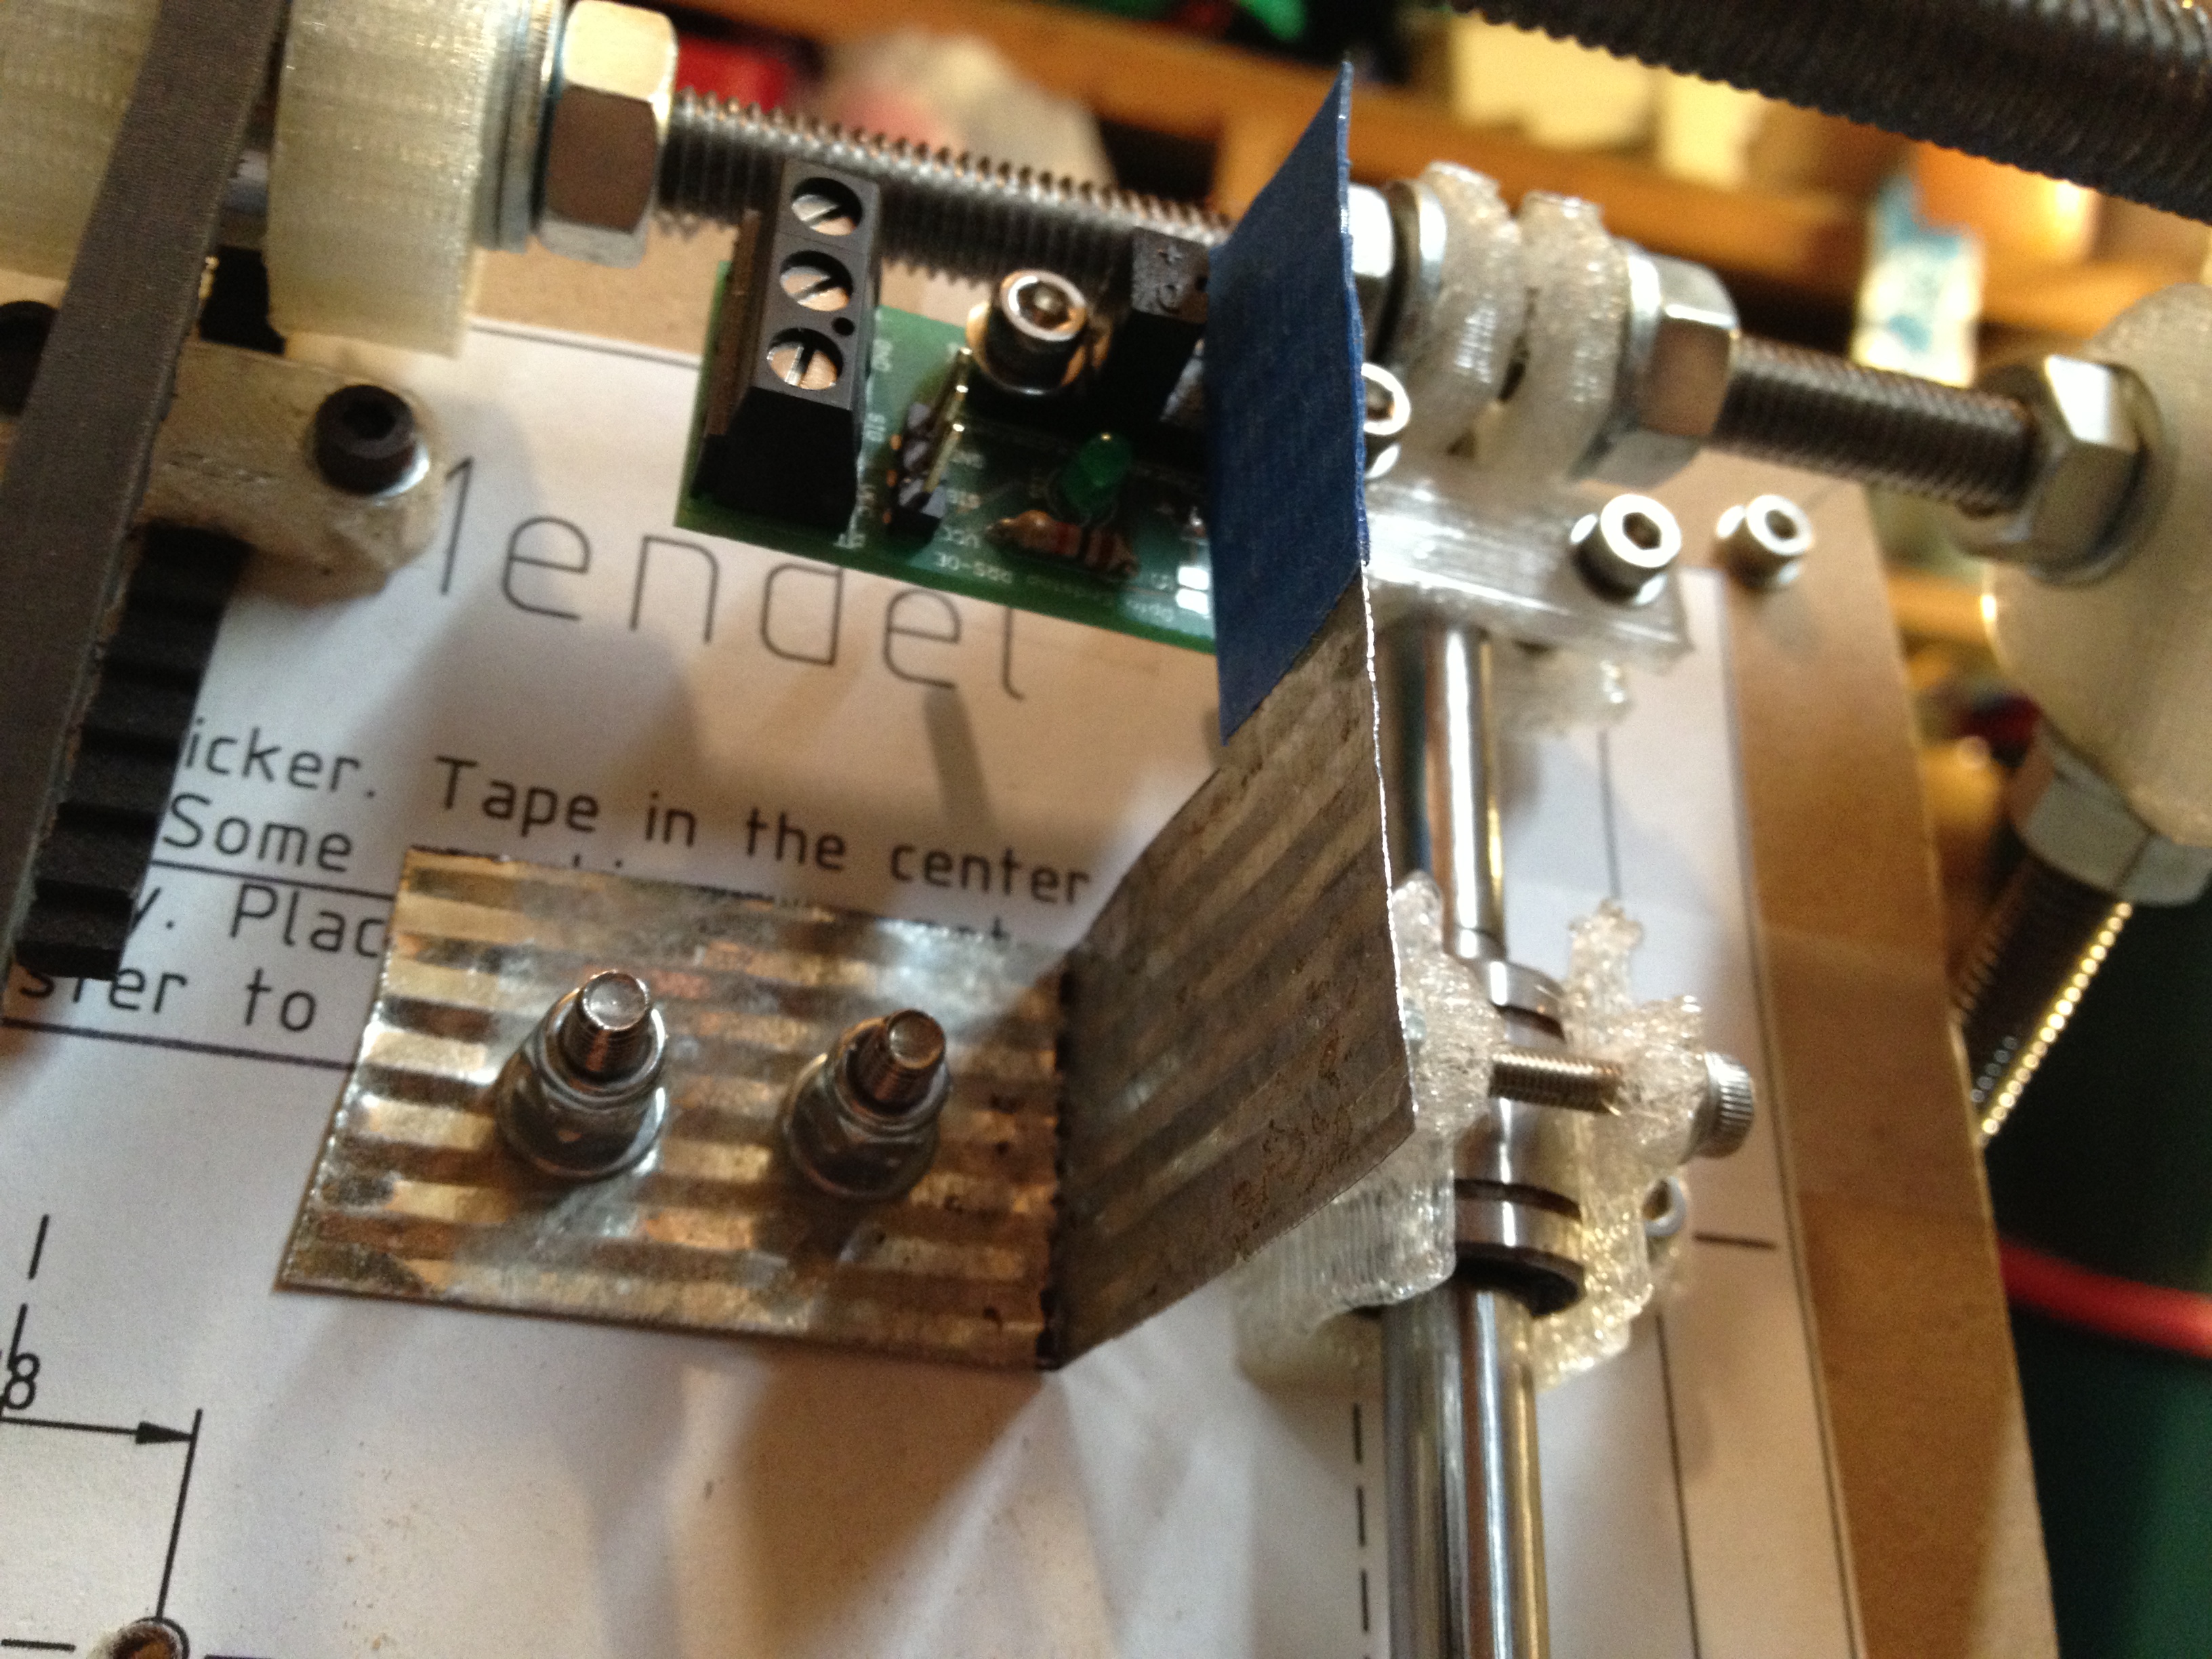

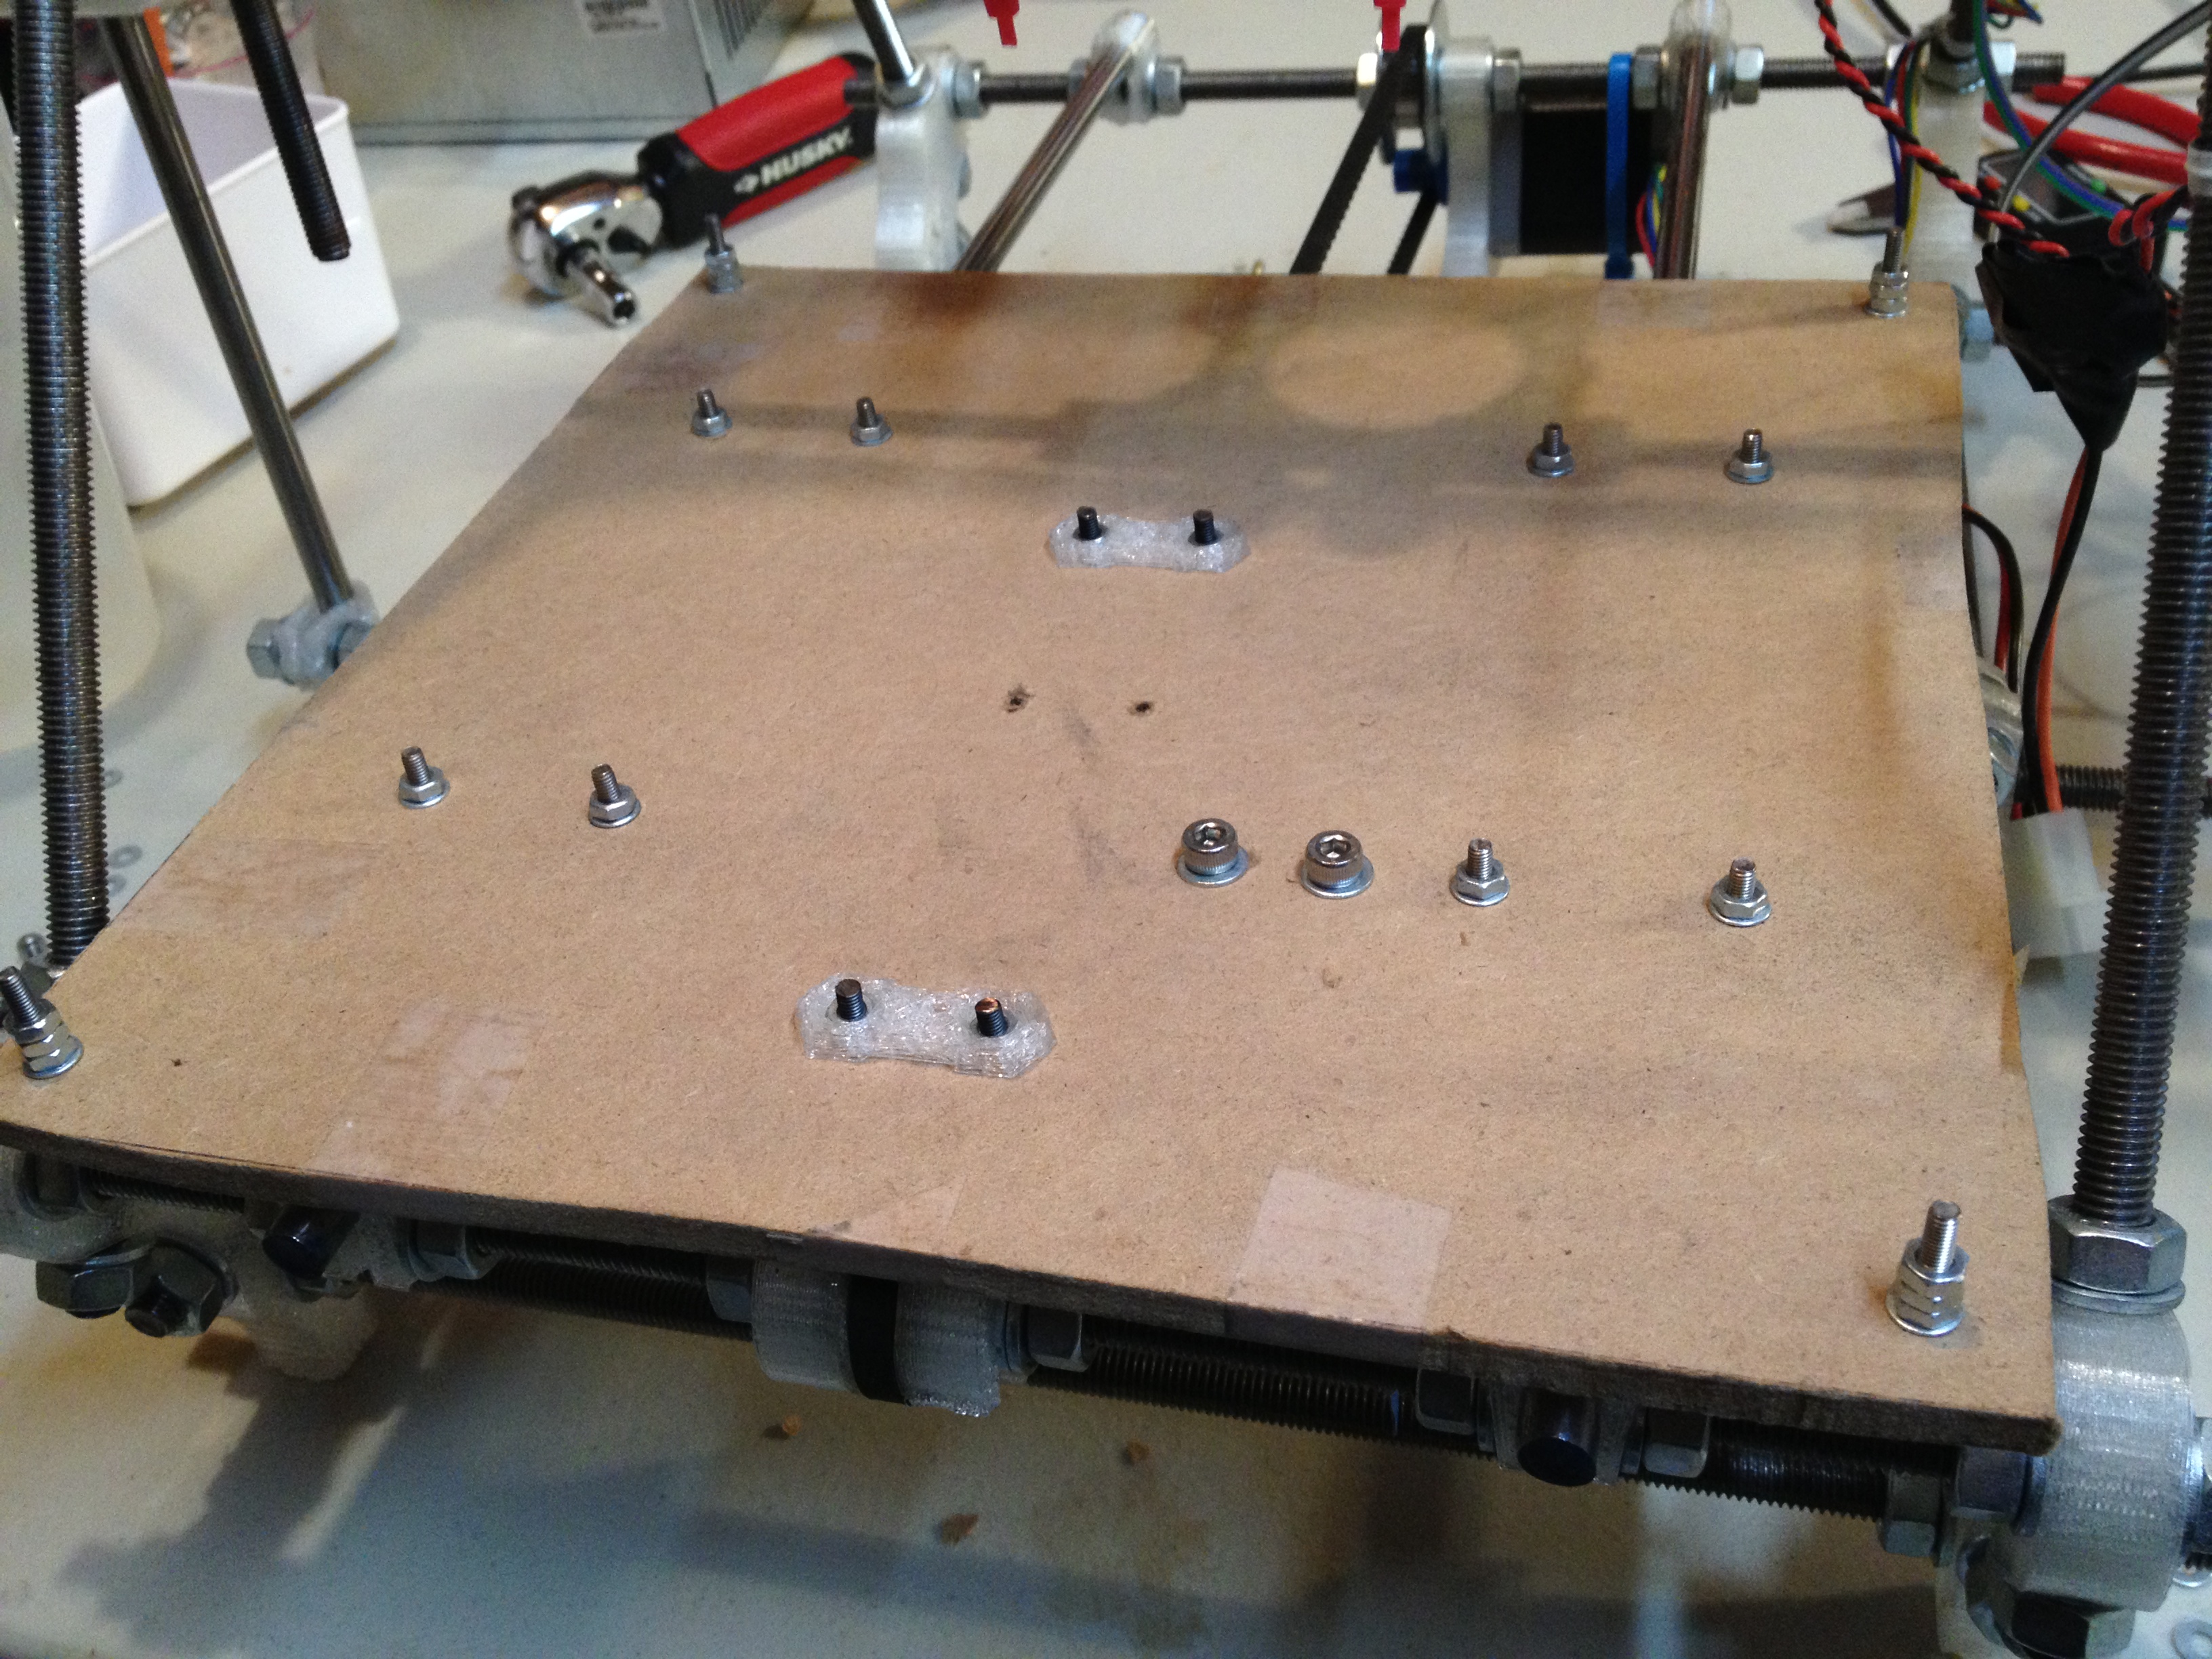
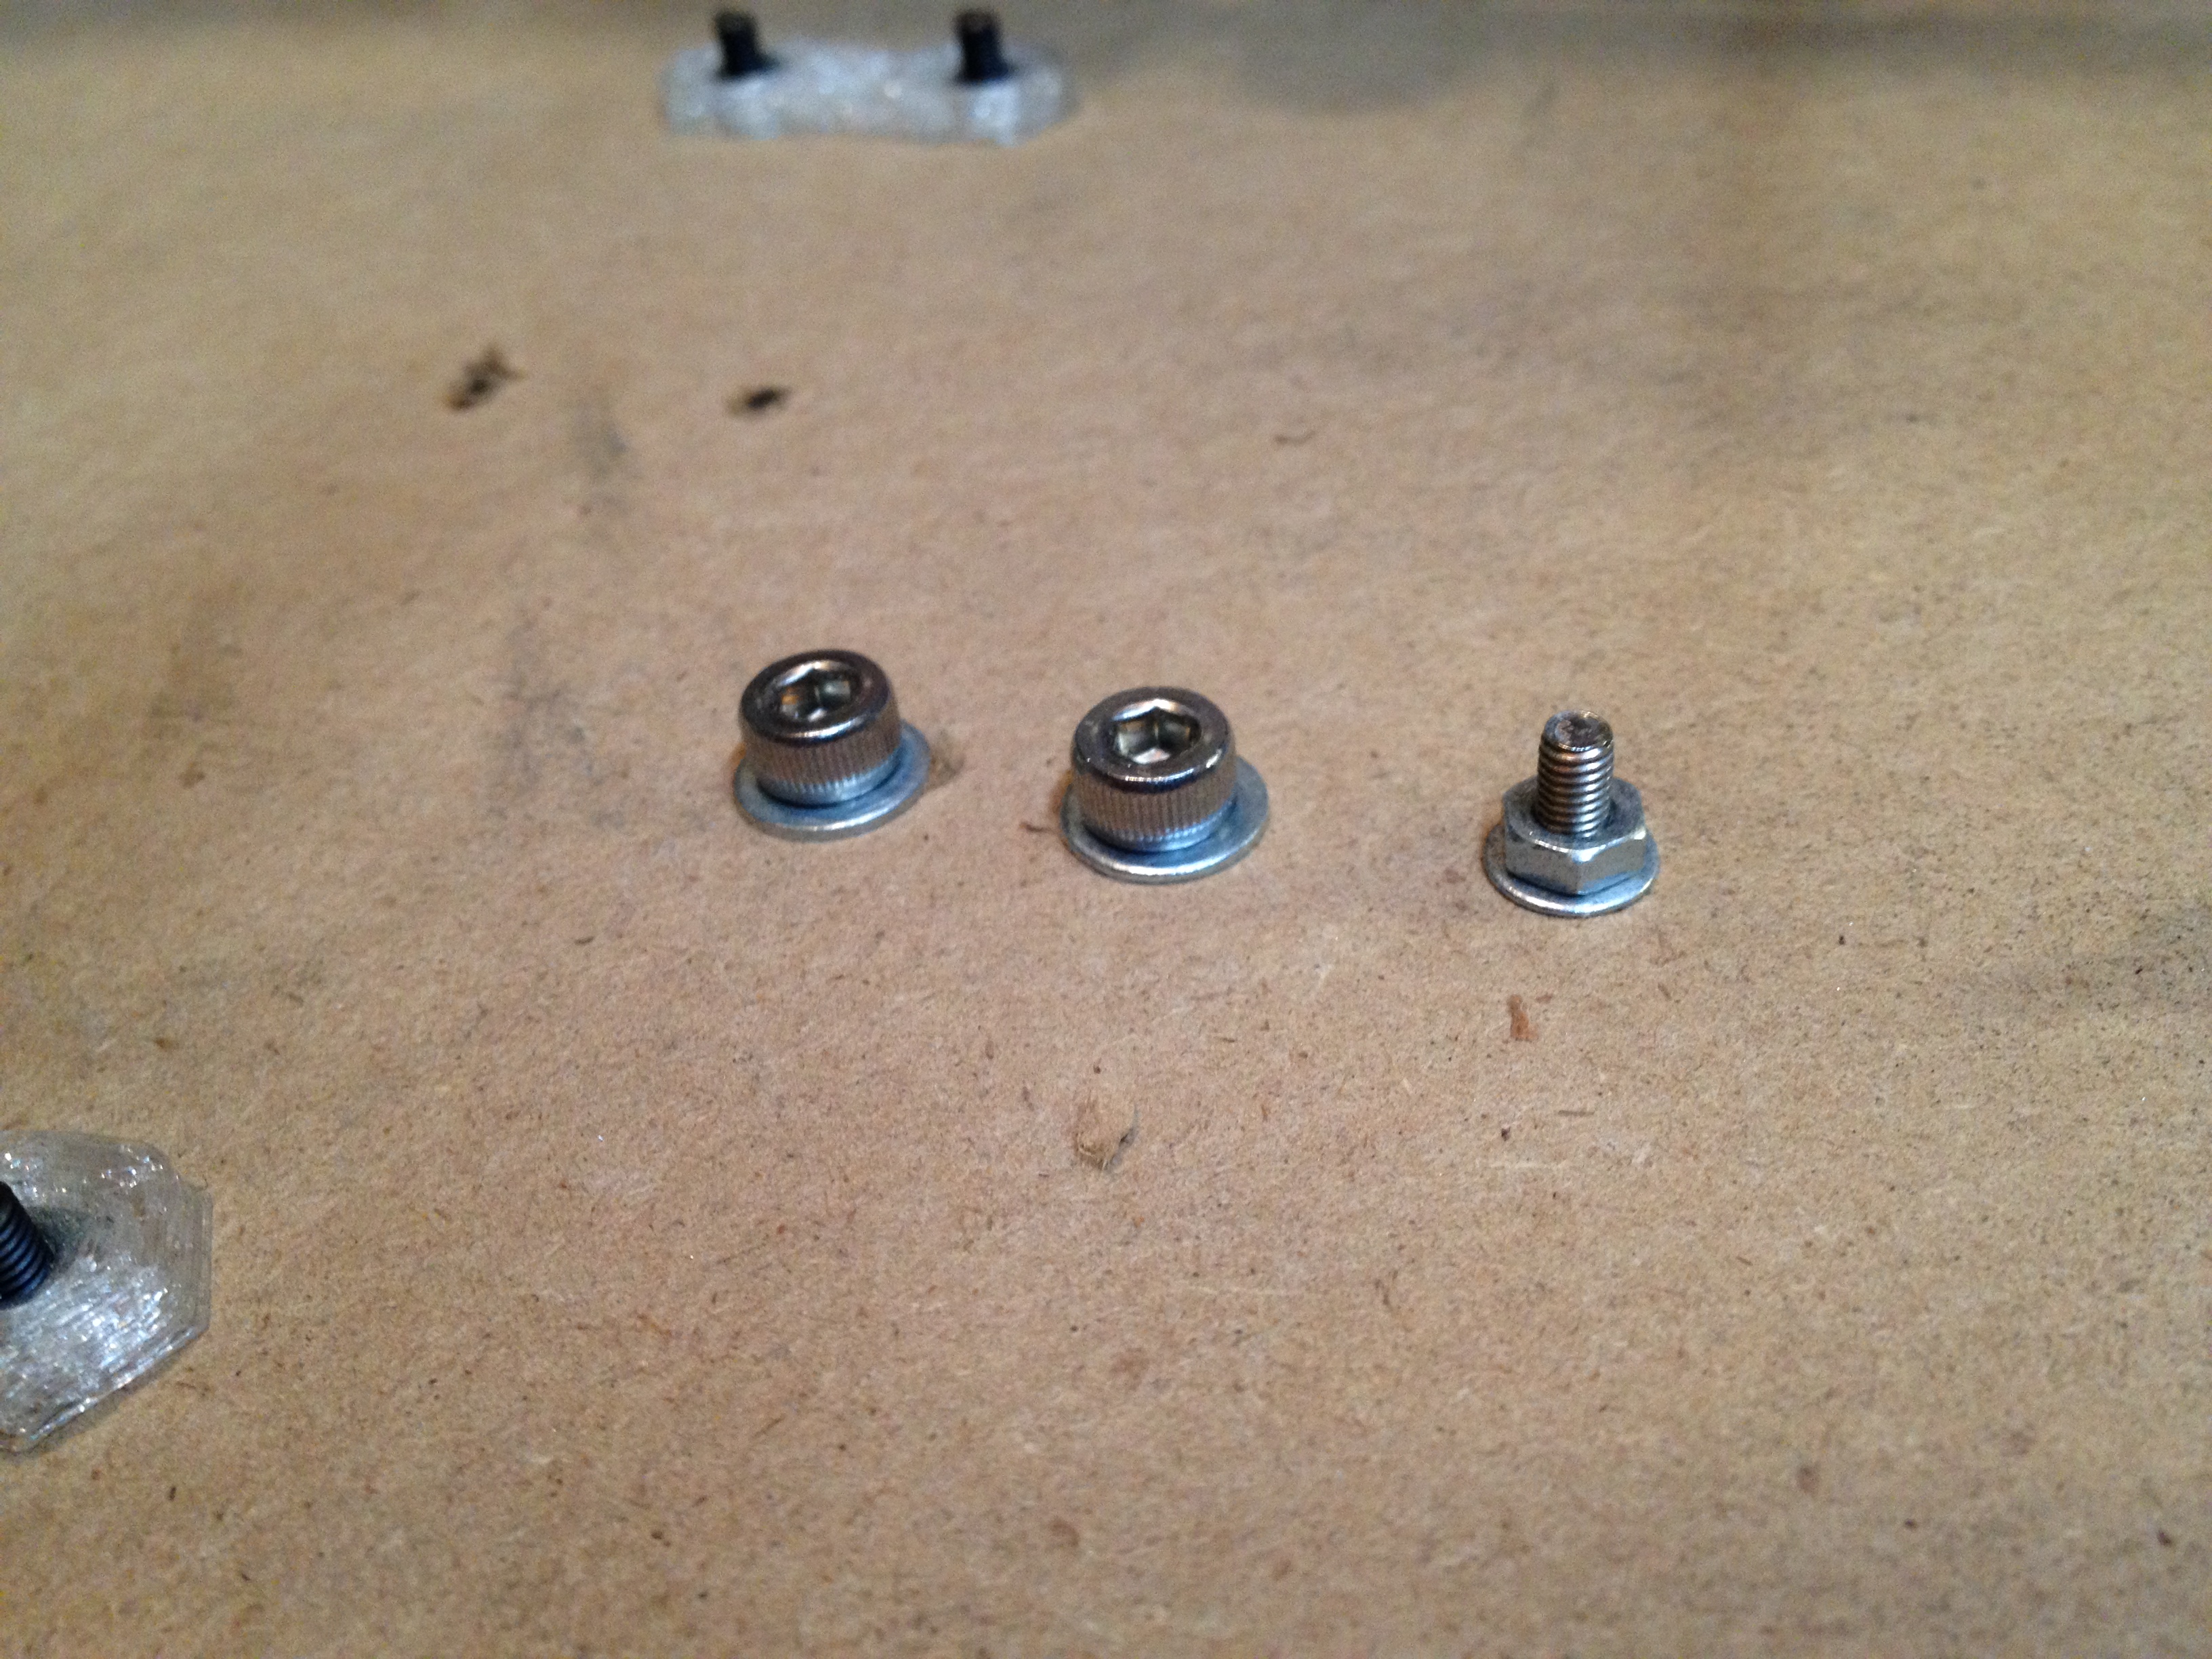
Here you can see the mount screws coming through the top of the bed:
I cut an opto-endflag for the X-axis, and got a bit frustrated about how the raised belt on the Prusa design has the potential to touch the extruder.
Since I was giving the RepRap to the Museum of Science and knew they’d be using it on a regular basis, I wanted their hot-end to be one they could purchase commercially if something went wrong (rather than making them one on my lathe). I asked around as to which hot ends people were using that had few problems. Chris Connelly had been using a Budaschnozzle without problems for months, so I decided to go with that:
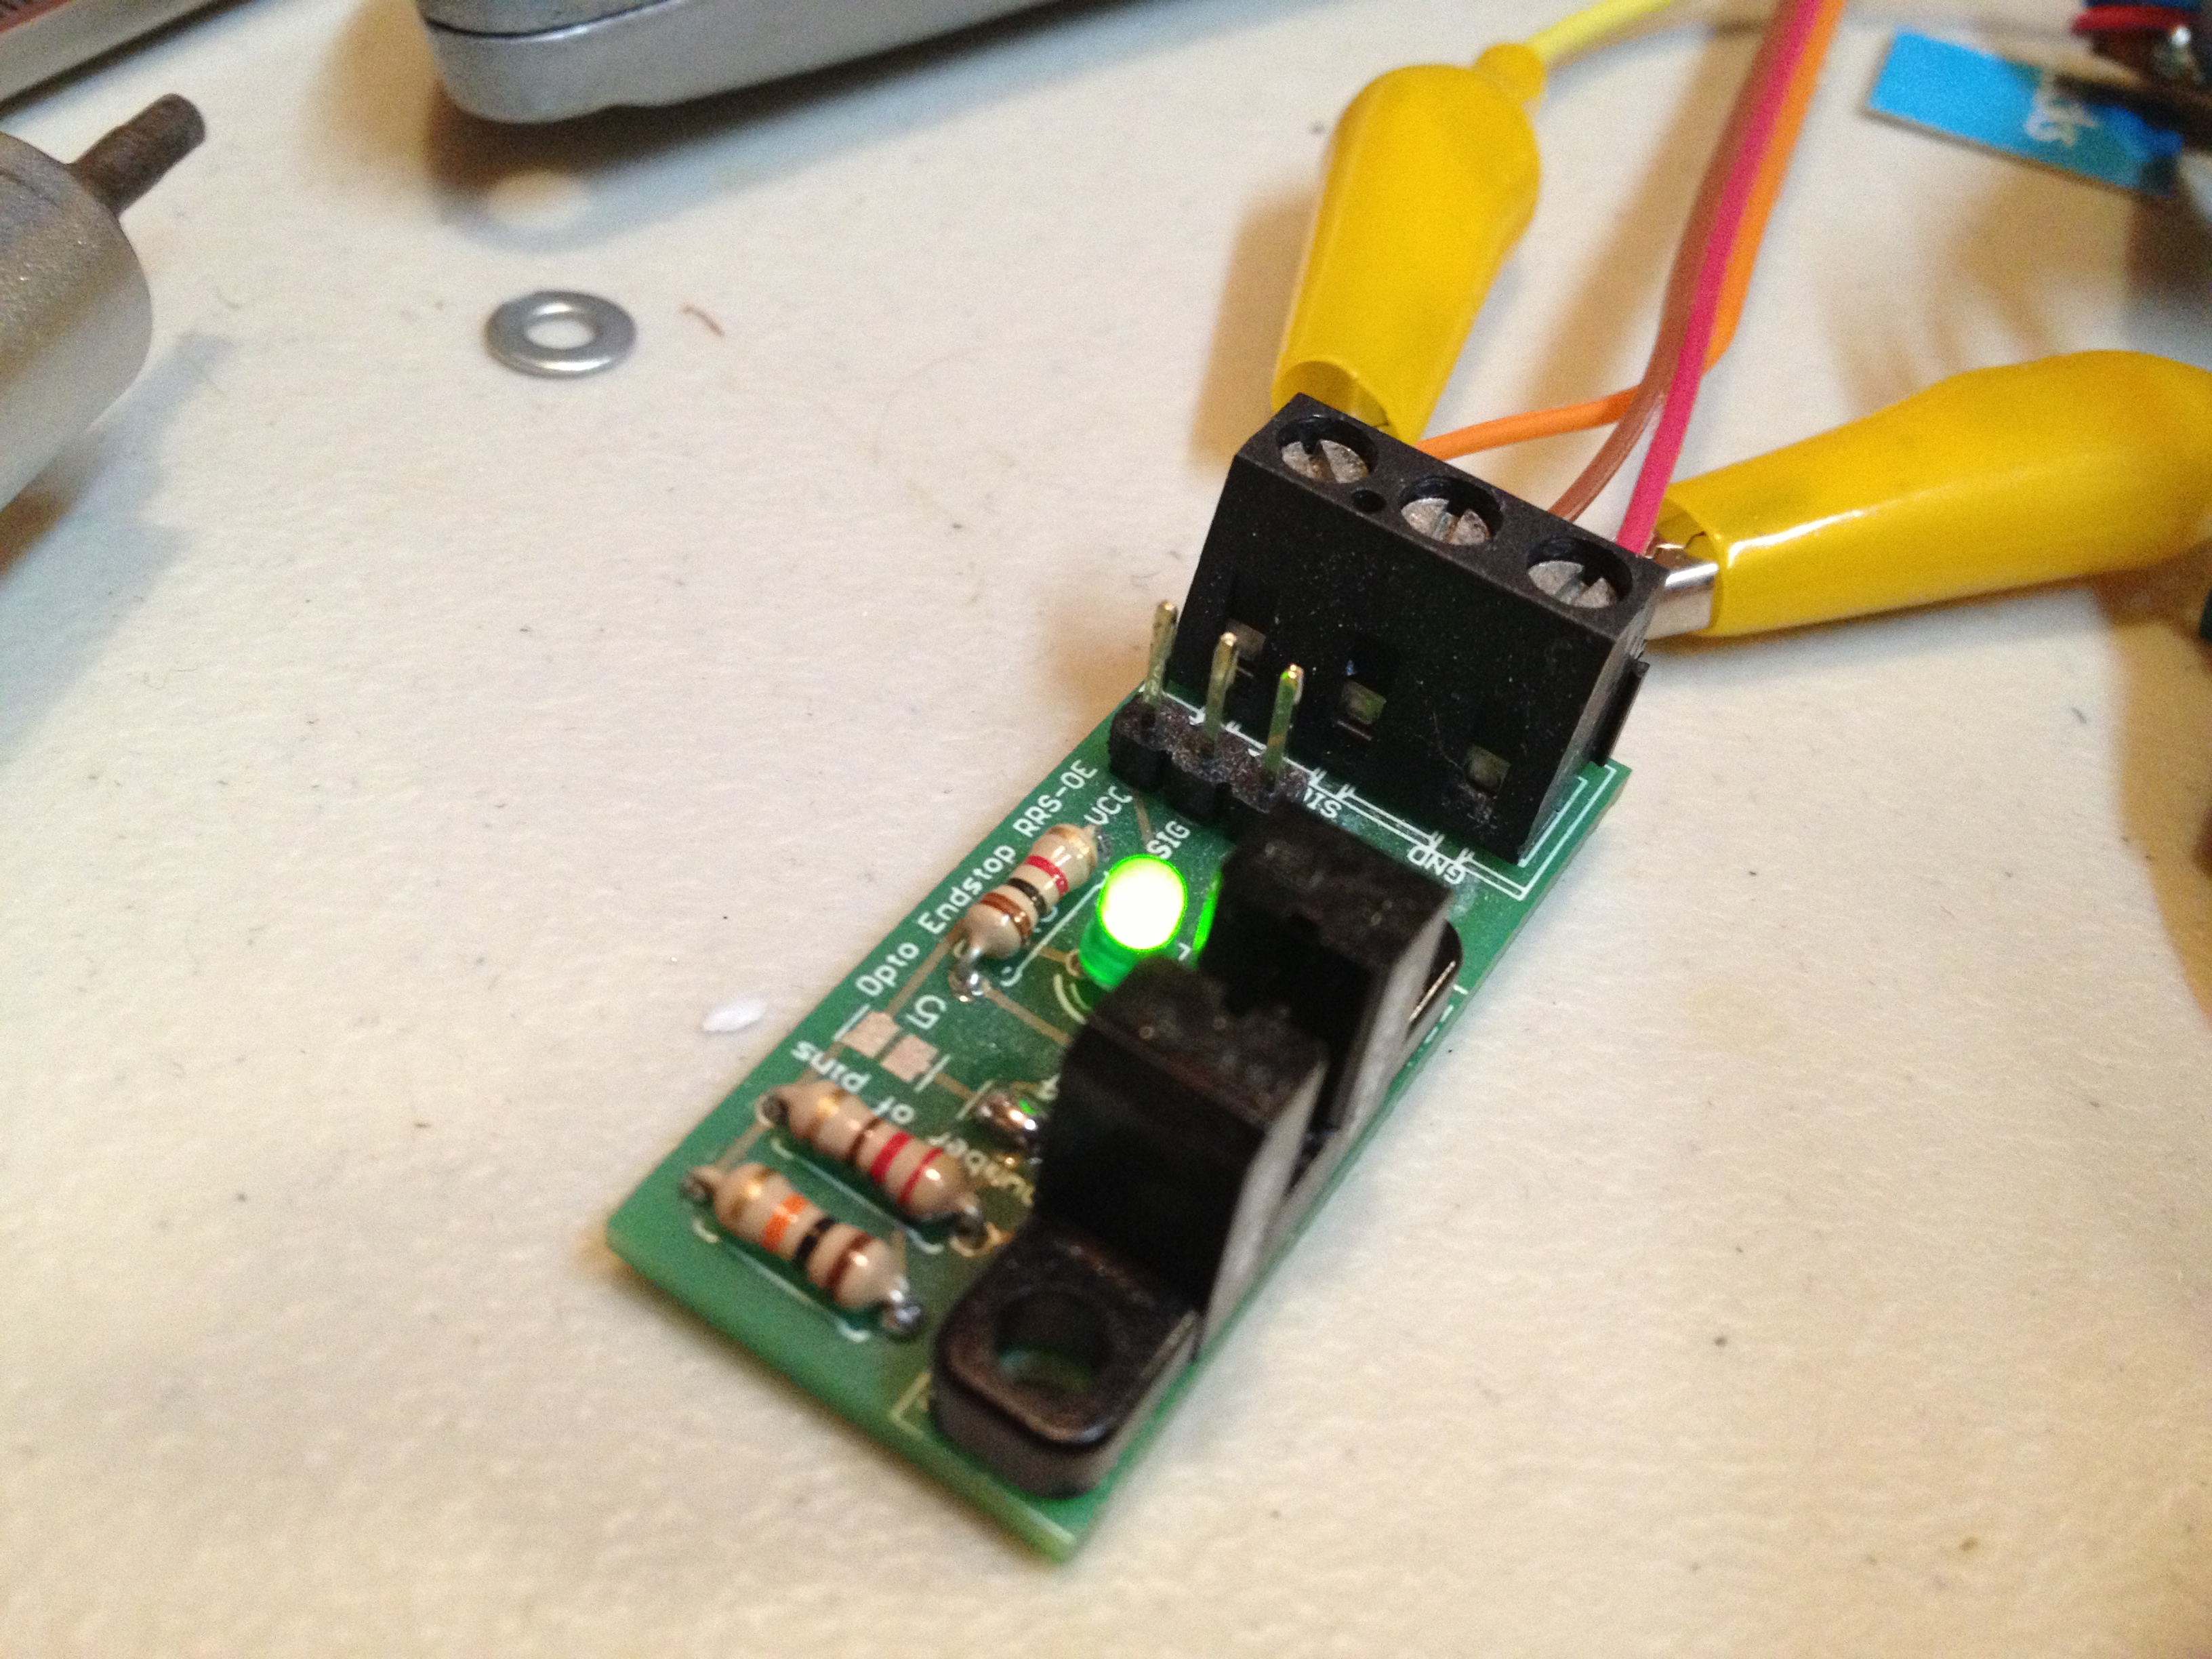
Then I spent some time trying to debug what was wrong with the opto-endstops I’d set up.
Meanwhile, I got MY RepRap up and running again, for the first time since Makerfaire.
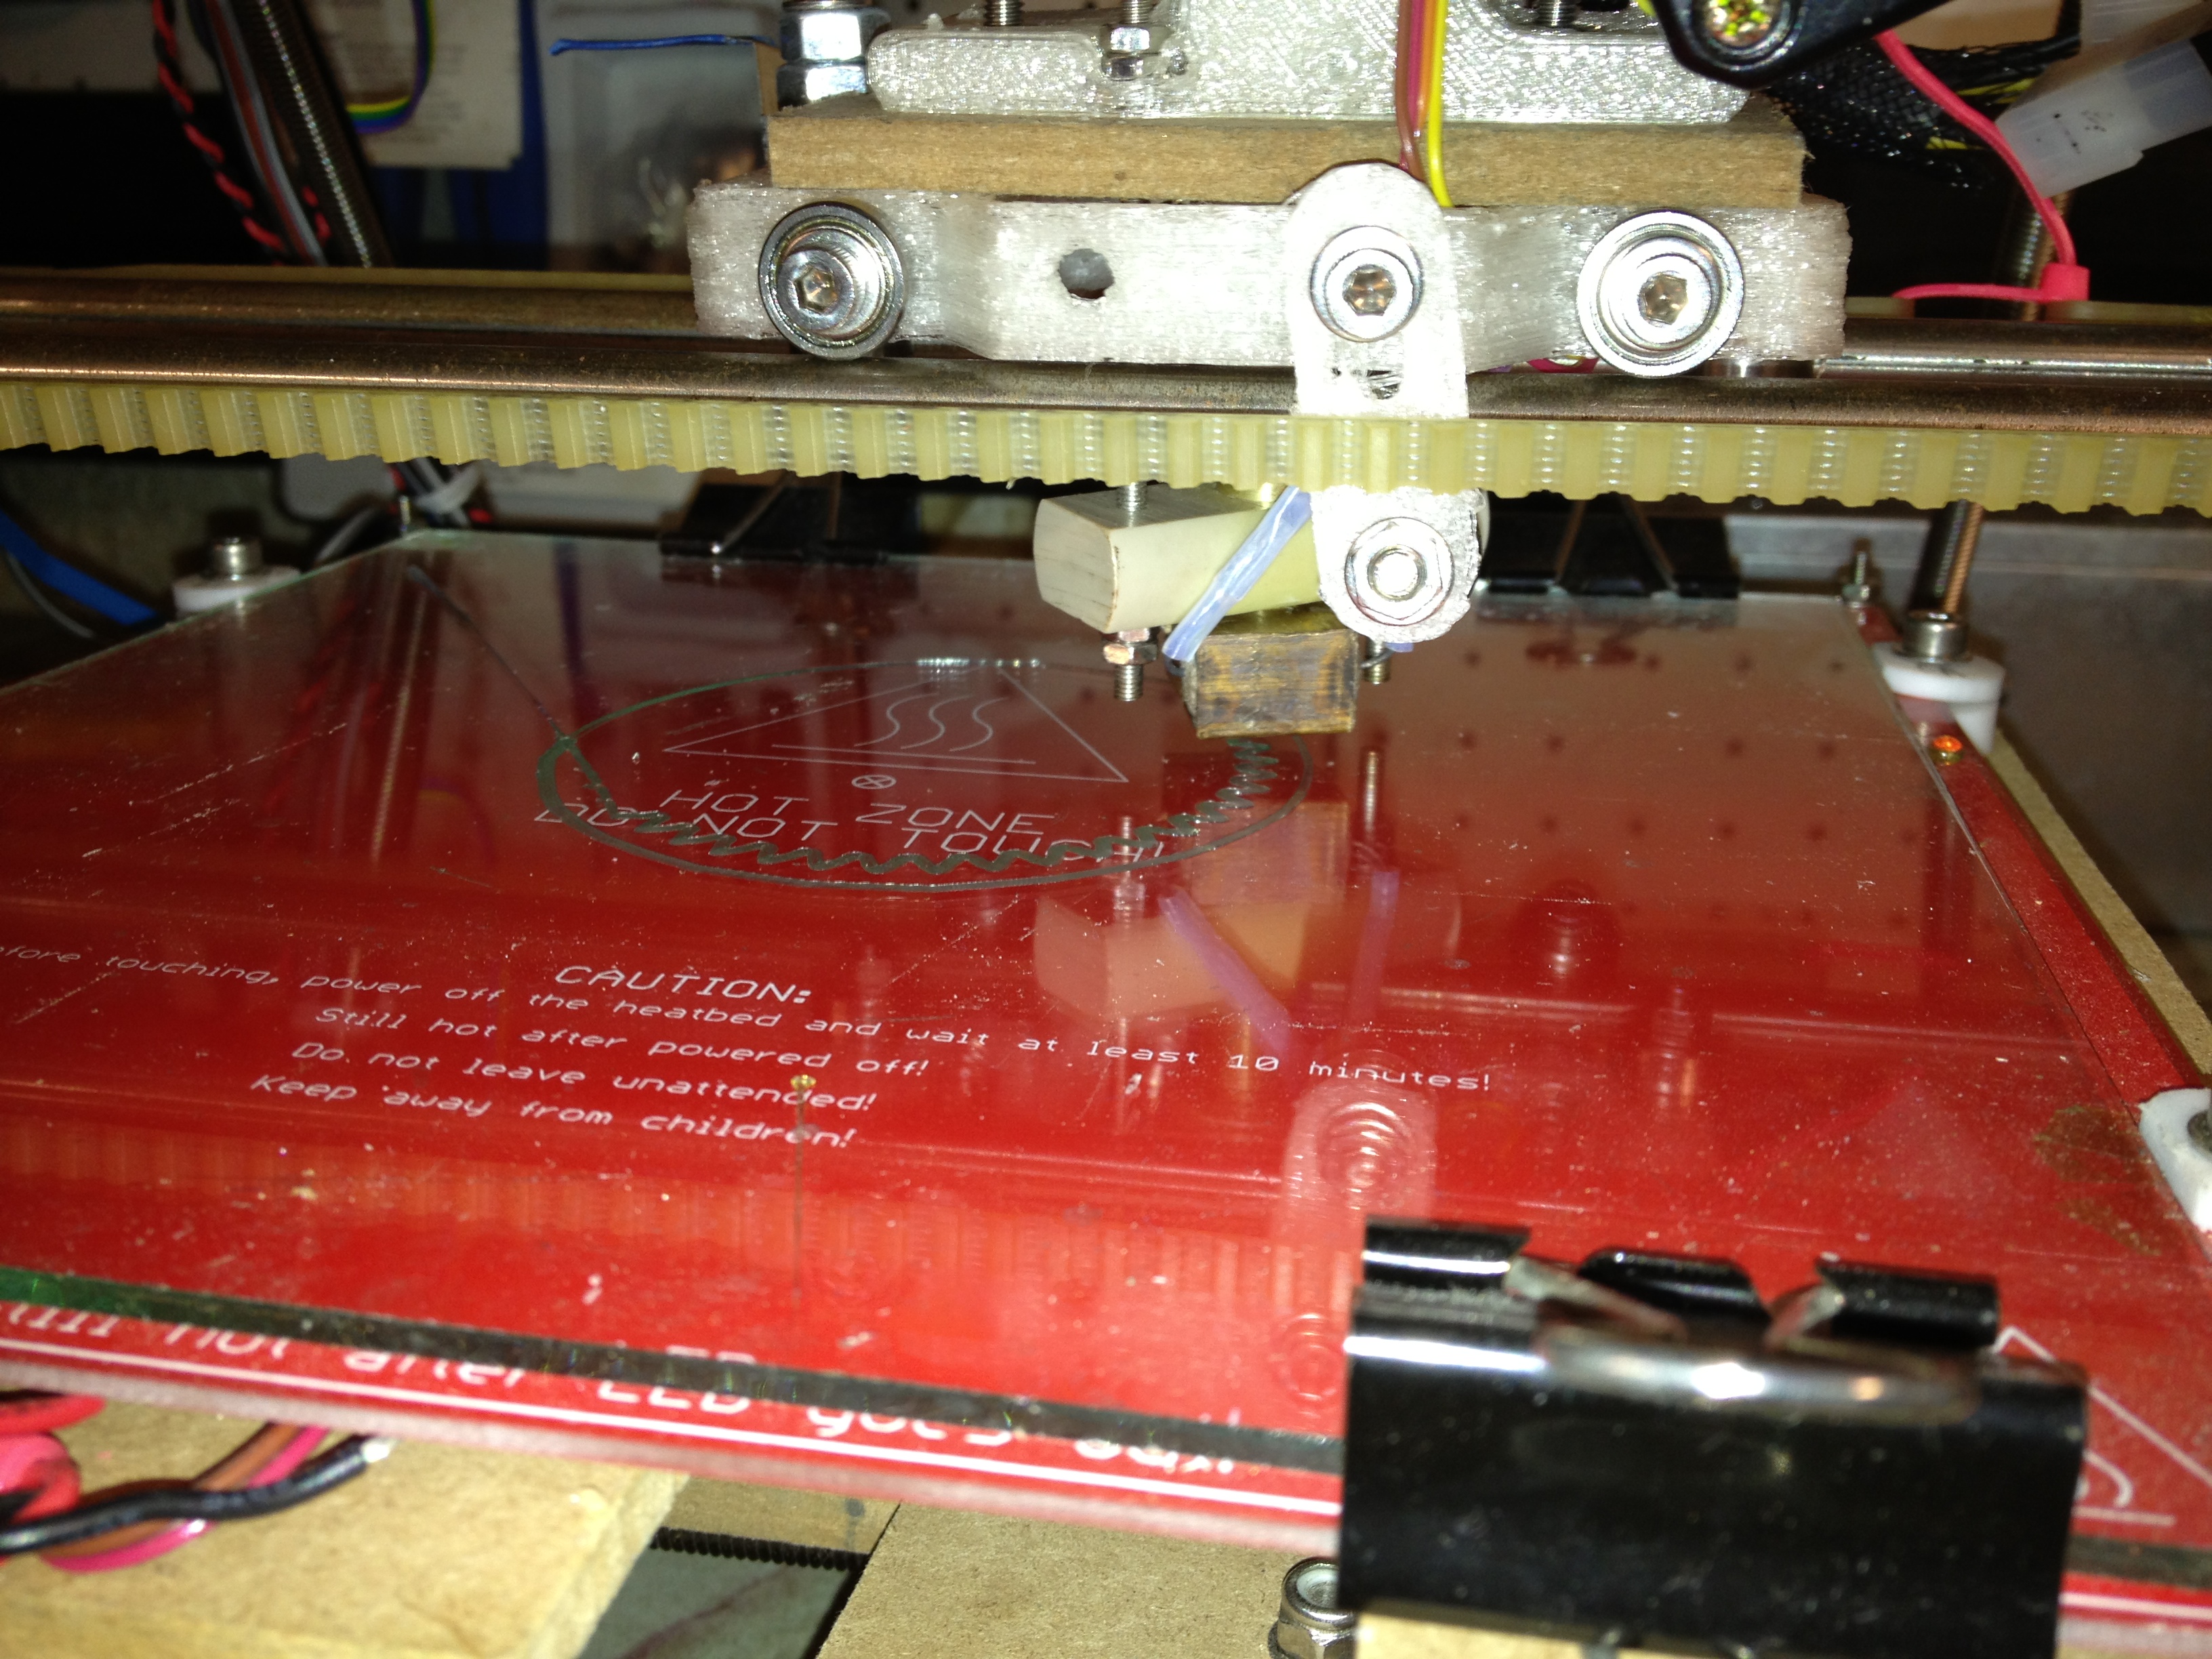
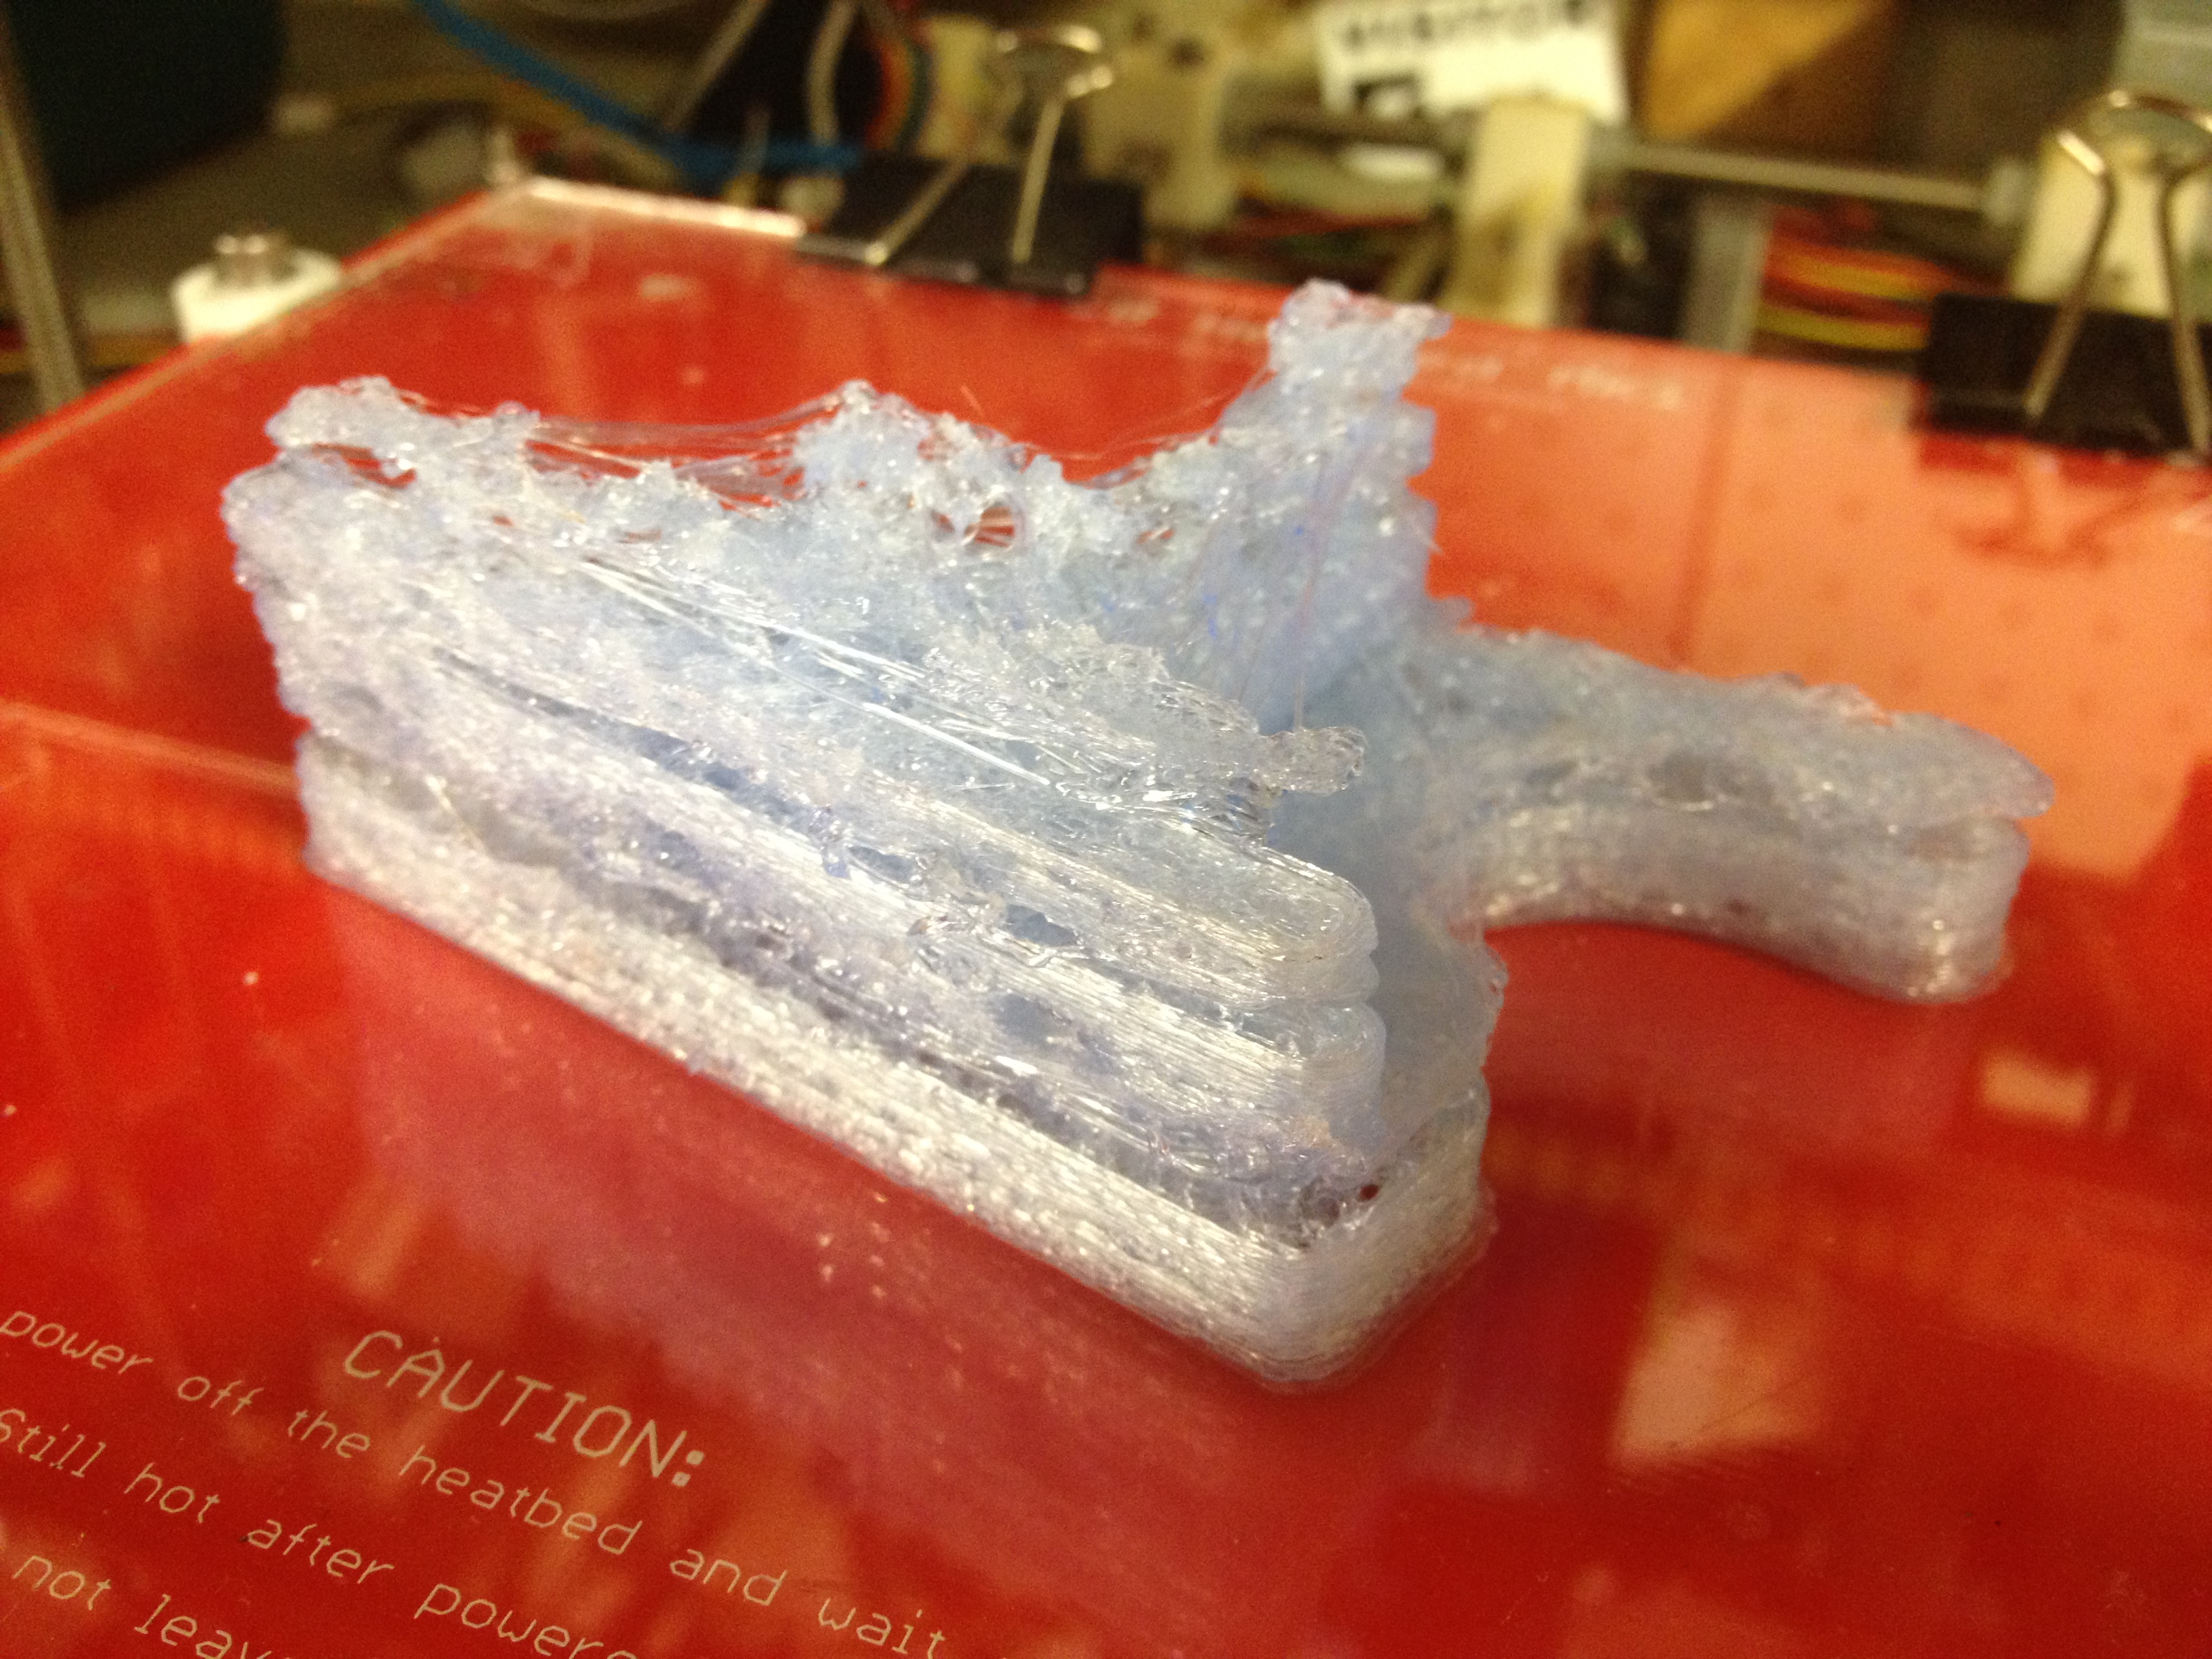
My own RepRap was still having horrible problems with the carriage and my new extruder which required reinforcement. Three days later this abomination came out of my printer:
Well, back to the Museum of Science’s RepRap. I started putting together the extruder (not the one I’d just failed to print, but the one I’d successfully printed long ago when printing the parts for the RepRap).
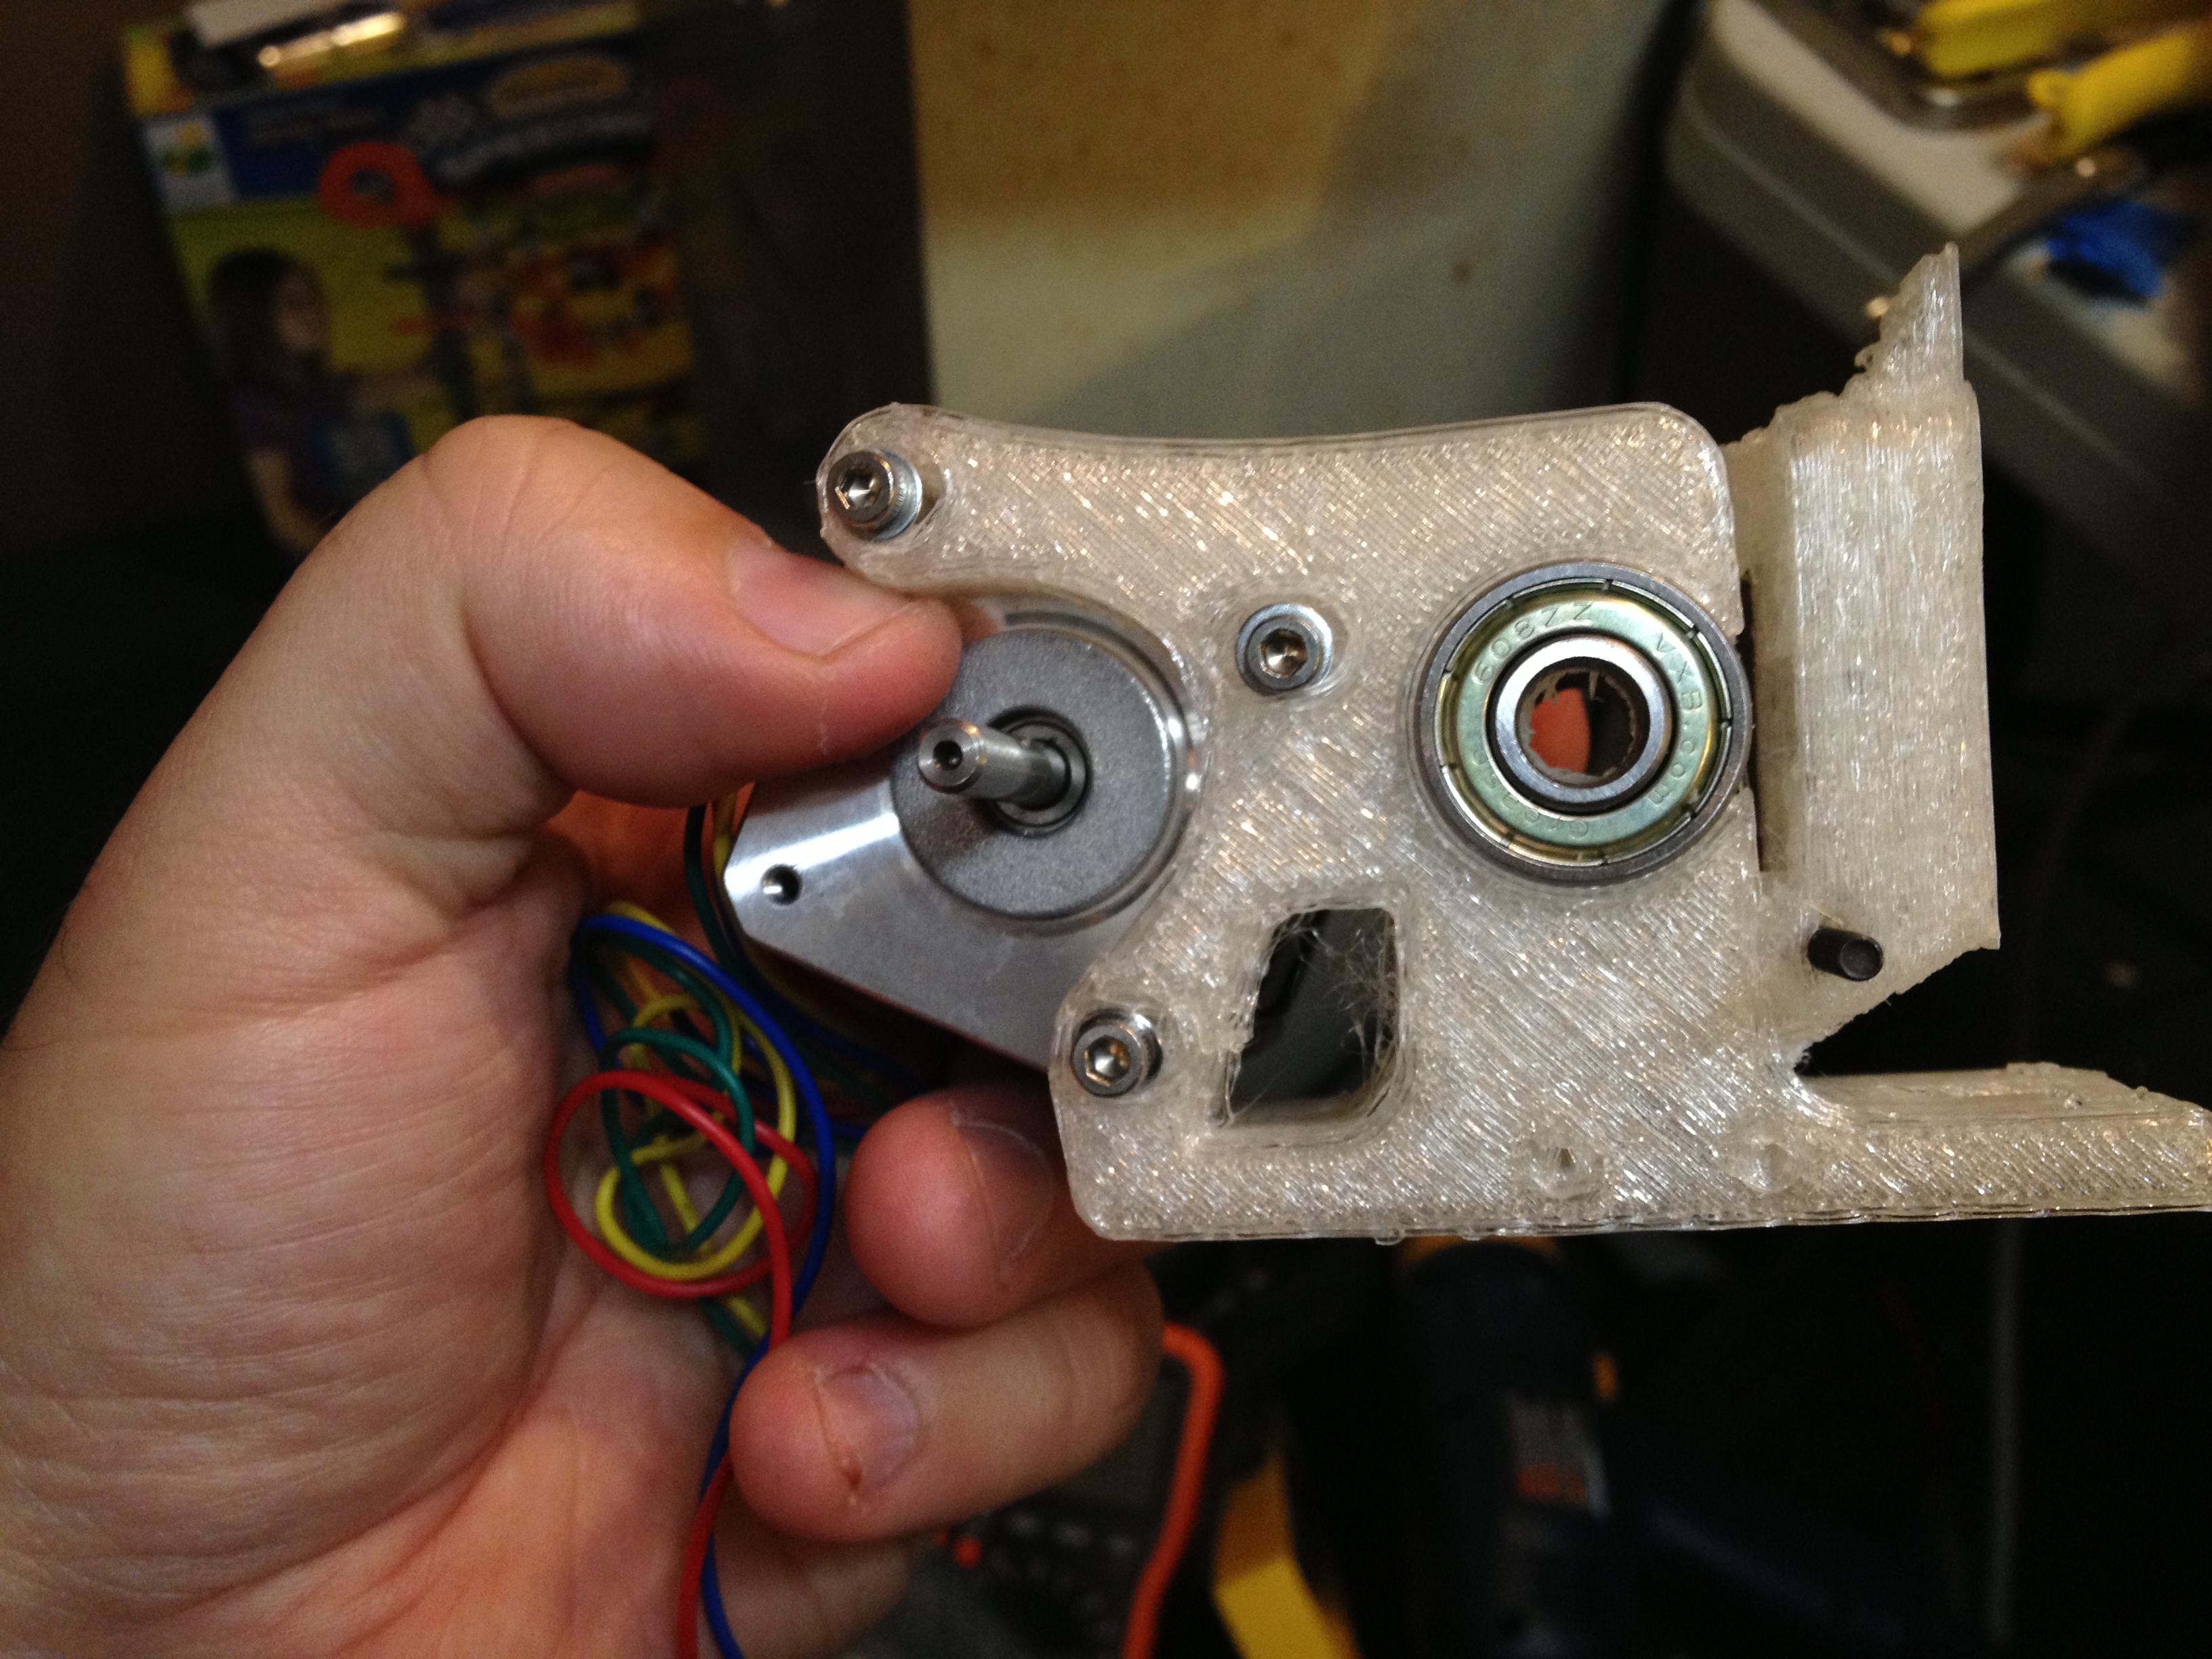
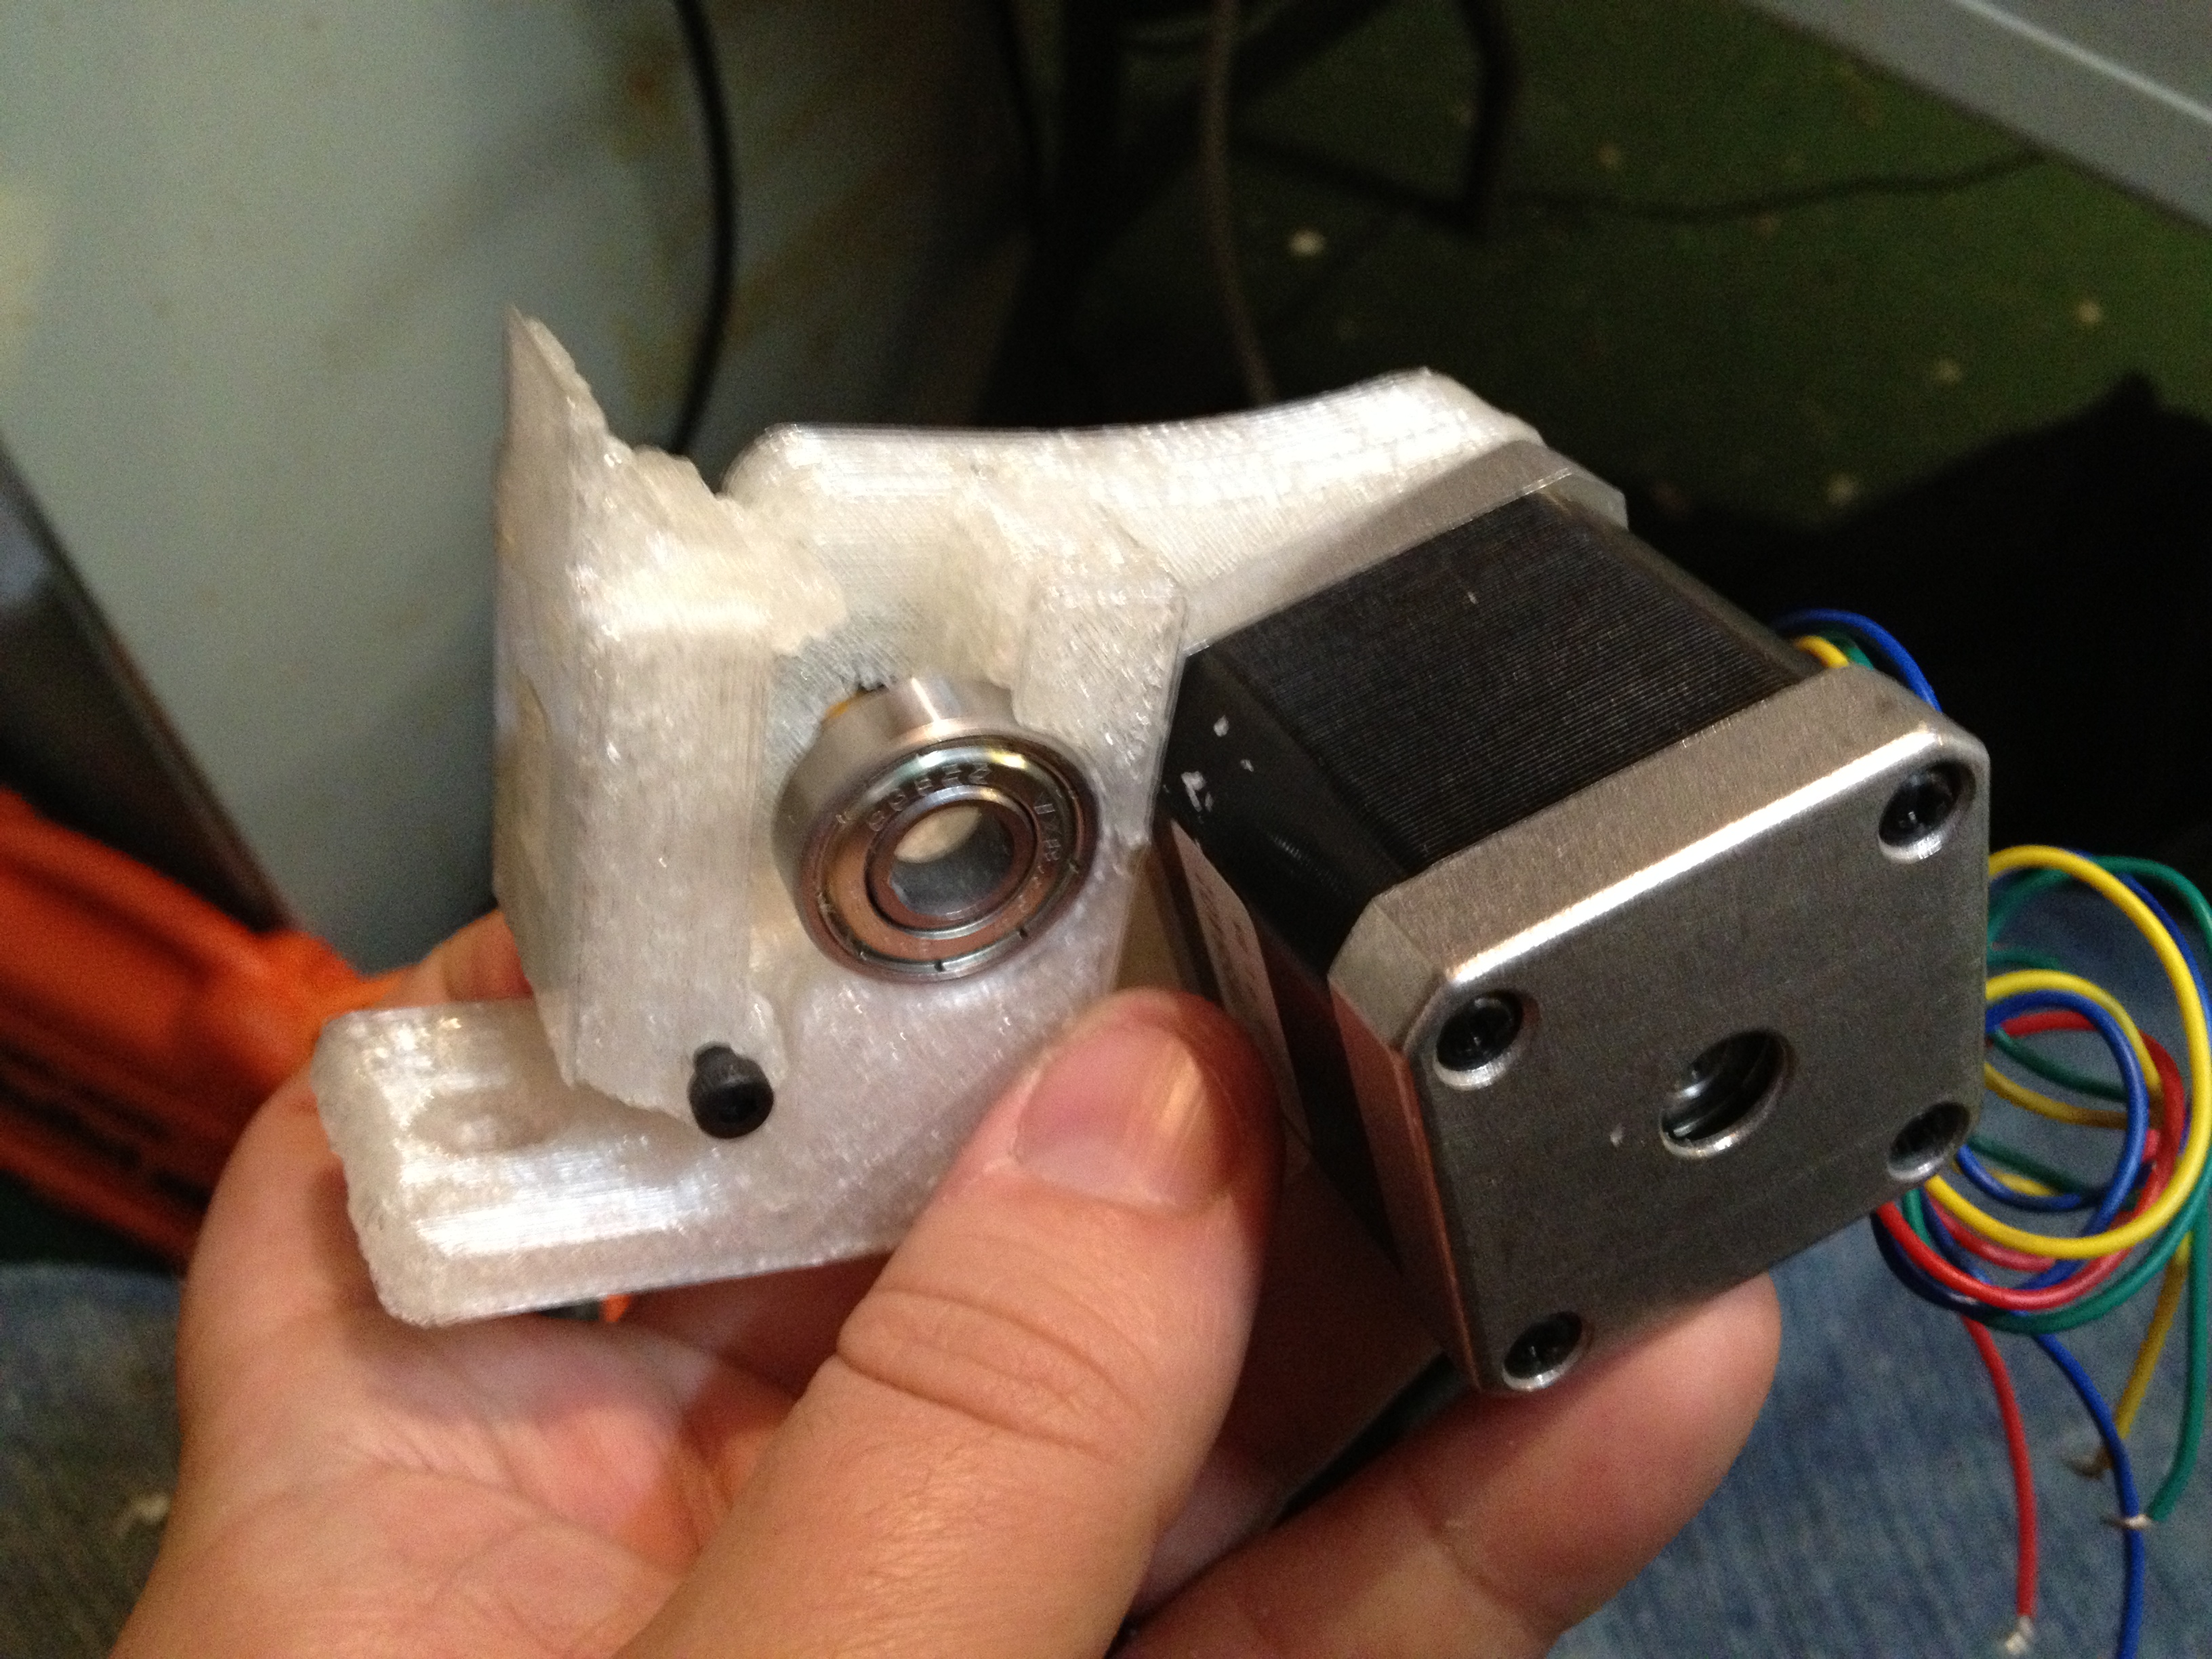
..but then I found that I’d drilled the holes a bit off and needed to abandon that particular piece..
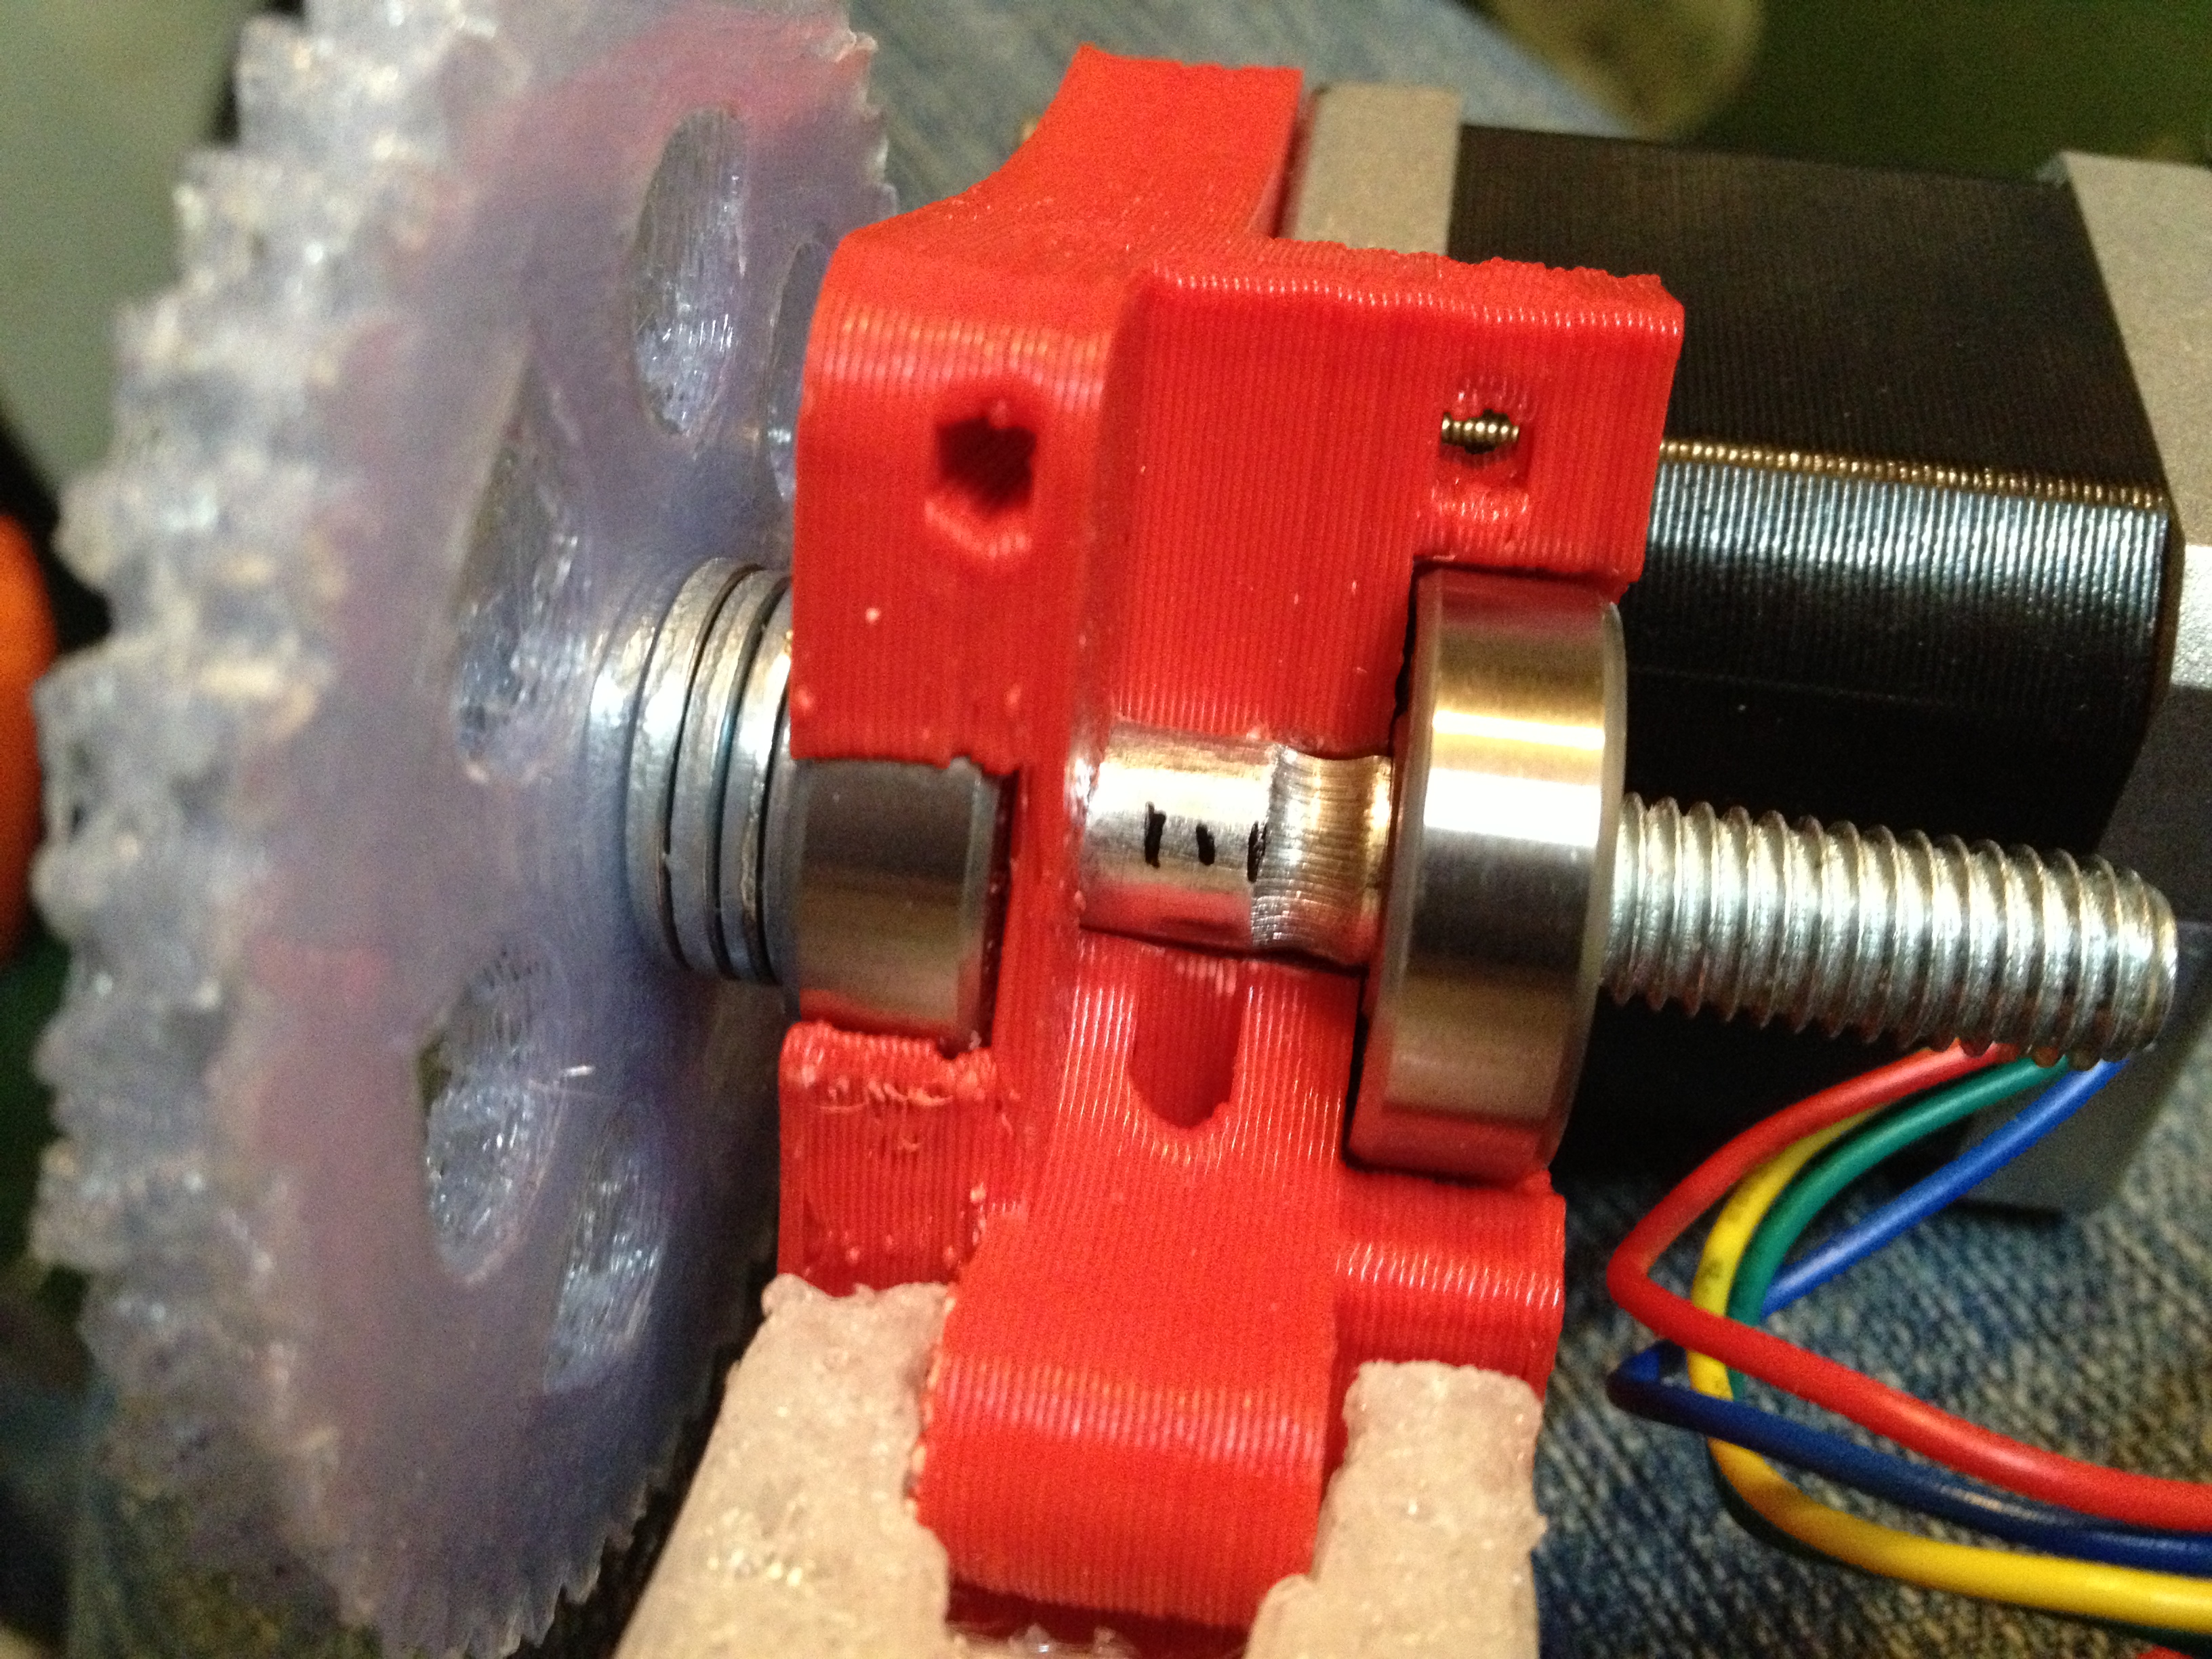
I decided that for the time being I’d instead try using a red ABS extruder that my friend Chris Connelly had previously printed for me on his RepRap (even though I’d ultimately go with a different extruder altogether). But first I needed a hobbed bolt.
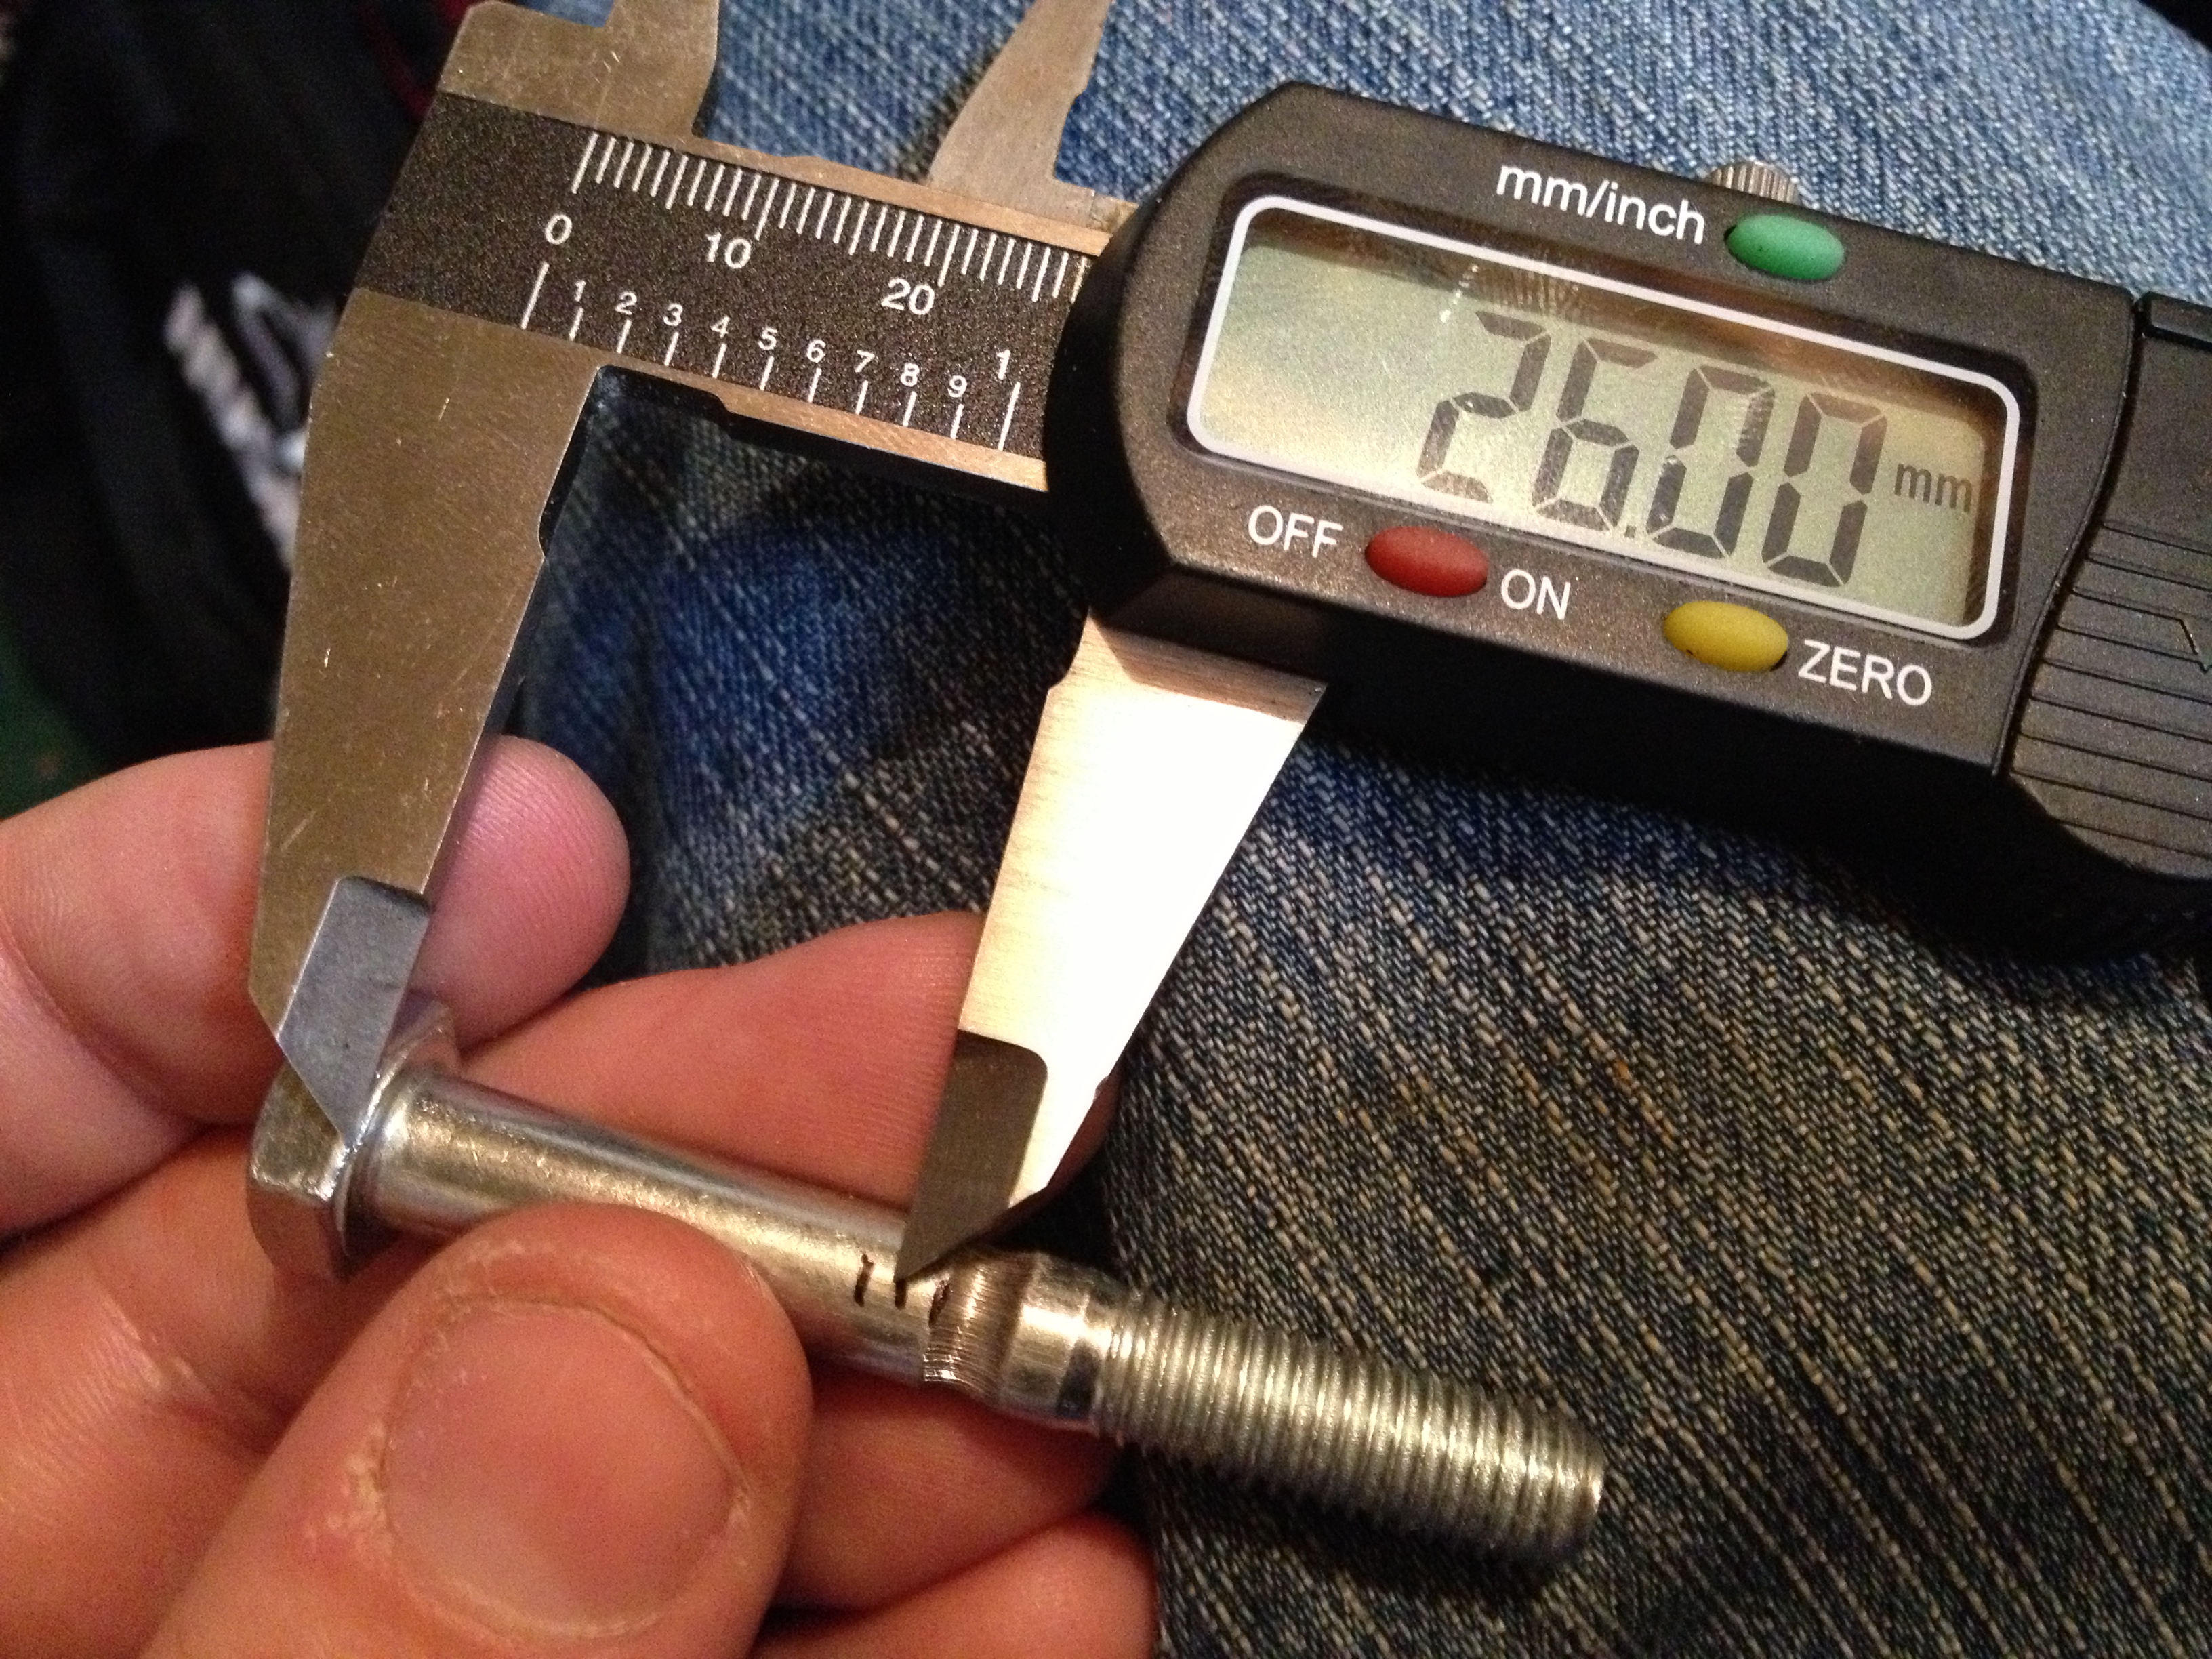
I took an existing bolt, put it through the red extruder, and marked off where the exact center was with a black fine-tipped Sharpie (if I was using 4 washers on the gear side of the extruder).
That turned out to be exactly 26mm from the head of the bolt.
I marked 26mm on a new bolt, lined it up in my Bolt Hobbing Tool for my lathe, and proceeded to move the bolt 56 notches on the dial (which should be 1.4mm) into a 5/16″ spinning tap. I showed these next two videos a few posts back, but here they are again (since this is when they were actually recorded).
Here is video showing me hobbing the bolt:
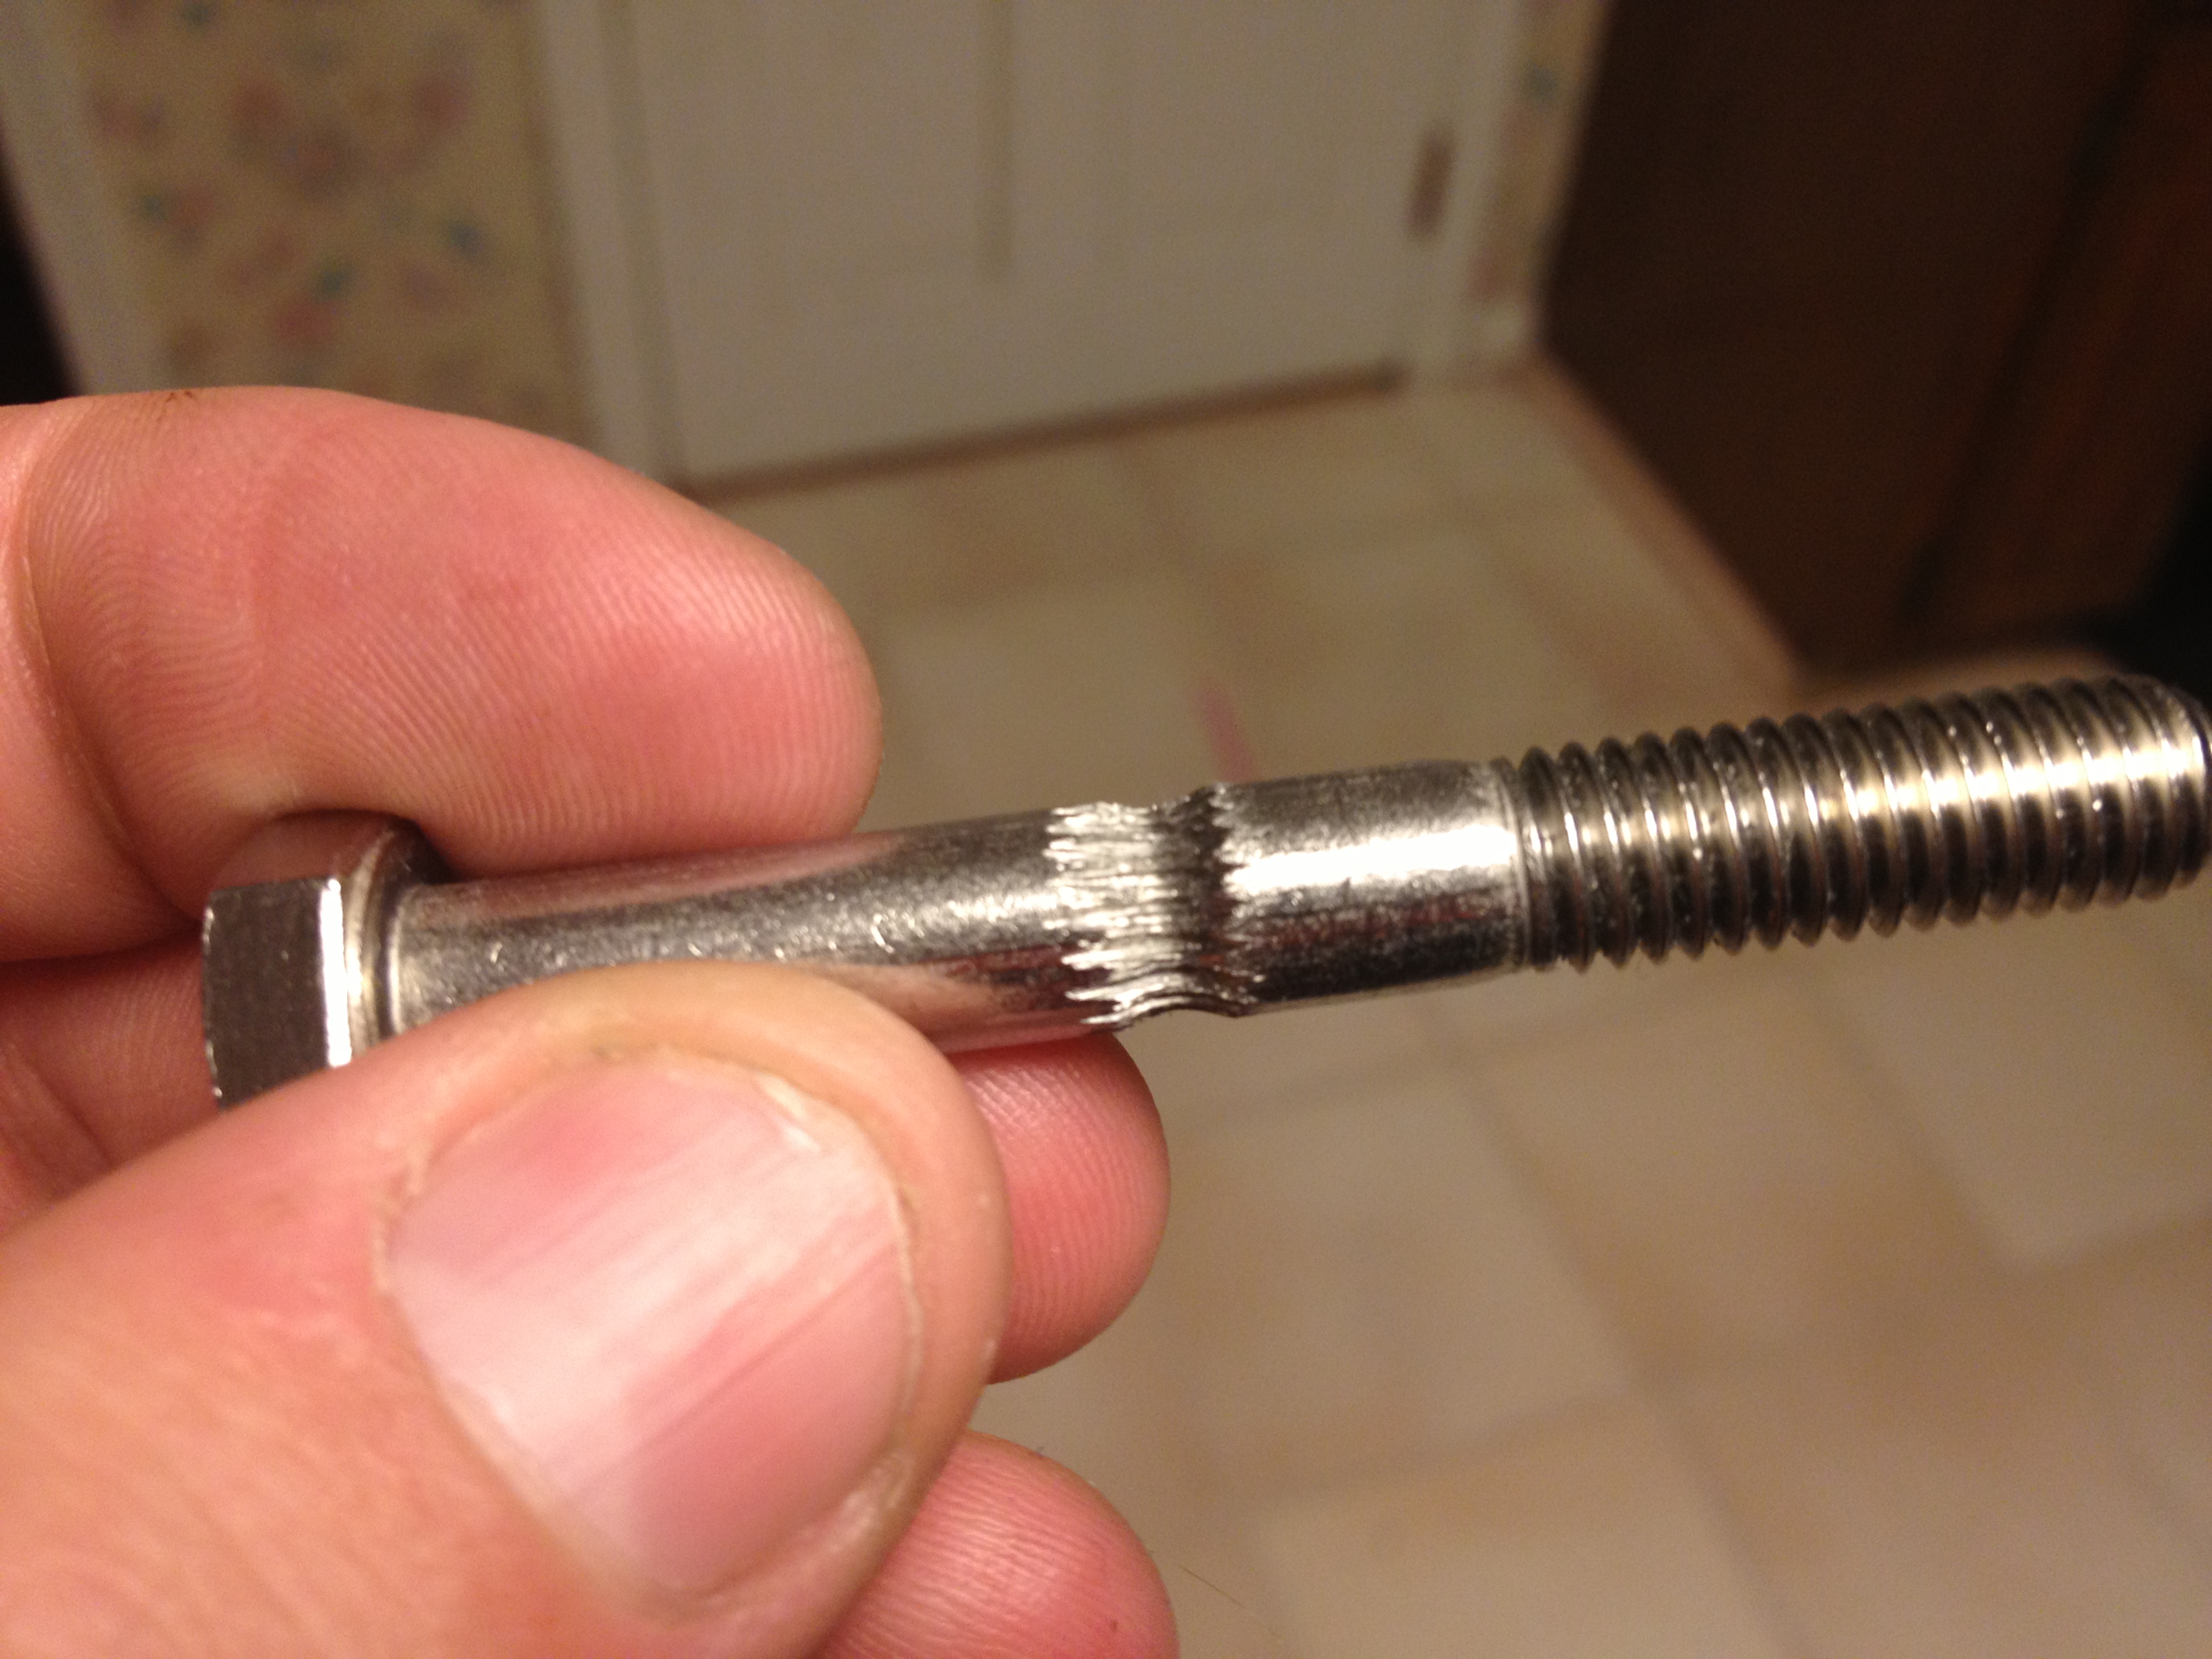
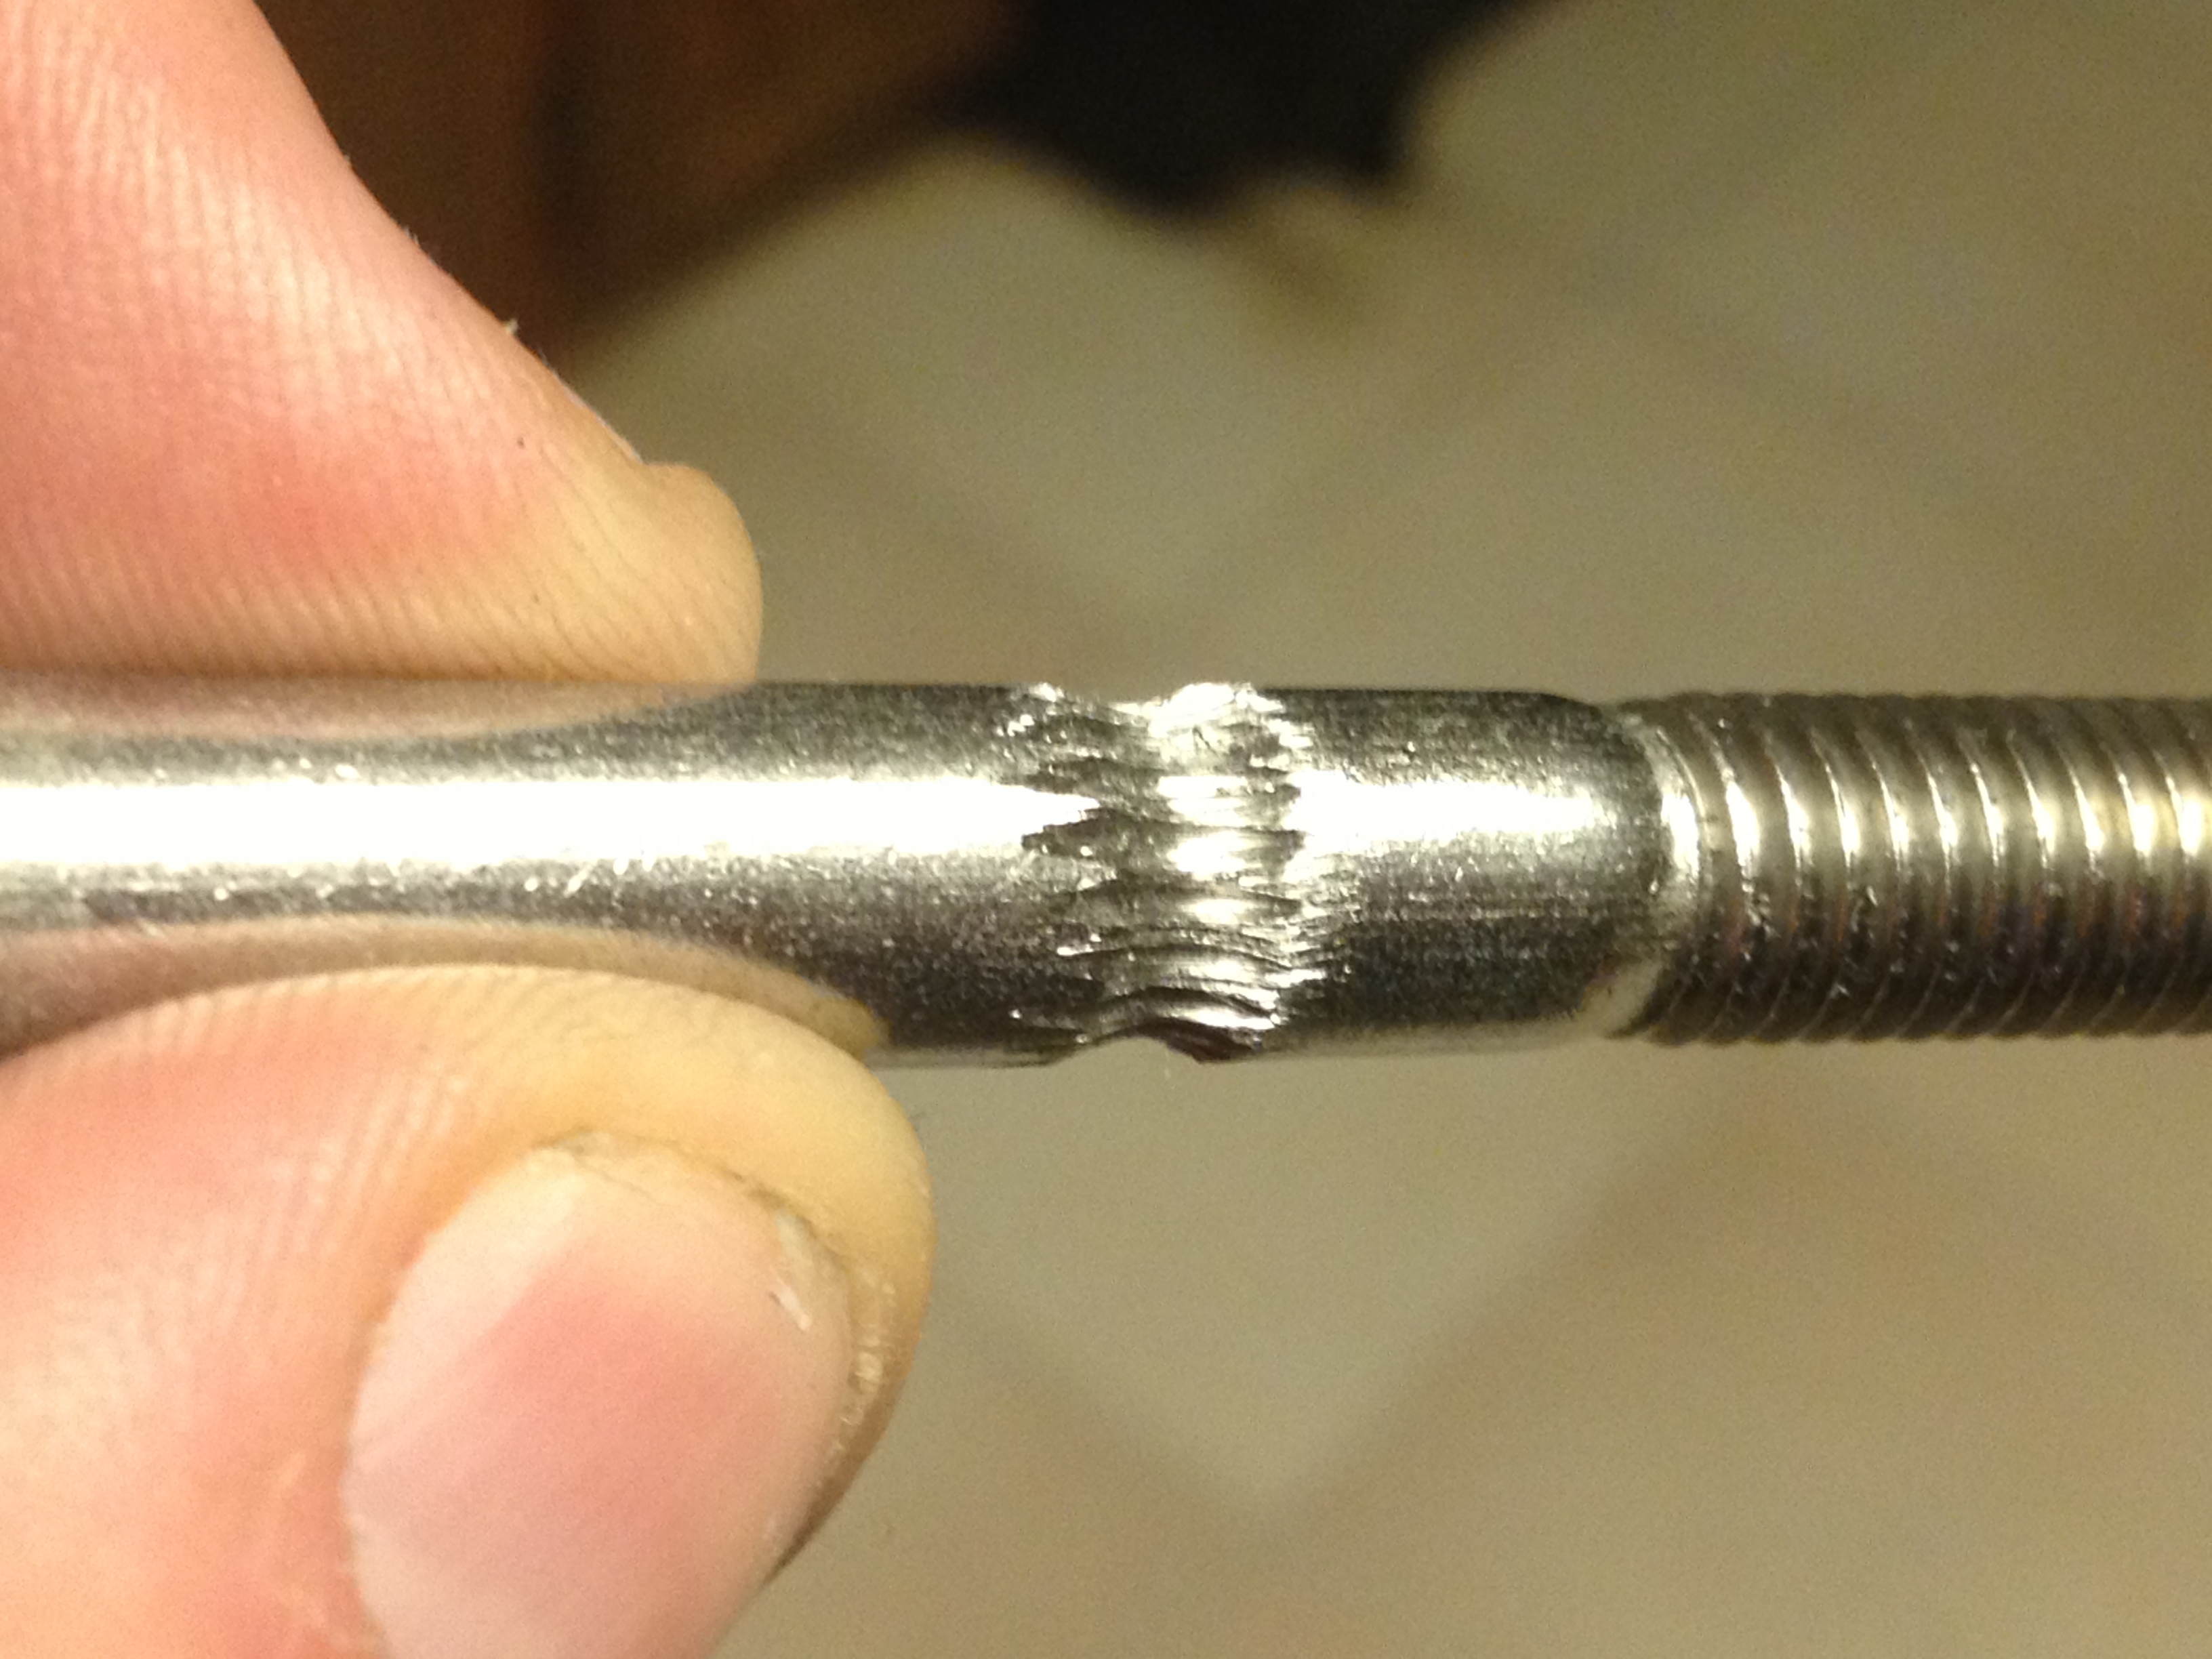
…and here is video of the resulting hobbed bolt, for the Museum of Science’s RepRap:
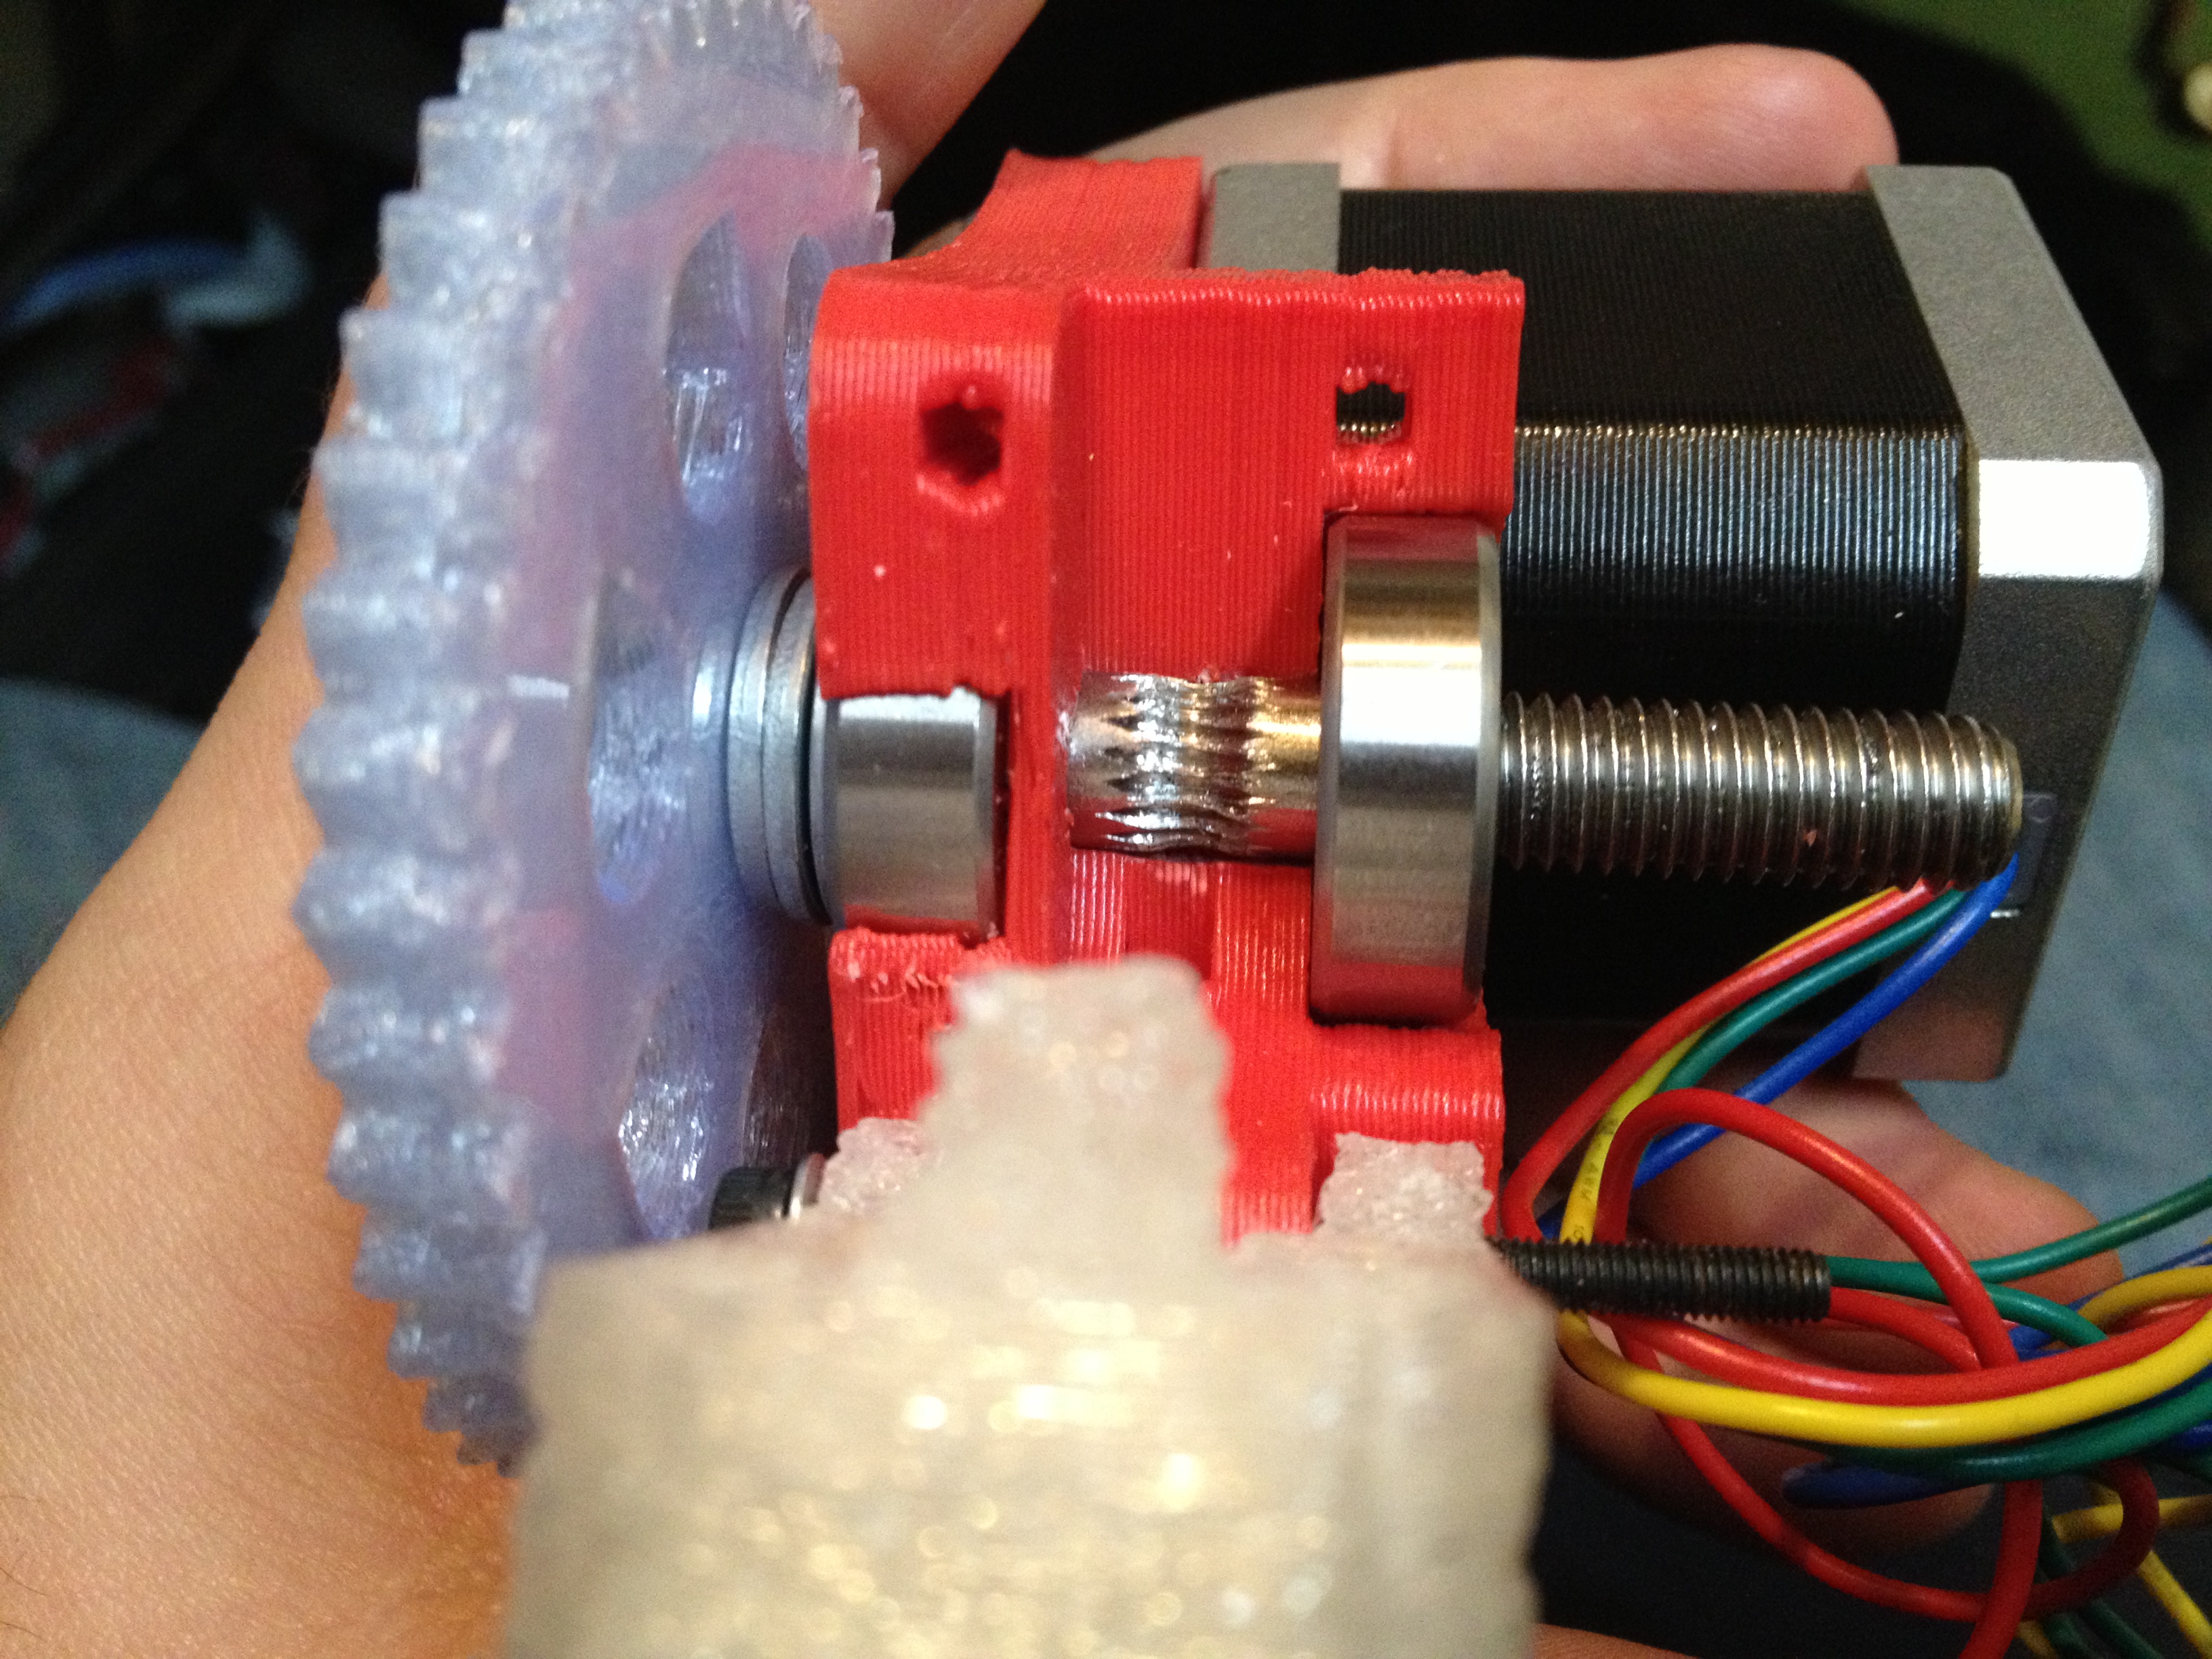
Here it was lined up in the extruder:
Here is just the bolt itself:
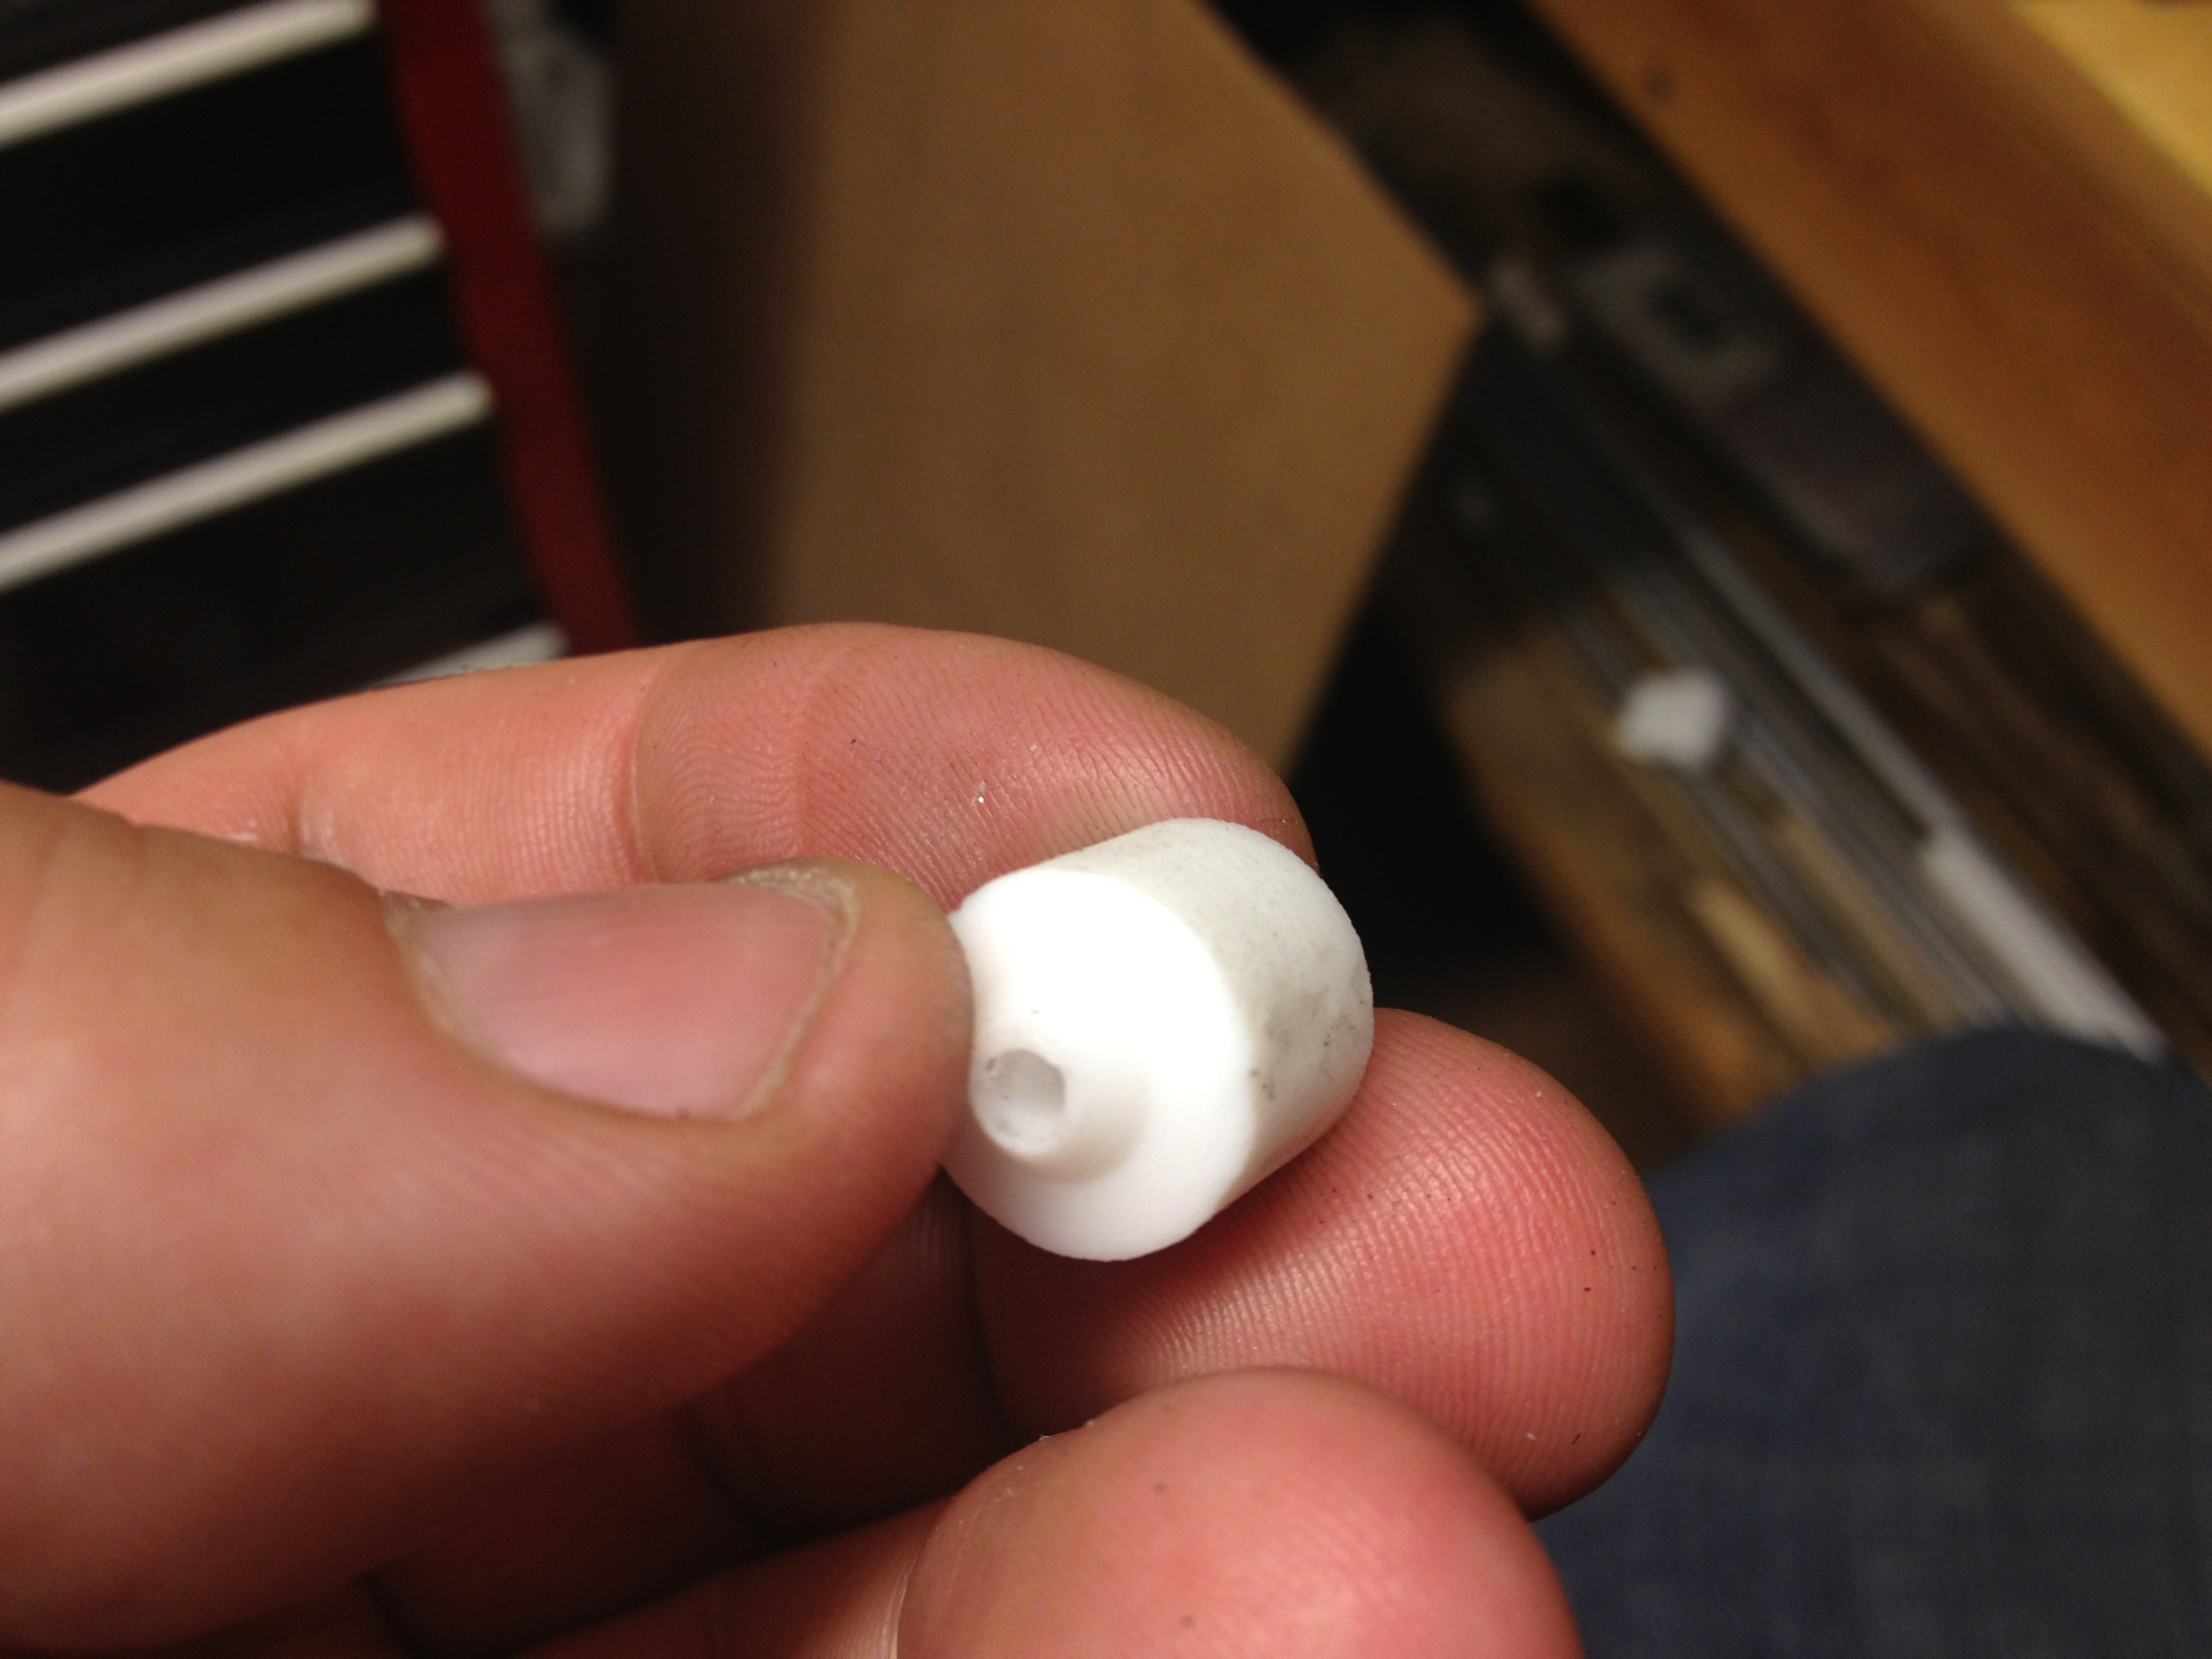
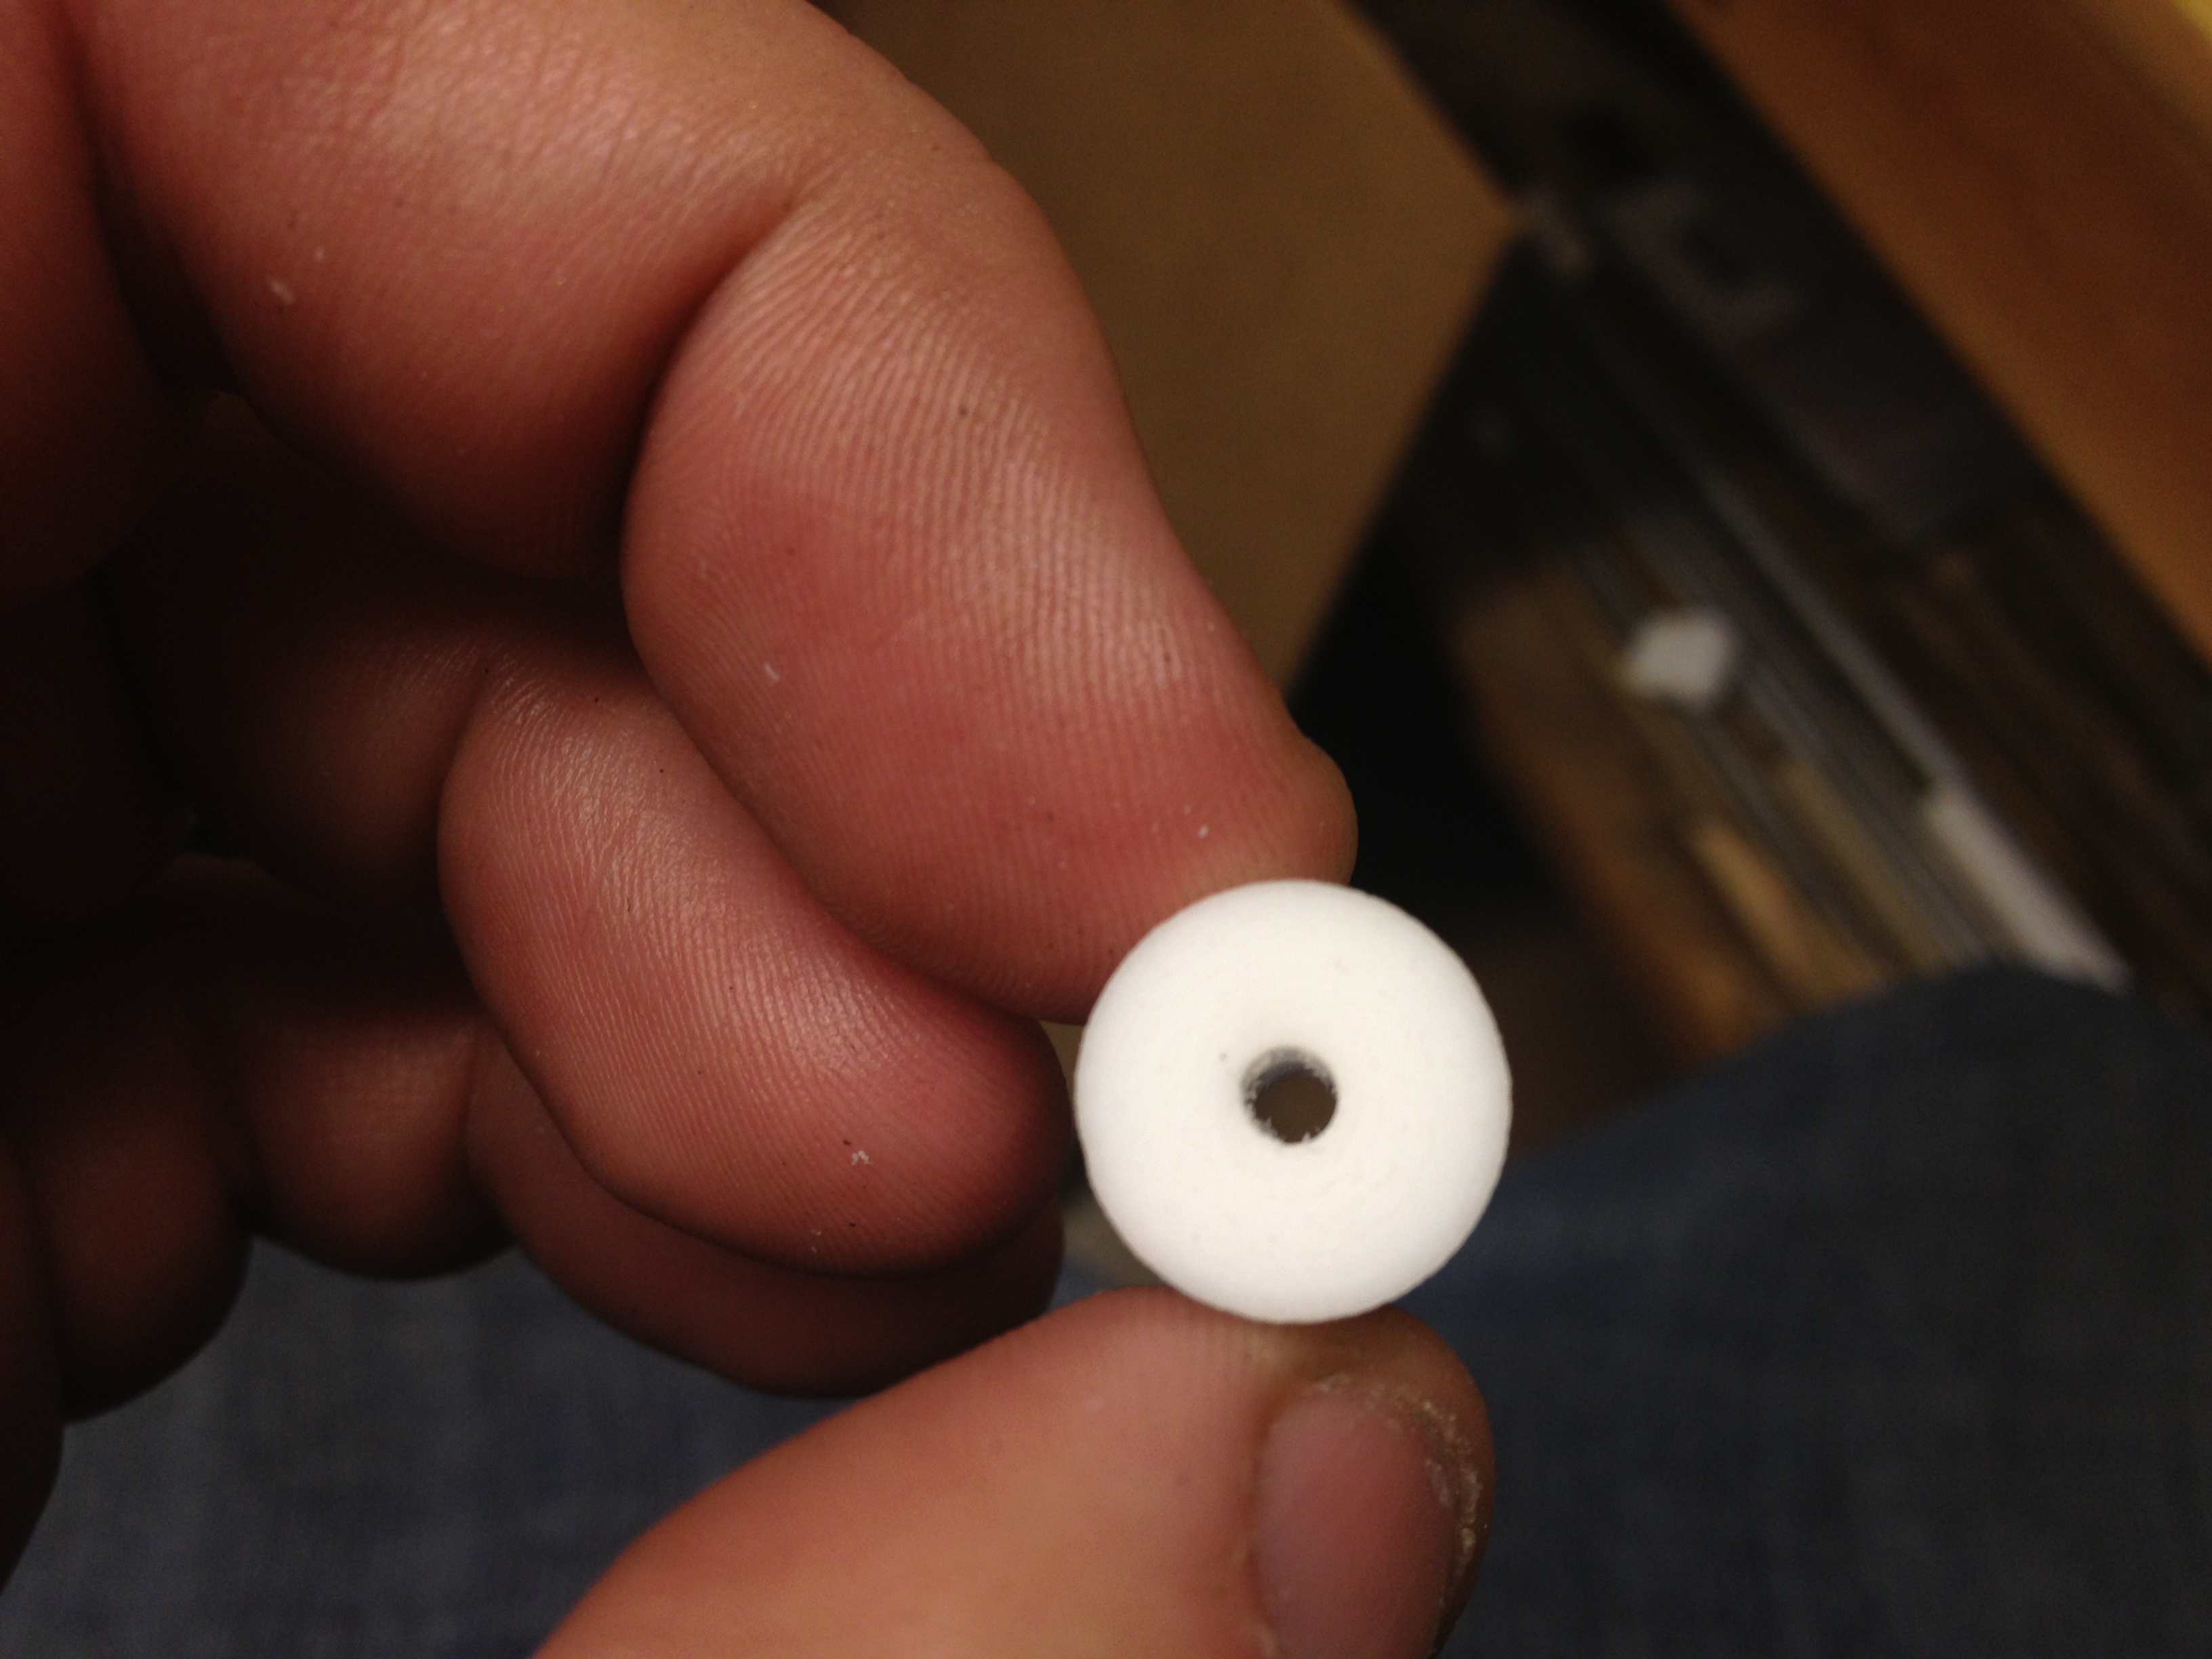
The red extruder had a hole on the bottom for a PTFE insulator, but since I was using a Budaschnozzle, there would be nothing to fill that hole (and I worried about the filament sliding to the side before entering the hole). I took an old spent PTFE insulator, put it in the lathe, and cut this small insert:
(Sorry that video cut off at the end)
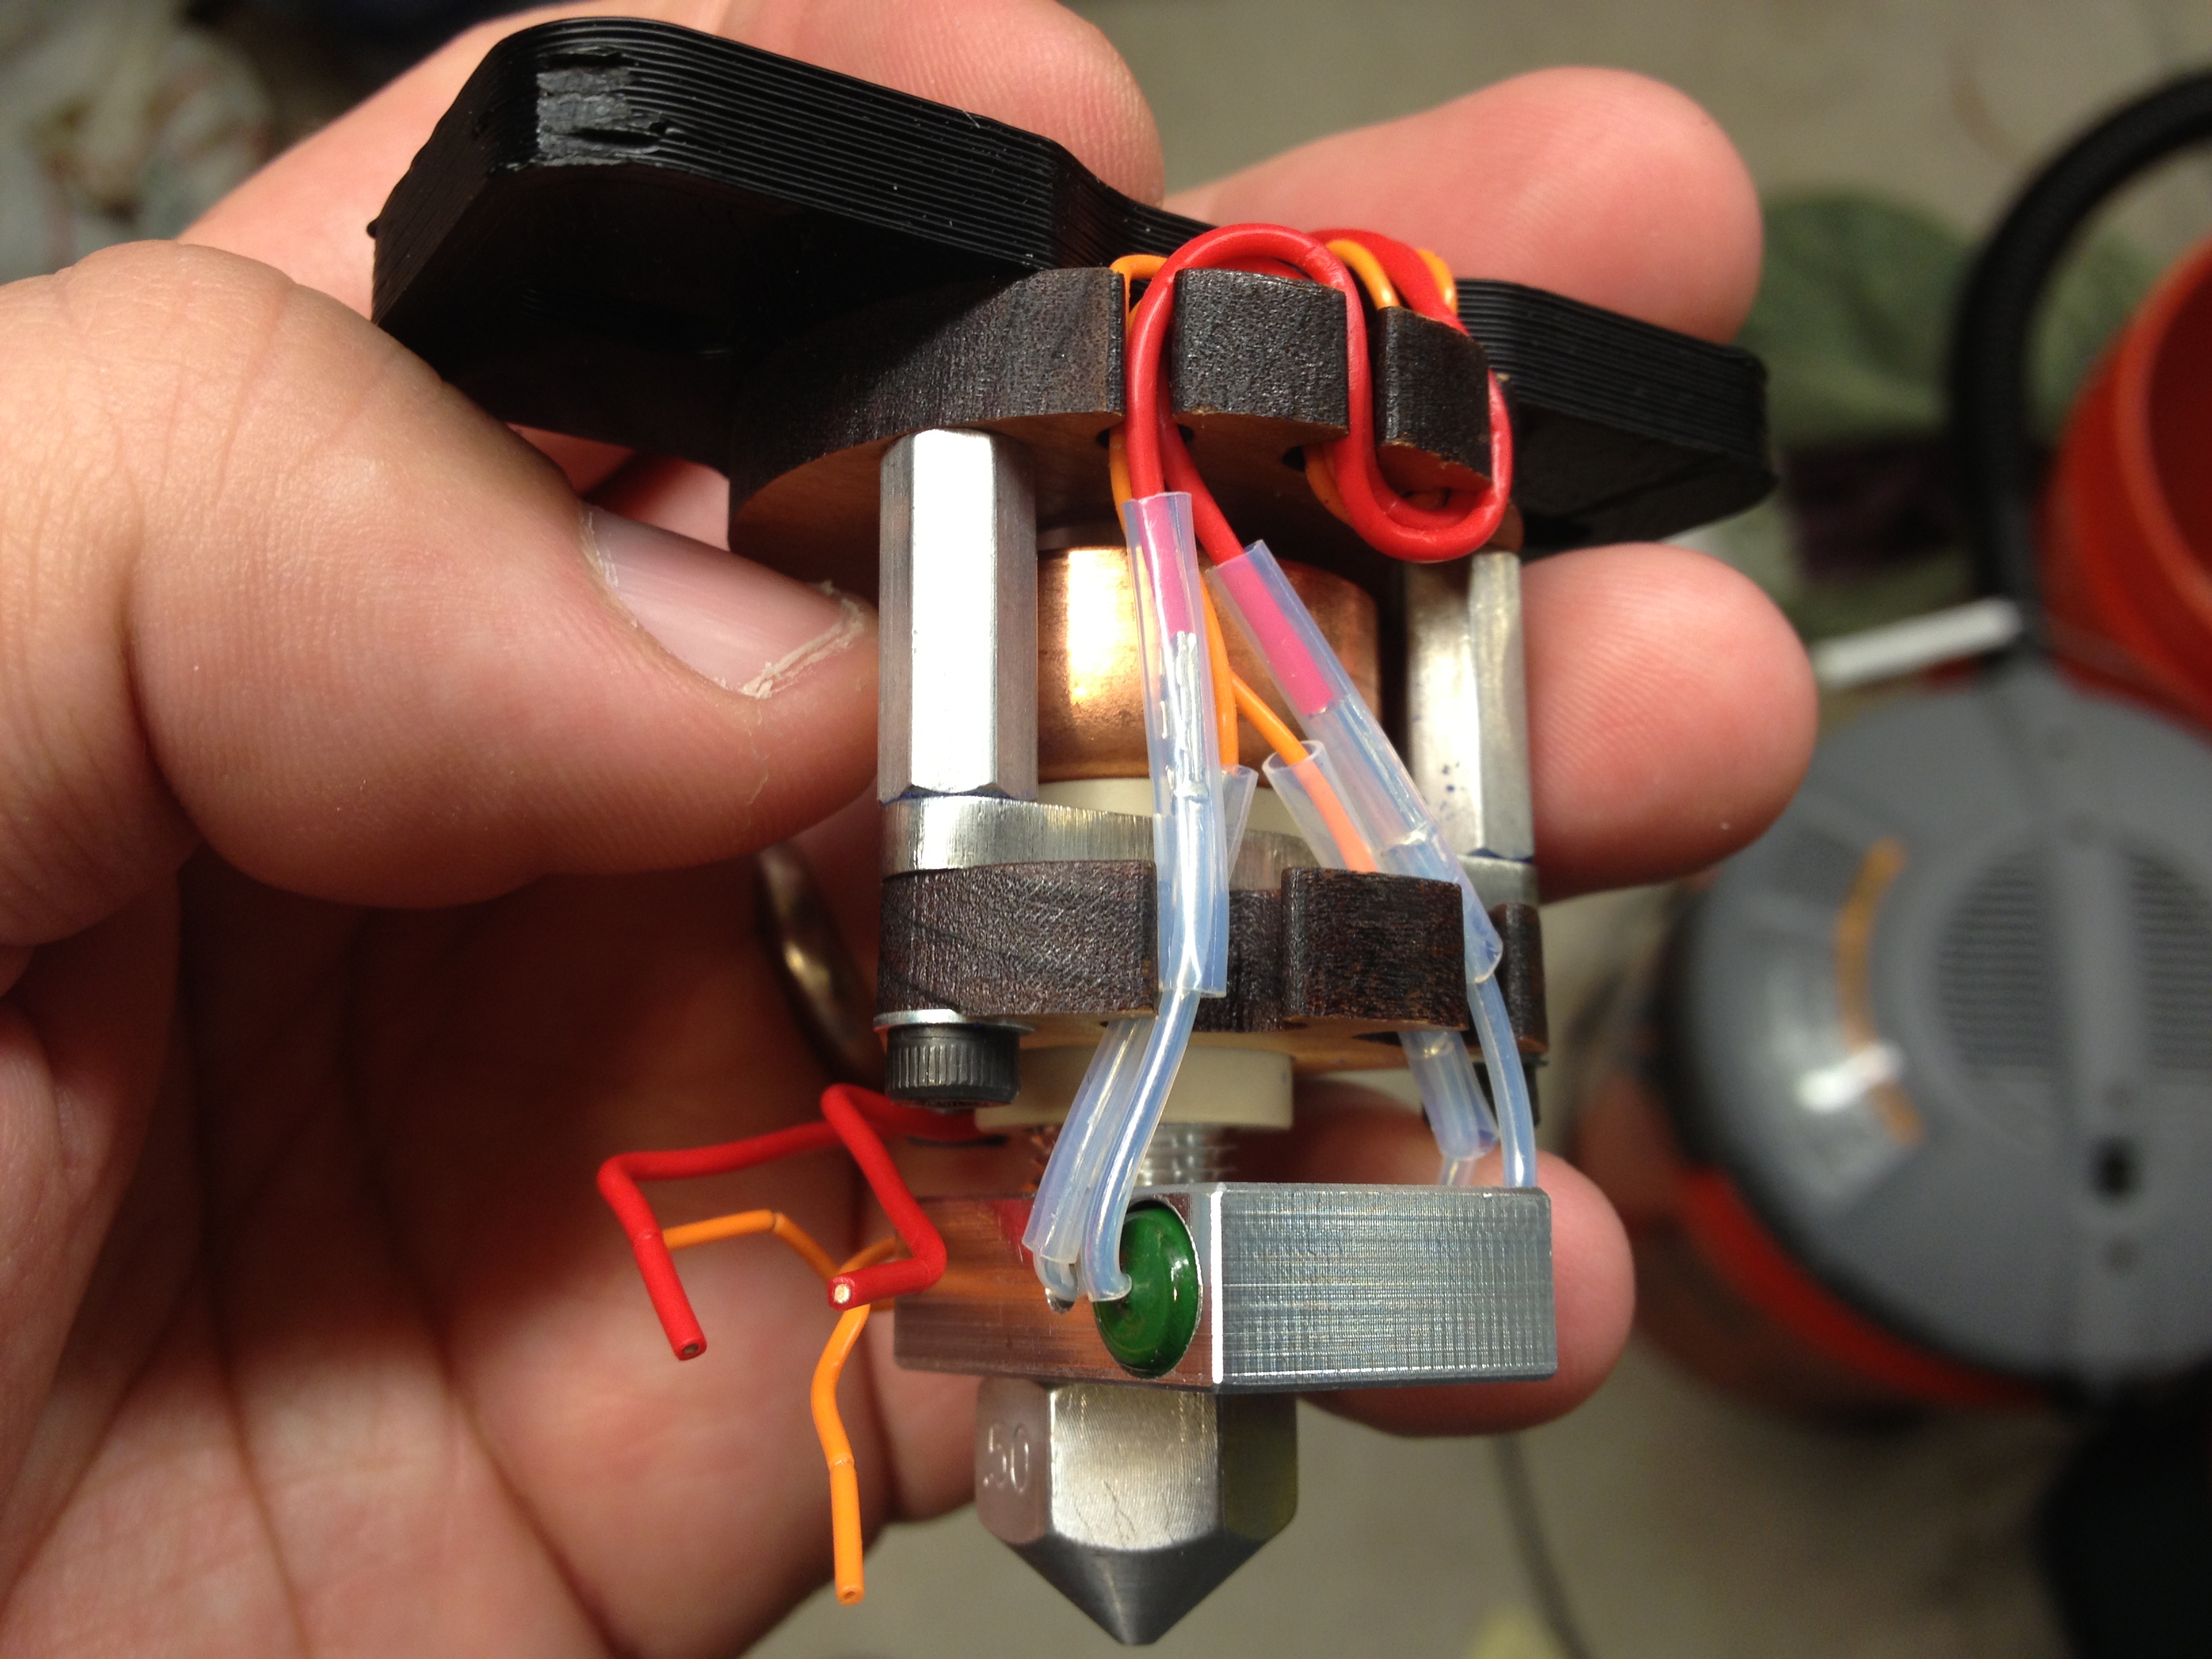
I inserted the insert, and connected the cold end to the hot end.
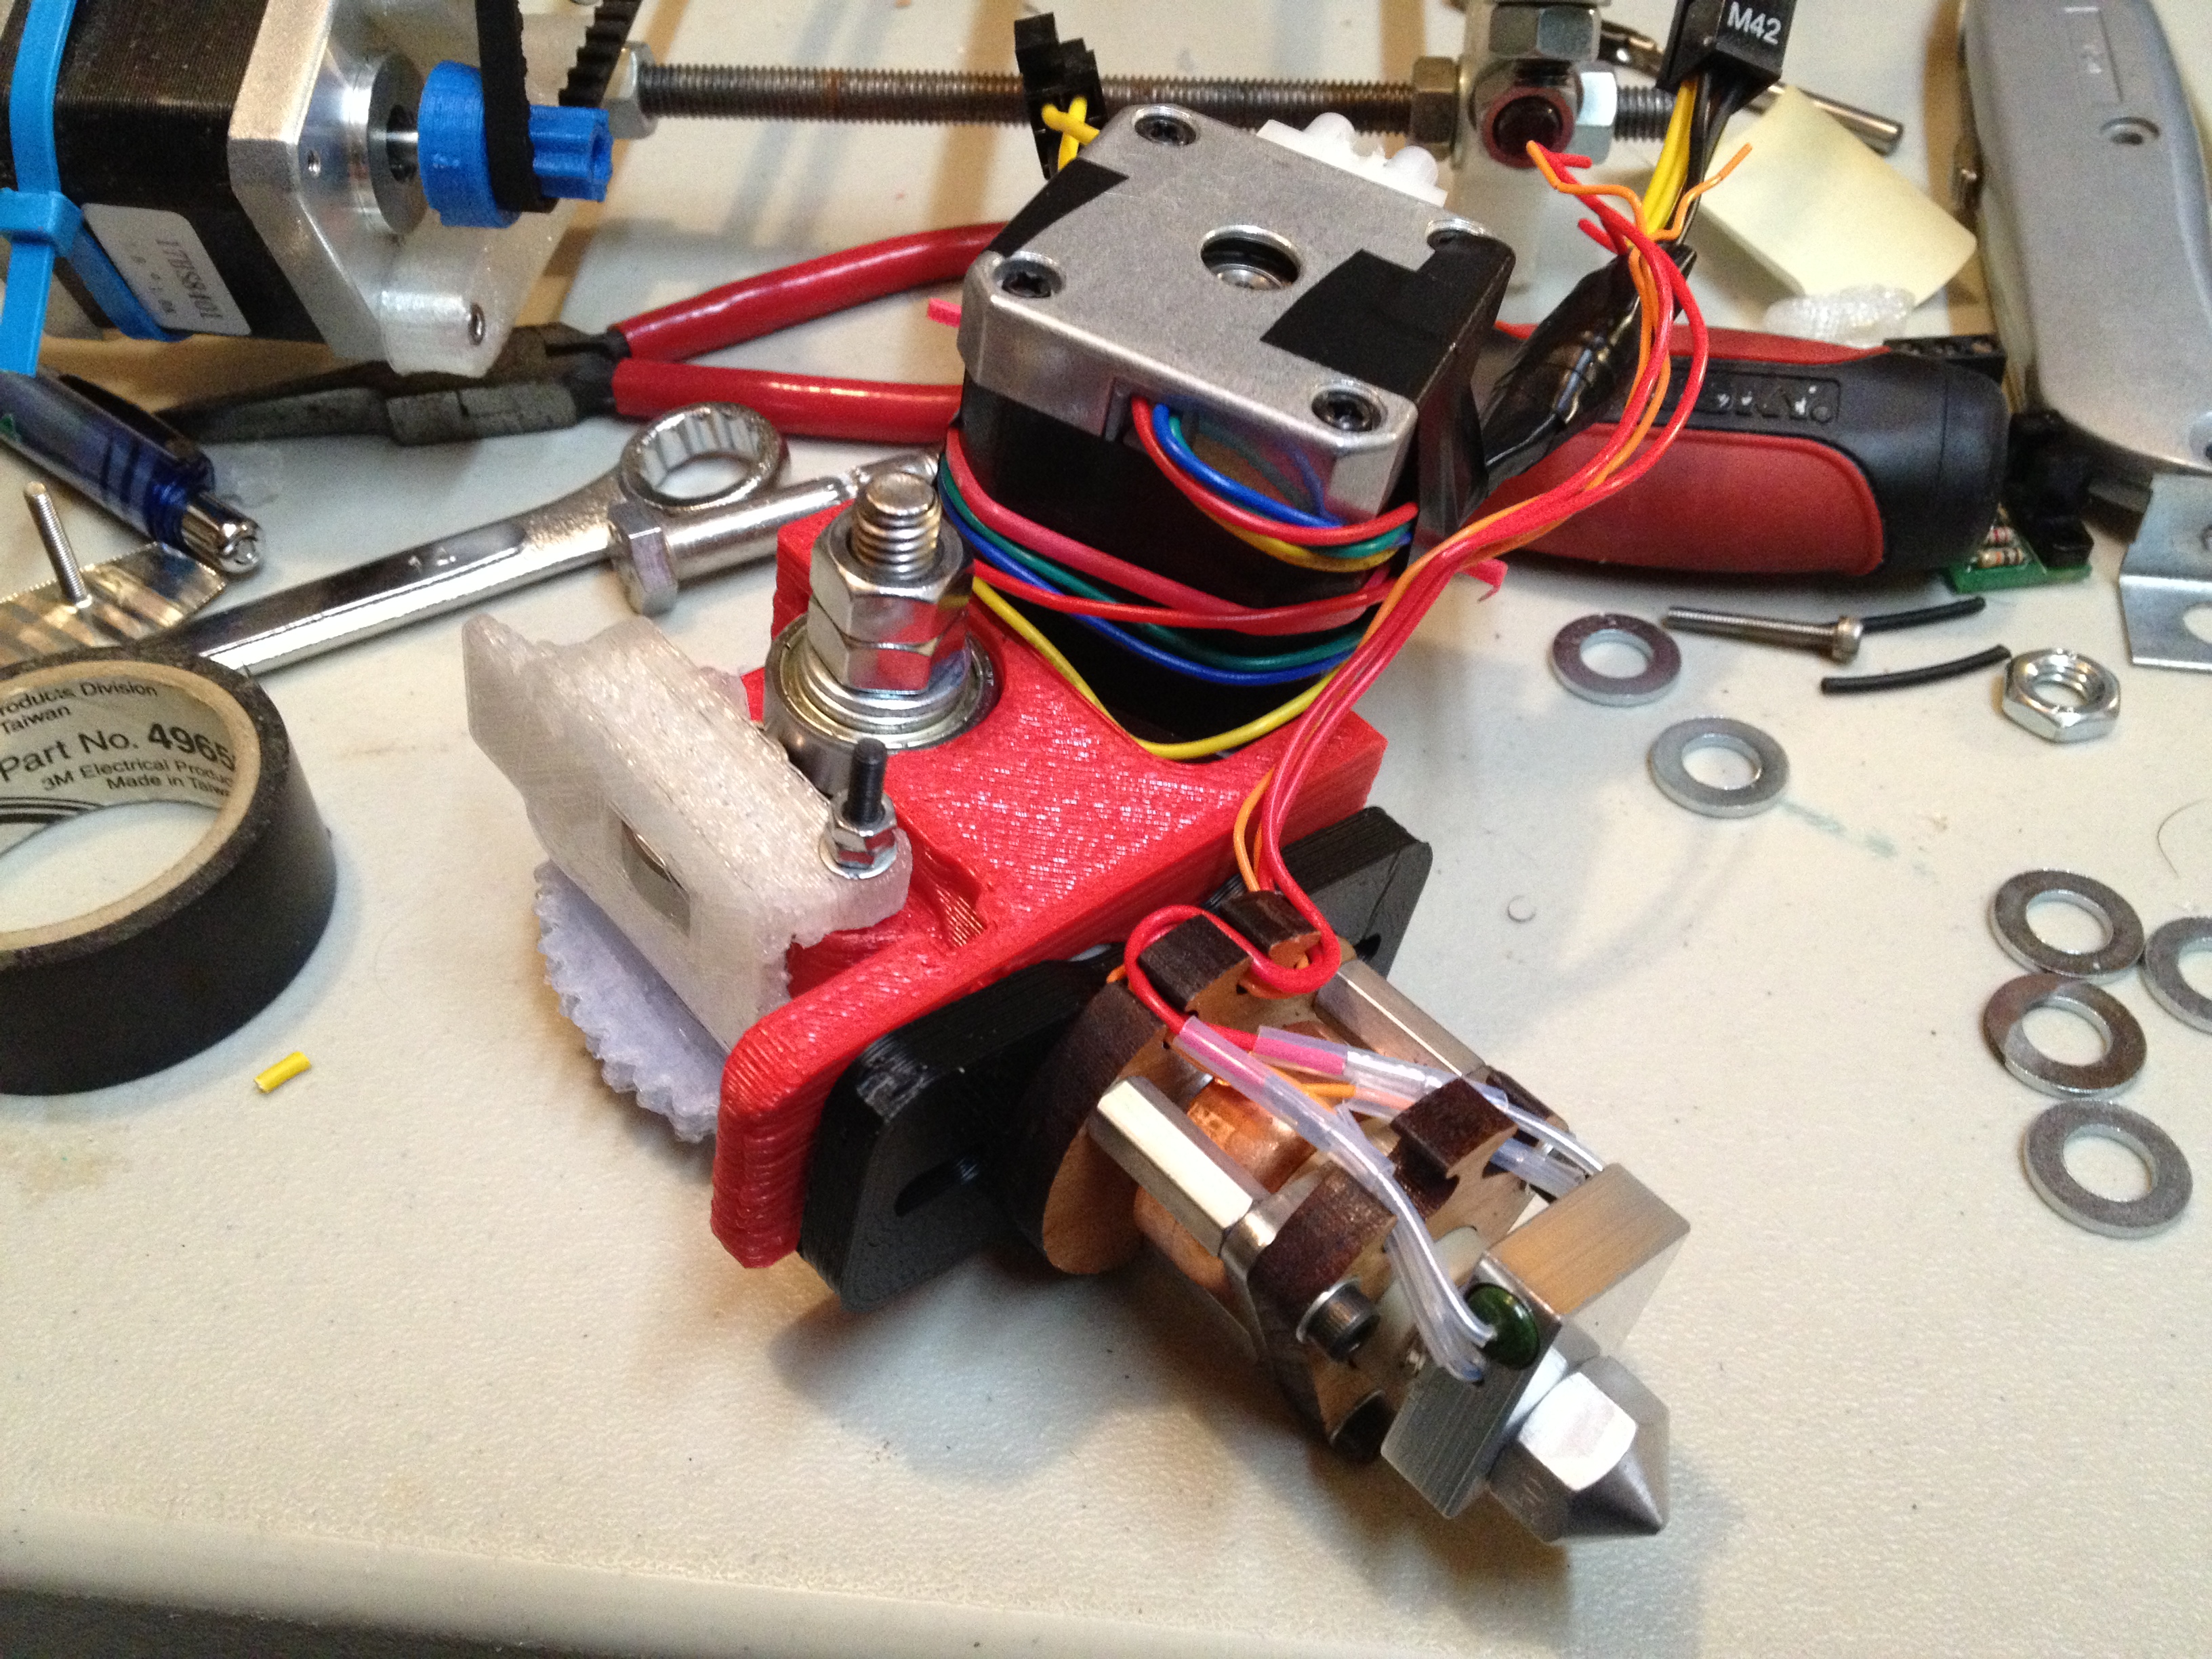
Yes, I now had an extruder!
I added the bolts and springs to hold the idler against the filament:
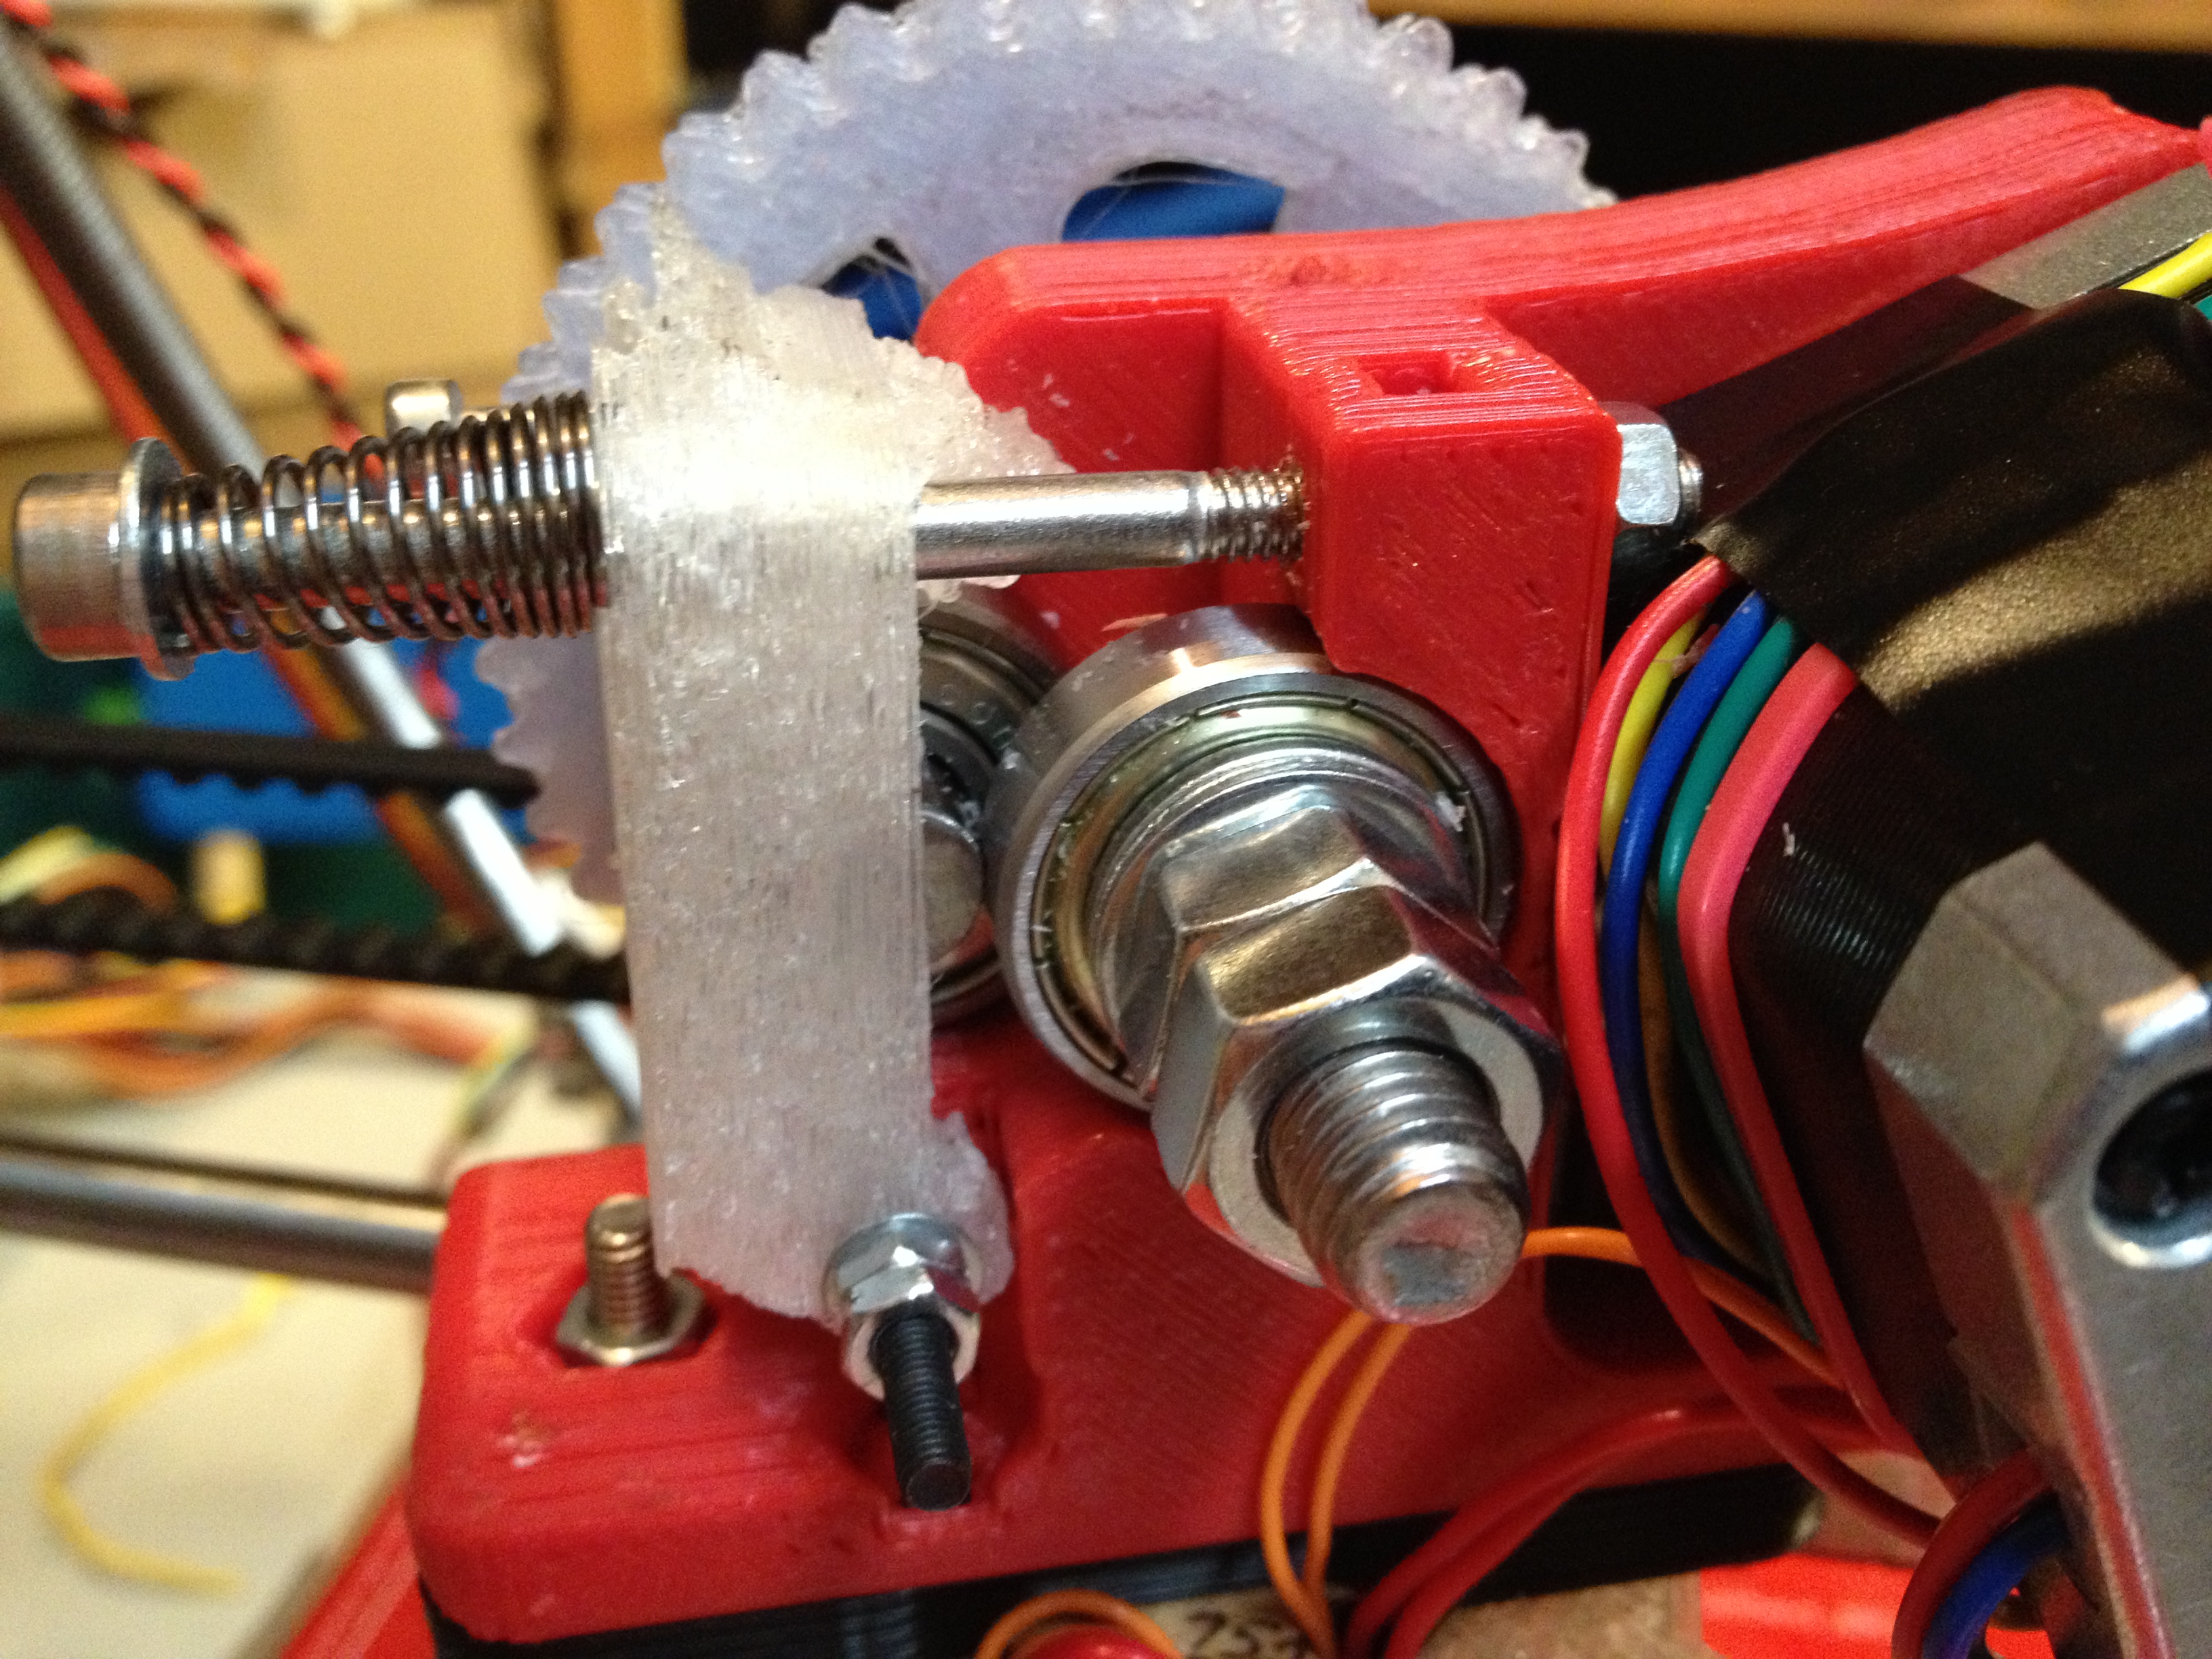
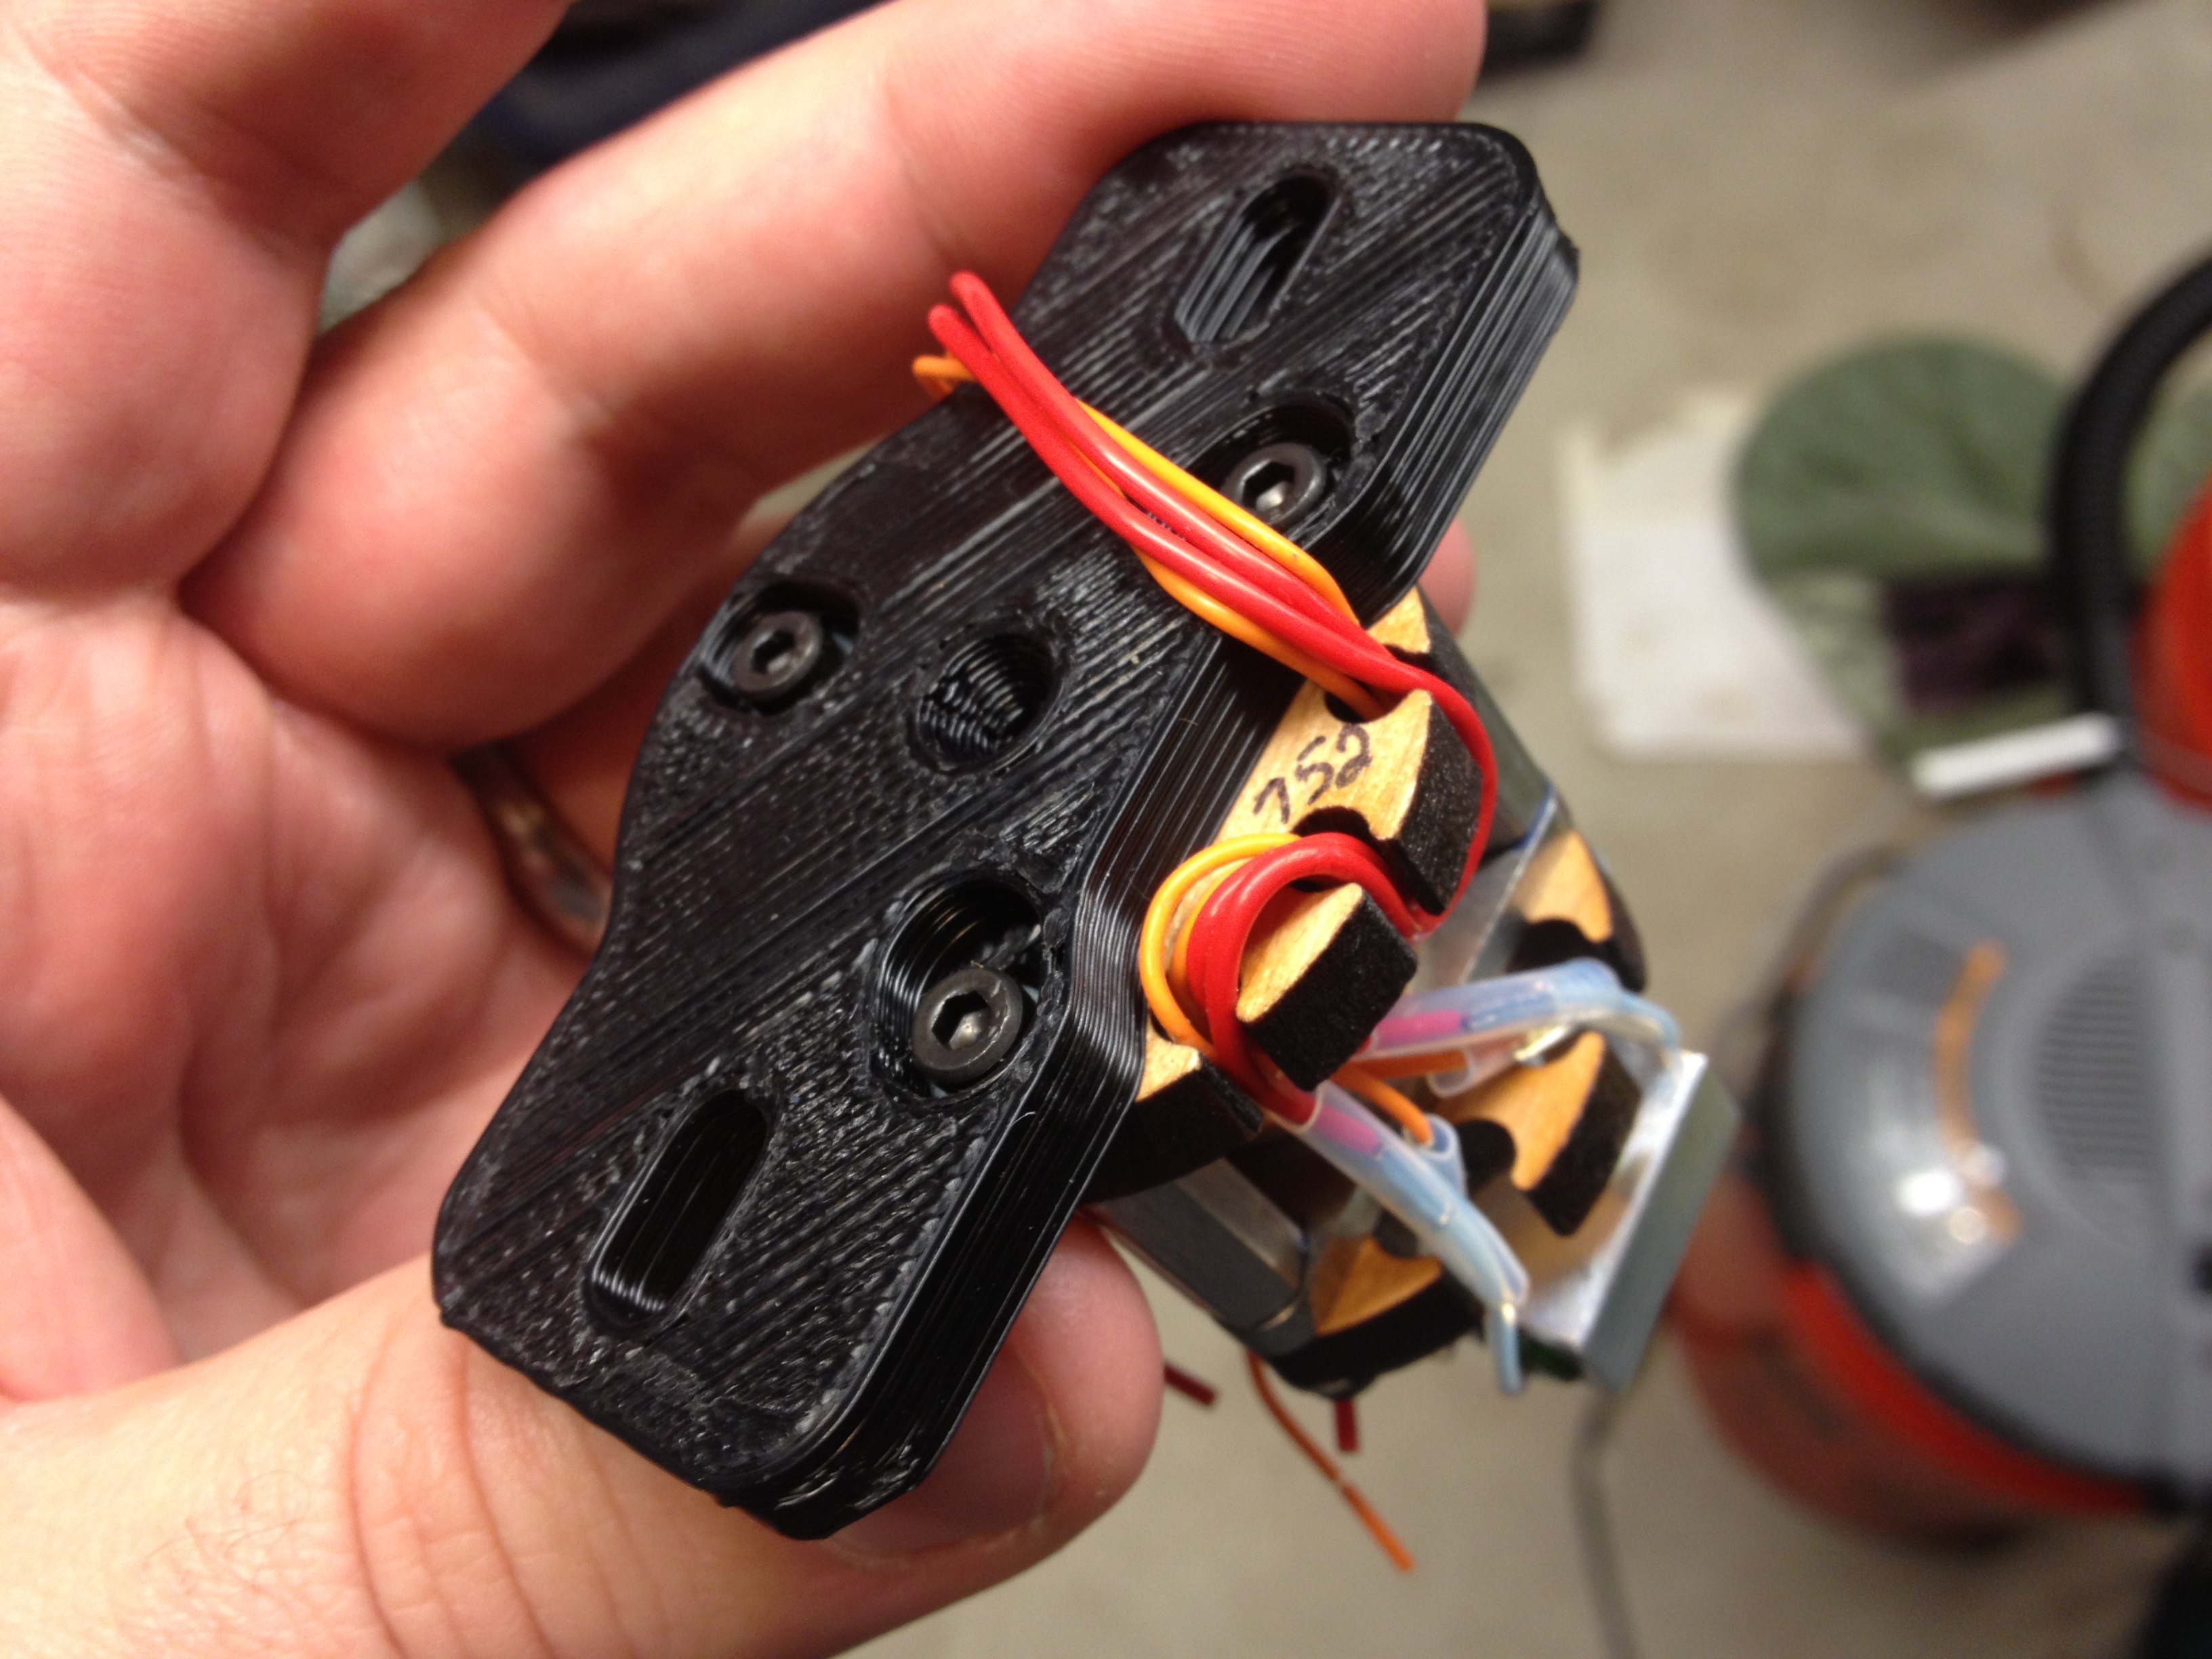
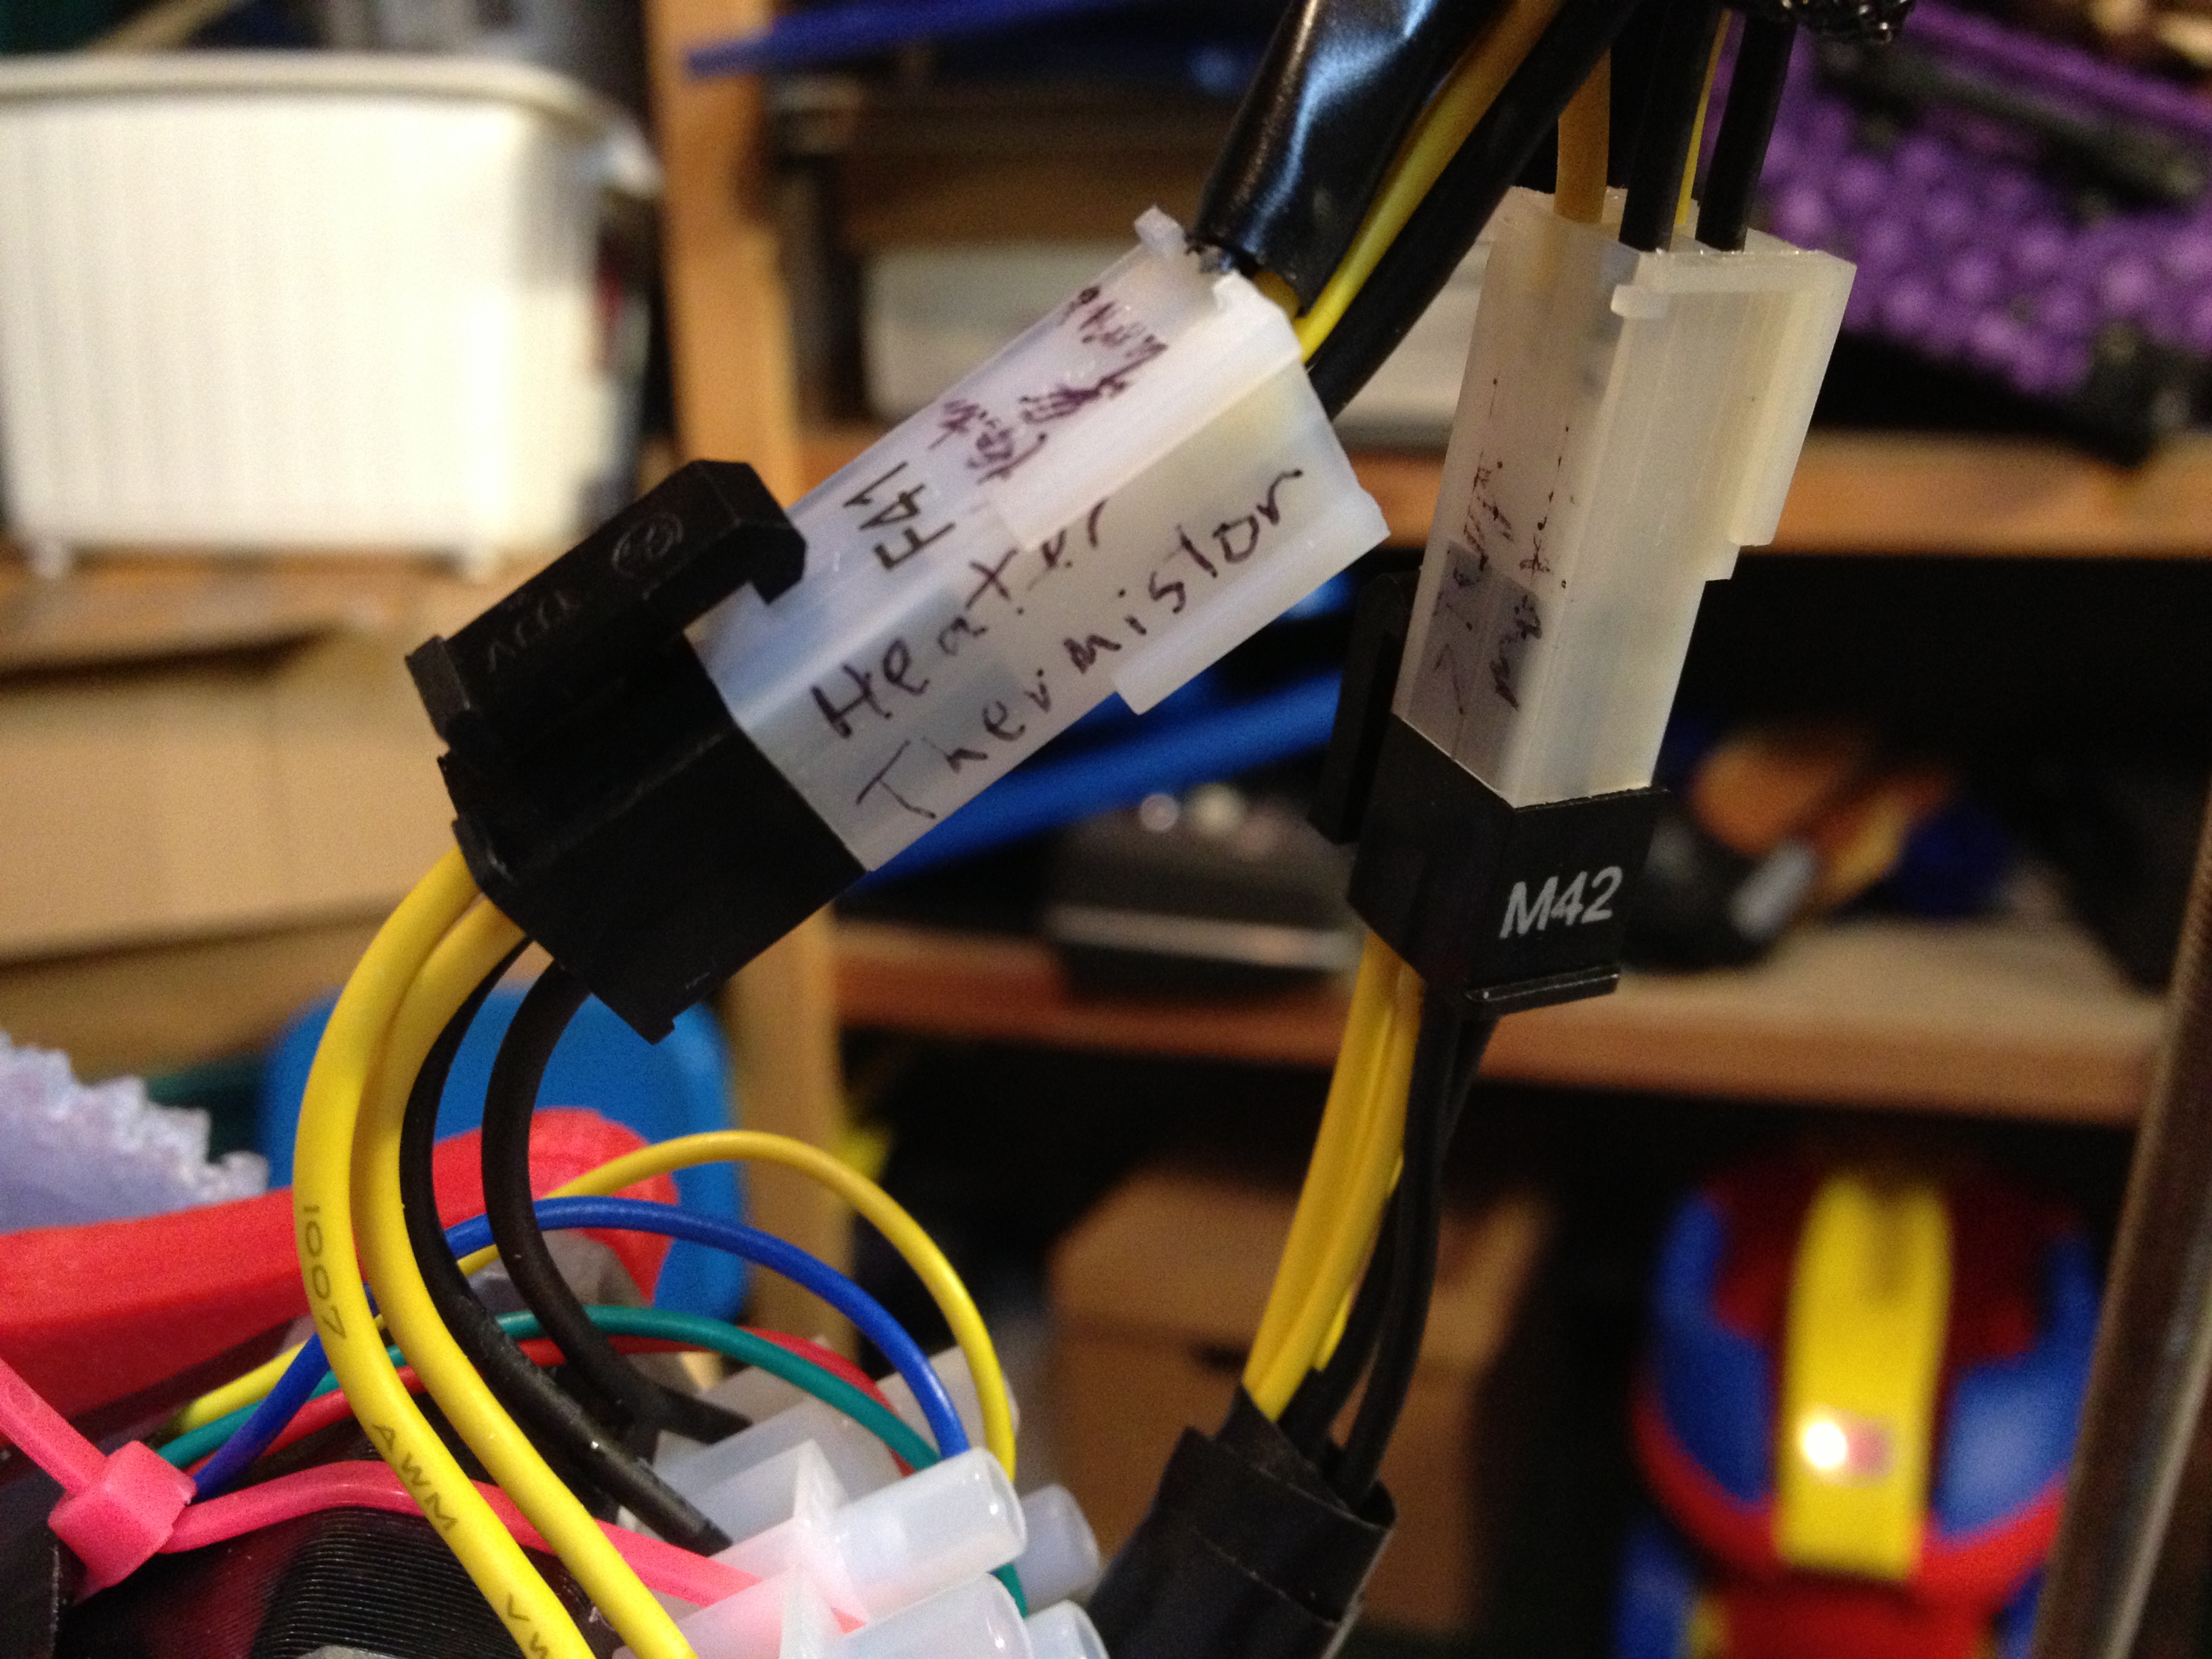
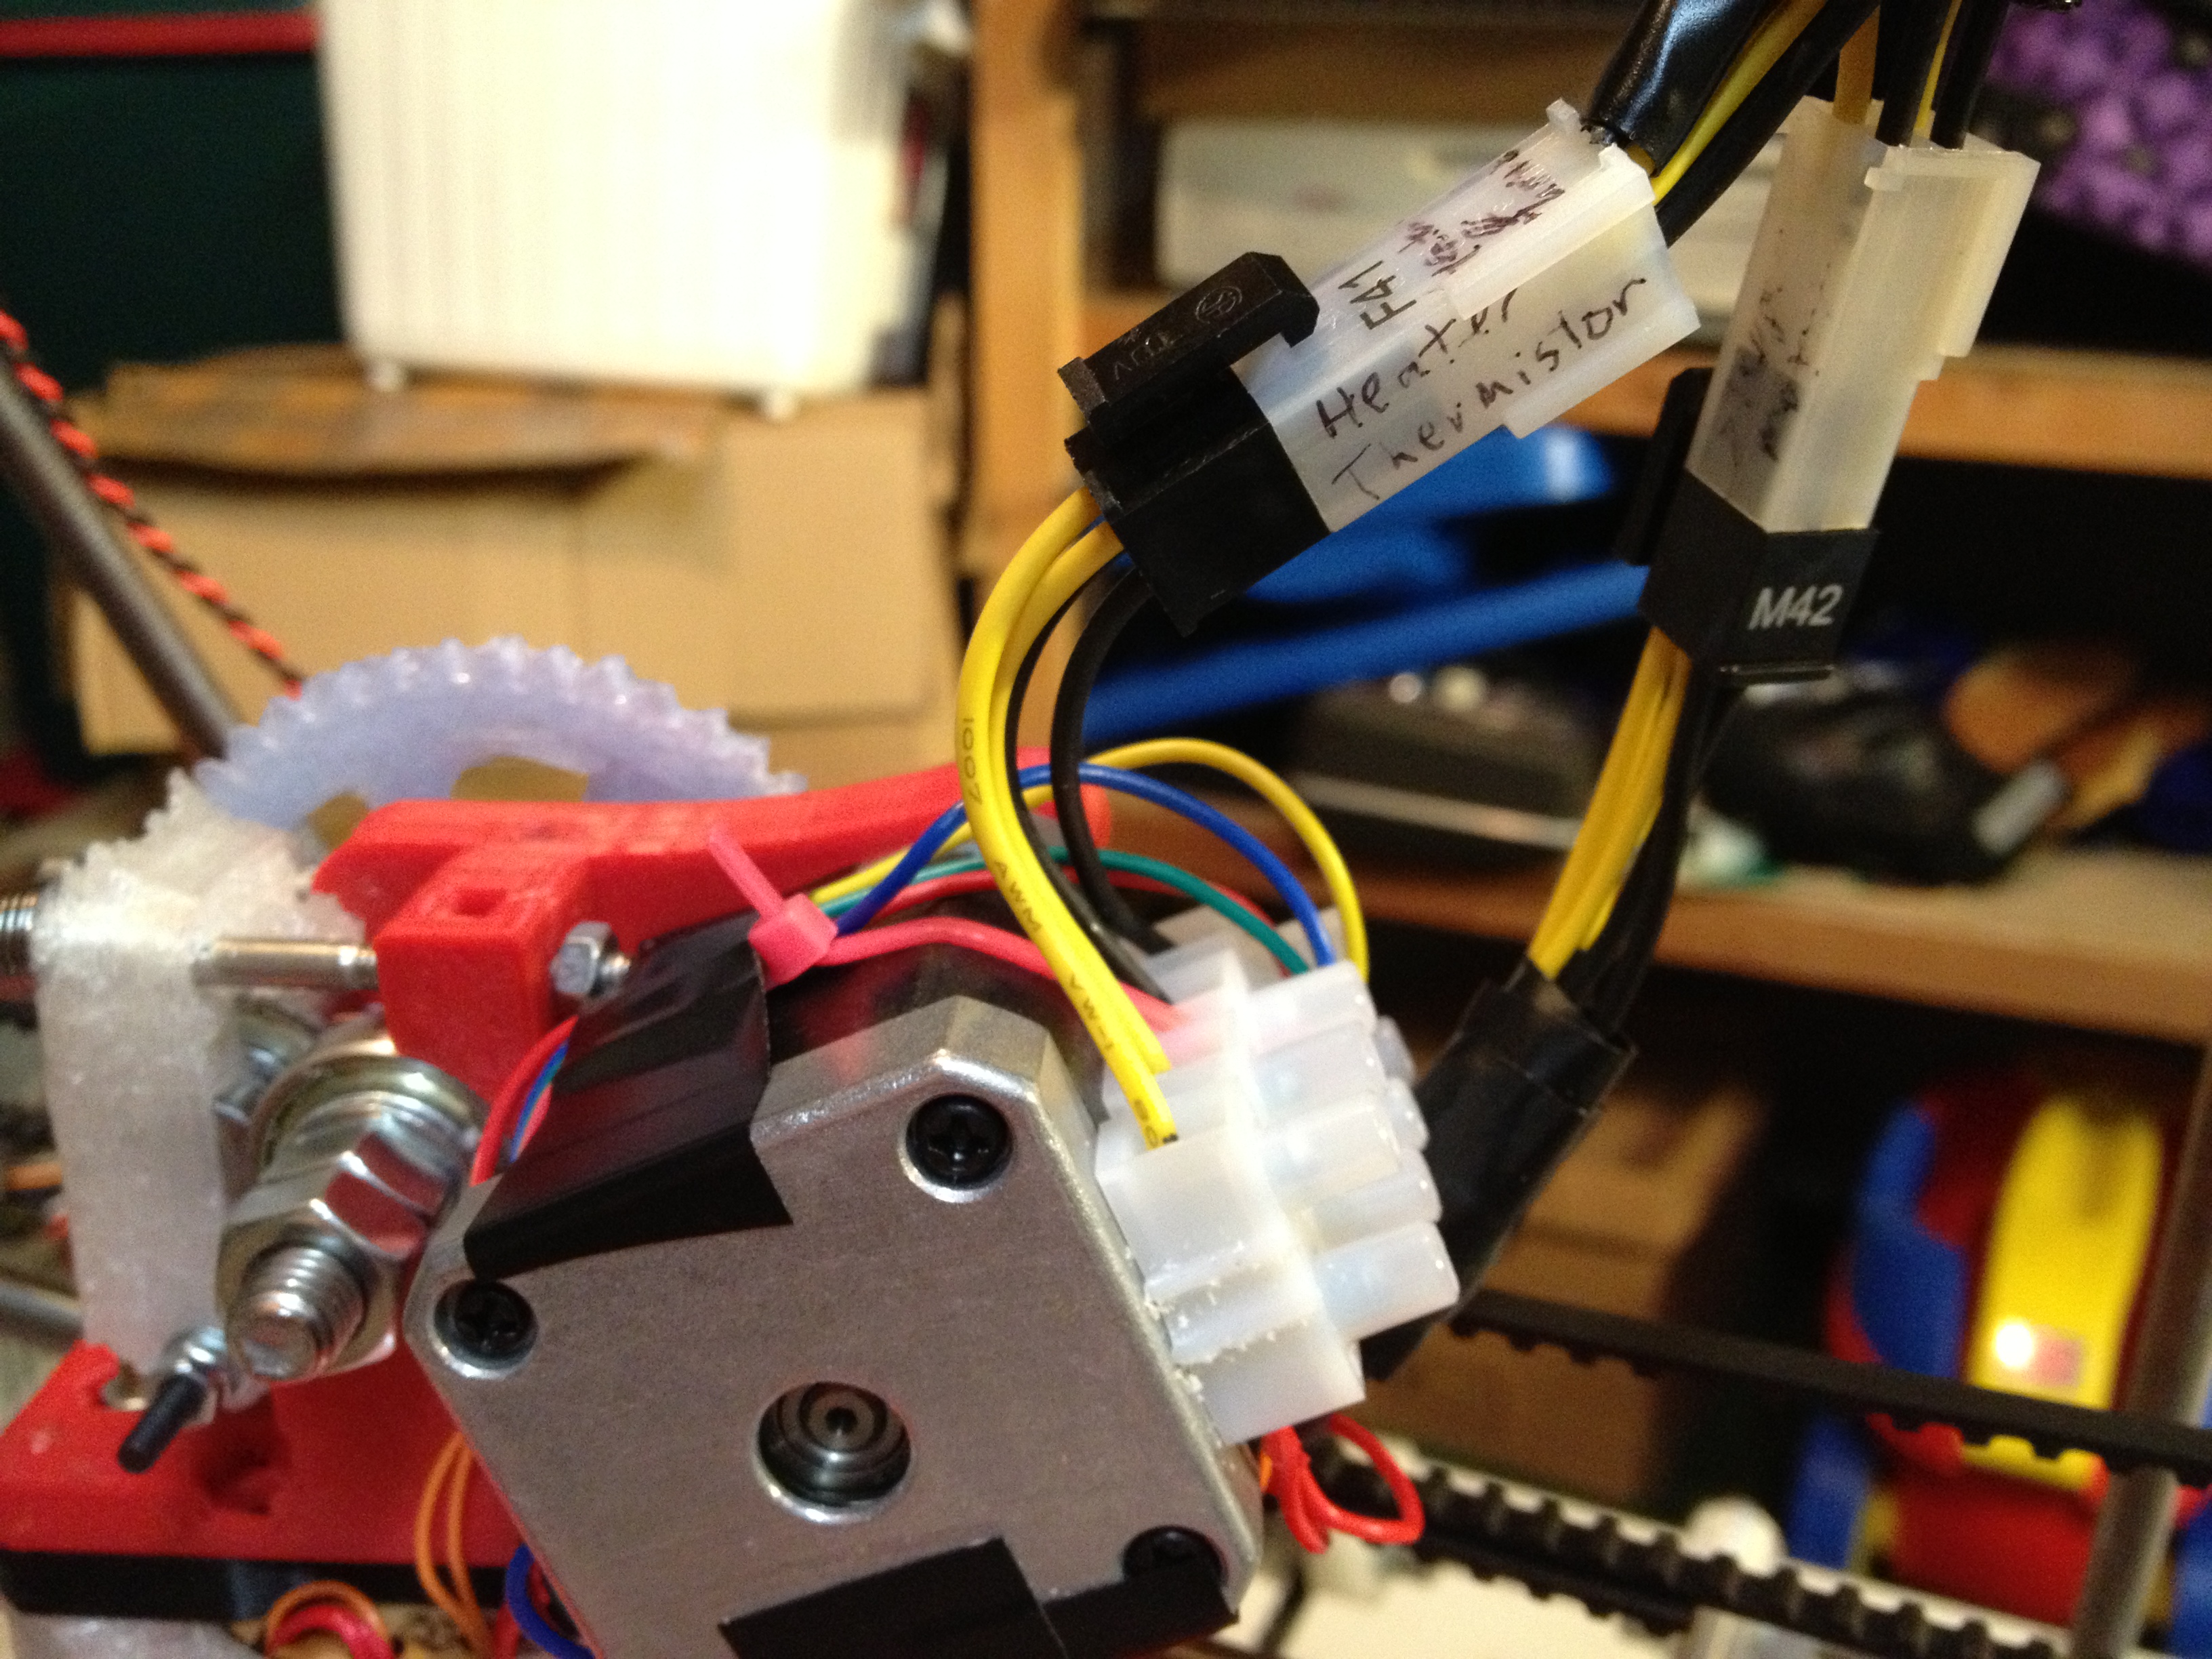
Then I mounted the extruder on the X-axis, and connected it up with the Extruder Pluggable Wiring Convention like my own RepRap and extruders use:

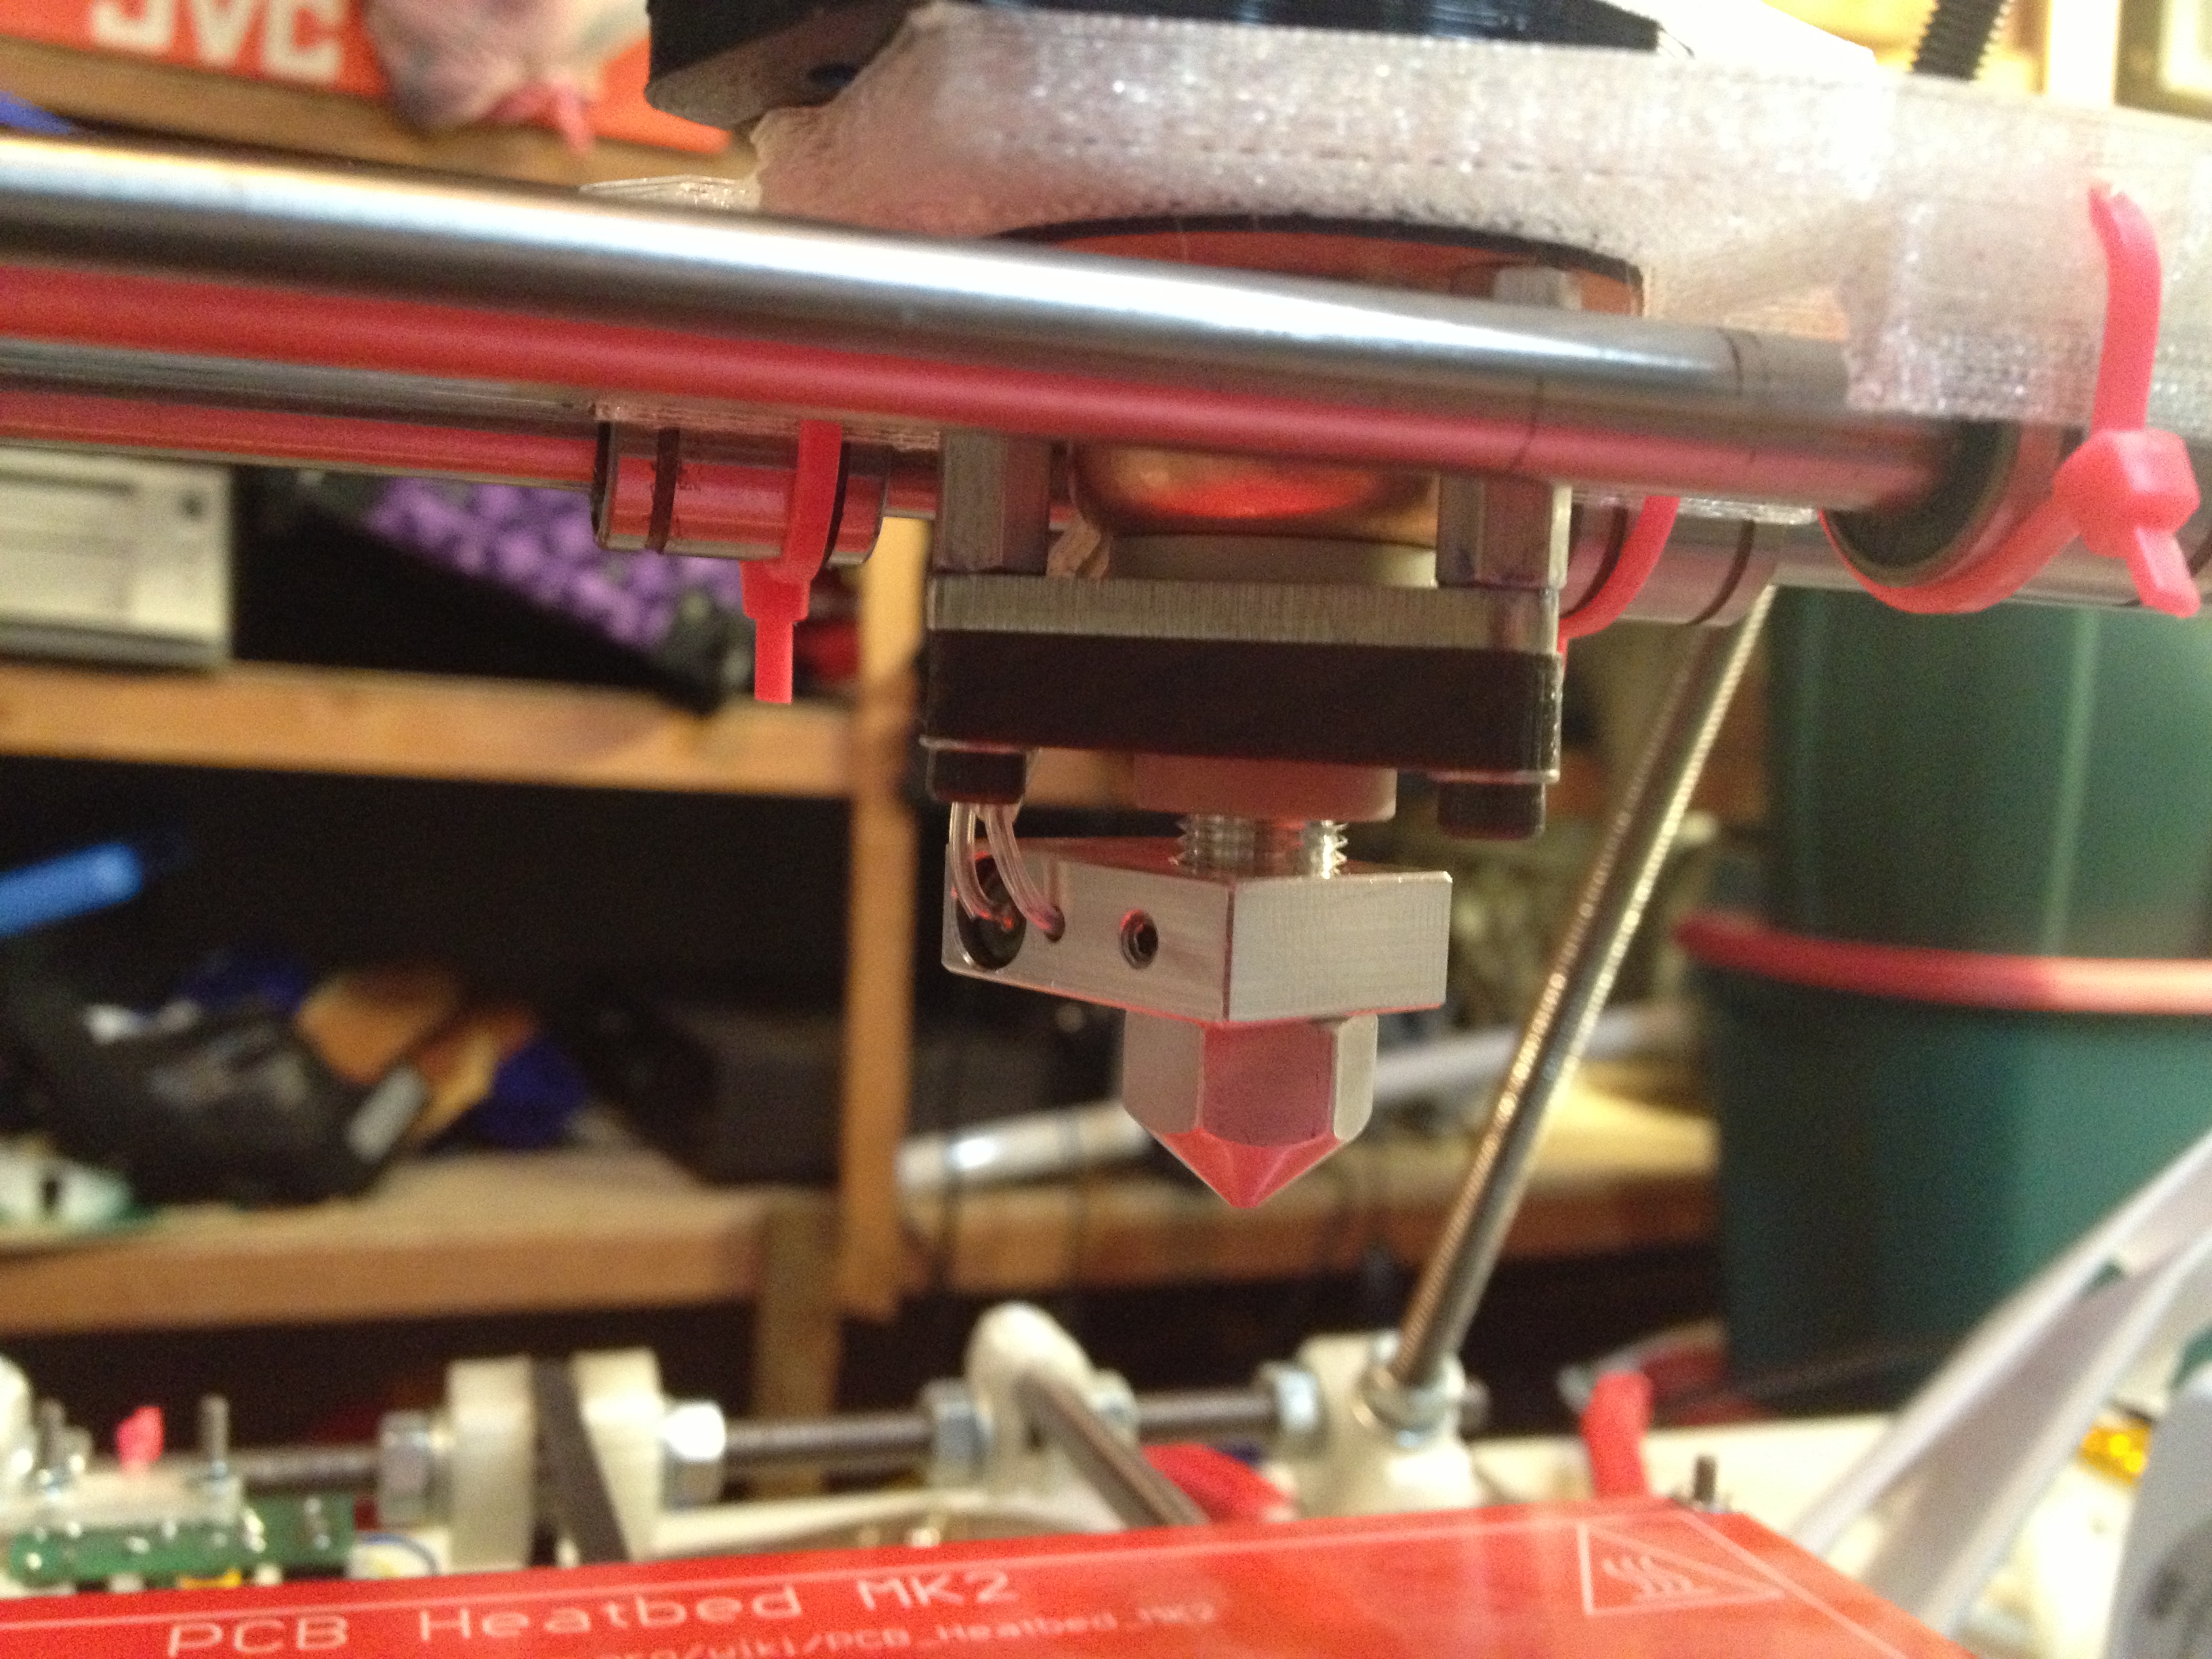
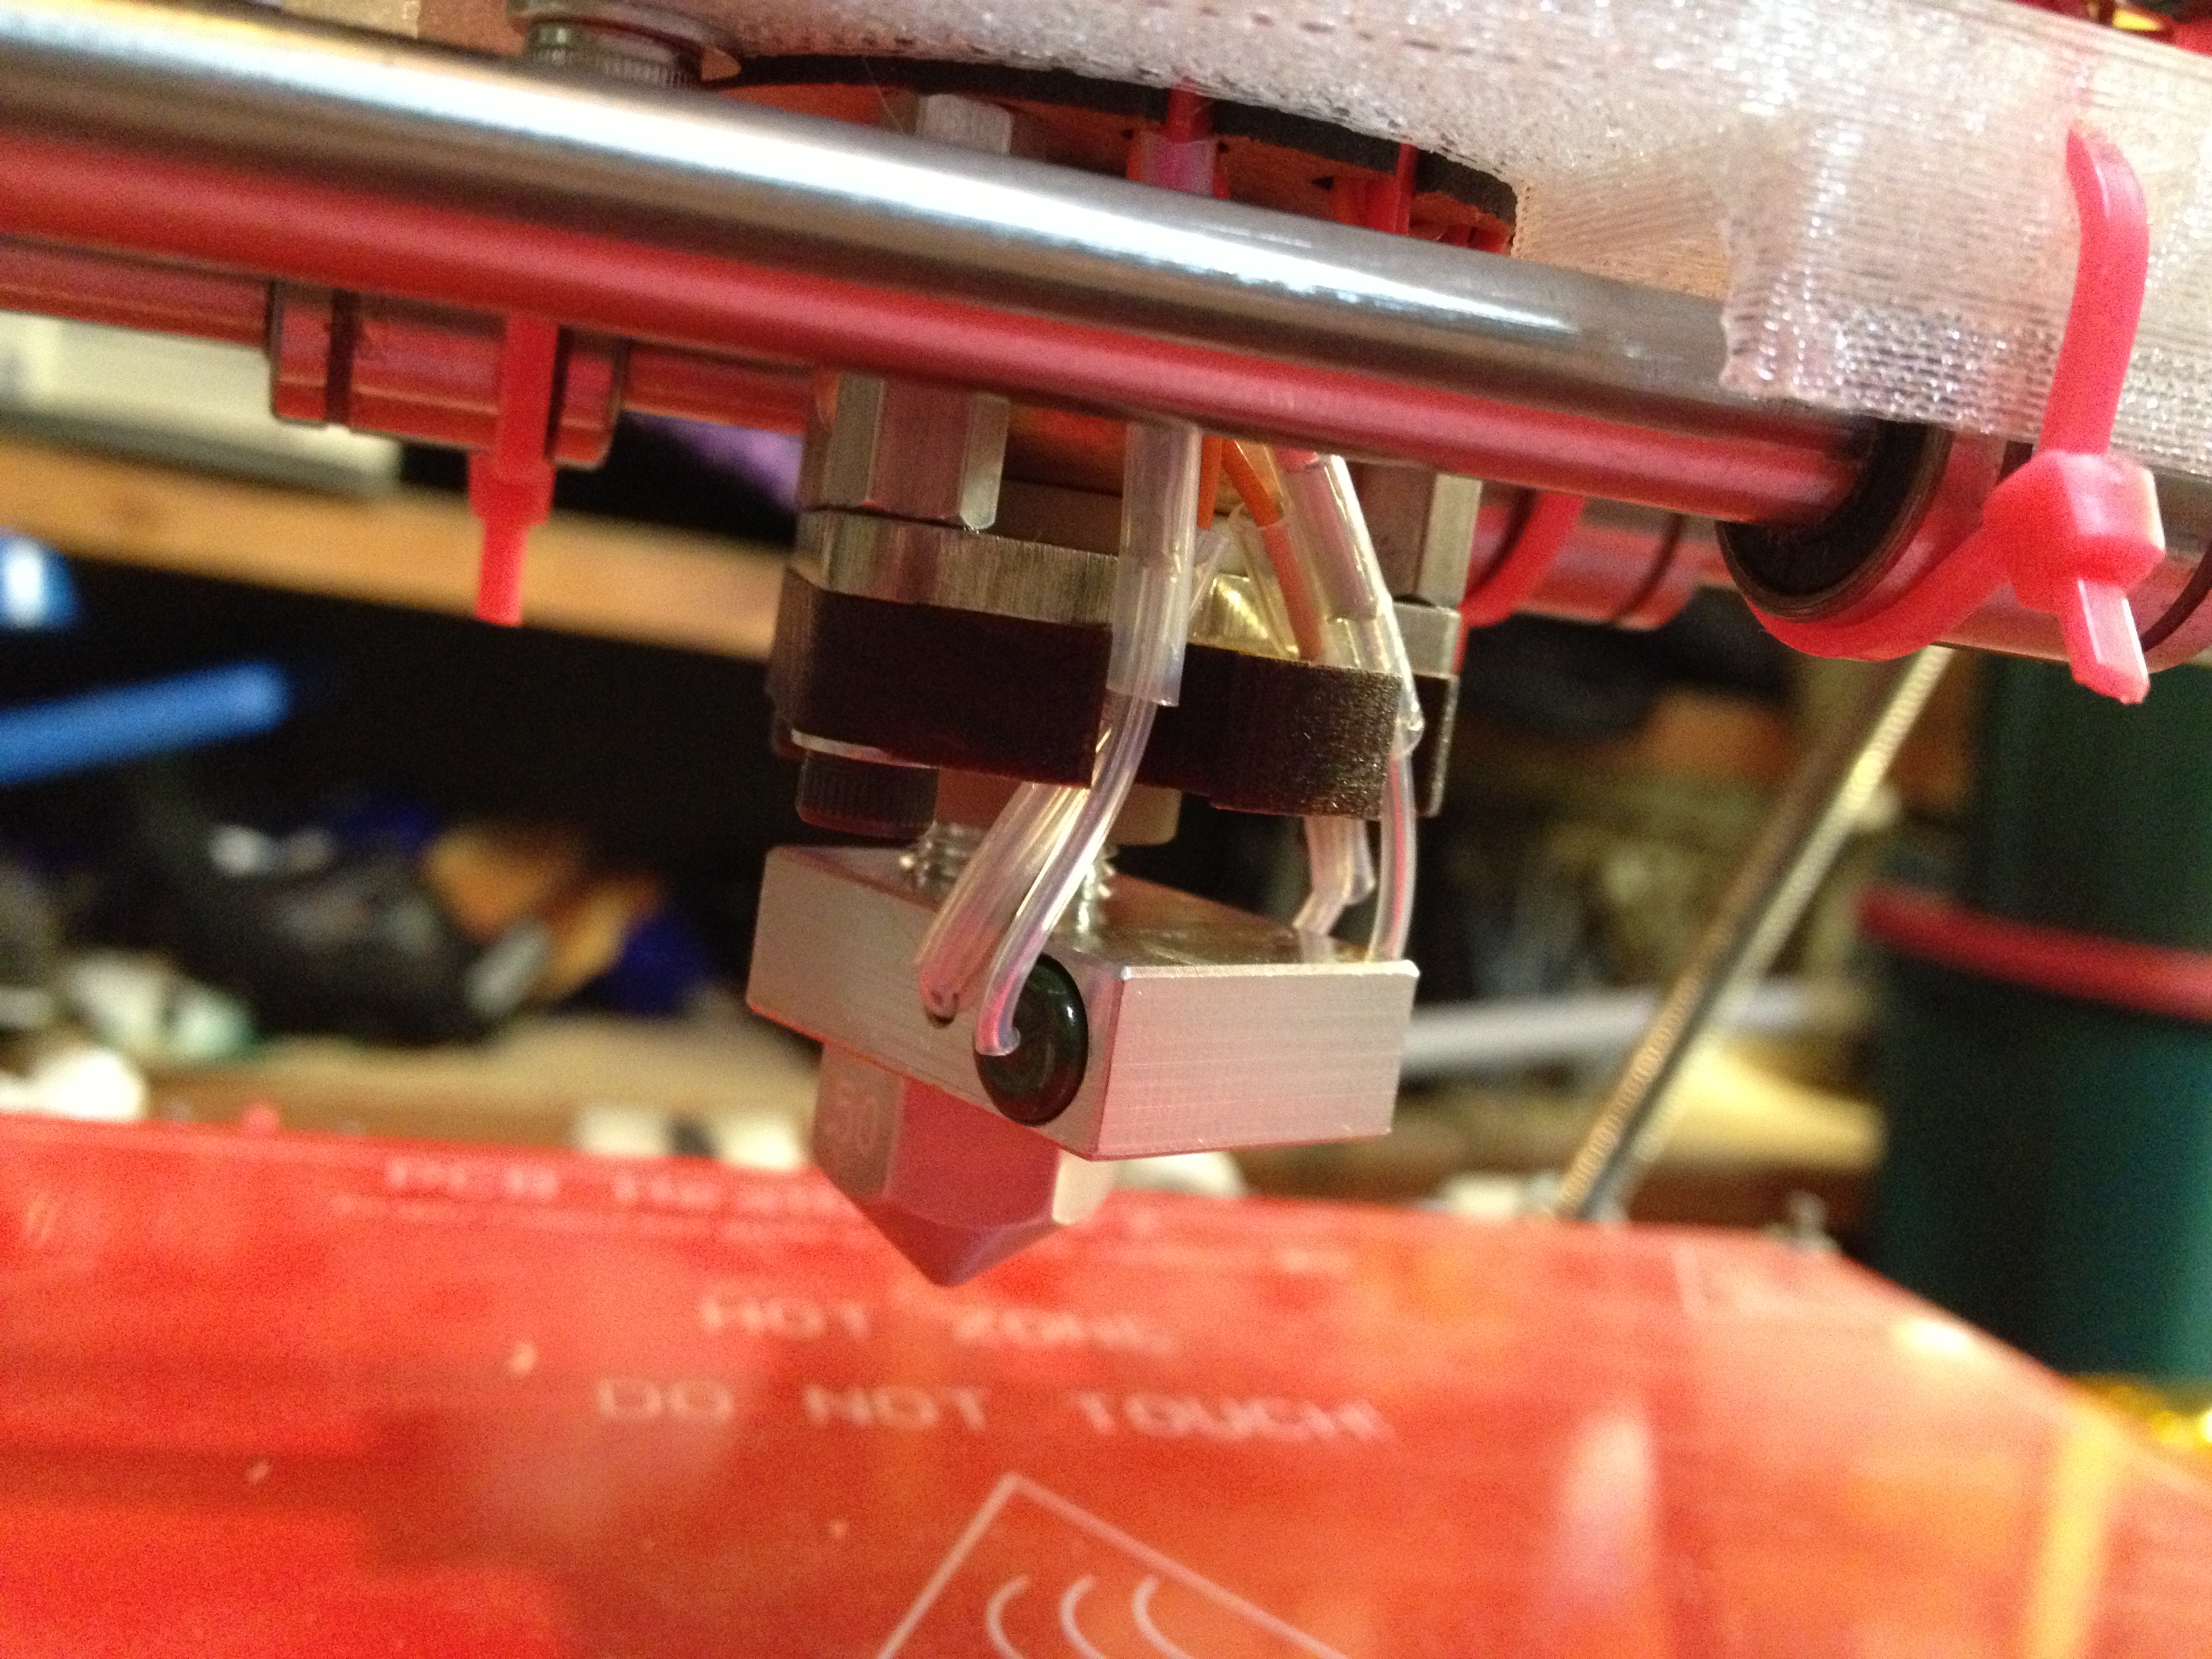
Again, here’s what the hot end looked like beneath the x-axis:
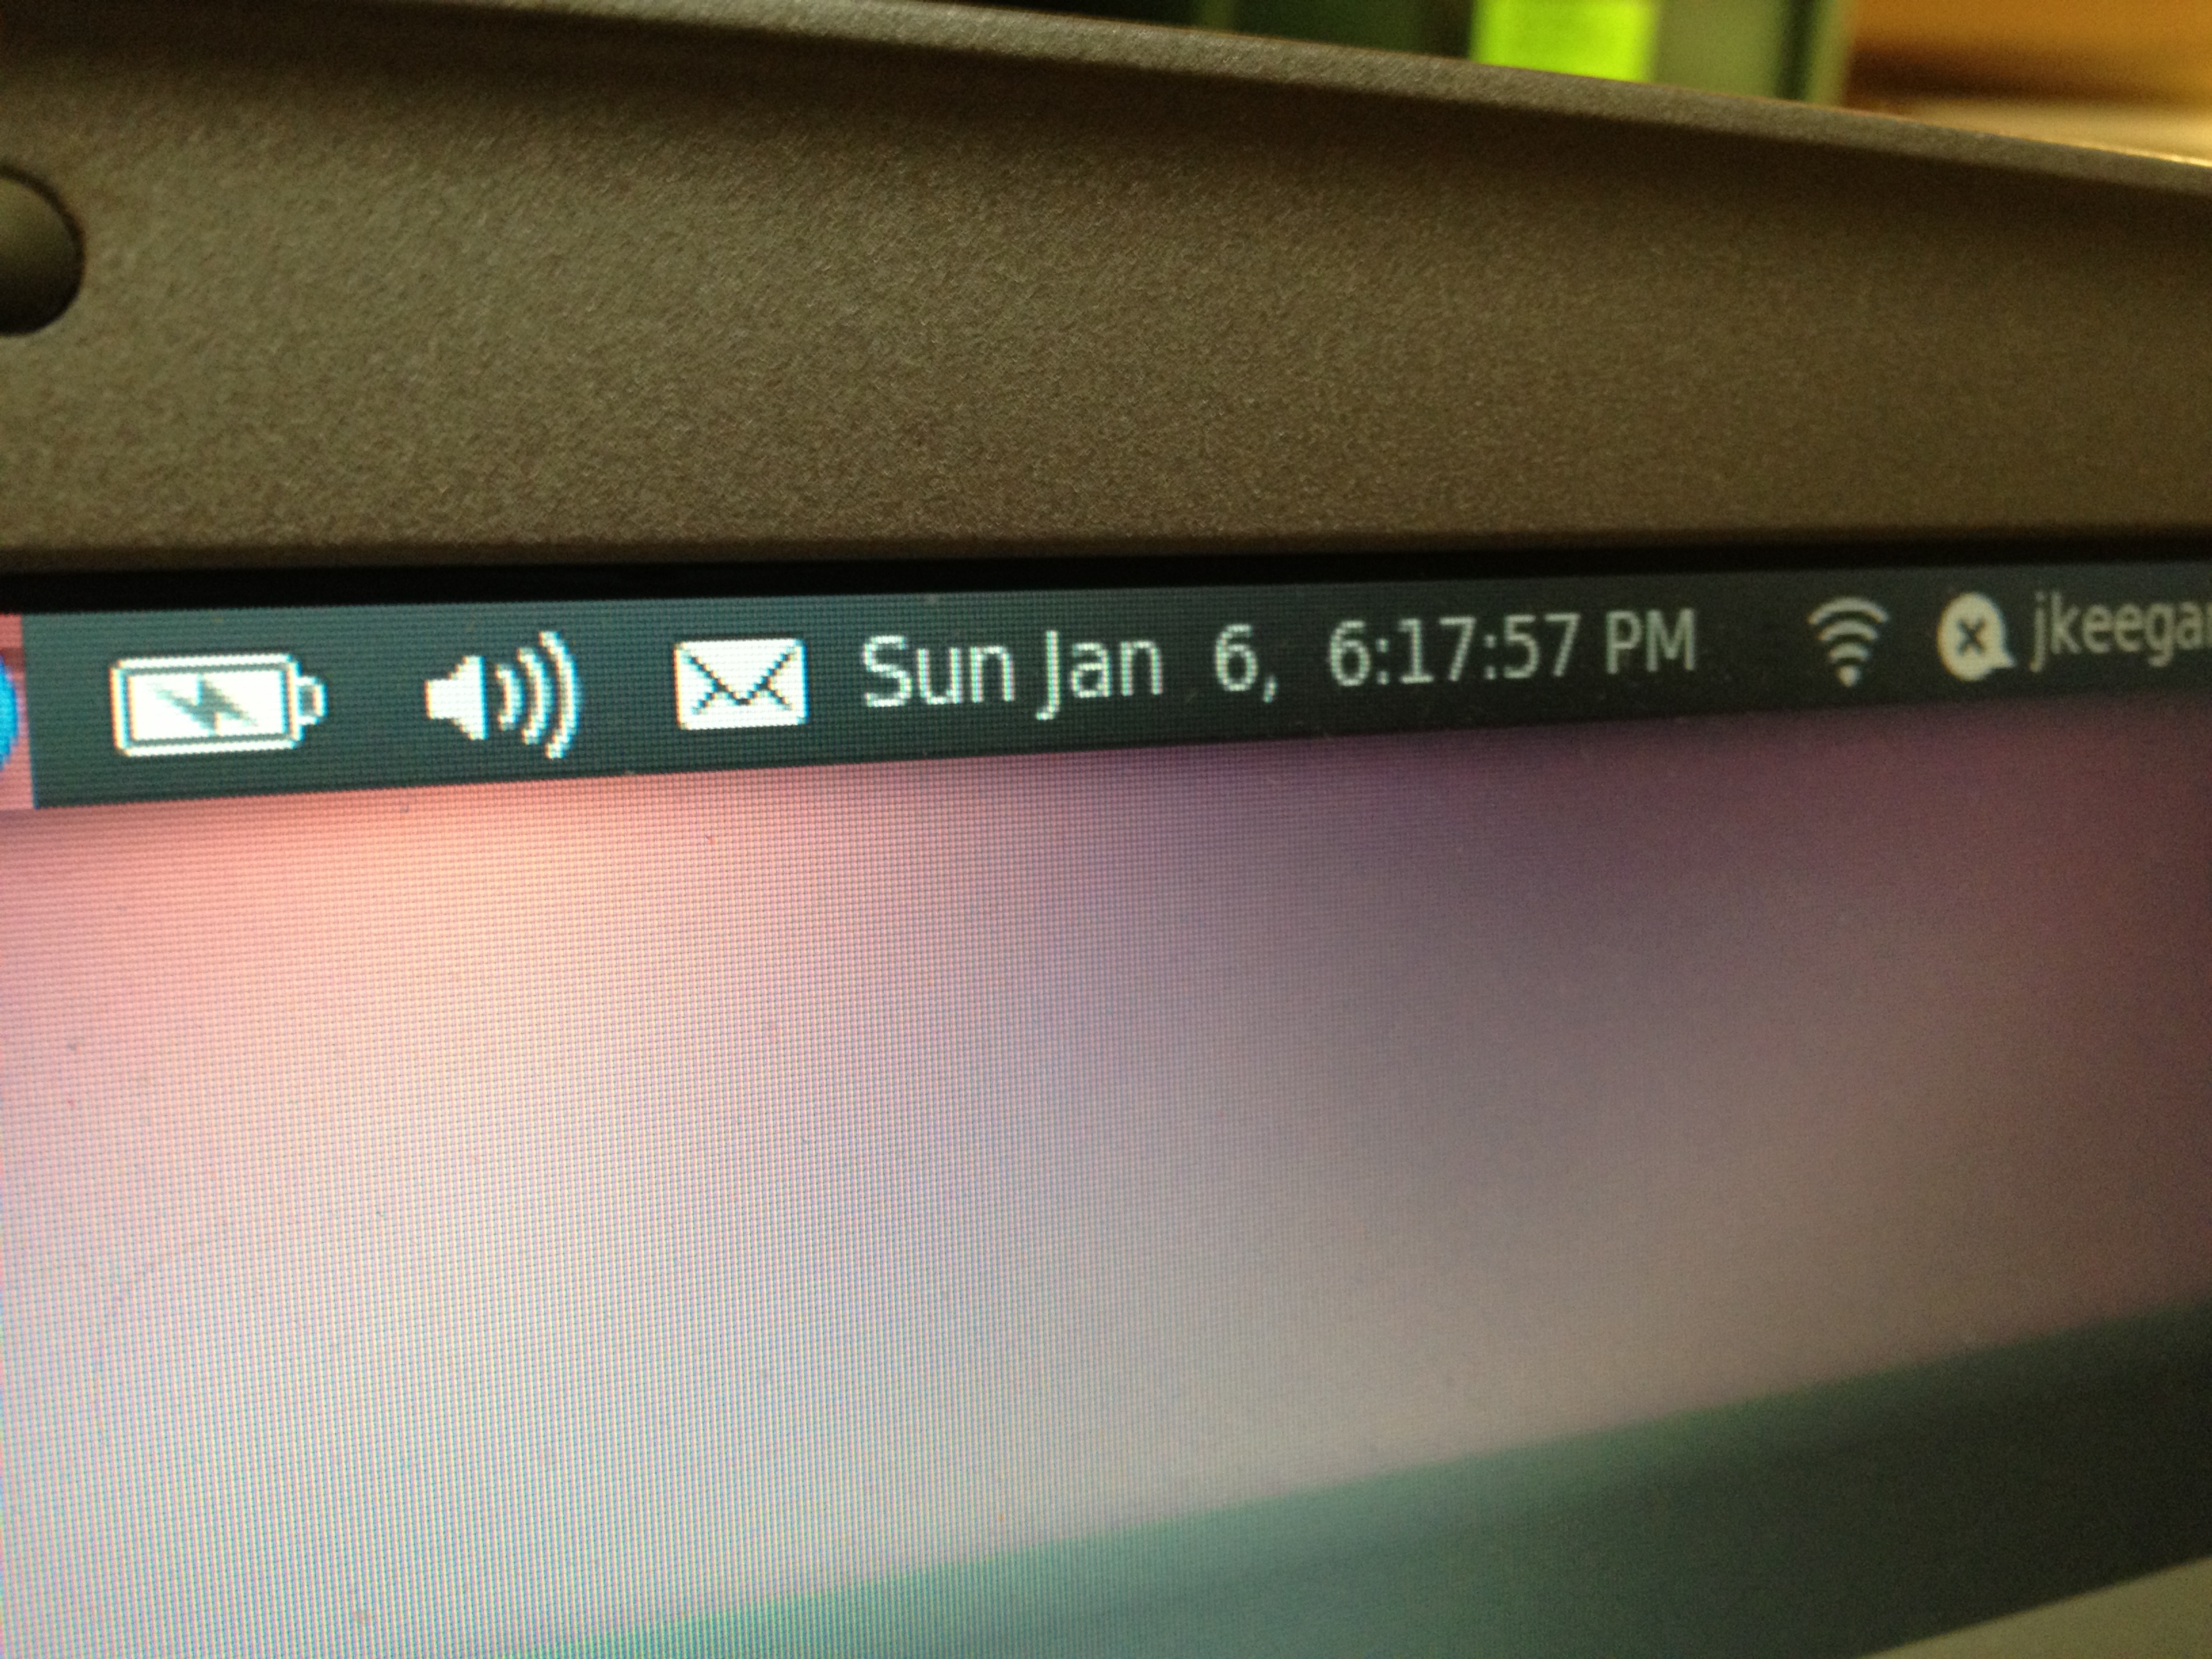
On Sunday January 6th 2013, at around 6:17pm, the Museum of Science’s RepRap had it’s first manual (and then first powered) extrusion:

Woohoo!!!
Now, for no particularly good reason (other than that this happened around the same time), at this point I’d like to go on a super-brief tangent and post a picture of the best hamburger I’ve ever had in my life:

It was from a place called Tucker Duke’s in Valparaiso Florida. It was their signature burger. Those are onion rings in the middle, and the pink dressing was something about marmalade – I can’t remember. The whole thing is held together with a knife until you’re ready to eat it, at which point you scrunch it down and then start eating (I immediately wished I’d rolled up my sleeves first, because you can’t put the burger down after that). Sadly, that is very far from me, and I don’t know if I’ll ever have that burger again. I’m haunted by the picture I took of it. Mmmmmm..

(Jeff snaps out of it)
Ok, where were we? 🙂
Now we needed the heated bed.
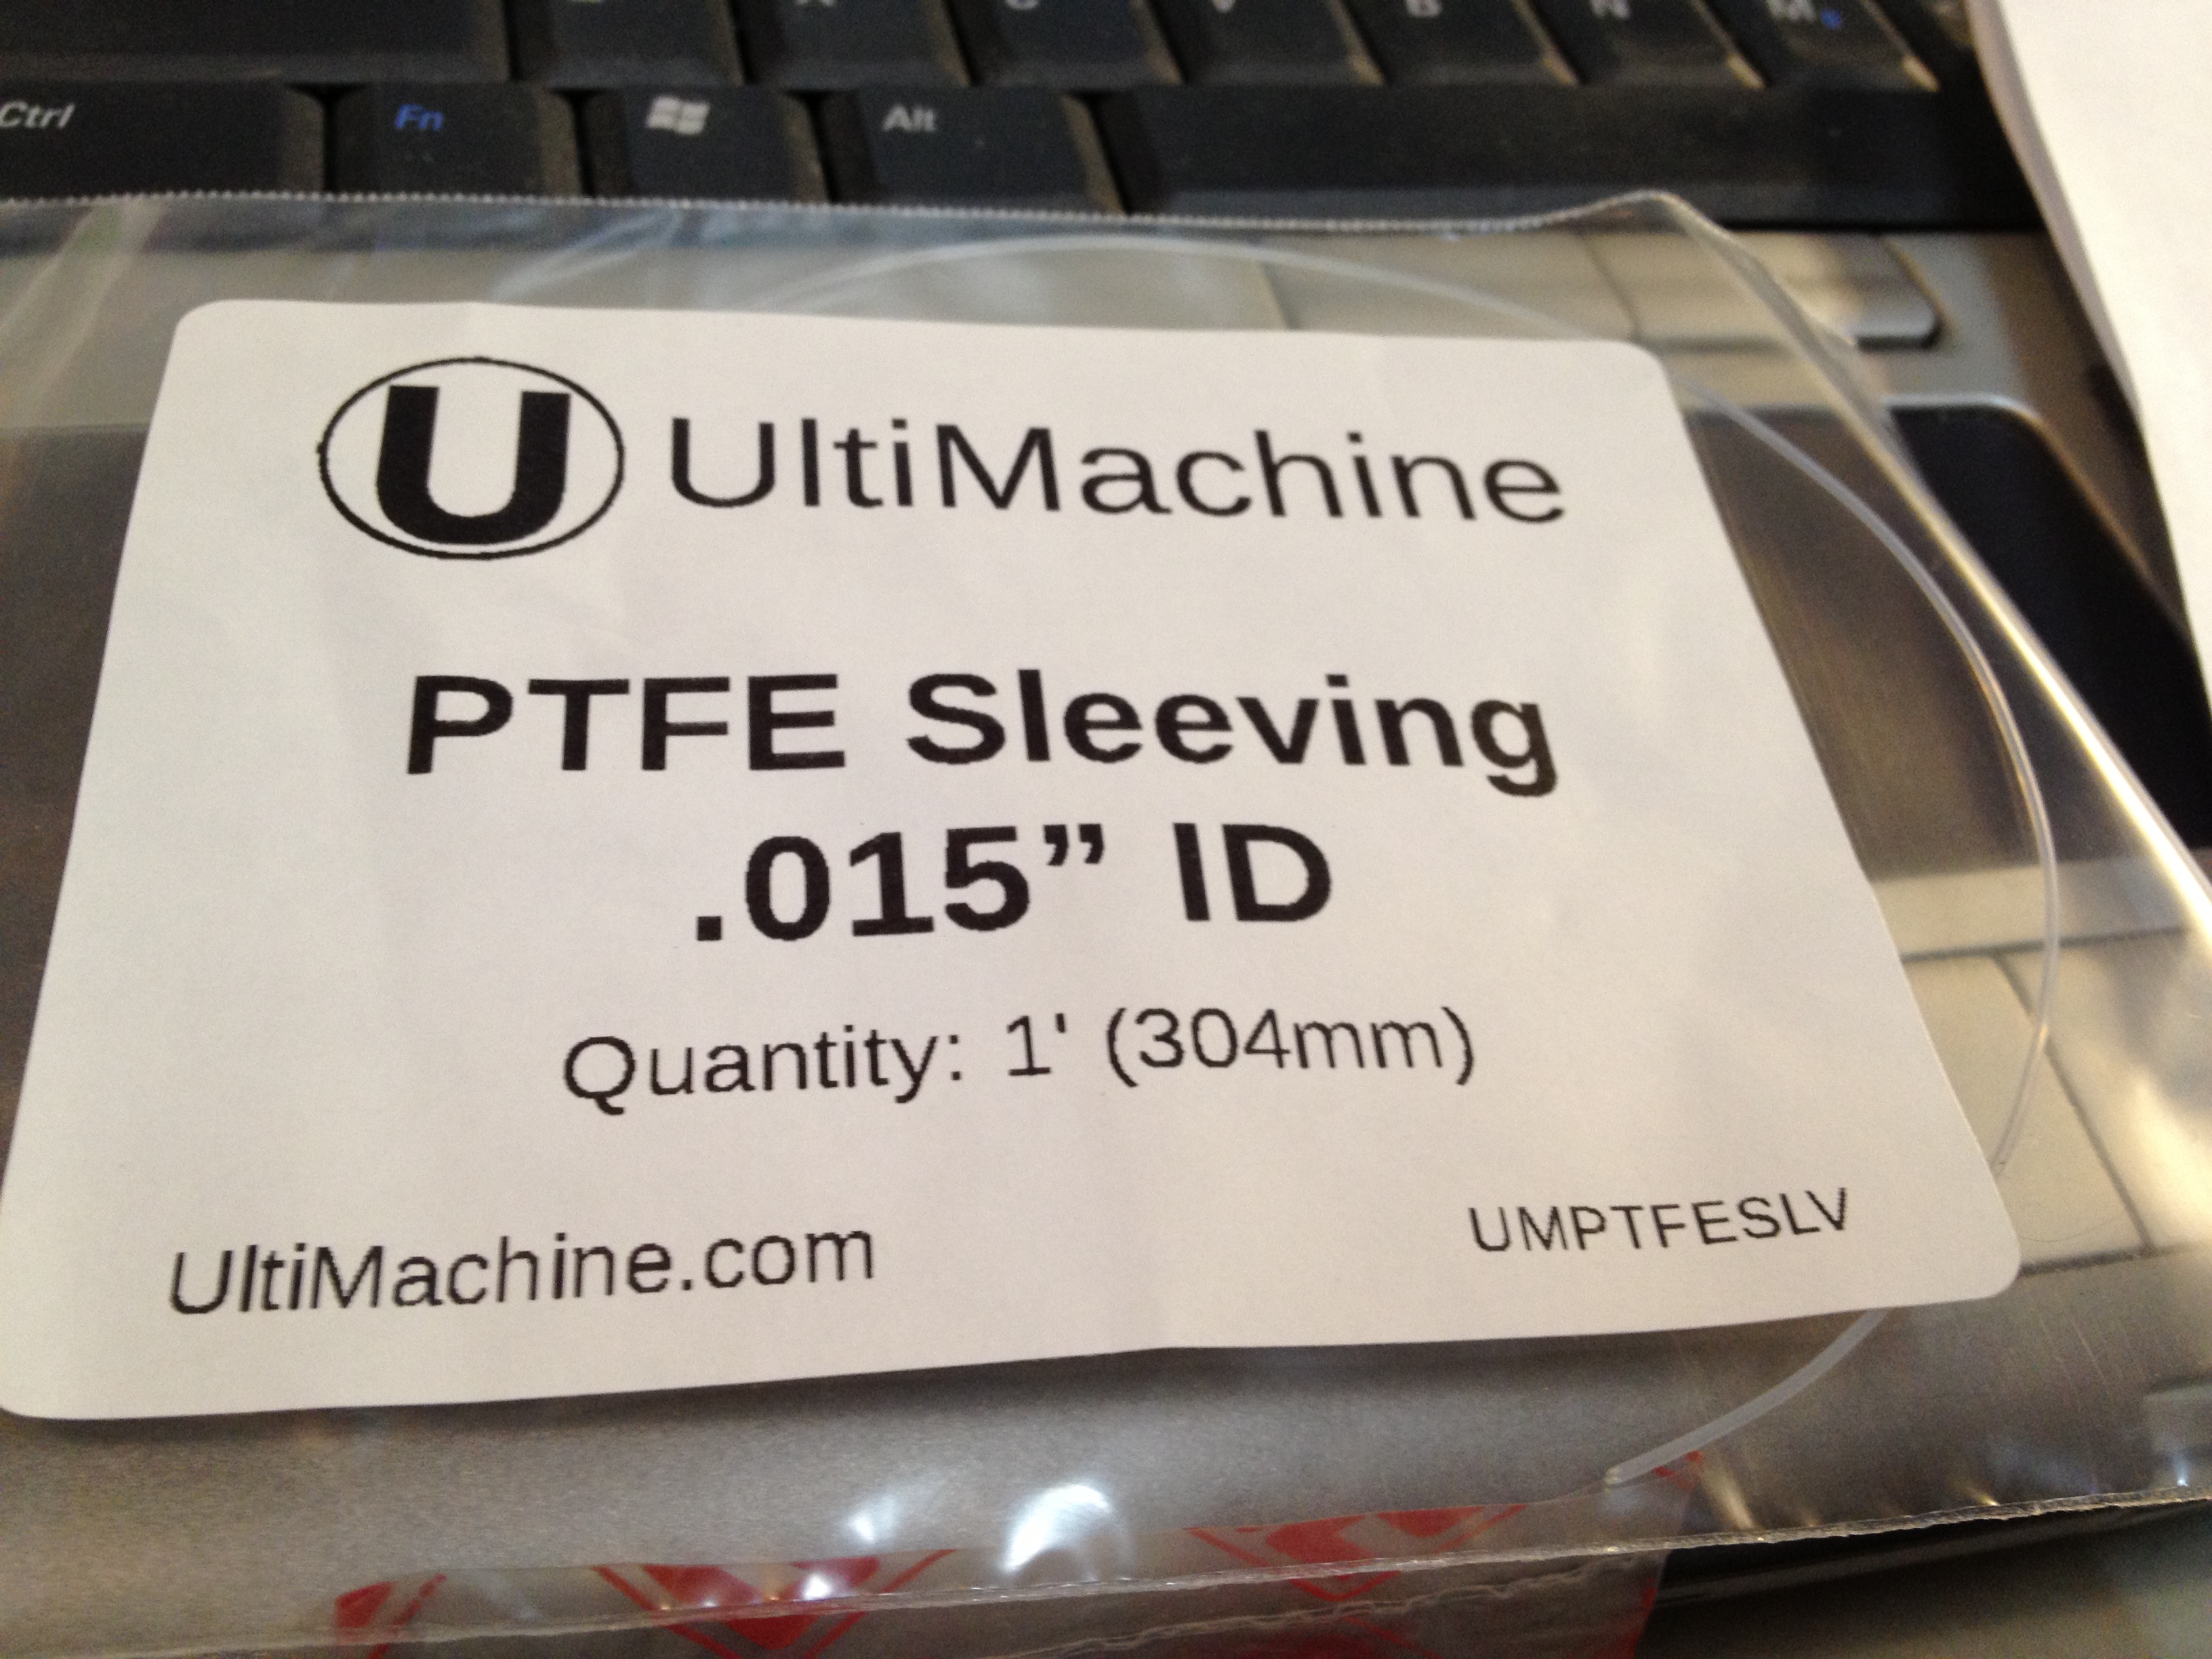
Here I am talking about using tiny PTFE tubing over the leads for the thermistor for the heated bed, and then heatshrinking it all up nice.
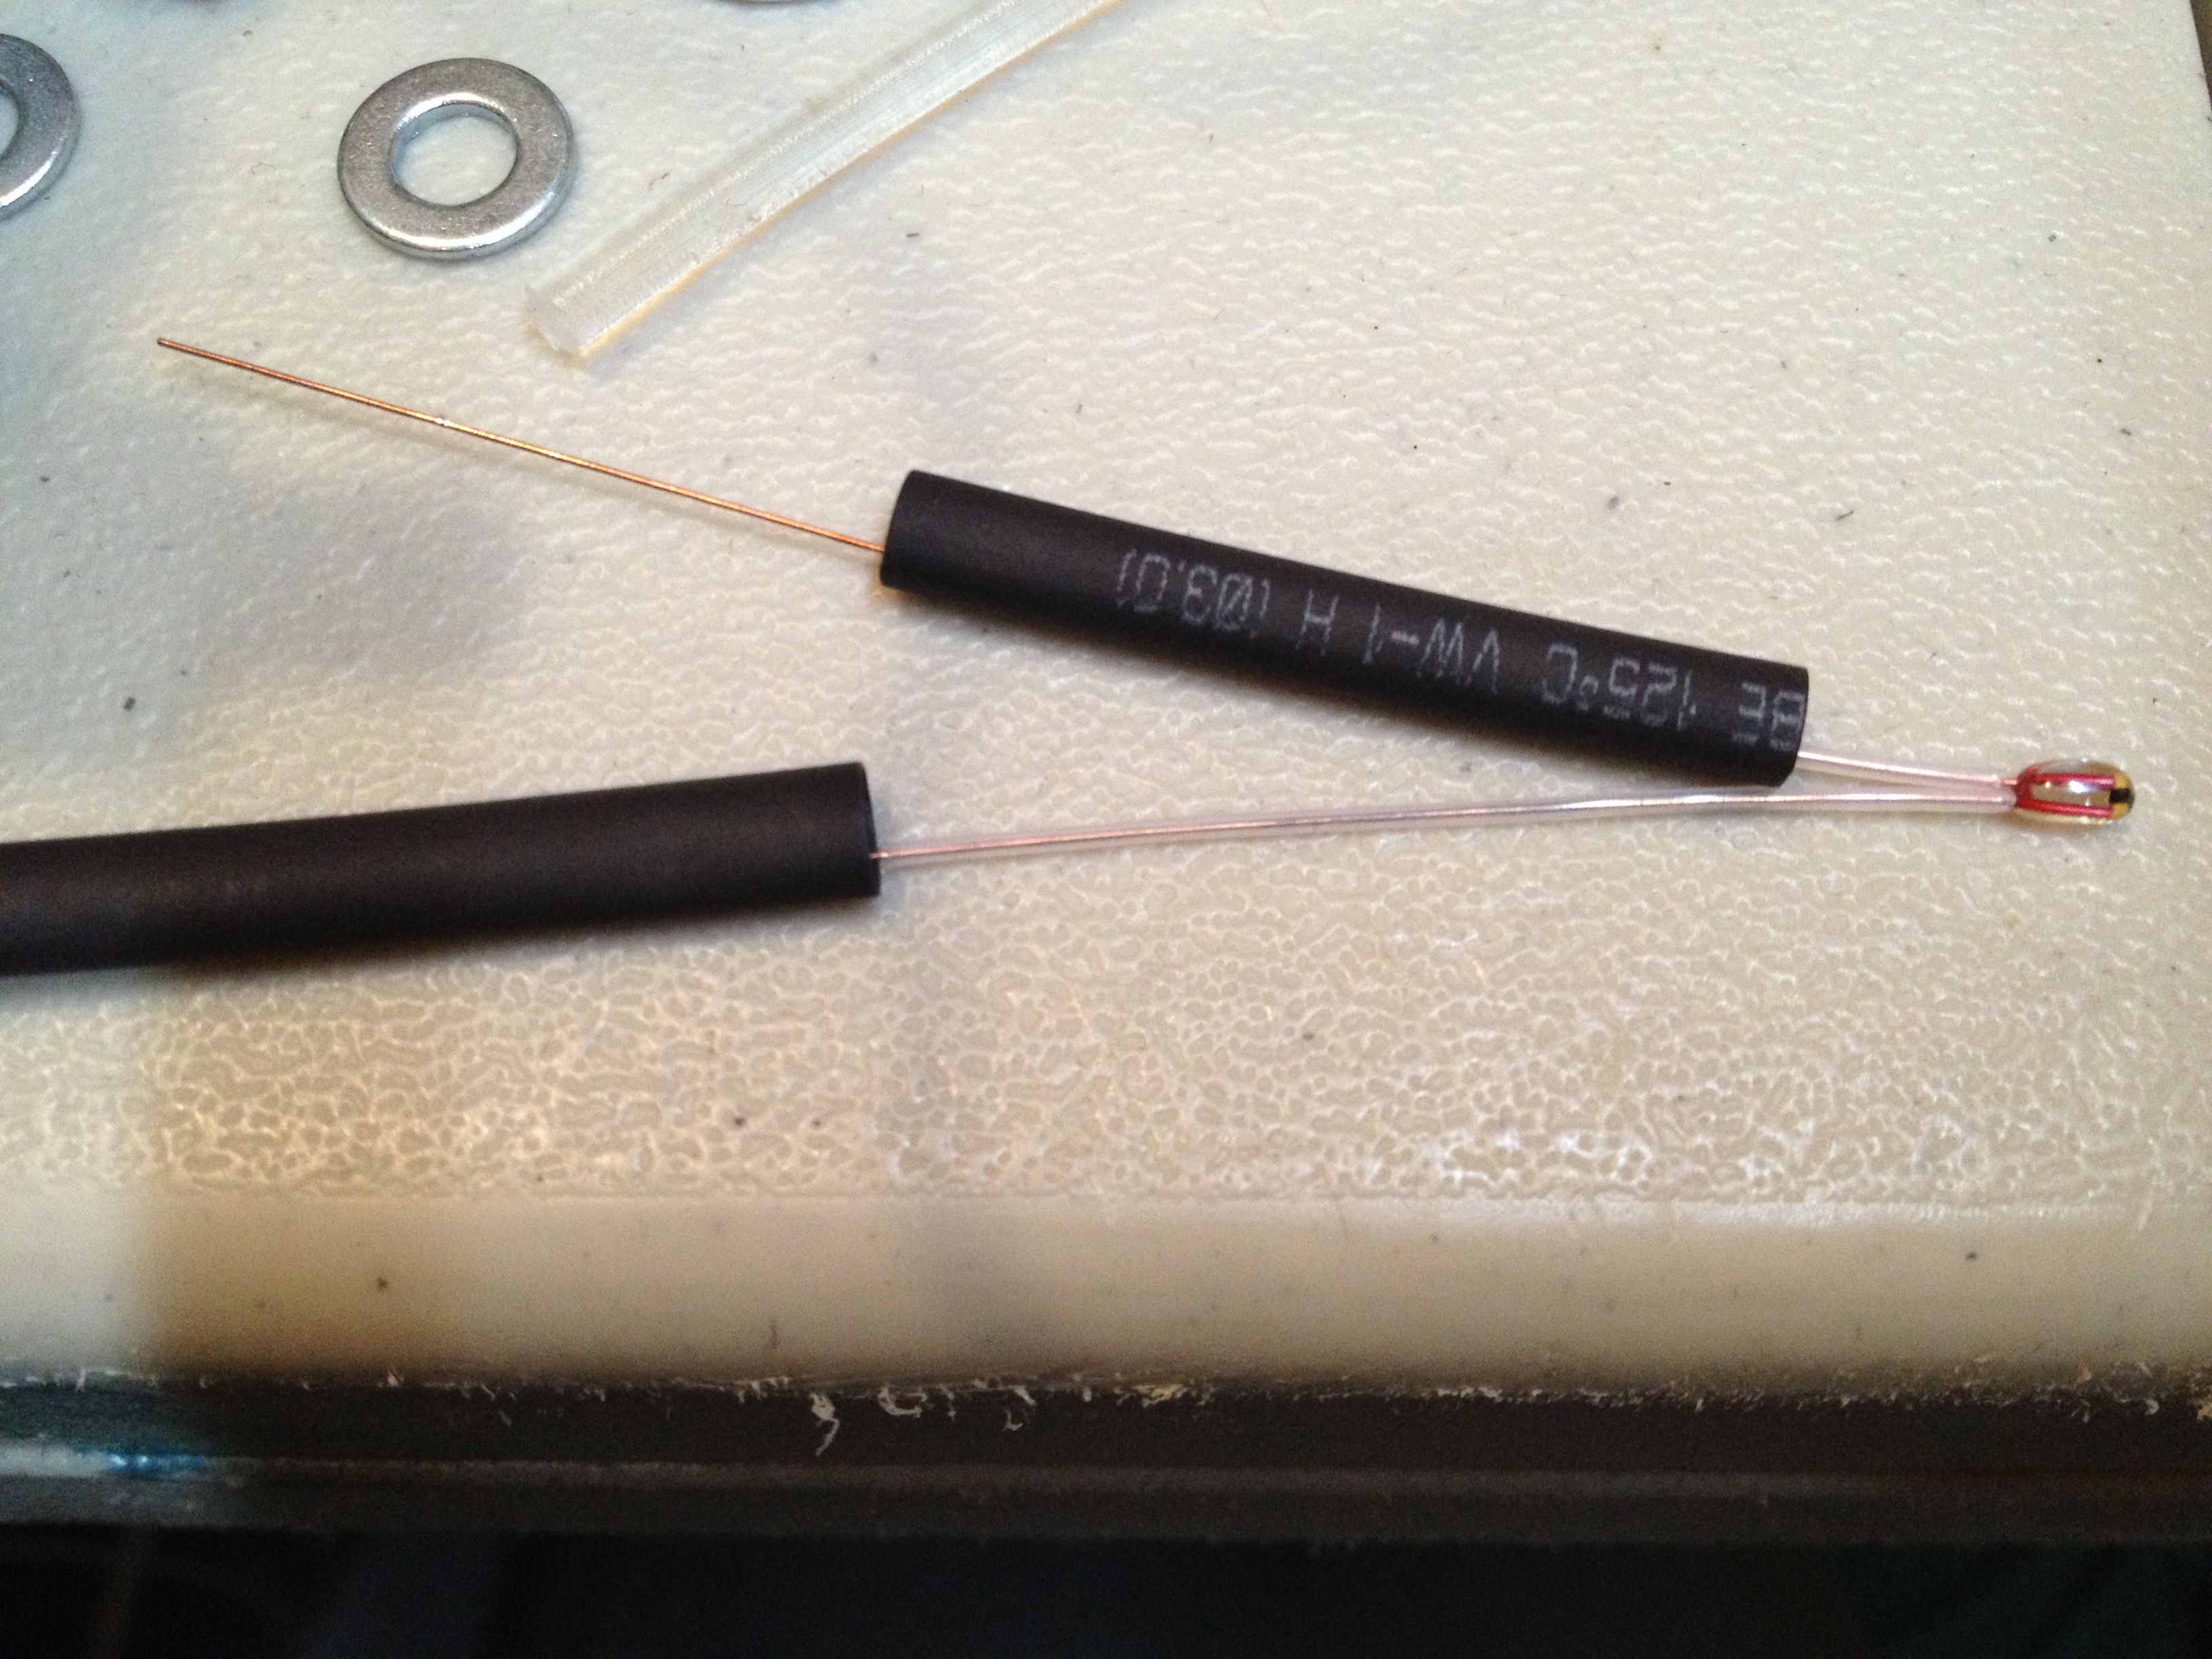
Here’s the beautiful result of my careful work on the thermistor for the heated bed:
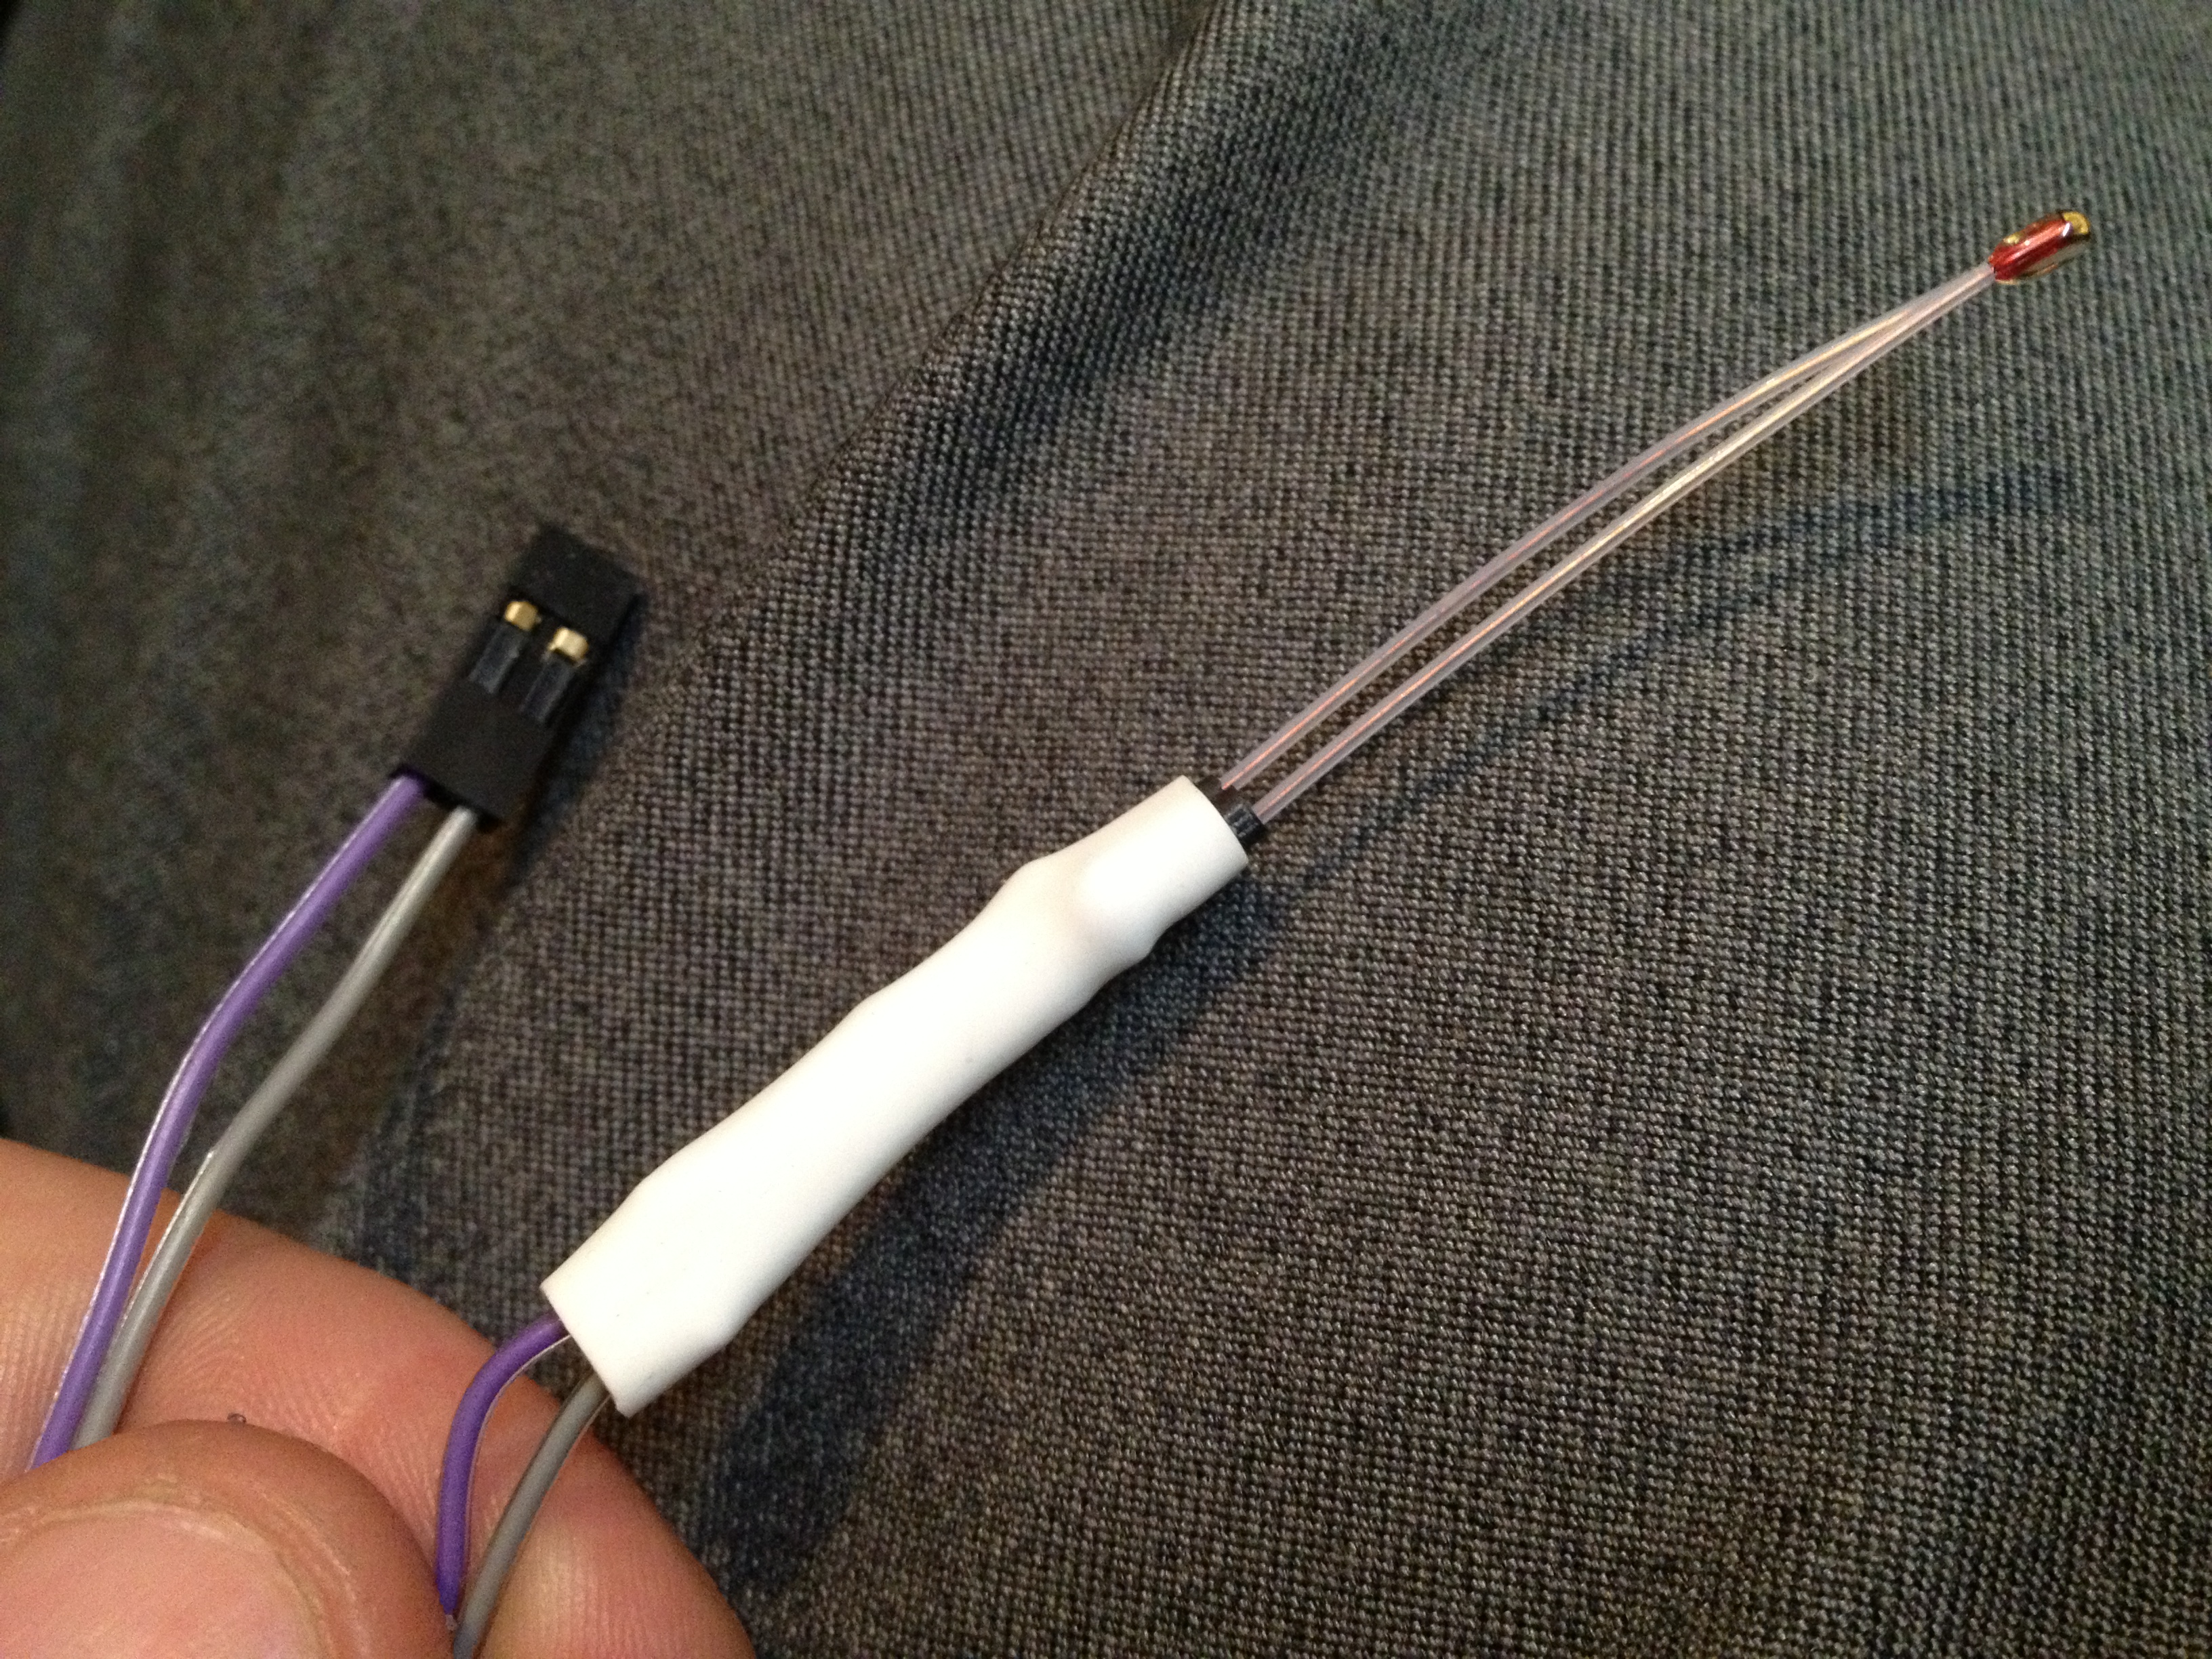
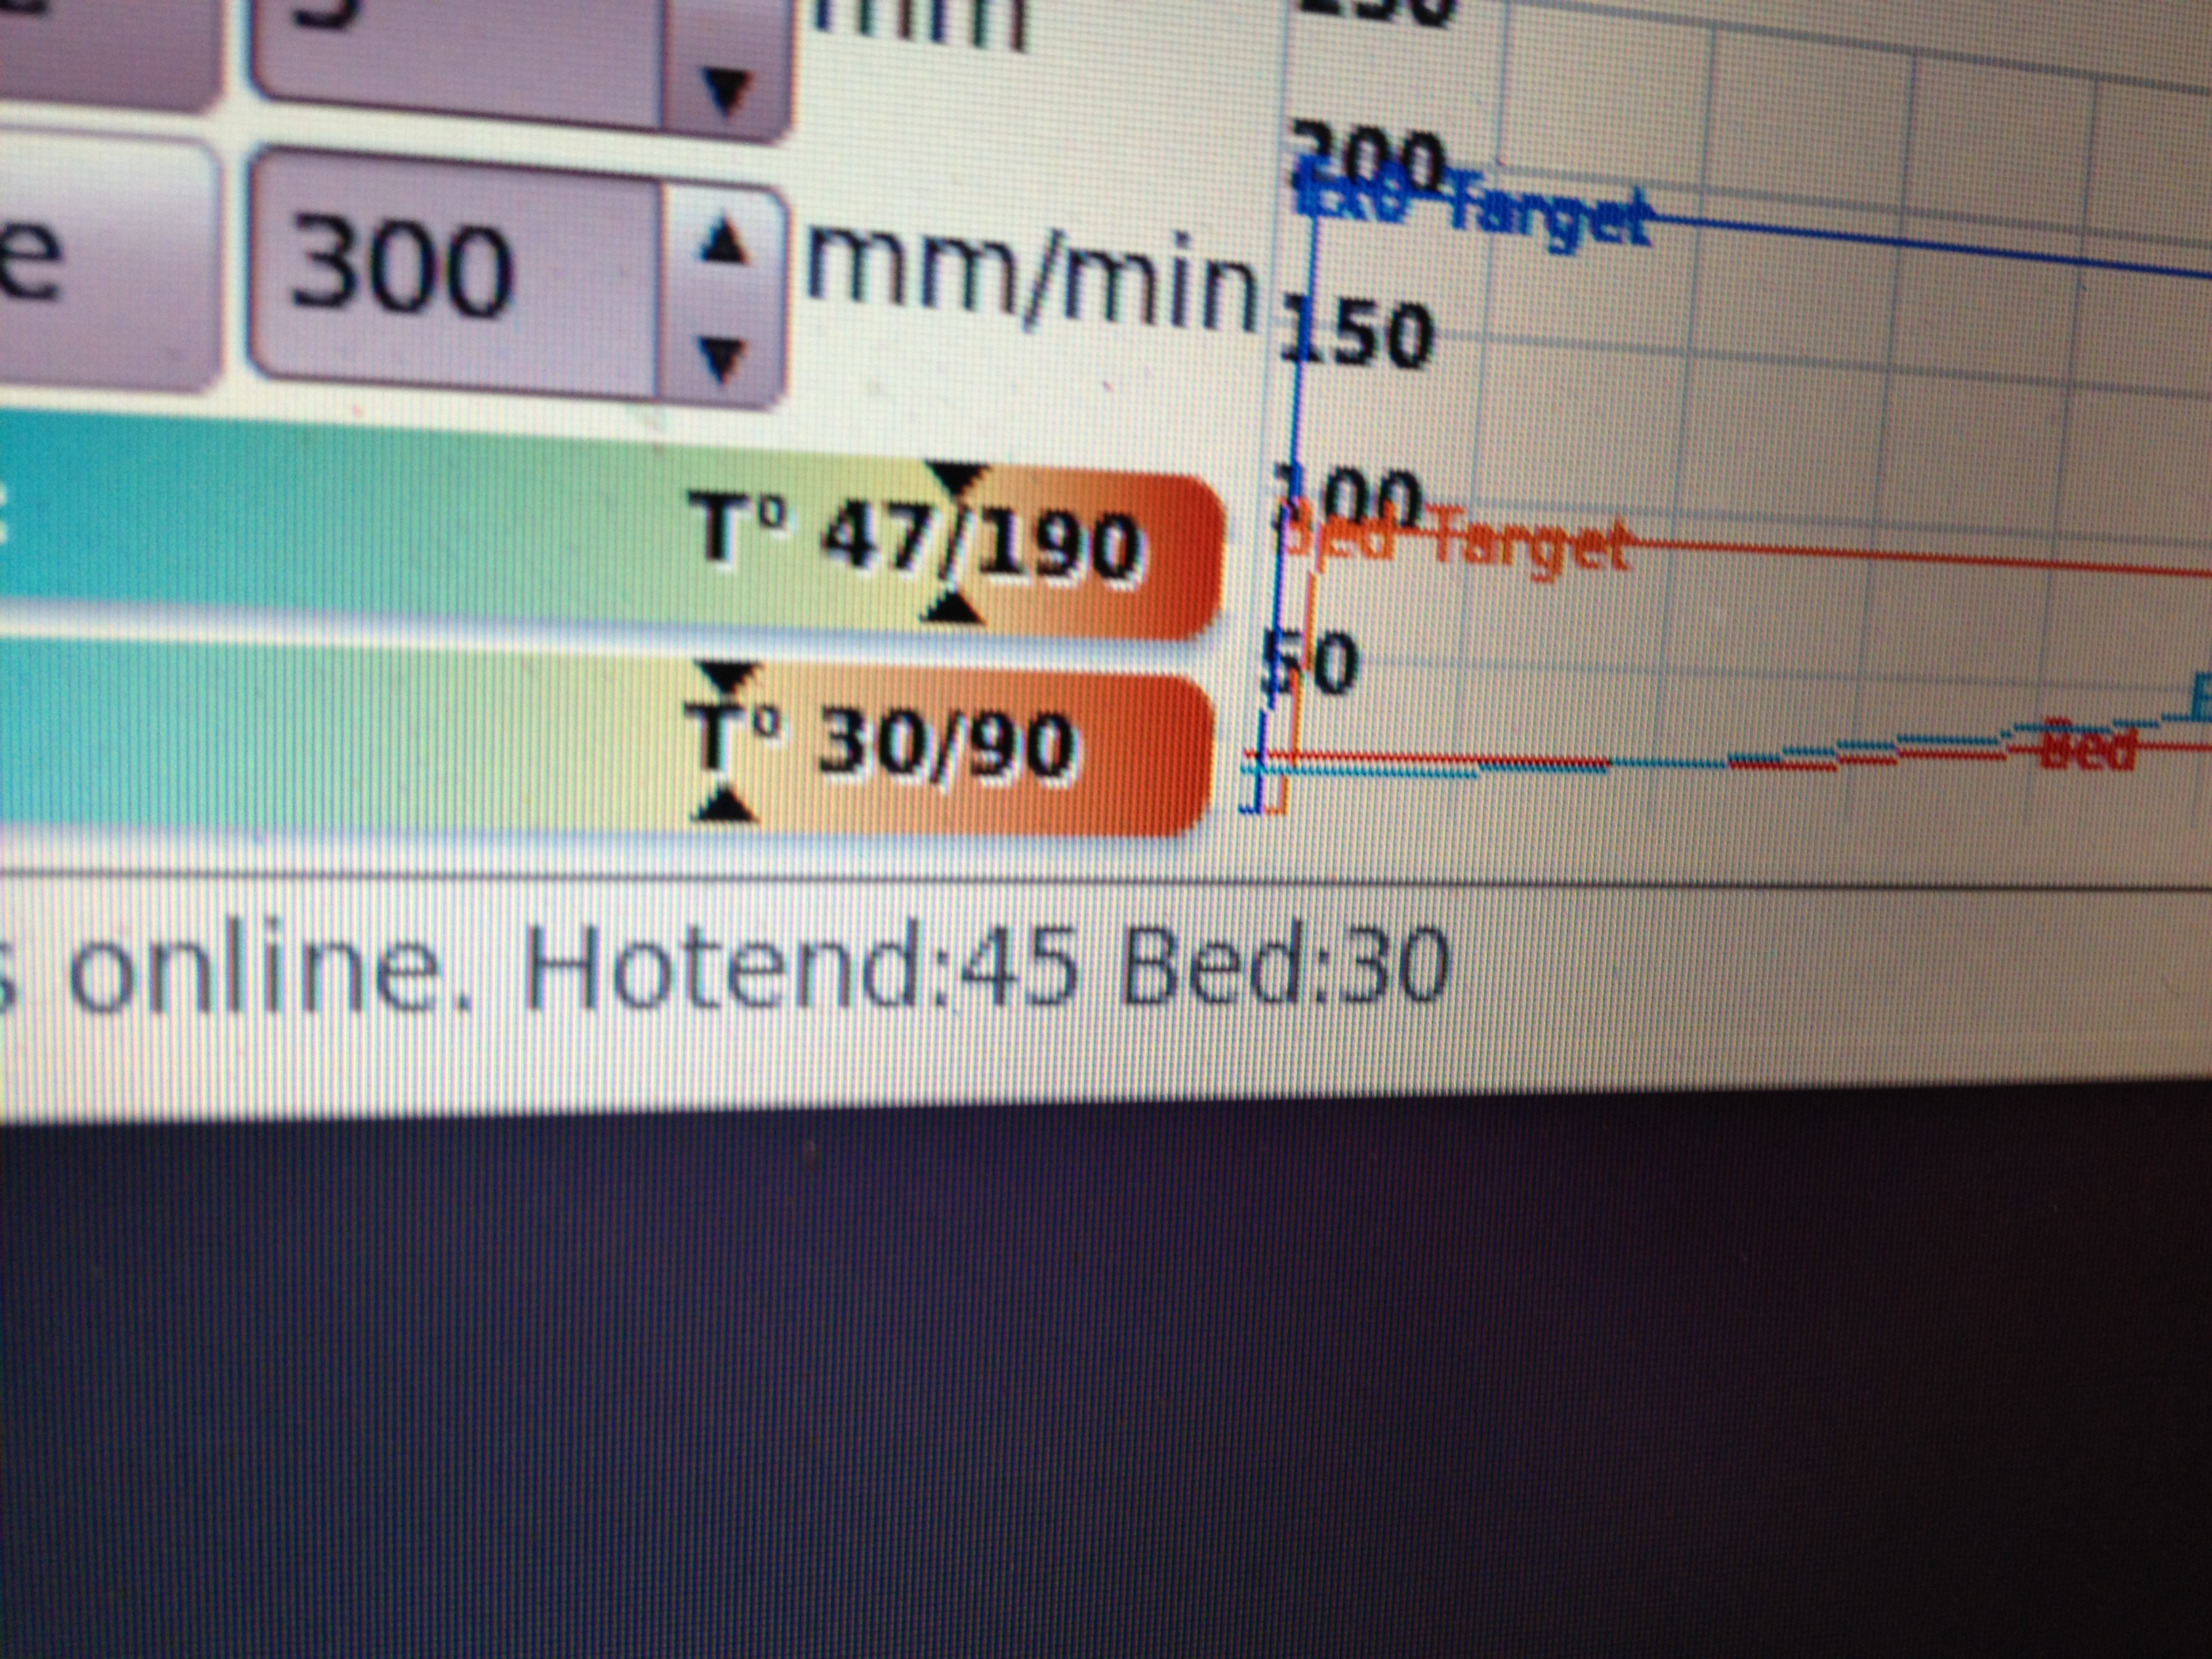
…and then proof that the thermistor was working:
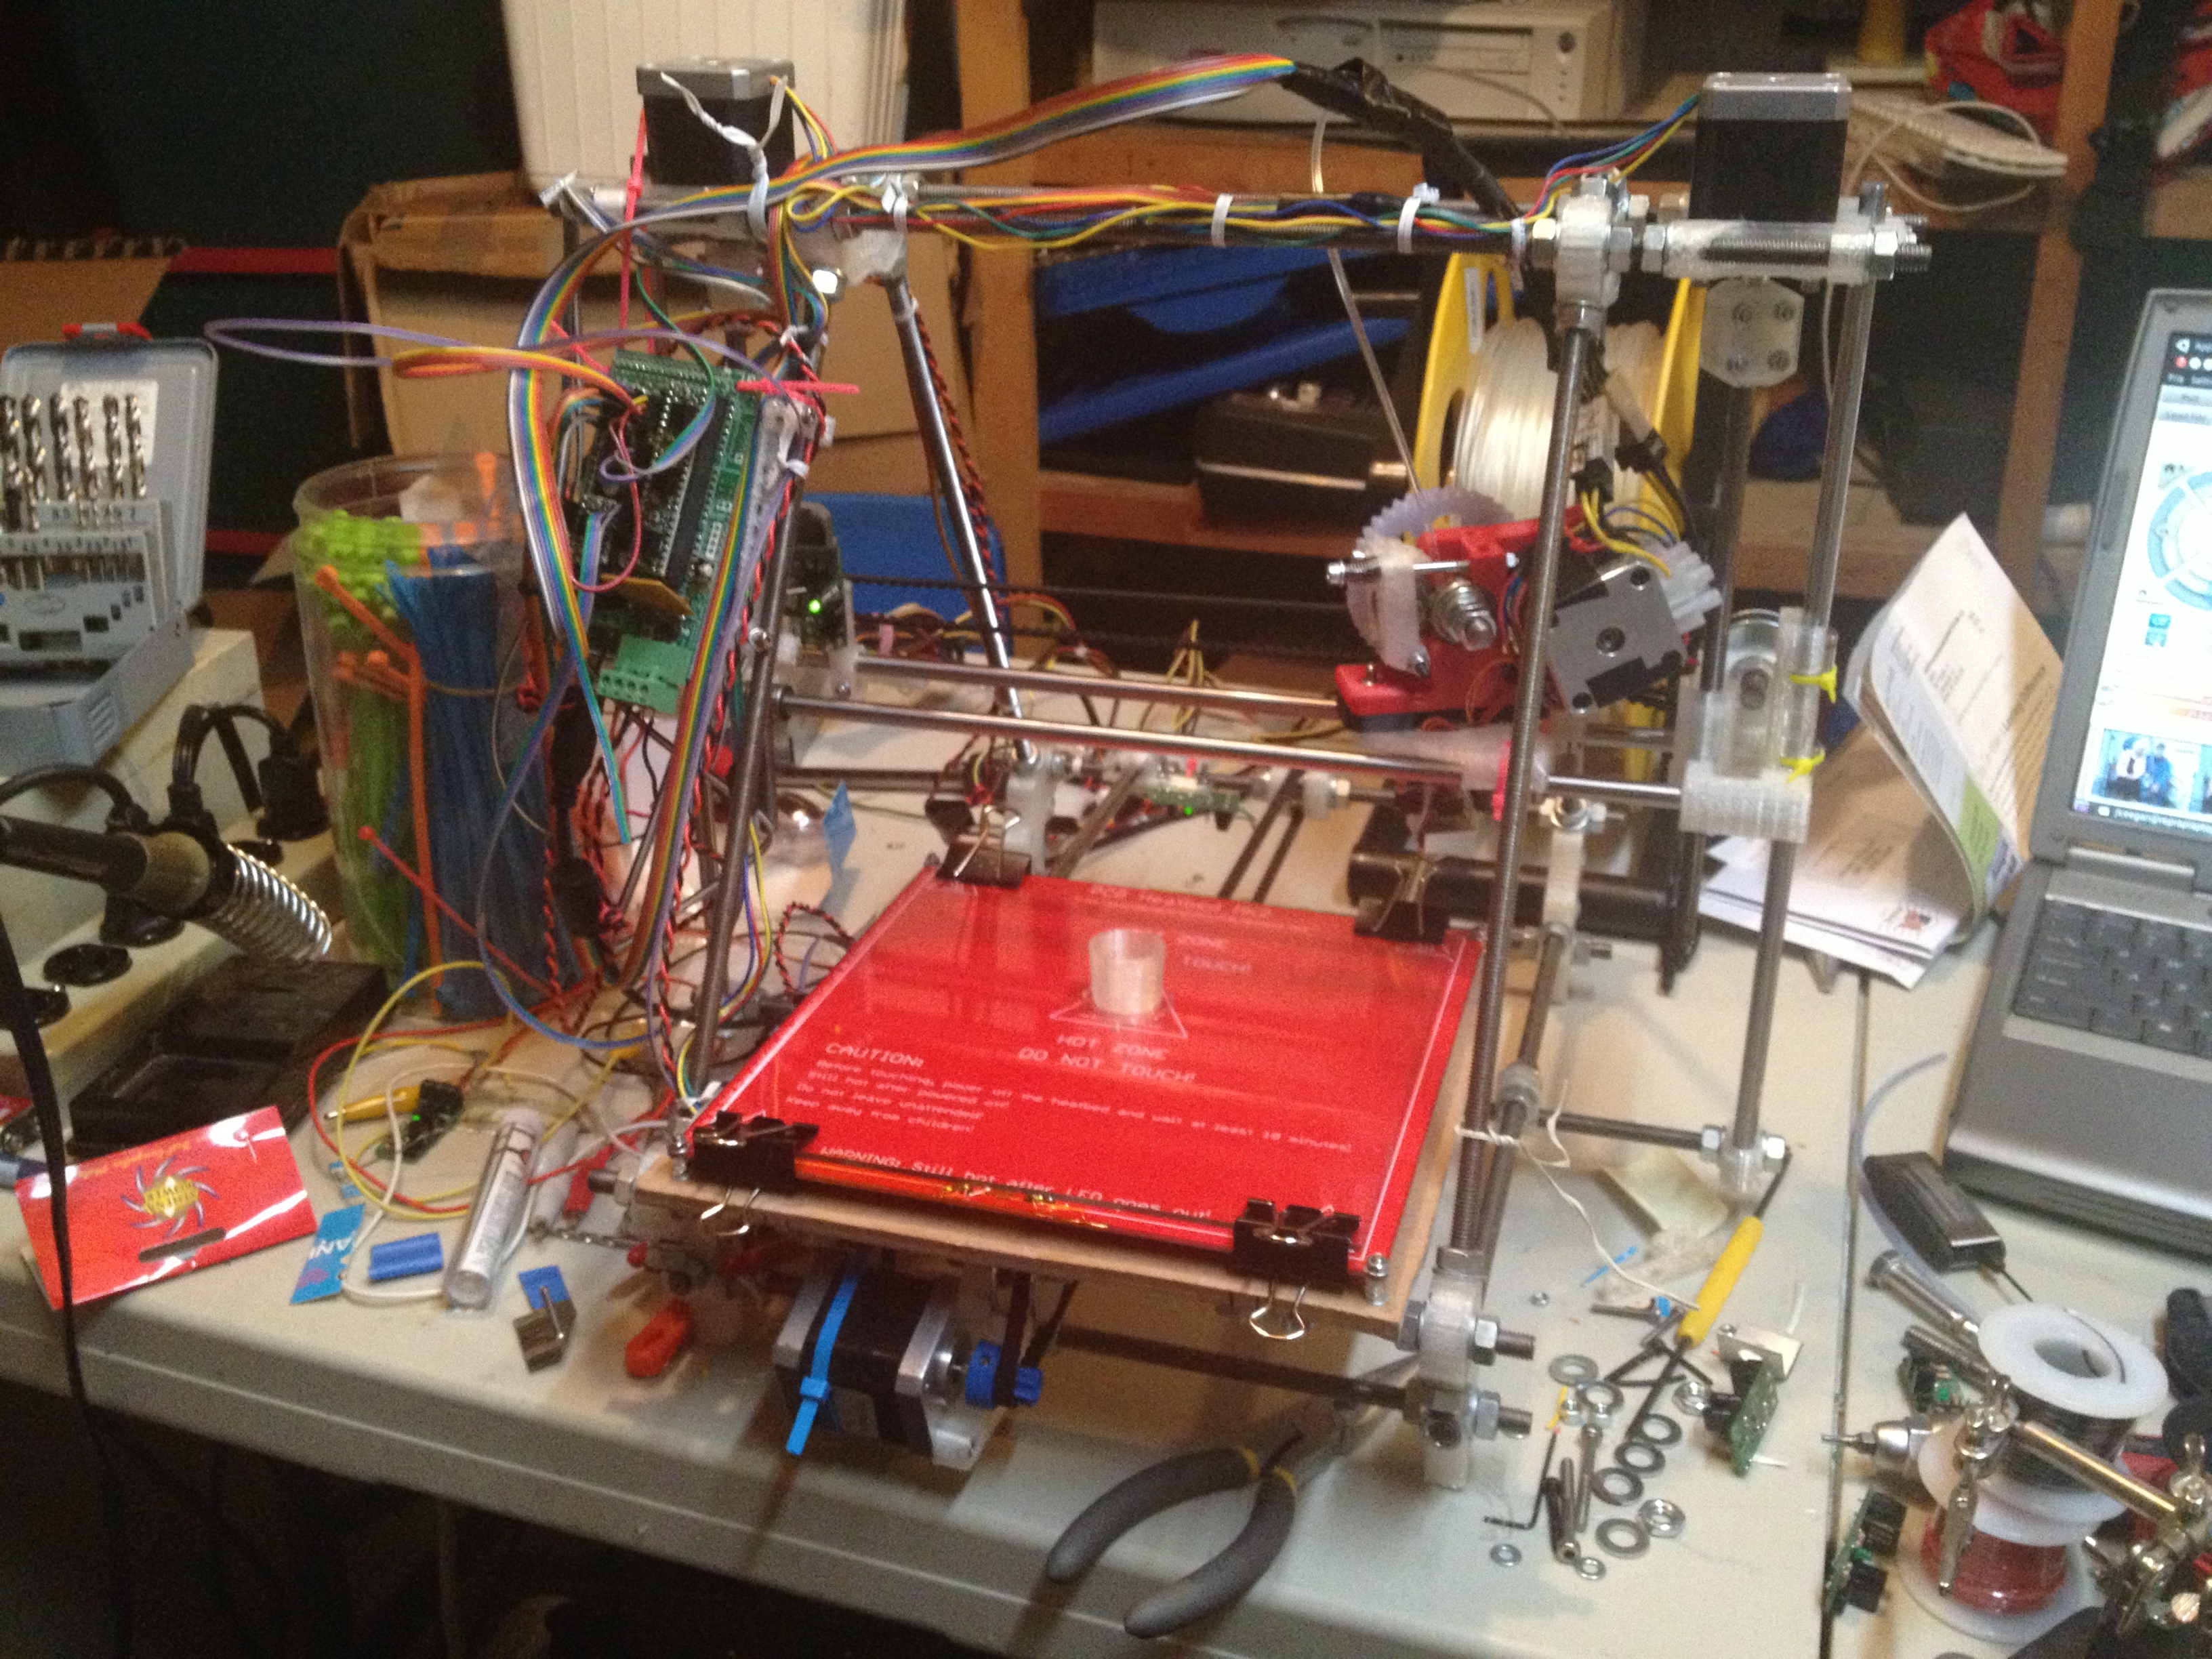
and here’s the heated bed fully installed, working, and moving:
(I’ve said it before, but I love the fact that with my first RepRap it was a LONG time before I ever got around to having a heated bed, and then after that, I don’t even consider a printer finished until it has one. We keep raising the bar. 🙂 )
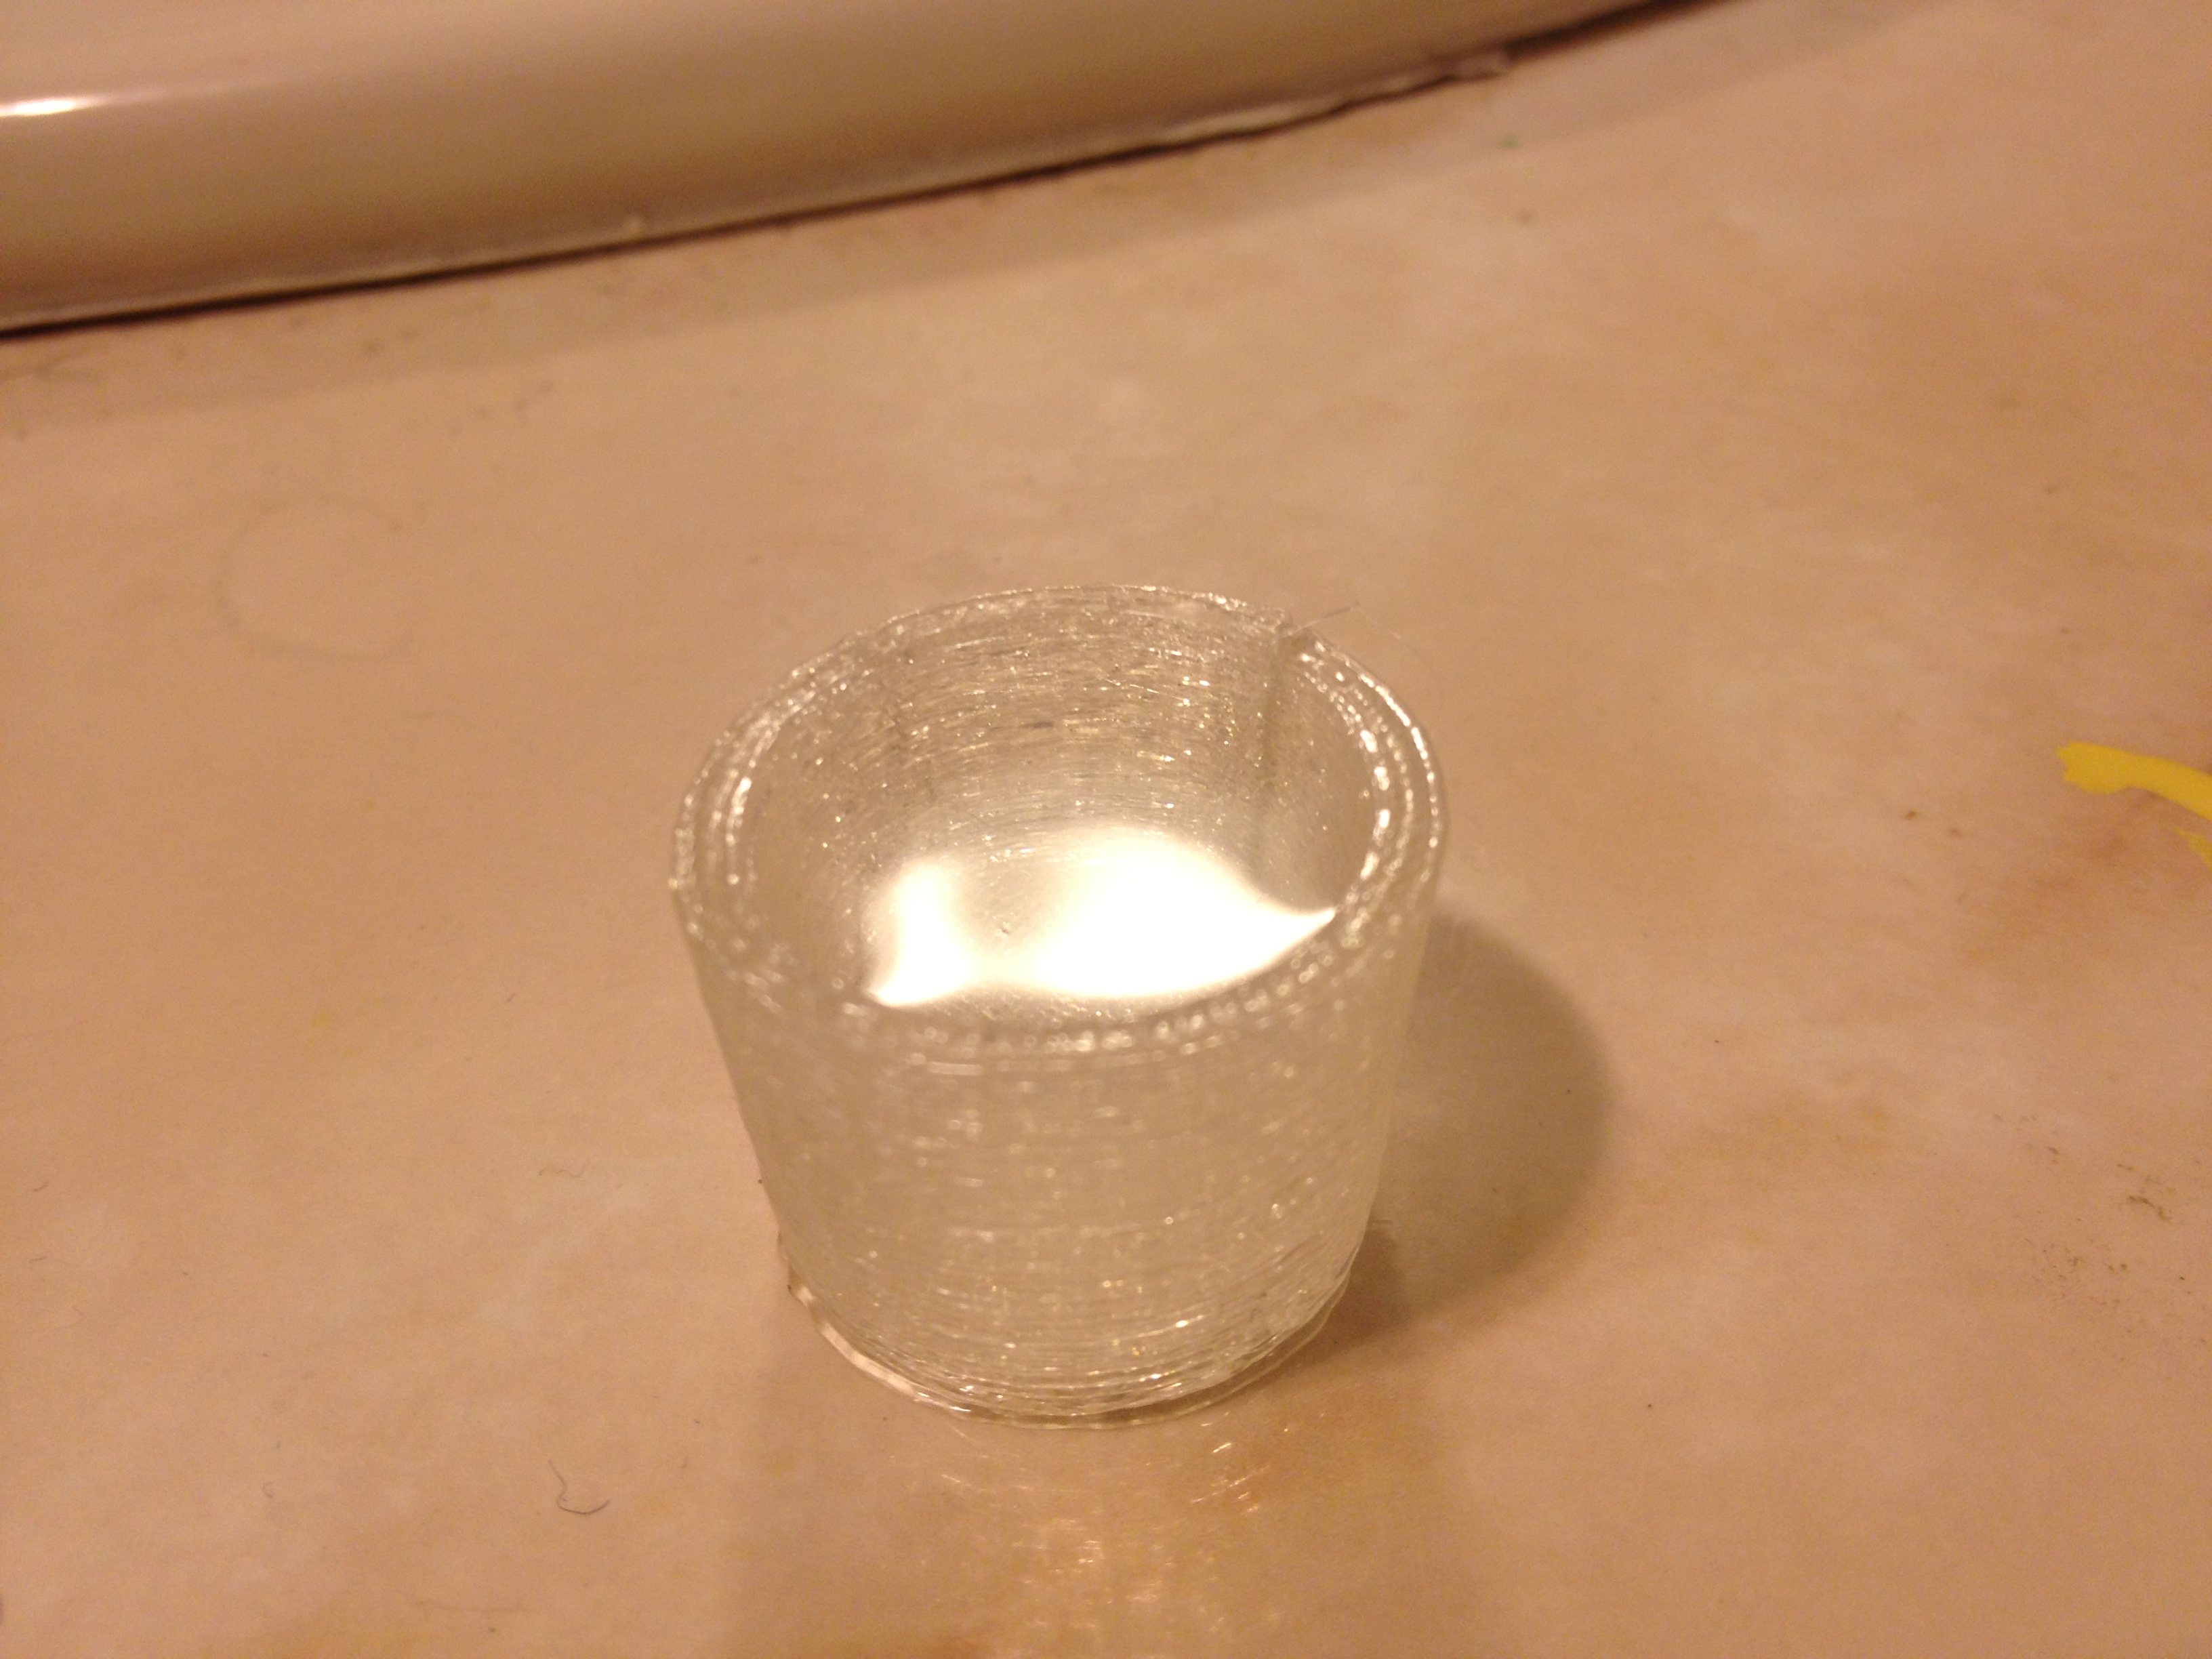
Continuing on the rapid progress, on Wednesday January 23rd 2013 at 6:22am, the Museum of Science’s RepRap had it’s FIRST PRINT!
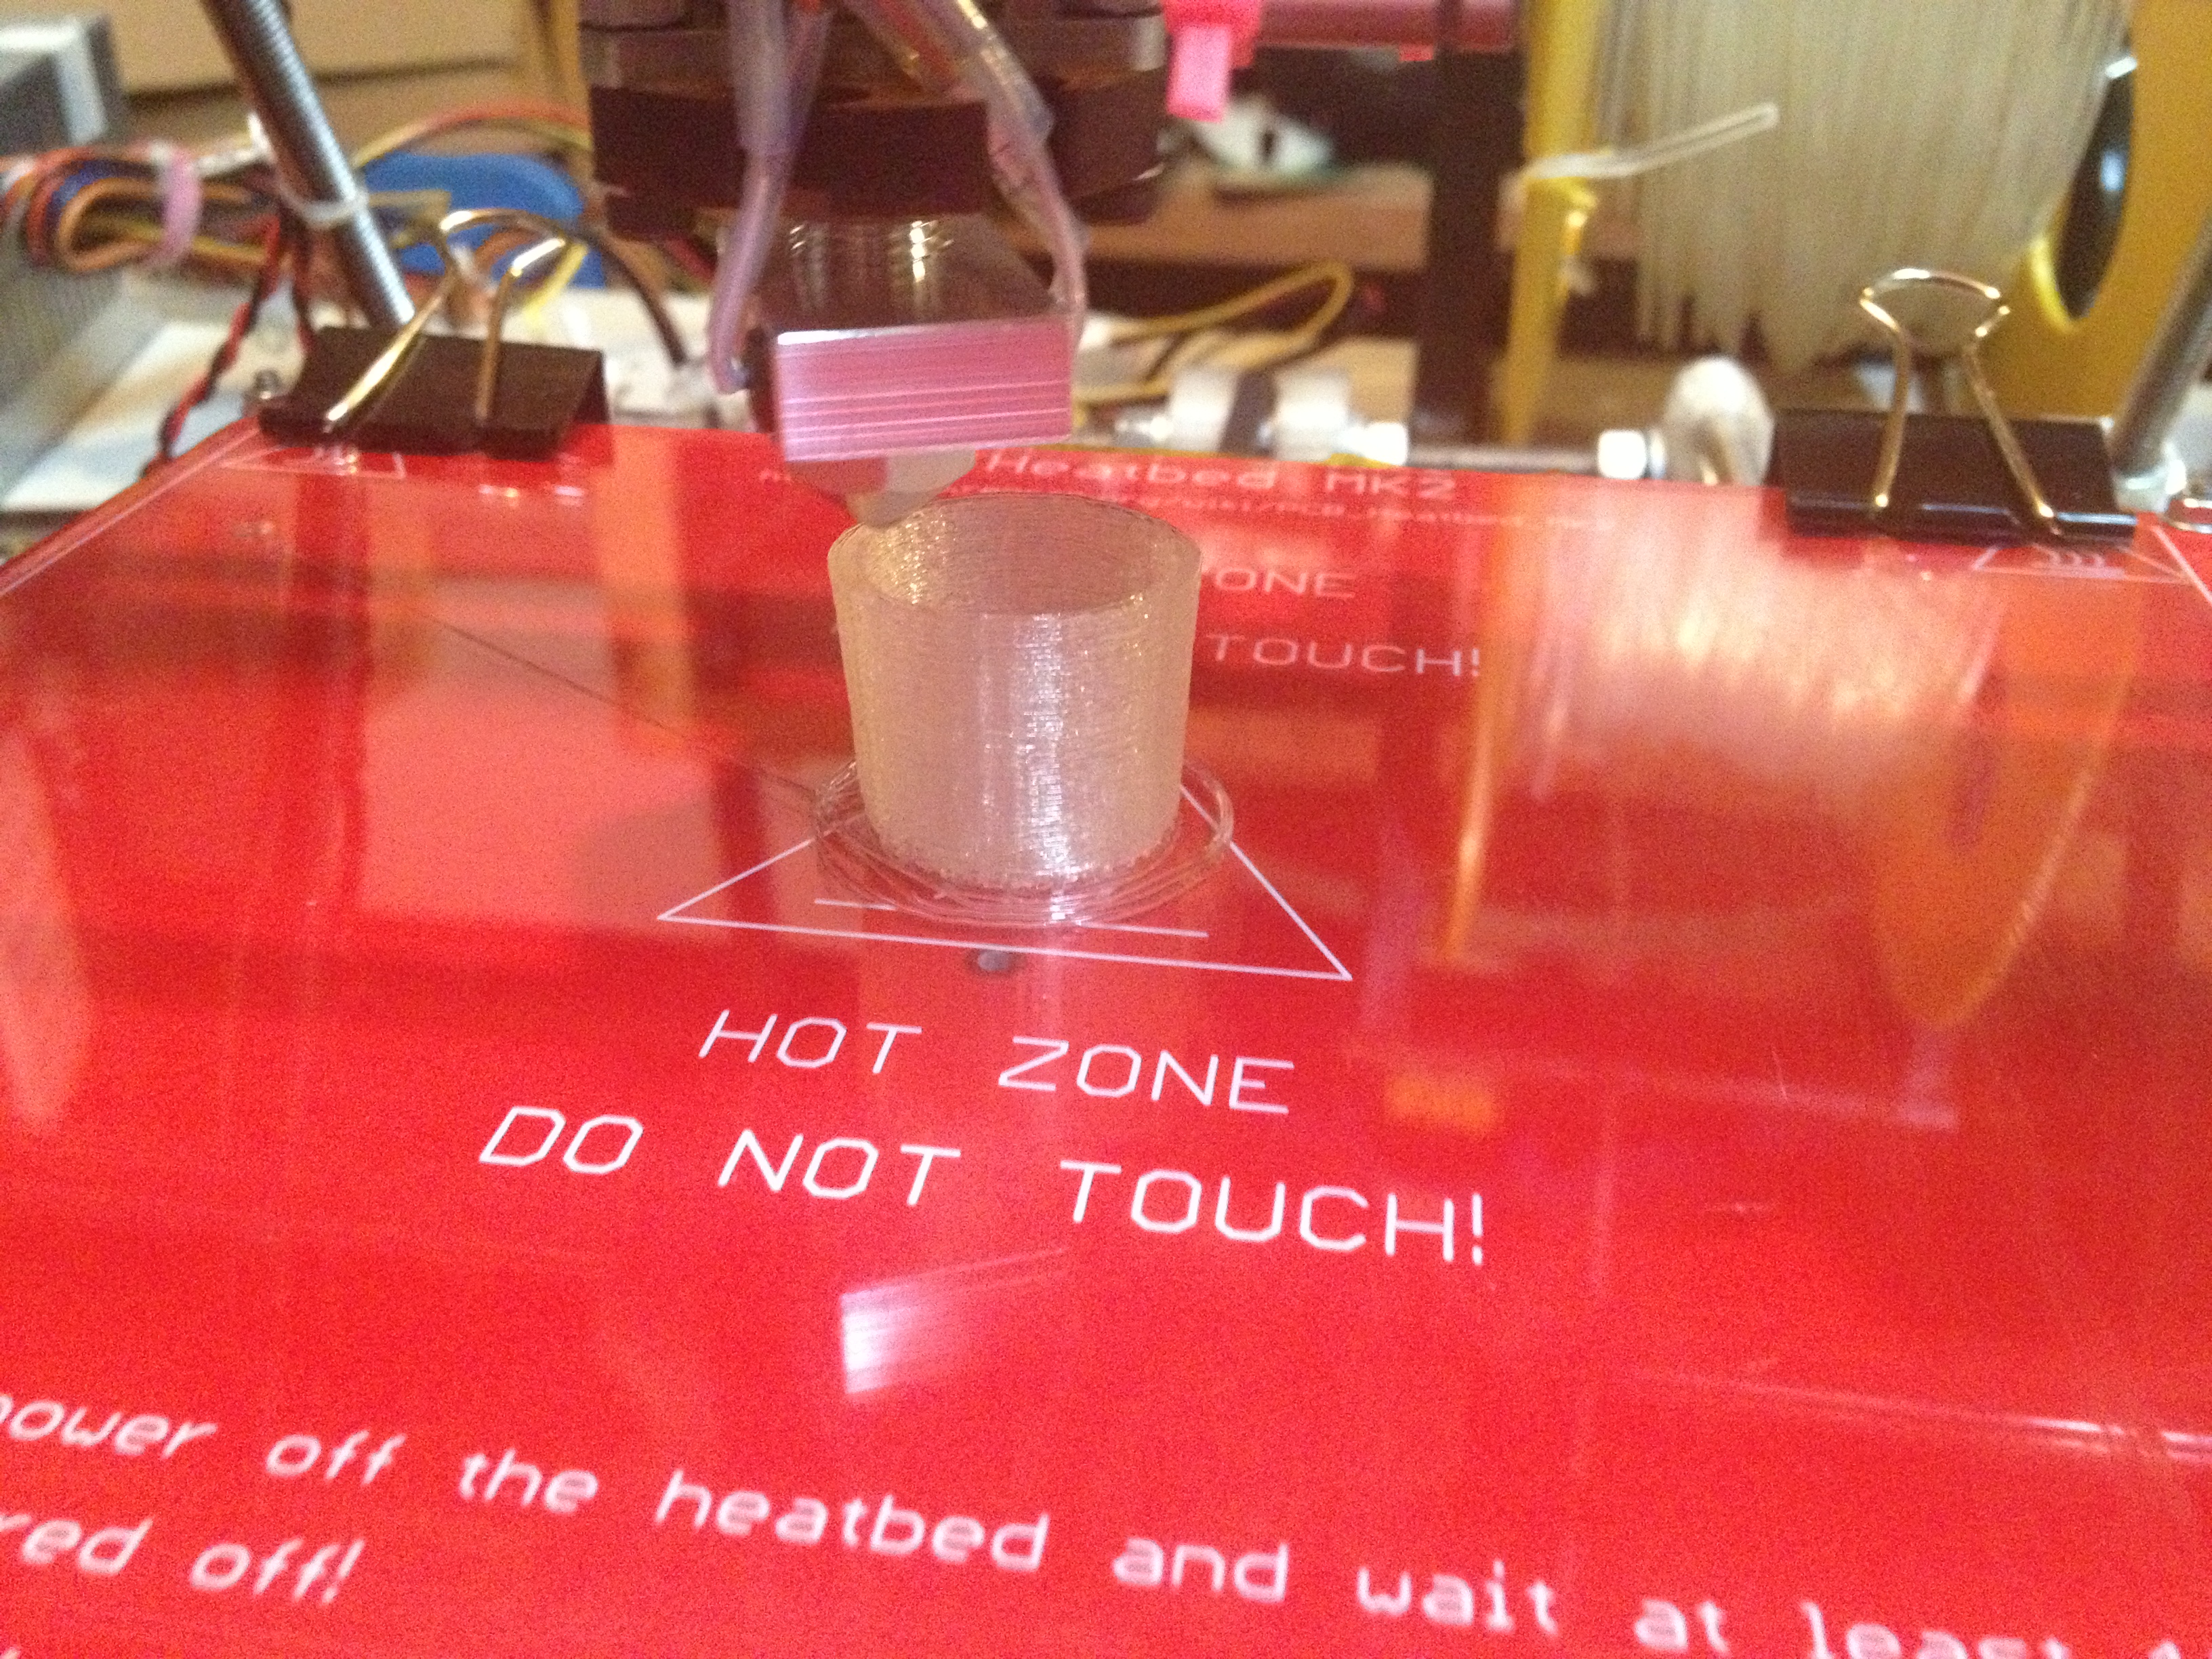
…and the result!
All of this was on its first try!
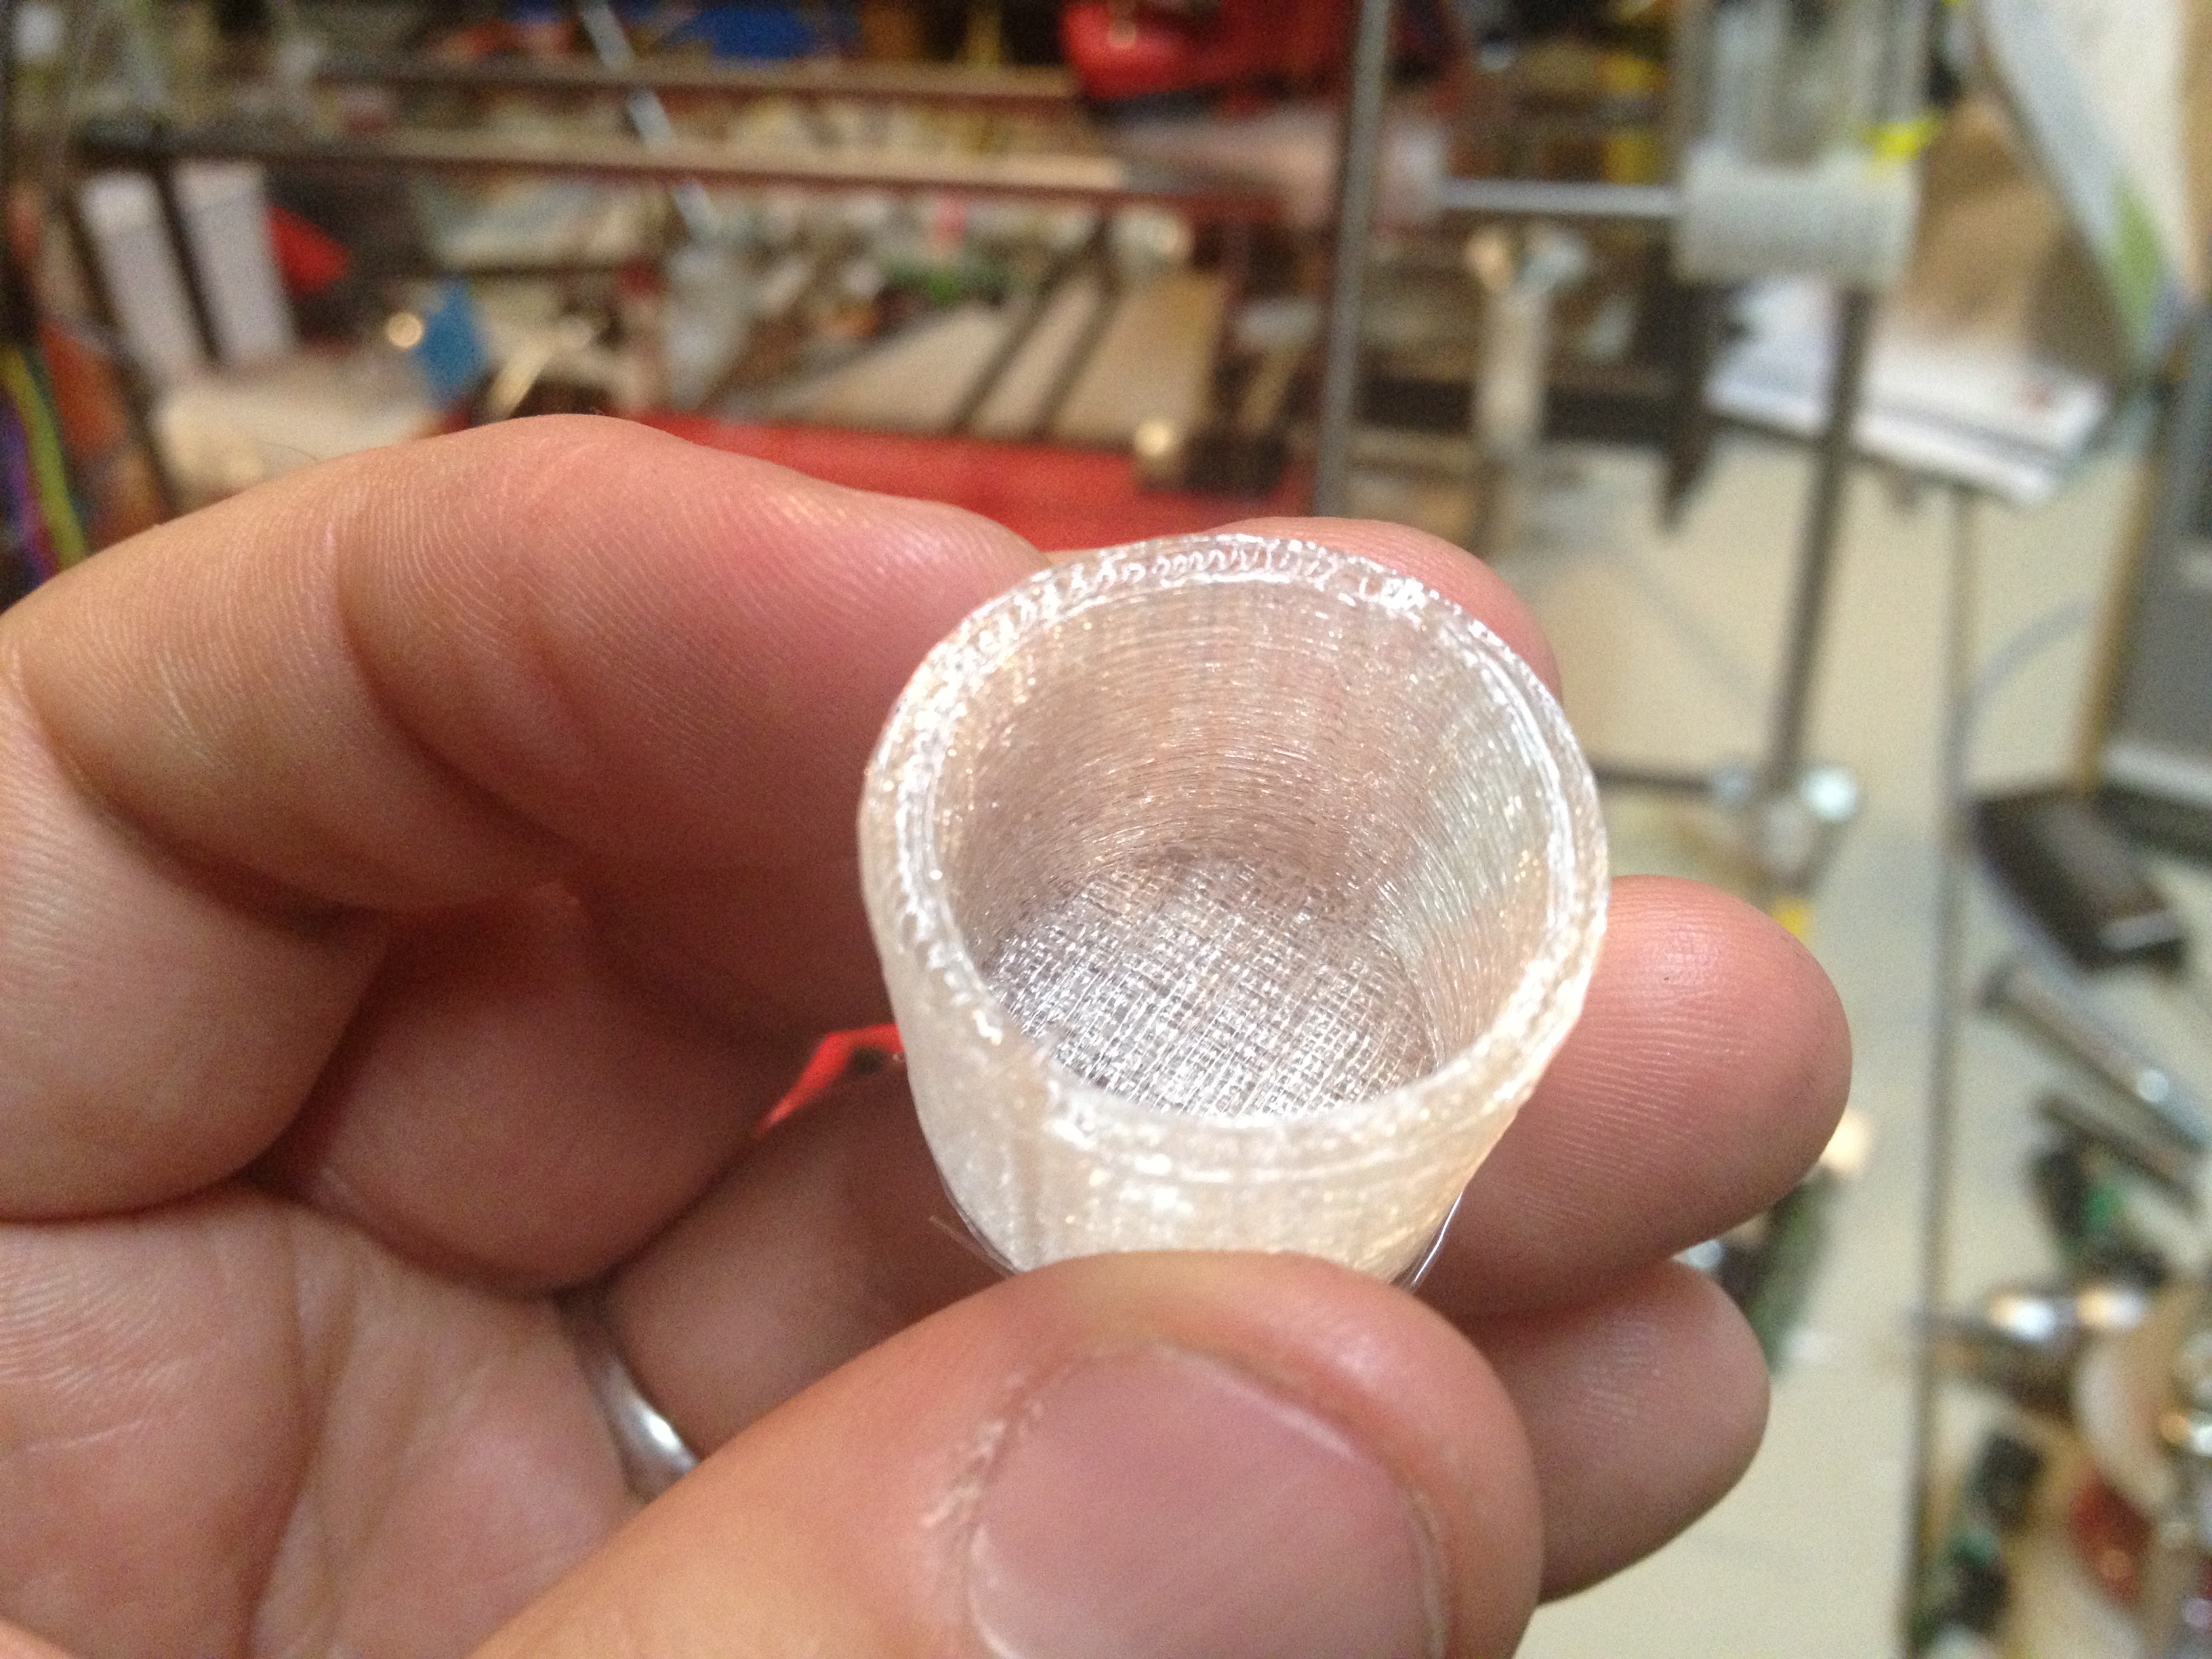
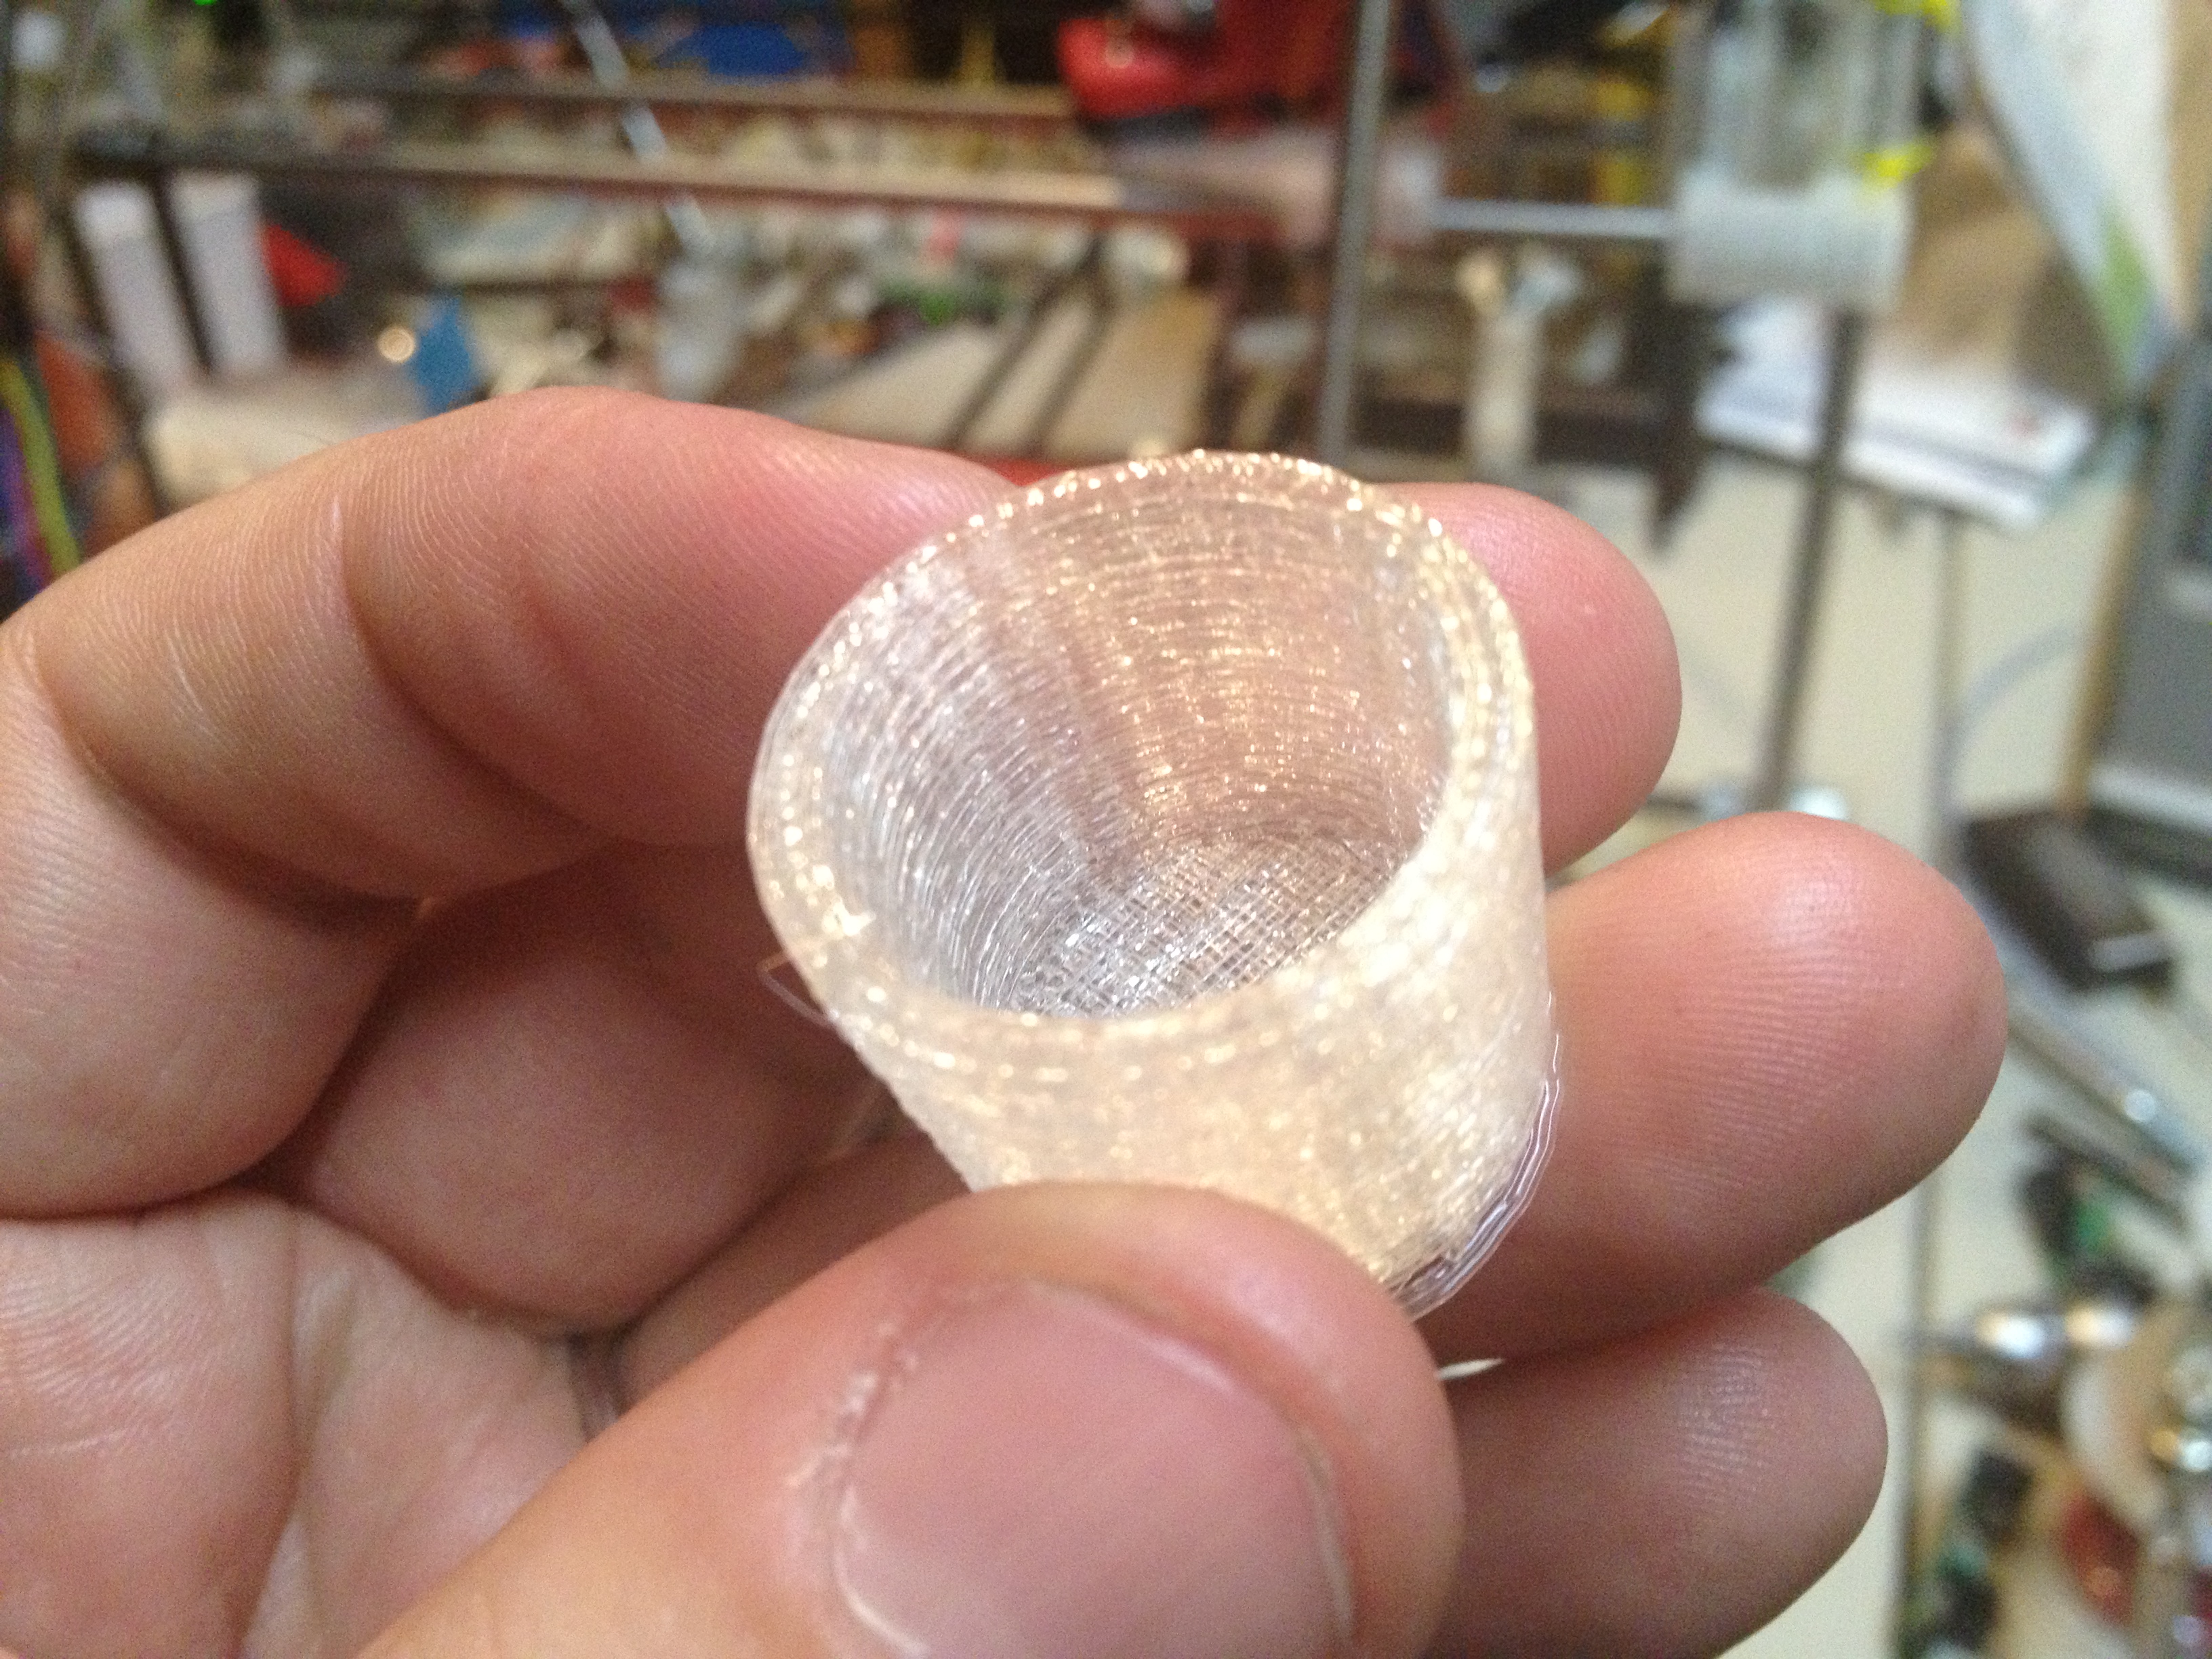
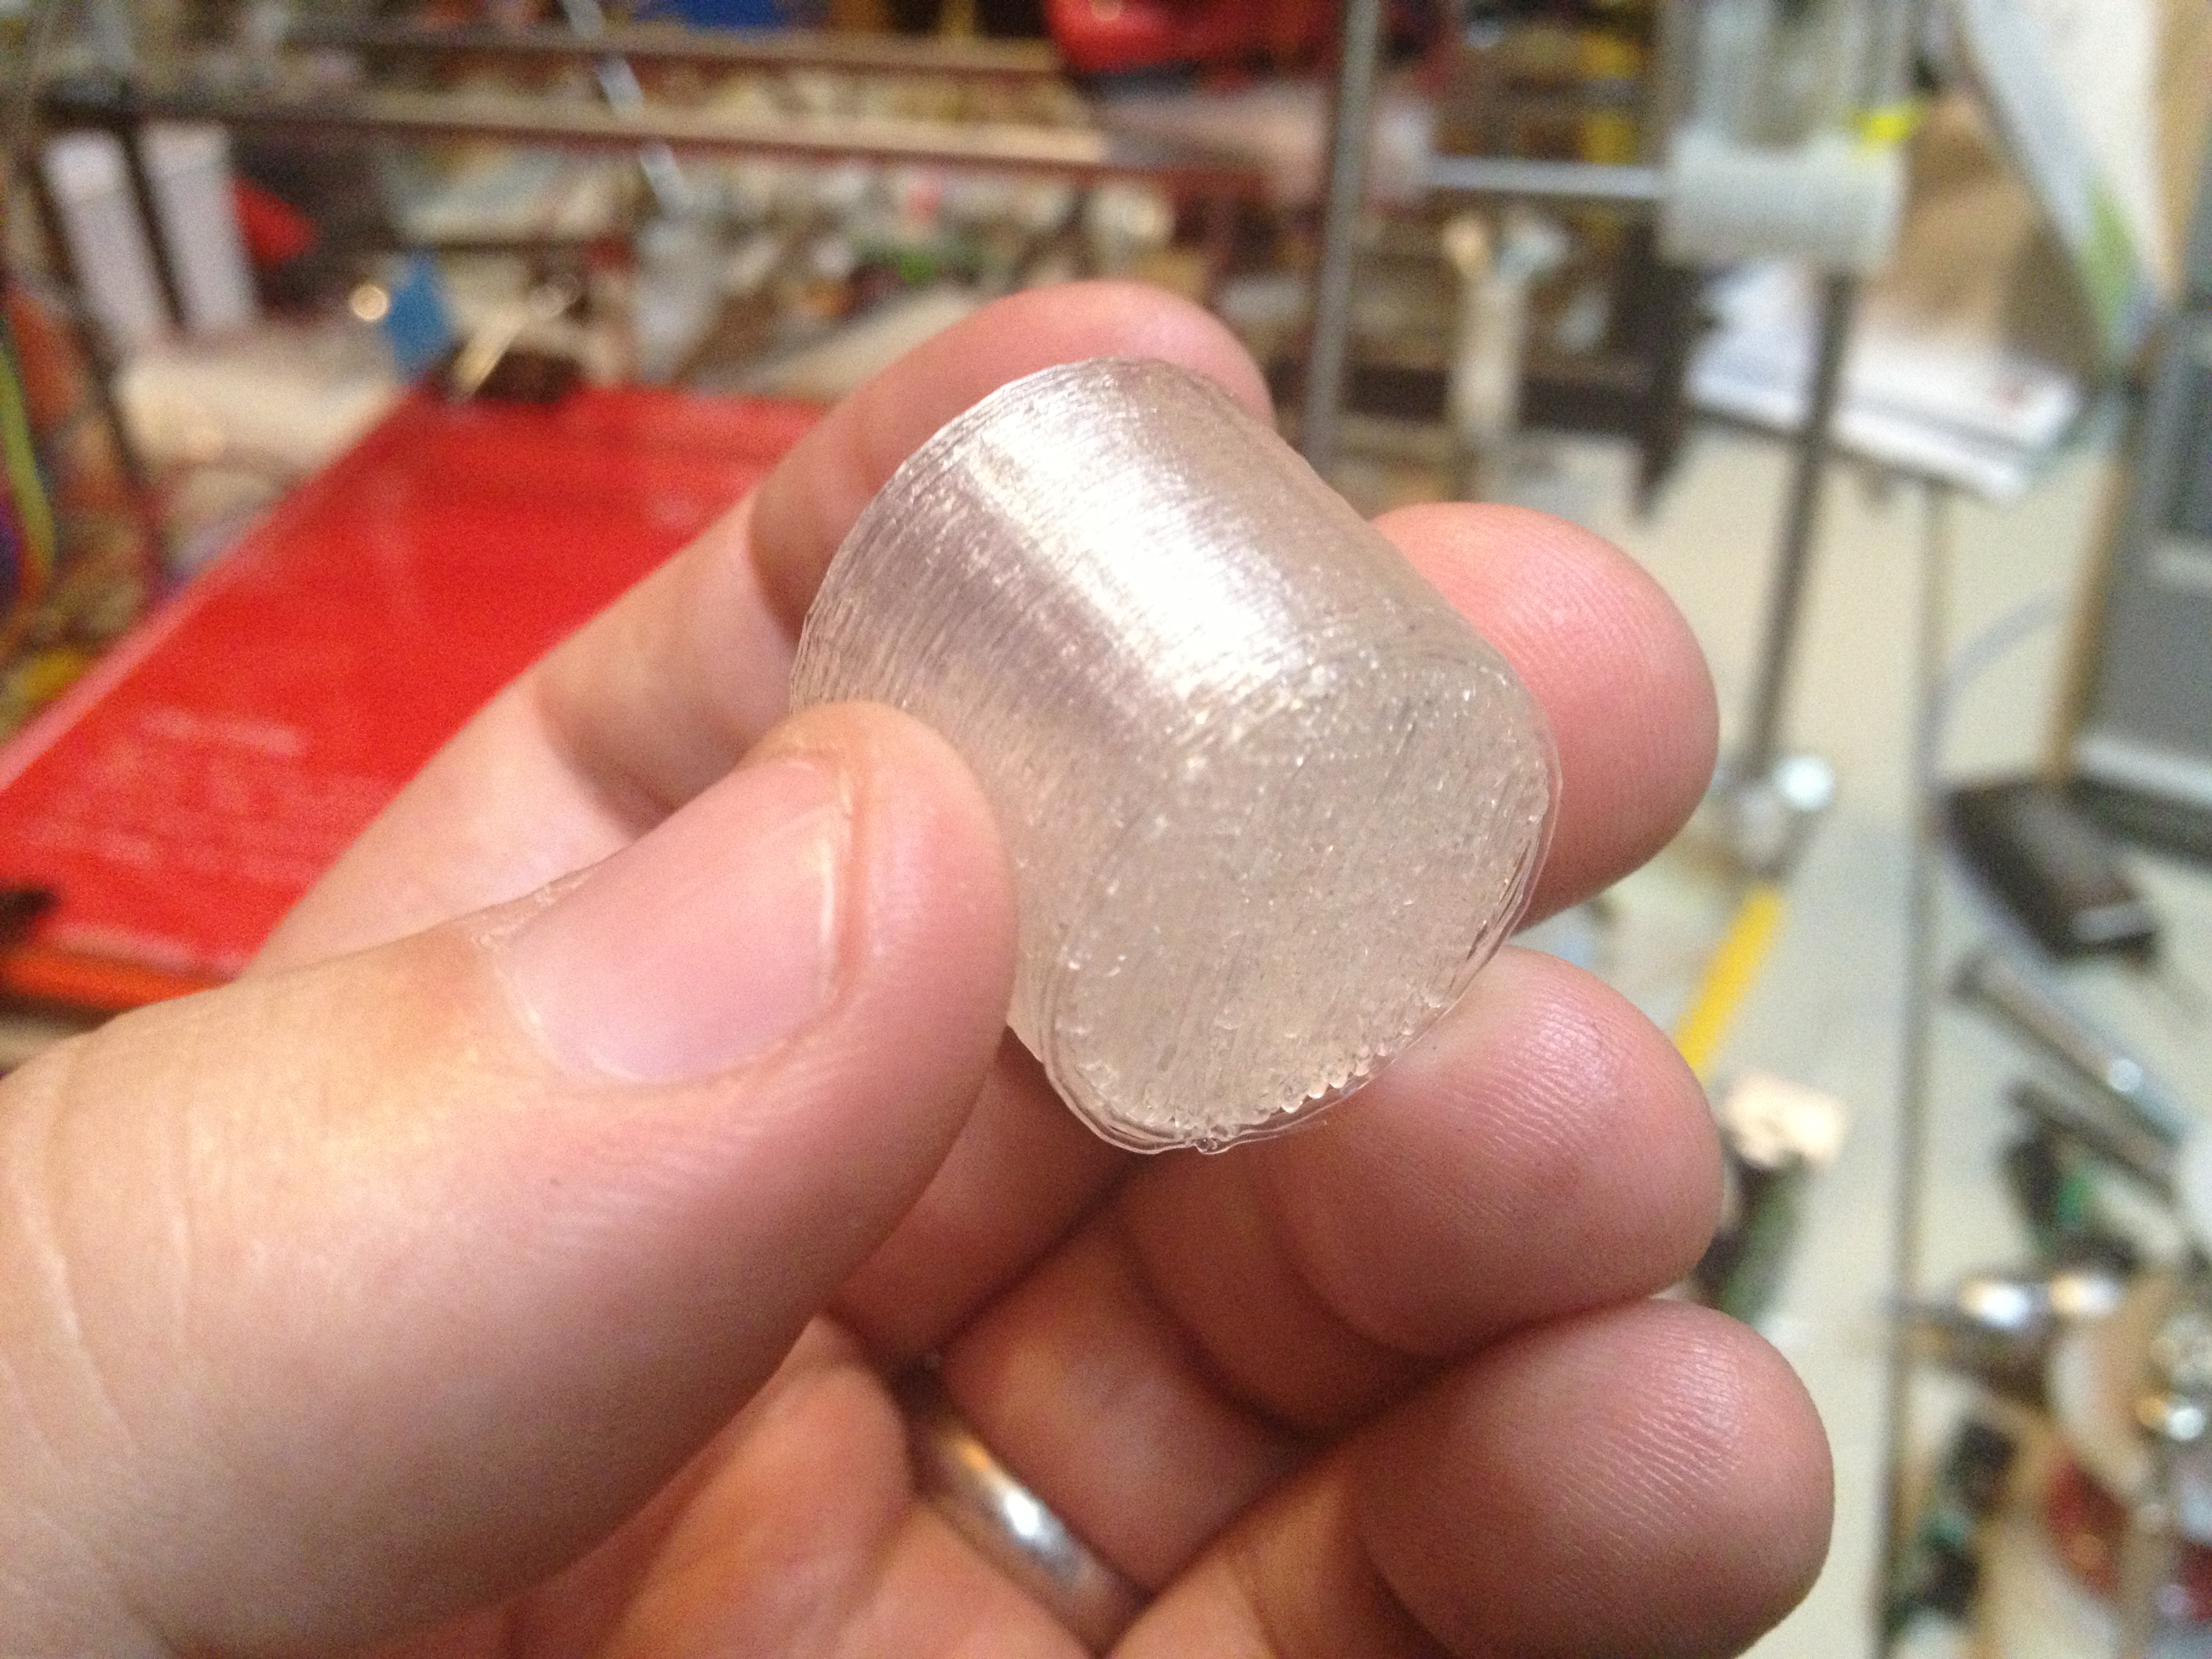
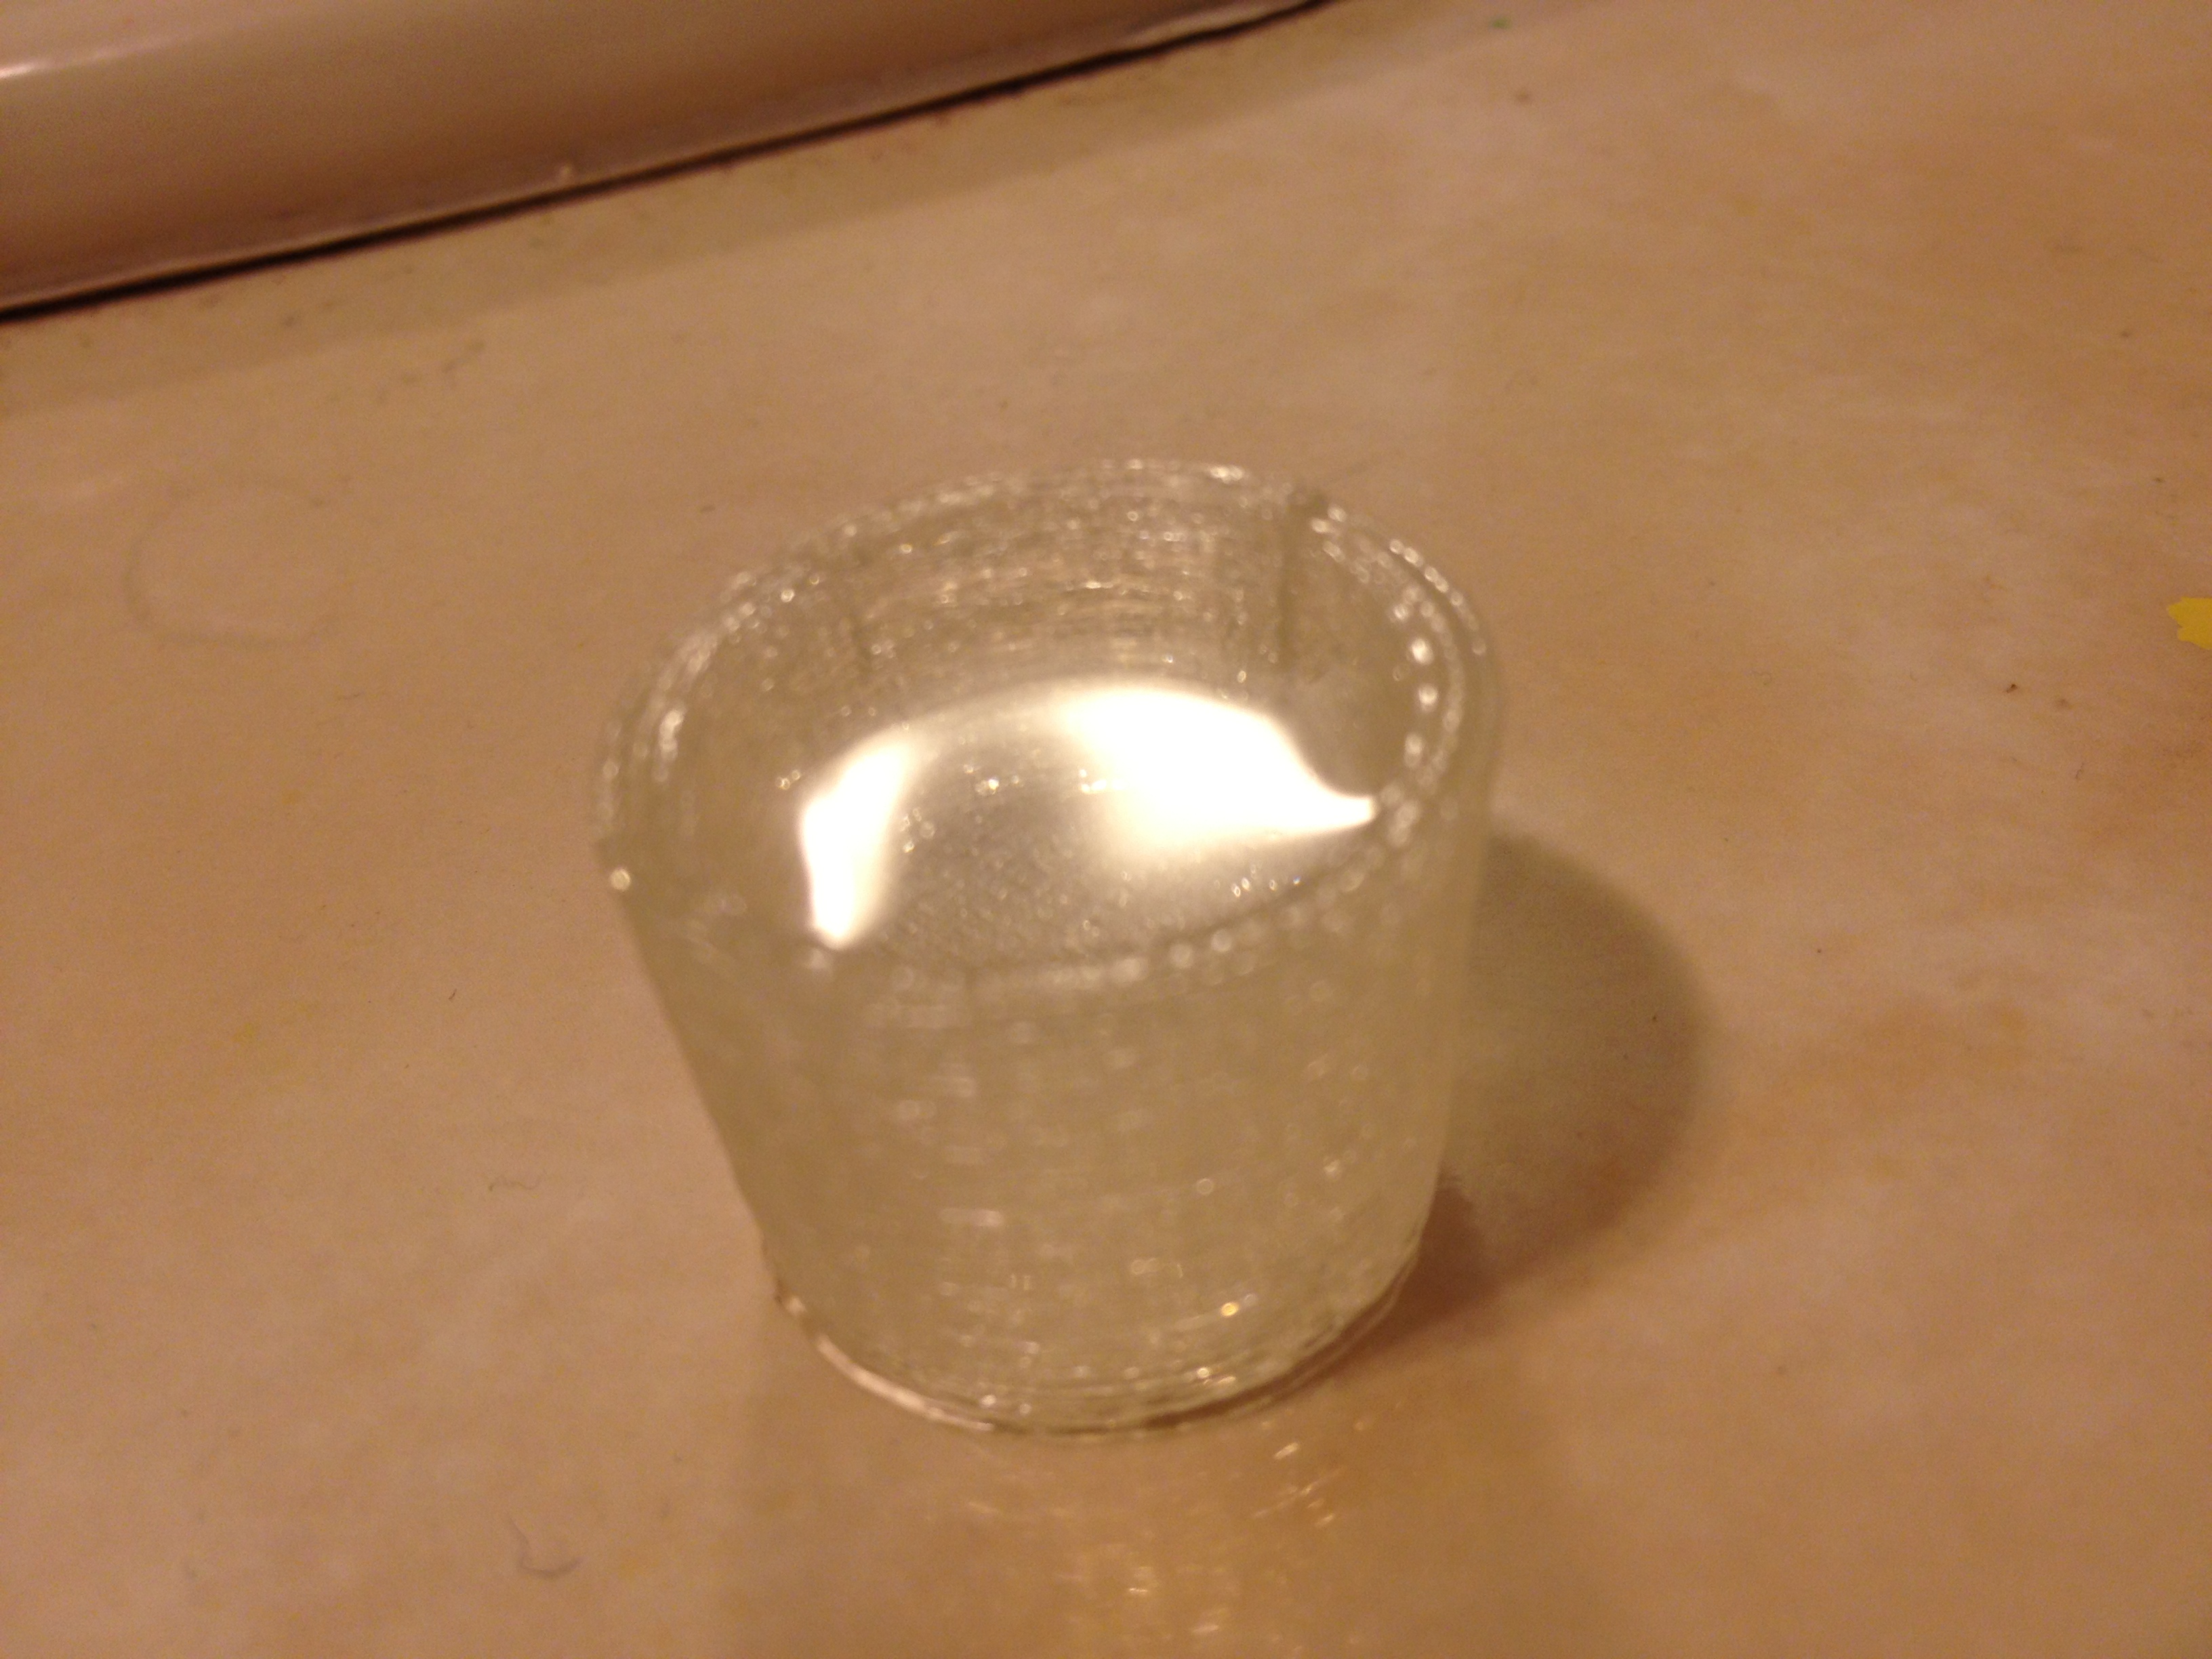
And guess what? It was water-tight on the first try too!
Fulfilling tradition, here I am toasting the successful completion of another RepRap, this one for the Museum of Science in Boston!
That’s all for this post. Today is February 9th 2014 and I’ve now brought you up to the events of January 23rd 2013.. so I’m a tiny bit more than a year behind, but that’s okay because I really will catch up. Honest.
Thanks for reading.
Ardith Romay
I found a great…
Ryann Leadley
I found a great…
Cammie Nickodem
I found a great…
Lamar Verissimo
I found a great…
Nicholle Voltin
I found a great…
Quinton Parvis
I found a great…
Buy Shared Proxies
I found a great…