Time for another post.. these were some of my best prints.. (Photo-heavy post here – so many beautiful prints.. be sure to make it to the end).
Still trying to catch up on the posts (yes I know I’ve been behind for years). Today is July 8th, 2013 but the events in this post started on January 1st, 2012.
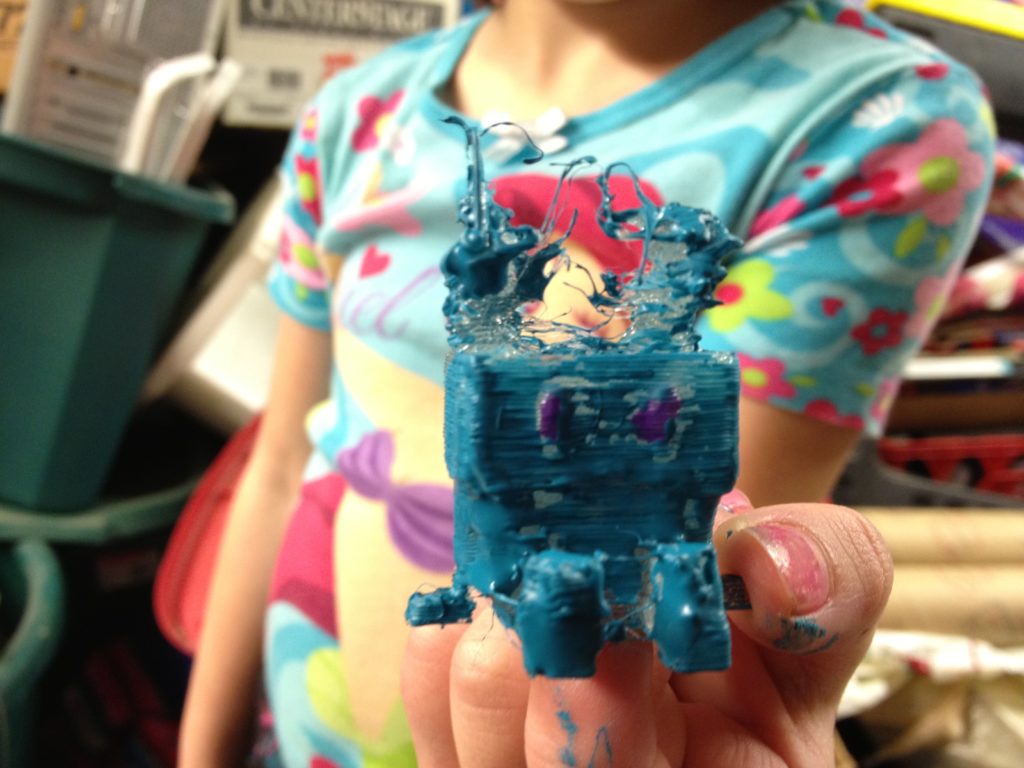
One of the gifts I gave the kids for xmas back then was a “video coupon” promising them they could pick something from thingiverse.com and I’d print it for them (excluding RepRaps, since I’ll make them their own someday anyway). Alicia picked this bunny, which she painted with nailpolish:
Ok, THAT wasn’t one of my best prints.. 🙂
I’d done so well with the things I’d printed leading up to this that I decided it was time to finally start printing parts for more RepRaps.
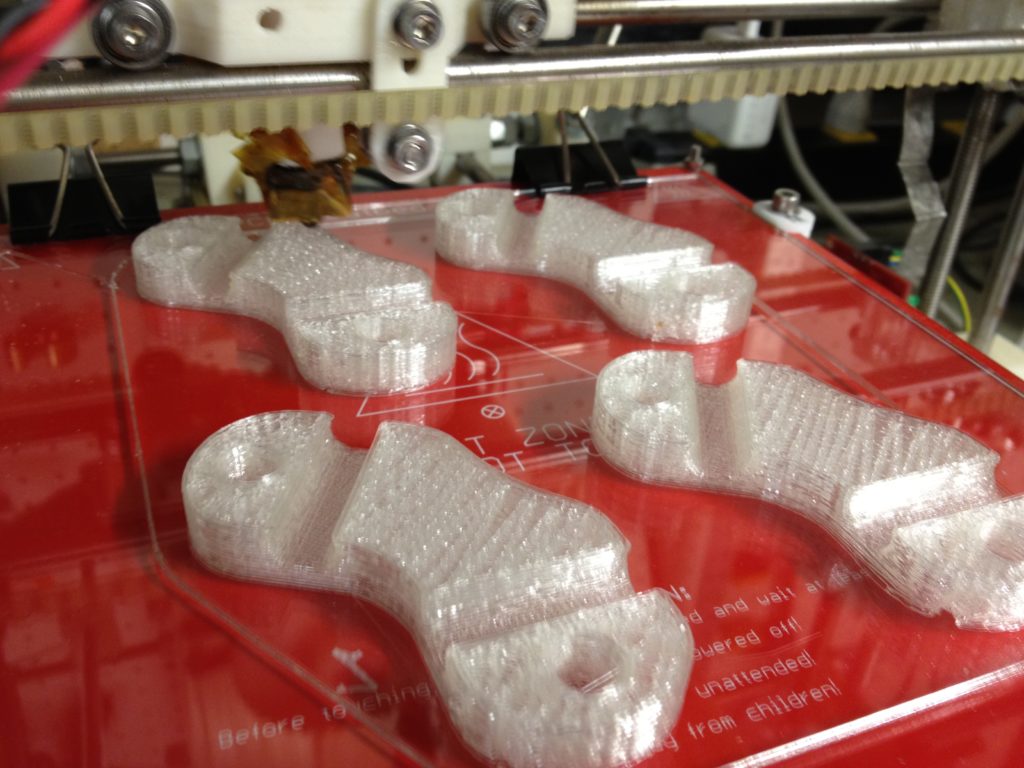
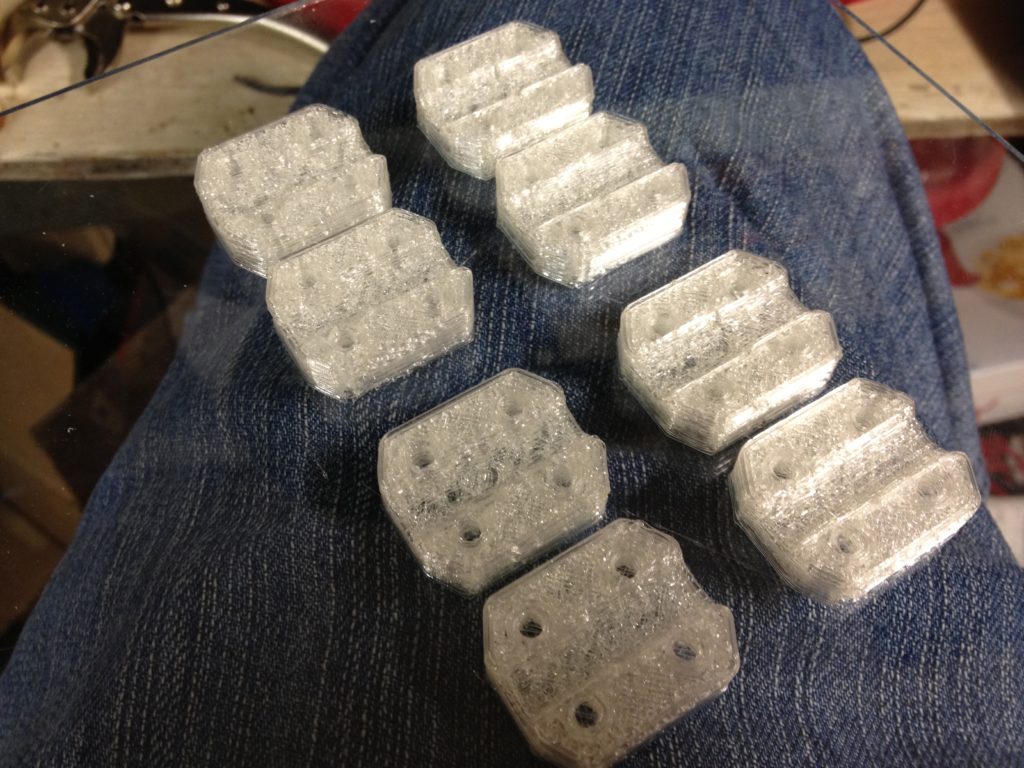
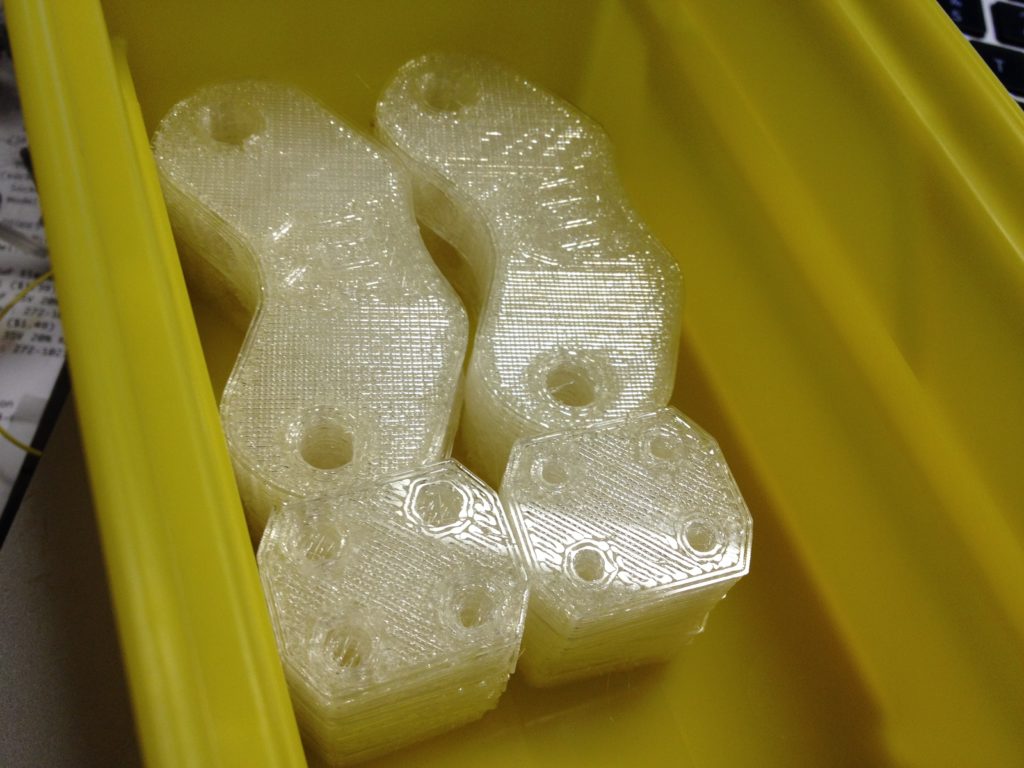
I started printing two sets of parts at the same time, (RepRap Prusa Iteration 2), on my original (Sells) Mendel. One set was for my brother for a birthday/xmas gift, and one set was for me for my 2nd RepRap.
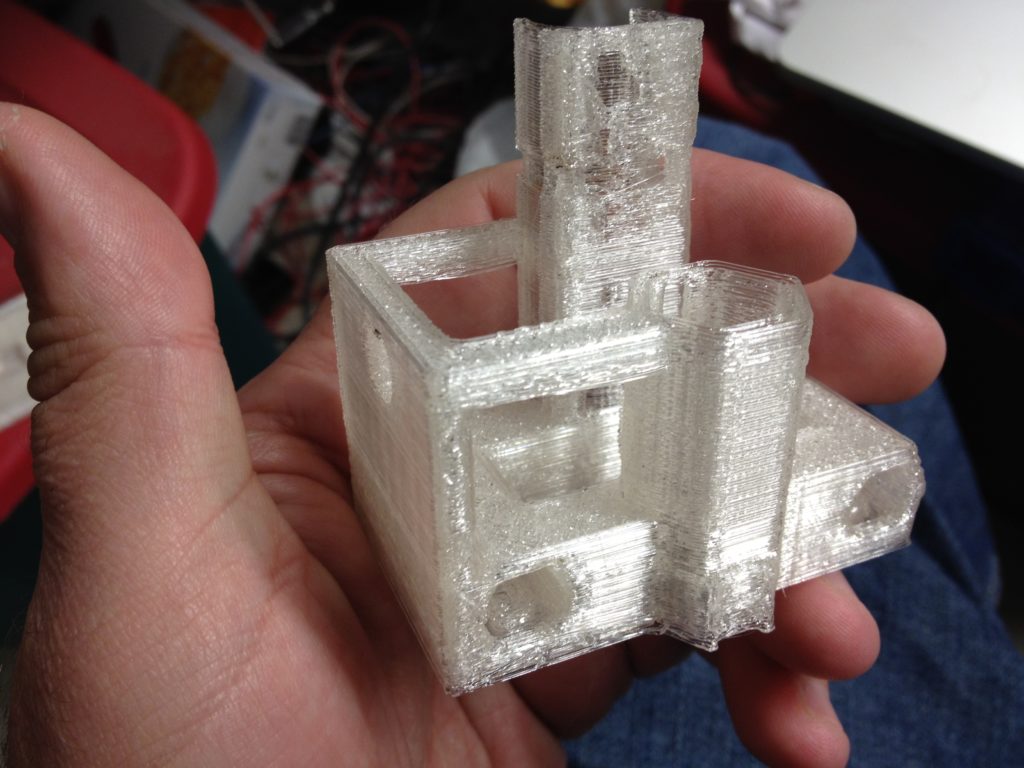
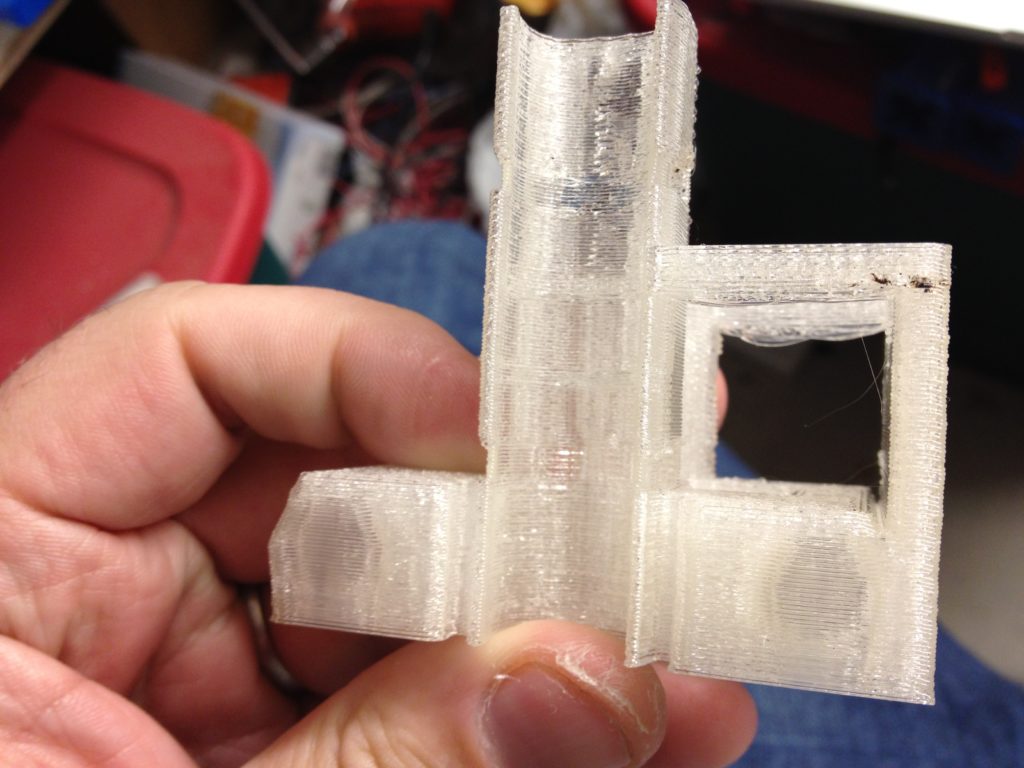
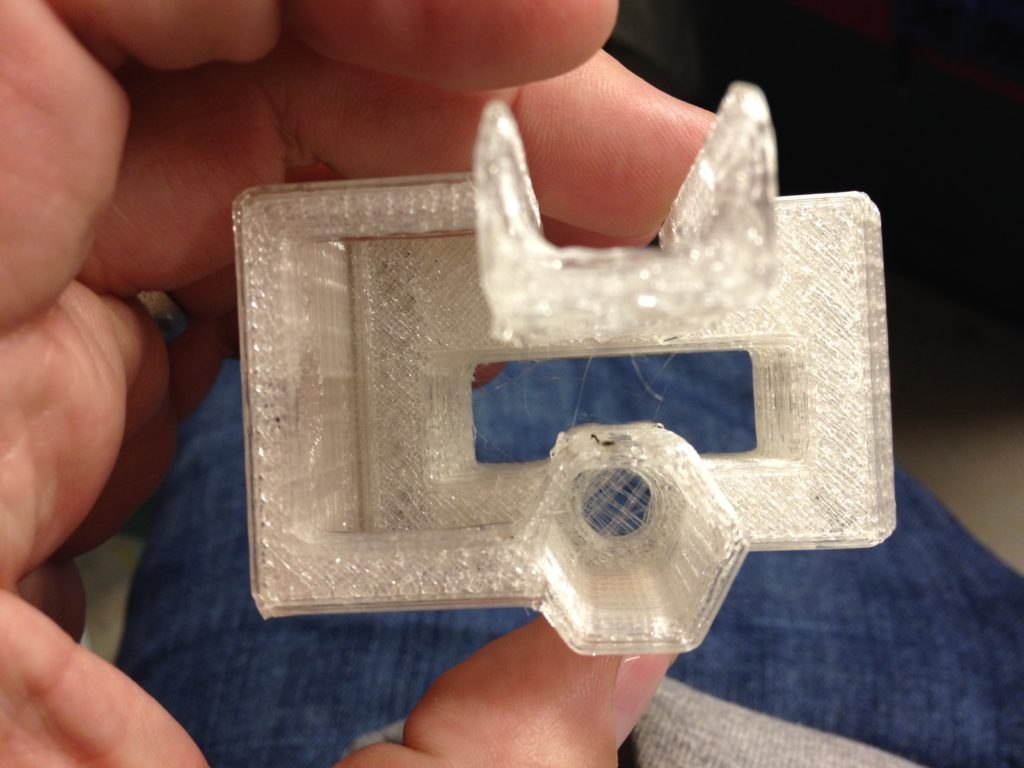
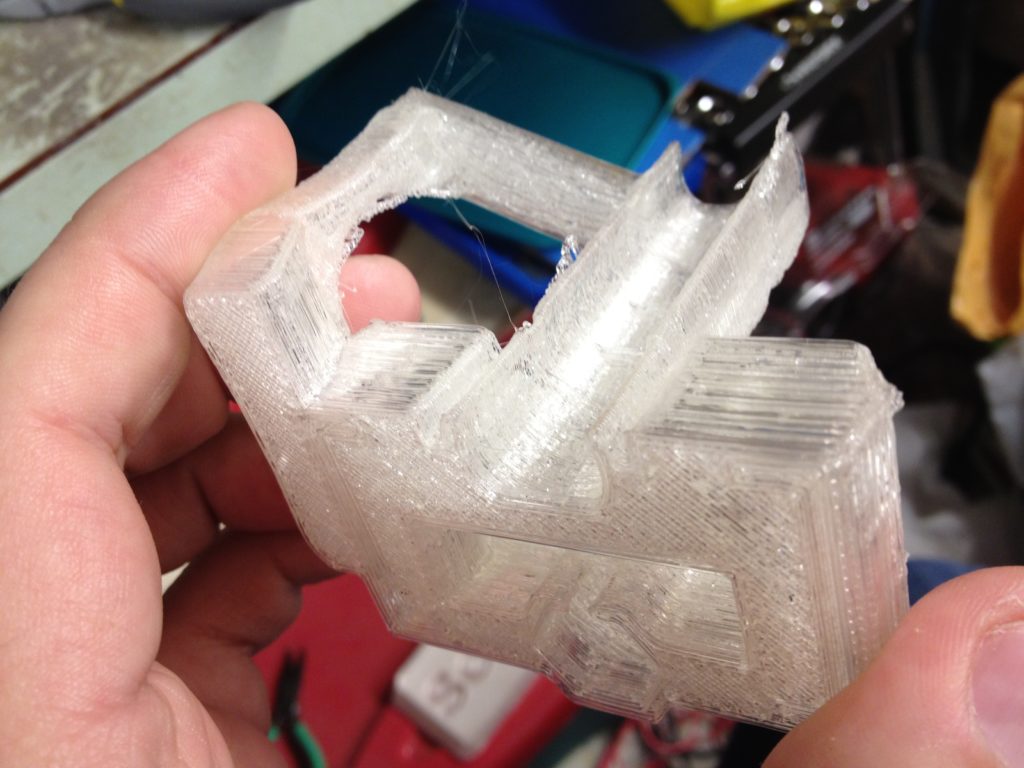
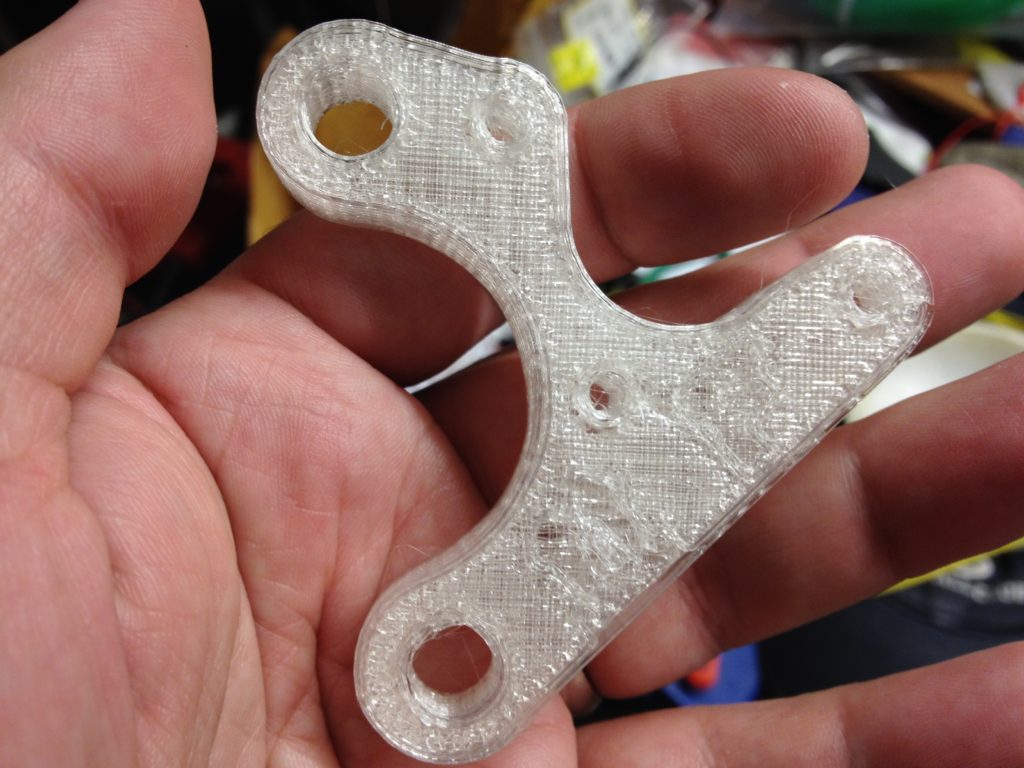
Frame vertex pieces:
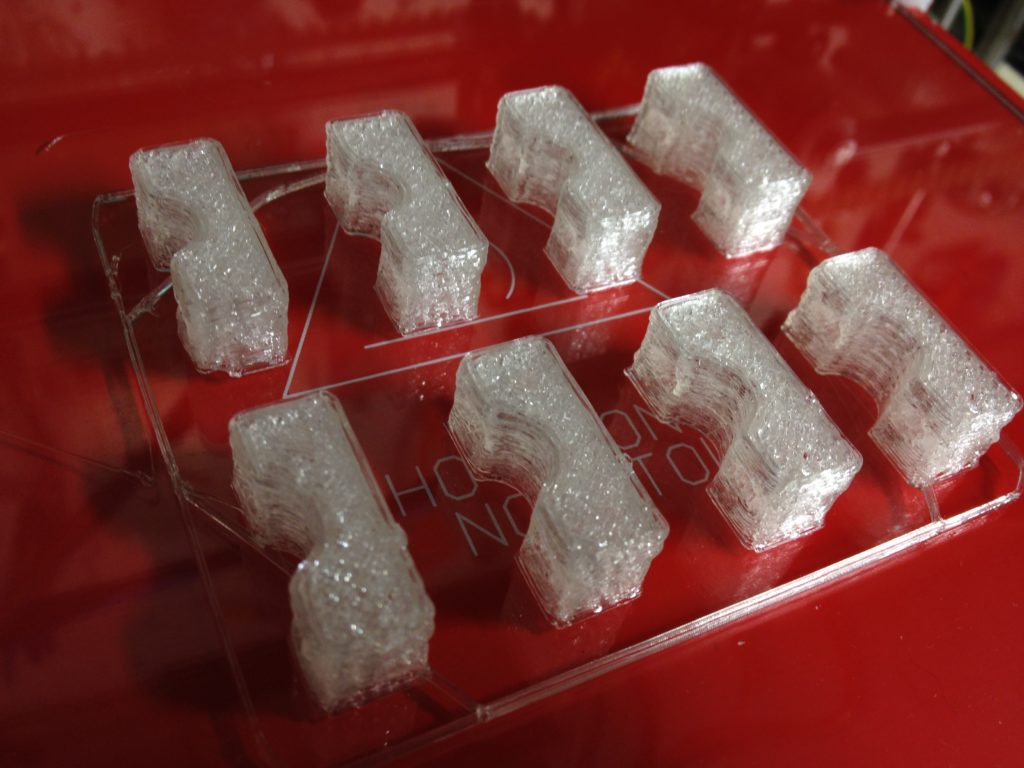
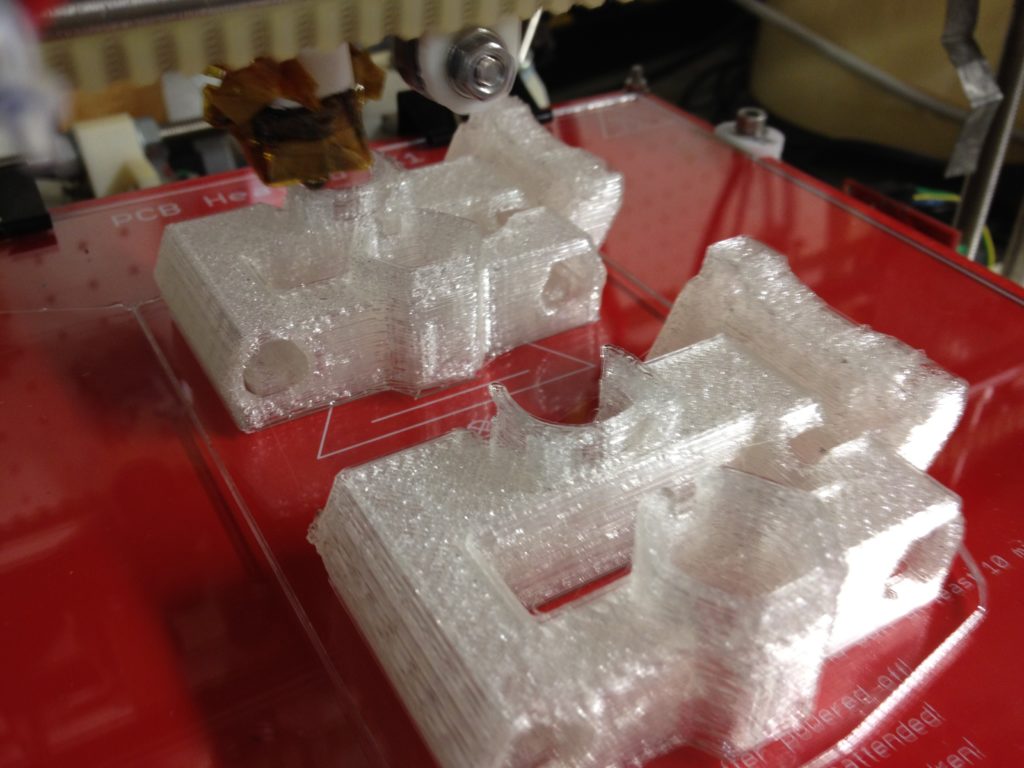
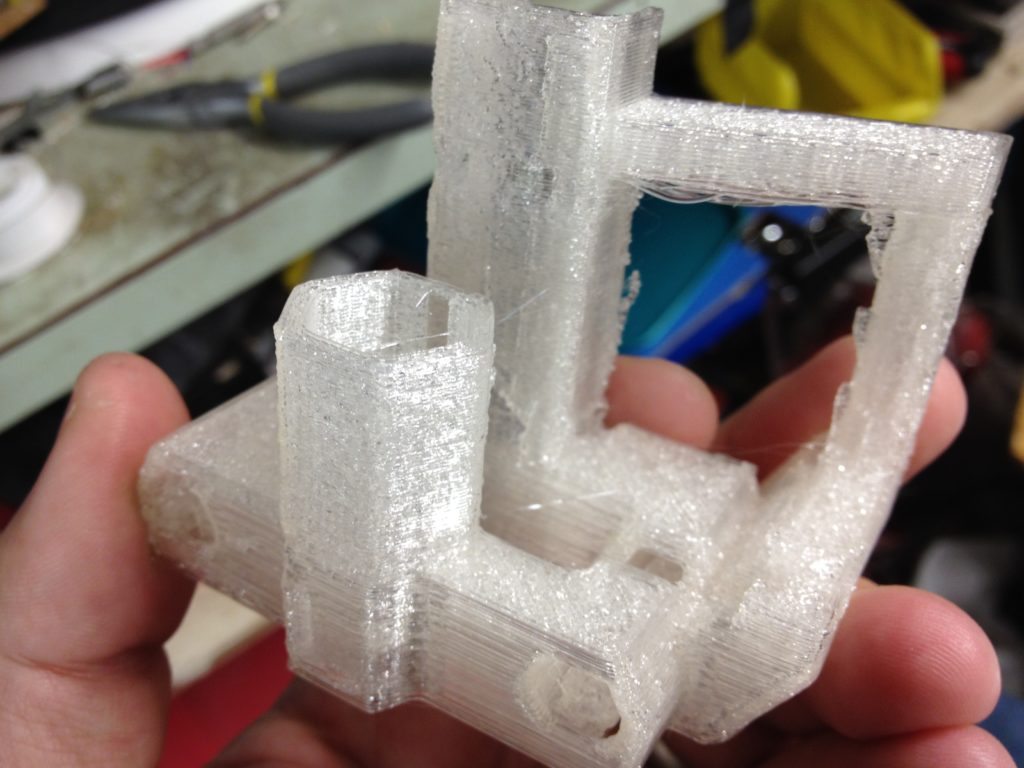
Z leadscrew couplers:
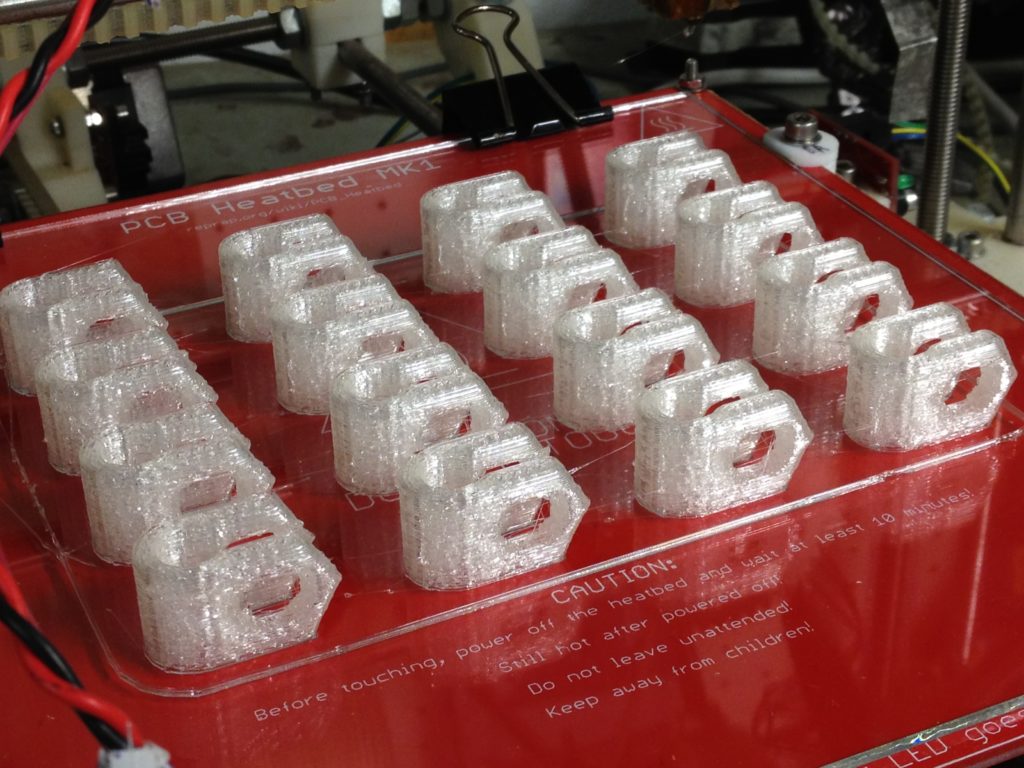
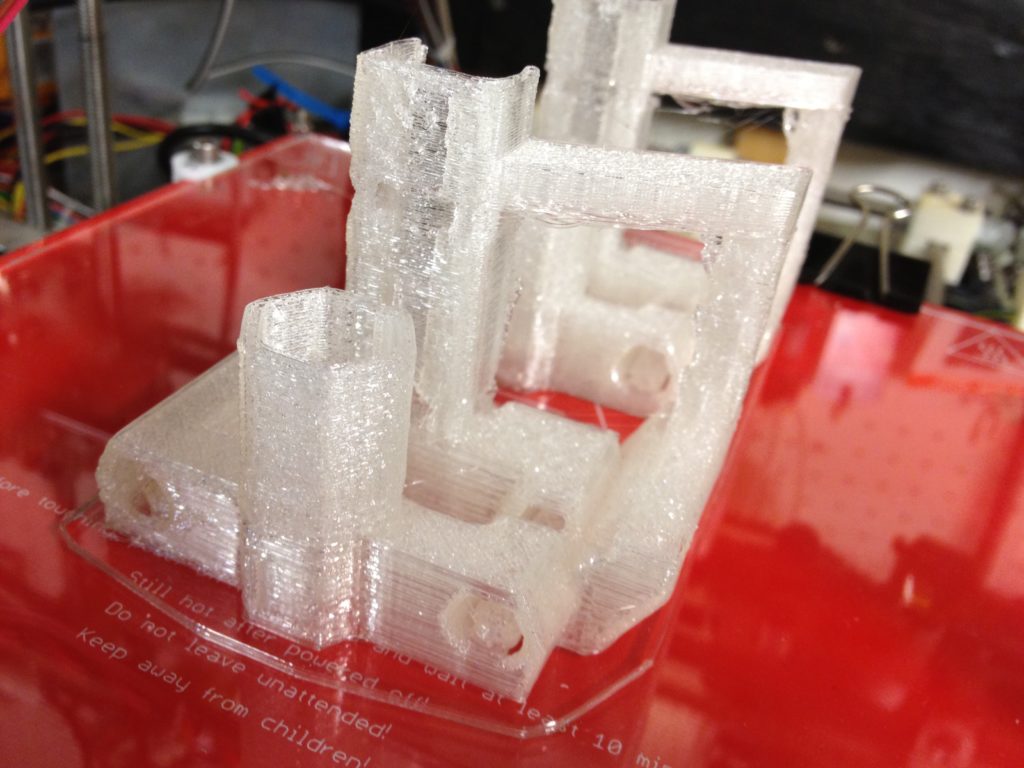
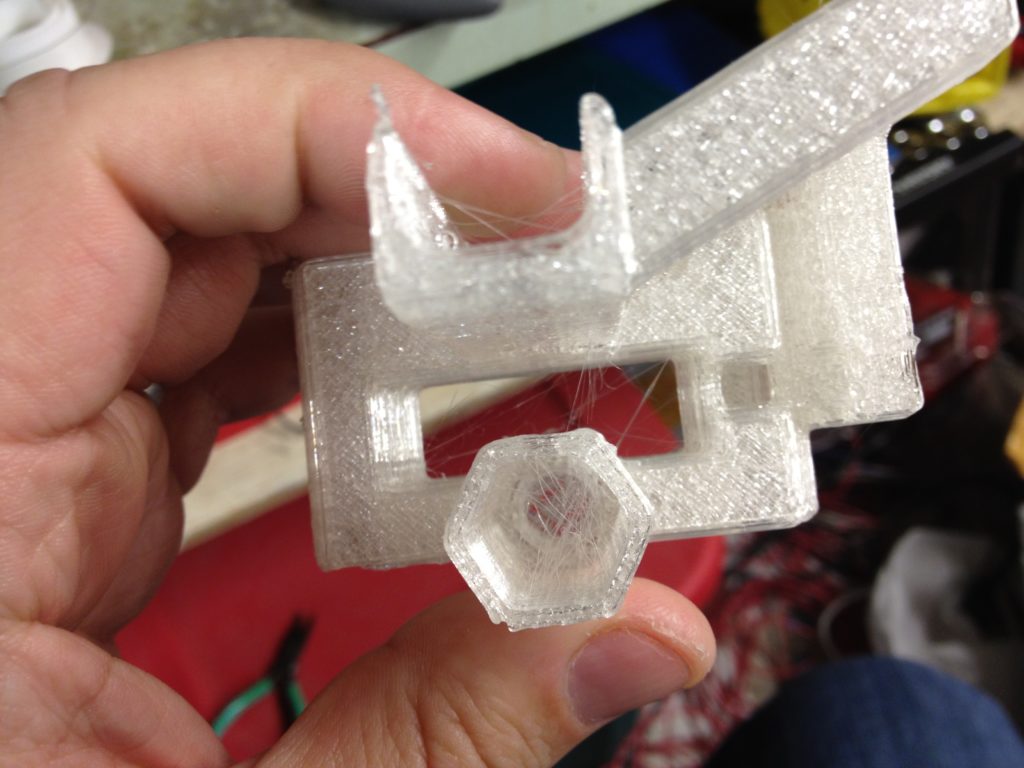
Bar clamps:
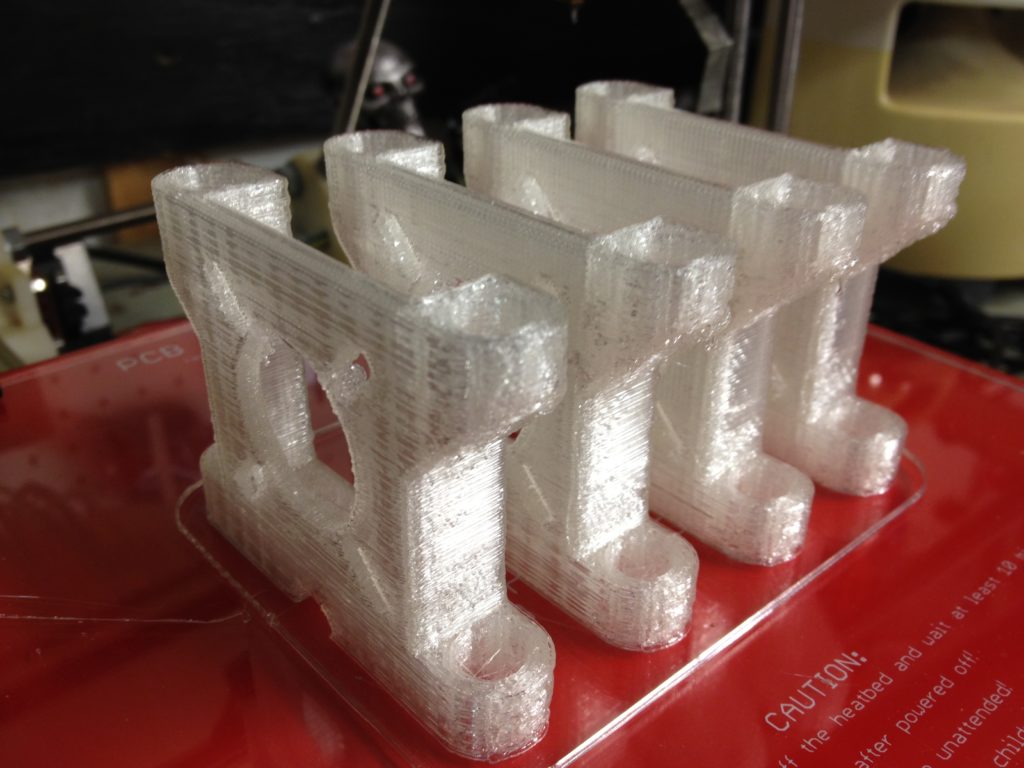
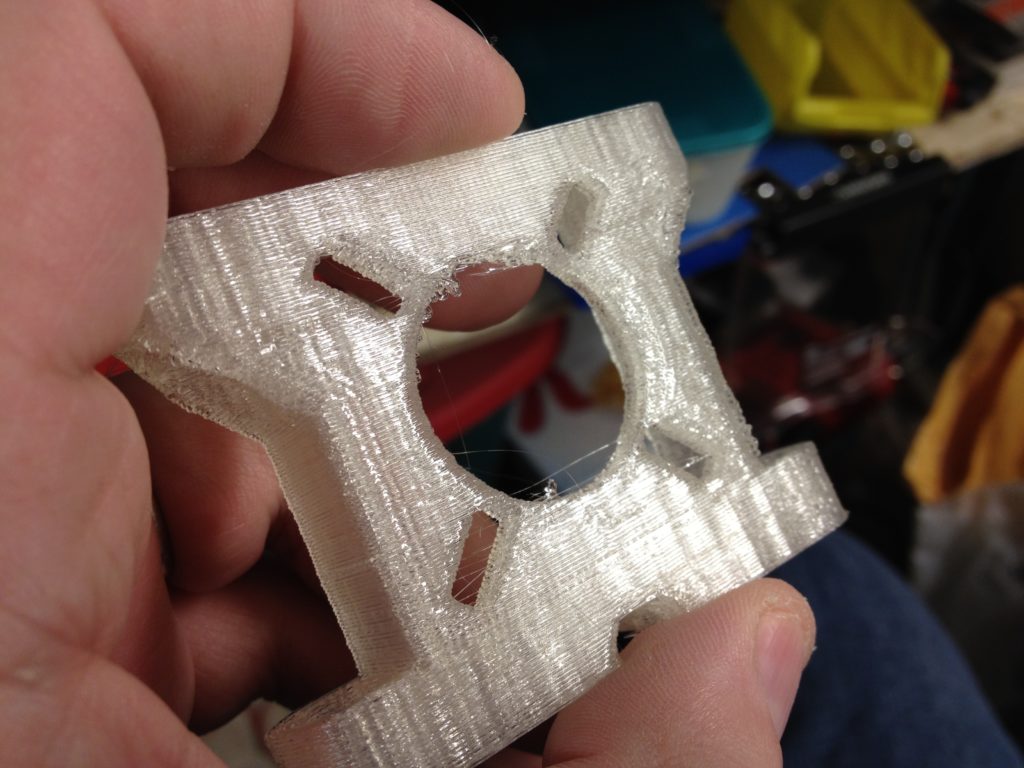
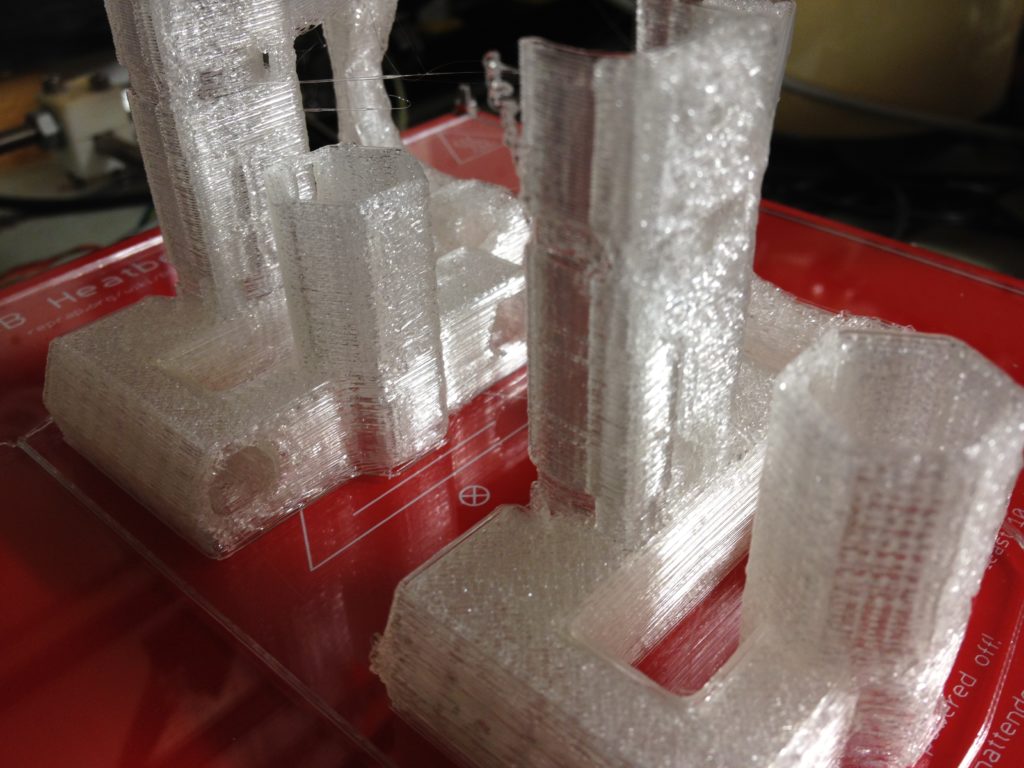
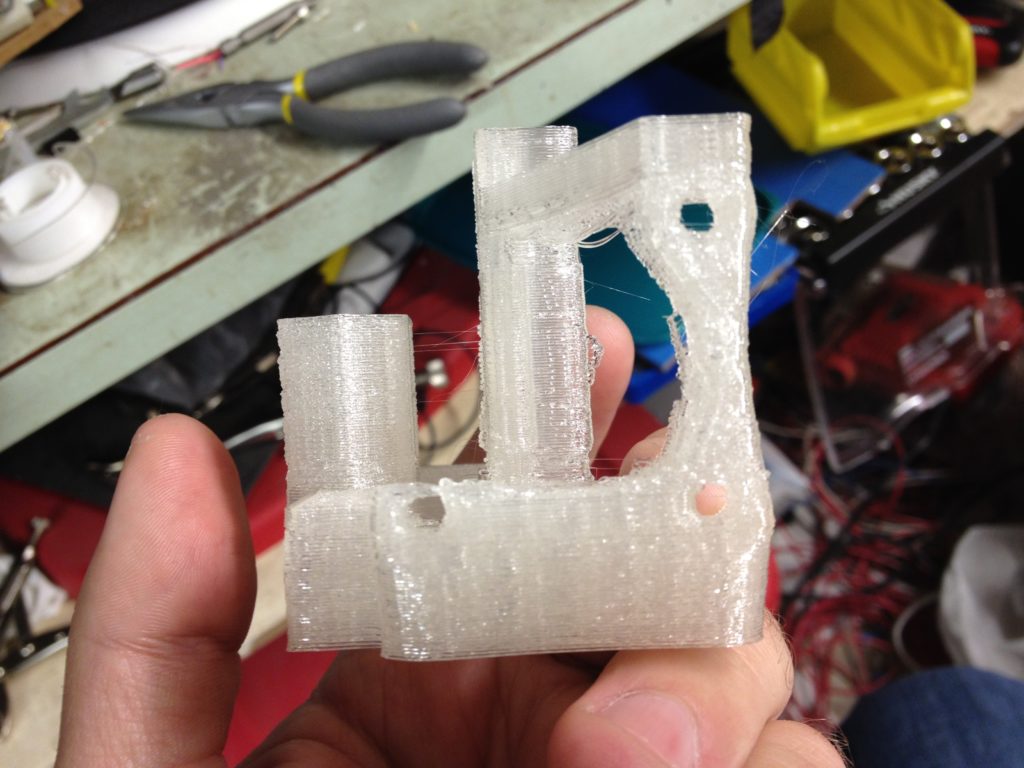
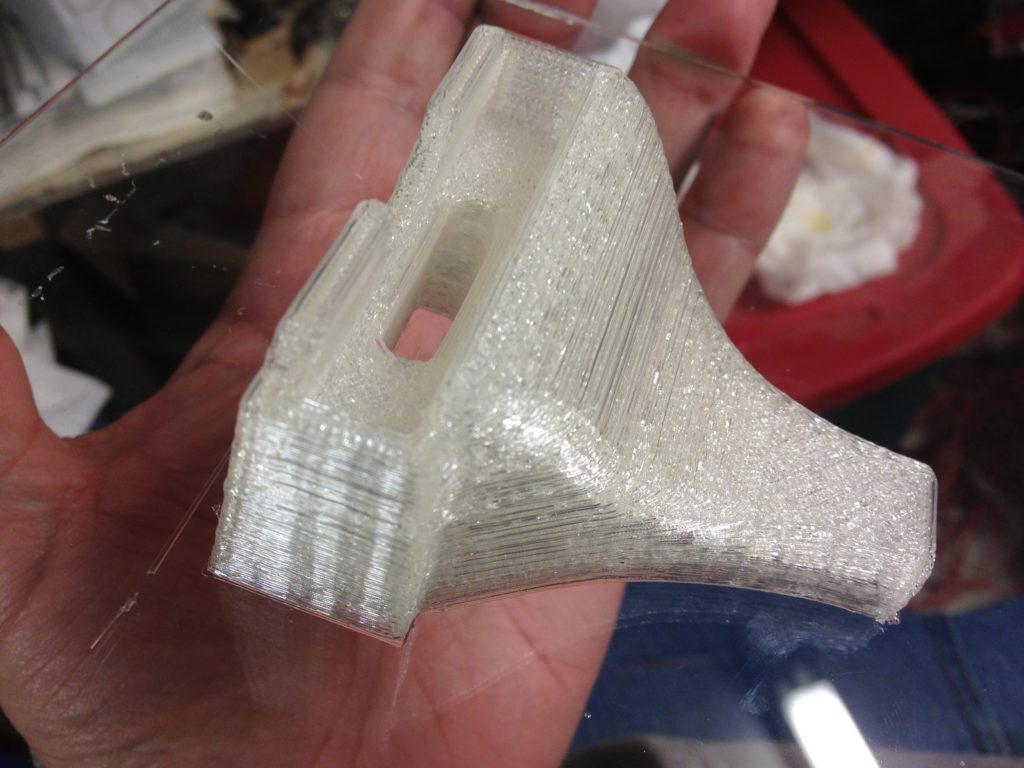
Z motor mounts:
(That last pic looks pretty good full screen).
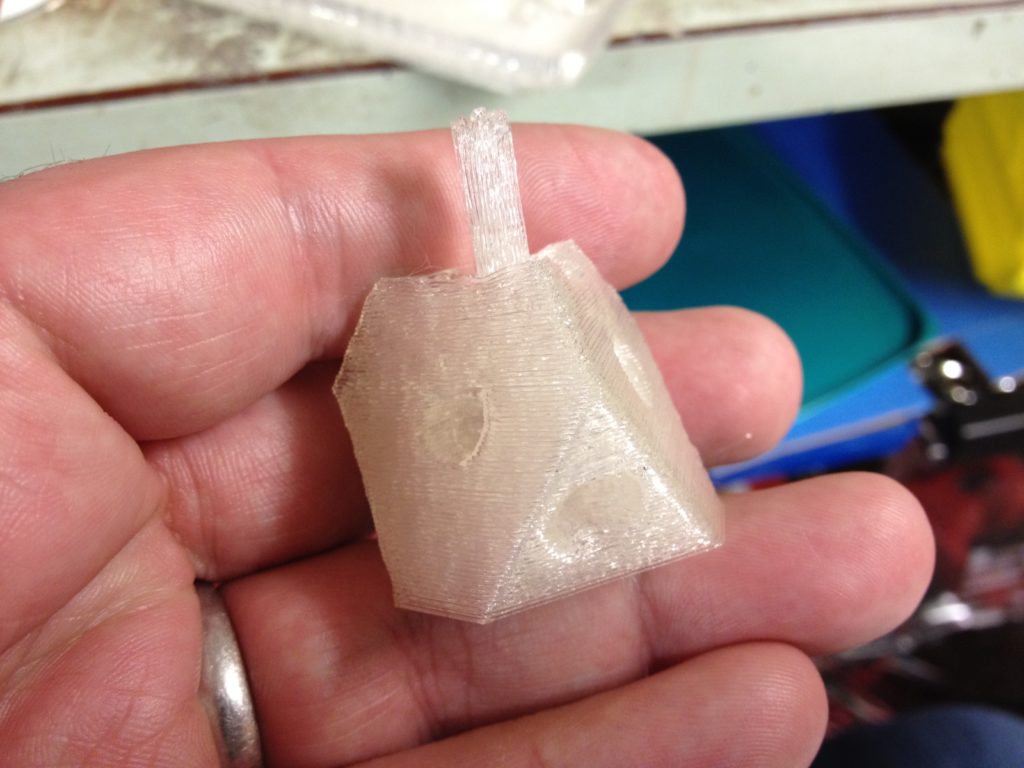
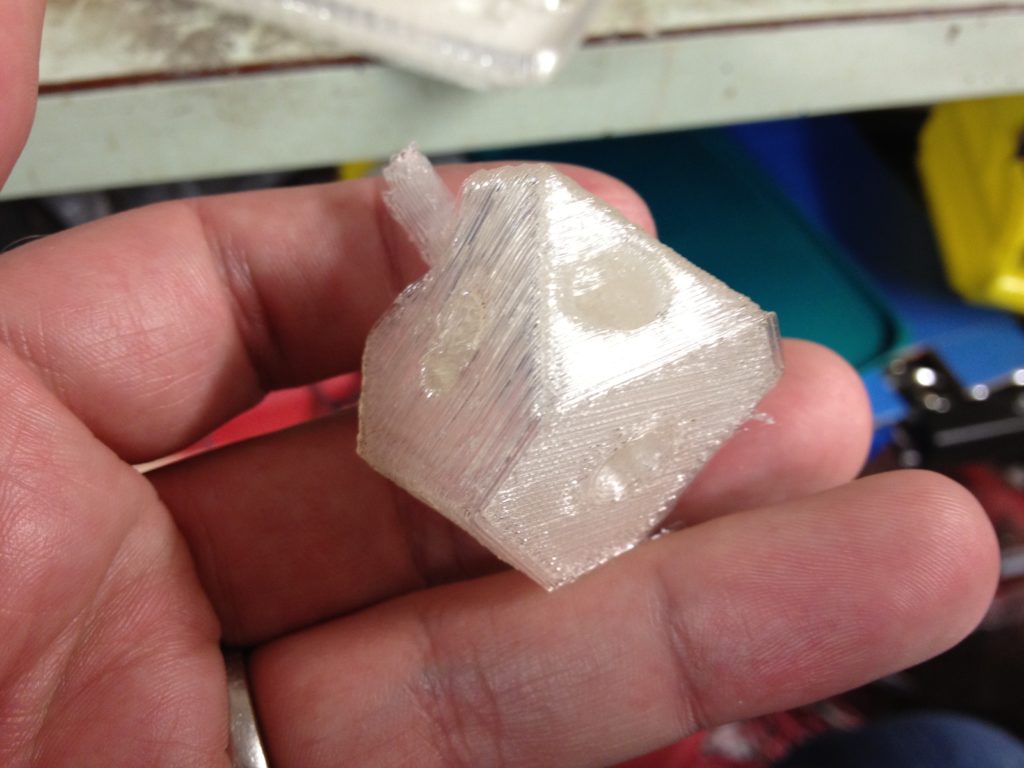
Then I took a break for a bit mid-way through, and decided to try printing a cube gear.
Here was the first bed of parts:
A quick video of it printing:
The completed first parts:
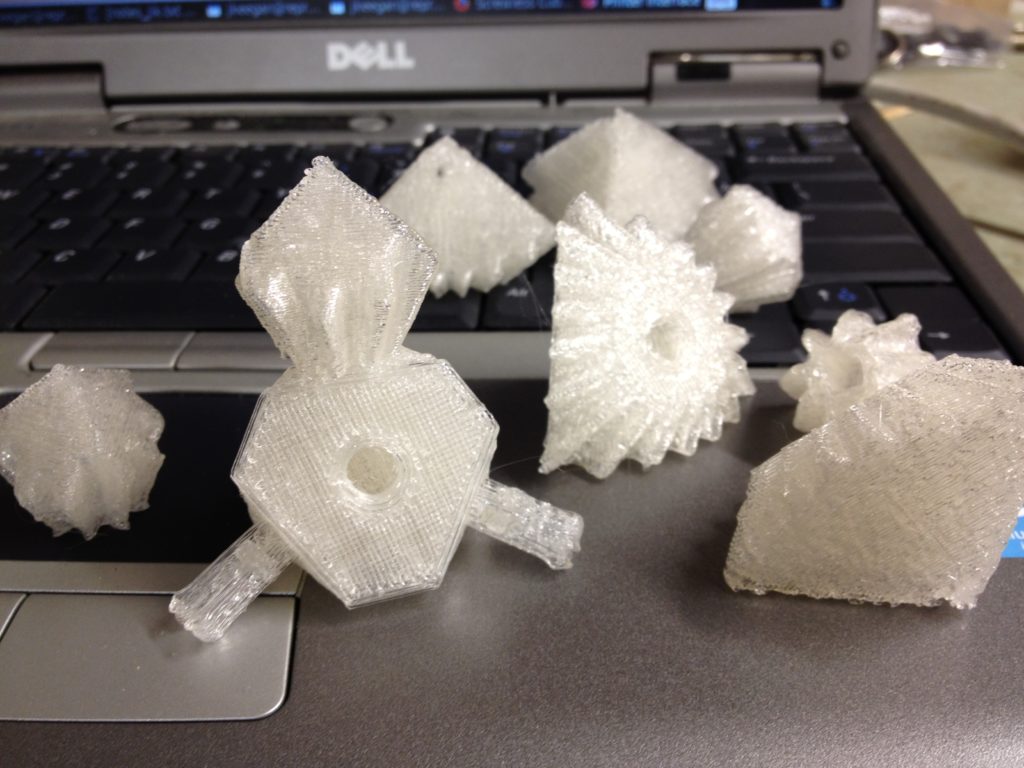
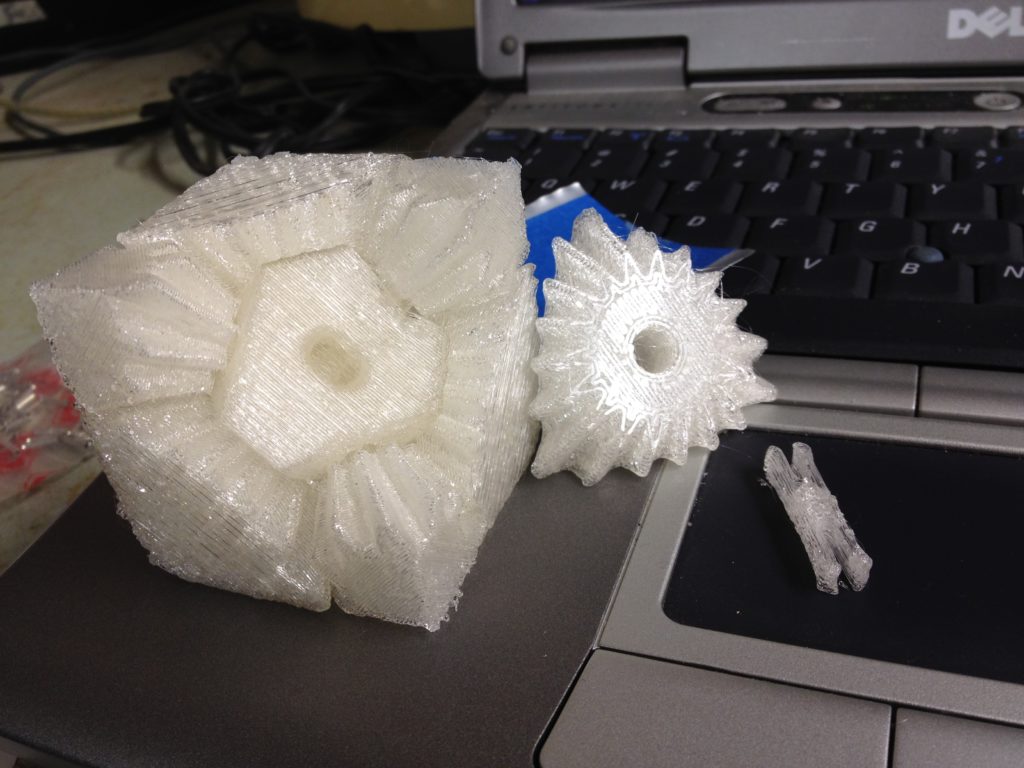
Here are those first parts arranged how they go together:
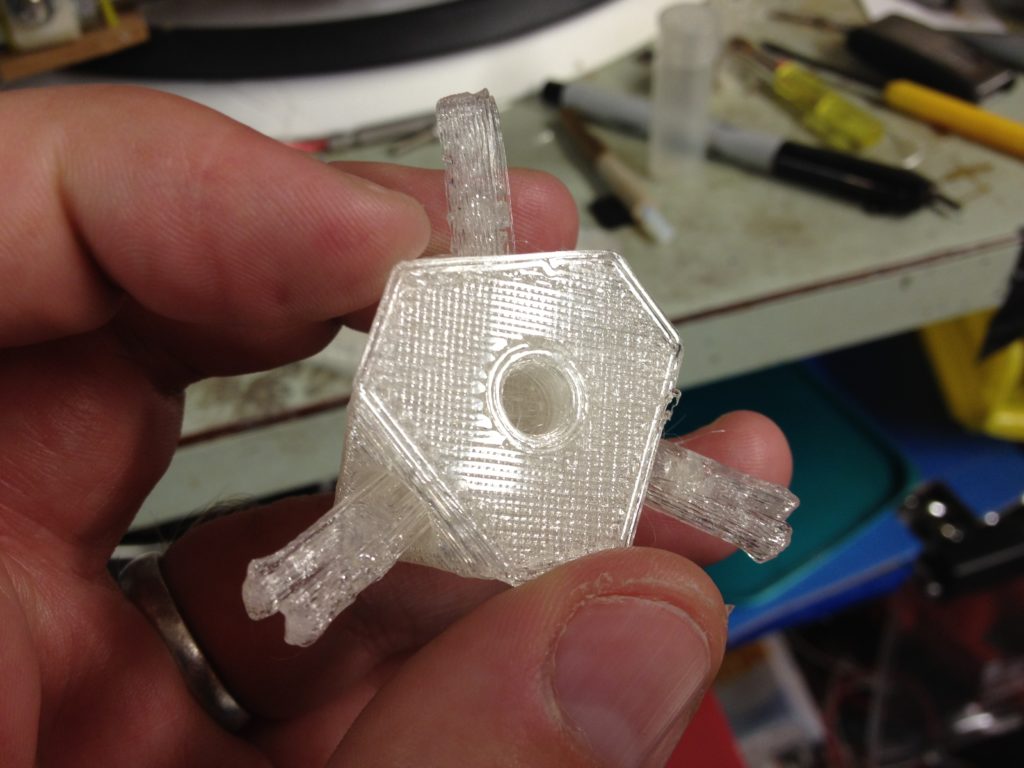
Then I printed out the center hub piece and its connector pins:
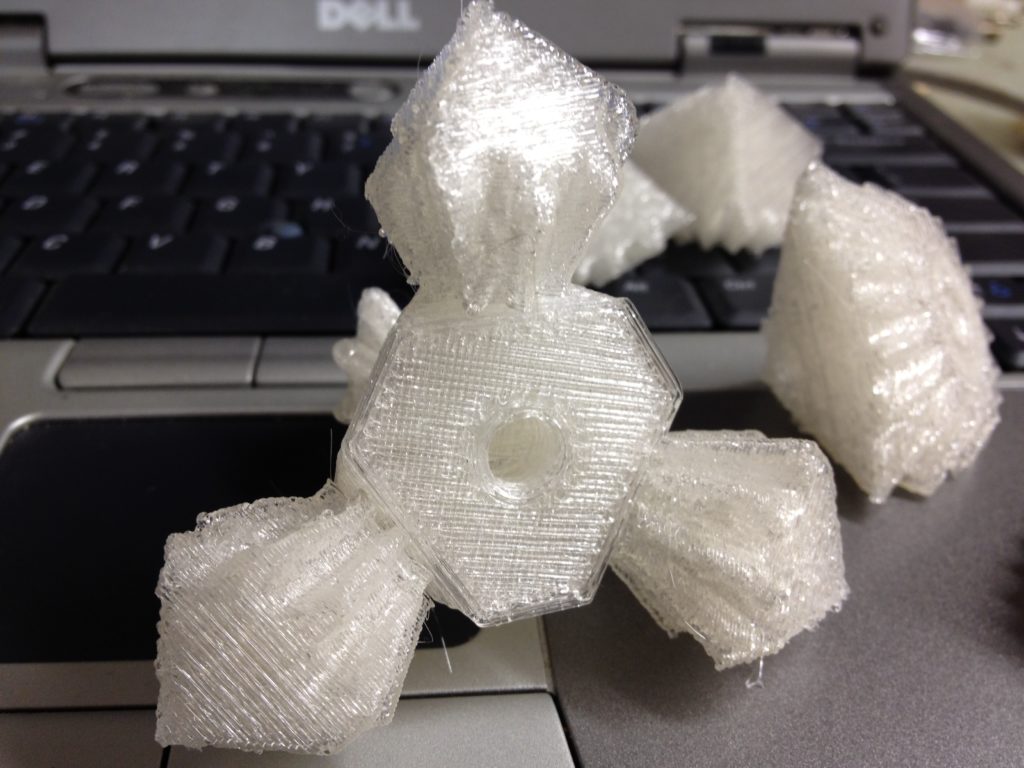
This is such a cool print..
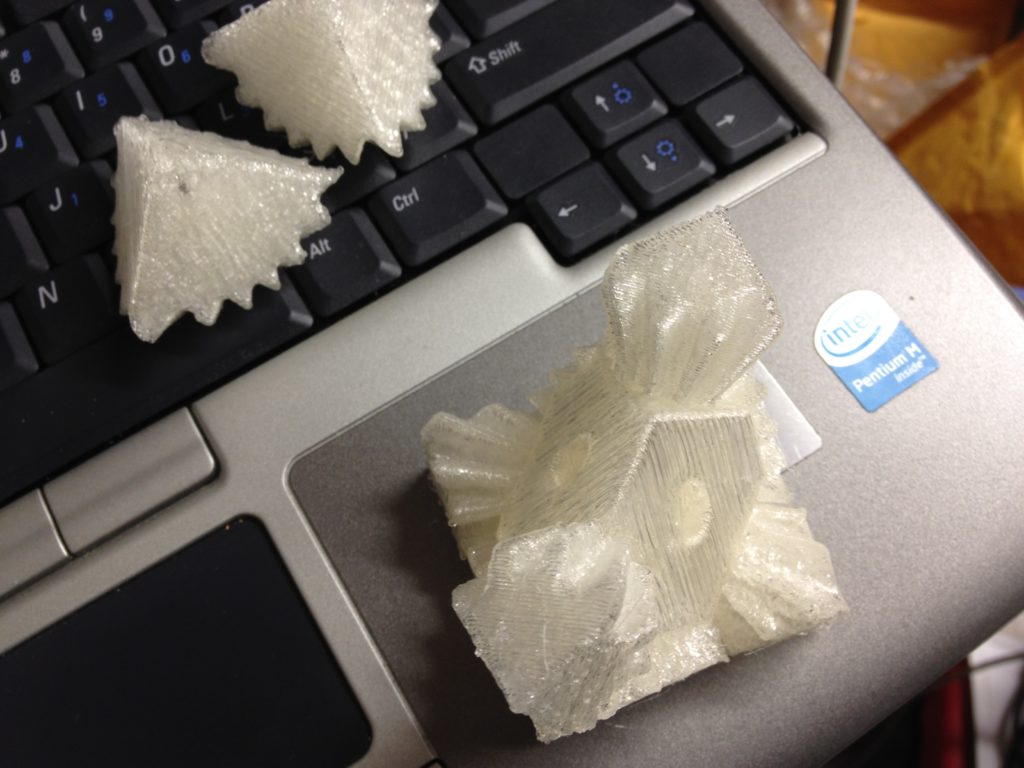
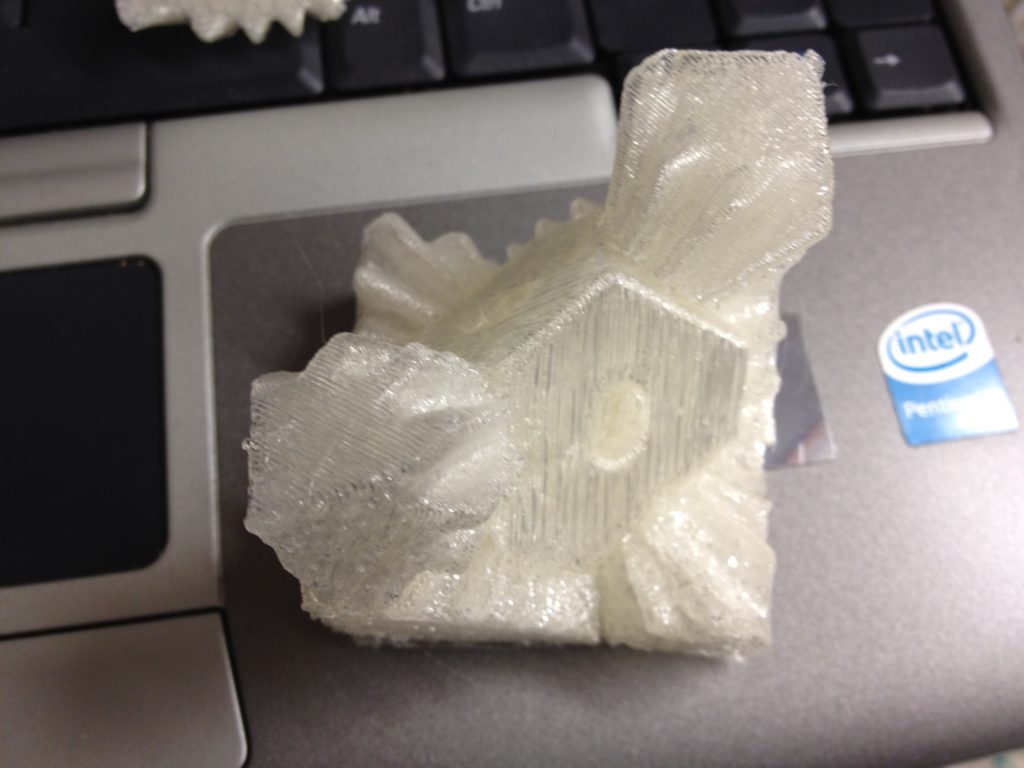
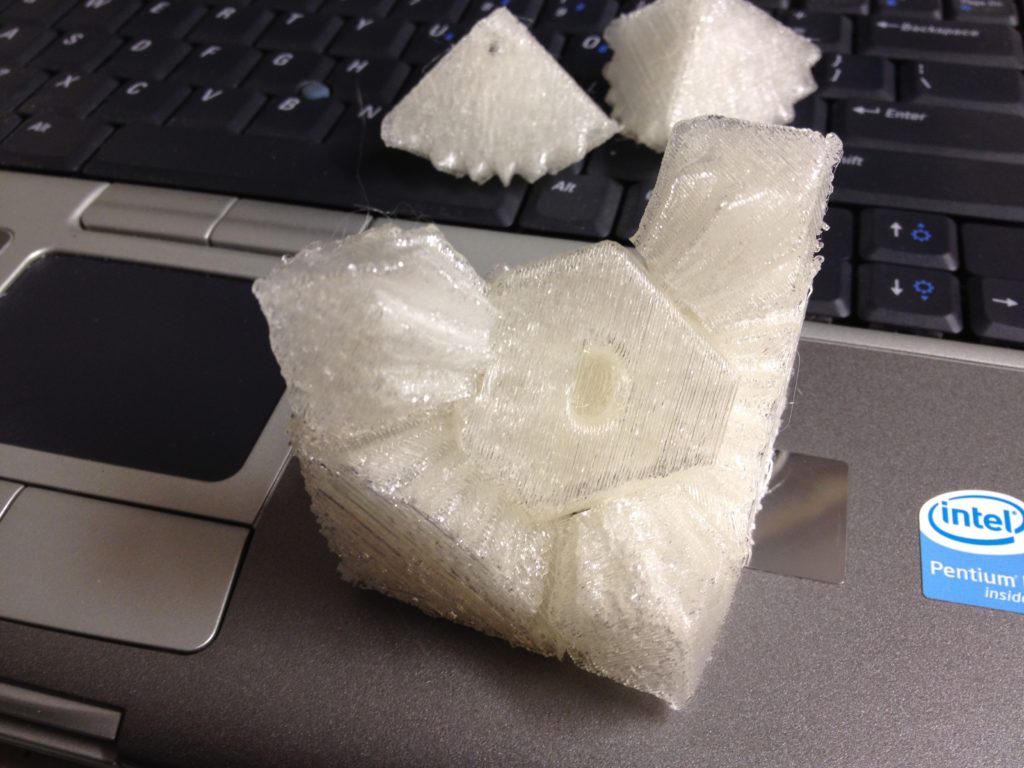
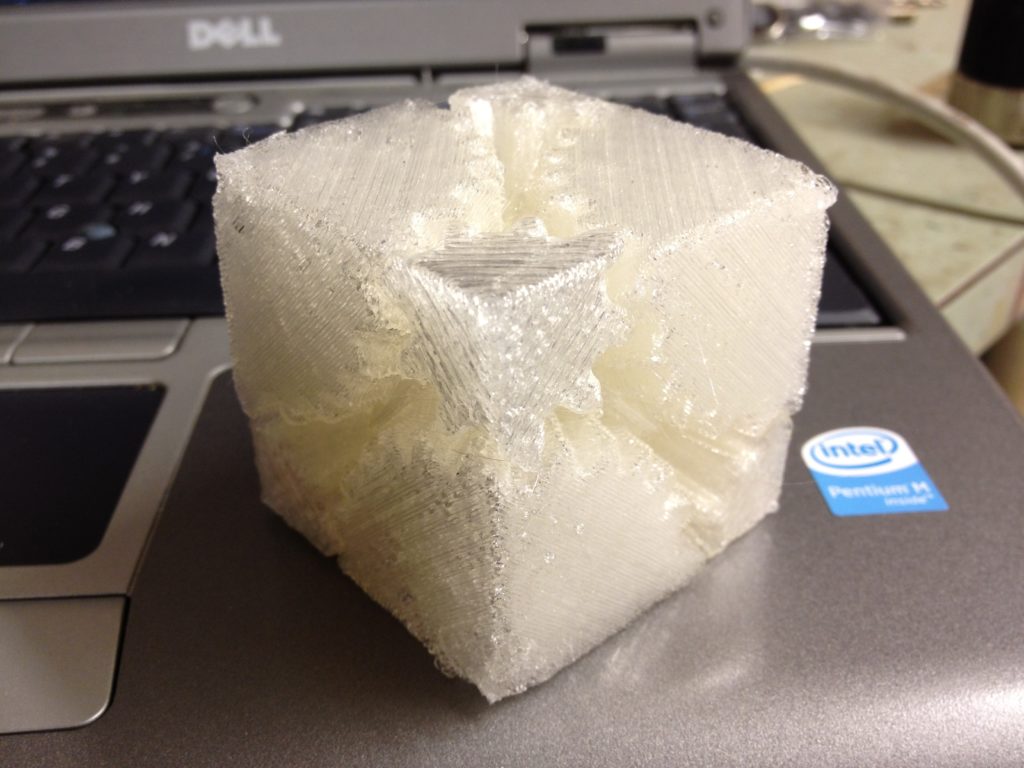
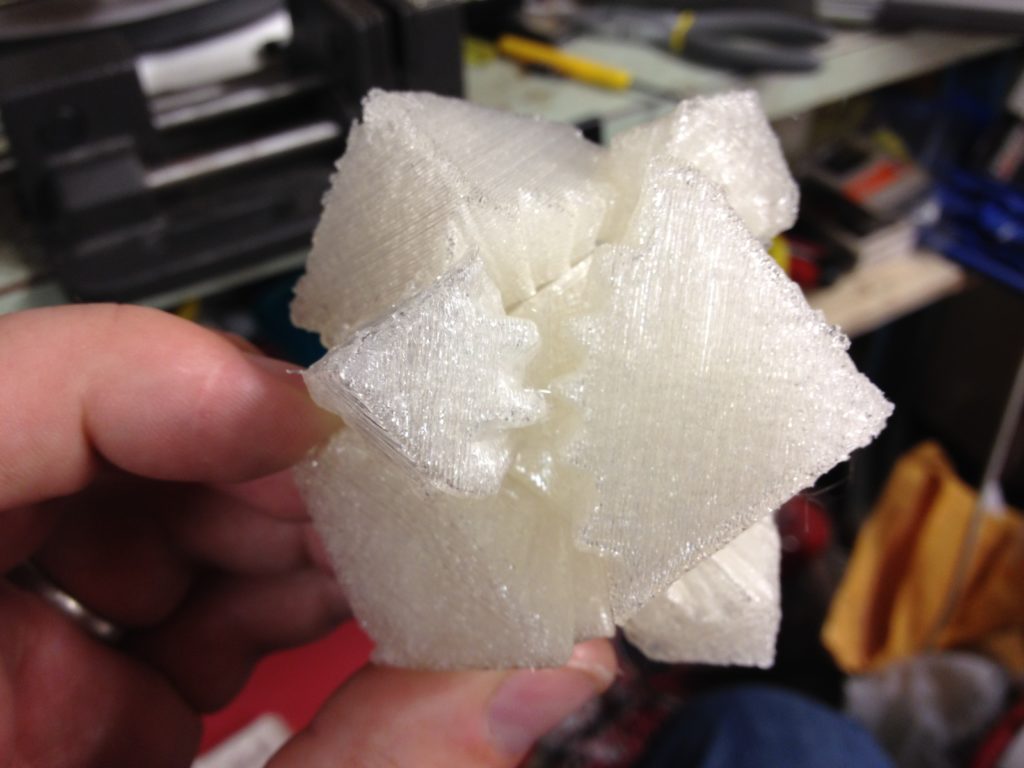
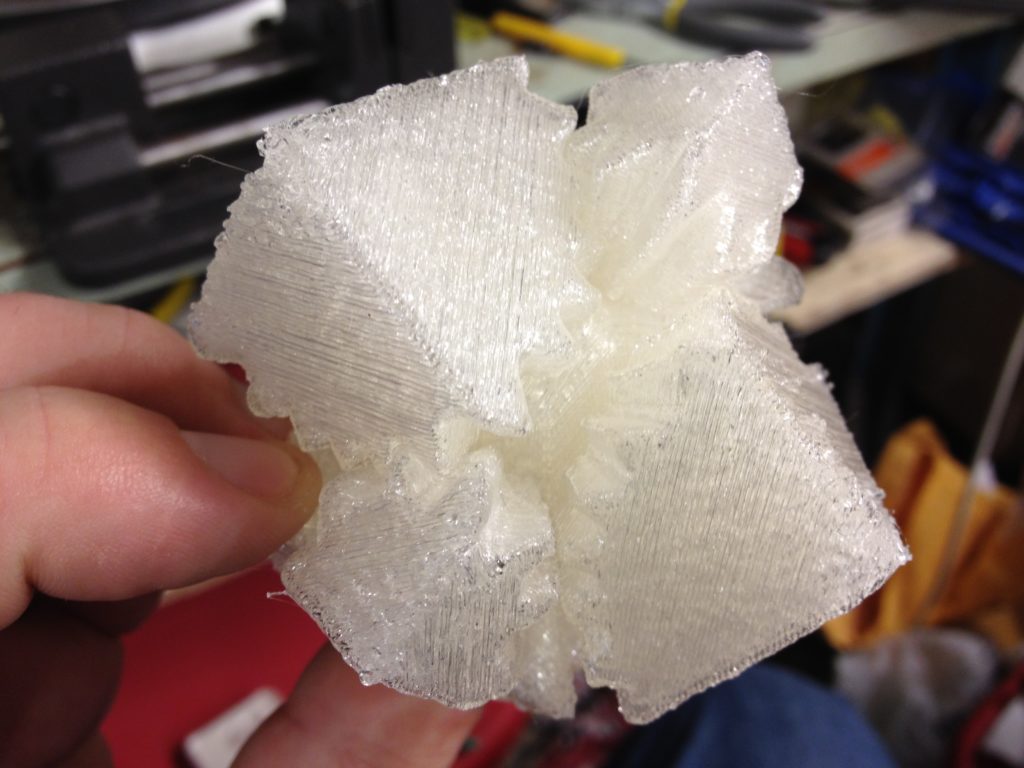
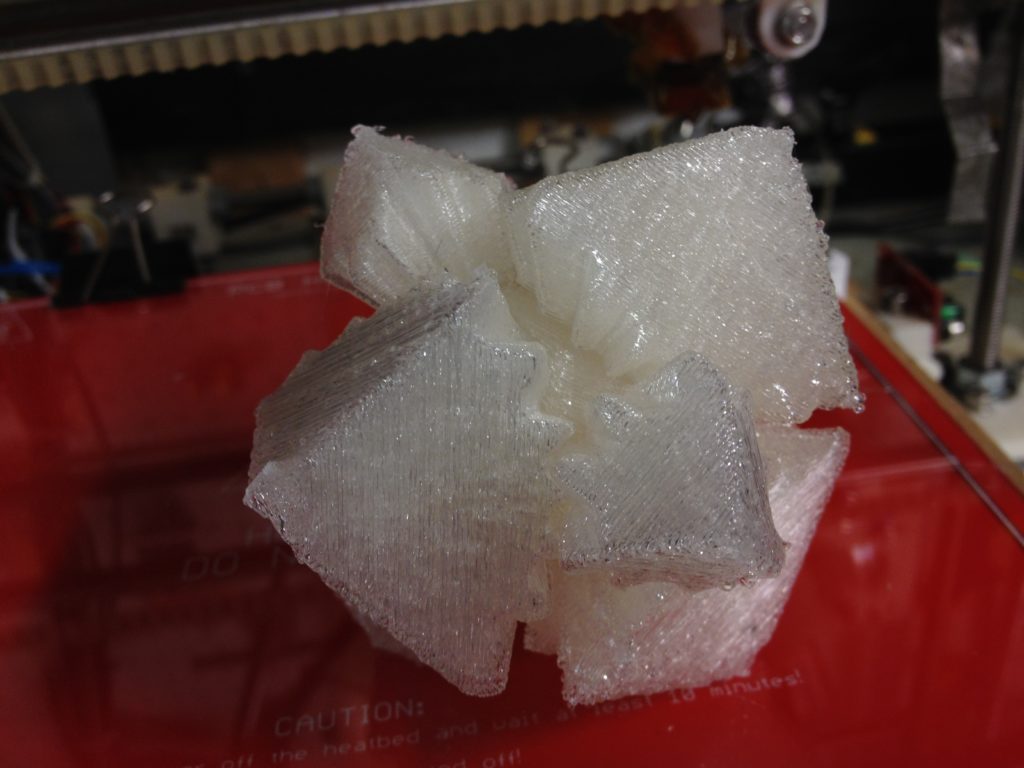
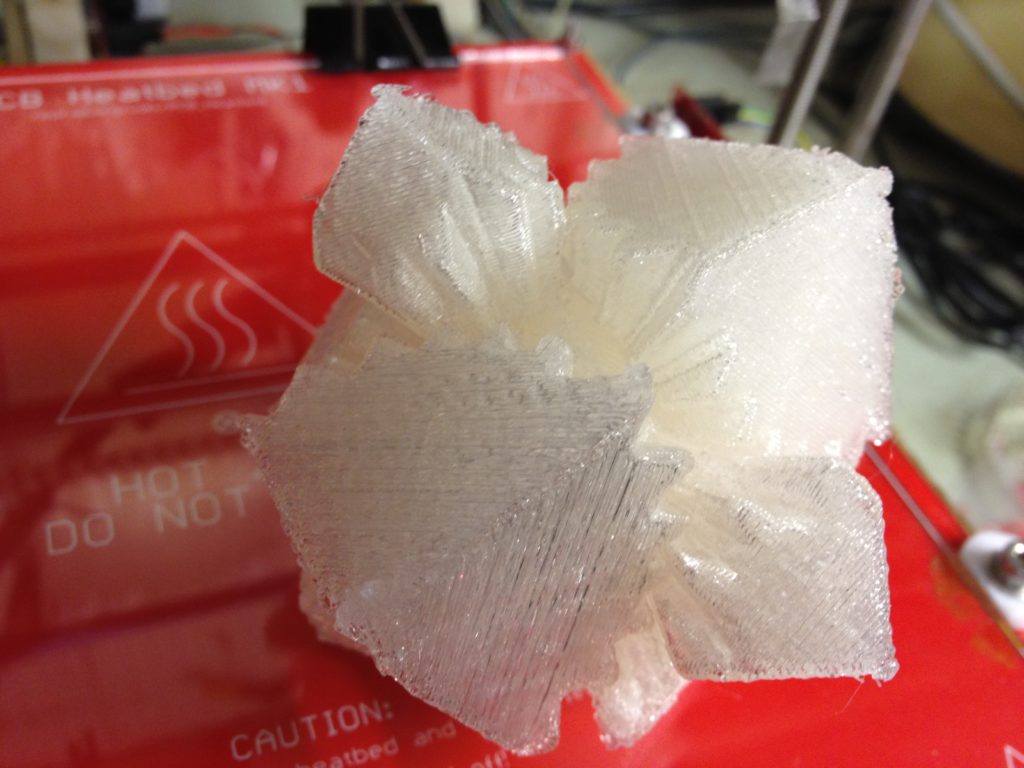
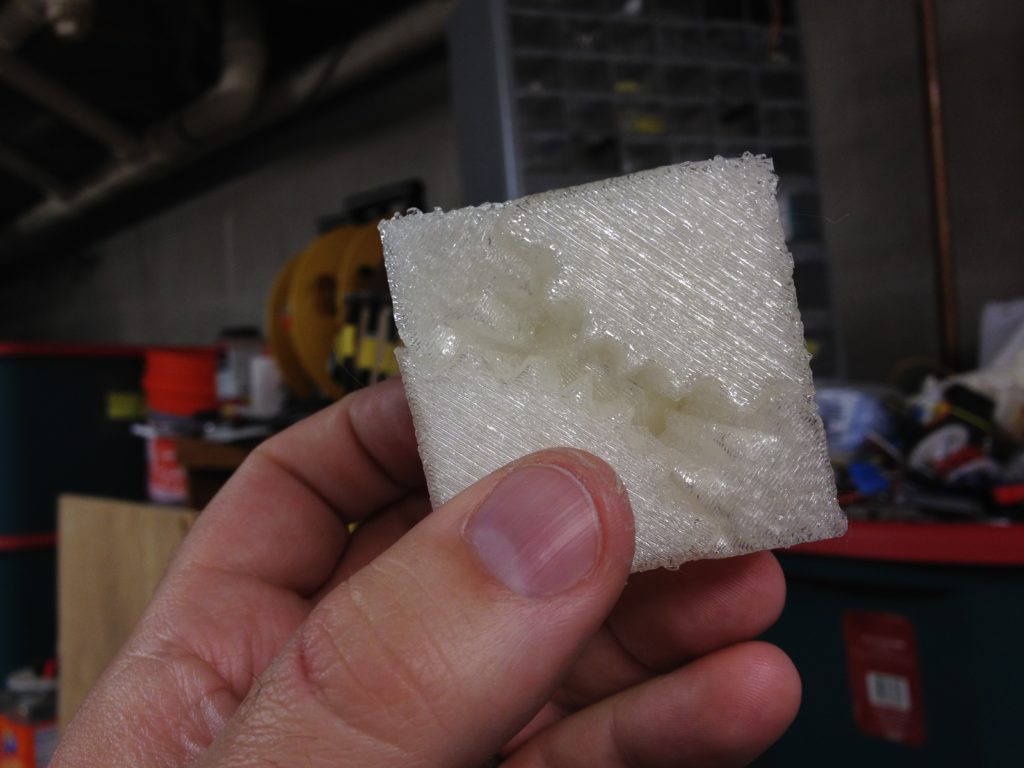
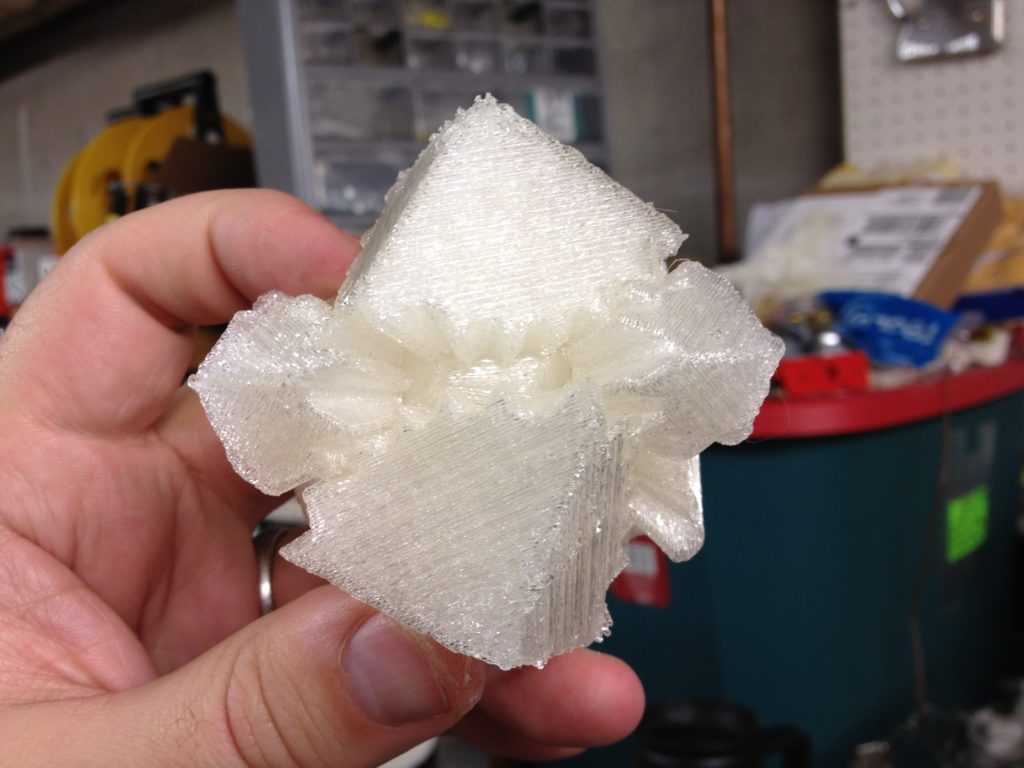
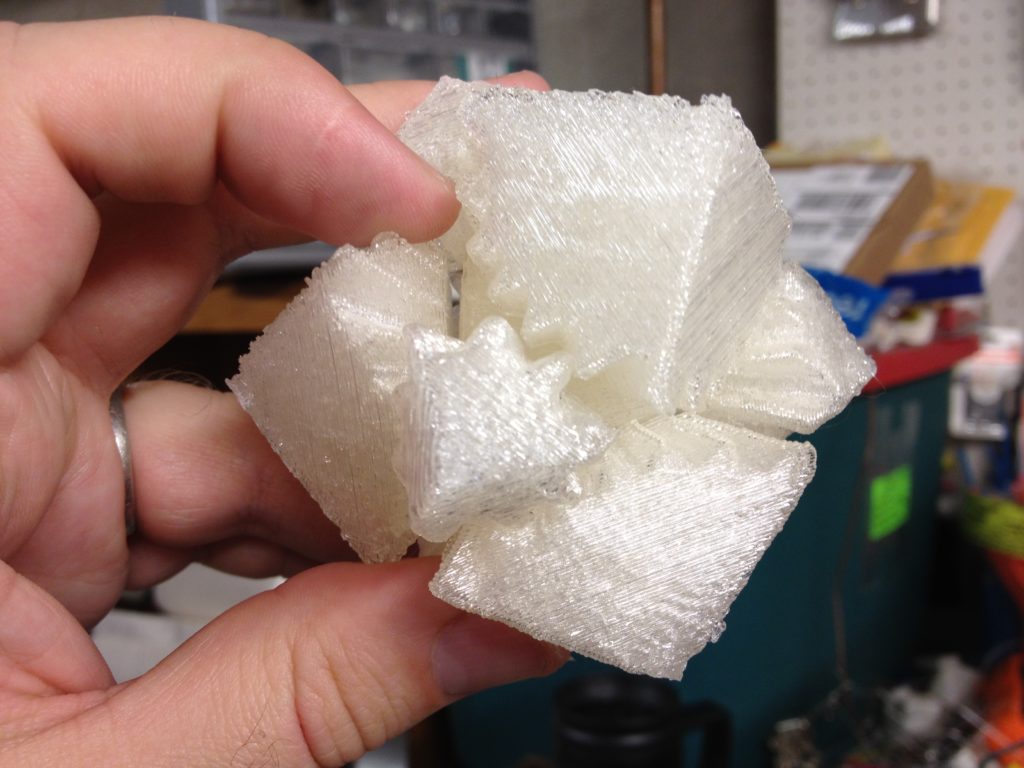
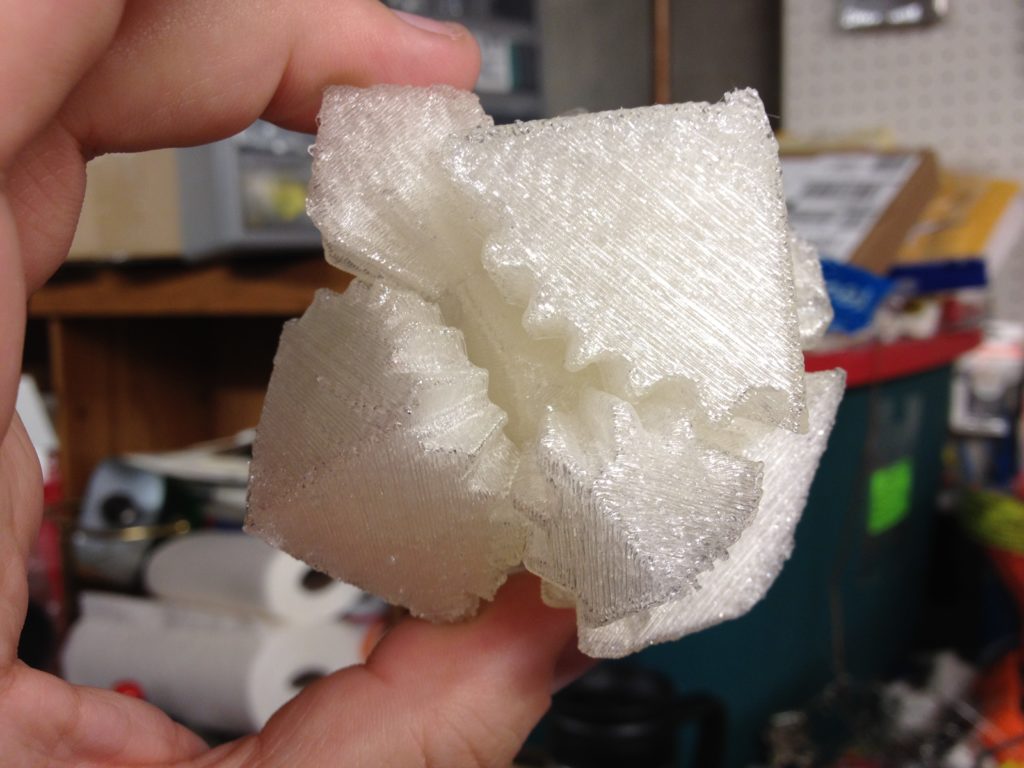
It’s complete! Here it is twisted into its cube configuration:
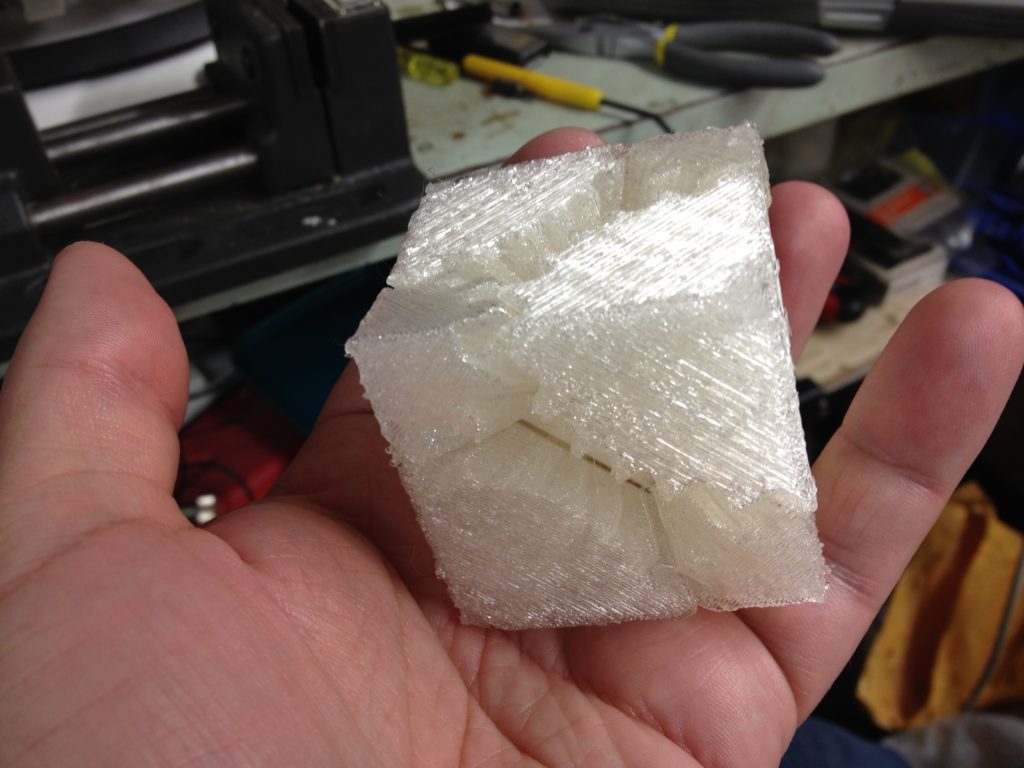
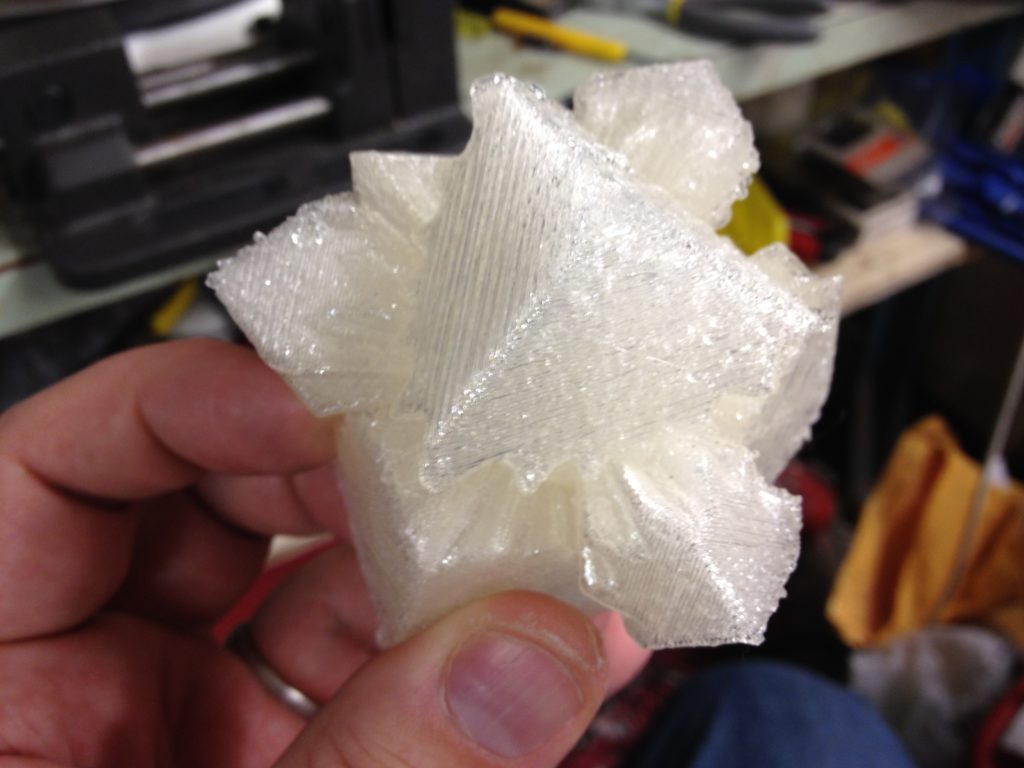
A little twist, and then it looks surreal:
So cool.
Ok, back to printer parts for another RepRap.
Rod clamps:
X end idler:
X end motor:
Y motor bracket:
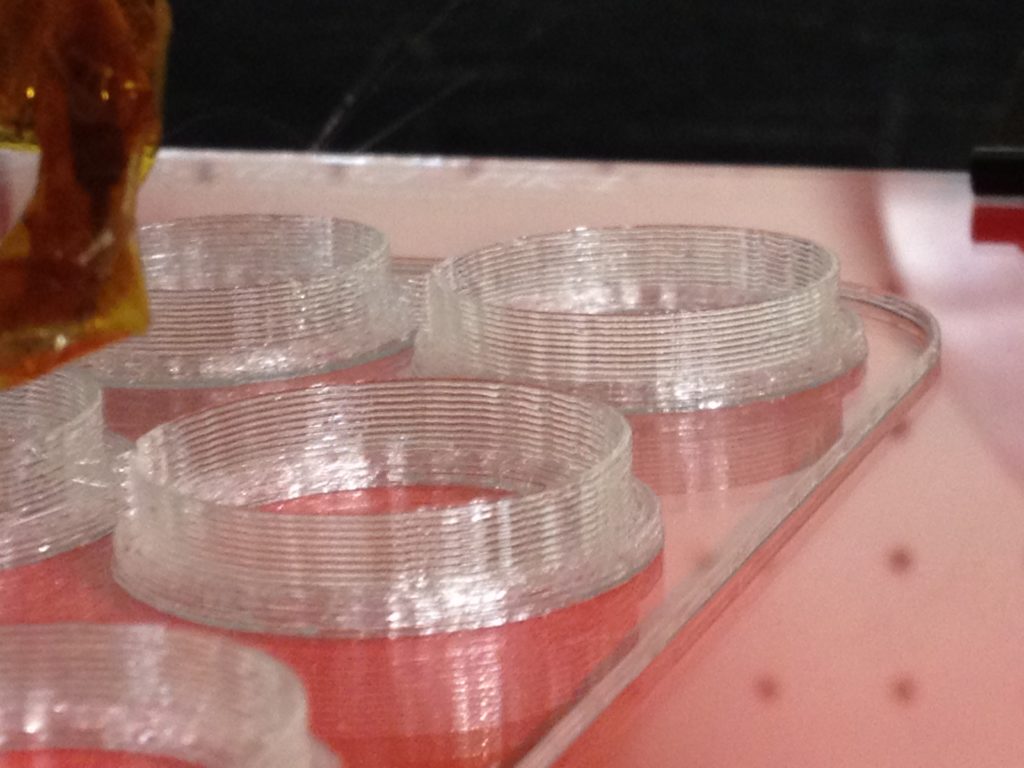
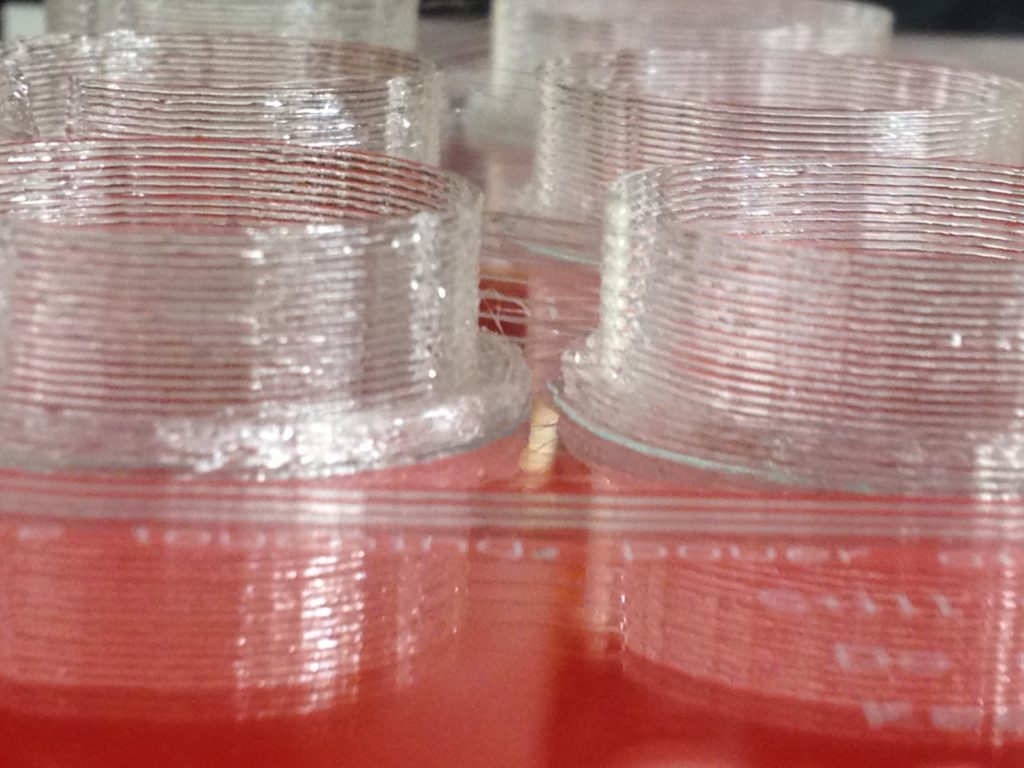
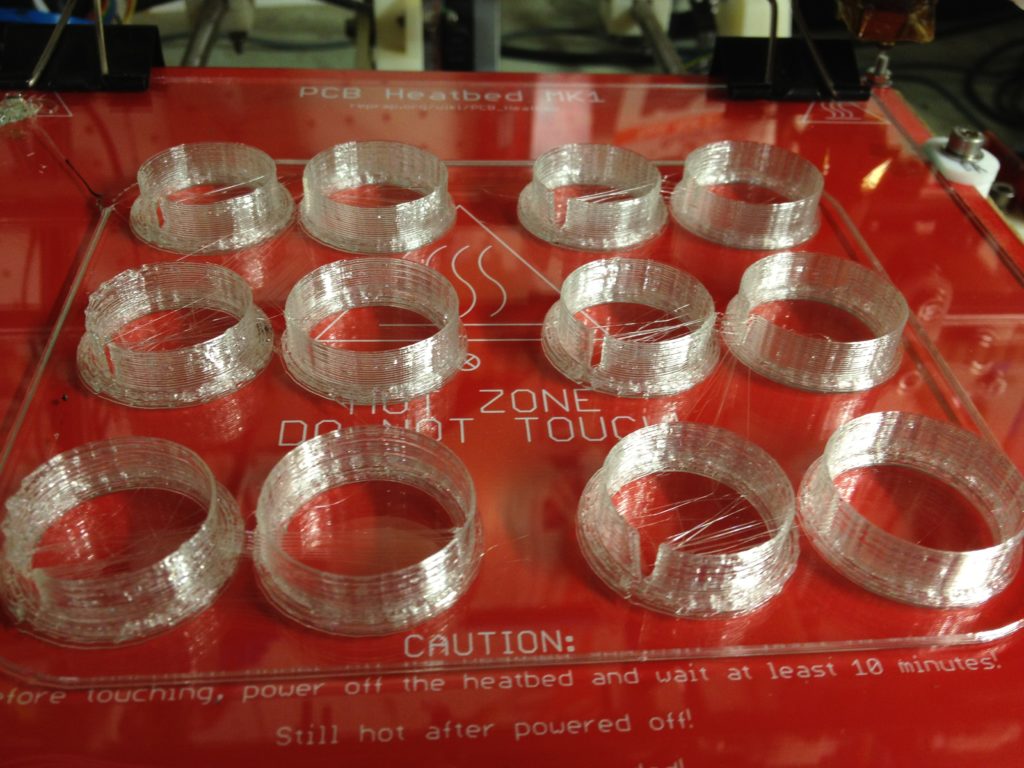
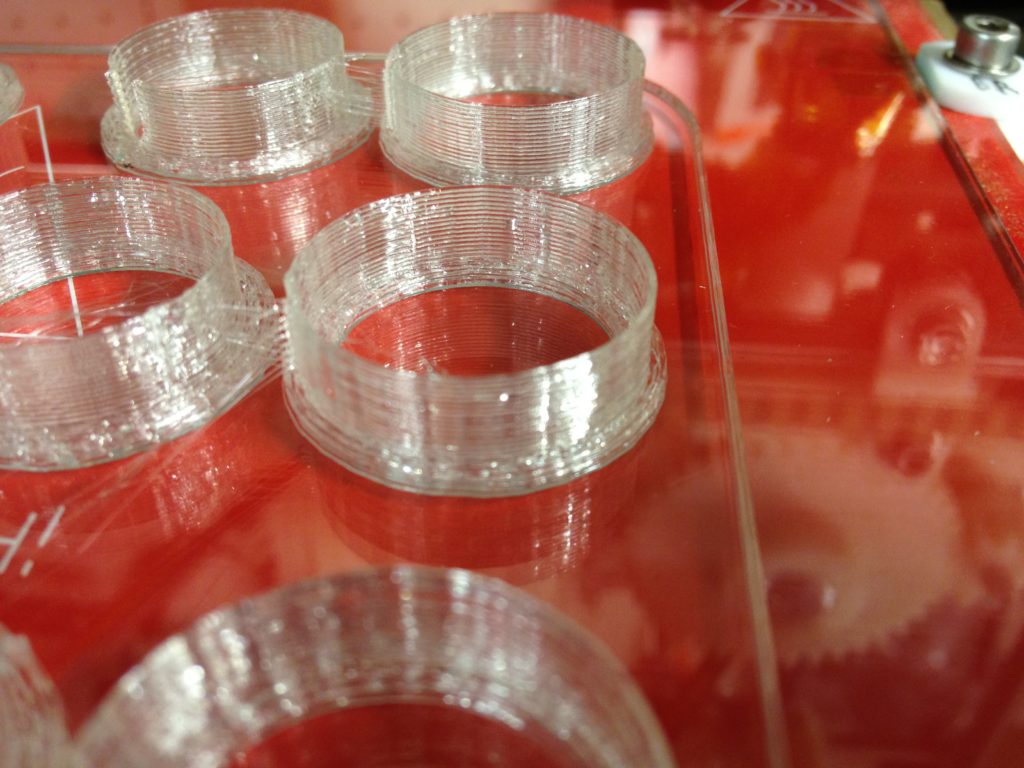
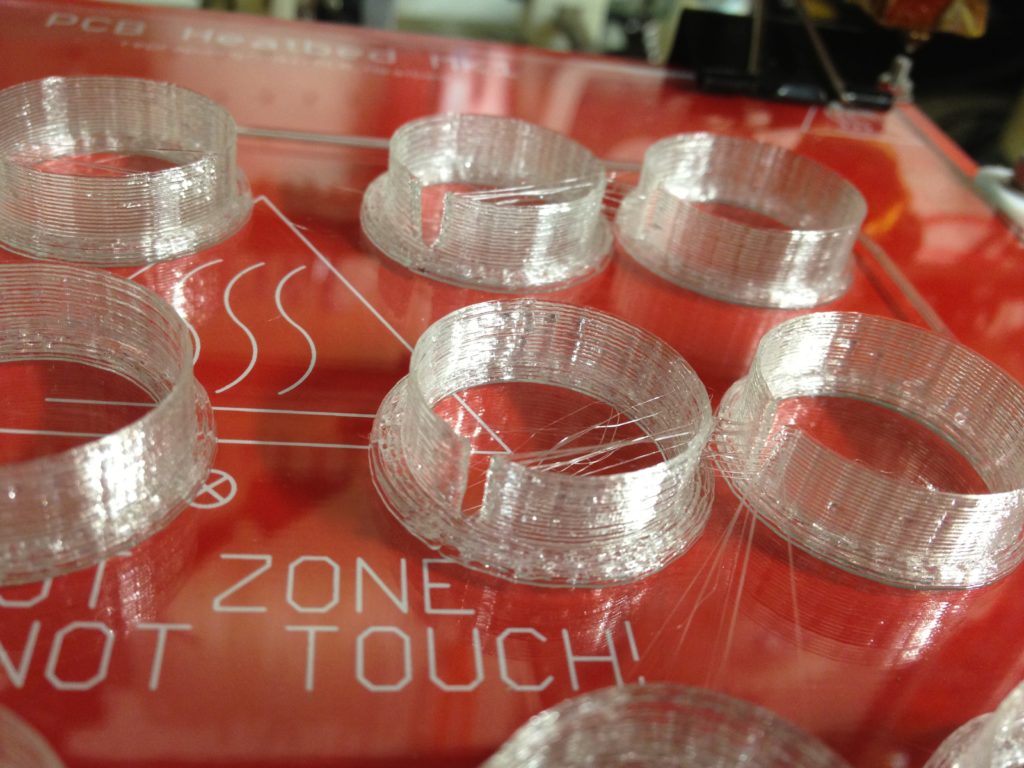
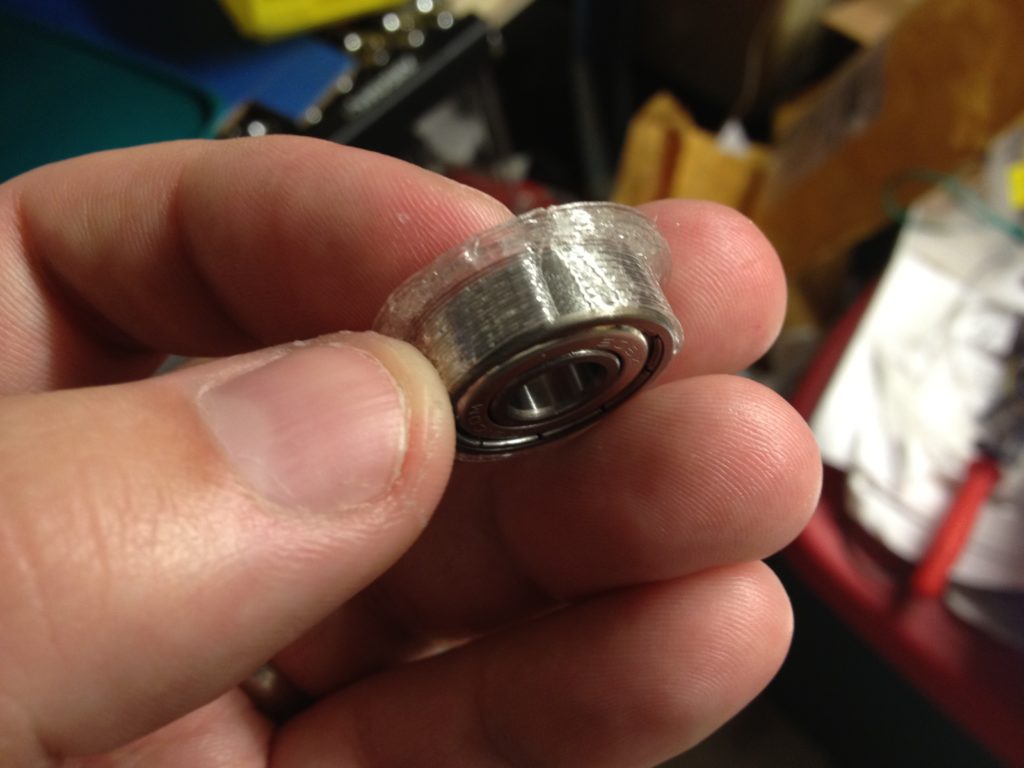
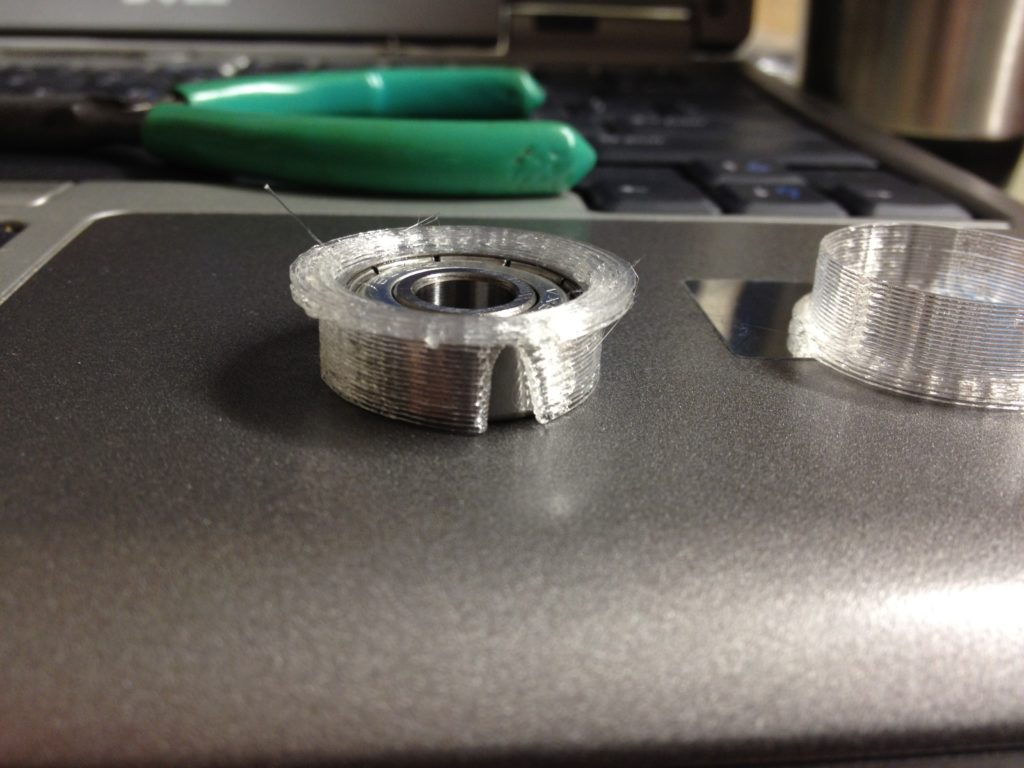
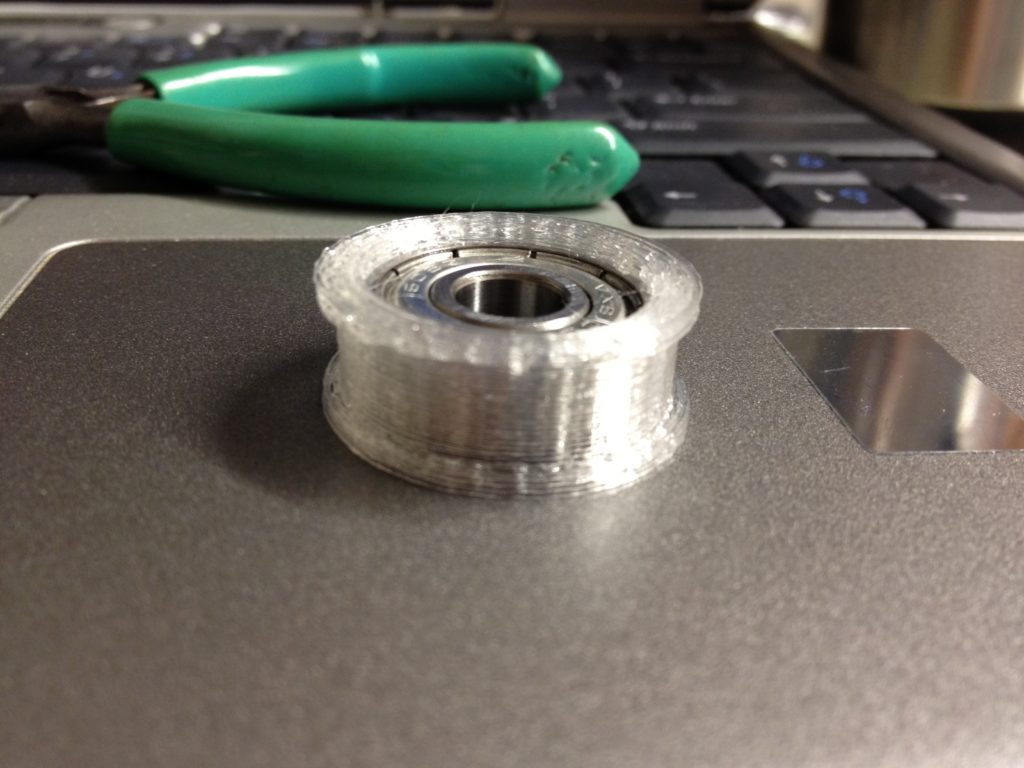
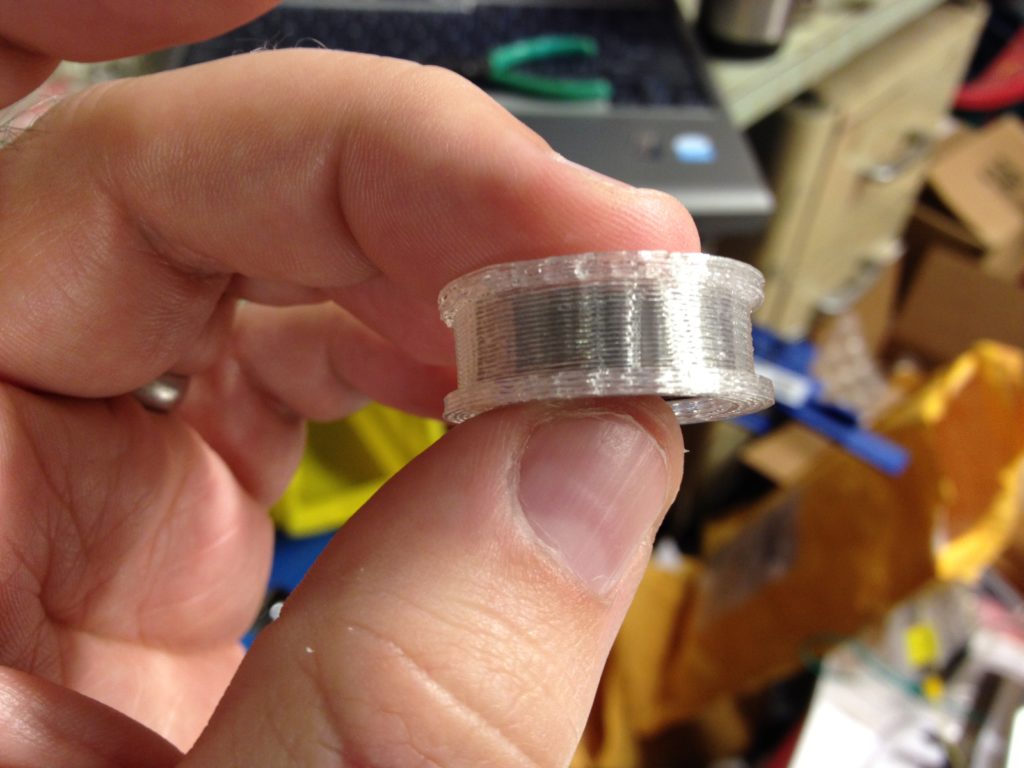
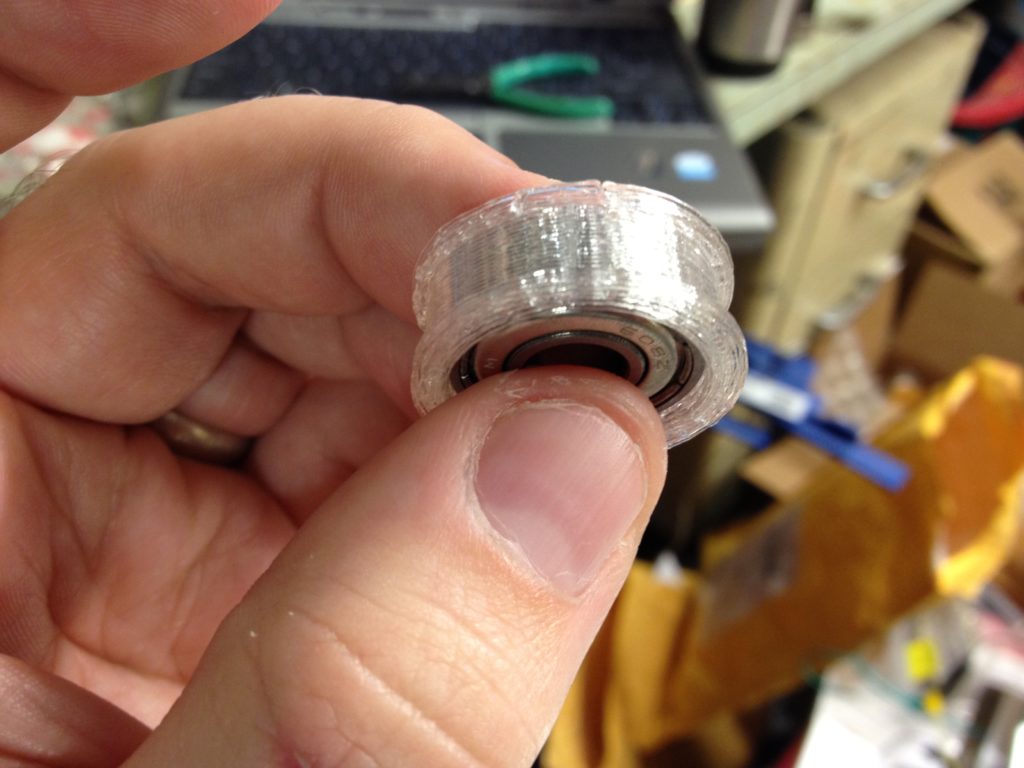
Then there were the bearing guides. I’m not a big fan of these after having actually used them, but maybe it’s just because of my print quality or something (there was a slight gap in the ring). When I put them on a bearing and then put some serious belt tension on them, they’d break apart and fall off. I went with fender washers instead.
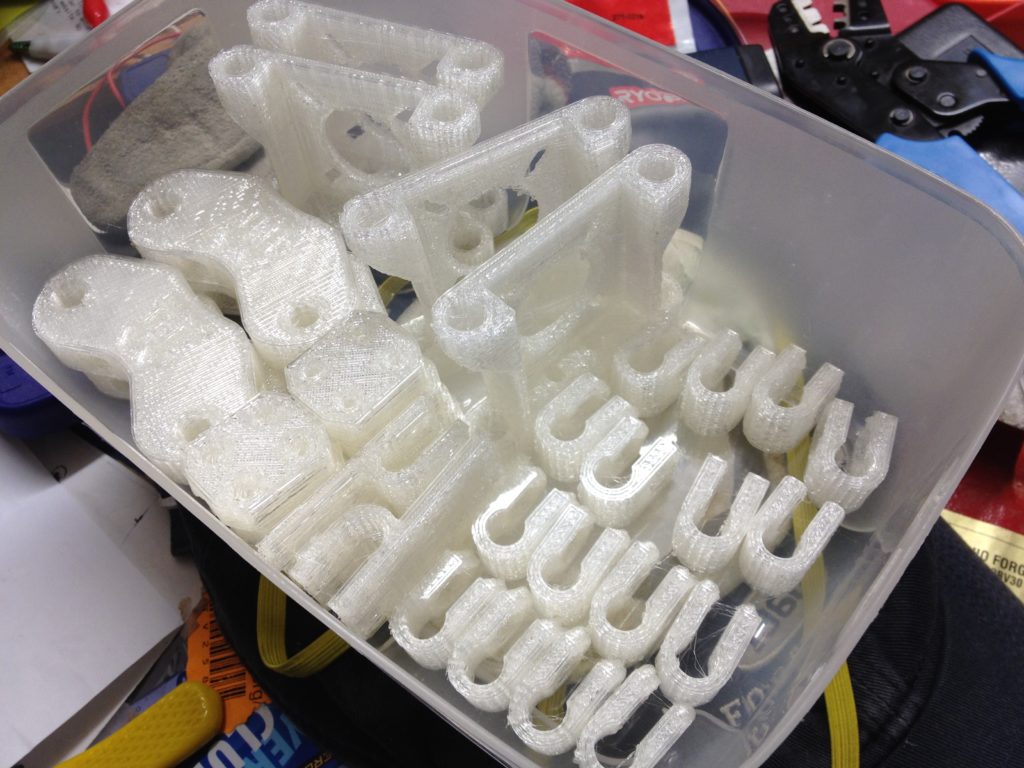
…and a few parts later, a big pile of printed parts:
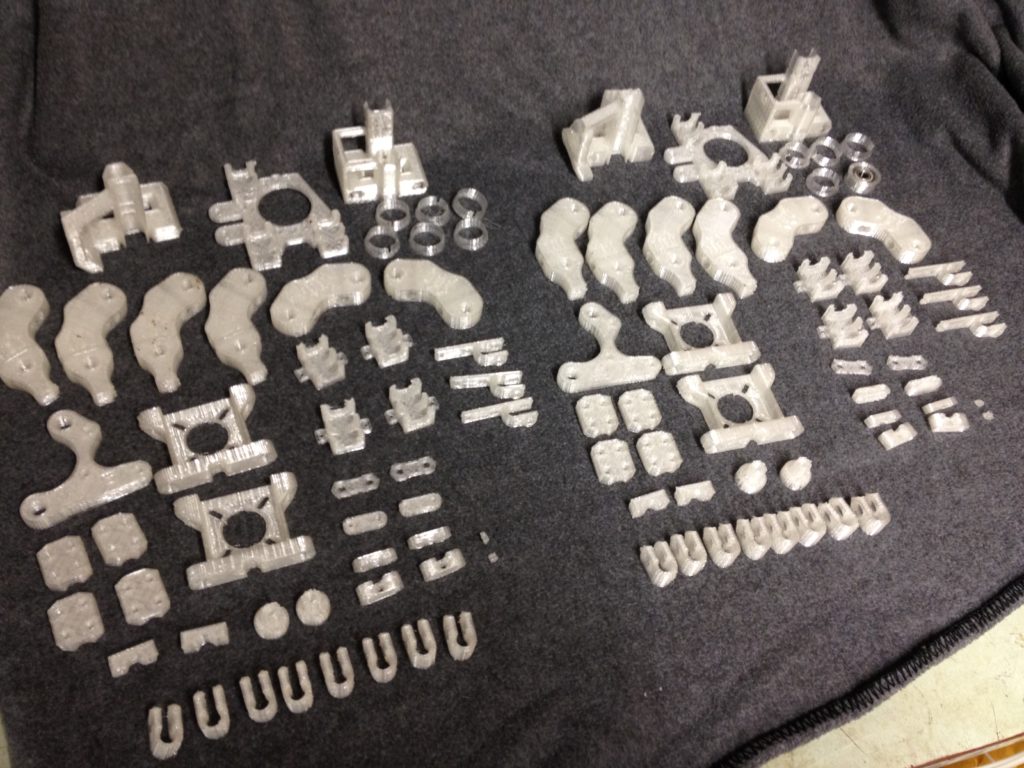
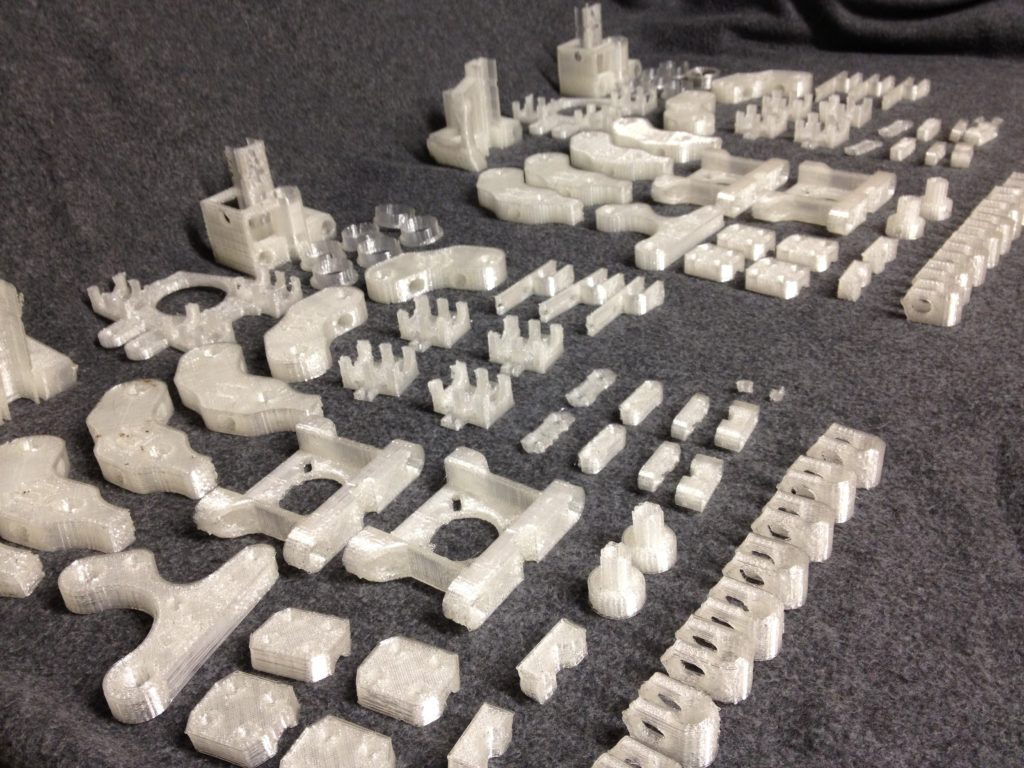
Here are the parts laid out side by side.. The parts on the right were printed for my brother’s birthday gift. The parts on the left were originally printed for me to use as a second printer. The left parts were instead, however, used to build a RepRap for another purpose (more on that in the NEXT blog post), which prompted me to print a third set of parts to replace those intended for my own second printer.
I took another break from printing printer parts, resulting in these four pure-awesome prints (which I’ll end this post with).
15-Piece Puzzle
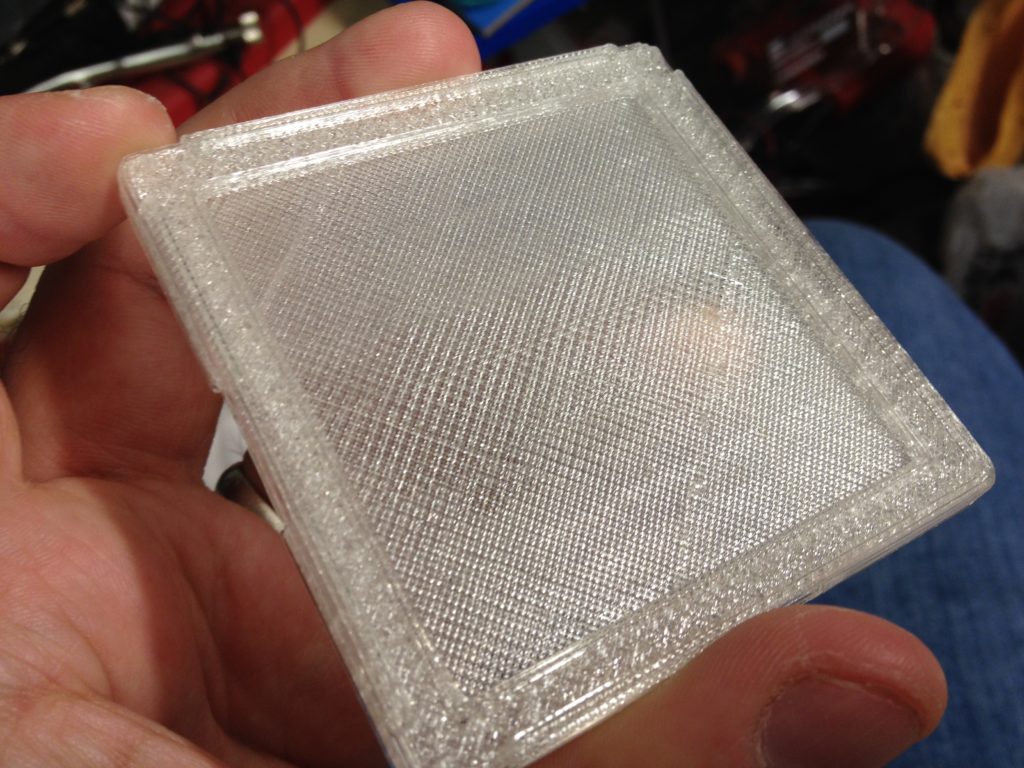
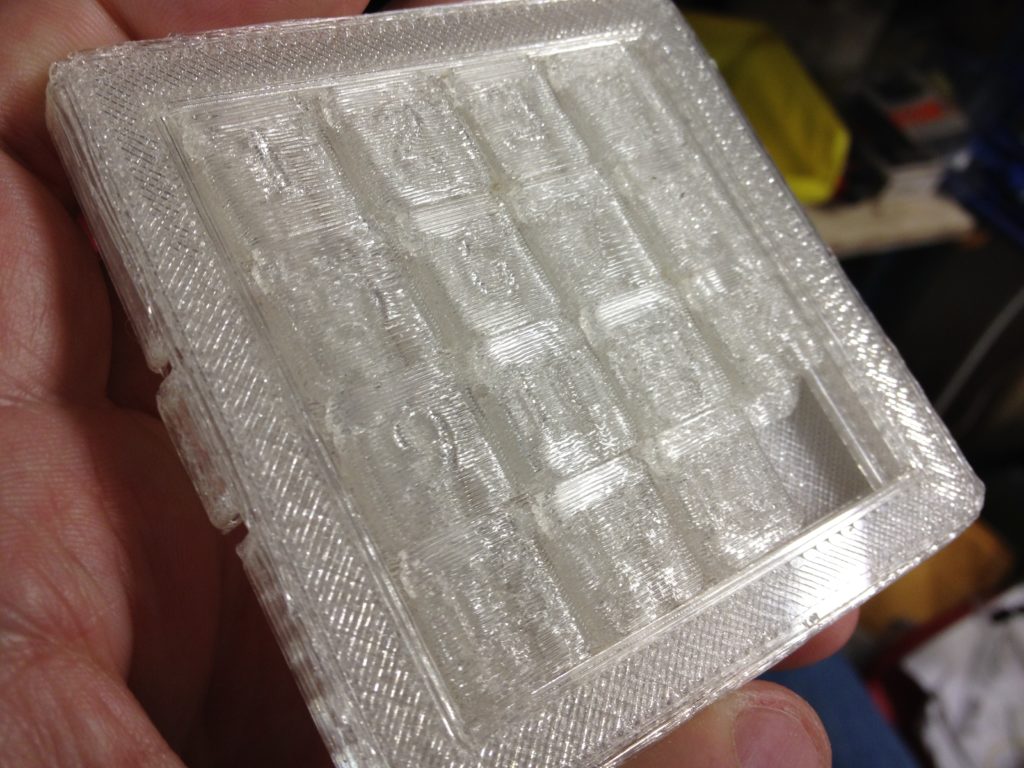
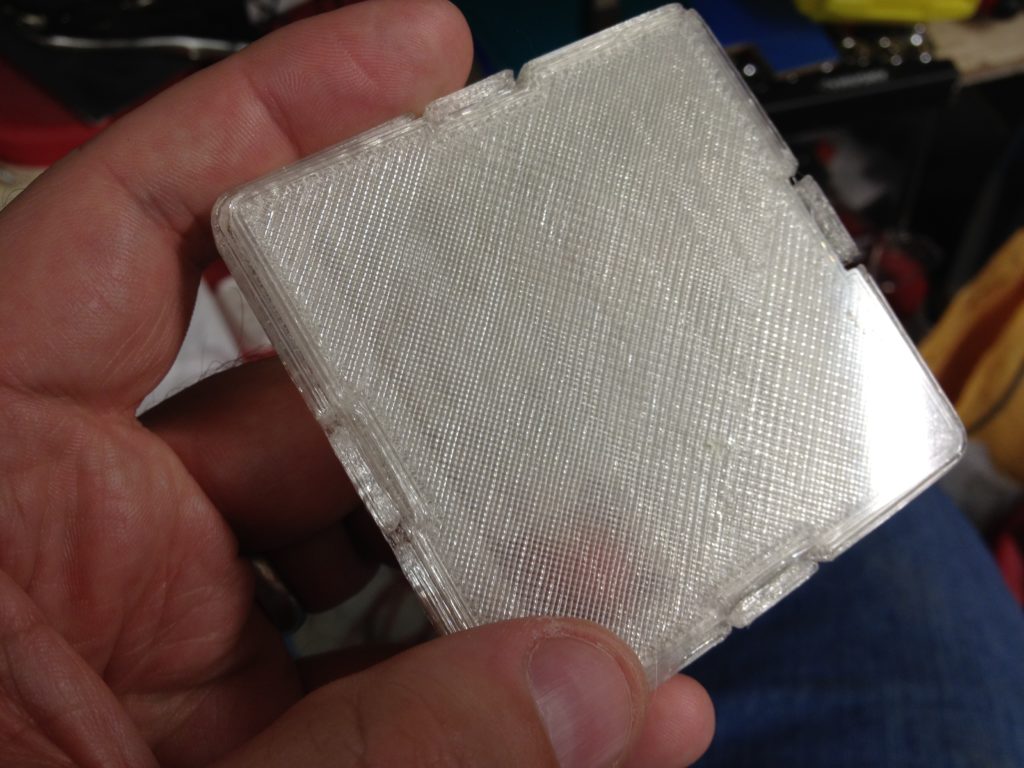
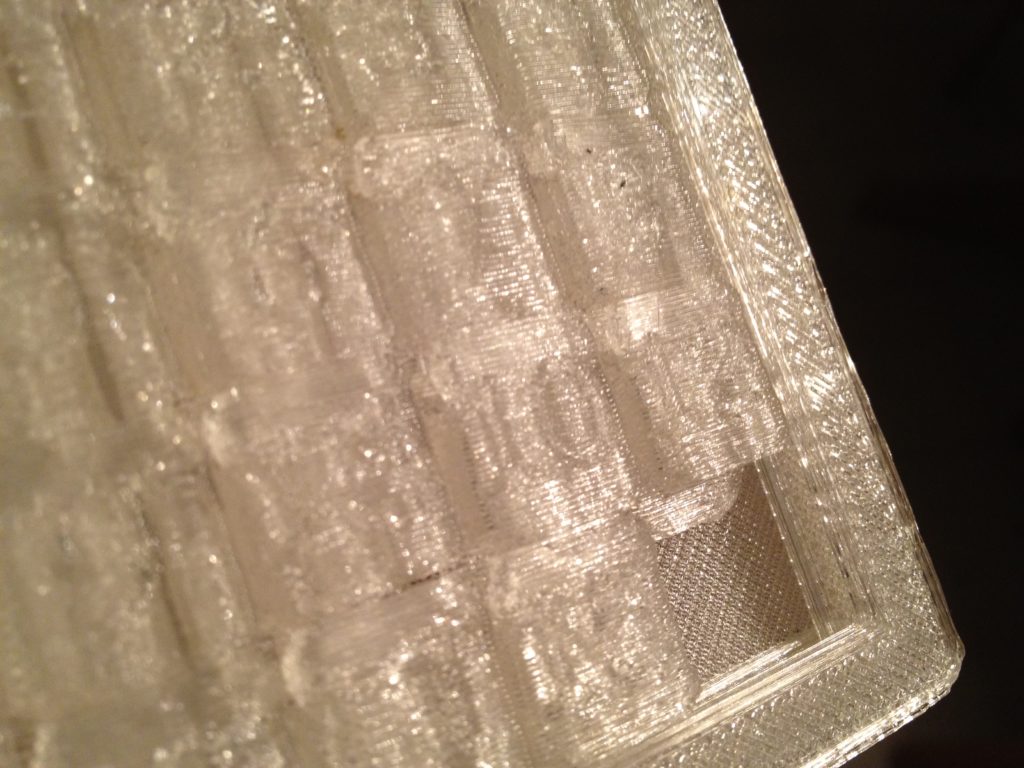
Here’s the traditional 15-piece sliding puzzle that we’ve all played with at one point or another. The numbers were tough to make out – this would be a good candidate for a multi-color print someday (or for the nail polish Alicia was using on the bunny at the beginning of this post). The front part clips/locks onto the back part, trapping the 15 sliding puzzle pieces.
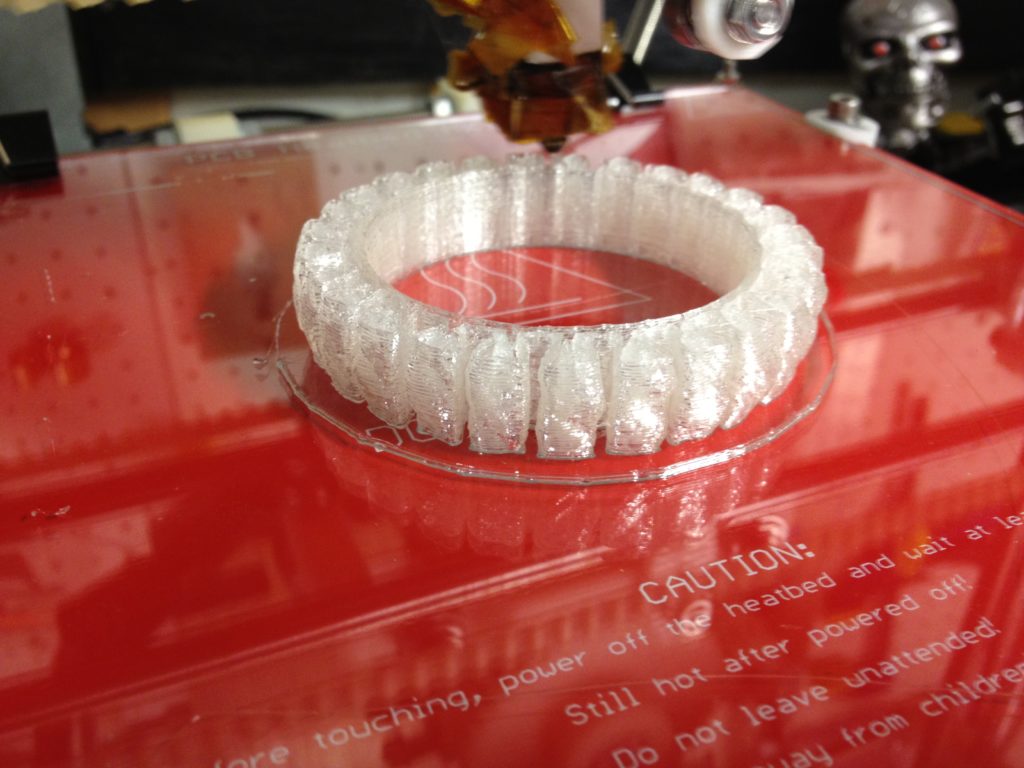
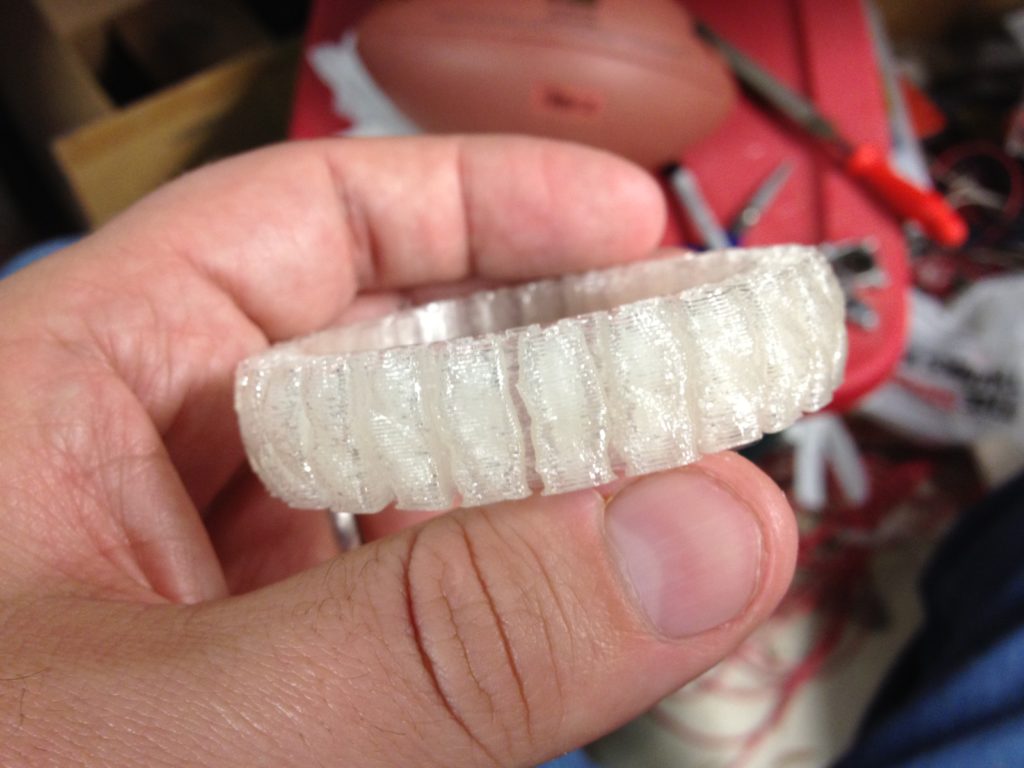
Stretchy Bracelet
This worked surprisingly well for PLA. Probably would work better with ABS.
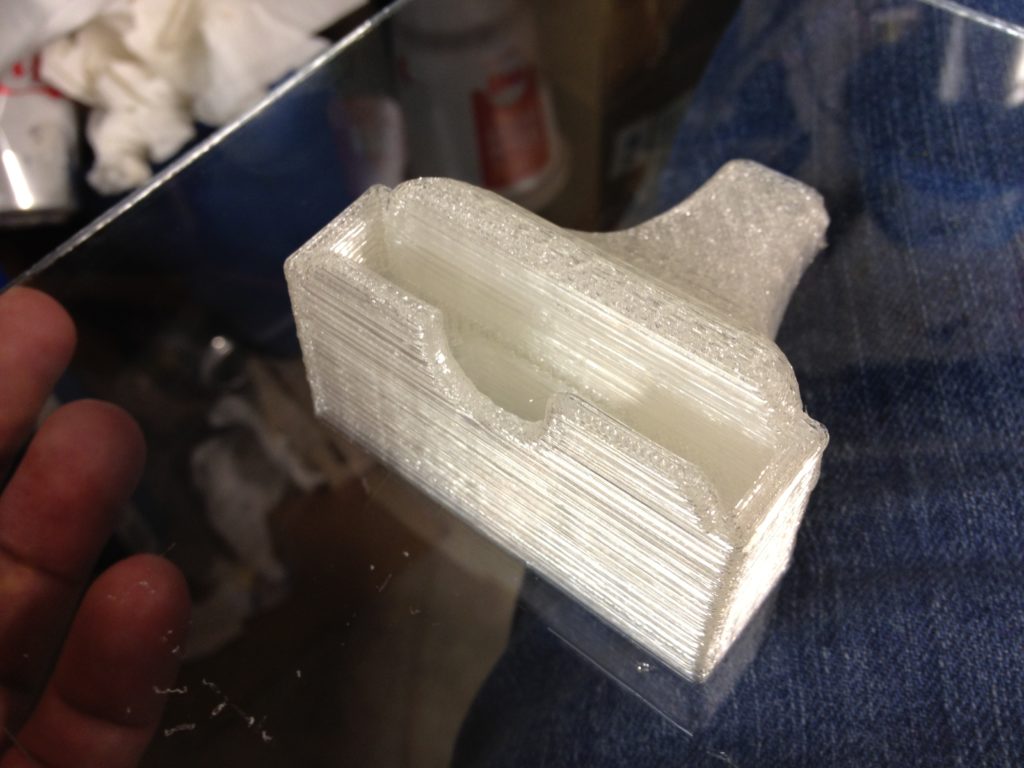
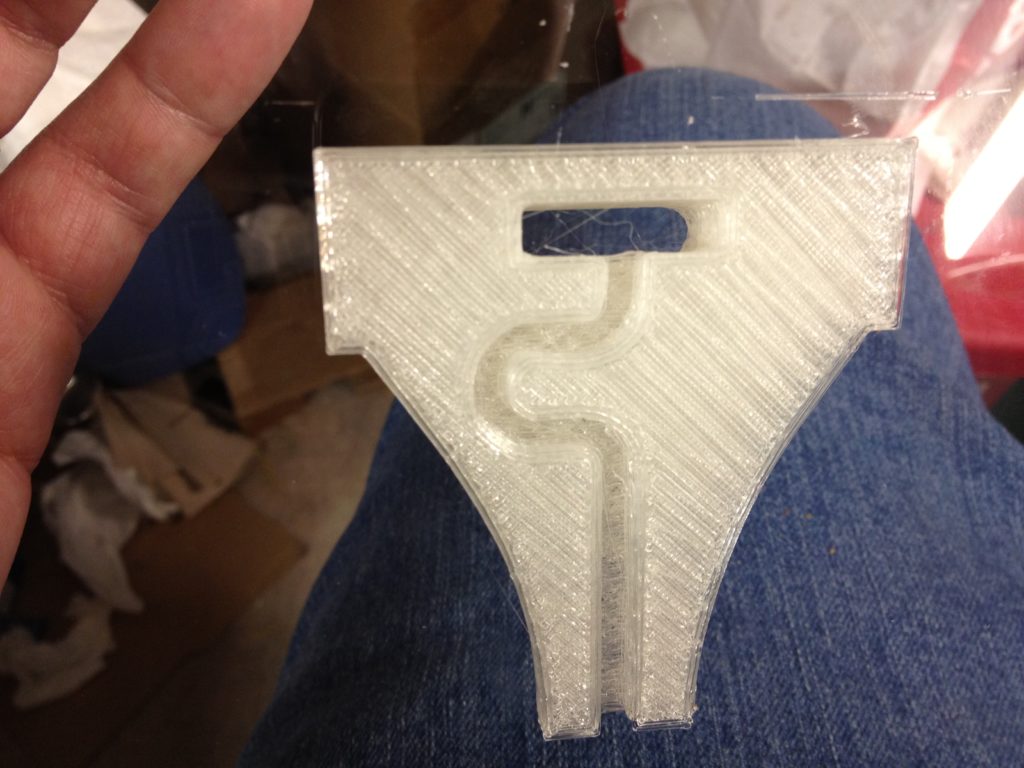
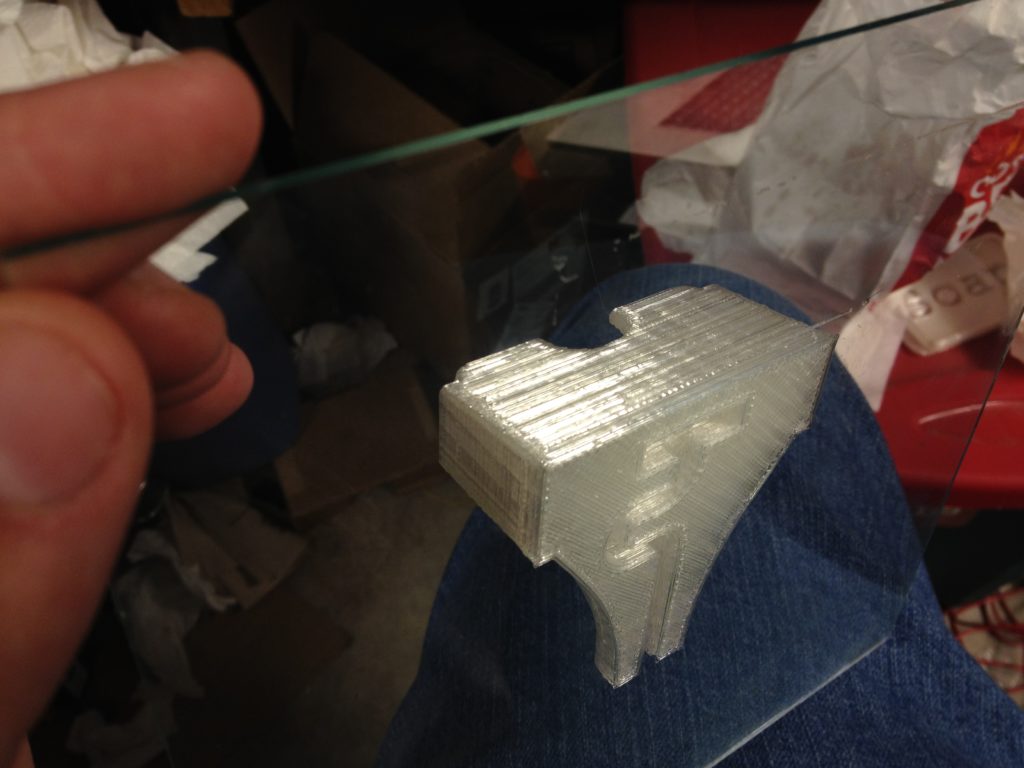
iPhone Charging Dock
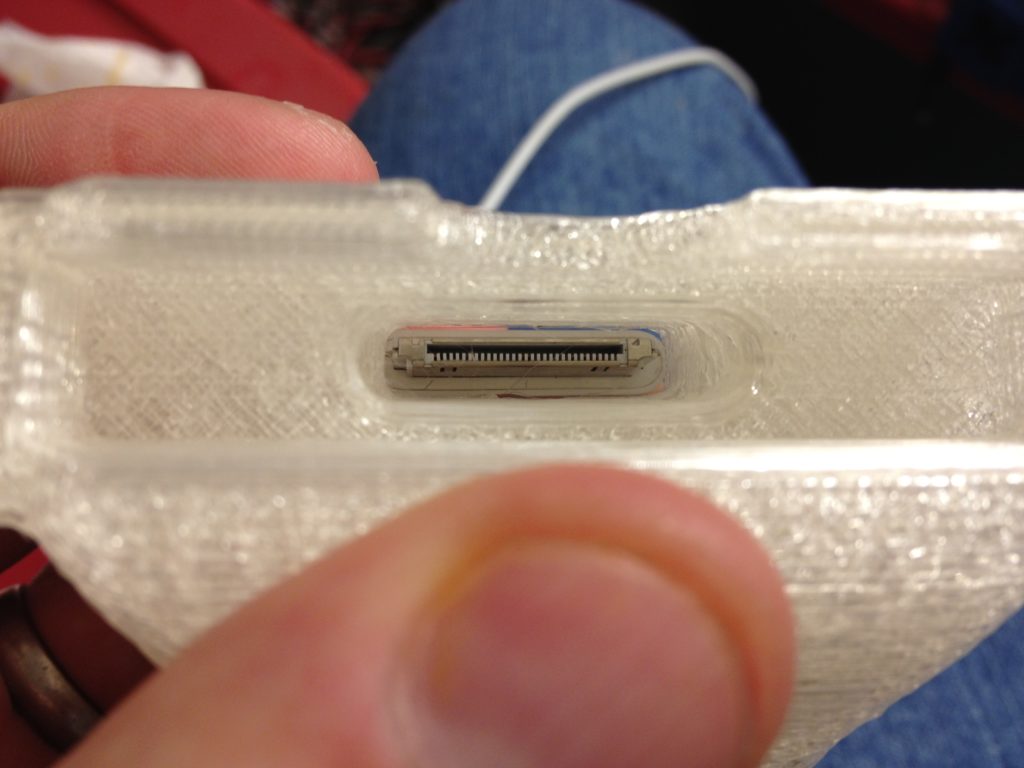
I use this print every single day – this is the dock beside my bed where I charge my iPhone while I sleep. My iPhone is my alarm clock, so it helps to have it upright as I can press the button on top to snooze. There is a strain relief channel on the bottom to hold the cable in place.
My favorite part about this print is that this design works so incredibly well for me and yet I can see marketing people nixing it if this were a product for sale. The reason I say that is that the cable is a bit loose in its housing, so the phone wiggles ever so slightly when in the dock (if you try to move it back/forth/left/right). That would seem like a bad idea. In practice, however, it means that I can dock my iPhone with my eyes closed or in a pitch black room, because I just kind of lower it near the dock and within 1/10th of a second it’s always housed perfectly. If it were a rigid design (like most dock connectors I’ve seen), you have to line up the phone perfectly or it won’t connect. I don’t even think it was necessarily intentional by the designer – but it works that way, and it’s awesome, and I can print as many as I want.
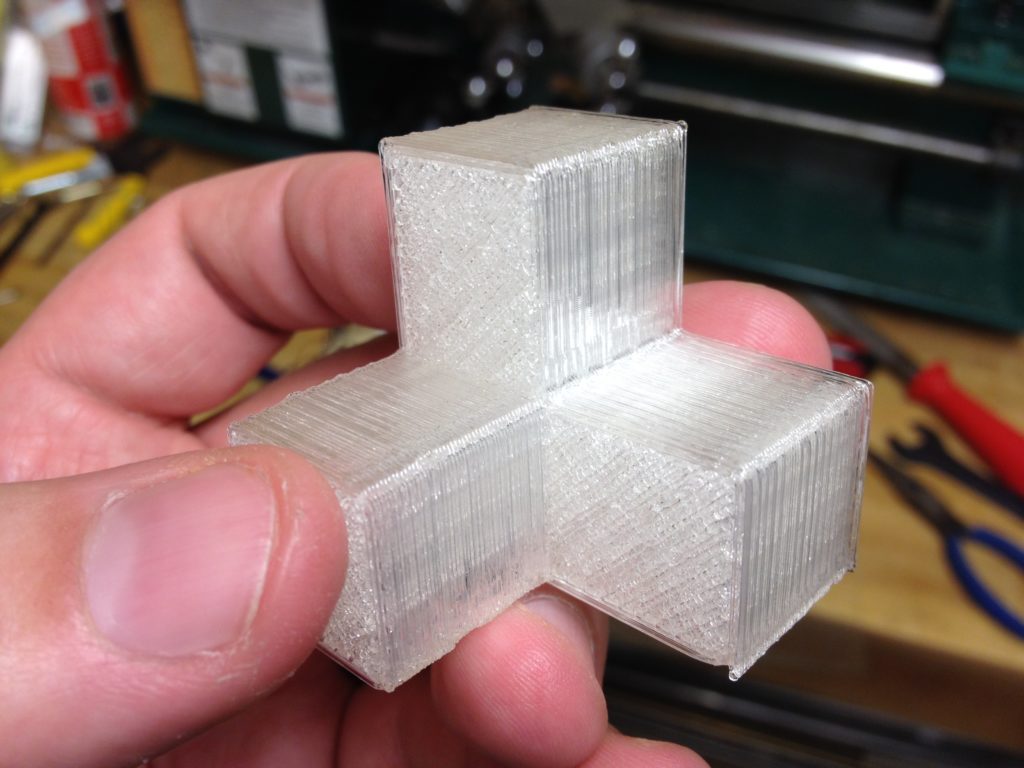
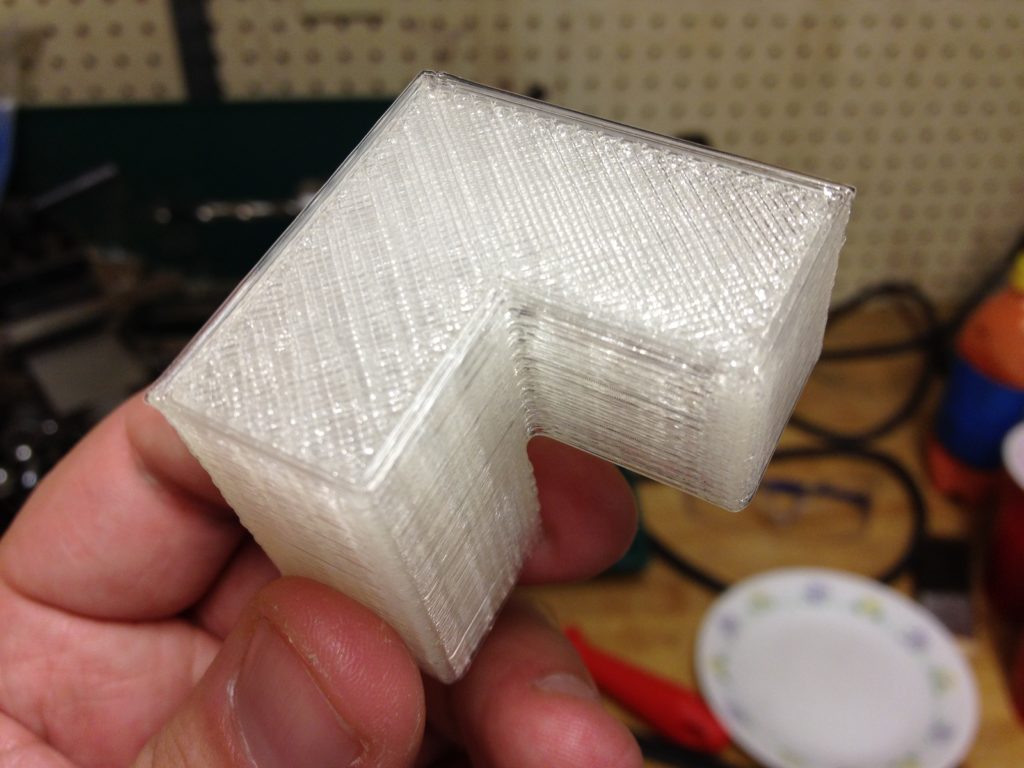
One of my favorite prints of all time…
I absolutely love this print, for so many reasons. Let’s start with the end and show you the completed video first.
When I was a kid I had one of these – I believe a friend of the family named Judy gave it to me. Mine was blue. It had all of these pieces and you had to put it into a box shape. I loved this puzzle. Who knows where my original one is – probably in a bin somewhere.
Then one day I see it on thingiverse.com.. I downloaded it, printed it, and then I had it again. It didn’t exist, and then it did exist. That night my kids were playing with it, trying to solve the puzzle. The same puzzle that I had played with as a kid, about 30-35 years ago. How awesome is that?!?
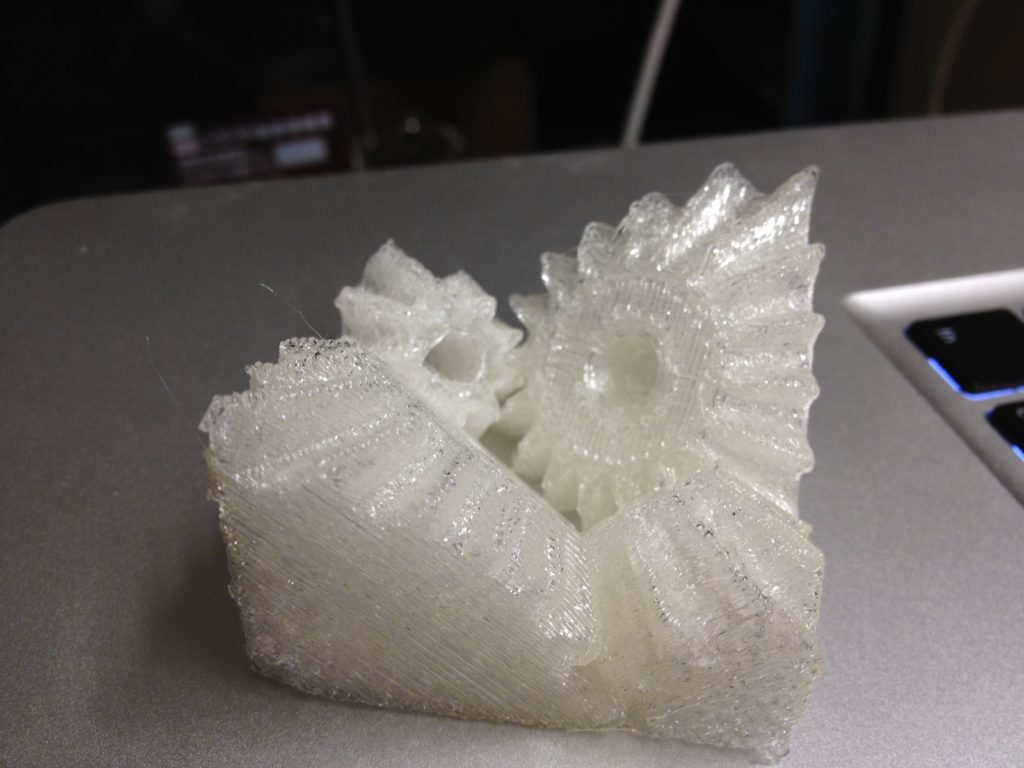
Add to that the fact that this was one of the most beautiful things that my printer had ever printed, and you get it being one of my favorite prints of all time.
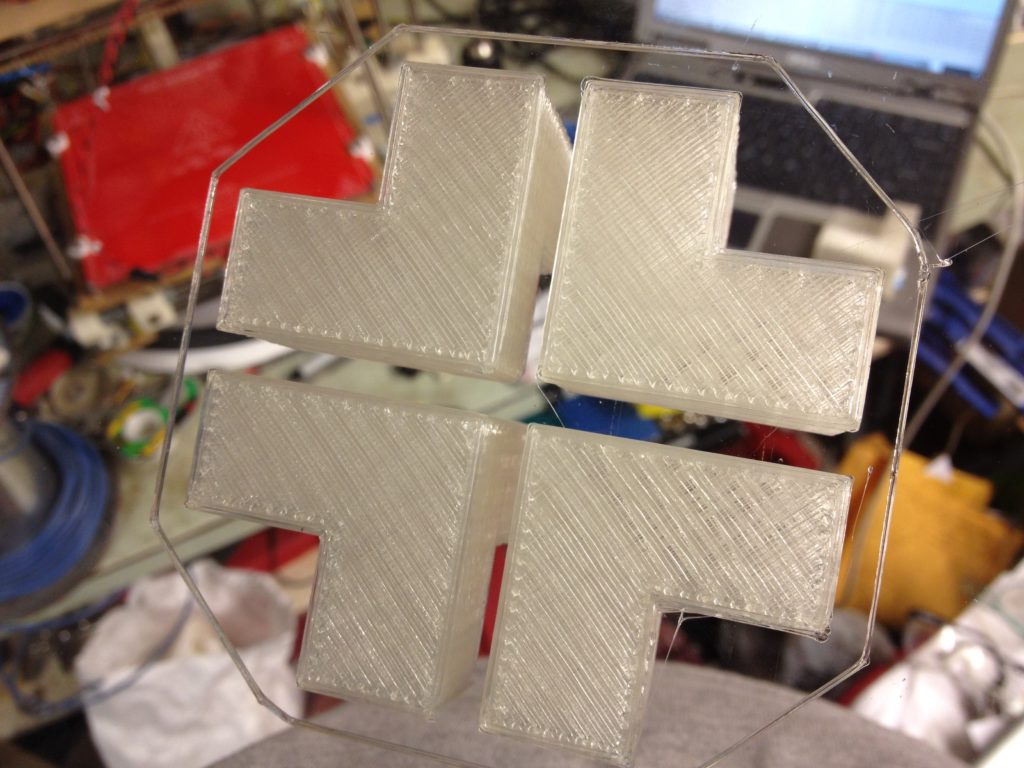
Check this one out.. Just absolutely beautiful:
Insane!
That one’s worthy of a video, which captures about 50% of the beauty of this piece:
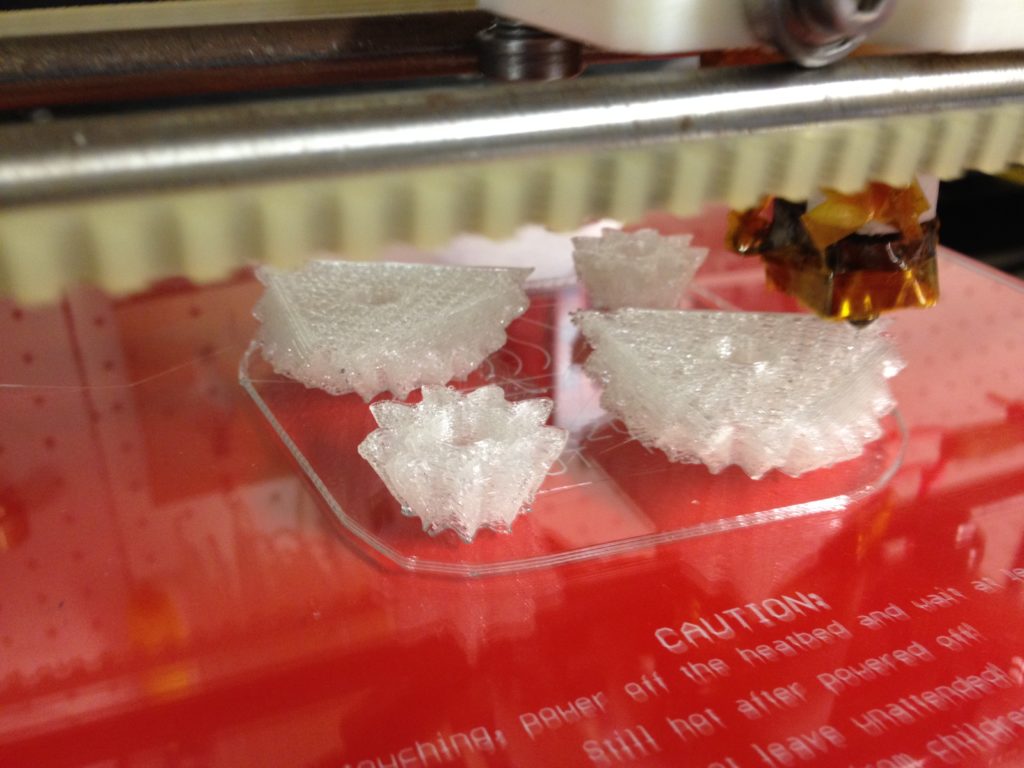
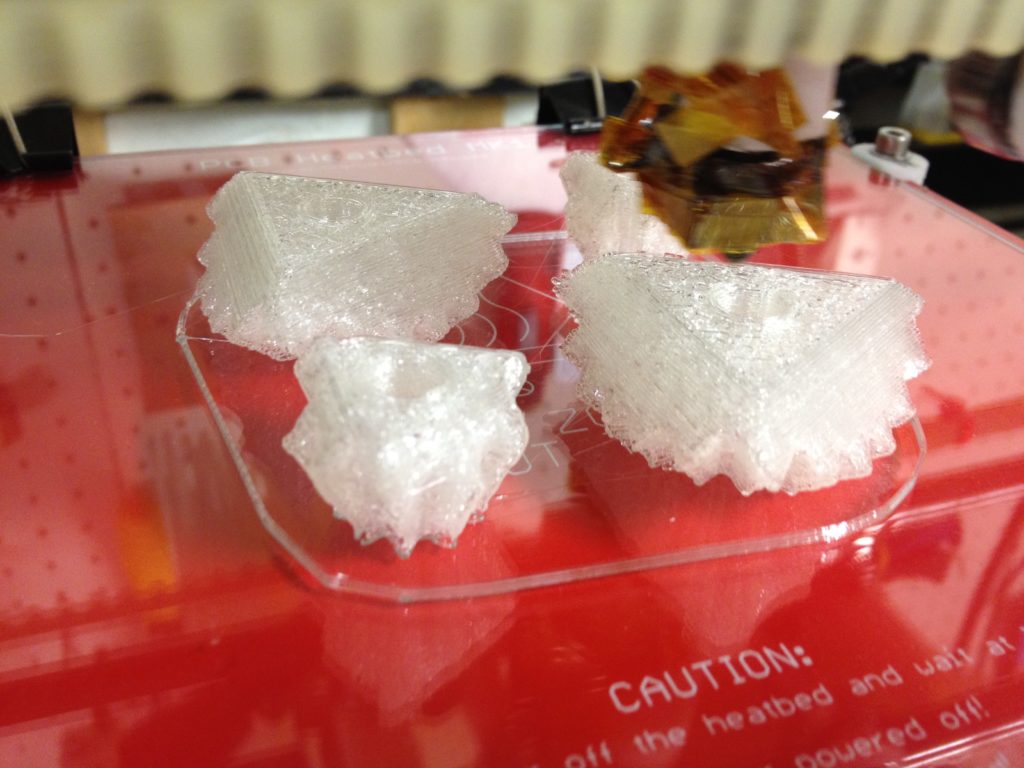
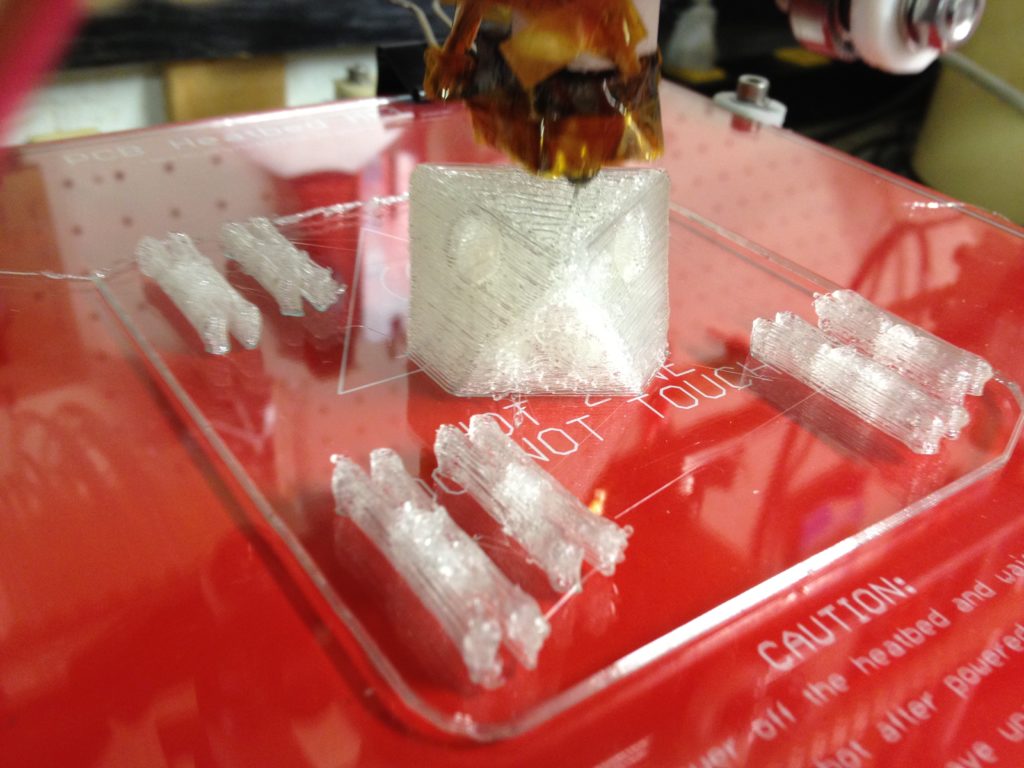
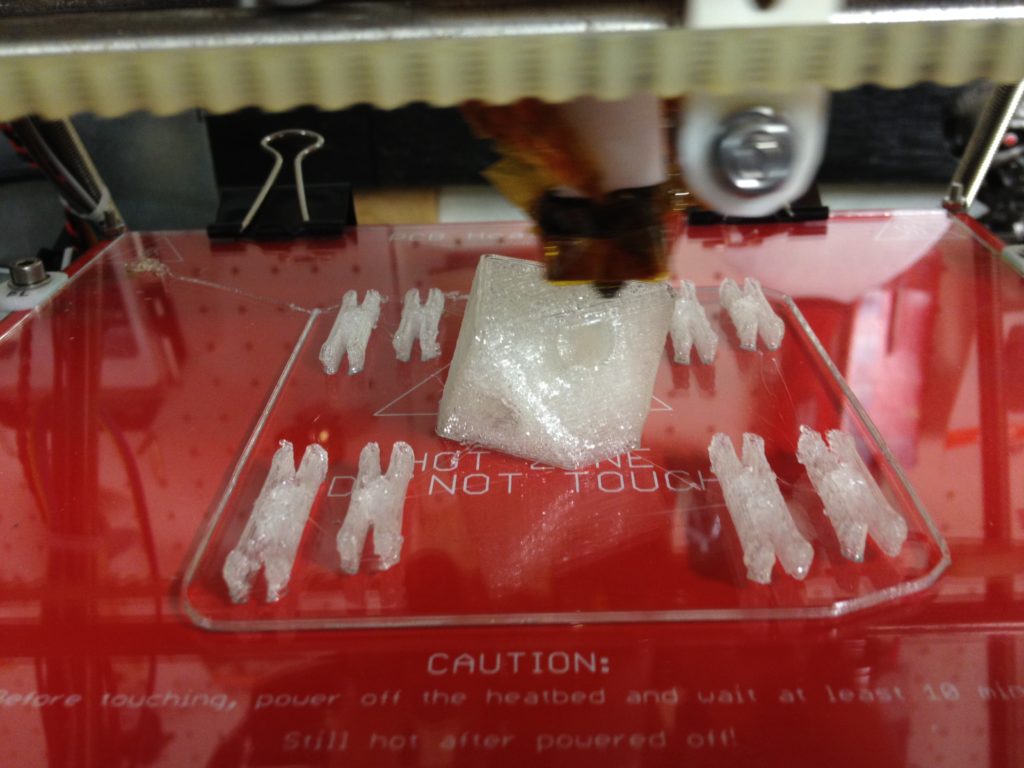
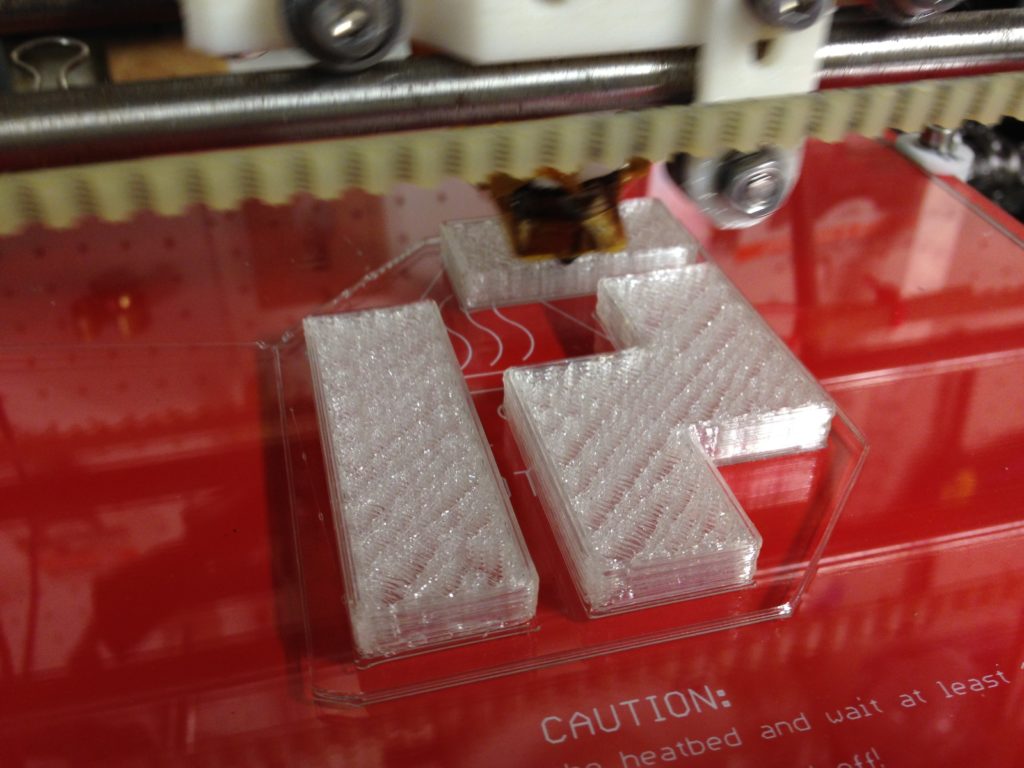
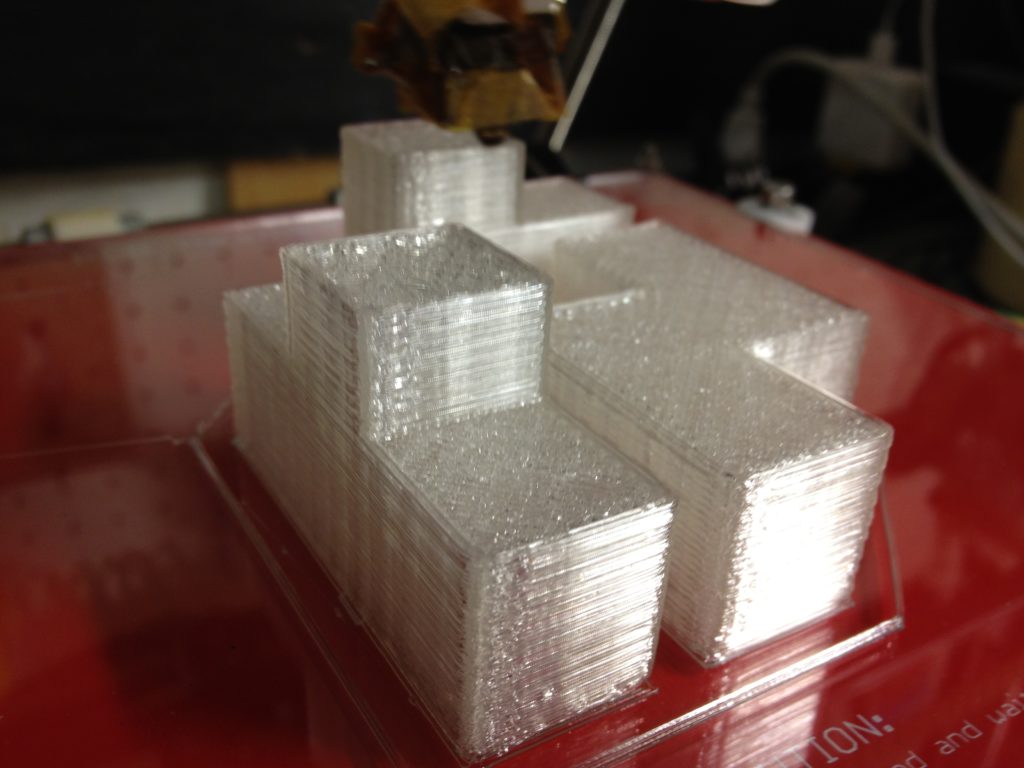
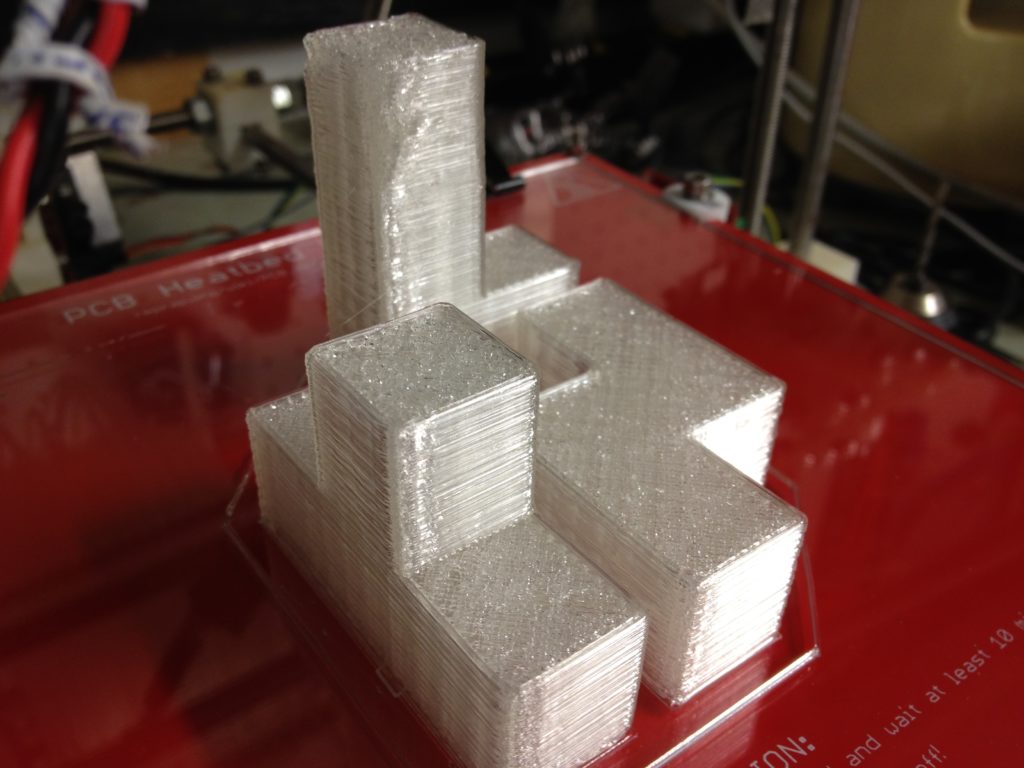
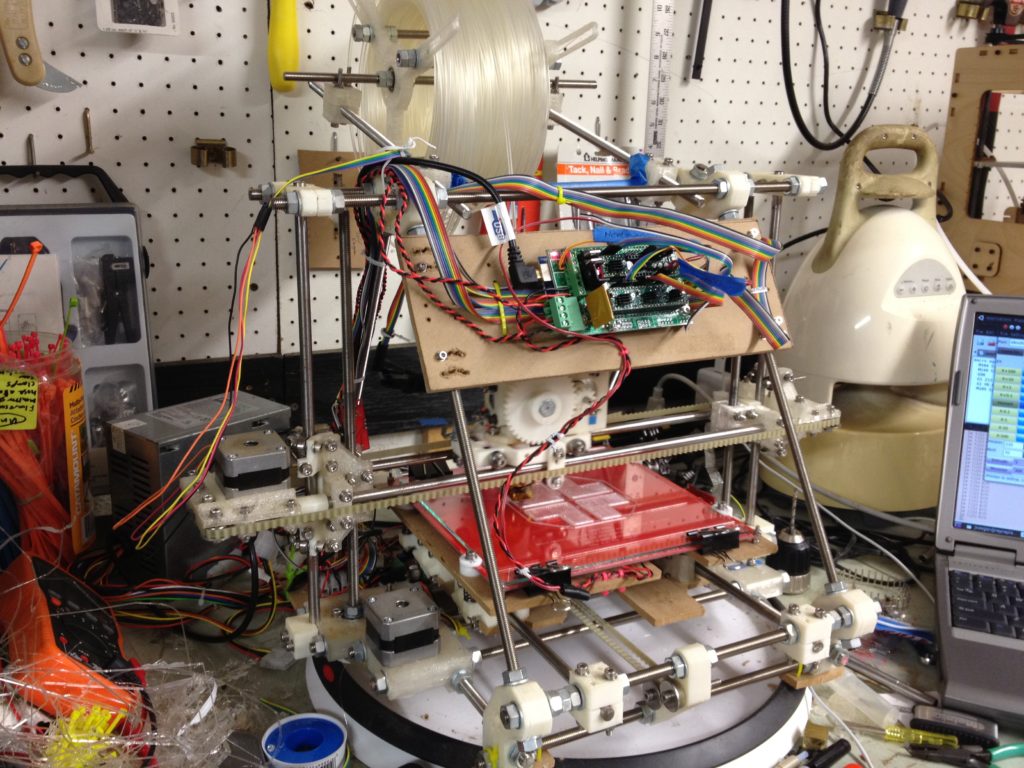
Here is my printer printing the second bed of parts for the puzzle:
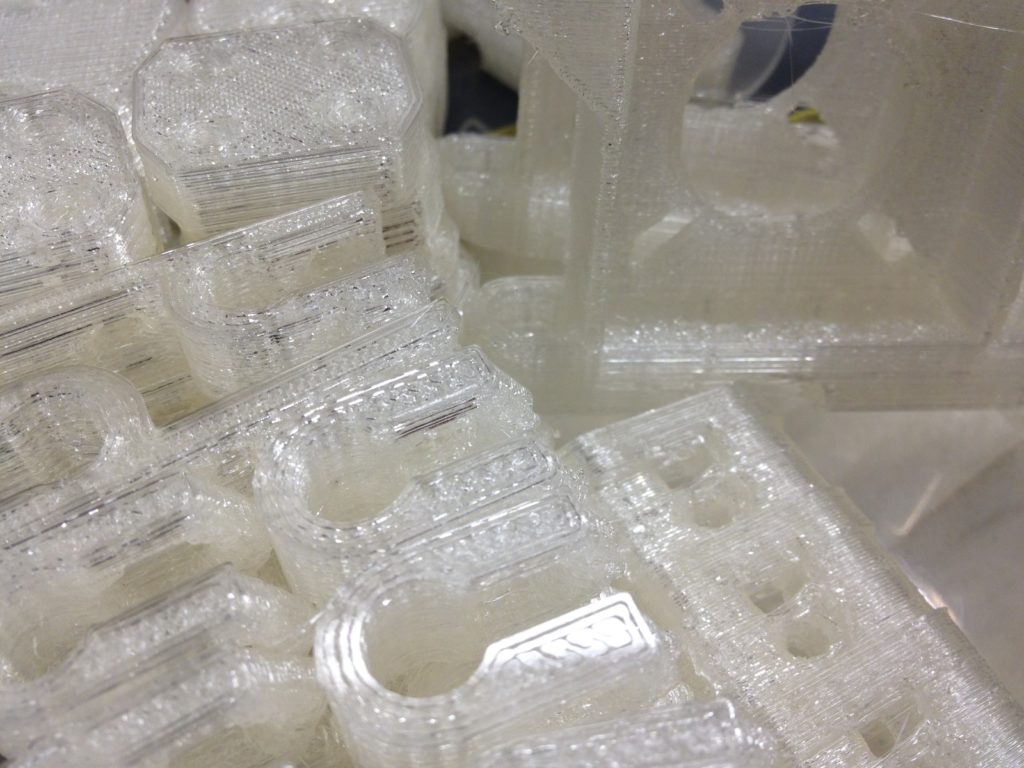
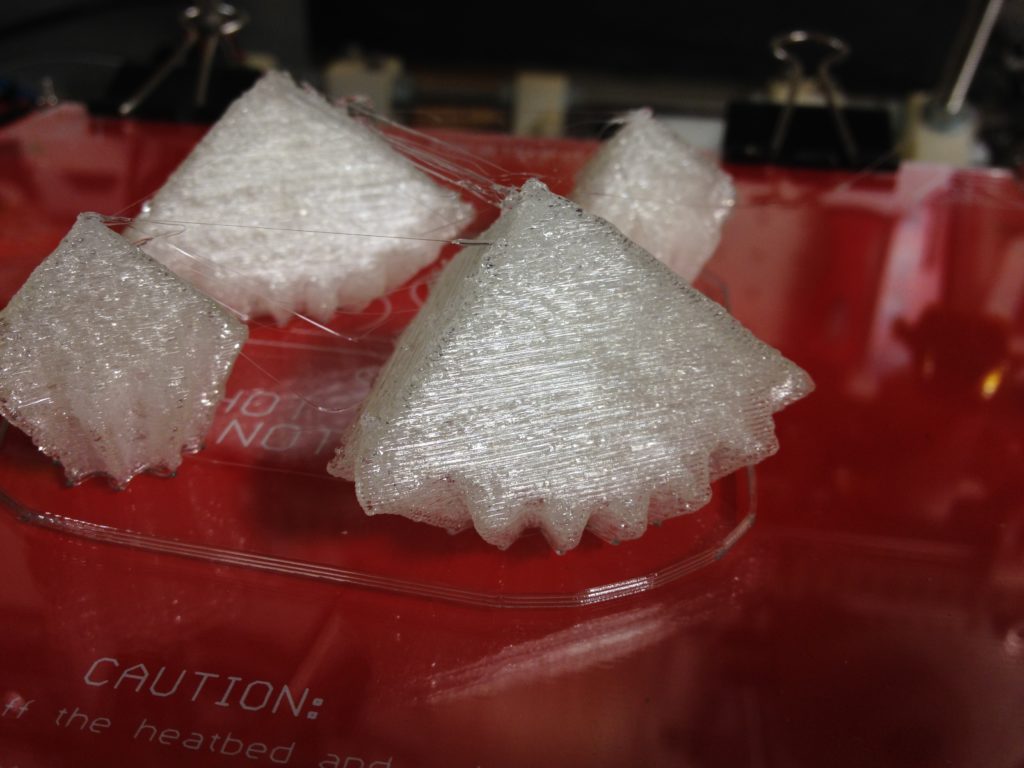
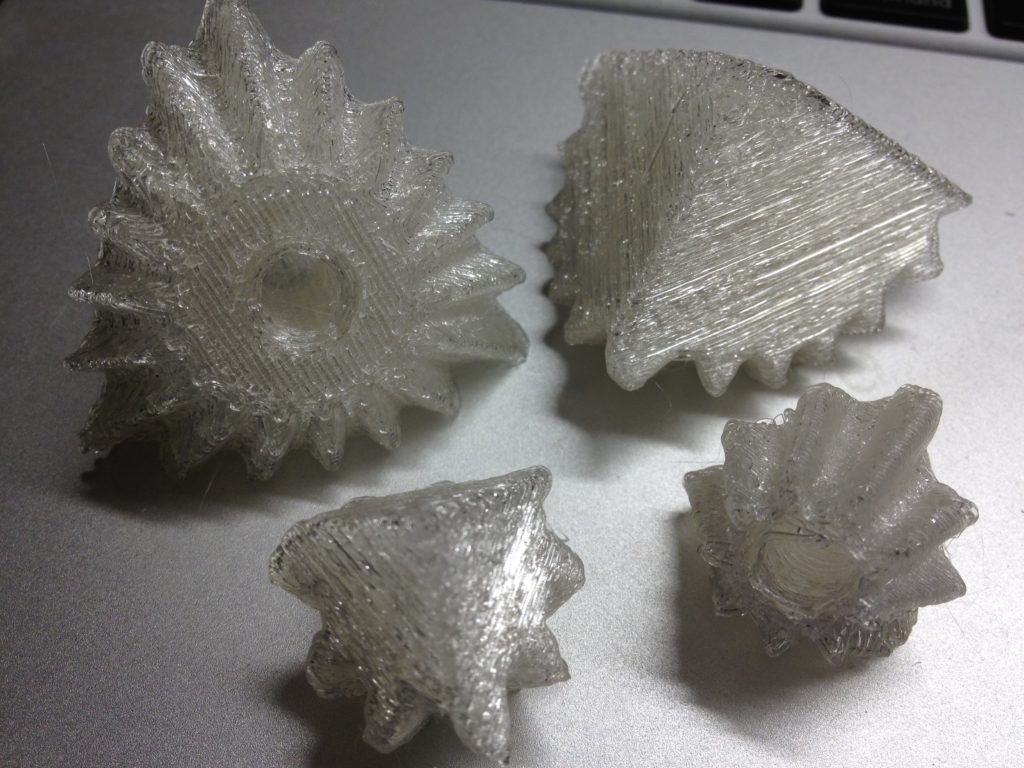
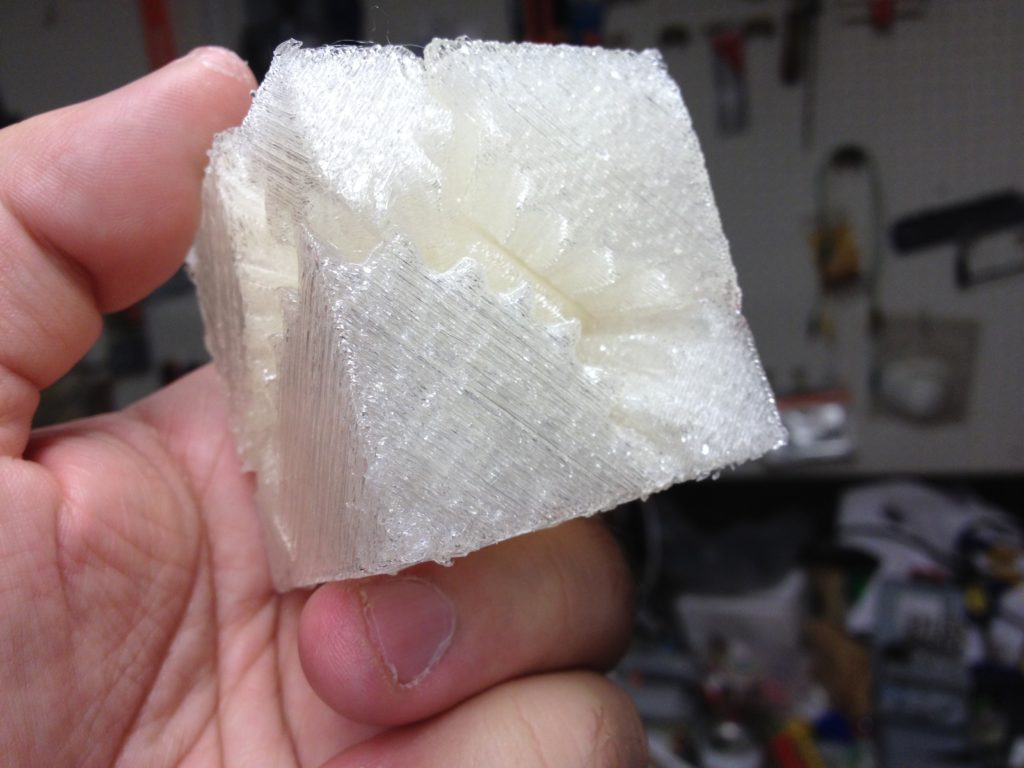
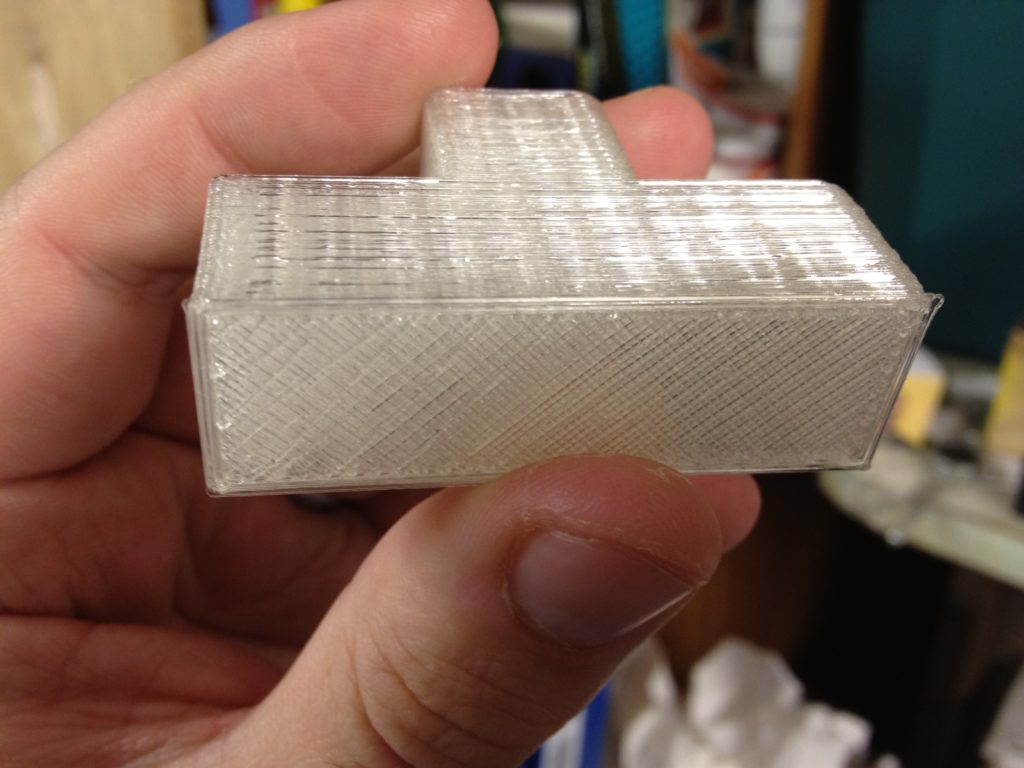
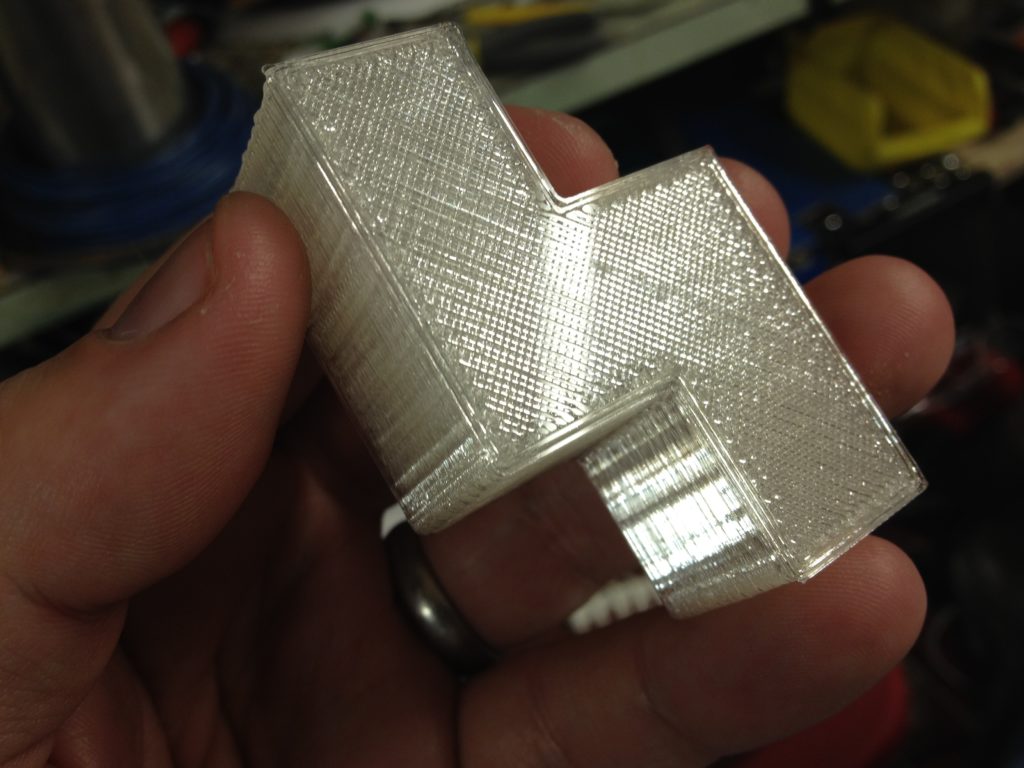
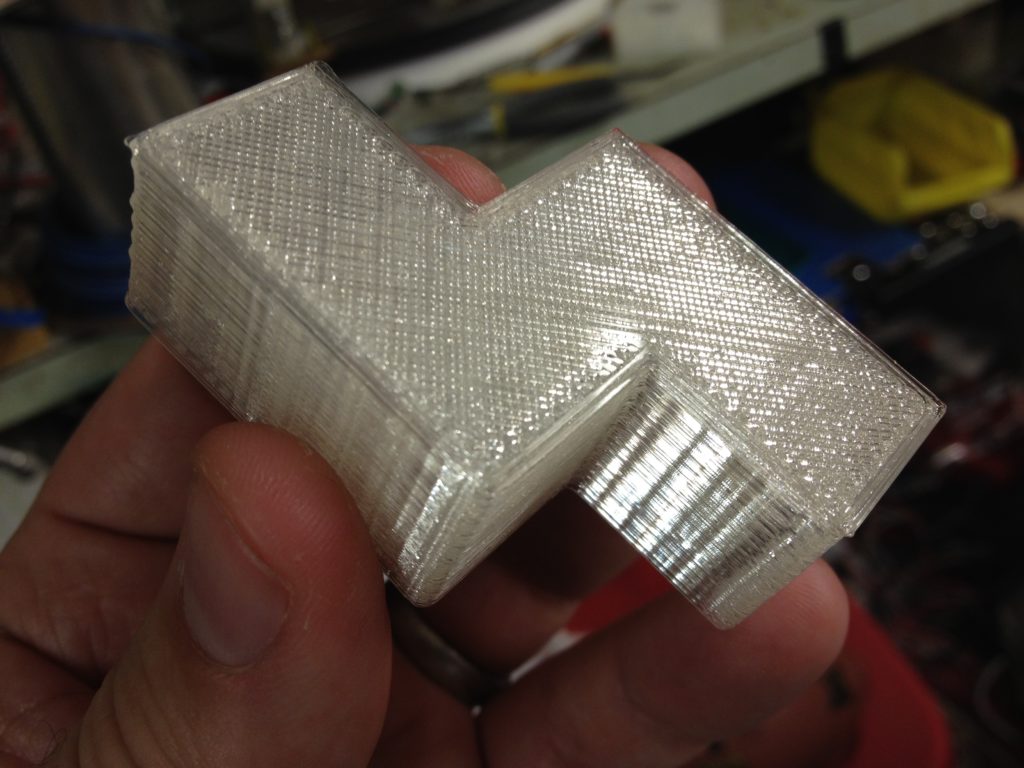
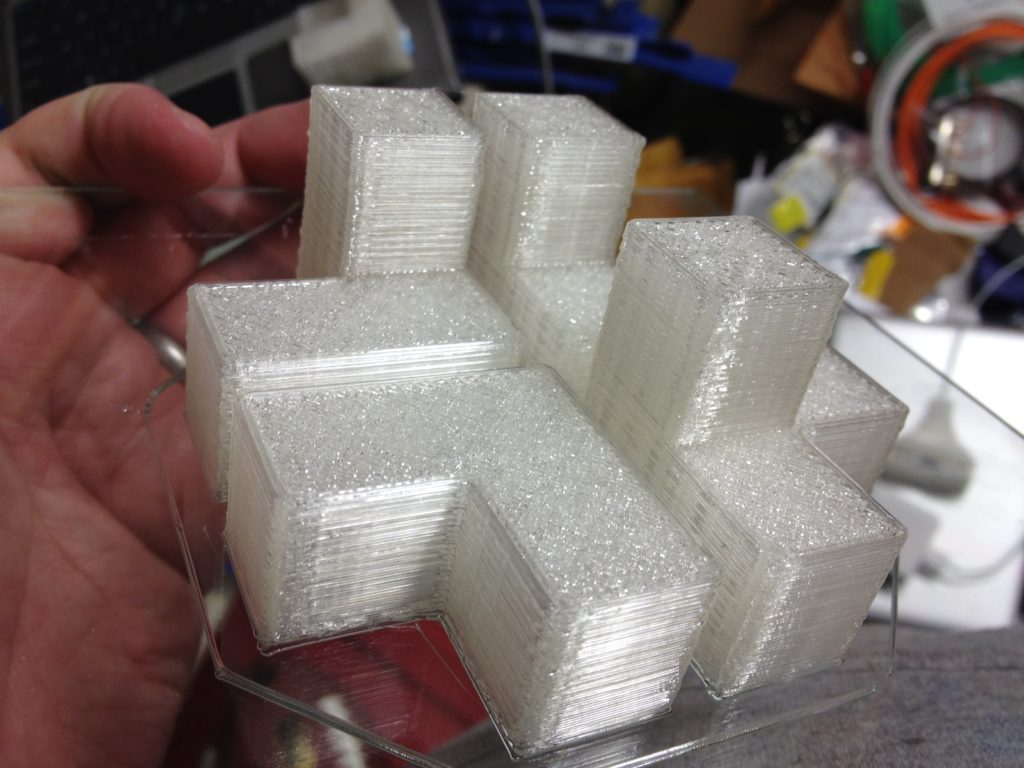
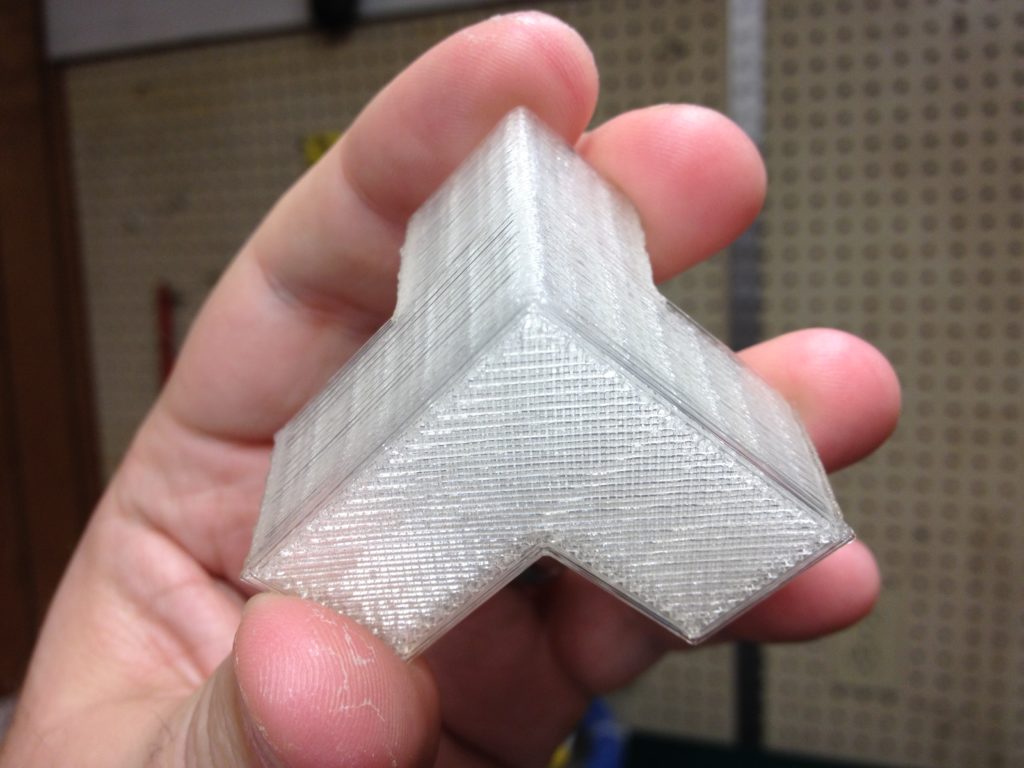
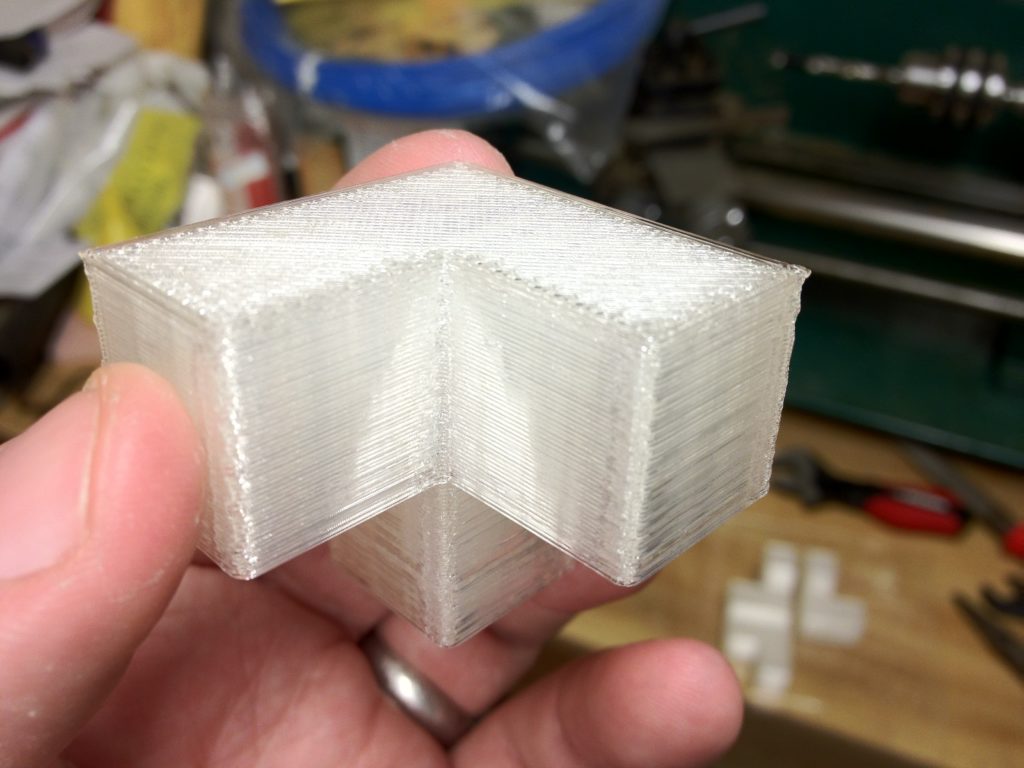
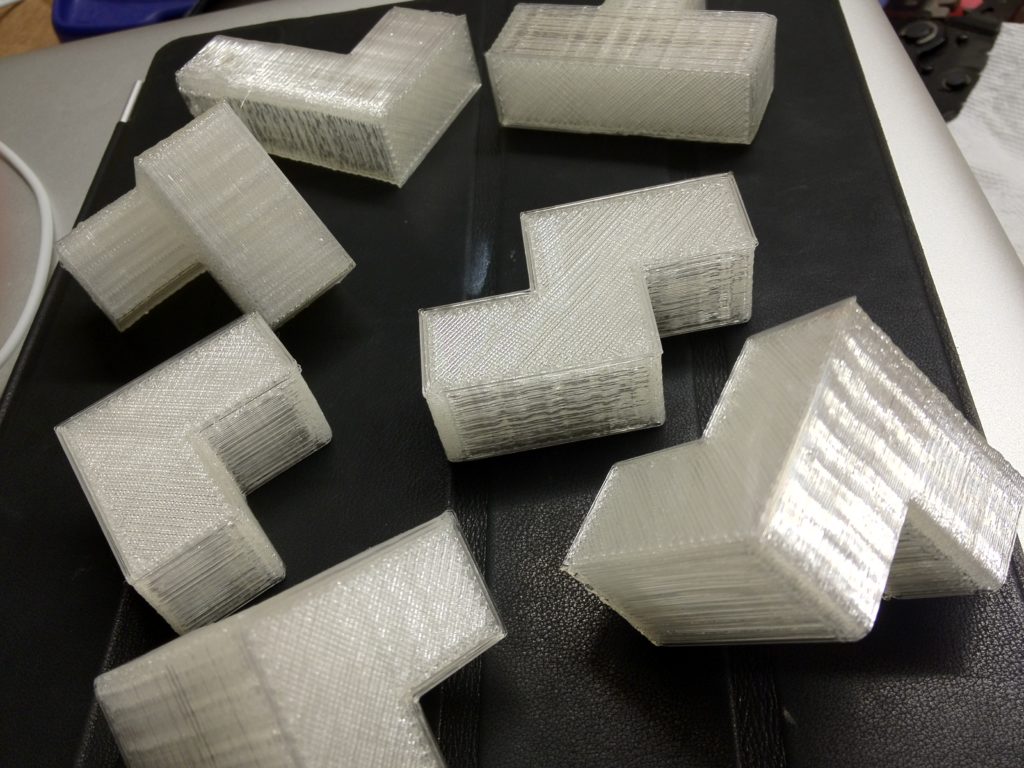
Some more part close-ups:
All of the parts laid out:
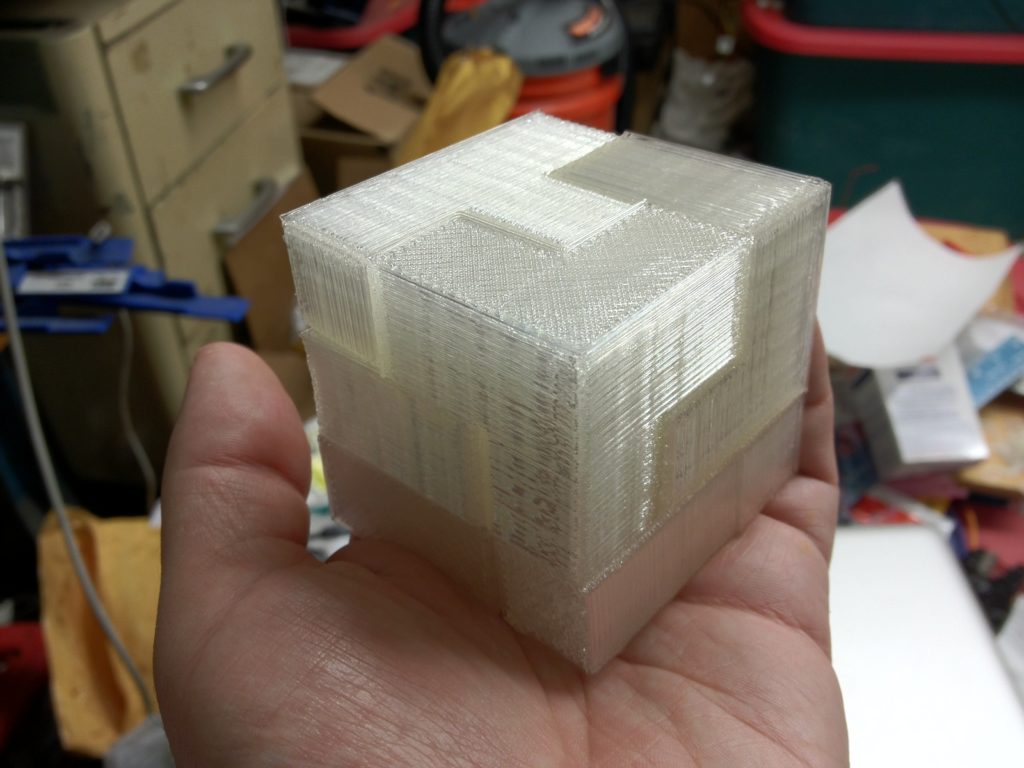
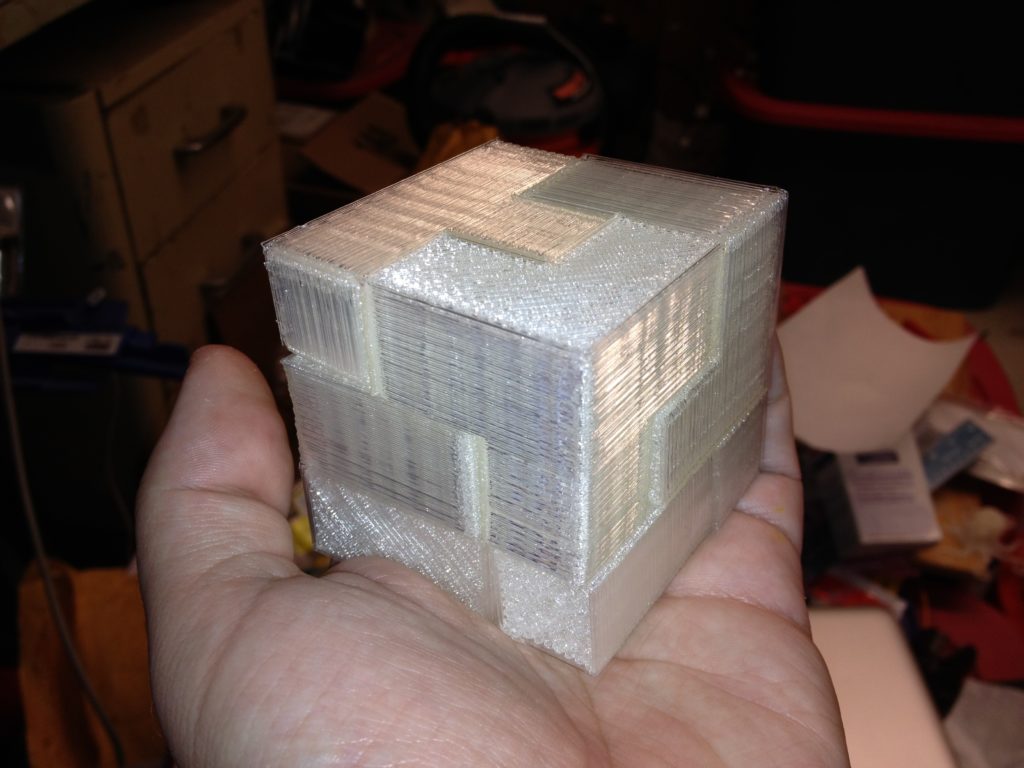
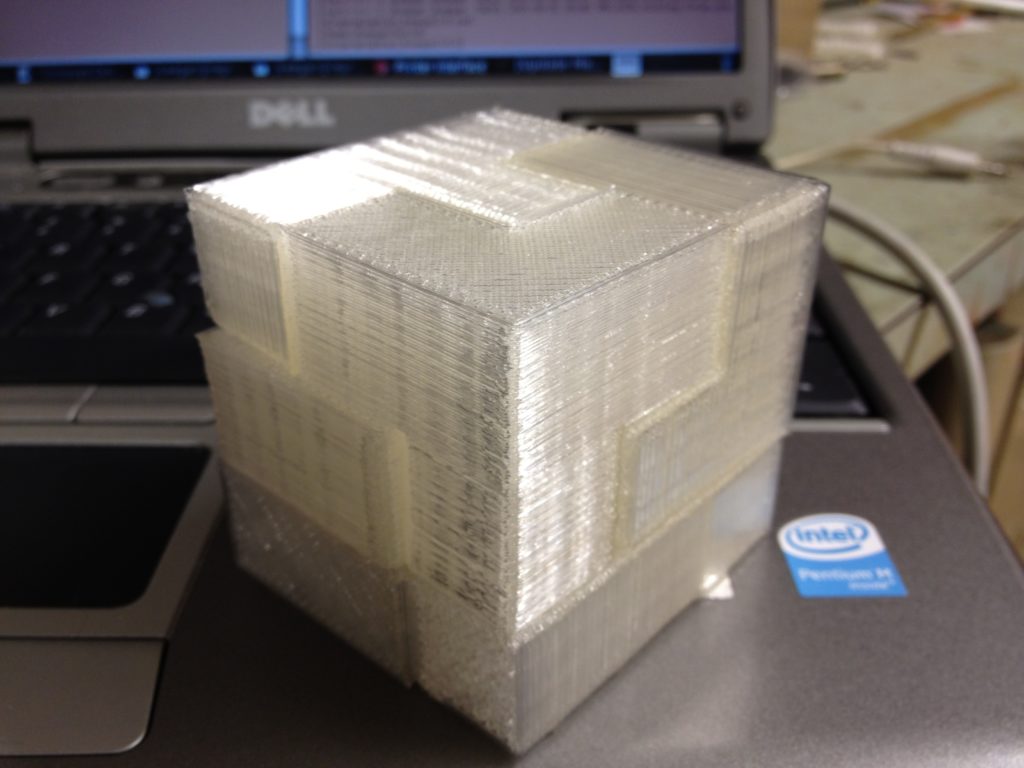
The assembled cube puzzle:
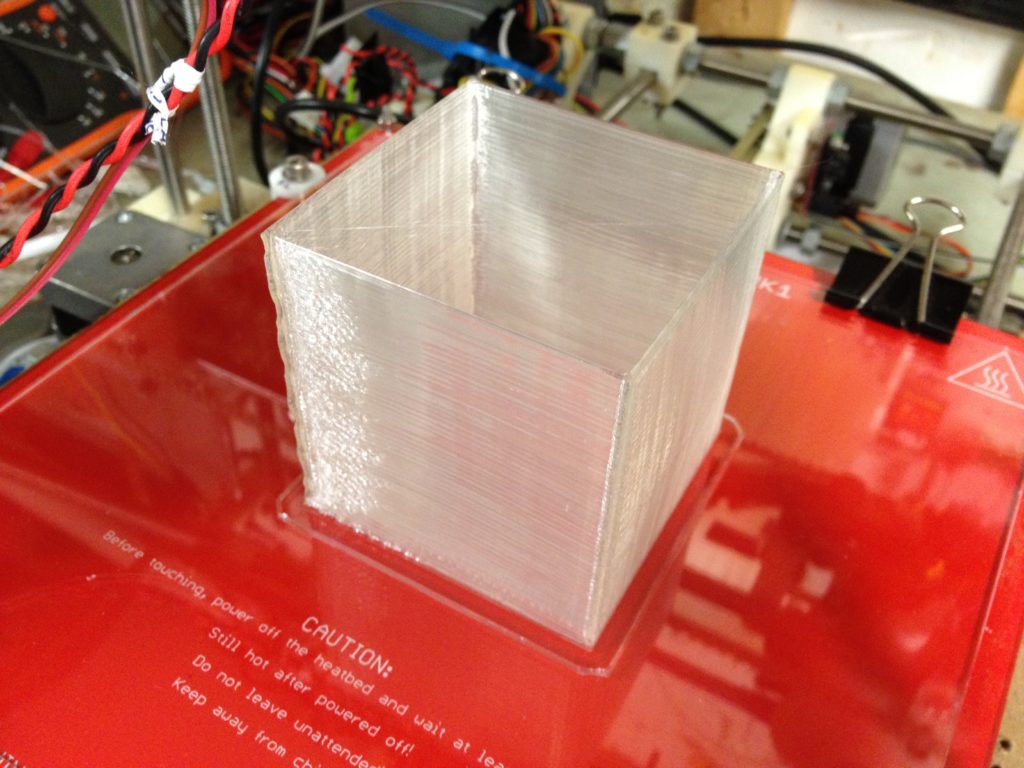
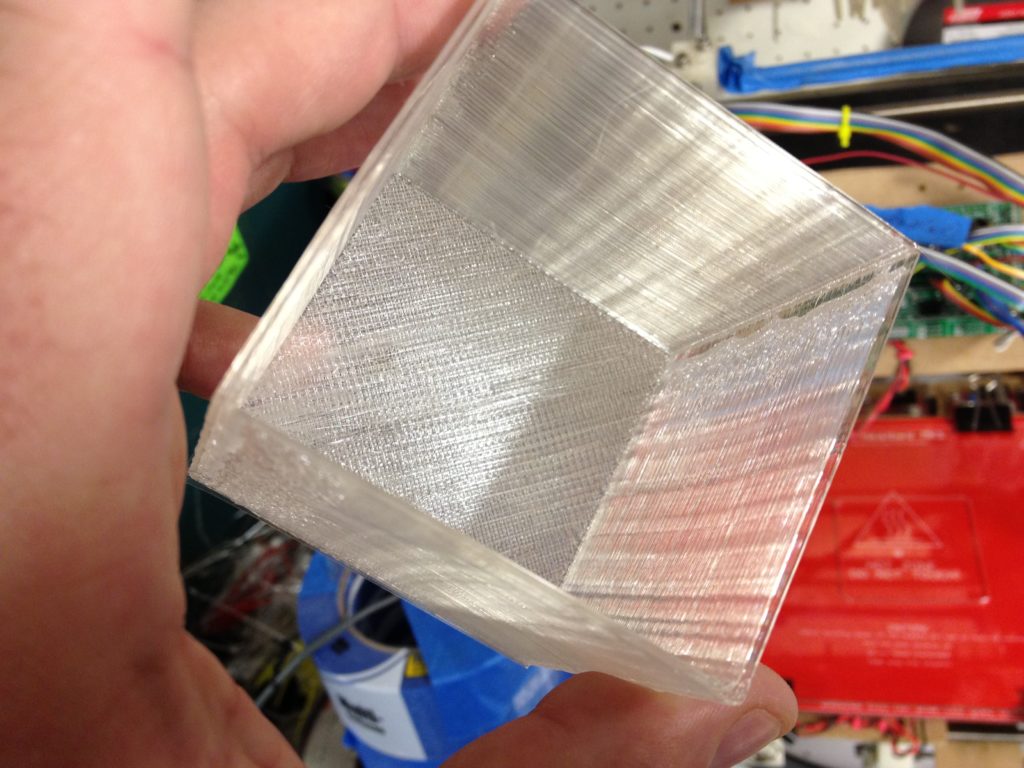
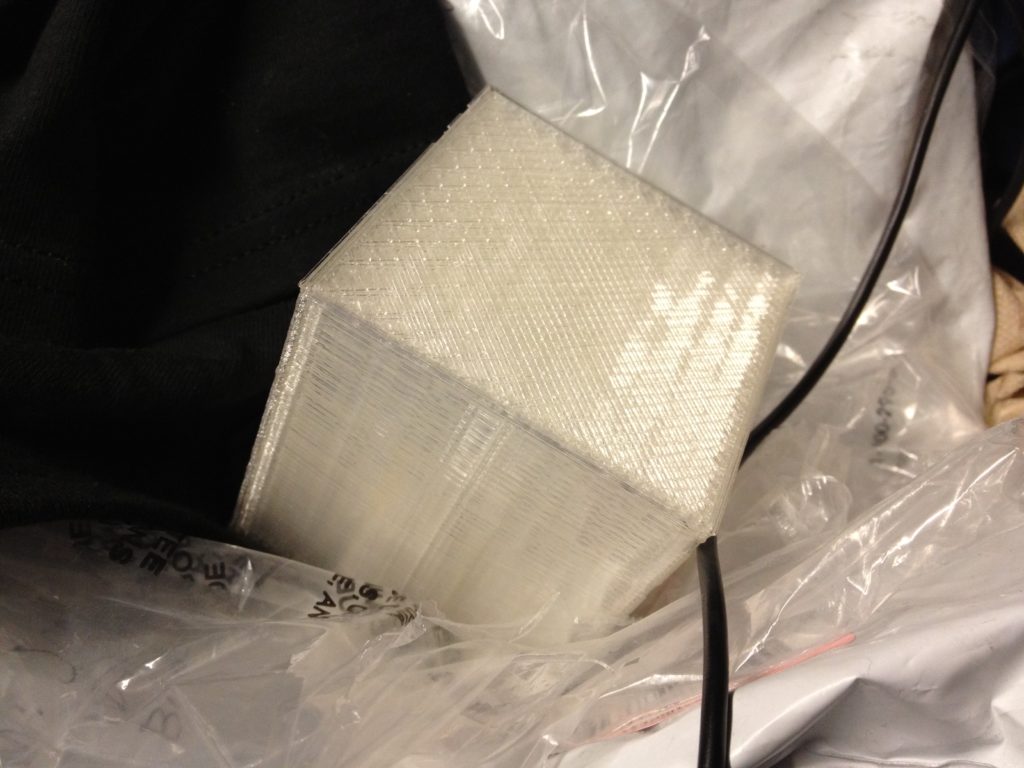
I then printed a box to hold it in, just like I’d had as a kid (complete with a lid).
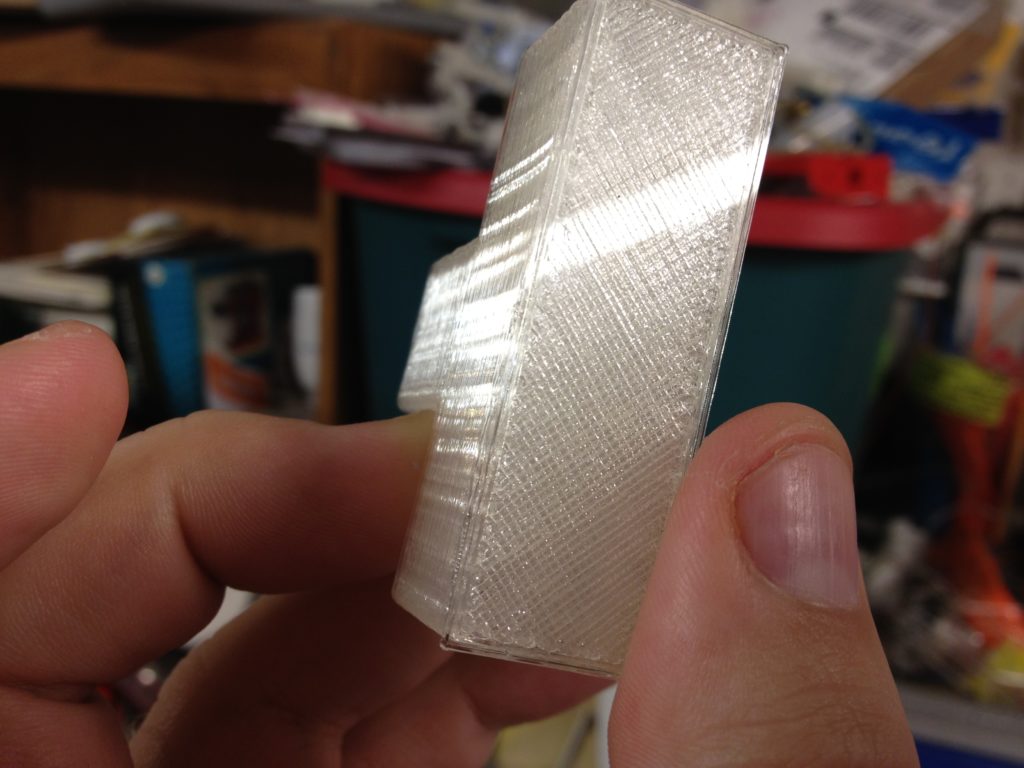
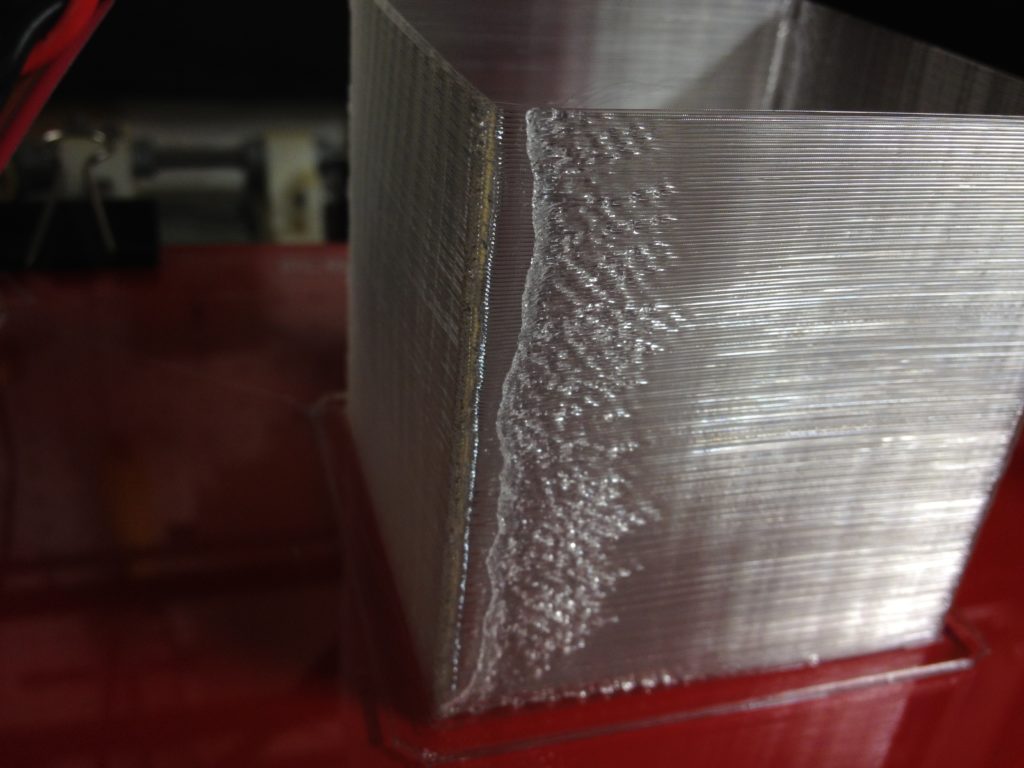
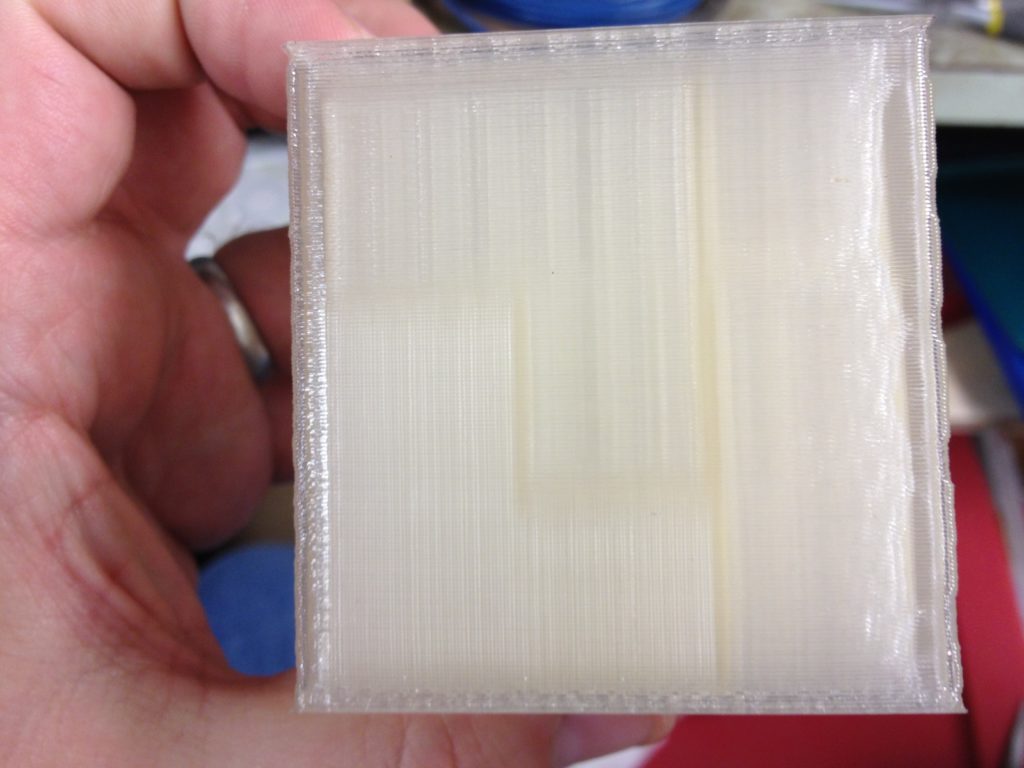
That was printed with two shells, the inner one of which was fine, but the outer shell didn’t completely make it back around (probably the same problem as I’d had with my bearing guides above). This was a year and a half ago – I was using Sprinter firmware, some old version of Pronterface, and probably SFact for slicing. Here you can see the edge where it didn’t meet up (but it still works fine as a box):
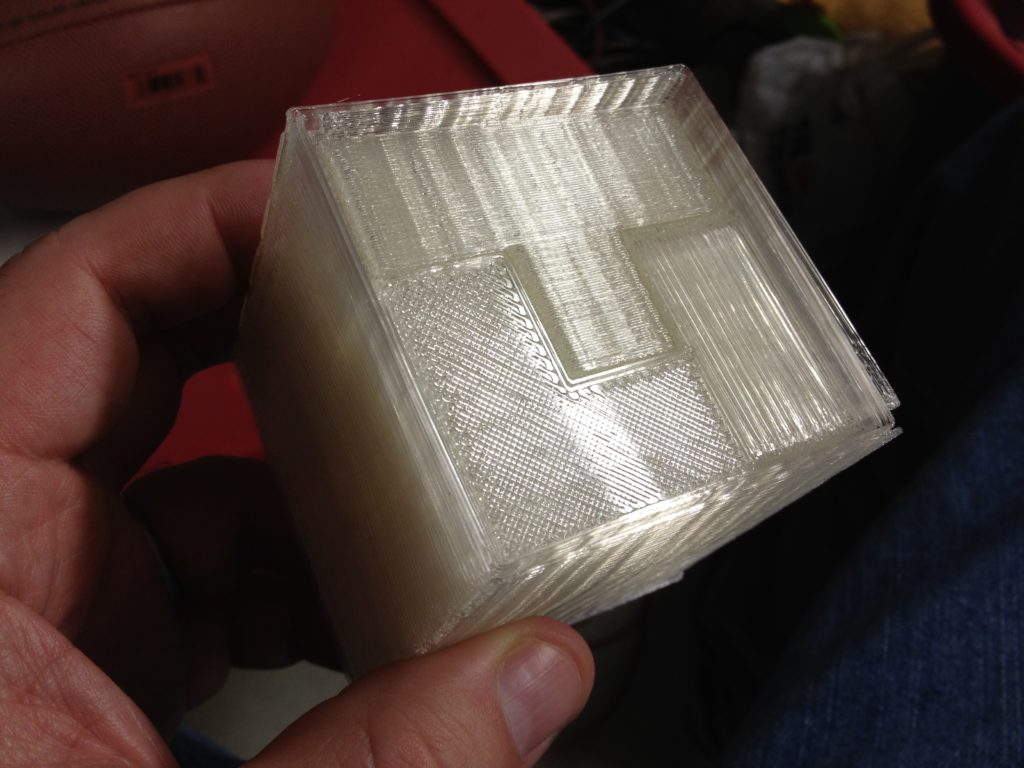
Time to fill the box..
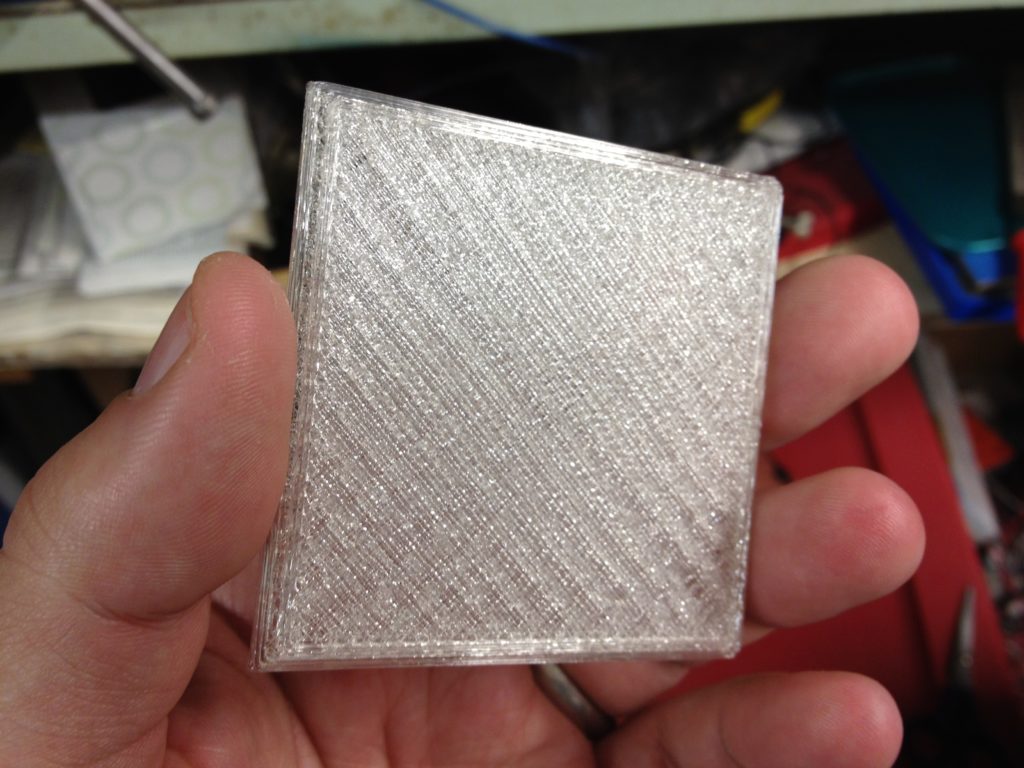
… and the lid..
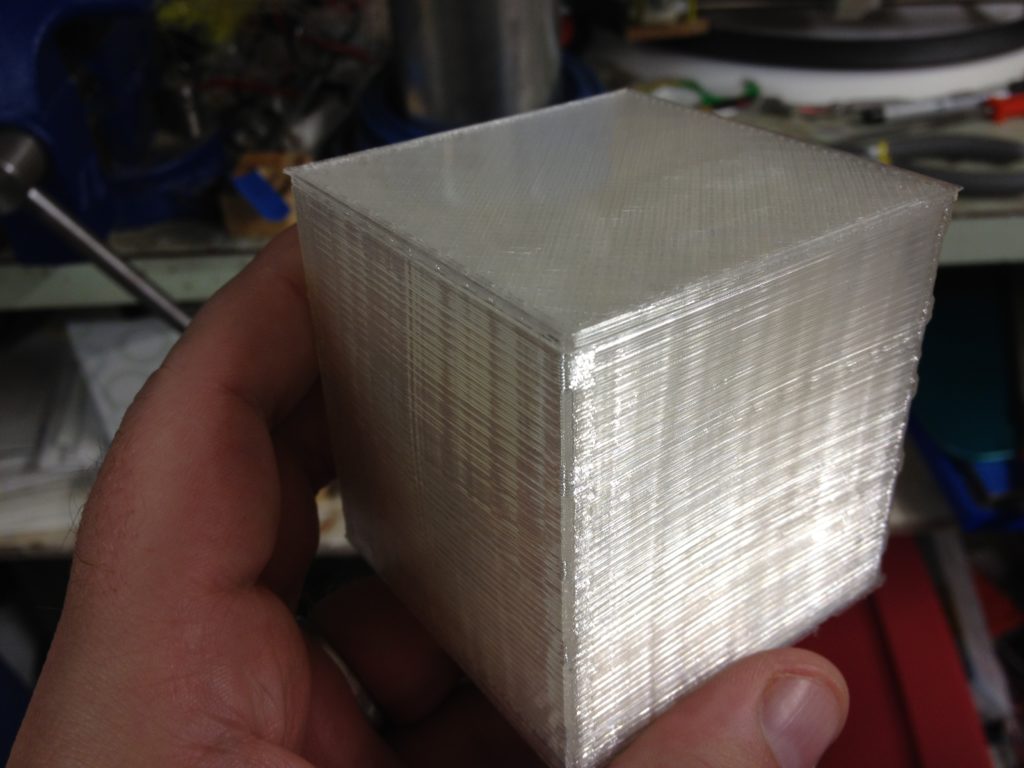
When I hold it in my hands closed up like in this next picture, it reminds me of some lucite 70’s product, like one of those thick picture frames that you used to encase a photo in. I’m not sure why it reminds me of that, but it does.
So. Damned. Cool.
Well, that catches us up to January 28th, 2012. Today is July 8th, 2013. Still about a year and a half behind, but that year and a half has lots of large gaps with no printing (or stuff already covered out of sequence), so we’re almost caught up! (Suuuuure we are.. 🙂 )
In the next post I’ll talk about how the plans for our first New England RepRap meetup led me to build a RepRap that wasn’t for me. Stay tuned!


binary option
Four, no, 31 months.. part 10 of ? « Just Another RepRap