IT’S PRINTING!!! Well, it’s failing spectacularly at printing, but it has extruded plastic all on its own while trying to make a mini-mug (a little shot glass that I can toast success with). Instead it’s a glob of plastic that only a RepRap parent could love. 🙂
There is video of that a few photos/videos down from here, but as usual I’ll show what led up to that first.
I’d only had two times last week that I could play with my RepRap and I was having problems getting it to fully extrude on its own. The stepper motor seemed very weak..
Here it was, thinking it was printing a mini-mug:
Here’s a video showing the extruder appearing extremely weak, unable to push out plastic.
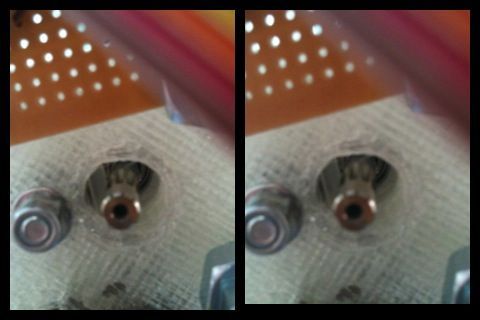
Then I started getting much closer just by adjusting the motor mounting while it was trying to extrude, so I could see where it could grip. I still wasn’t there, but I was closer:
3-d cross-your-eyes picture of the plastic in the extruder (click for unscaled picture, which works better):
I’d posted to the reprap forum about my weak extruder problem and Wade said he’d had the same problem, and suggested cranking up the current on the stepper motor and slowing the extrusion speed. I had already tried turning the trimpot on the extruder board with no success, and remembered reading on the extruder controller page that the trimpot wasn’t currently used.
It turns out that it can be used by the FiveD firmware if you issue the right “M” command (M113). M113 without any arguments causes the trimpot to be read right then. I’d you supply an argument, though, you can specify a value right there in the gcode file.
That revelation led to one long uneventful video that I’ll spare you from, and then…. to THIS:
Here is my RepRap’s first printed attempt at making a minimug:
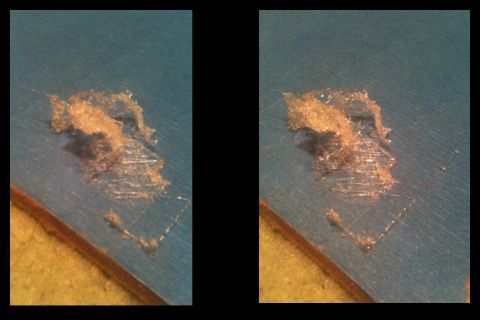
Here is the entire removed top bed with the failed print:
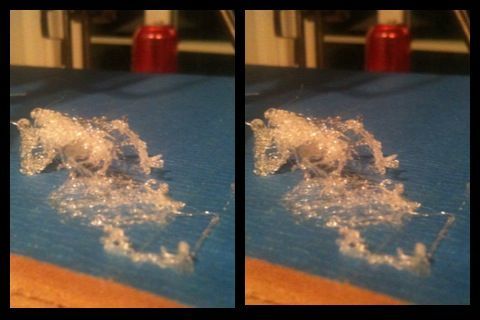
And here are two cross-eyed 3d pictures of that print (click for unscaled pictures which again work better):
When peeling it off of the bed it was interesting to see that the bottom layer that was really flat (I think I trimmed my z opto flag about 0.5mm too short) actually stuck together, despite the thrashing that the failed build did to the rest:
So now I think I just have to find the right combination of: a) the correct spacing between the stepper and the bearing, b) the right PWM setting to use, and c) the extruder speed. Not sure on how exactly to change c yet.. Changing the gcode directly probably affects the rest of the build – when I was using skeinforge on the Makerbot I had to change something pre-rendering. Eh, we’ll see.
BUT NOW, I’M PRINTING!!! Woohoo!!!!!!!!!!!!!!! Now to just get something to print correctly… 🙂


my konami slots for pc https://2-free-slots.com/
casino gem slots https://freeonlneslotmachine.com/
free double diamond slots https://candylandslotmachine.com/
liberty slots https://pennyslotmachines.org/
baba wild slots casino https://slotmachinesworld.com/
dancing drums free slots https://slotmachinesforum.net/
vdeos of live slots https://slot-machine-sale.com/
free casino games slots https://beat-slot-machines.com/
shake the sky real slots https://download-slot-machines.com/
free slots games online https://411slotmachine.com/
Quality Proxies
I found a great…
quick hit slots free https://www-slotmachines.com/
cleopatra slots free https://slotmachinegameinfo.com/
dissertation ideas https://buydissertationhelp.com/
writing a dissertation proposal masters https://dissertationwriting-service.com/
dissertation case study https://help-with-dissertations.com/
affordable dissertation writing https://mydissertationwritinghelp.com/
dissertation proposal sample https://dissertations-writing.org/
masters dissertation help https://helpon-doctoral-dissertations.net/